week05 \ 3d scanning and printing
This week's assignment focused on the dual nature of digital fabrication: capturing reality through scanning and bringing digital designs into the physical world through 3D printing.
During the lesson, we explored 3D Scanning and Paste Printing (Clay). We saw several demonstrations, both software and hardware-based, on how to capture any physical object and transform it into a printable 3D model.
My attention was particularly captured when my colleague, Dhrishya, volunteered to be scanned. Using an Xbox 360 Kinect, we were able to digitally transfer that specific moment directly onto the lab's PC.
At that moment, I thought about the hiking trip I had planned for the following day at Avencs de la Febró. I realized I would have the perfect materials and "test subjects" (my friends) to attempt an unconventional 3D scan in the wild.
So, here I am armed with the "wrong" phone (an iPhone 15 without LiDAR) and catching up on previous weeks' assignments, but highly motivated to capture something unique along the trail.
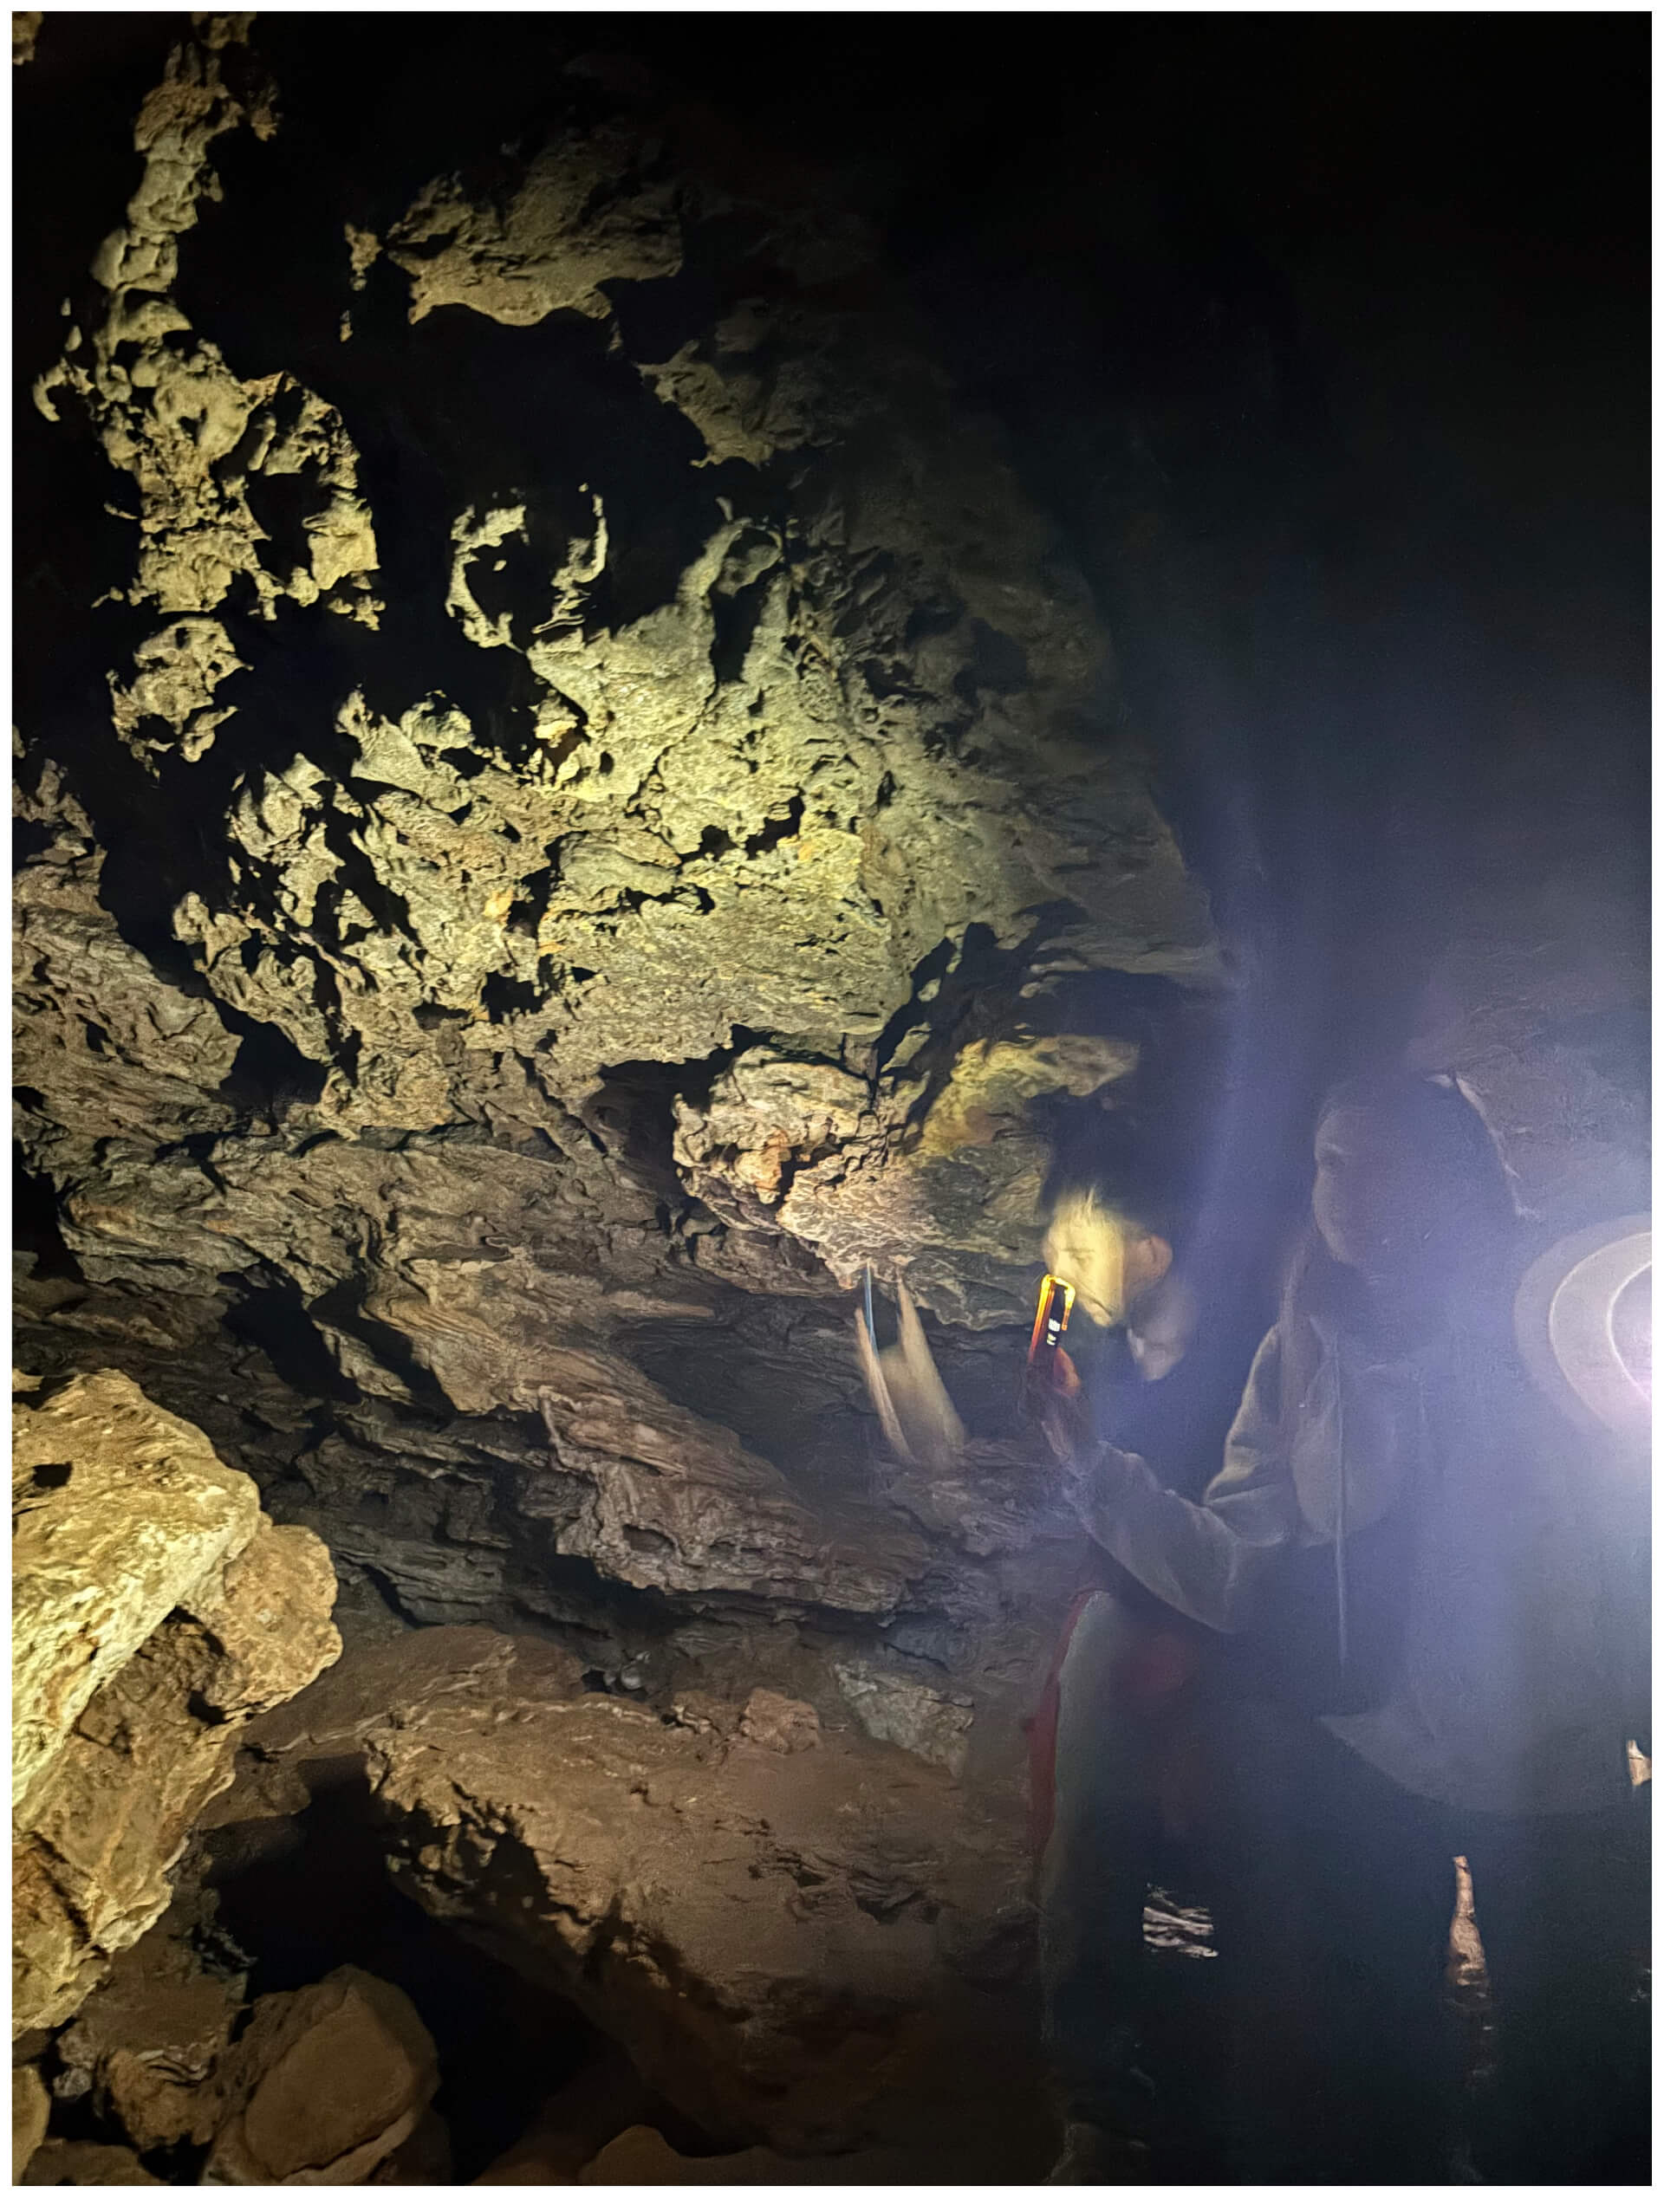
After a long hike, we stumbled upon a cave. I initially thought this was it, but I quickly realized it wouldn't work: there was simply too little light for a photogrammetry-based scan without LiDAR sensors.
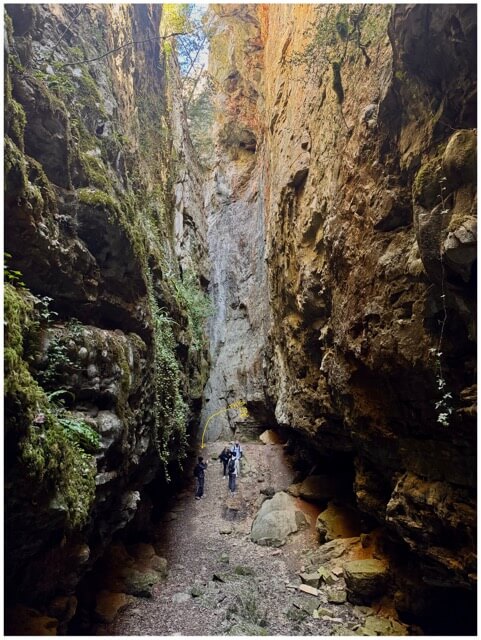
Right at the exit of the cave, however, we found a stunning natural gorge...
The lighting in the gorge seemed sufficient for a first trial. This landscape consists of a series of impressive fractures or abysses (avencs) in the limestone rock, creating a stunning natural canyon and various caves.
- Software Choice: I used Polycam for the scanning process. A key feature of this app is the ability to capture the data and postpone the processing, which was essential given the circumstances.
- Connectivity Issues: Since I was in a very remote area, cellular reception was almost non-existent. Processing the heavy files on-site was out of the question, so I simply saved the raw captures and continued the hike.
Upon reaching a second location, the light was significantly better. However, the terrain was far from ideal; it was quite inconvenient to perform a proper 3D scan given the position and the footing.
Regardless of the physical difficulty, I decided to try anyway.
Back at home, I finally had the chance to process the captures. I opened the files and... boom, total failure. Both results were nothing more than shapeless blobs. While I could have tried to repair the meshes manually, the raw data was fundamentally flawed:
- Attempt 1: I moved too fast during the capture. As a result, my friend's face merged into his body completely unrecognizable and useless for a high-quality resin print.
- Attempt 2: The spot was too cramped and crowded. It was physically impossible to move around the subject correctly to get the necessary overlapping angles.
Technical Reflection: Photogrammetry vs. LiDAR
The main issue, however, was the technology itself: Photogrammetry vs. LiDAR.
Without a LiDAR sensor, my phone relied solely on photogrammetry (processing images to find depth). In challenging environments like a natural gorge with complex textures and changing light, this method requires perfect execution.
The Lesson: My current device was simply not sufficient for a high-quality scan in these conditions. This failure was a valuable lesson in understanding the hardware limitations and the precision required for successful 3D data.
I woke up in high spirits, energized by the previous day's hike and connection with nature. I decided to go for a run along the coast with two friends, making the most of the sunny morning. Since one of them had an iPhone 16 Pro, I finally had access to a LiDAR sensor.
I felt optimistic about the scanning process, knowing I could use his device to move forward with the individual assignment.
The Scanning Process:
After the run, using the scanning app installed on his phone, I identified an ideal spot: well-lit and free of obstacles, allowing me to move 360° around the subject. I then proceeded to perform the 3D scan.
Refinement and Export:
The result is quite decent! Despite a few artifacts specifically a poorly rendered calf that looks almost "eaten away" it is more than acceptable. I plan to fix this manually during the post-processing stage.
Since the free version of Polycam does not allow direct STL export, I used an online conversion tool to transform the file from .glb to .stl.
CAD Integration:
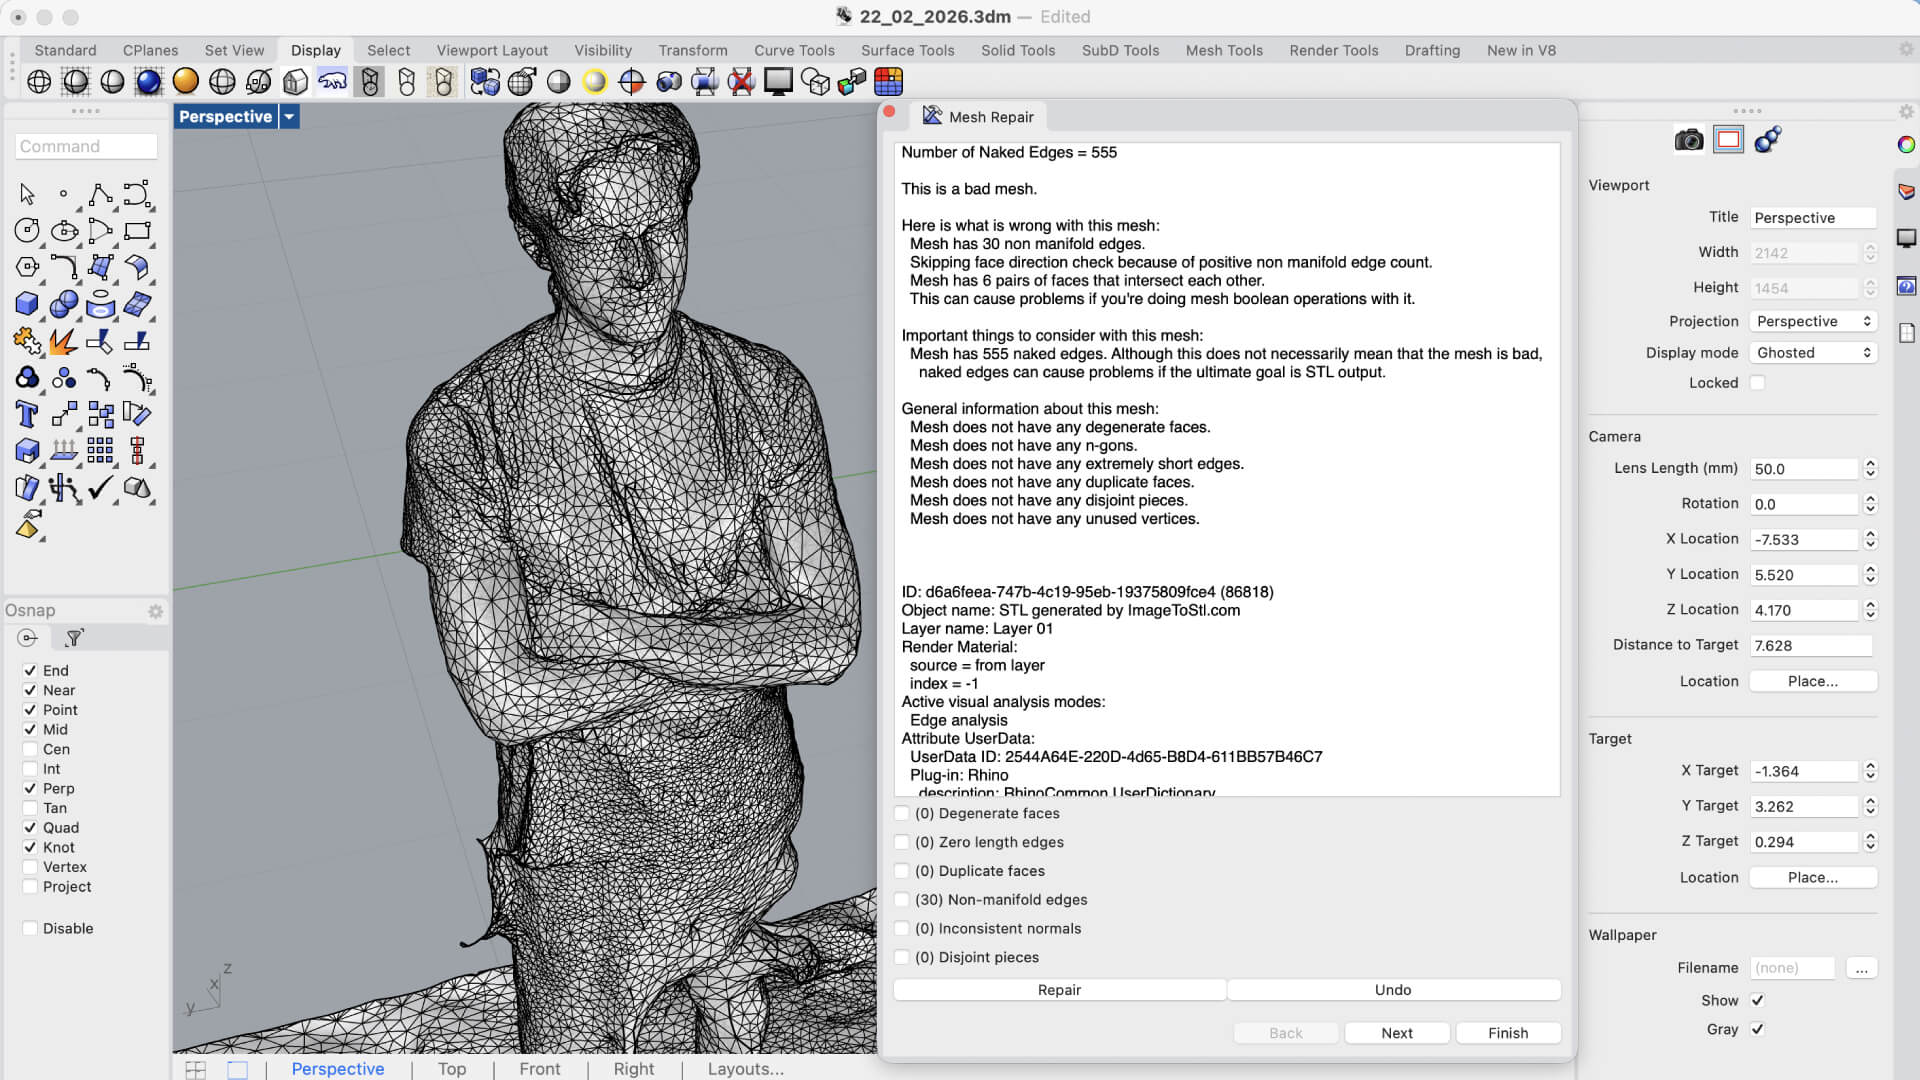
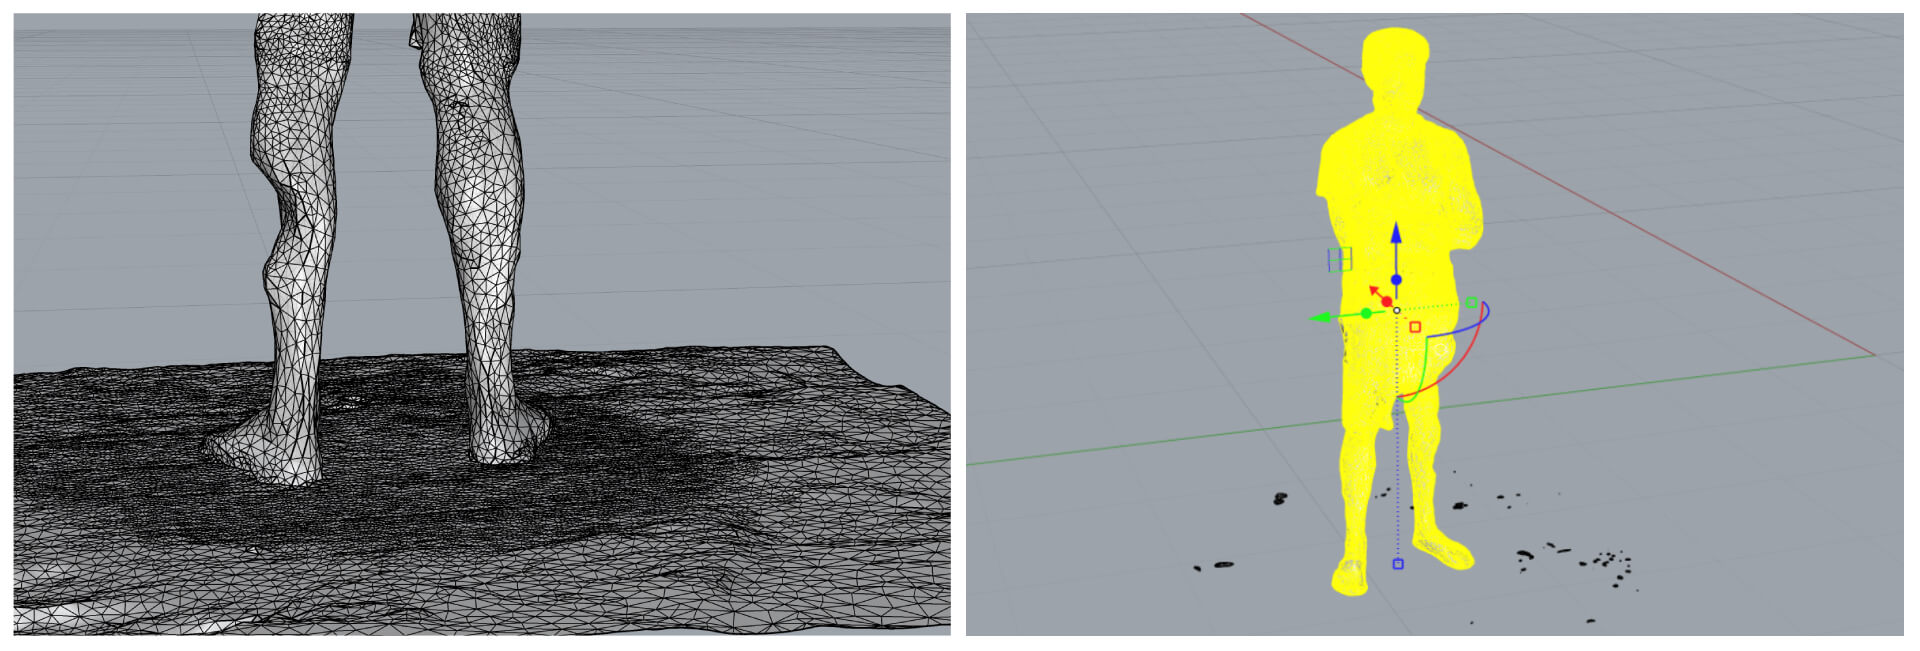
Anyway, here is the final mesh successfully imported into Rhino. Having it in a NURBS/Mesh environment allows me to clean up the geometry and prepare it for the next steps of the assignment.
Mesh Cleanup and Troubleshooting:
Here are the first issues to address: I have several surface artifacts (protrusions) to fix, I need to detach the body from the floor geometry, and finally, convert the open mesh into a watertight solid.
To-Do List:
- Fixing surface irregularities and protrusions.
- Geometry separation (Body vs. Floor).
- Mesh repair to create a valid solid for fabrication.
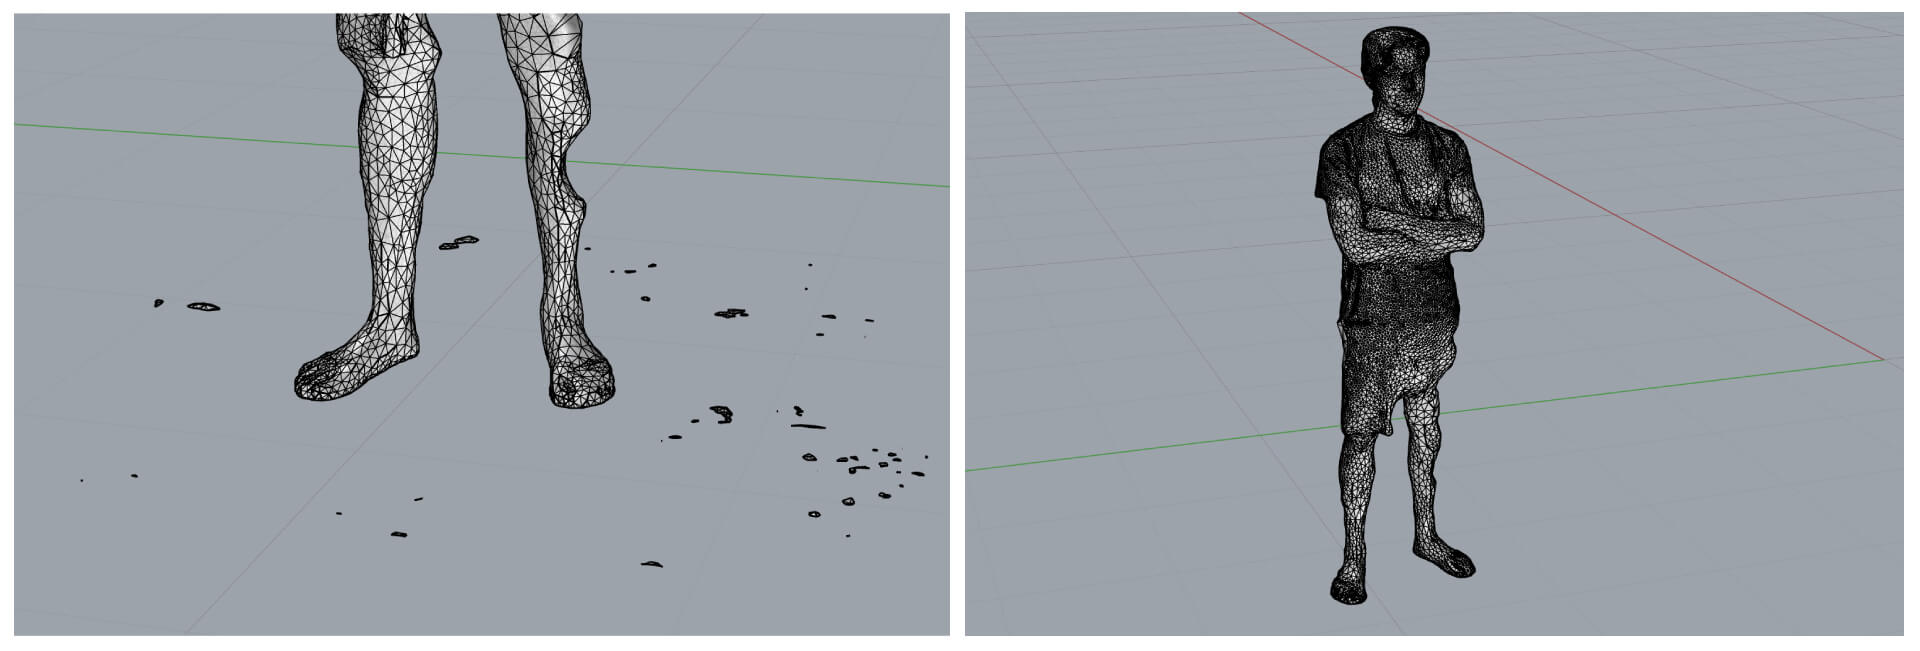
The original 3D scan was extremely corrupted: the model was not a single entity but rather a cloud of disjointed fragments and open meshes.
The Challenge:
Standard operations like _Join or _FillMeshHoles failed because the geometry lacked topological continuity. I had to use the _Invert command combined with manual selection to isolate and delete the smaller fragments and "junk" meshes that weren't part of the body.
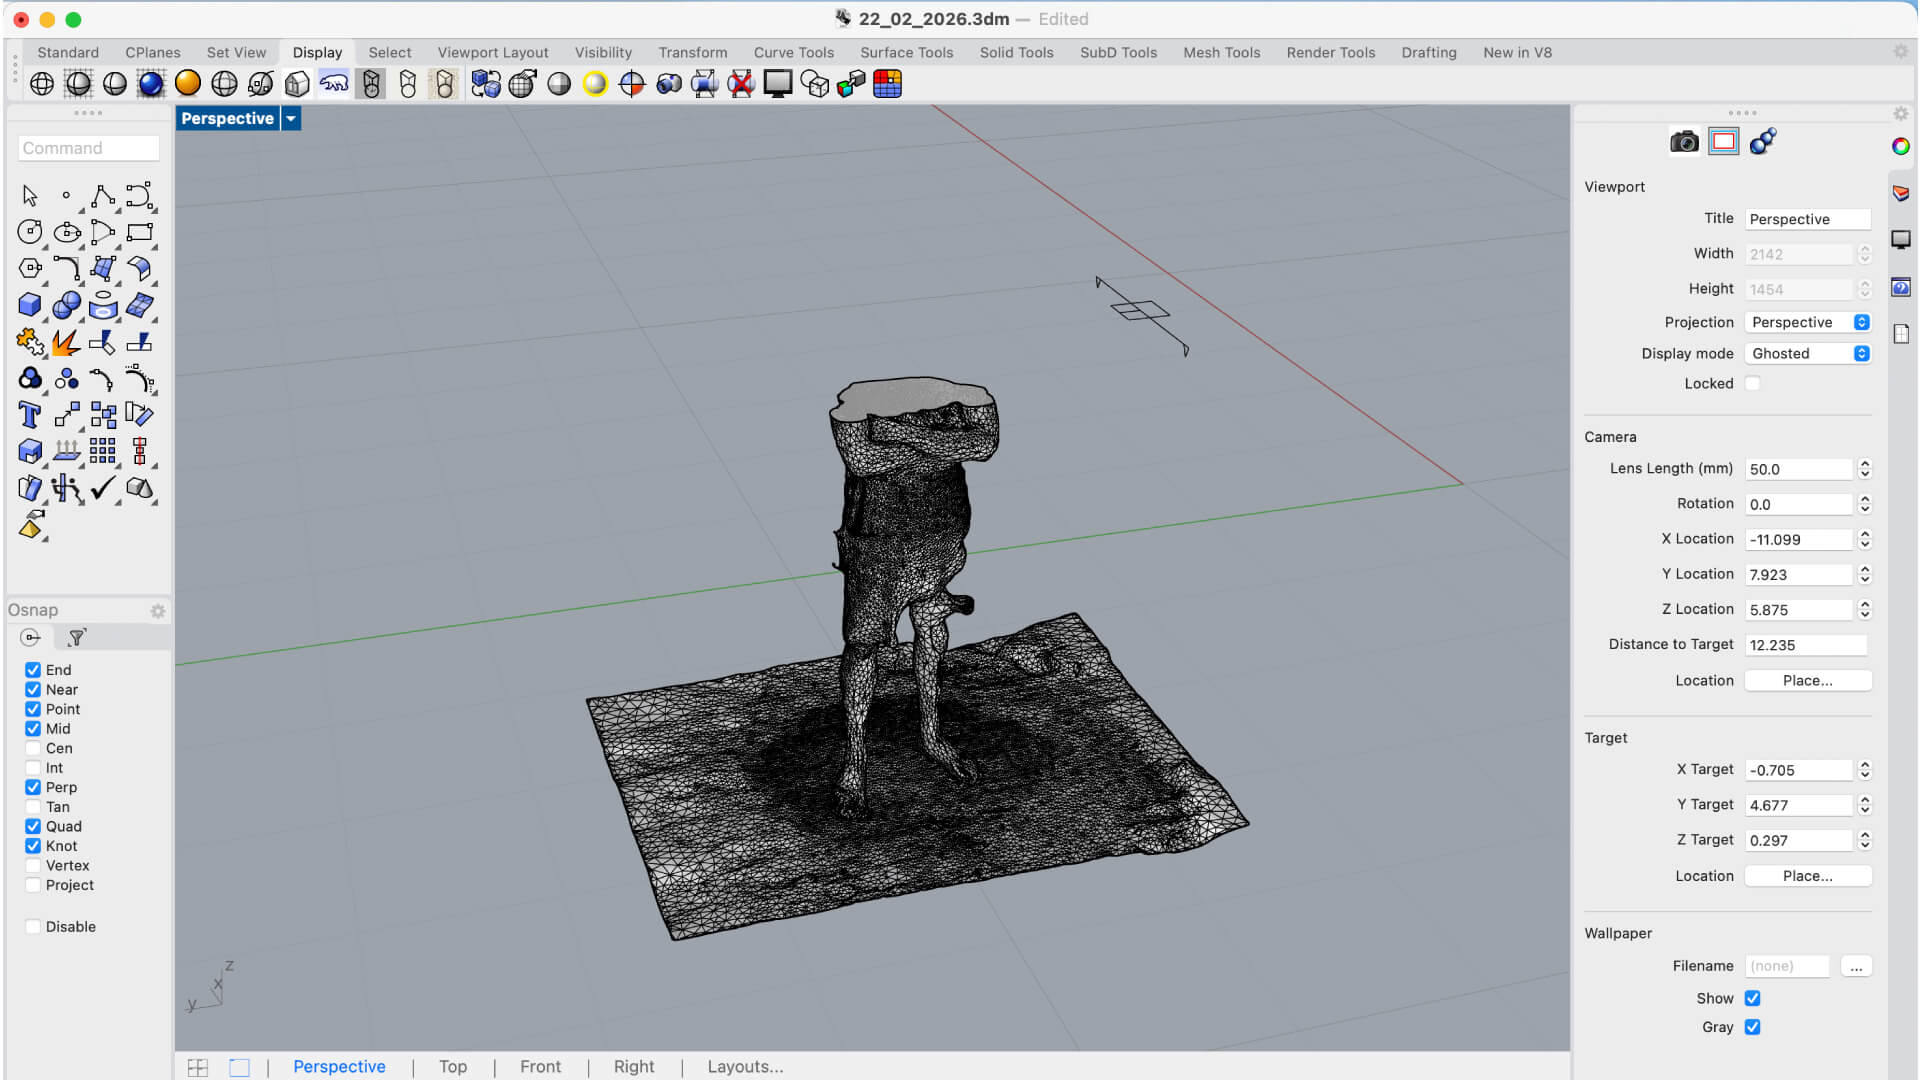
The Solution: Rhino 8 ShrinkWrap
To solve this, I utilized the _ShrinkWrap tool in Rhino 8. This command effectively wrapped the entire cloud of fragments in a new, continuous "skin".
Results of ShrinkWrap:
- Created a Closed Mesh (solid and watertight).
- Eliminated internal protrusions.
- Removed redundant data and noise.
Now that the model is a watertight solid, I can finally focus on the detailed cleanup. My primary objectives are addressing the remaining surface protrusions and performing a clean geometry separation to detach the body from the floor surface.
Current Workflow:
- Surface Smoothing: Refining the "bumps" and artifacts that the _ShrinkWrap process preserved.
- Sub-object Separation: Using clipping planes or boolean operations to isolate the character from the ground plane.
- Final Solid Validation: Ensuring the mesh remains closed after these modifications for future 3D printing.
1. Vertex Control: Activating _PointsOn
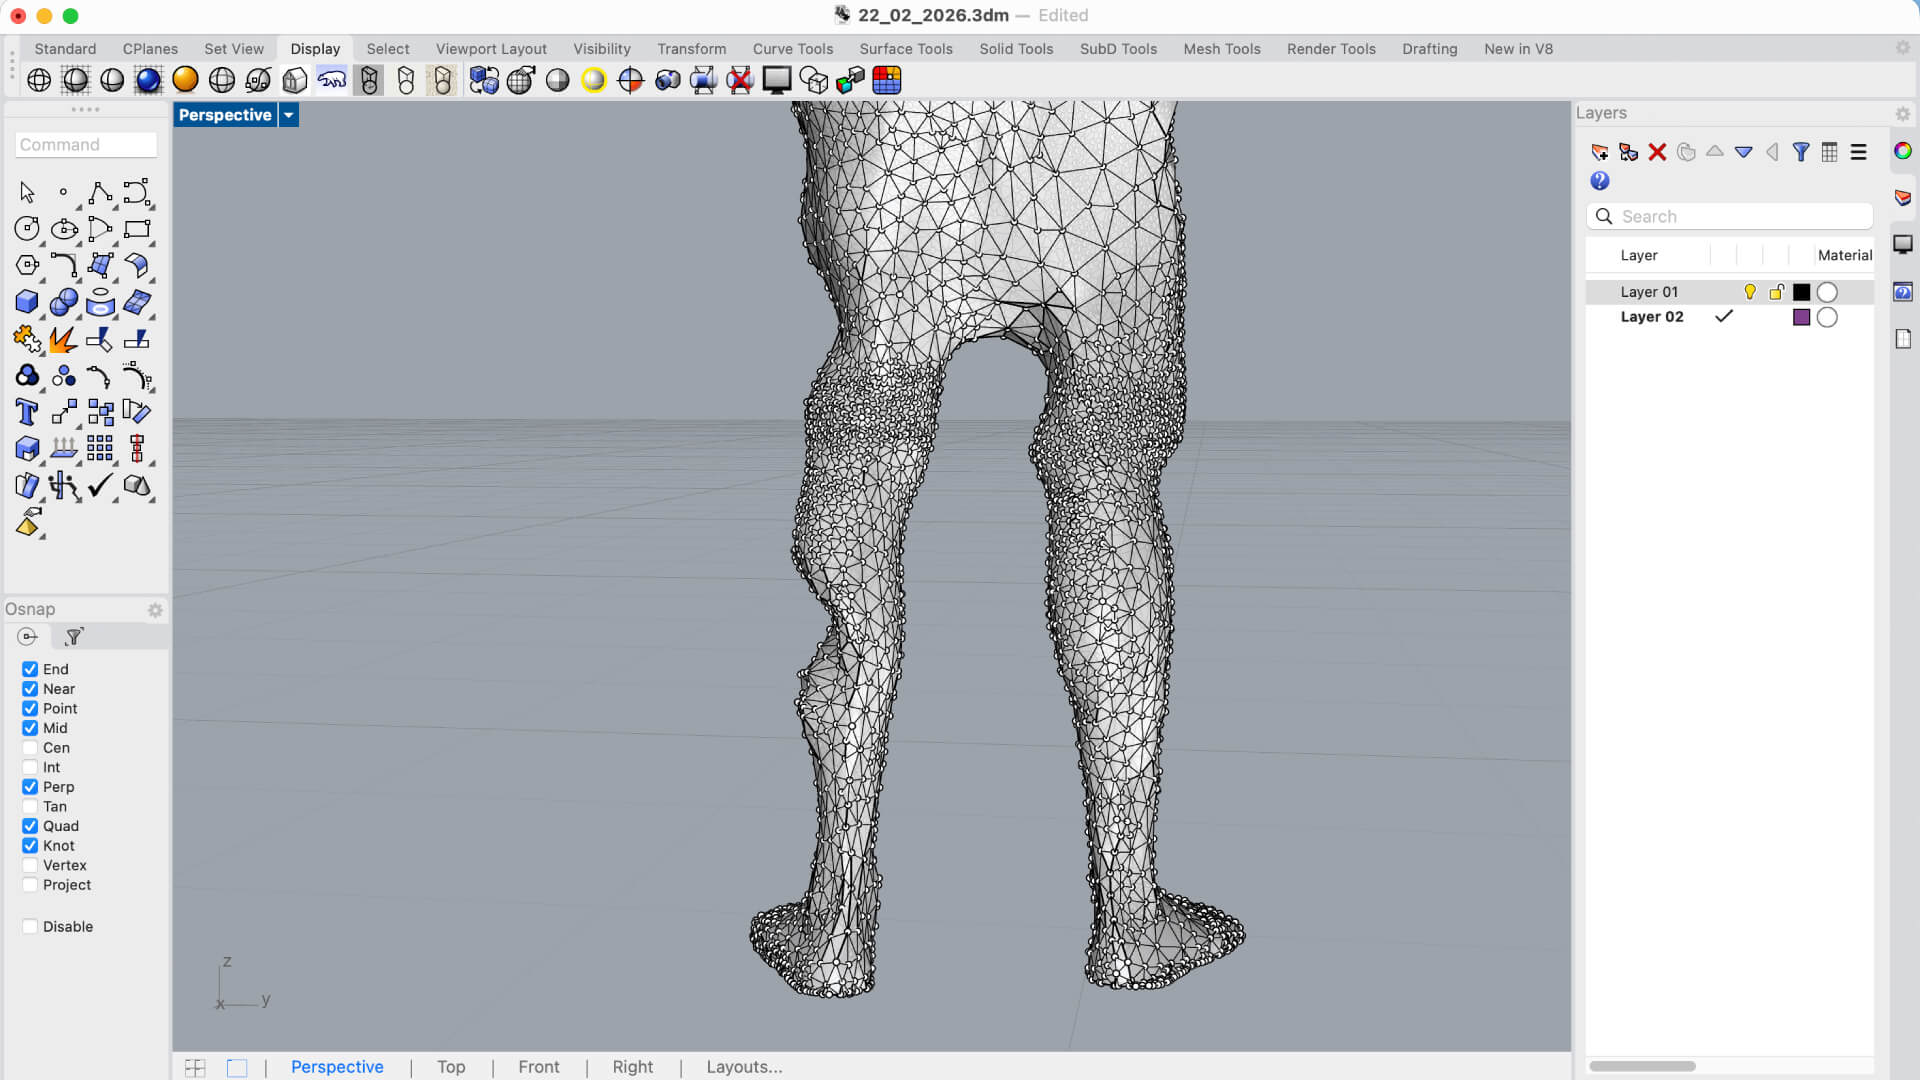
The _PointsOn command (or pressing F10) is essentially the "micro-surgery" tool for meshes.
- Function: It transforms the mesh from a rigid object into a structure of individual, manipulatable points (vertices).
- The Procedure: By selecting the vertices in the calf area affected by the protrusion, I used the Gumball to push the points inward or align them. This allowed me to manually reconstruct the natural curve of the leg.