week02 \ computer-aided design
I had just arrived at the lab, and the energy was incredibly contagious. Seeing the complete workflow from a digital file to a physical object during the first lesson gave me the perfect context for this week's assignment.
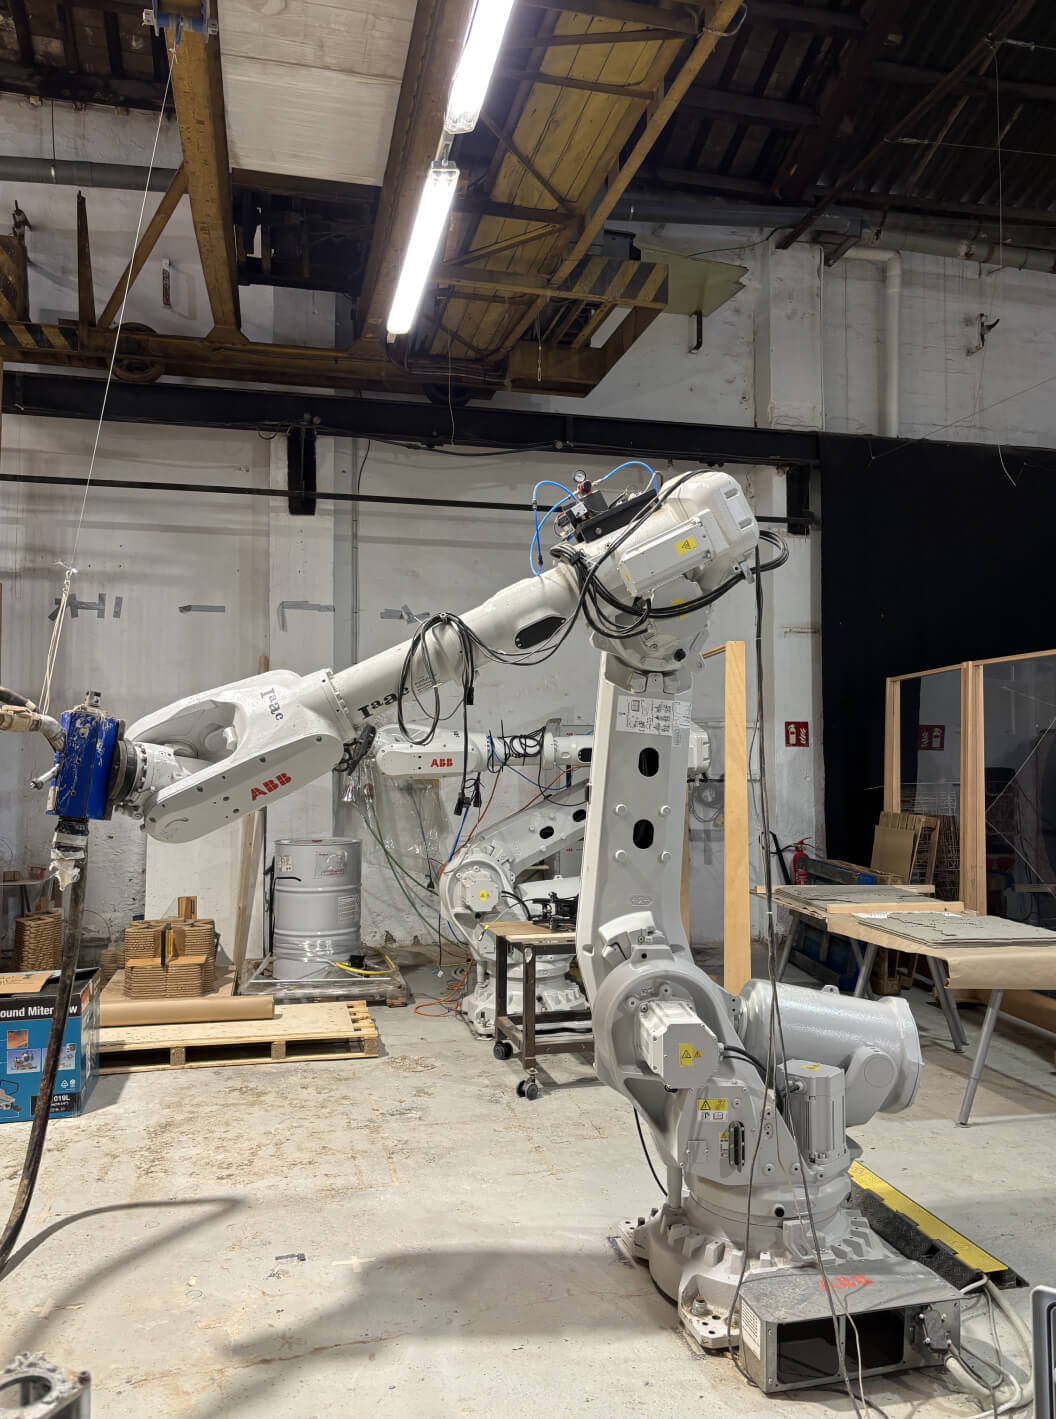
Our exploration of digital fabrication started by looking at the final destination: the physical object. During the lab session, we observed the full workflow from a digital environment to a physical prototype using a standard LEGO brick as a reference. Watching the Bambu A1 3D printer bring a digital file to life layer by layer made it clear why mastering Computer Aided Design (CAD) is essential: before we can manufacture anything, we must learn how to accurately translate physical dimensions and tolerances into a precise digital workspace.

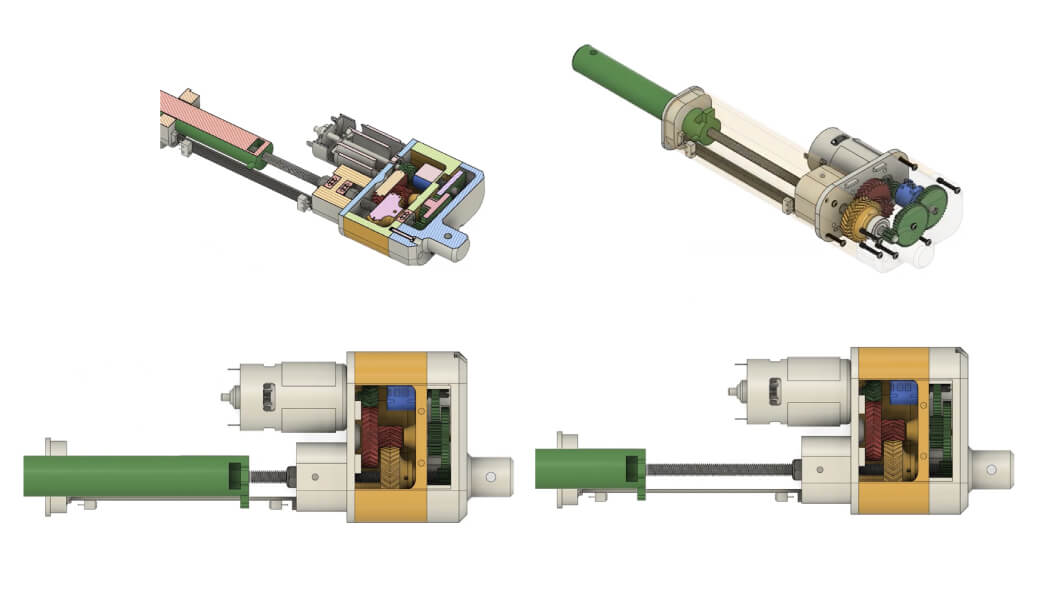
After this exercise, I felt a strong urge to realize my own idea and move beyond simple test pieces. Building on my existing CAD experience, I decided to focus on the mechanical "behind the scenes" of my interactive pin wall, starting from the linear actuation system required to move each individual pin.
I found a highly relevant concept on Thingiverse that I used as a mechanical baseline to understand the physical assembly and tolerances required for such a mechanism. My goal was to study the internal layout of gears, bearings and guides, and to identify which components I could reproduce or adapt using the machines available in the lab.
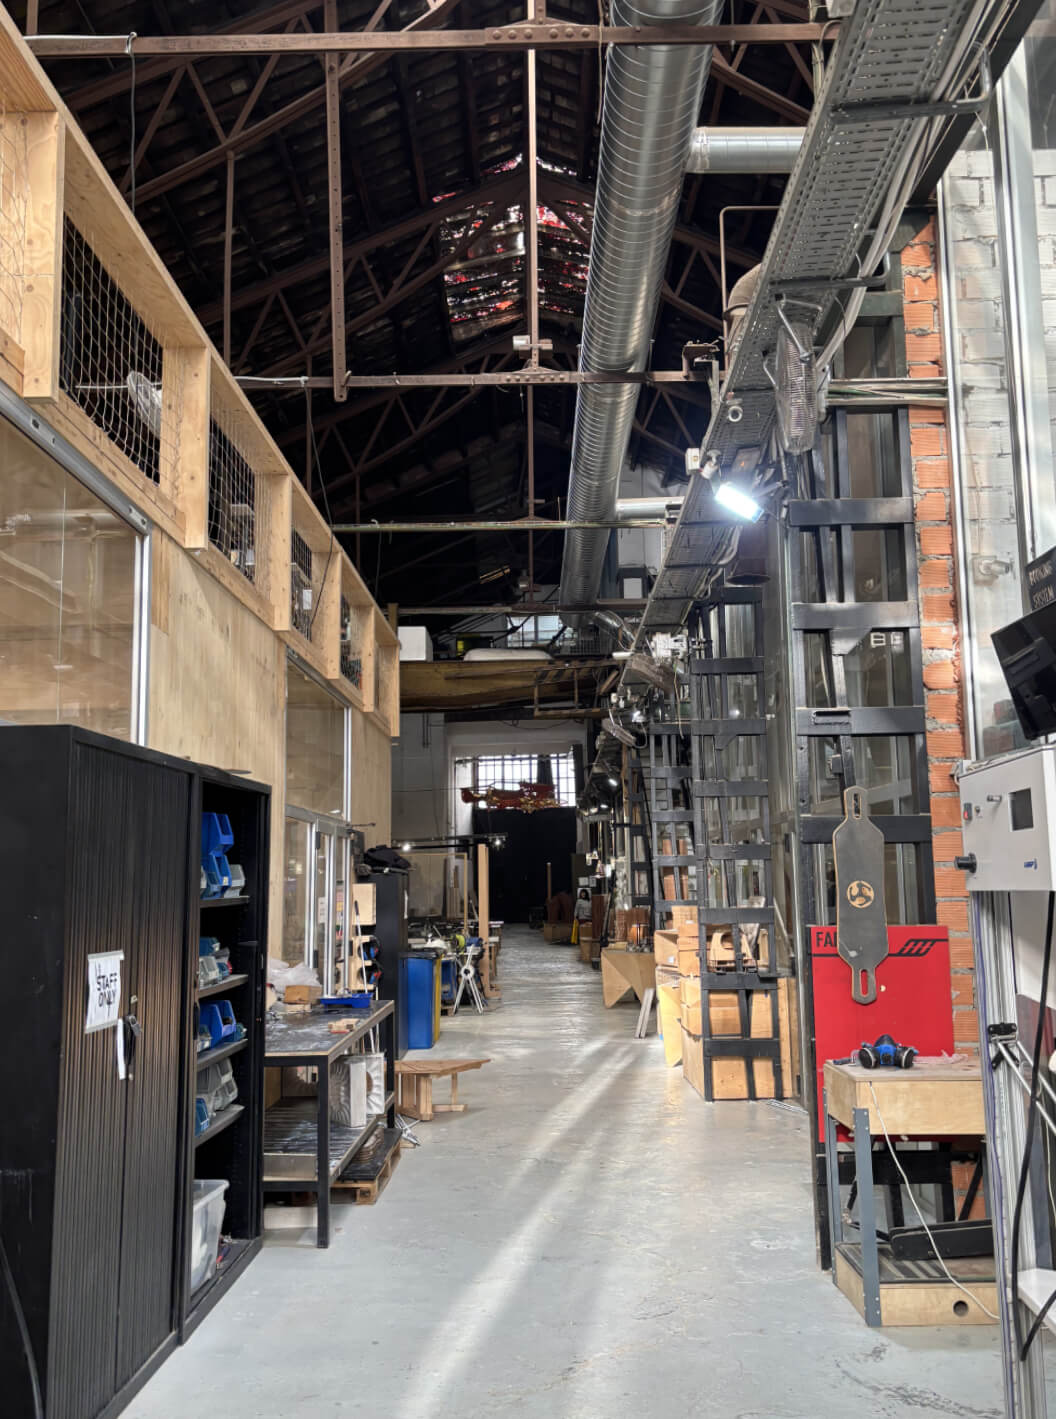
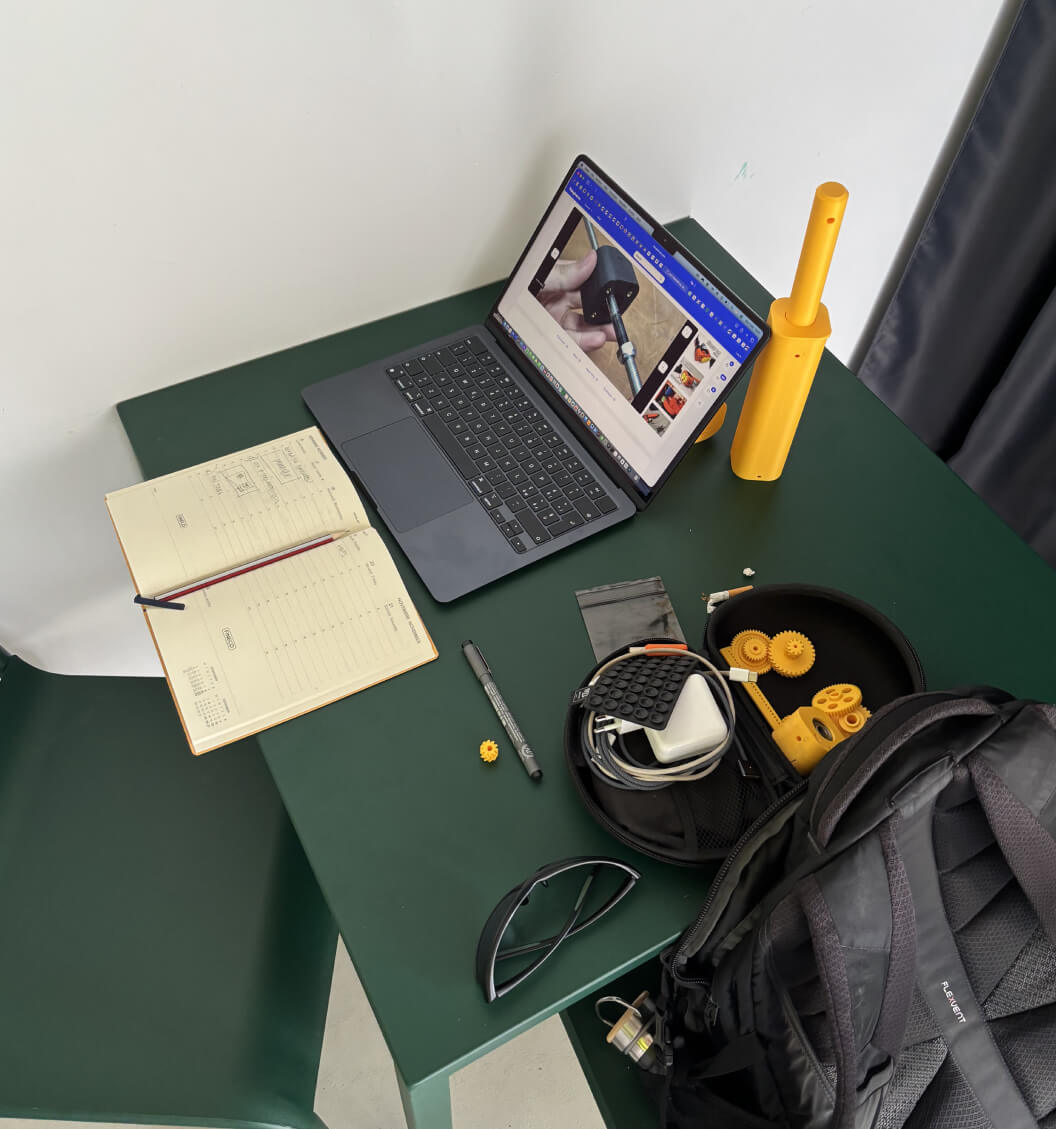
With the help of my tutor, Dani, I explored the lab's inventory to gather the necessary components and began printing the custom parts. This hands-on process was also the perfect excuse to test the lab's Bambu Lab X1 Carbon printer for the very first time, generating all the yellow pieces for the actuator.
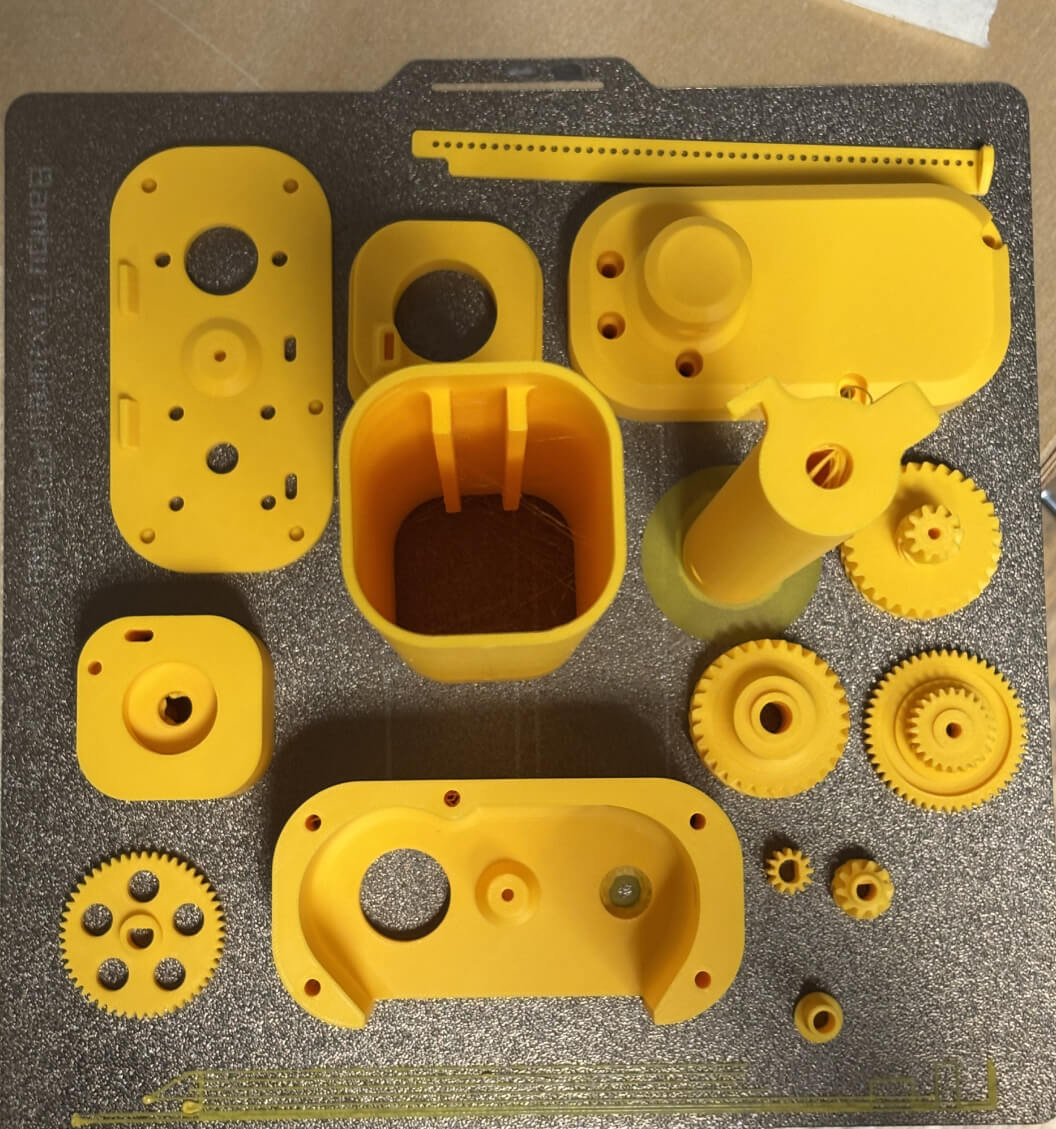
I organized the printed parts, hardware and notes on my desk while following online references and documenting each step. This iterative process of designing, printing, testing and adjusting allowed me to transform an online reference into a customized linear servo tailored to the needs of my interactive wall.

week02 \ Computer-Aided Design
Nothing here yet.
>>>>>>> e63d97f850fed861d9312e3273f559d810a20404