week01 \ principles and practices
The ideal user is anyone seeking to transform their everyday space from a static container into an active, responsive environment. This wall is not a single-purpose tool, but rather a canvas of "programmable matter" where digital bits seamlessly merge with physical reality. Drawing softly from the principles of the Internet of Things, collaborative robotics, and adaptive interior design, the system interacts with the user on multiple, evolving levels.
It can gently welcome you by physically rippling to display information, allow you to manually shape its surface to create a custom shelf or a temporary hook, or intelligently anticipate your context to extrude exactly what you need in that moment. Its true strength lies in its multitasking nature: these interactions are merely a starting point. Every user will imagine new, personal ways to utilize this living architecture. And the moment its task is complete, it simply retracts, returning to a silent, perfectly flat wall, waiting for the next interaction.
Building the Documentation Website
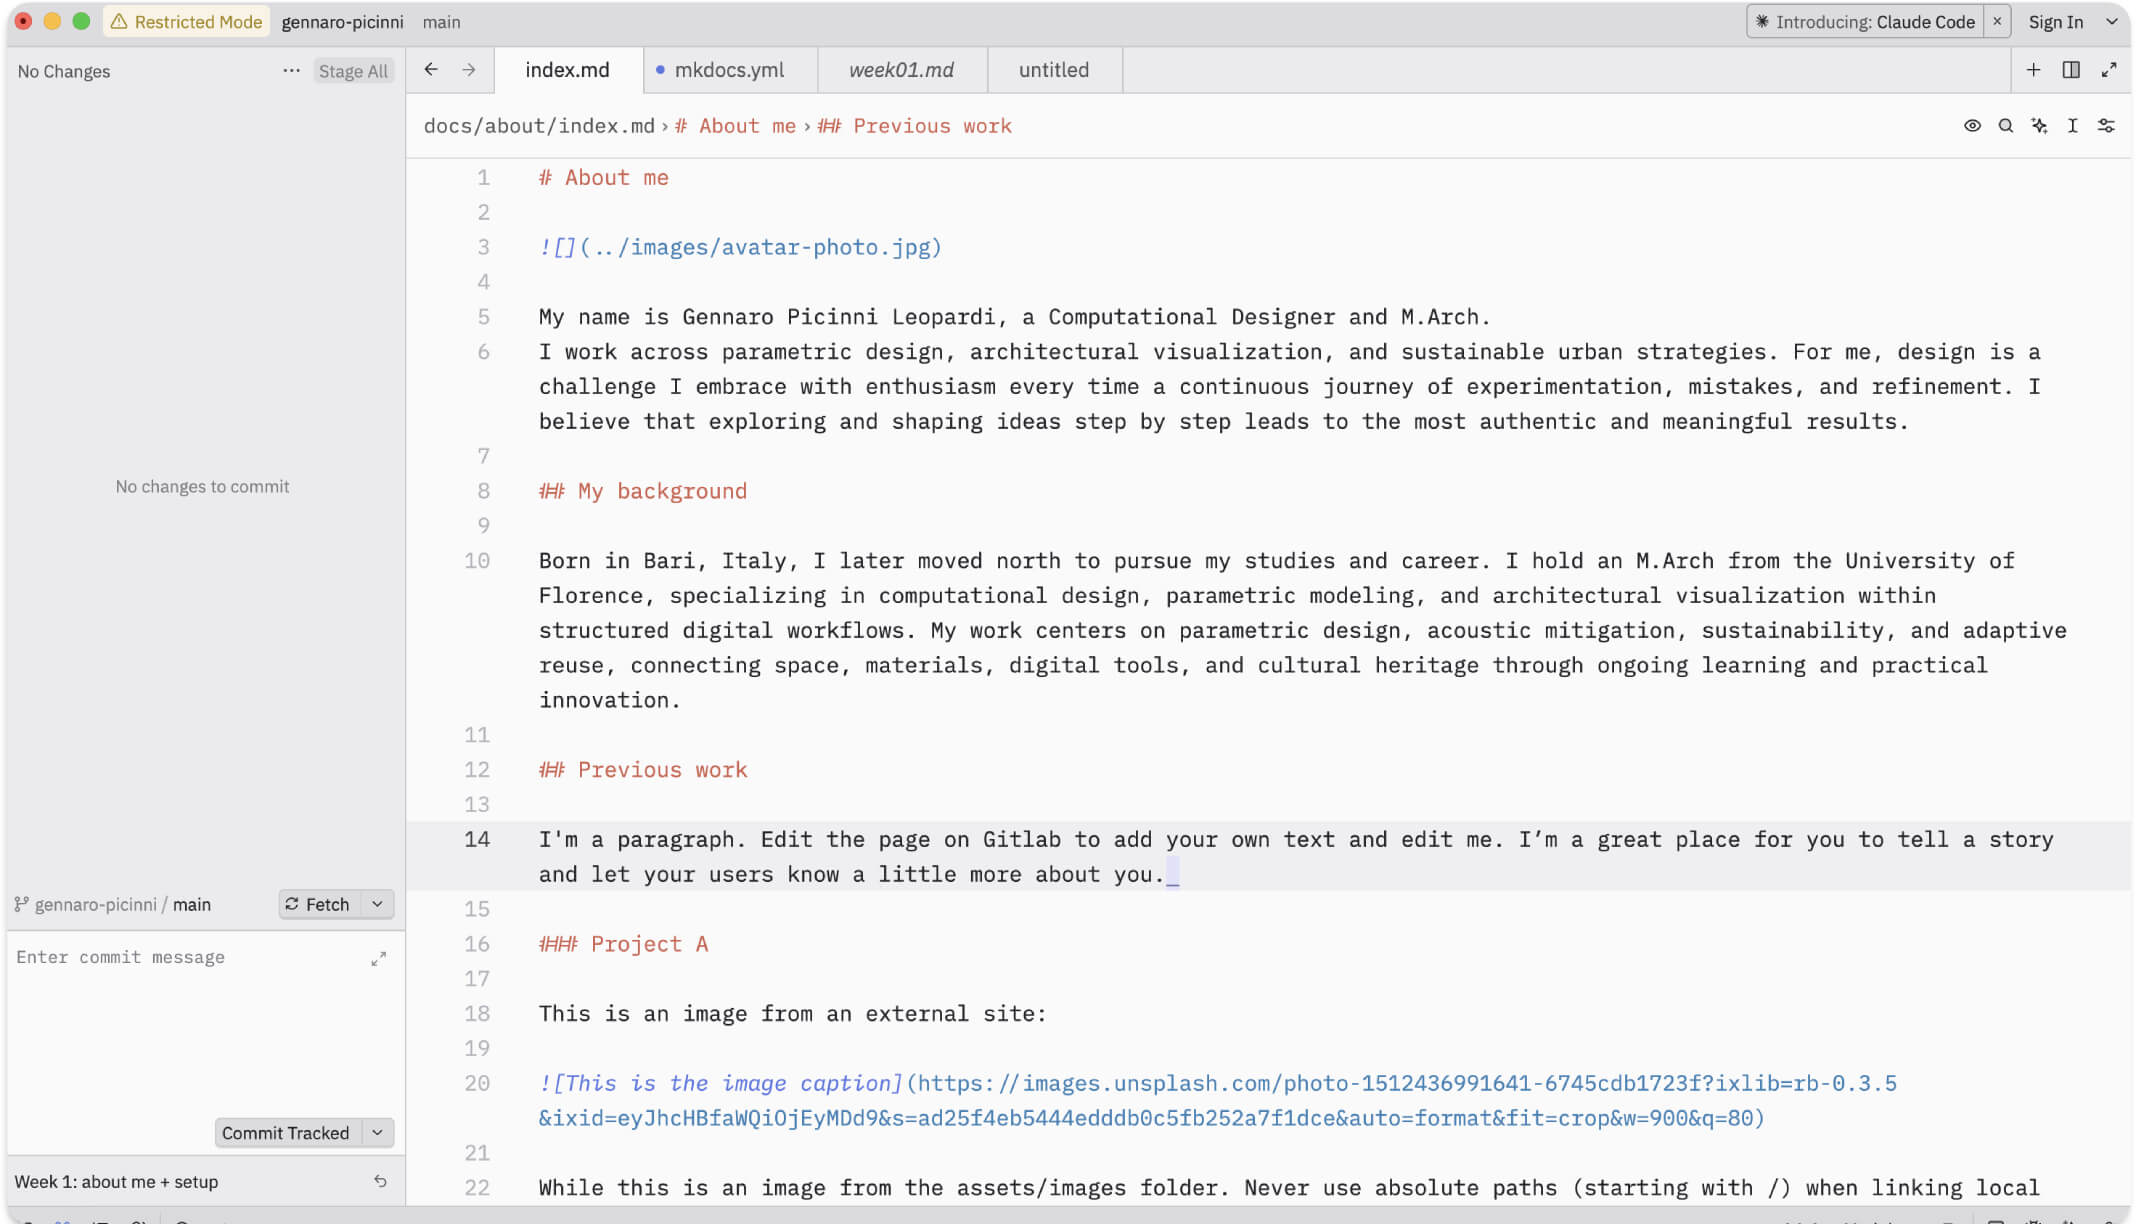
For the architecture of my documentation, I opted for MkDocs. It is a fast, simple, and highly effective static site generator specifically geared towards building project documentation. Rather than writing raw HTML, MkDocs allows me to write all my content in Markdown (.md), which is much faster and cleaner for formatting text, inserting images, and structuring the weekly assignments.
To write the code and manage my project files, I use the Zed code editor. Zed provides a minimalist, highly responsive environment that lets me keep my Markdown files organized while seamlessly managing my folder structure on the side.
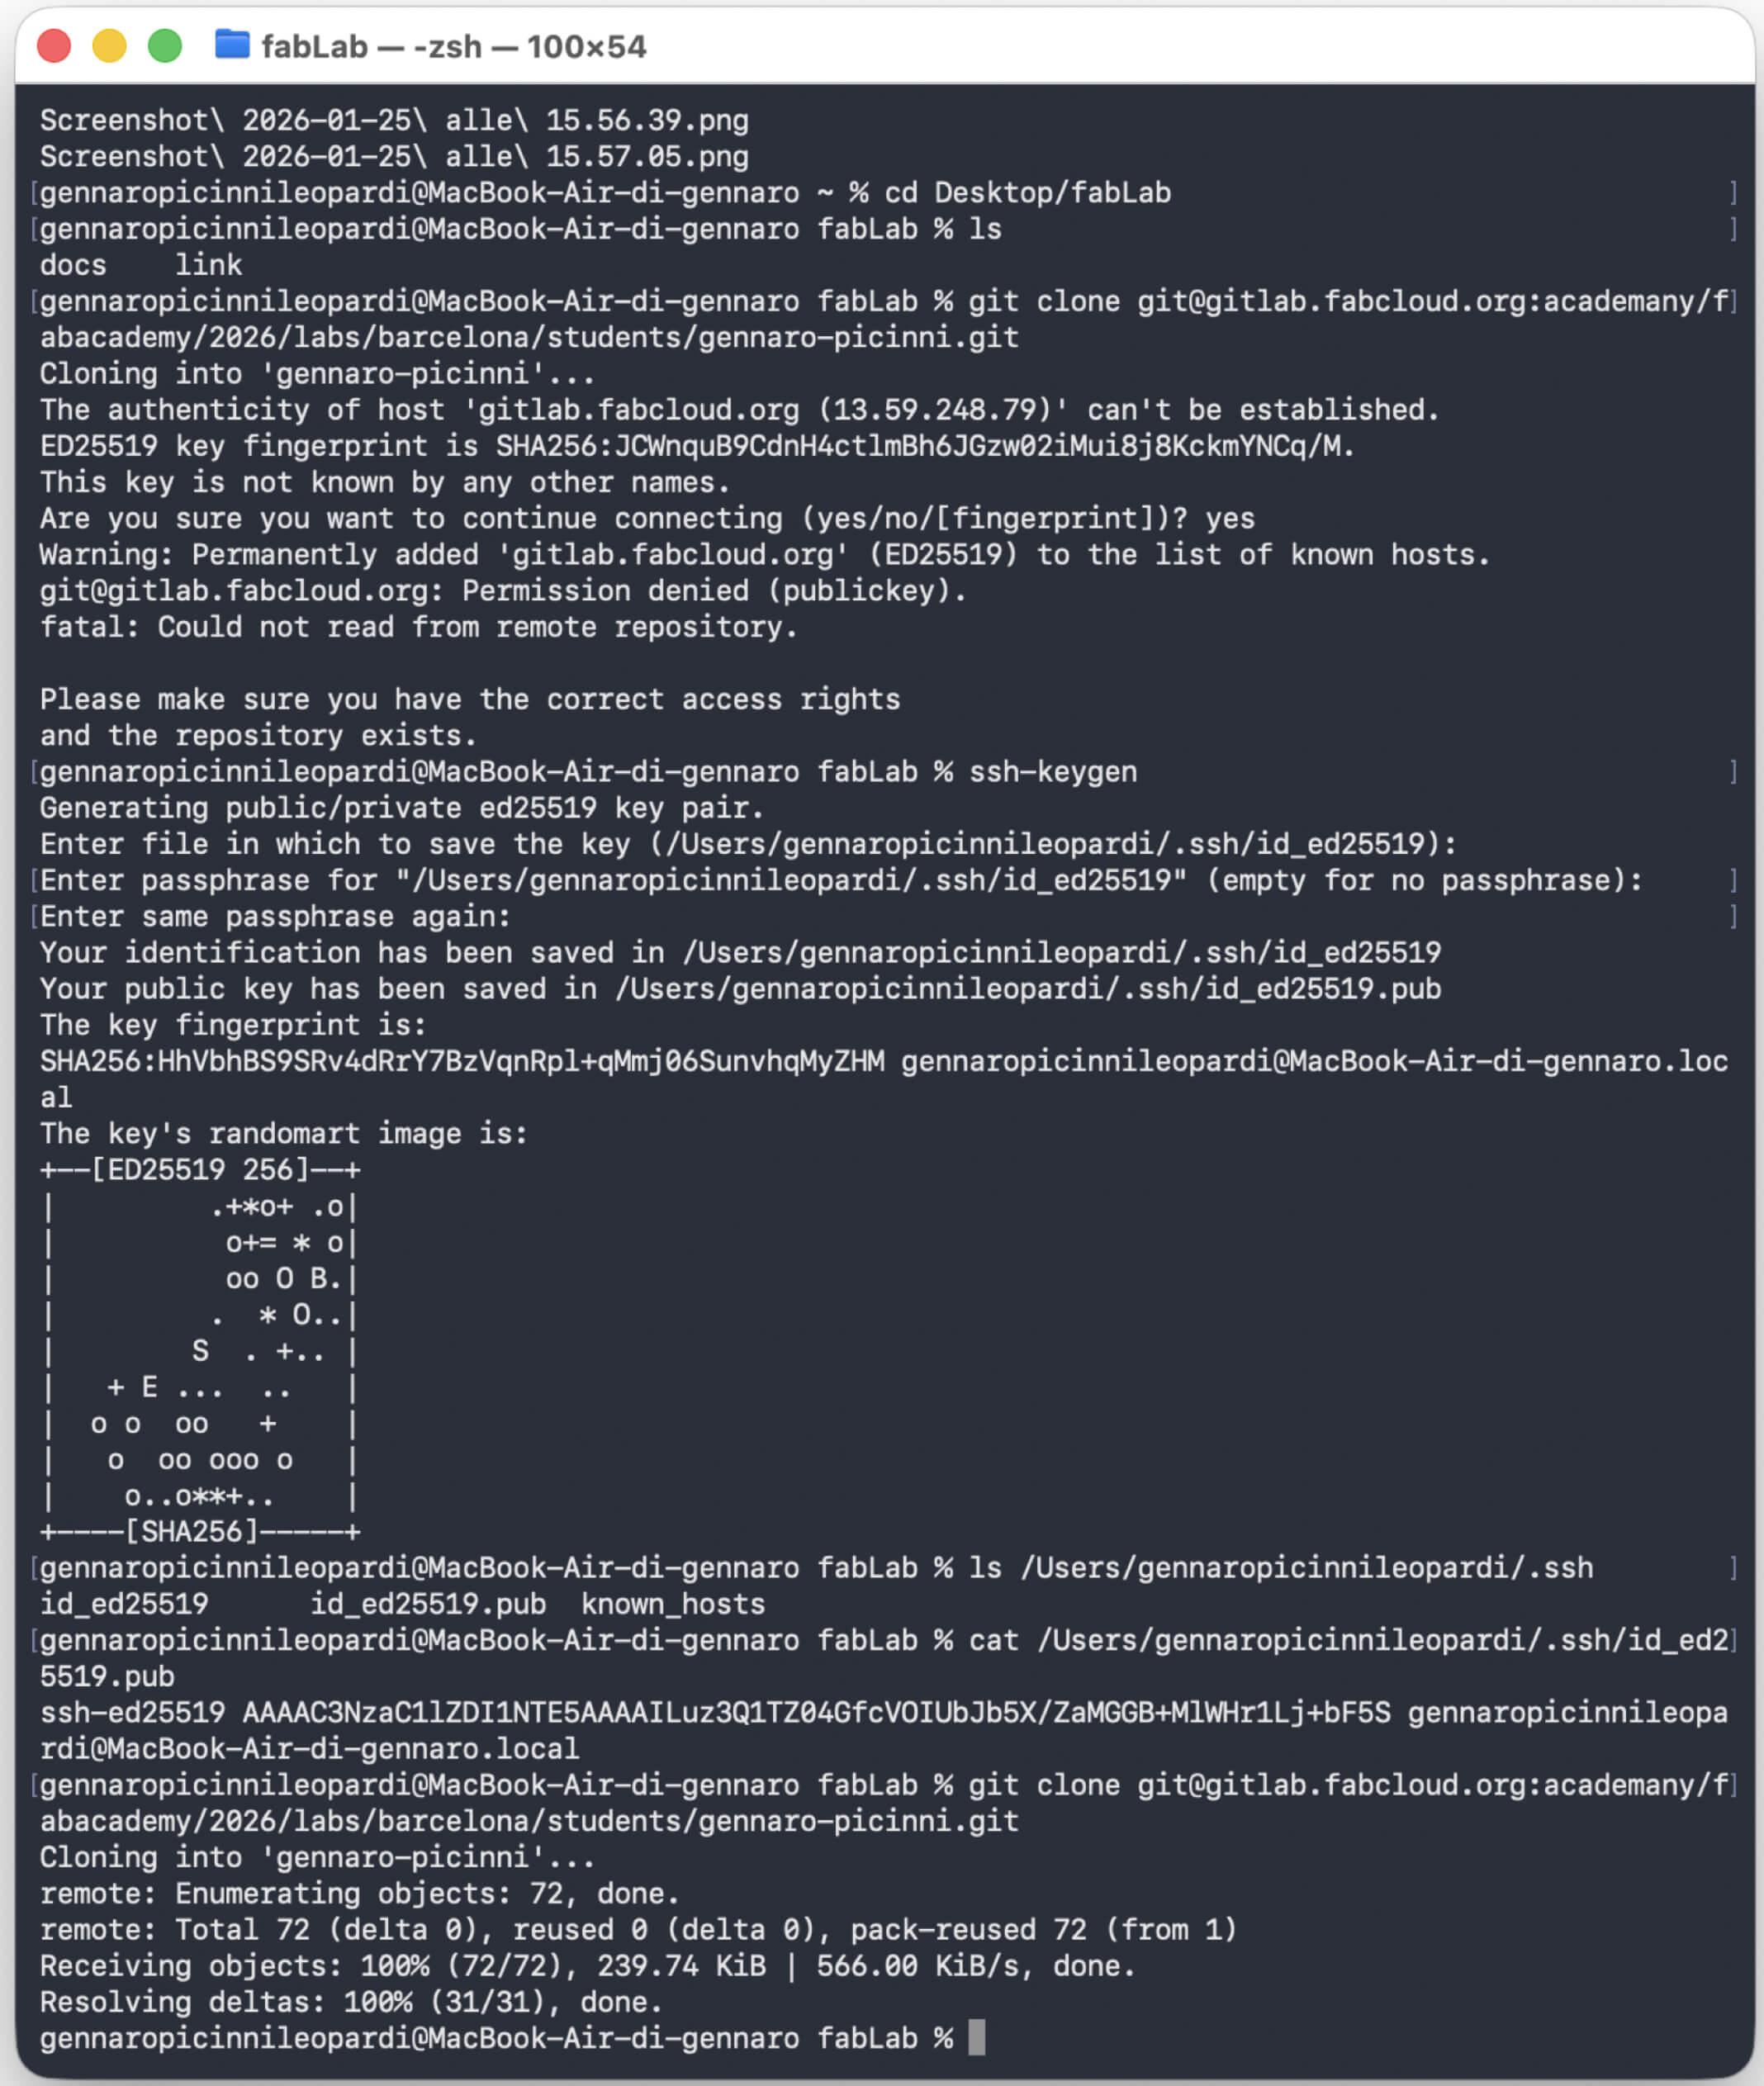
Step 1: Secure Connection and Cloning
Before transferring any files, I needed to establish a secure connection between my local computer and the Fab Academy GitLab server. To achieve this, I used the terminal to generate an SSH key pair using the ssh-keygen command. This creates a private key and a public key. After generating the keys, I copied the content of the public key (id_ed25519.pub) and pasted it into my GitLab account settings. Once the server could recognize my machine, I used the git clone command to download the entire class repository structure to my local desktop.
Step 2: The Git Workflow
With the repository cloned locally, I can now work on my files offline. Whenever I reach a milestone or complete a section of documentation, I use a strict four-step Git workflow in the terminal to push my updates to the remote server.
- First, I type git status to verify exactly which files have been modified or added.
- Next, I use git add docs/ to stage the specific directory containing my website updates, preparing them to be saved.
- Then, I lock in these changes using git commit -m "comment". I make sure to write brief but highly descriptive comments so that my project history remains readable and organized.
- Finally, I execute git push origin main to upload the committed changes from my local machine to the GitLab server.
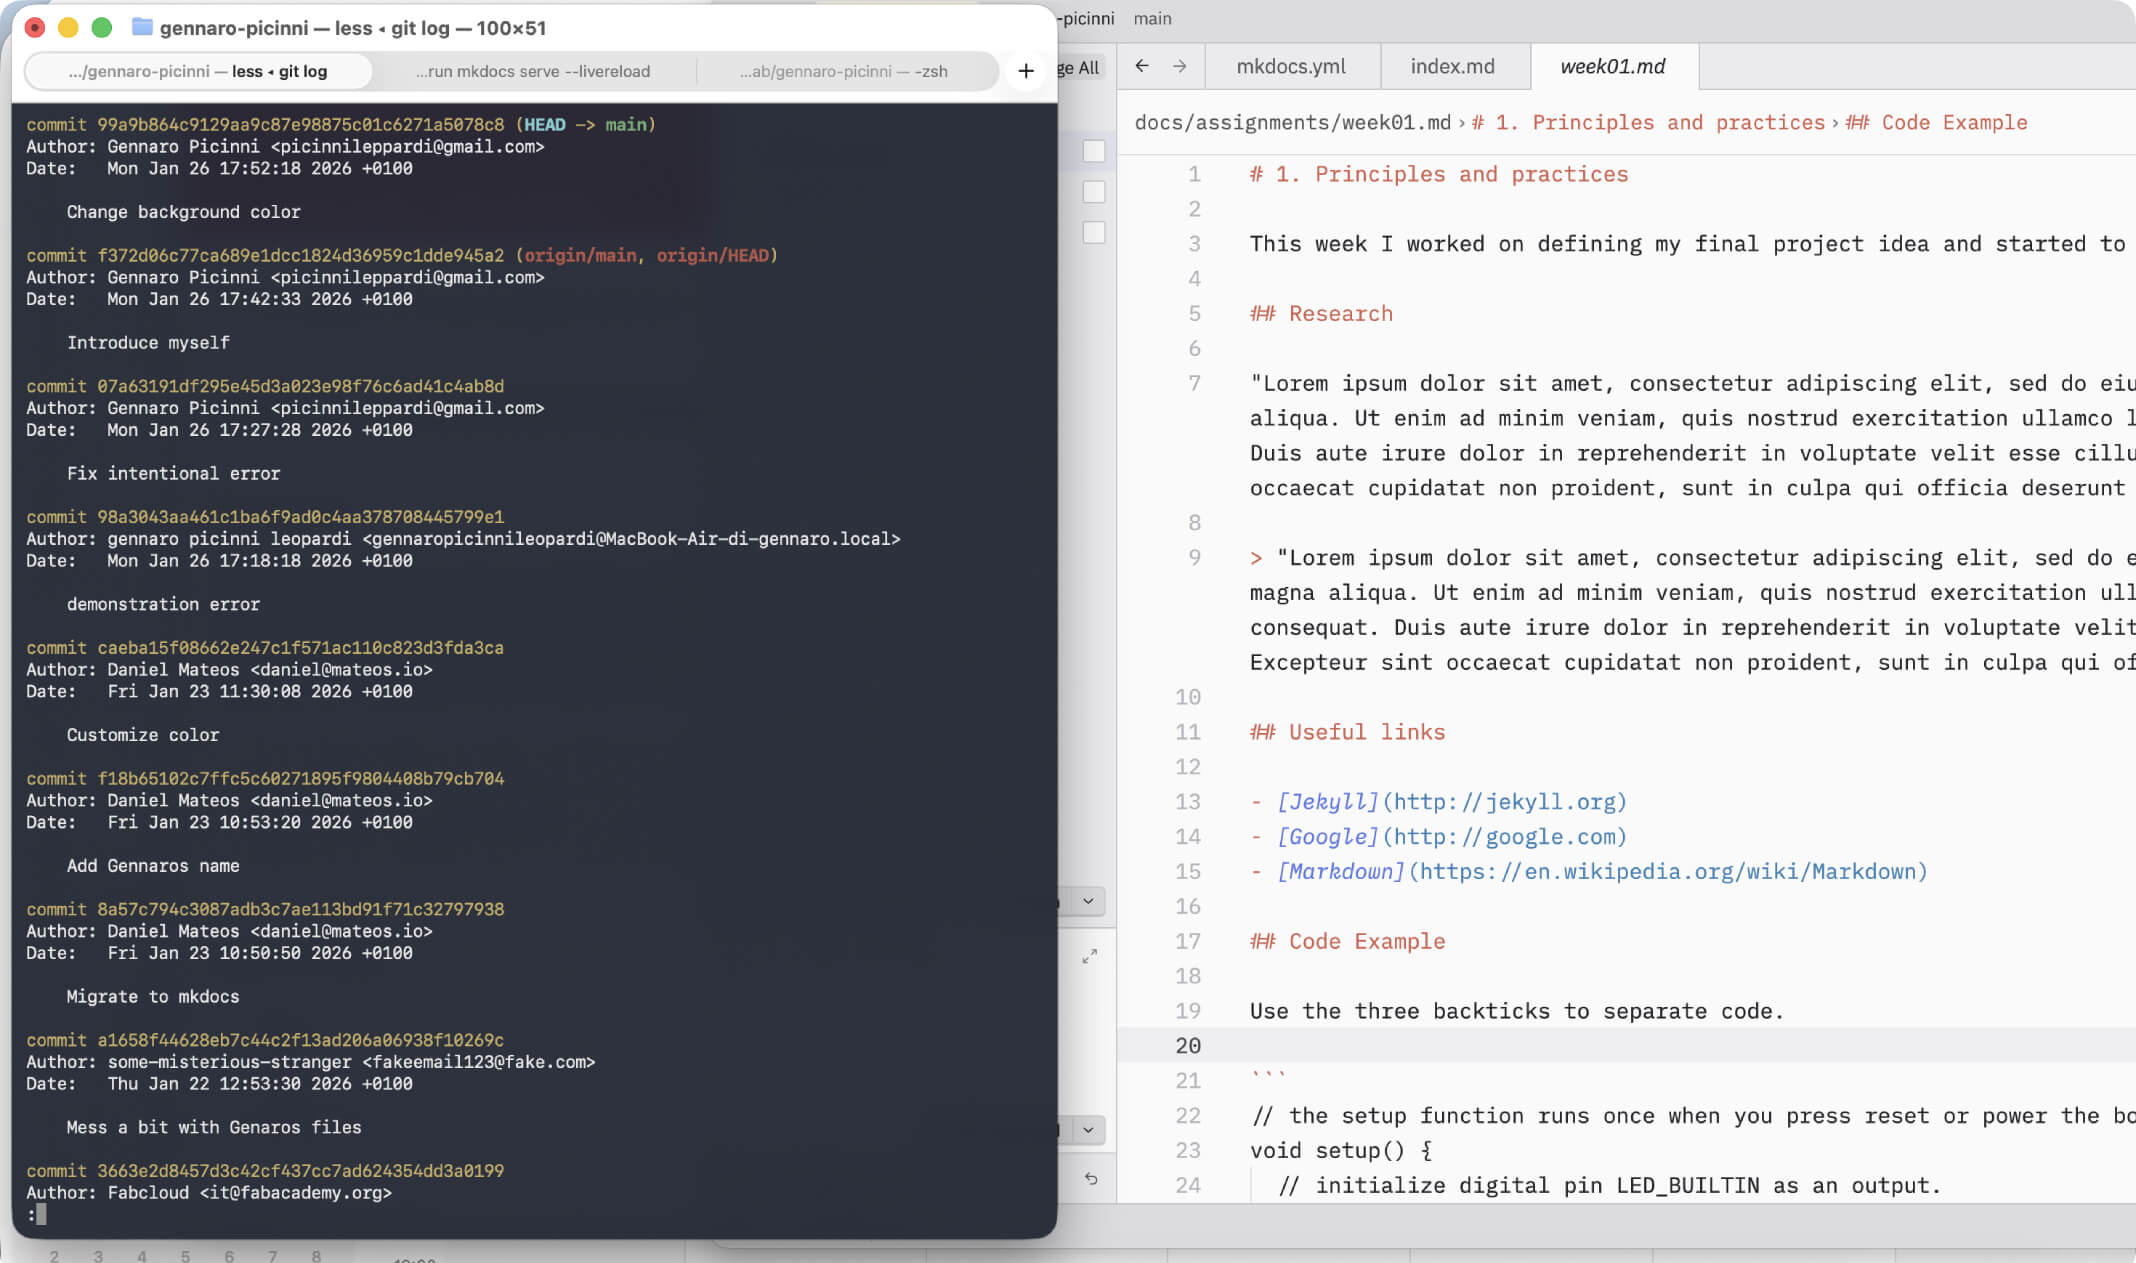
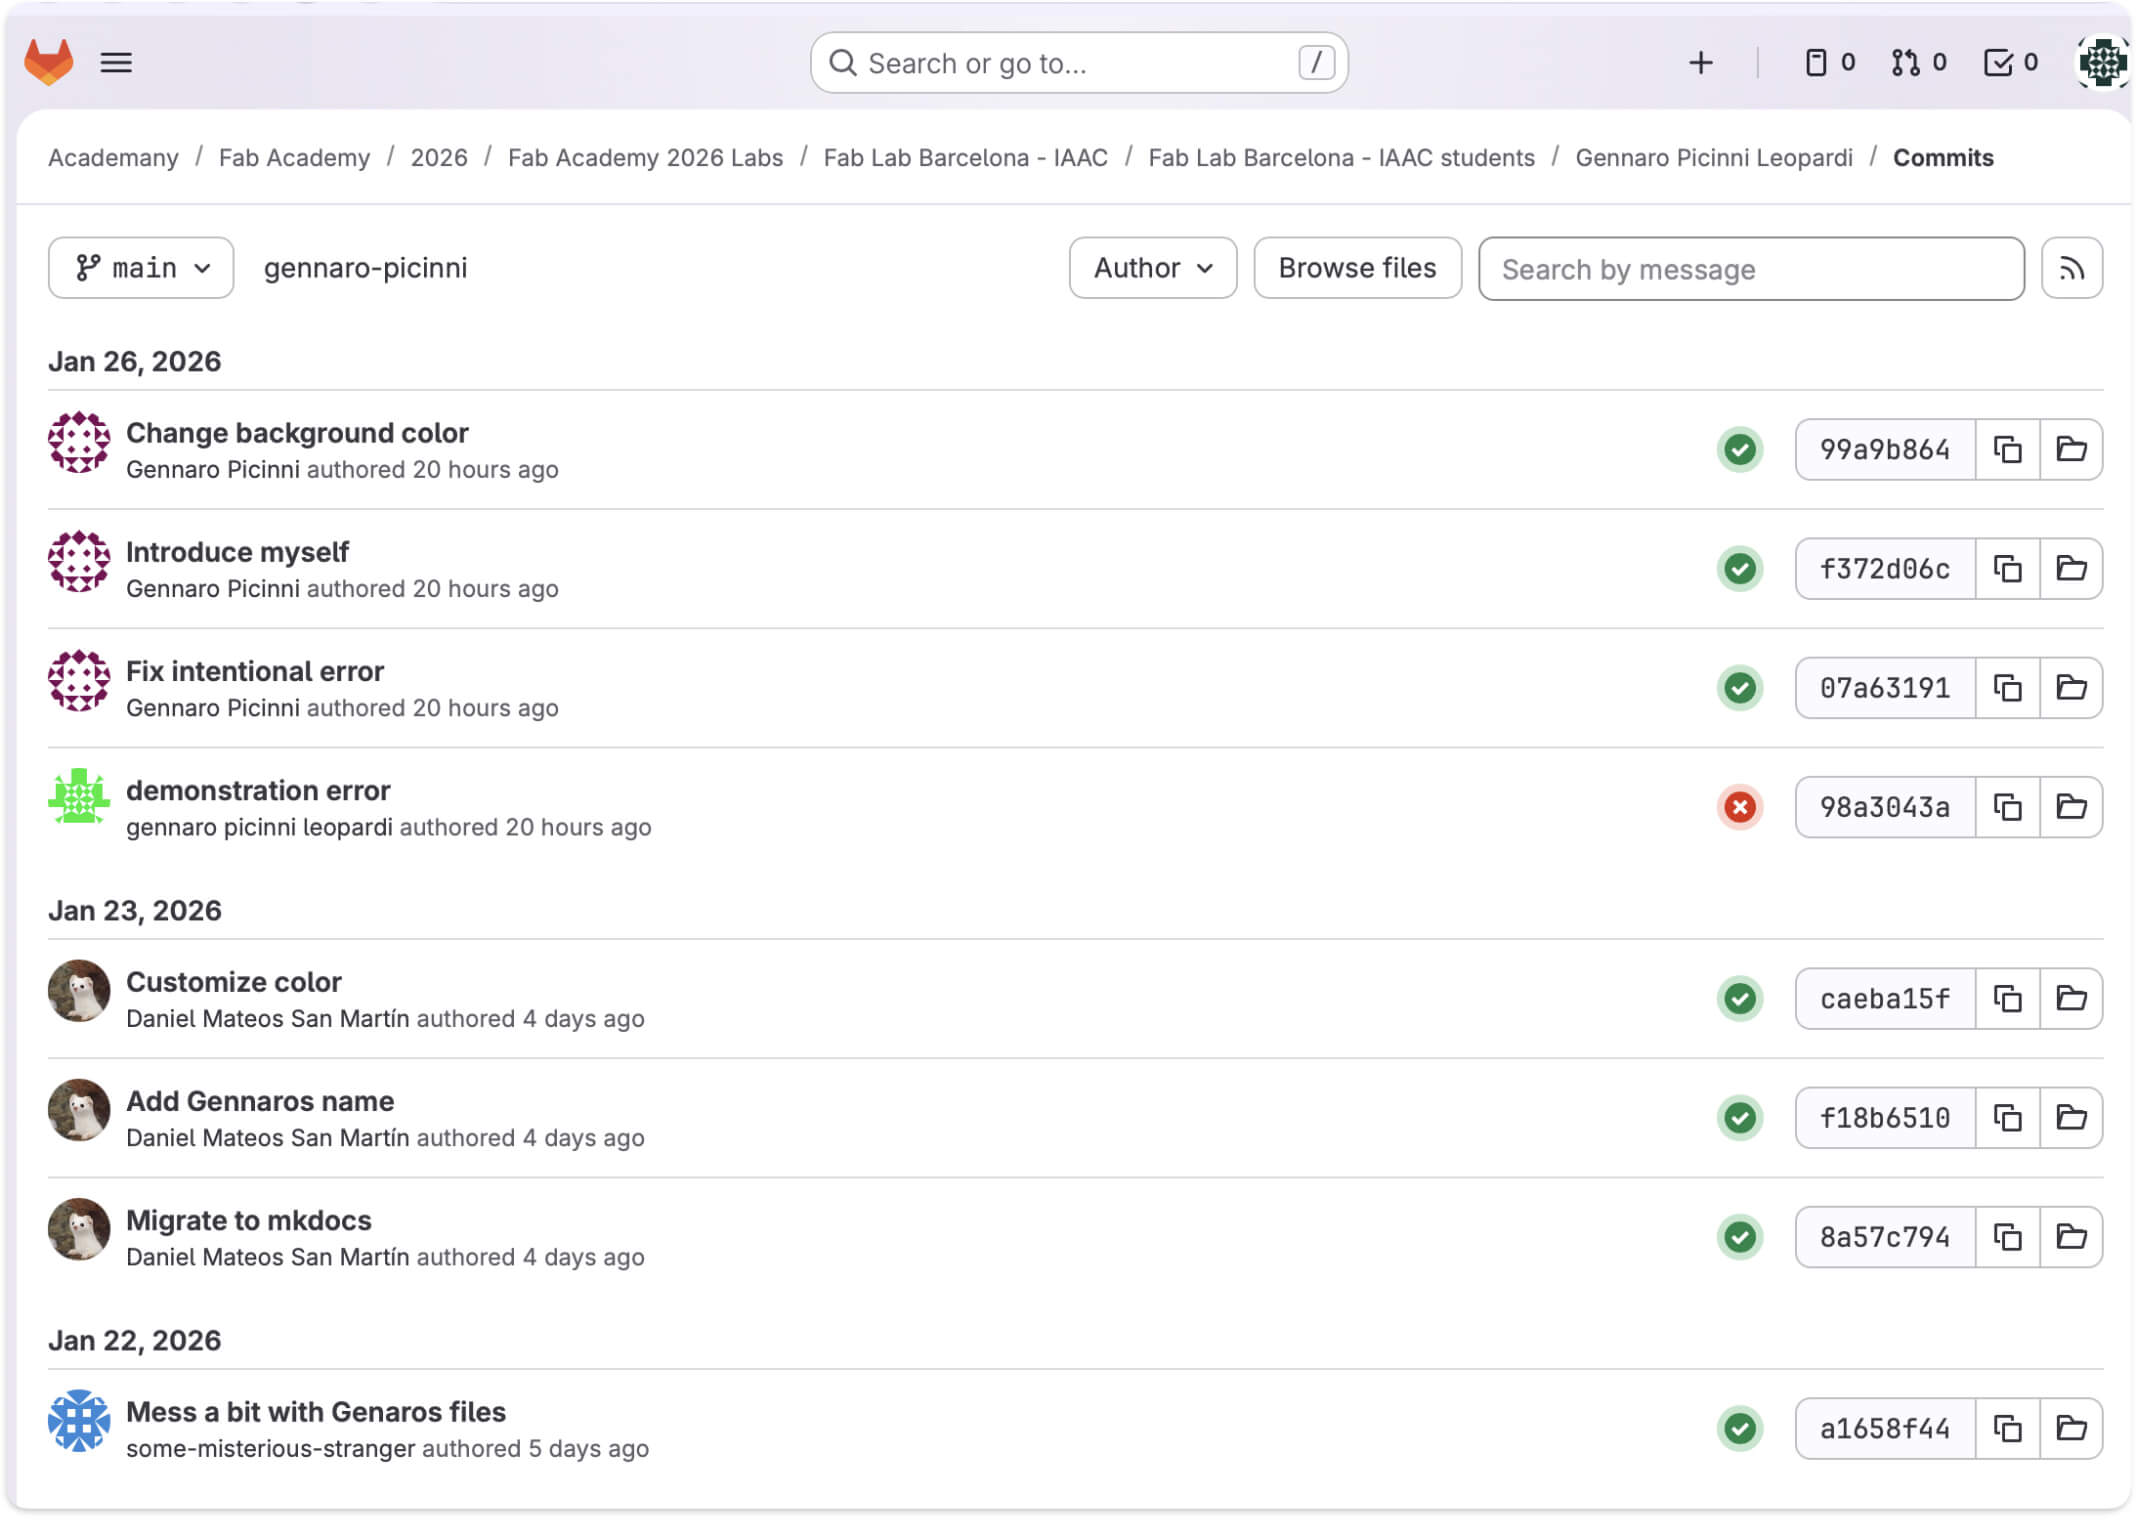
To ensure everything worked correctly, I regularly check the GitLab web interface to verify that my commits have been successfully pushed and that the pipeline is running without errors.
week01 \ Principles and Practices, Project Management
Nothing here yet.
>>>>>>> e63d97f850fed861d9312e3273f559d810a20404