
W11 | Networking and Communications
📝 Group Assignment:
- Send a message between two projects
- Document your work to the group work page and reflect on your individual page what you learned
What We Did
For this group assignment, we set up a Wi-Fi communication between two circuits. The first circuit uses a XIAO ESP32-S3 — the same board I use in my different assignments — configured as a server that hosts its own wireless network and controls an RGB LED based on incoming HTTP requests. The second circuit uses an ESP32 connected to a pushbutton; each press sends a GET request to the server with a different color value, and the LED responds accordingly.
To see the full process in detail — you can visit the following page here.
What I Learned
This week I worked with the ESP32 for the first time, which was different from the XIAO ESP32-S3 I already use in my different assignments, so comparing both helped me understand each board better.
I also learned what HTTP communication means in practice. HTTP is the protocol browsers use to request web pages, but here we used it at a much smaller scale: the client sends a request to the server with a color value, and the server reads it and turns on the LED accordingly. What I found interesting is that no internet connection is needed — instead of connecting both boards to an external router, the XIAO ESP32-S3 itself acts as the router: it creates its own Wi-Fi network (this is called Soft Access Point mode) and the ESP32 connects to it directly, so the two boards communicate with each other without any additional hardware in between.
📝 Individual Assignment:
- Design, build and connect wired or wireless node(s) with network or bus addresses and a local input and/or output device(s).
1. What is a Network Protocol?
A network protocol is a set of rules that defines how two or more devices exchange information. Without a protocol, each device would send data in its own format and the other would not know how to interpret it — like two people trying to have a conversation in different languages.
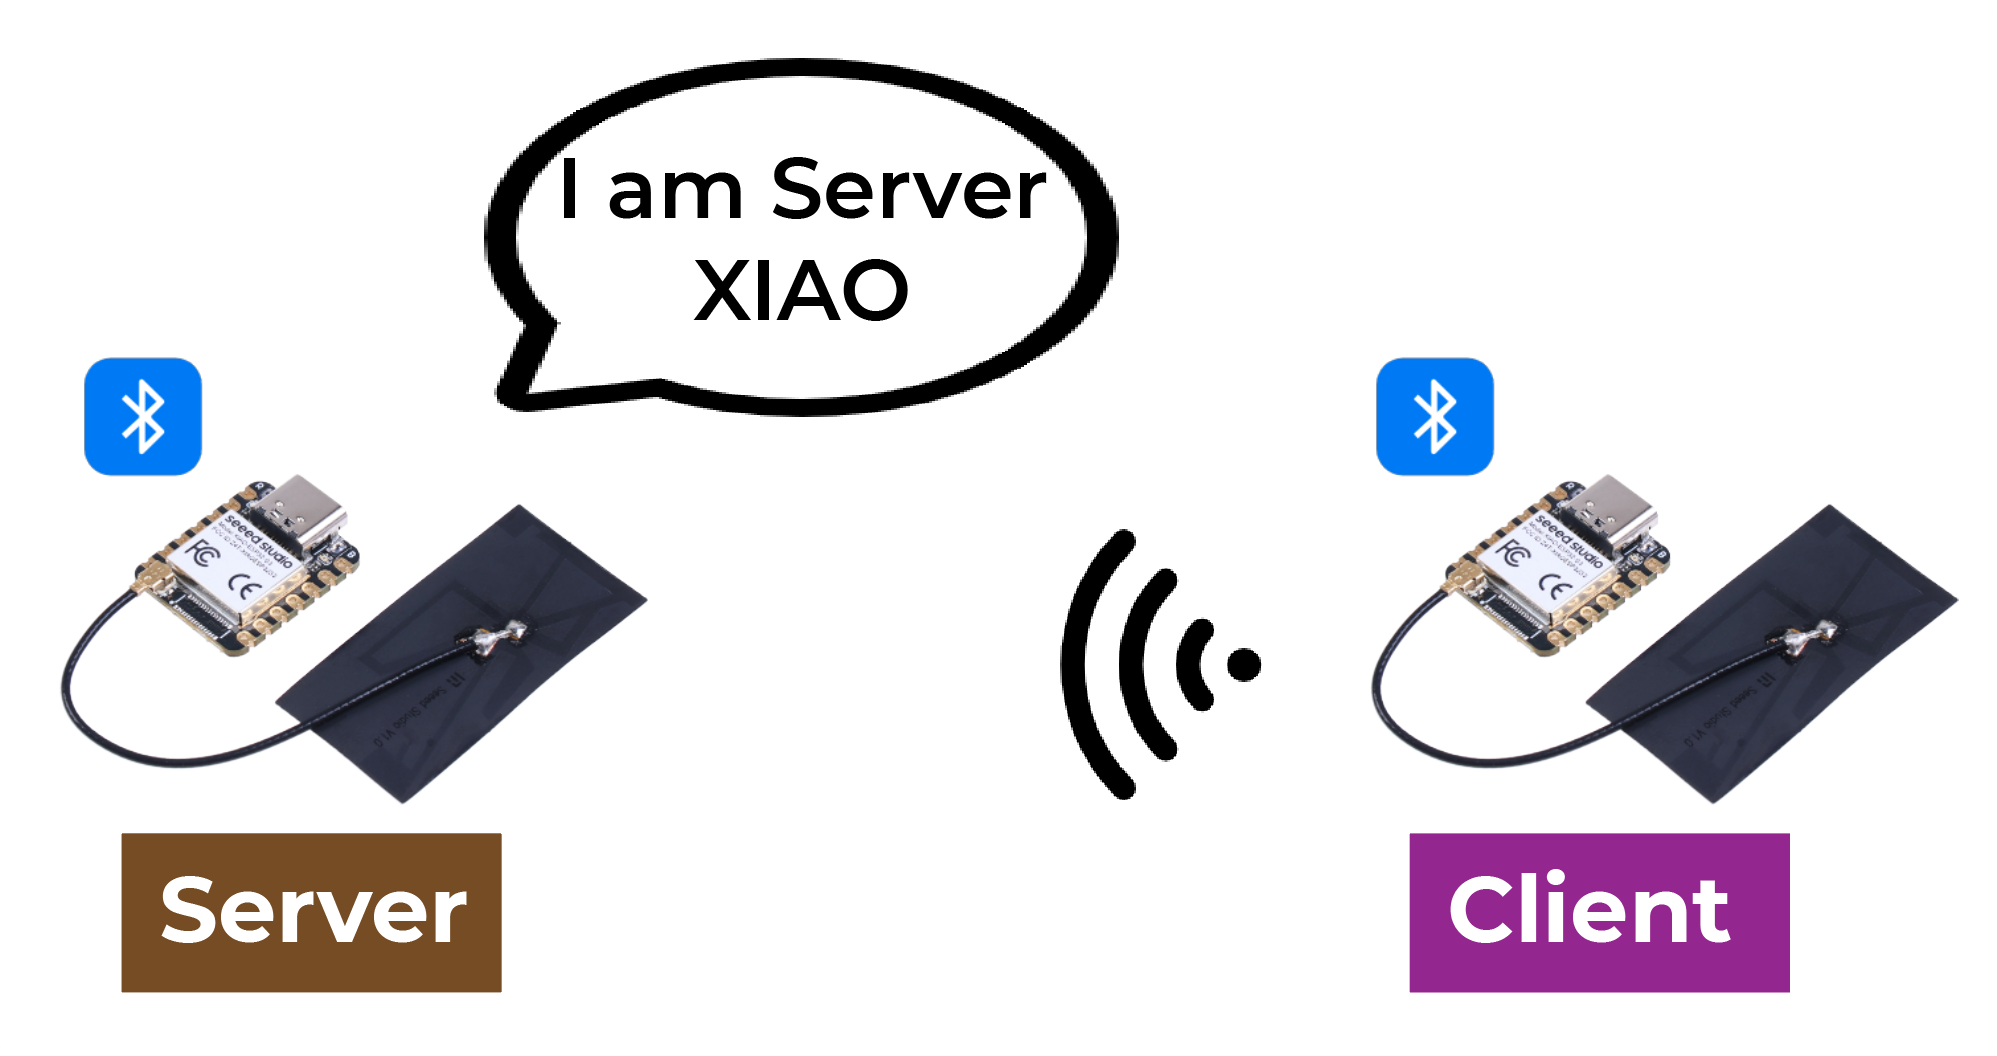
In this assignment, the protocol used is BLE (Bluetooth Low Energy) — a wireless communication standard designed for short-range, low-power data exchange. Unlike regular Bluetooth which maintains a constant active connection, BLE only transmits data when needed and stays idle the rest of the time. This means it consumes significantly less power, making it ideal for battery-powered devices like sensors and wearables.
2. Project Overview
The goal of this assignment was to establish wireless communication between two custom boards. Instead of connecting them with cables, data is transmitted through the air using BLE — so the child can move the accessory freely while the main board receives and responds to that movement in real time.
To implement this, the official Seeed Studio tutorial for the XIAO ESP32S3 was used as a starting point, specifically the BLE server/client section available at WIKI.SEEESTUDIO. The tutorial example sends a fixed text message between two boards. This was adapted to send real acceleration data from the MPU6050 and use it to control a NeoPixel LED ring.
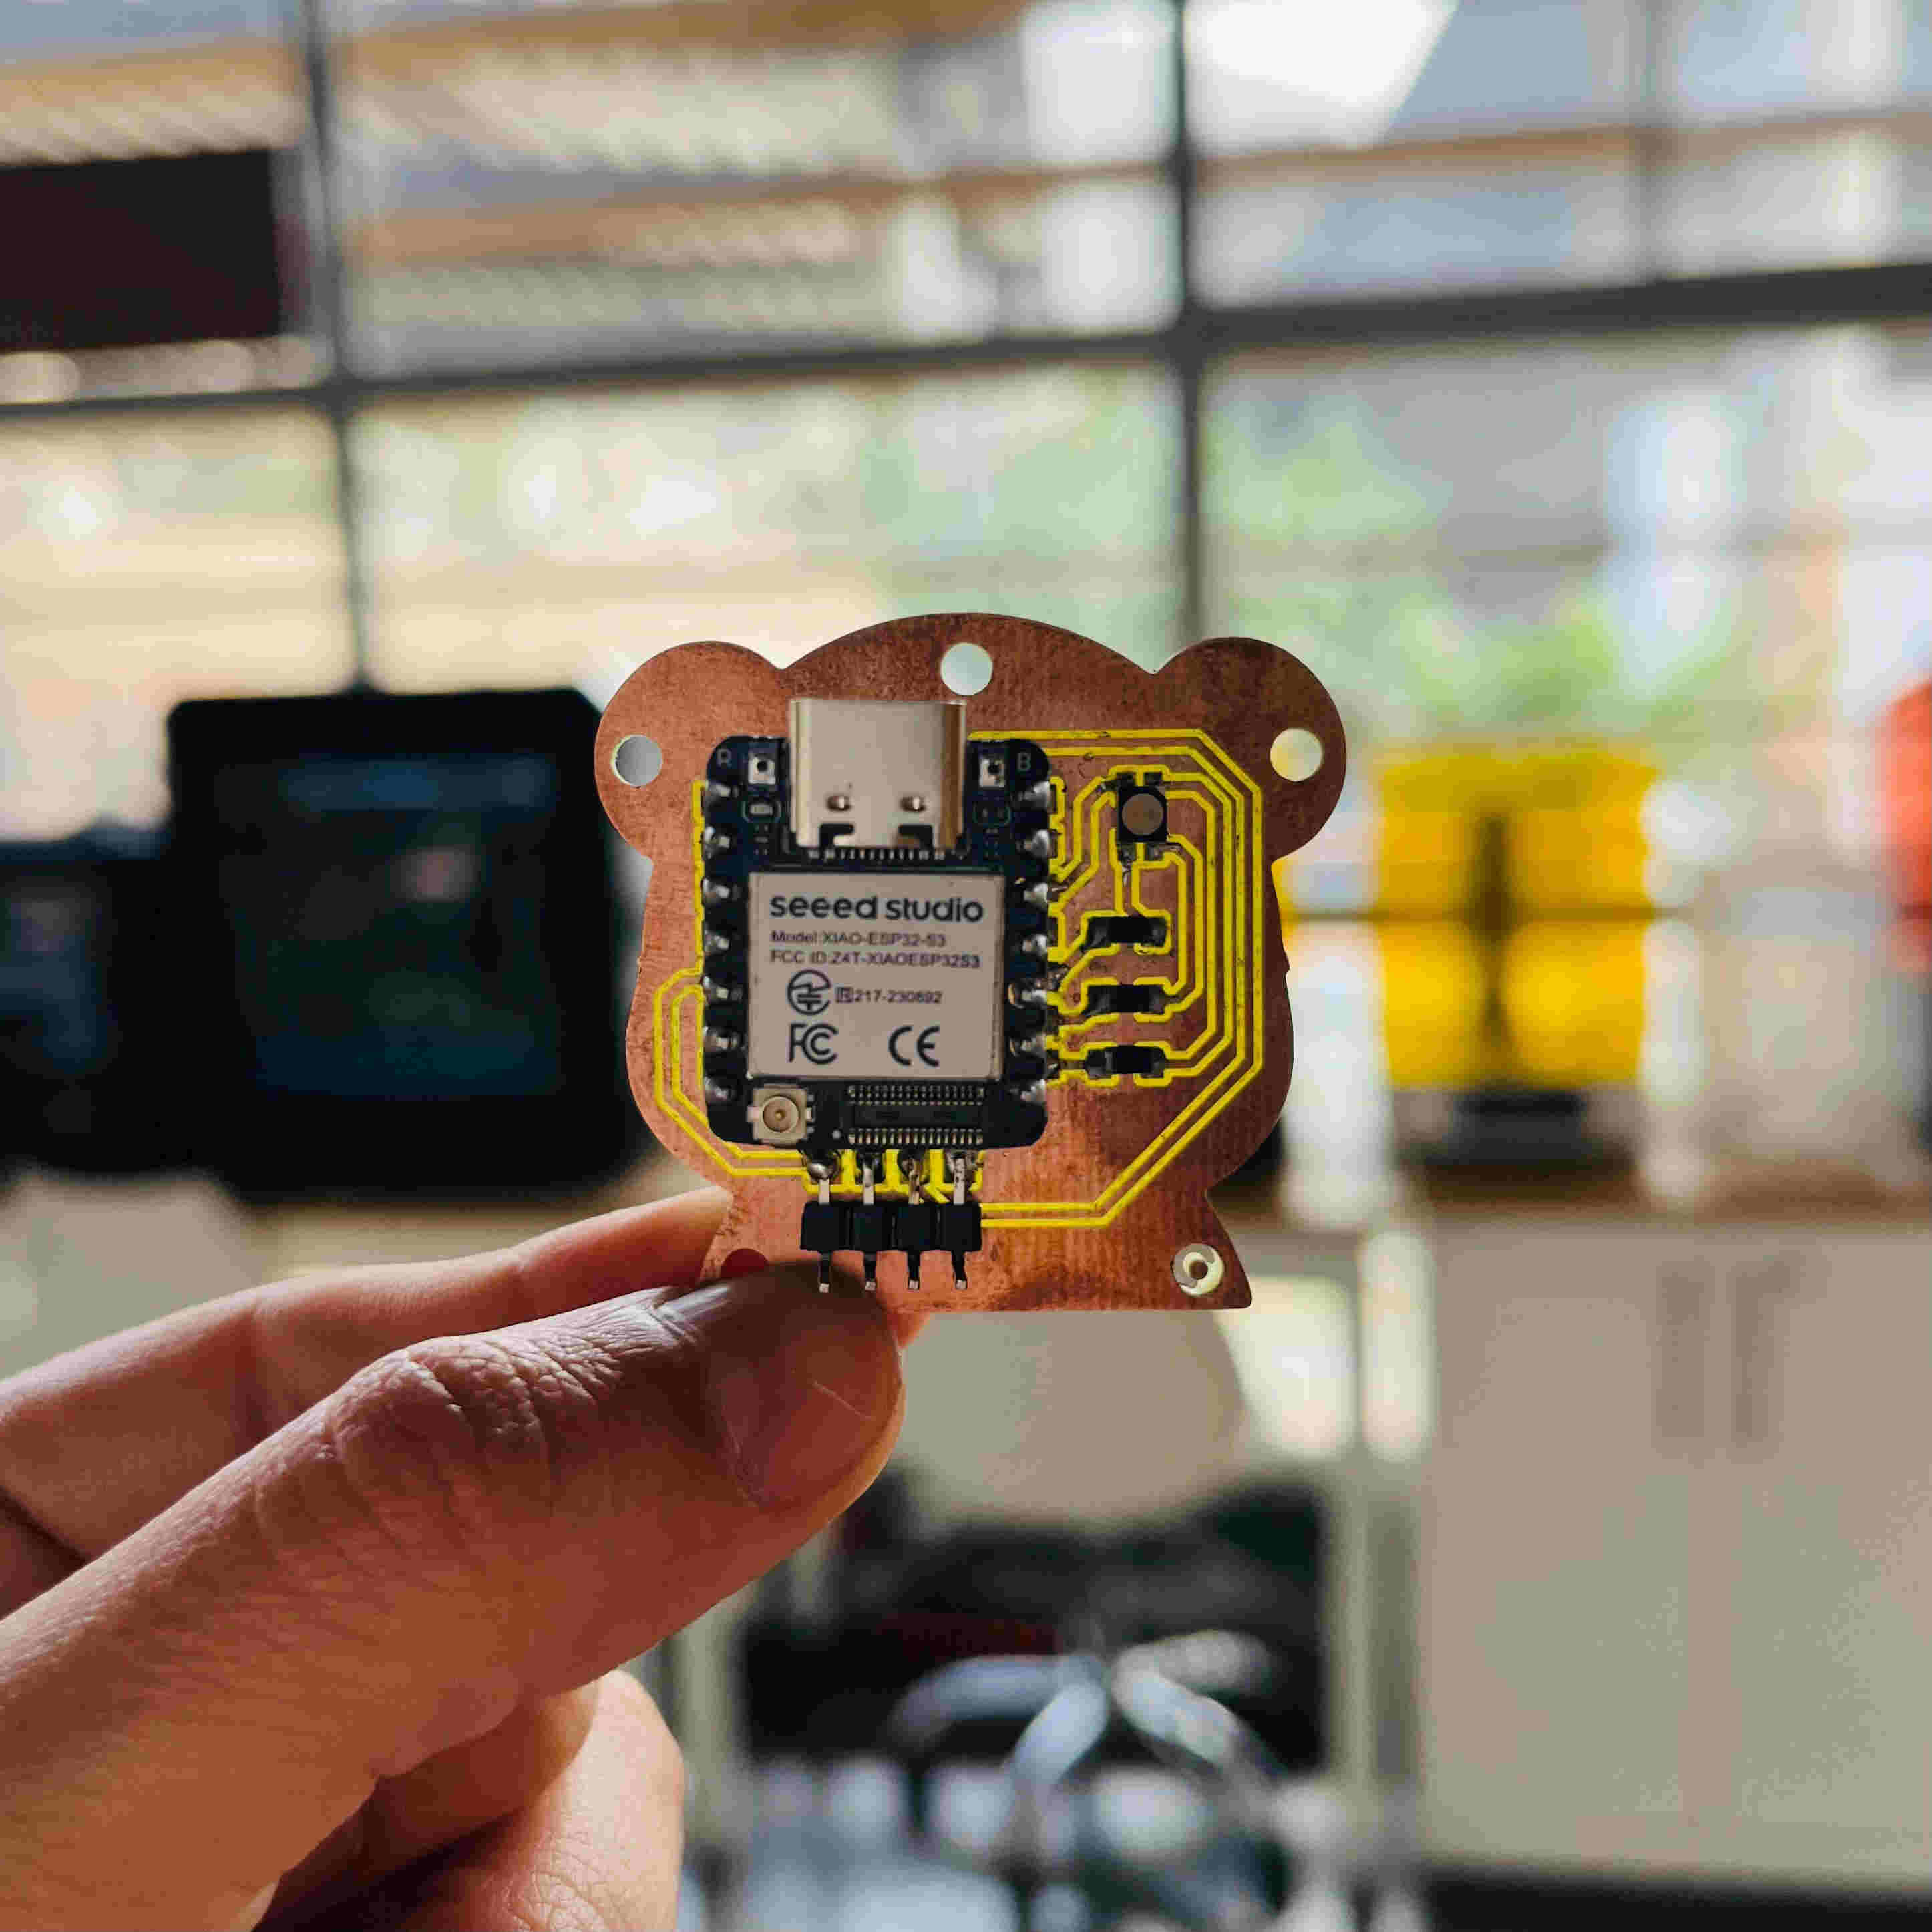
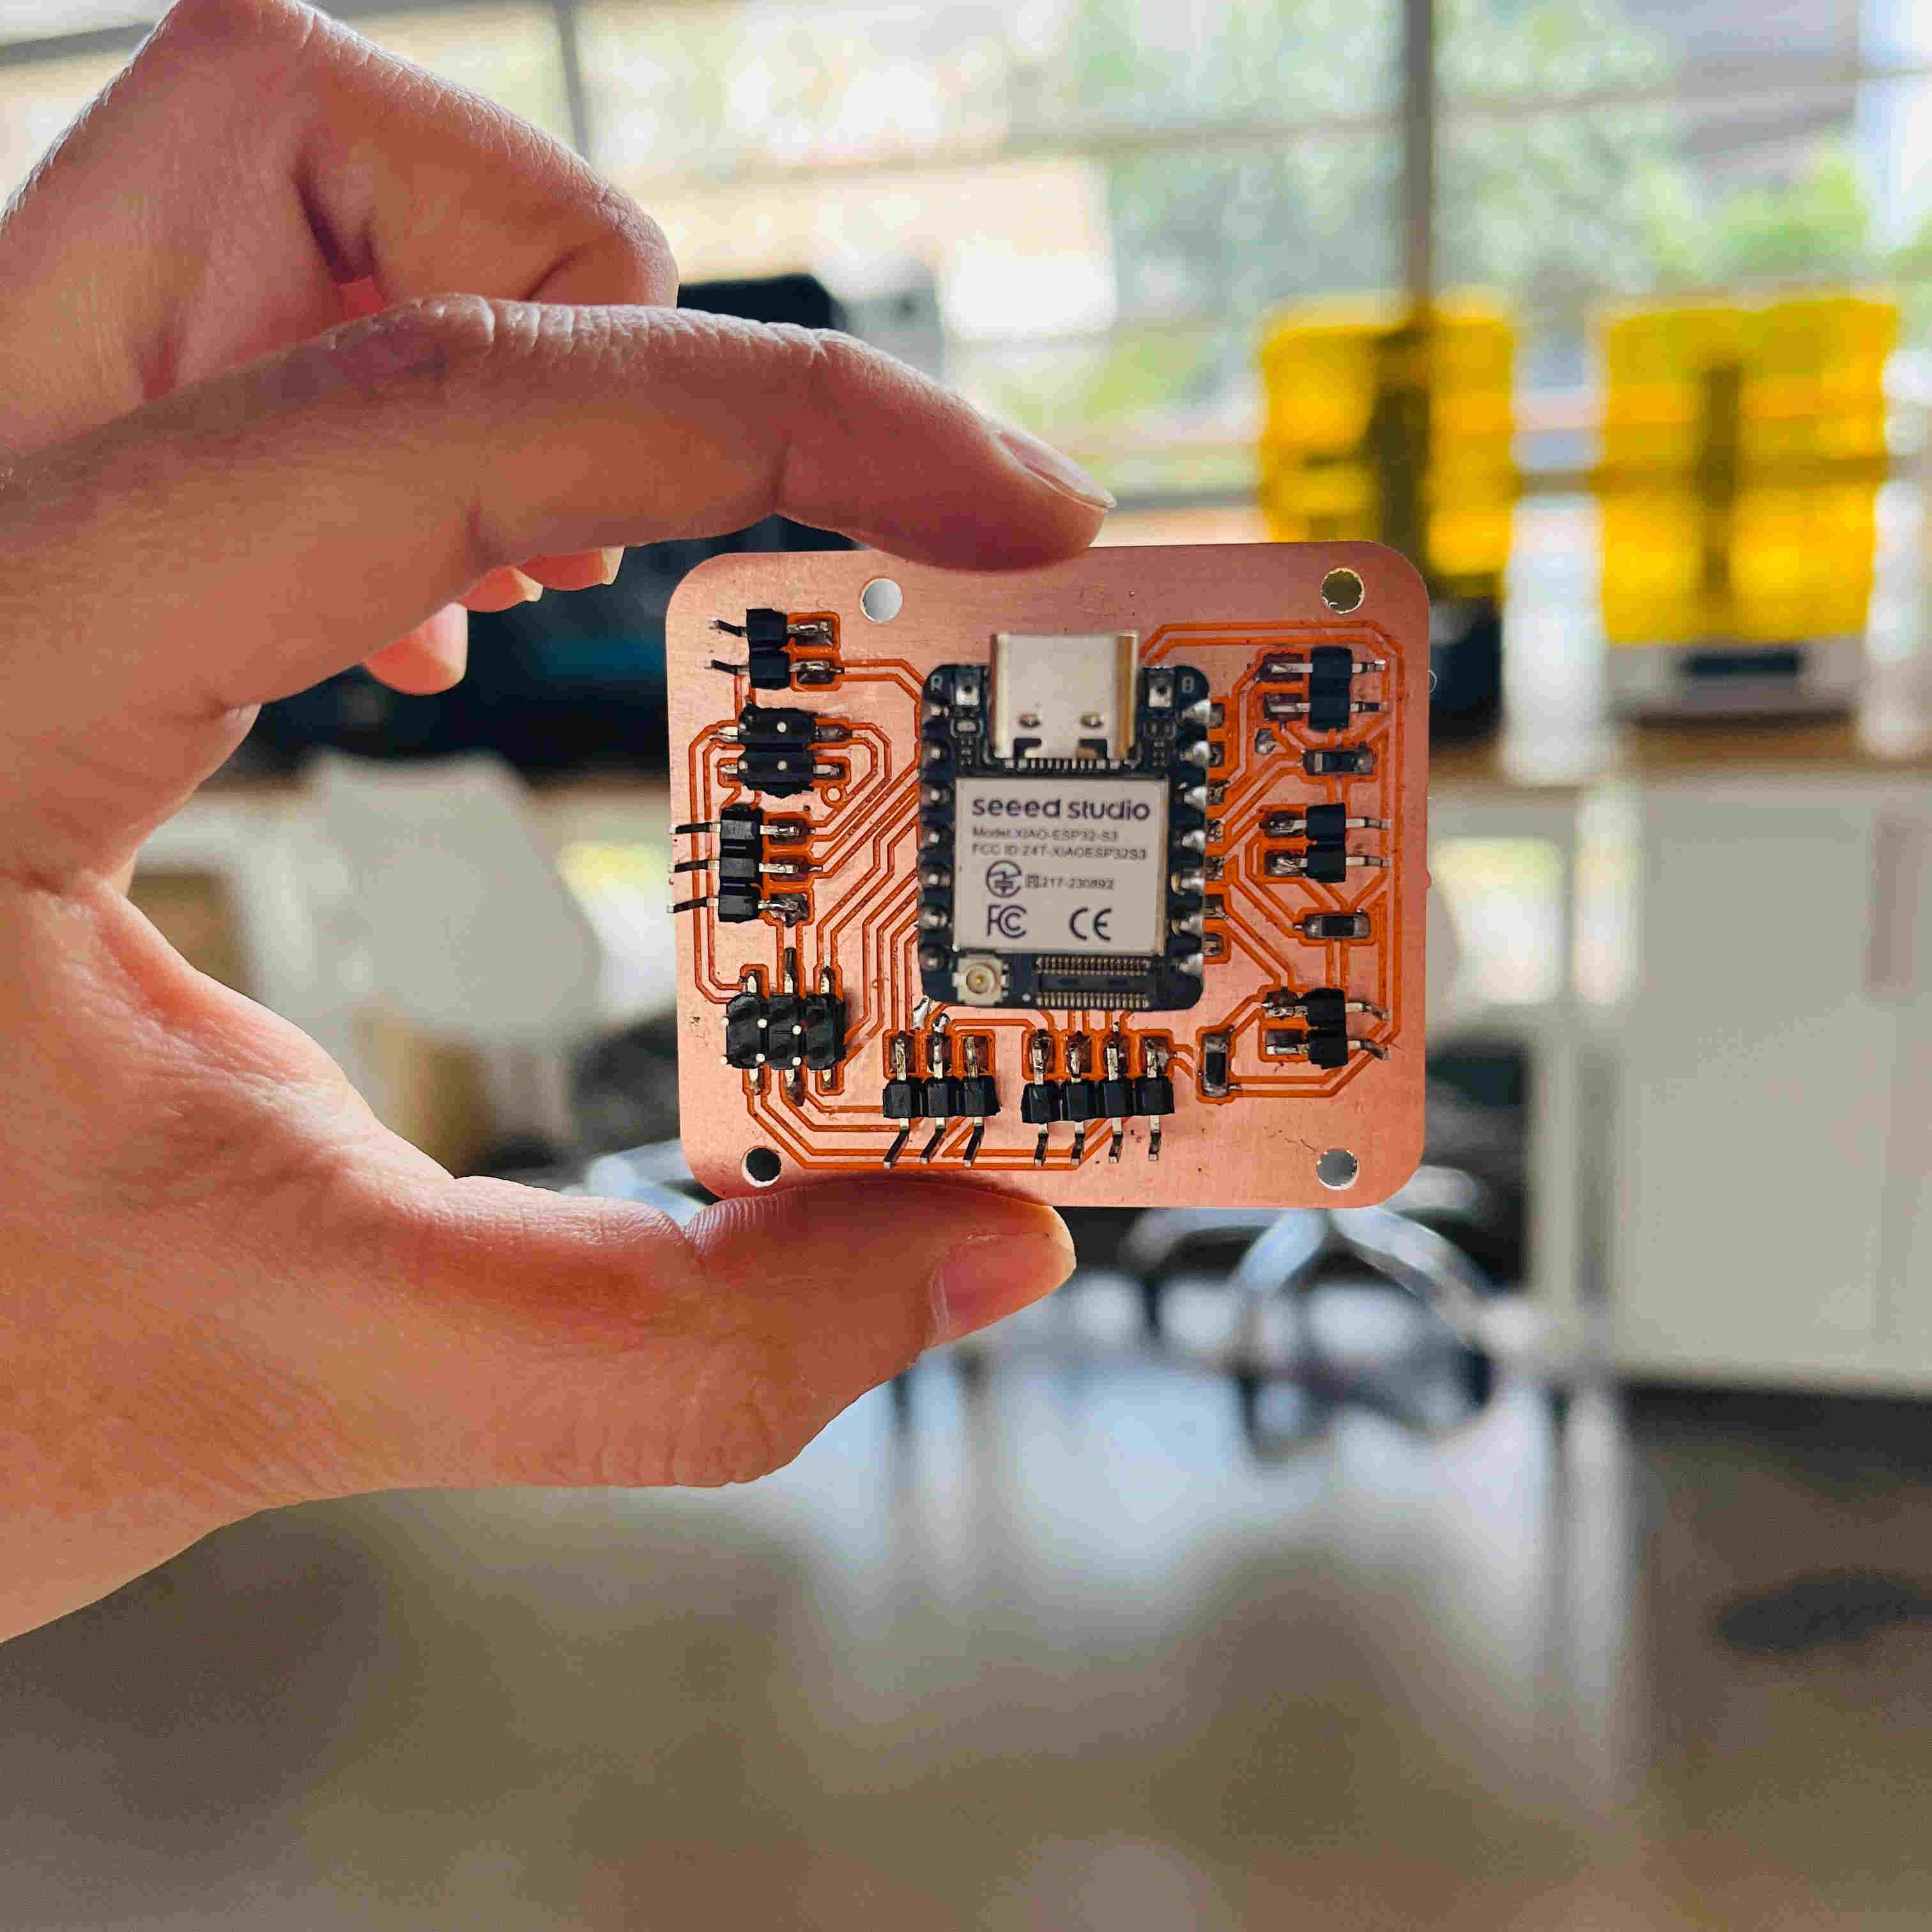
Both boards were designed and fabricated in previous assignments — Week 6 — Electronics Design and Week 8 — Electronics Production.
Accessory board → BLE Server — reads acceleration data from the MPU6050 and continuously broadcasts it wirelessly. Designed in Week 6 and fabricated in Week 8.
Main board → BLE Client — scans for the server, connects to it, receives the data, and changes the NeoPixel ring color according to the movement intensity. Designed in Week 6 and fabricated in Week 8.
3. Antenna Setup
The XIAO ESP32S3 has a dedicated WiFi/BT antenna connector located on the bottom of the board. This connector is for an external antenna that significantly improves the Bluetooth signal range and reliability. Without it, the Bluetooth feature may not work at all. The antenna uses a U.FL connector — a small snap-in connector commonly used for RF signals.
4. How BLE Works
BLE (Bluetooth Low Energy) is a wireless communication protocol built into the XIAO ESP32S3. It allows two devices to exchange data over short distances without any physical cables. Unlike regular Bluetooth which stays constantly active, BLE only transmits data when needed — this makes it consume much less power, which is why it is commonly used in sensors, wearables, and IoT devices.
BLE uses a server/client model to organize communication:
- The server is the device that has data and makes it available. It announces its presence so nearby devices can find it.
- The client is the device that scans for nearby servers, connects to one, and receives its data.
To identify exactly what data is being shared, BLE uses Services and Characteristics. A Service is like a folder that groups related data, and a Characteristic is the actual value inside that folder — in this case, the acceleration reading from the MPU6050. Each one has a unique identifier called a UUID, which works like a name tag. Both boards must use the same UUIDs so they can recognize and talk to each other.
The characteristic in this project is configured with NOTIFY — this means the server automatically sends new data to the client every time the value updates, without the client having to ask for it each time.
| Board | Role | Function |
|---|---|---|
| Accessory board | BLE Server | Reads MPU6050 and transmits acceleration data |
| Main board | BLE Client | Receives data and controls NeoPixel ring |
5. Connection Setup
The two boards communicate entirely wirelessly — no cables connect them. Each board has its external antenna installed and communicates over BLE. The NeoPixel ring connects to the main board and responds to the data received from the accessory board.
The only physical connections needed are the ones each board already has from previous assignments:
| Accessory board (Server): | |
|---|---|
| Component | Pin |
| MPU6050 SDA | D4 |
| MPU6050 SCL | D5 |
| Main board (Client): | |
|---|---|
| Component | Pin |
| NeoPixel Data | D5 |
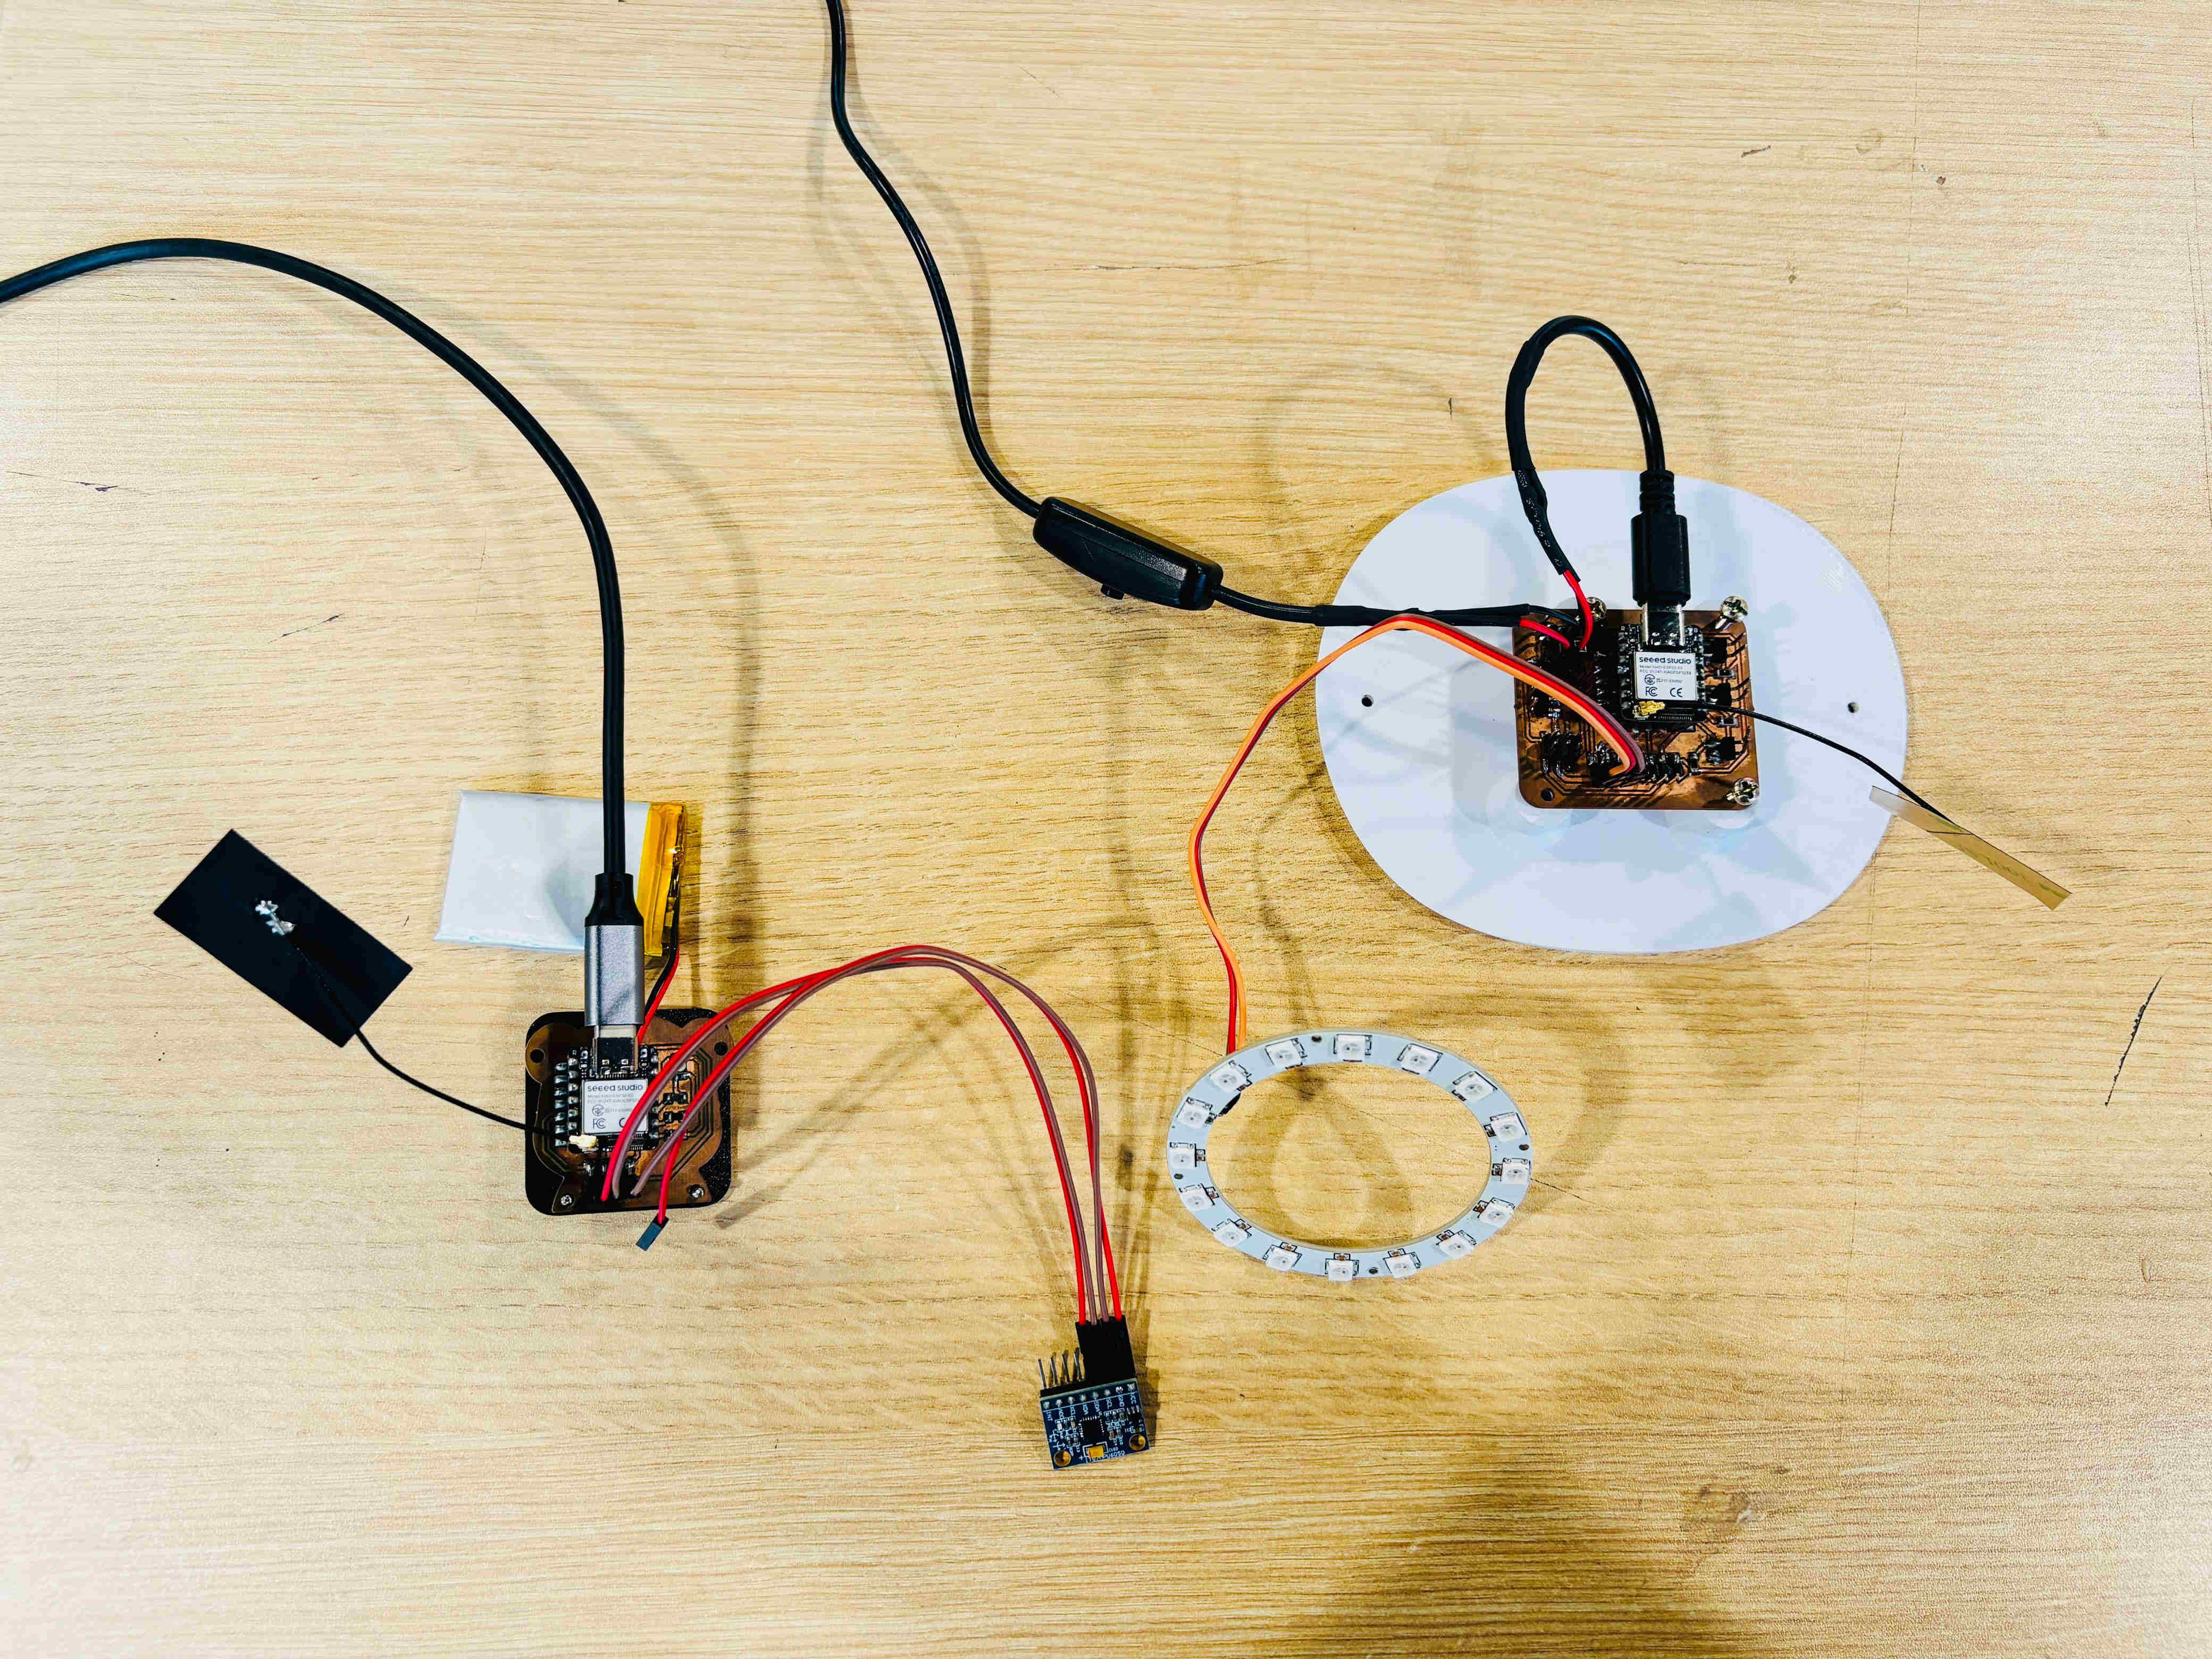
Everything else — the communication between the two boards — happens wirelessly over BLE with no additional wiring required.
📝 To verify that the connection was working before running the full code, the boards were tested step by step — first confirming that the server was advertising correctly, then that the client could find and connect to it, and finally that the acceleration data was arriving and updating the LED ring in real time.
6. How the Code Works
The code for both boards is based on the official BLE server/client example from the Seeed Studio XIAO ESP32S3 tutorial. The original example sends a fixed "Hello World" message between two boards. This was modified to send real acceleration data from the MPU6050 and use it to control the NeoPixel ring.
Server — Accessory Board
The server initializes the BLE device with a name, creates a service and a characteristic using the custom UUIDs, and starts advertising so the client can find it:
BLEDevice::init(BLE_SERVER_NAME);
BLEServer* pServer = BLEDevice::createServer();
BLEService* pService = pServer->createService(kServiceUUID);
The characteristic is set to NOTIFY so the server pushes new data automatically without the client having to request it. A descriptor called BLE2902 is also added — this is required for notifications to work correctly:
pCharacteristic = pService->createCharacteristic(
  kCharUUID,
  BLECharacteristic::PROPERTY_NOTIFY |
  BLECharacteristic::PROPERTY_READ
);
auto* cccd = new BLE2902();
cccd->setNotifications(true);
pCharacteristic->addDescriptor(cccd);
In the loop, the server reads the acceleration magnitude from the MPU6050 every 20ms and sends it as a float value (4 bytes):
float accel_ms2 = readAccelMagnitude_ms2();
pCharacteristic->setValue((uint8_t*)&accel_ms2, sizeof(accel_ms2));
pCharacteristic->notify();
Client — Main Board
The client uses the NimBLE-Arduino library instead of the standard BLE library. NimBLE is more memory efficient and better suited for boards that need to handle multiple tasks at the same time.
The client scans for a server by name. When it finds it,
it saves the address and stops scanning:
if (dev->haveName() && dev->getName() == std::string(BLE_SERVER_NAME)) {
  foundAddress = dev->getAddress();
  haveAddress = true;
  pBLEScan->stop();
}
Once connected, it subscribes to NOTIFY. Every time the server sends a new value, this callback runs and stores the received bytes as a float:
pRemoteChar->subscribe(true,
  [](NimBLERemoteCharacteristic*, uint8_t* data, size_t len, bool) {
    if (len >= sizeof(float)) {
      memcpy(&accel_ms2, data, sizeof(float));
    }
  }
);
That float value is then used to set the NeoPixel ring color. The range 0–35 m/s² is divided into three equal segments:
float t1 = MIN_MS2 + span / 3.0f;        // ~11.7 m/s² → Green
float t2 = MIN_MS2 + 2.0f * span / 3.0f; // ~23.3 m/s² → Yellow
                                           // above t2   → Red
Network Addressing
Each board has a unique identity in the network. The server advertises itself with the name "XIAOESP32S3_BLE" and a unique Service UUID. The client scans for that exact name and UUID, ensuring it always connects to the correct board and not any other nearby BLE device.
⚠️ Problems & How I Fixed Them
Problem 1 — NimBLE-Arduino library not installed
The client code uses the NimBLE-Arduino library, which is not installed by default in Arduino IDE. When trying to compile the client code for the first time, the build failed because the library was missing.
✅ Fix
Search for NimBLE-Arduino in the Arduino Library Manager and install it. The server uses the standard BLEDevice library that comes with the ESP32 board package, while the client uses NimBLEDevice. Both need to be installed separately.
Problem 2 — Unstable connection between the two boards
When first testing the connection, the client would find the server but the link was not stable — the boards would disconnect and reconnect repeatedly, making the NeoPixel ring flicker inconsistently.
✅ Fix
Connection parameters were adjusted in the client's callback to give the connection more time to stabilize. These parameters control how frequently the devices synchronize with each other:
c->updateConnParams(24, 48, 0, 60);
After this adjustment the connection became stable and the LED ring responded smoothly and consistently to the movement data.
Hero Shot 🎉
The two boards communicate successfully over BLE. The accessory board reads the MPU6050 and sends acceleration data wirelessly to the main board, which responds by changing the NeoPixel ring color in real time according to the movement intensity — green for low, yellow for medium, and red for high.
Full system working — moving the accessory triggers the NeoPixel ring color change through BLE
Final Thought
As part of the 2026 cycle, this assignment helped me understand how BLE communication works between two custom boards. Seeing two boards that I designed and fabricated exchange data wirelessly made the communication process much clearer in practice. I learned the difference between BLE servers and clients, and how Services, Characteristics, and UUIDs are used to organize and identify data between devices. I also understood that both boards must use the same UUID definitions for communication to work correctly. I also learned that wireless communication depends on careful configuration and testing. Even when the code is correct, small setup details can still affect the connection, so debugging the communication step by step is an important part of the process.