Molding and Casting
Assignment
Group assignment: - Review the safety data sheets for each of your molding and casting materials, then make and compare test casts with each of them compare mold making processes.
Individual assignment: - Design a mold around the process you’ll be using, produce it with a smooth surface finish that does not show the production process toolpath, and use it to cast parts - extra credit: use more then two mold parts.
Group Assignment Highlights
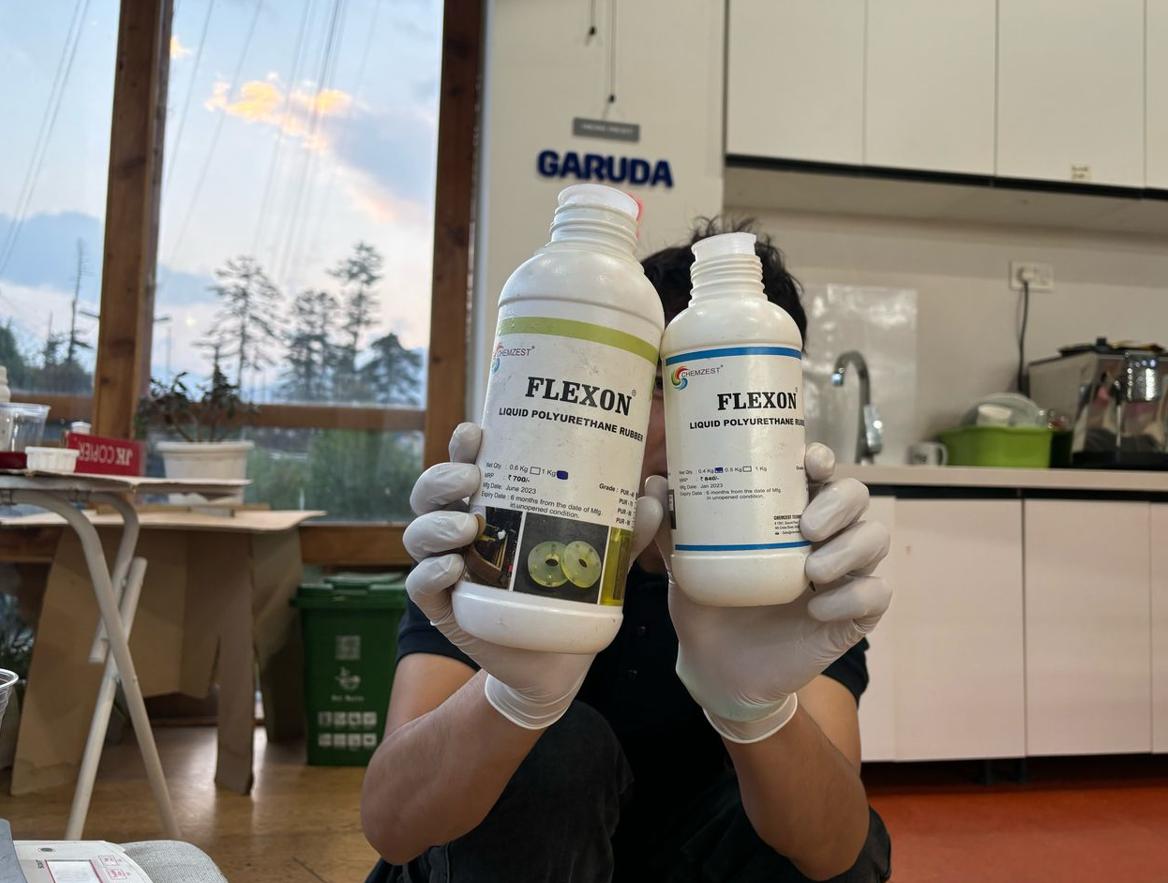
Objective: Review safety data sheets and compare test casts using Liquid Polyurethane Rubber , Liquid Silicone Rubber, and Hydrostone, utilizing existing lab molds.
This comparison highlights material properties, ease of demolding, and mold compatibility, guiding material selection for specific molding applications.
Materials and Processes:
- Liquid Polyurethane Rubber:
- Composition: Two-part resin (PartA:PartB = 100:40 by weight).
- Process: We mixed 50.2g Part A with 20.08g Part B, stirred until uniform, poured into mold and cured.
-
Result: Hard but not overly rigid; difficult to demould from 3D-printed molds, easier from silicone molds.
-
Liquid Silicone Rubber:
- Composition: Two-part system (base + 3–5% catalyst by weight).
- Process: We mixed 178.4g silicone with 8.73g catalyst (5%), quickly poured into mold due to fast curing.
-
Result: Very soft, flexible cast; easy to demold from both wax and 3D-printed molds.
-
Hydrostone and Water:
- Composition: Gypsum cement mixed with water (32 lbs water per 100 lbs product).
- Process: Mixed, poured into mold and dried.
- Result: Hard cast; easy to demold from silicone molds, not tested with 3D-printed molds due to anticipated difficulty.
Safety Notes: - Liquid Polyurethane Rubber: Stir well, use mold release agent, ensure ventilation. - Liquid Silicone Rubber: Handle quickly due to fast curing, store at room temperature. - Hydrostone: Wear gloves, eye protection, respirator; avoid dust inhalation, never encase body parts, store in controlled environment.
Comparison: - Liquid Polyurethane Rubber: Moderately hard, challenging with 3D-printed molds. - Liquid Silicone Rubber: Soft, highly flexible, easiest to demold. - Hydrostone: Hard, best with silicone molds, not suitable for rigid molds.
Here is the link to the Group assignment.
Individual Assignment
Mold Design and 3D Printing the Mold
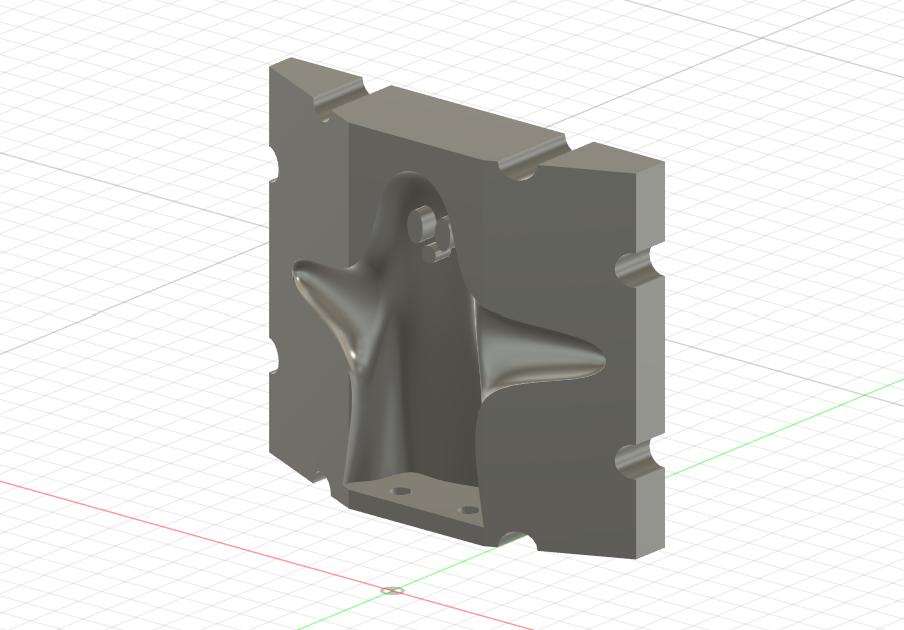
I designed a cute ghost in Fusion360 for Molding and Casting. Here is how I design my Mold for the same.
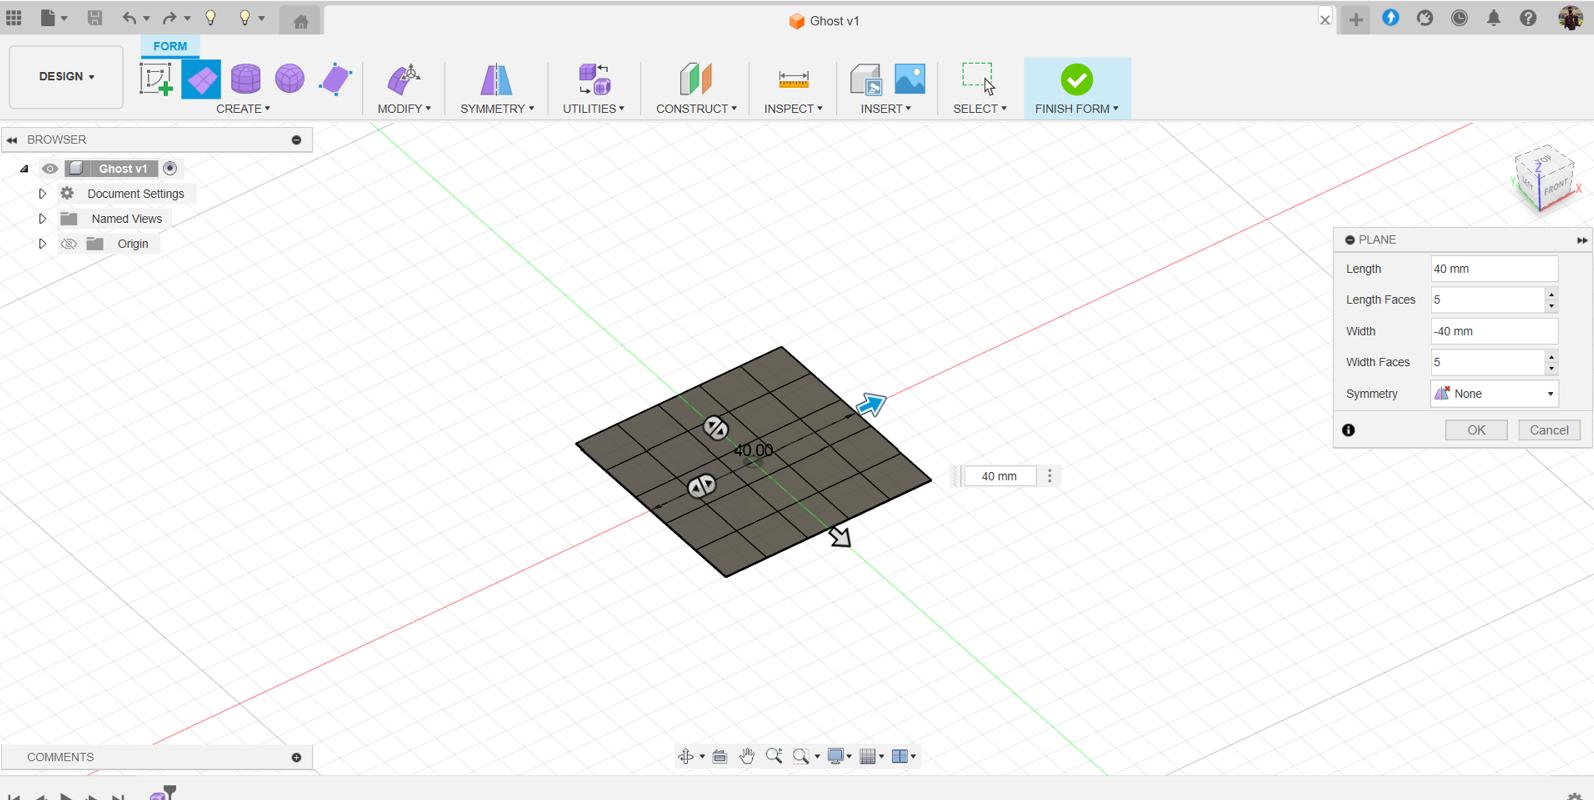
- I used form in fusion to design my ghost.
-
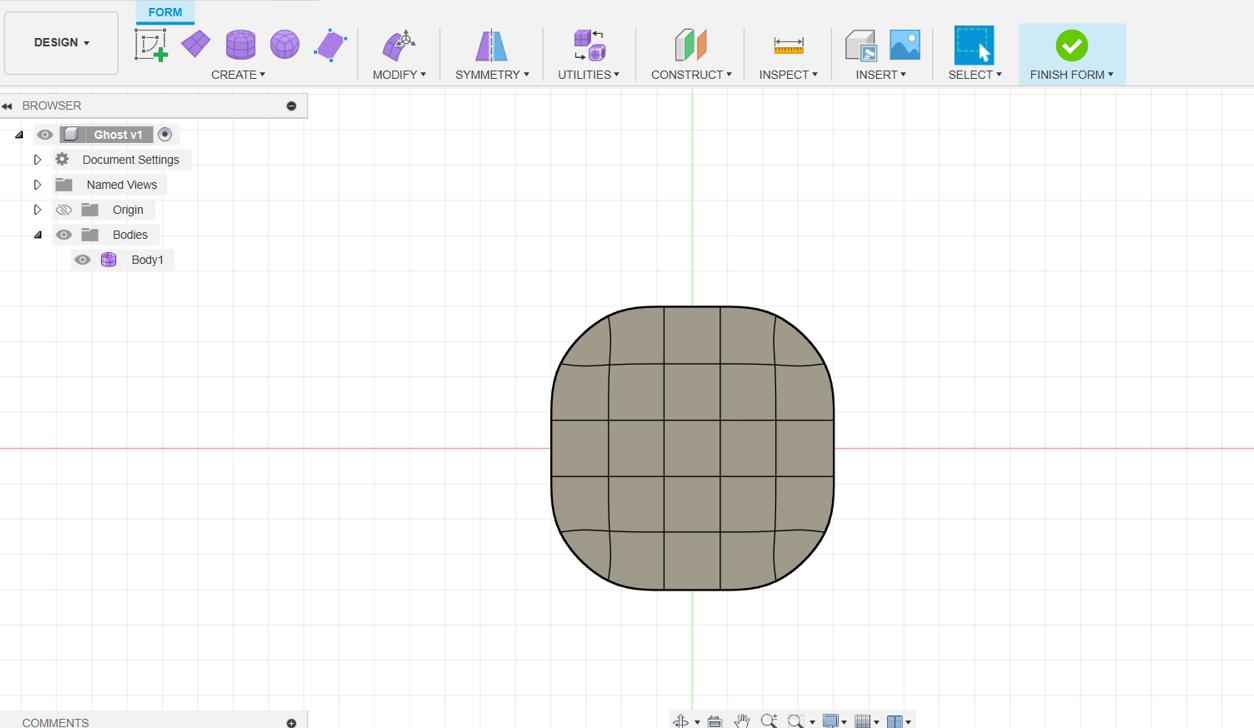
Made the edges smoother.
-
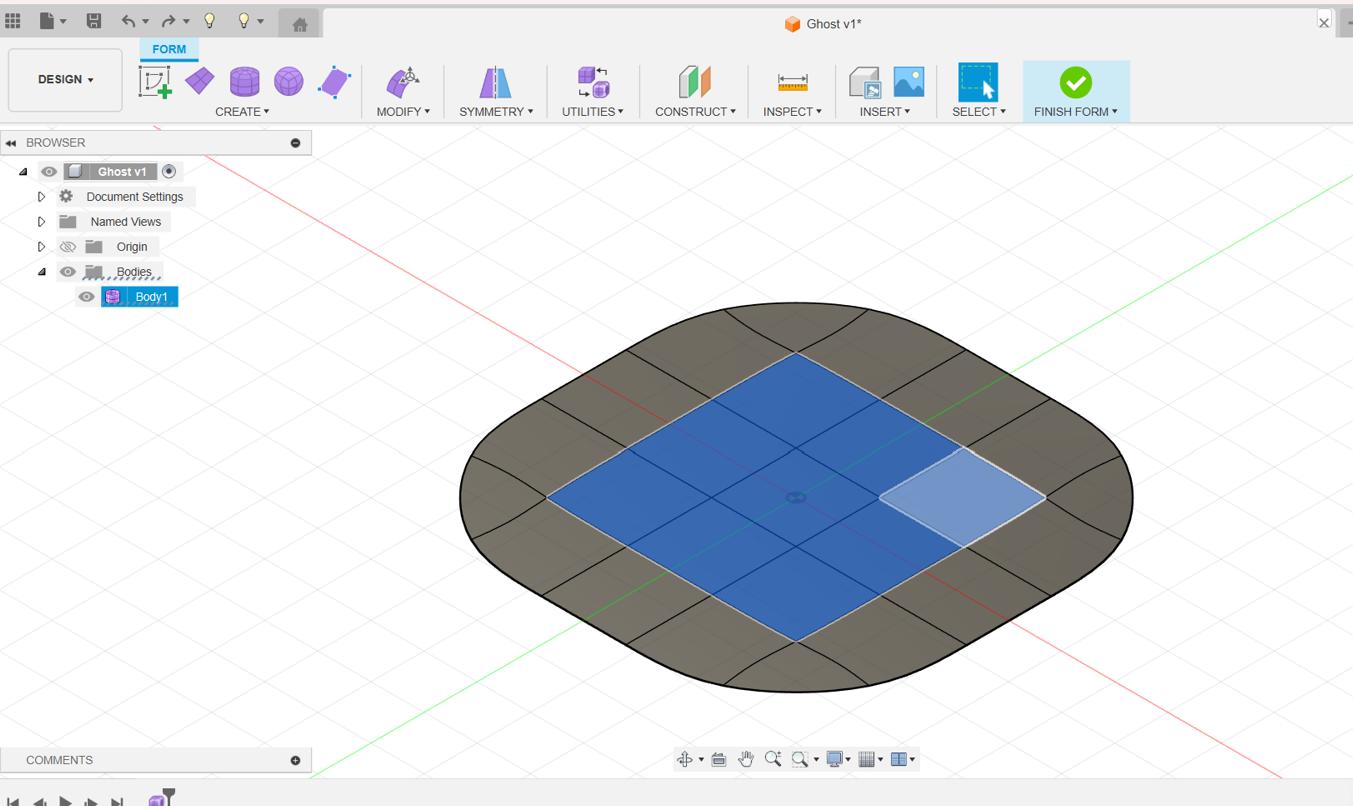
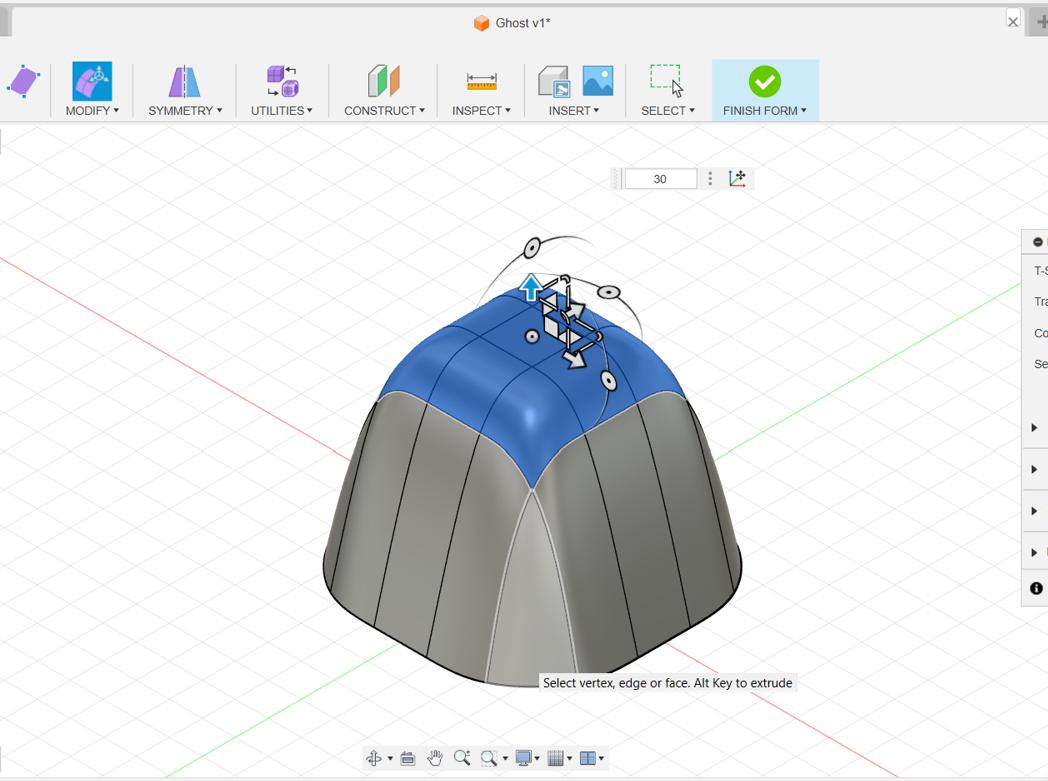
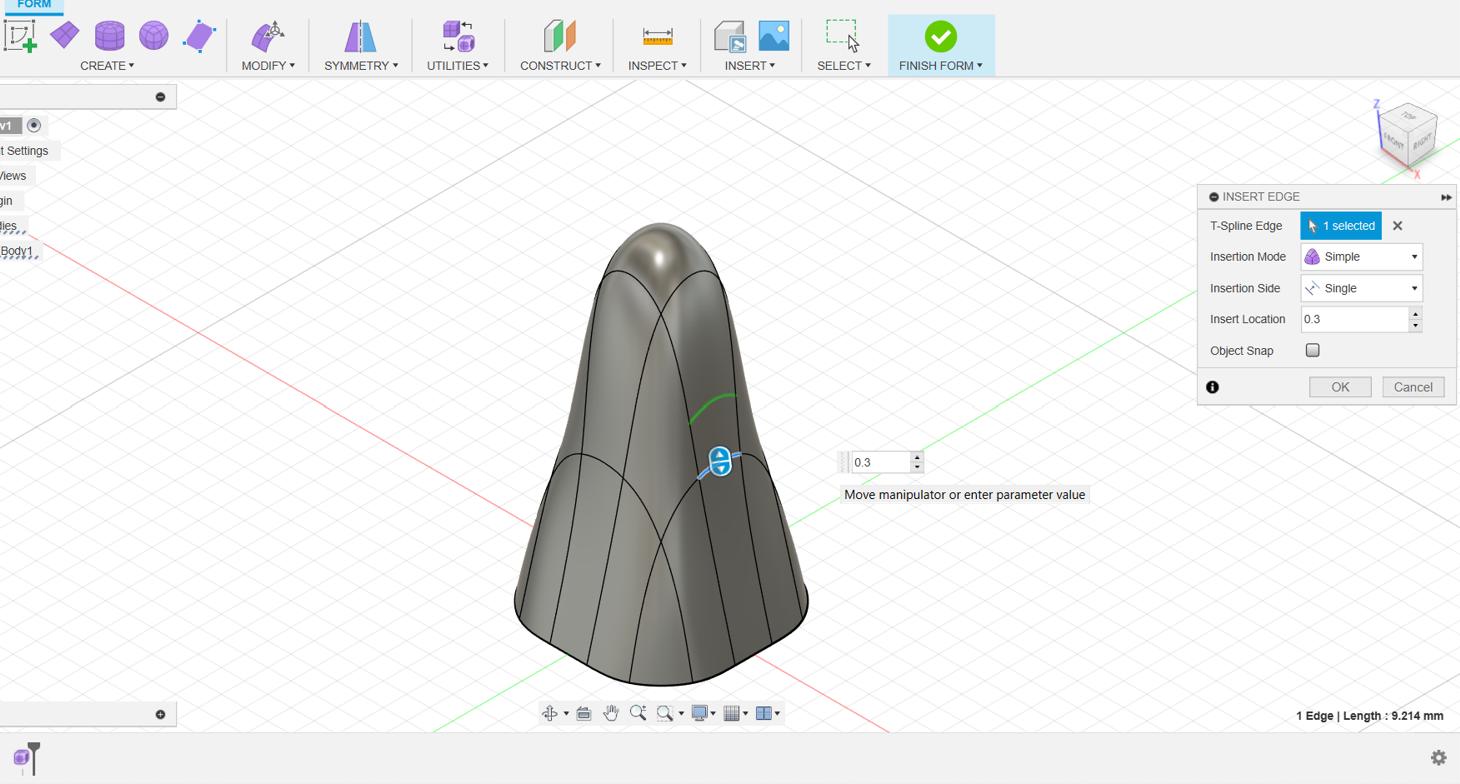
Selected the middle section so that I can drag the section up to create my Ghost.
-
Here is the result.
-
Dragging this section to create the head of Ghost.
-
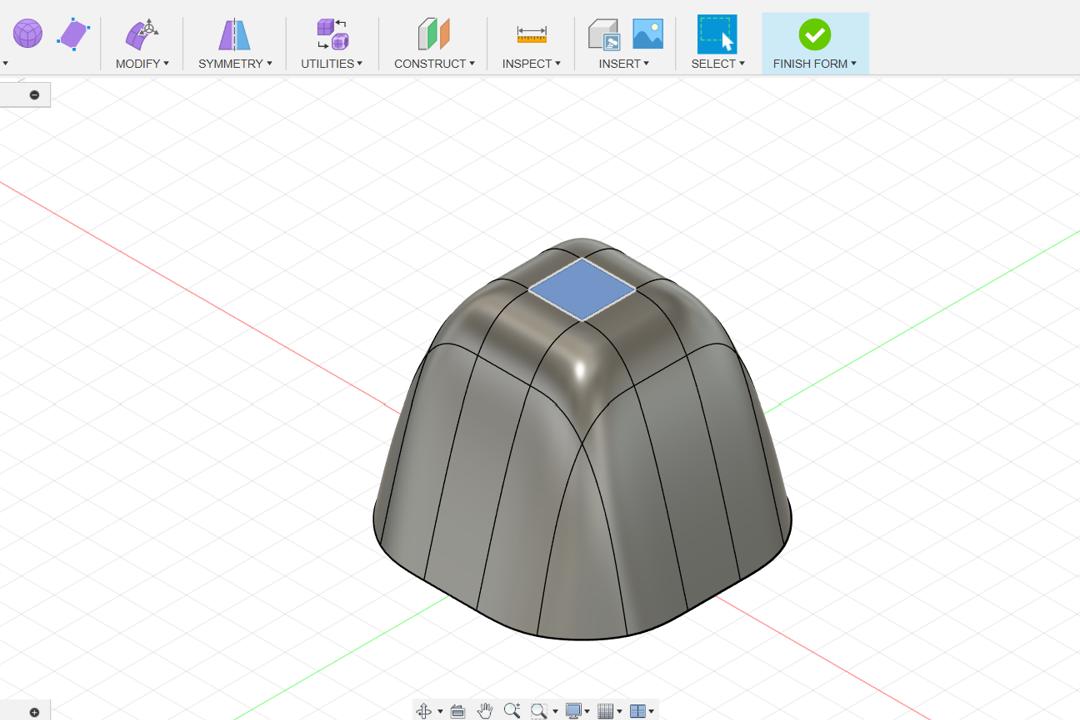
Here is the head but the size is not is good proportion to the body.
-
Increasing the size of Head.
-
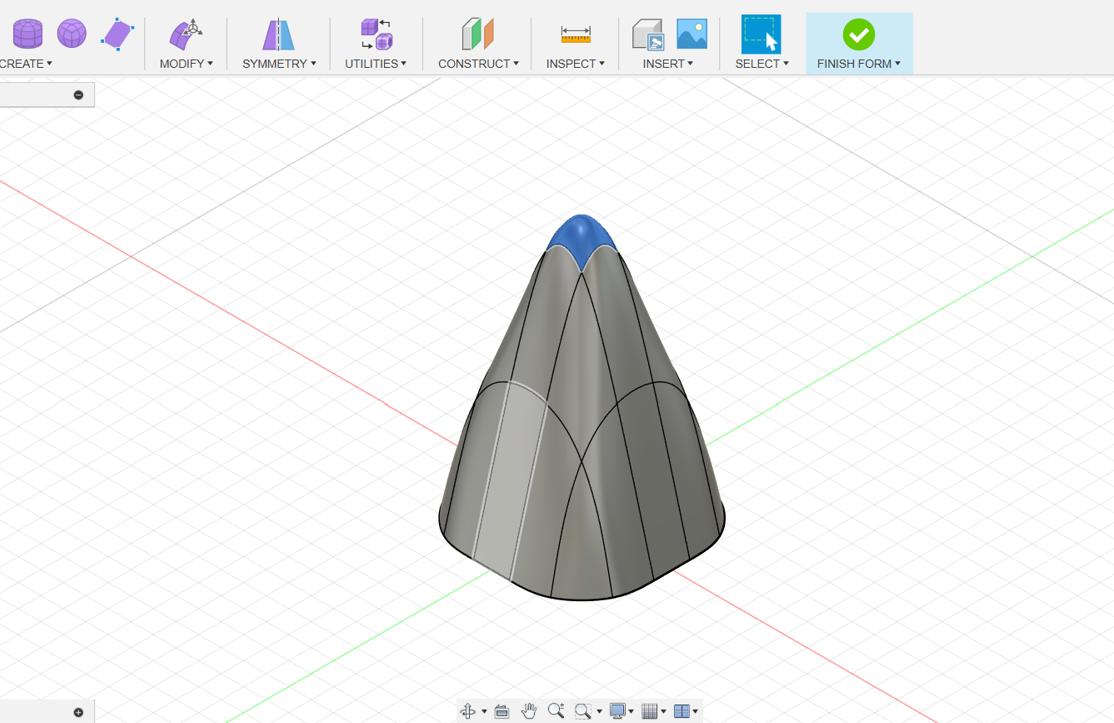
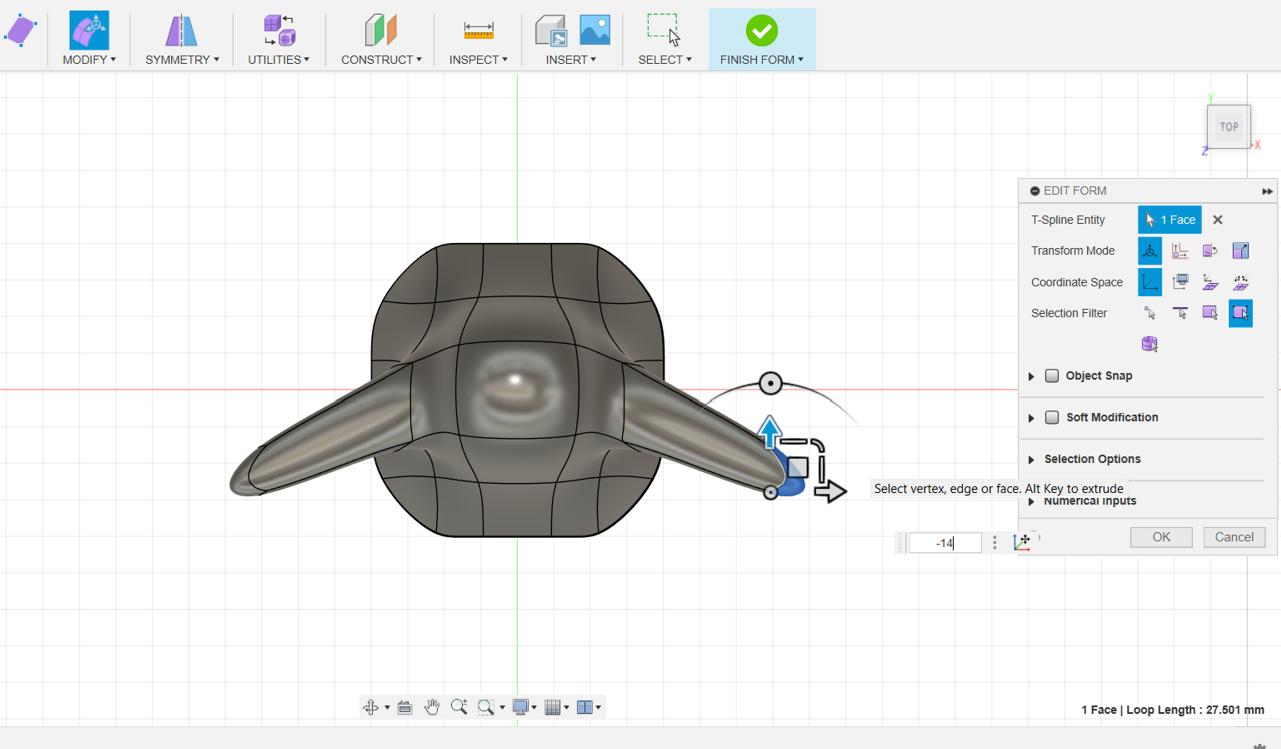
Creating a new face so that I can drag it to create arm.
-
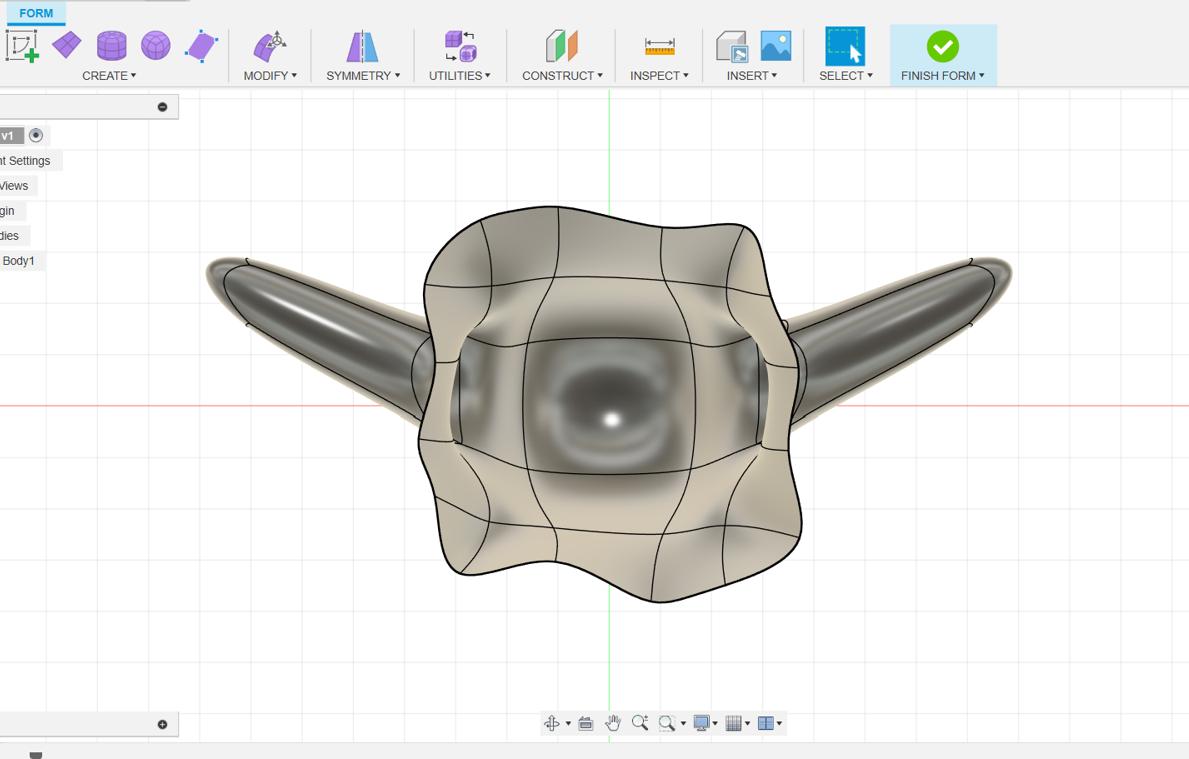
I created the arms and I also position them so that it looks interesting.
-
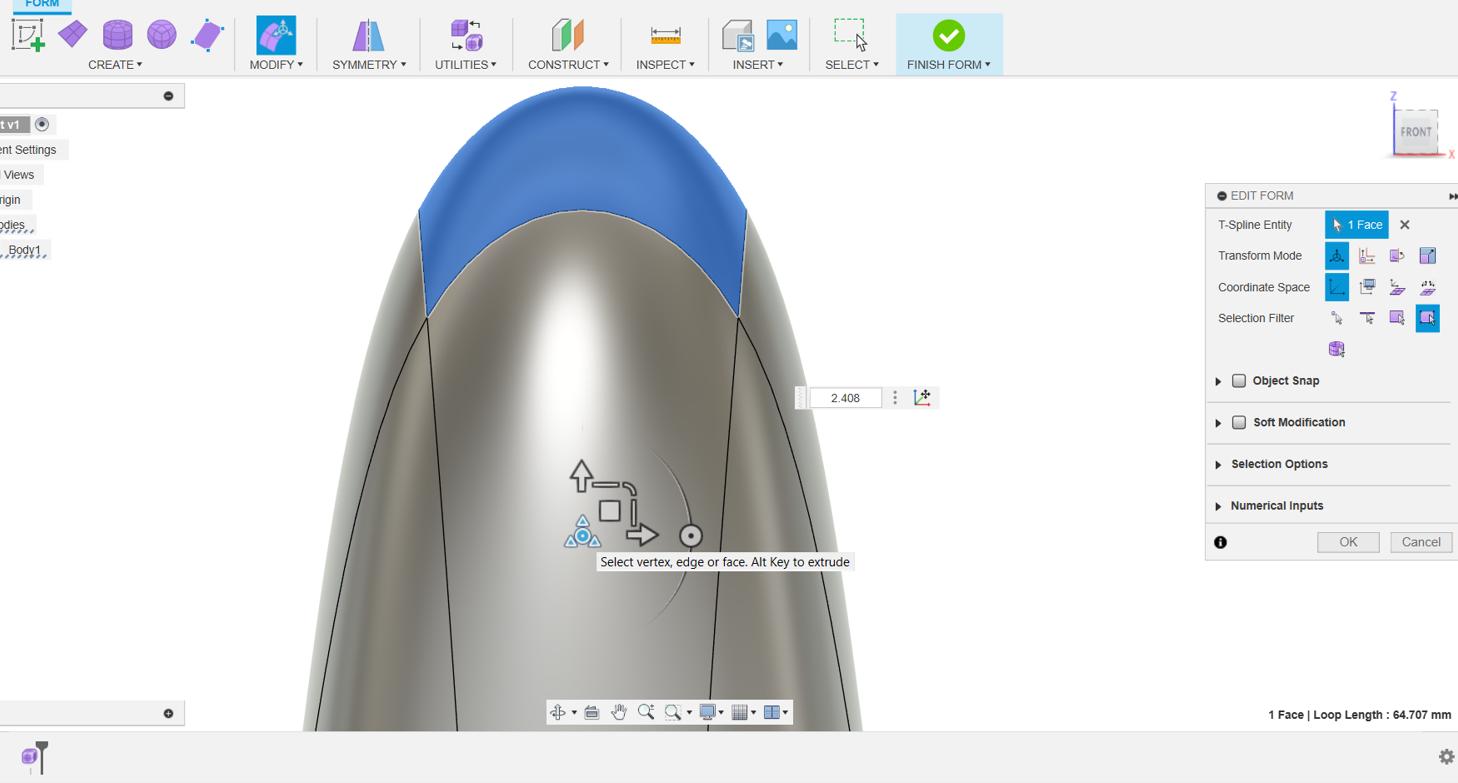
I also drag lower part of the model to create a curtain like shape.
-
Here is final form and I converted it into solid using
Fill holeunderutilitiesmenu which is there inFormmodelling section.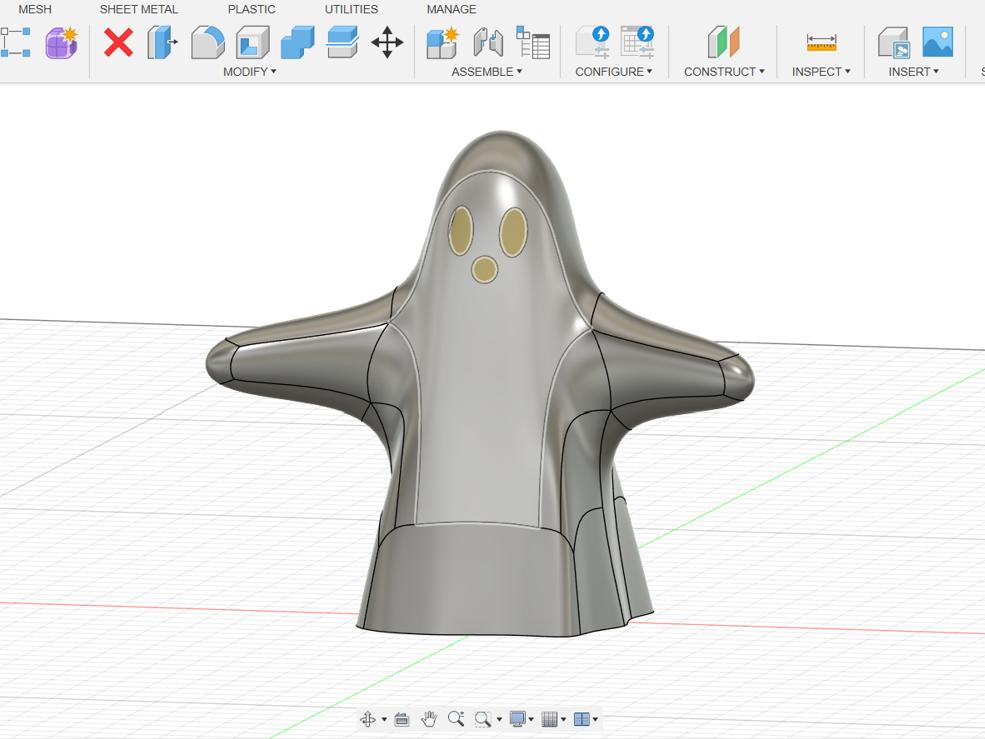
-
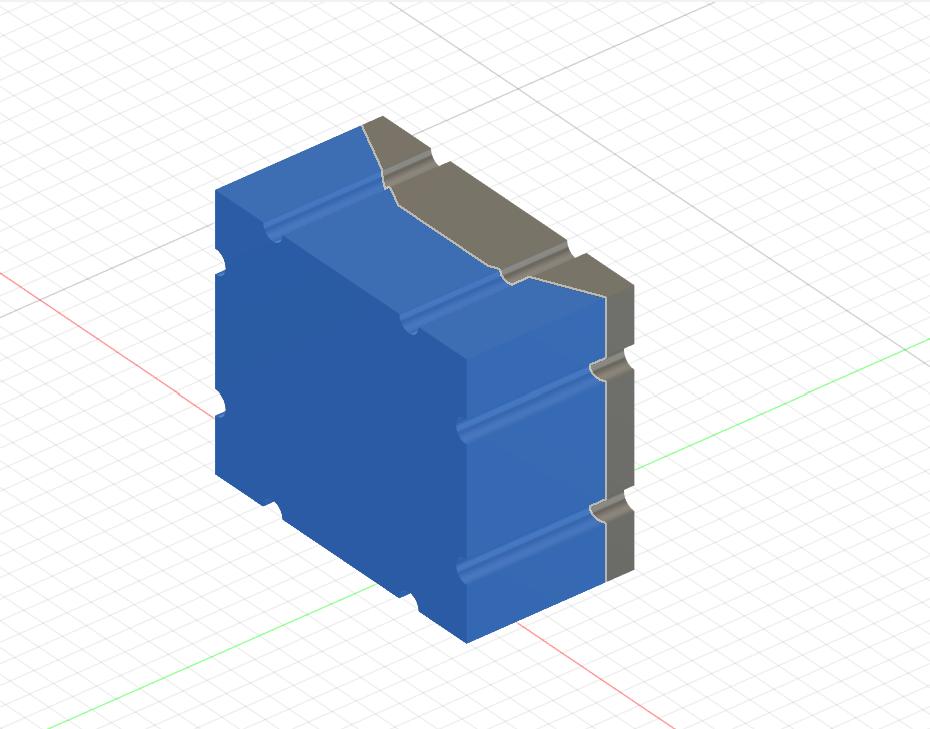
I then created the mold for Ghost on the two rectangular box using Boolean operation which is available under
Modifymenu underSolidmodelling section. -
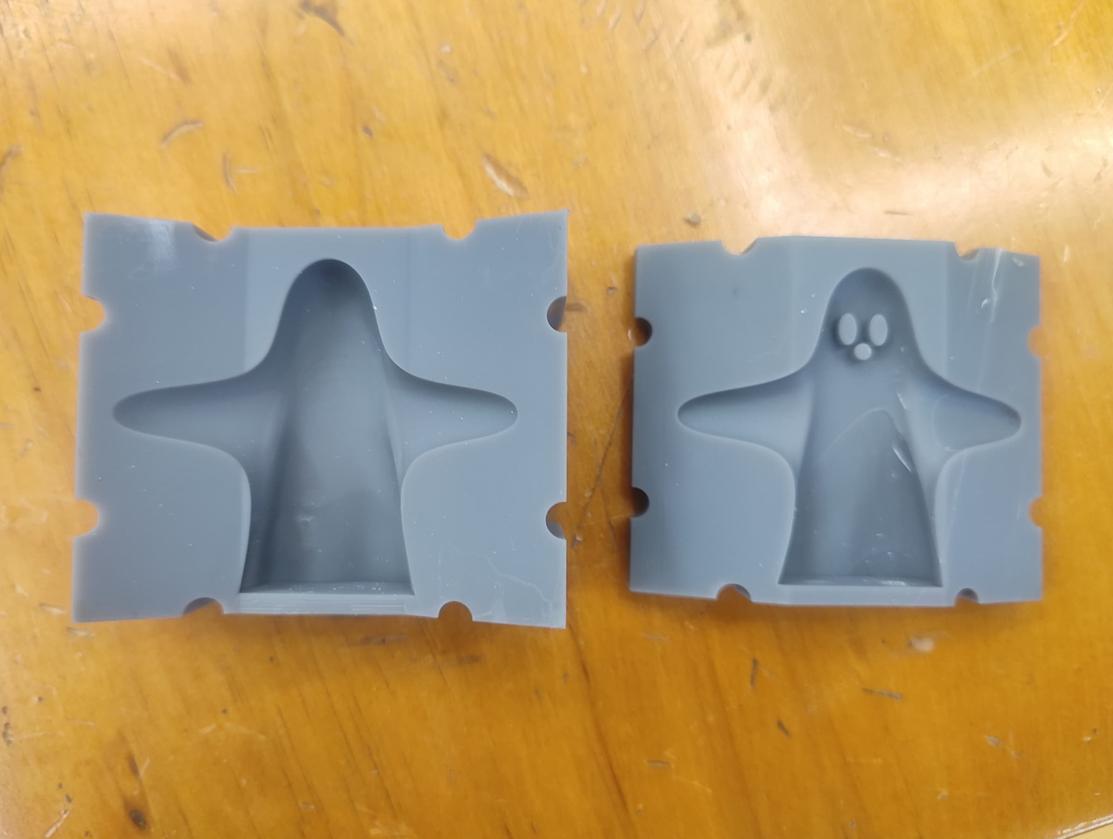
I created two mold parts so that I can get the full model of Ghost. This is the back part of my Mold.

-
Here is the front part of mold.
-
I will do molding and casting like this.
-
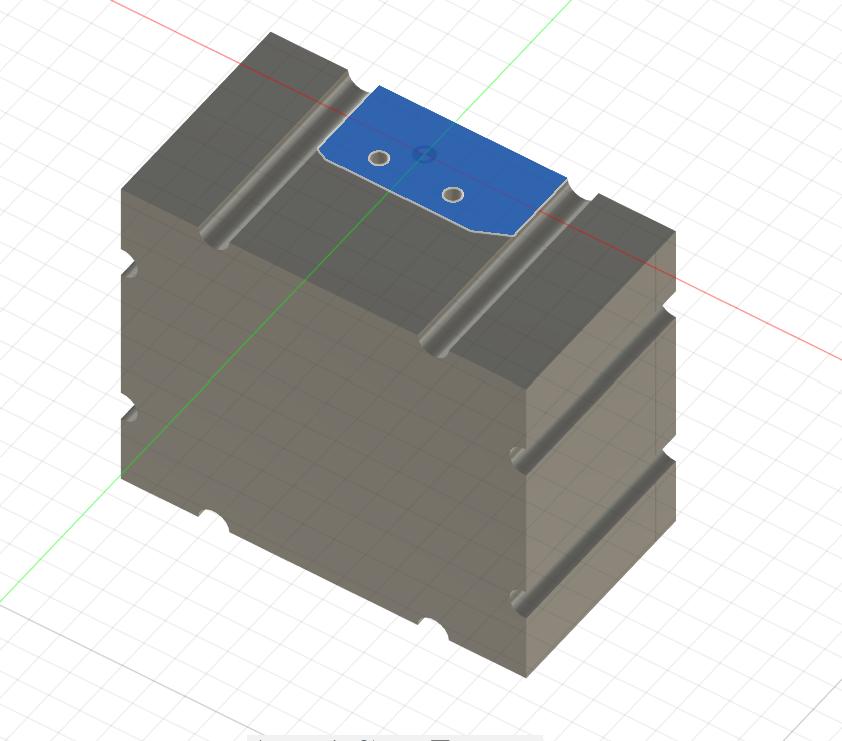
By the way I also created a two holes from where I can put my casting material.
Molding and Casting using Mold 3D printed in Bambu A1* I used Liquid Polyurethane Rubber for molding my Ghost. I understand that Liquid Polyurethane Rubber will be hard once after molding but I wanted my Ghost to be solid and hard so I am trying it on my 3D printed mold of Ghost.
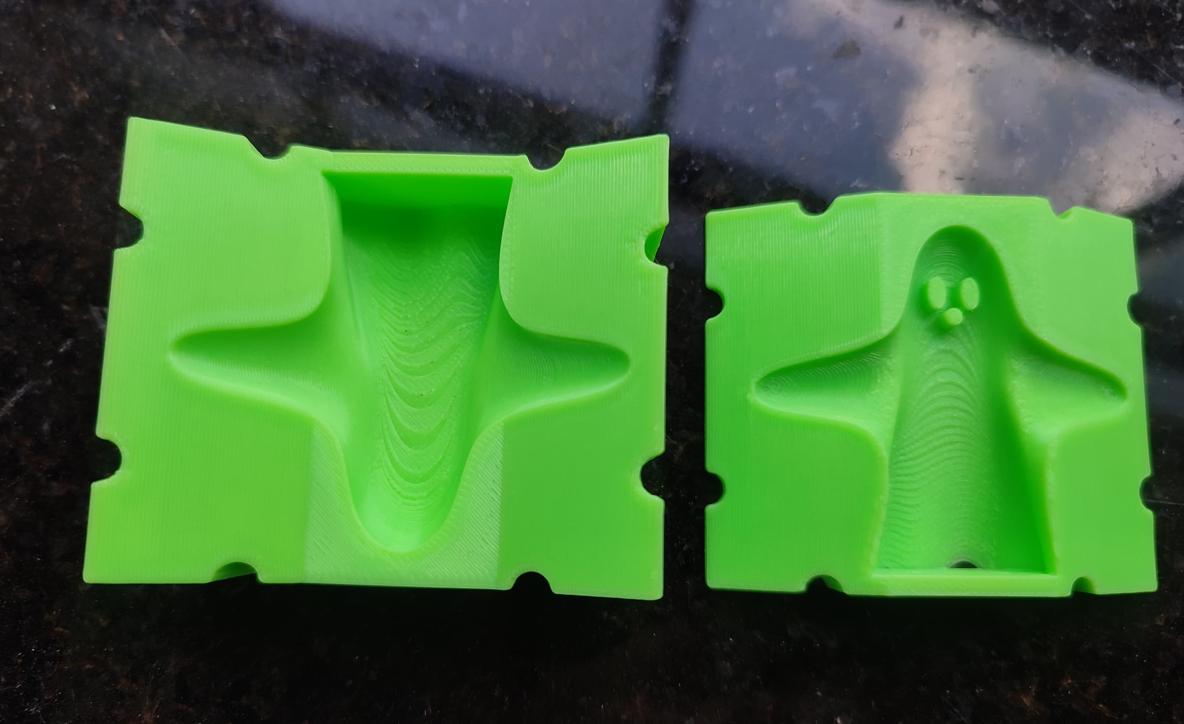
- This is my 3D printed mold for Ghost.

I printed this in Bambu Lab X1-Carbon 3D printer and the following are the 3D printing settings I used to 3D print my Mold. 1. Nozzle Diameter: 0.4 mm 2. Print Quality: 0.20 mm Strength@BBL X1C 3. Layer Hight: 0.2 mm 4. Filament Used: PLA 5. Print Temperature: 195°C to 210°C 6. Bed Temperature: 40°C to 50°C 7. Infill pattern: 8. Sparse Infill Density: 20 % 9. Printer: Bambu Lab X1-Carbon
-
My 3D printed Mold are did not come out smooth and the tool path are clearly visible. But I decided to give it a try molding.
-
This two Liquid Polyurethane Rubber are used.
-
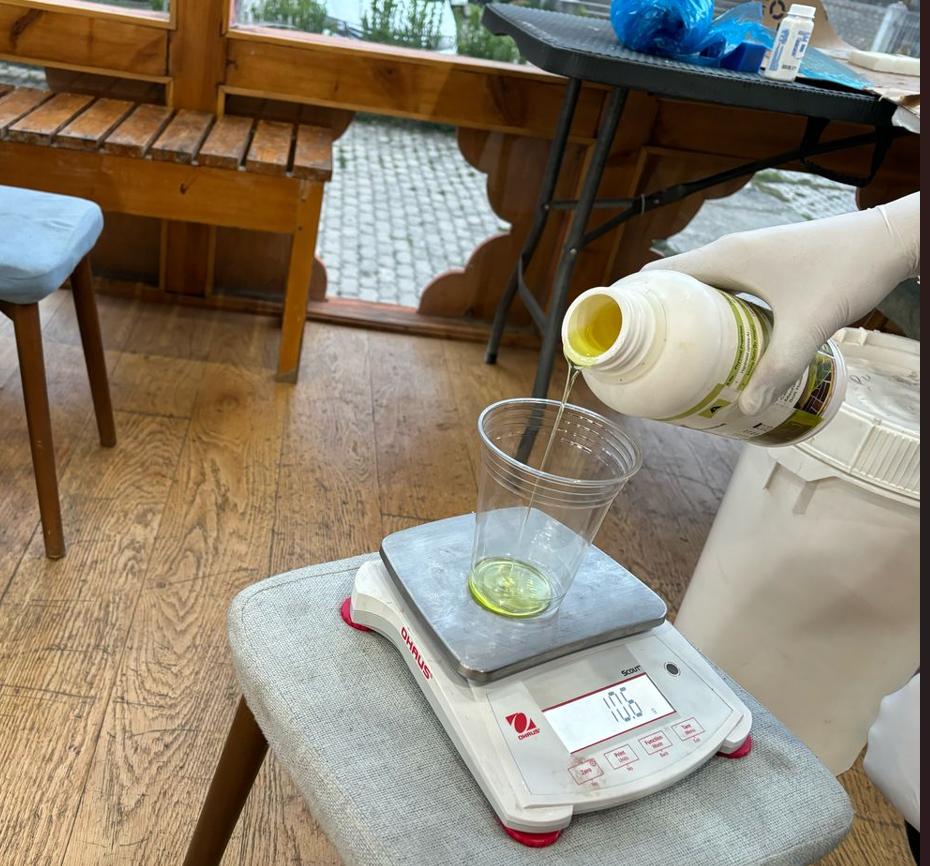
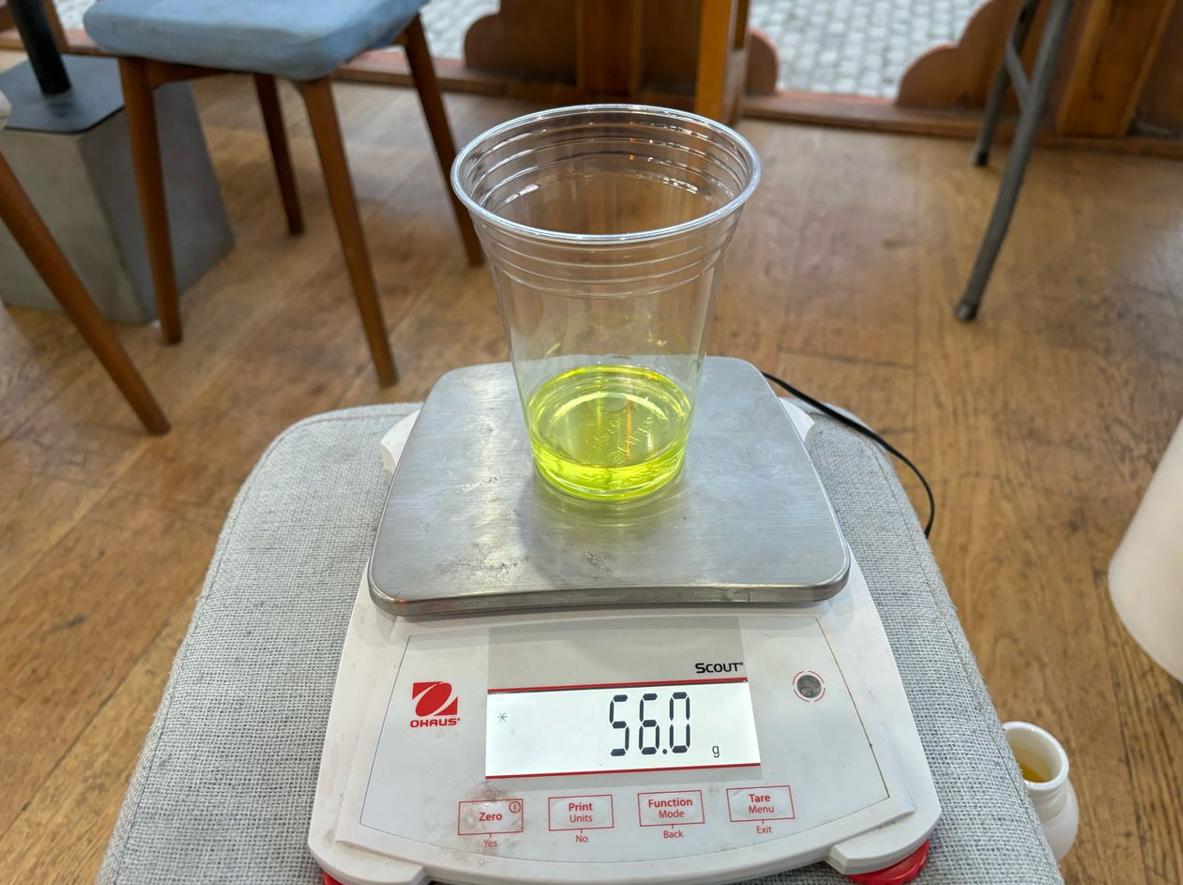
I weigh 56g of first Liquid Polyurethane Rubber.
-
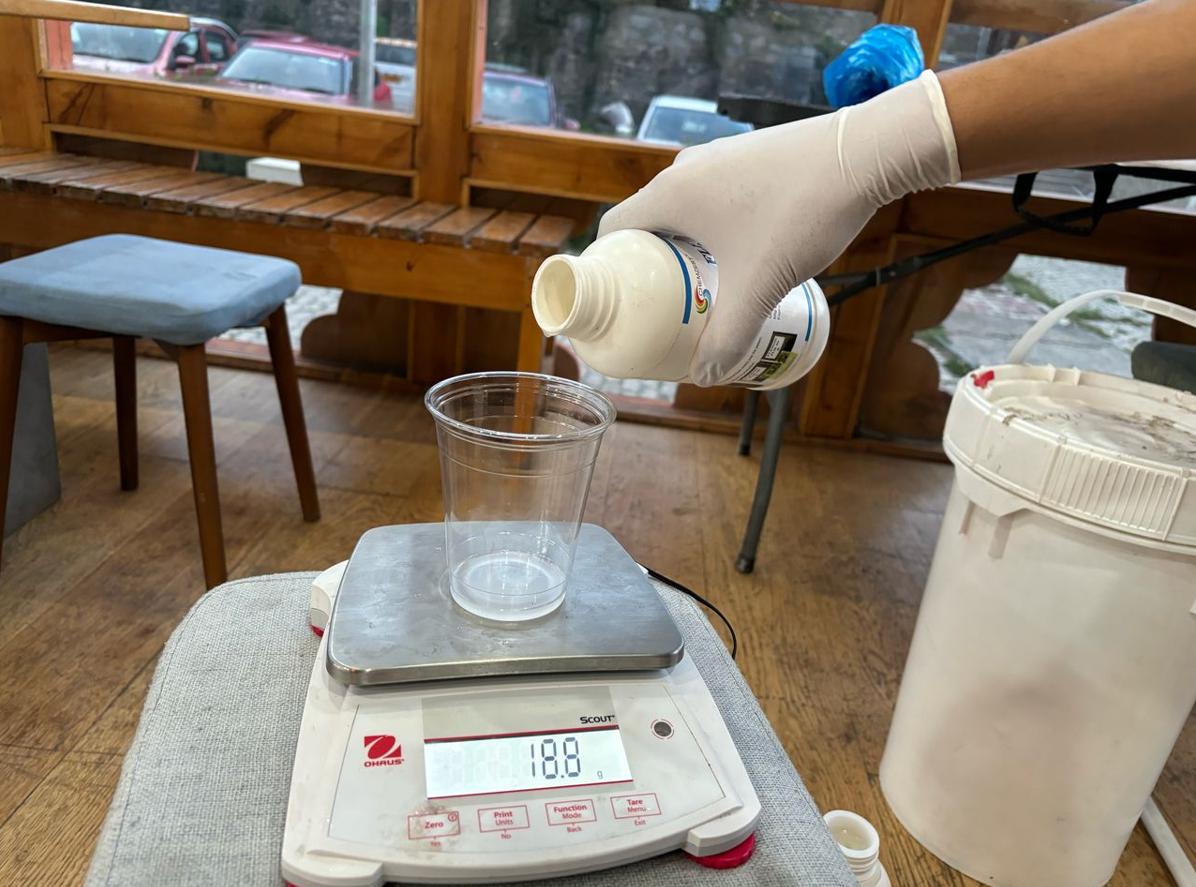
Then I weigh 22.4g of second Liquid Polyurethane Rubber. Their proportion specified on their data sheet is 100:40.
100/40 = 2.5
56g * 2.5 = 22.4g
-
Now it is time to mix two Liquid Polyurethane Rubber.
-
I try to suck the Liquid Polyurethane by Syringe but it can not really suck it due to hight viscosity of the liquid. Therefore, I open the syringe and pour the Liquid Polyurethane into Syringe.
-
Then I used Syringe to inject my thoroughly mixed Liquid Polyurethane Rubber in my two part Molds which are clamped by vertical clamp.
-
I left if to dry.
-
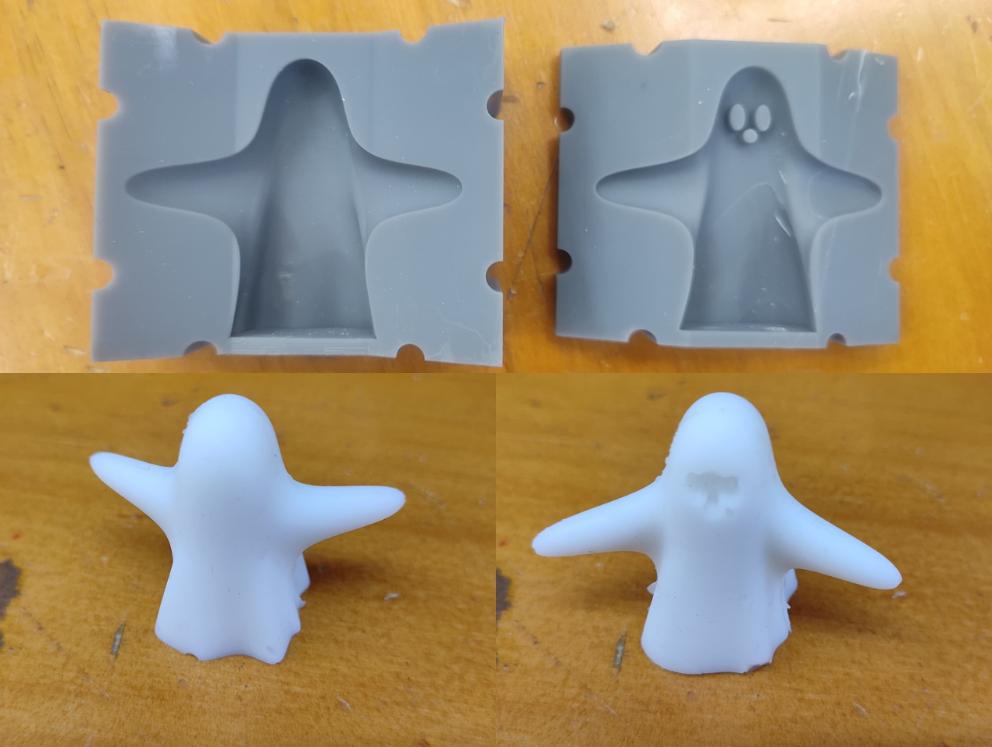
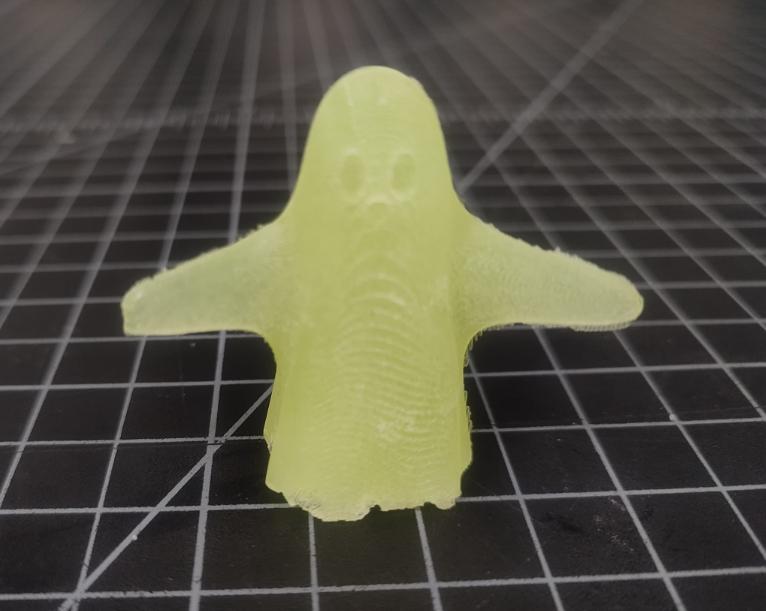
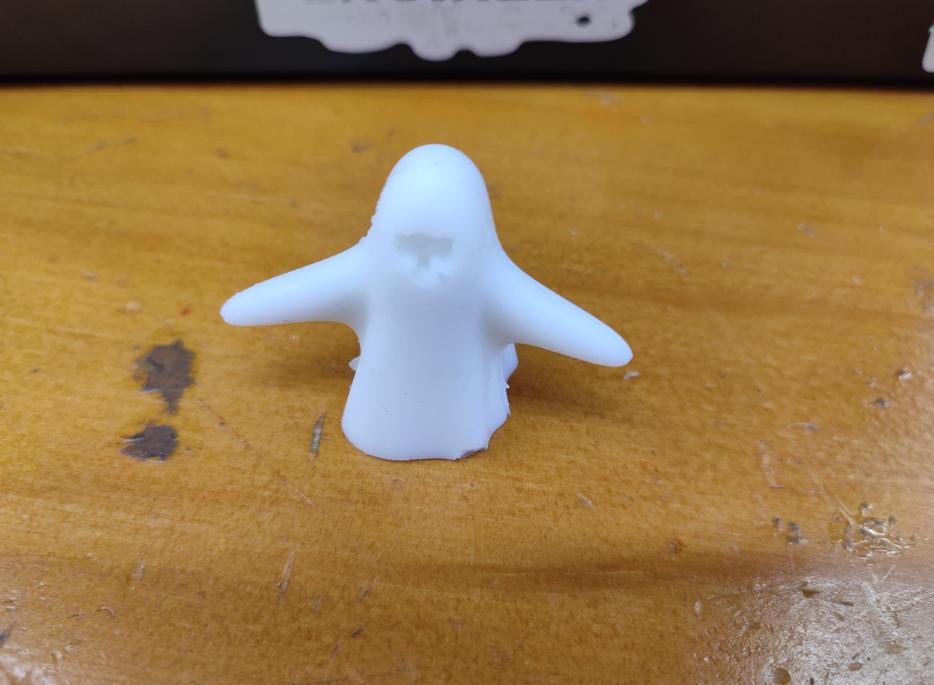
Here is the result.The tool path left on my 3D printed mold is seen on my result as well.
3D Printing my Mold in Form Lab
Since 3D printing can not really print smoothly as the tool path are apparently seen on my 3d Printed mold. I decided to try printing my mold in Form Lab.
Here is some process of printing in form lab. I am putting this steps as I feel like it would be a good reference for myself in future.
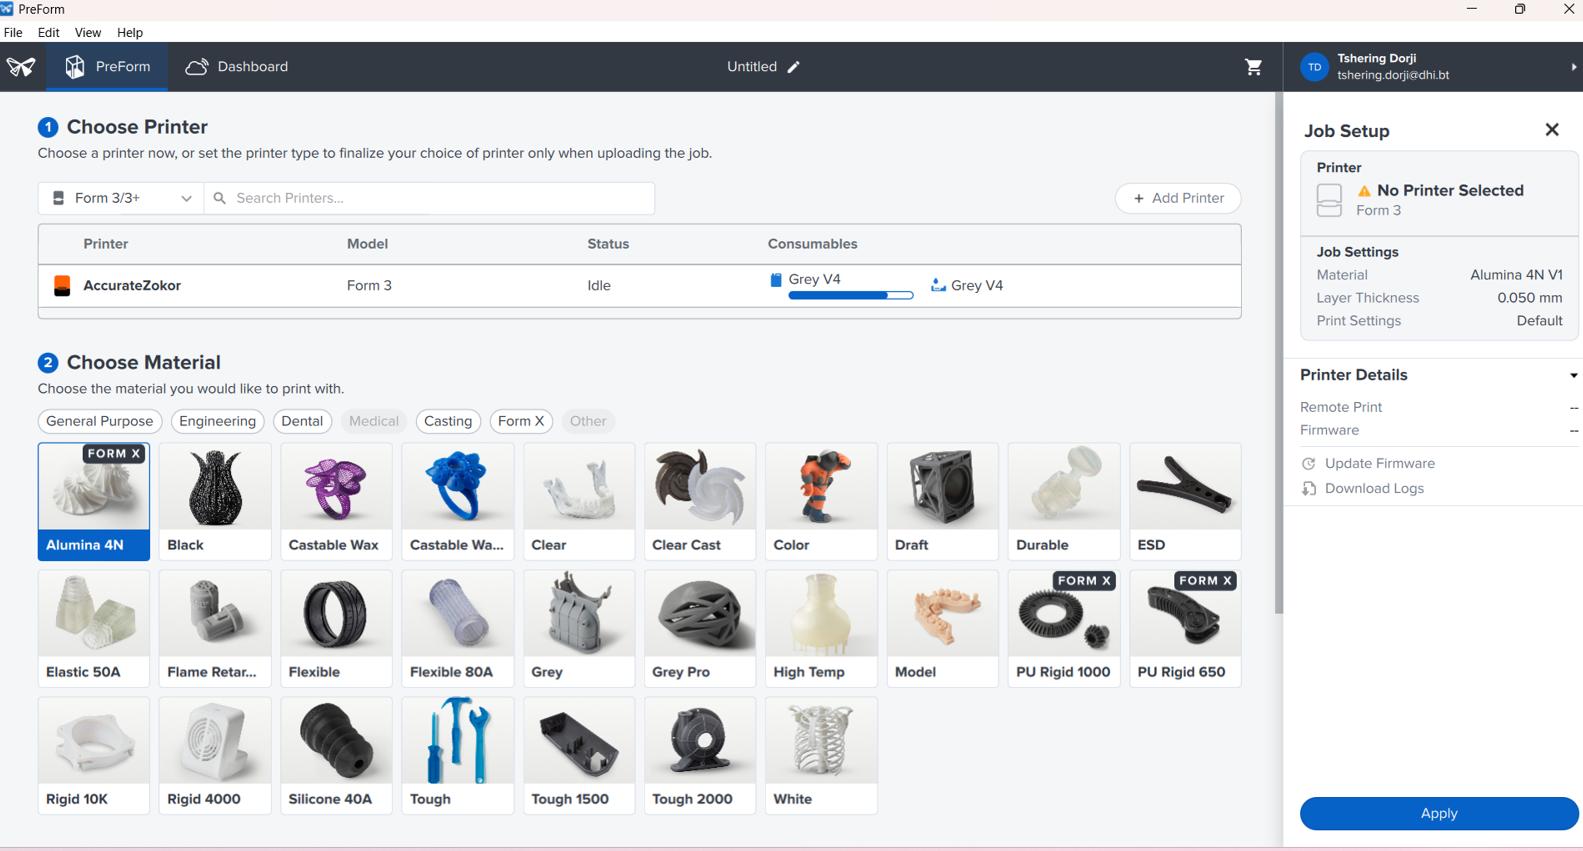
- I installed Preform software on my computer.
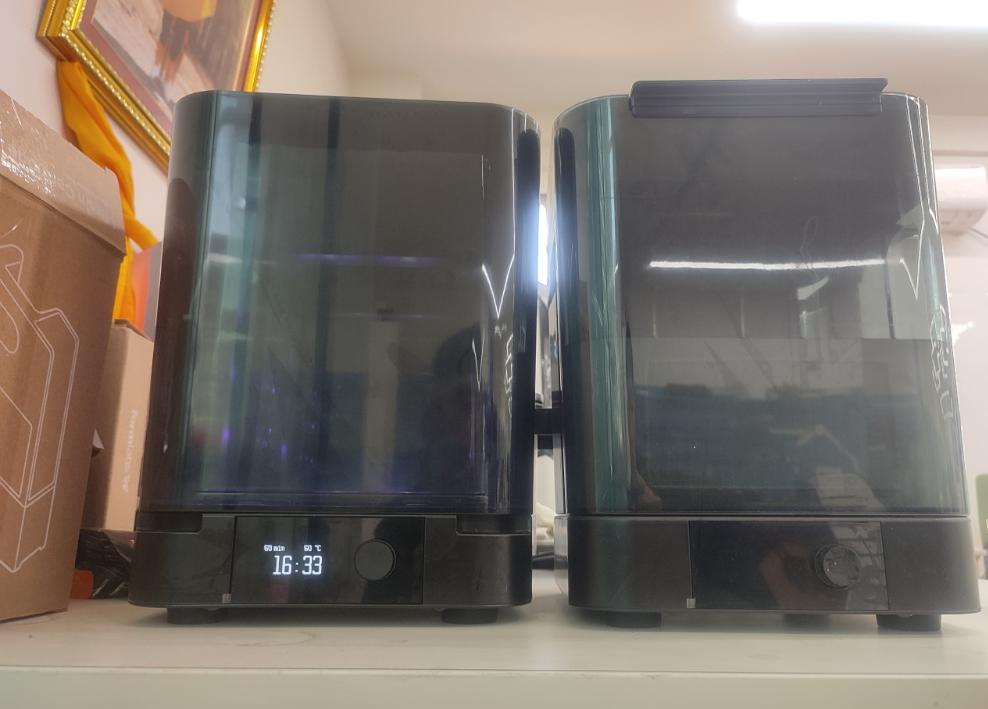
- I opened the software and choose the Formlab 3 which is up and running in our lab.
-
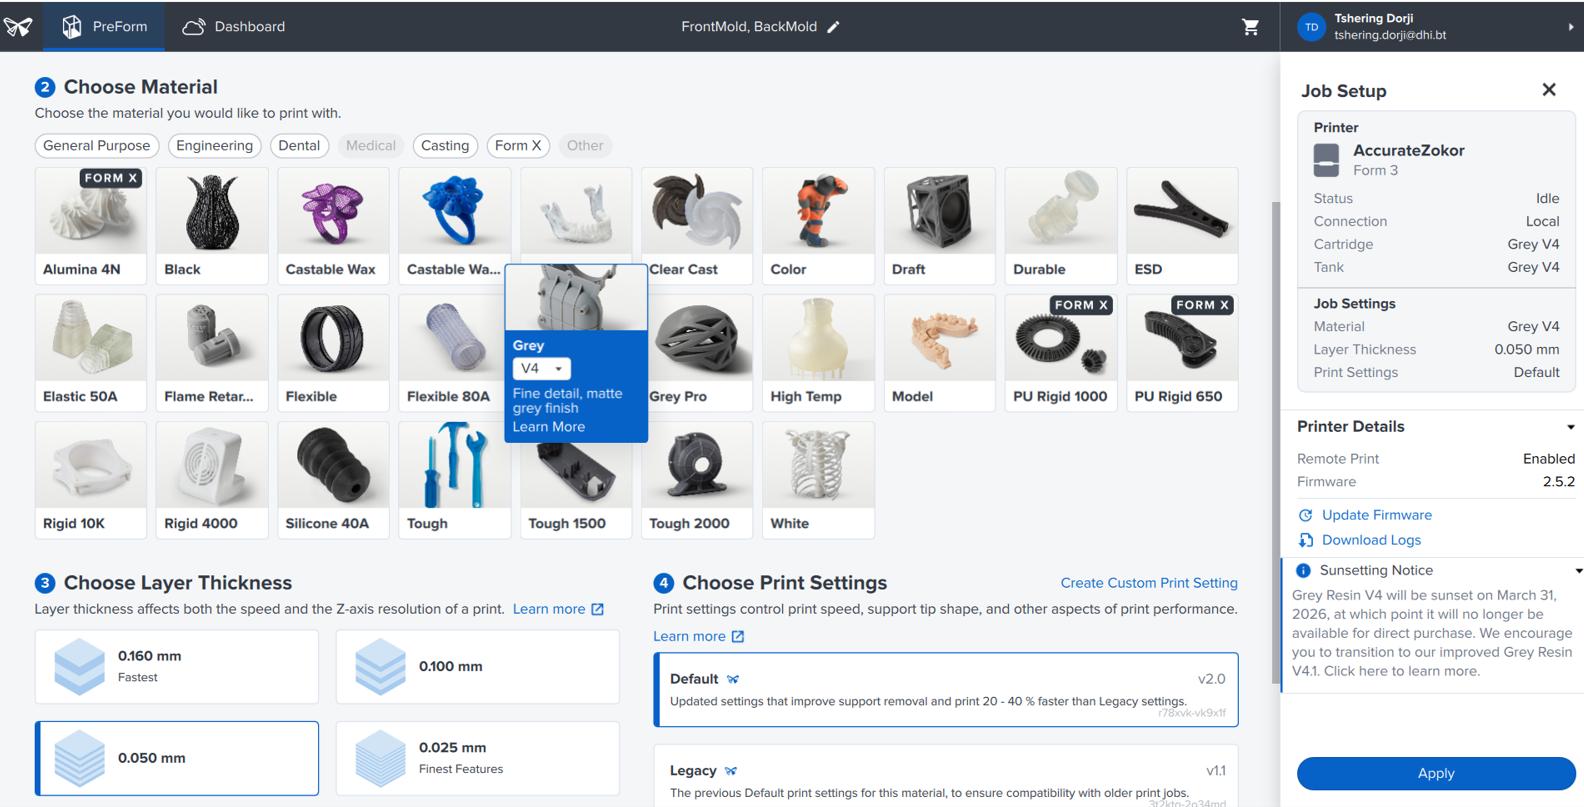
Then I also specified the material which I will be used for printing.
-
I used the default Print setting.
-
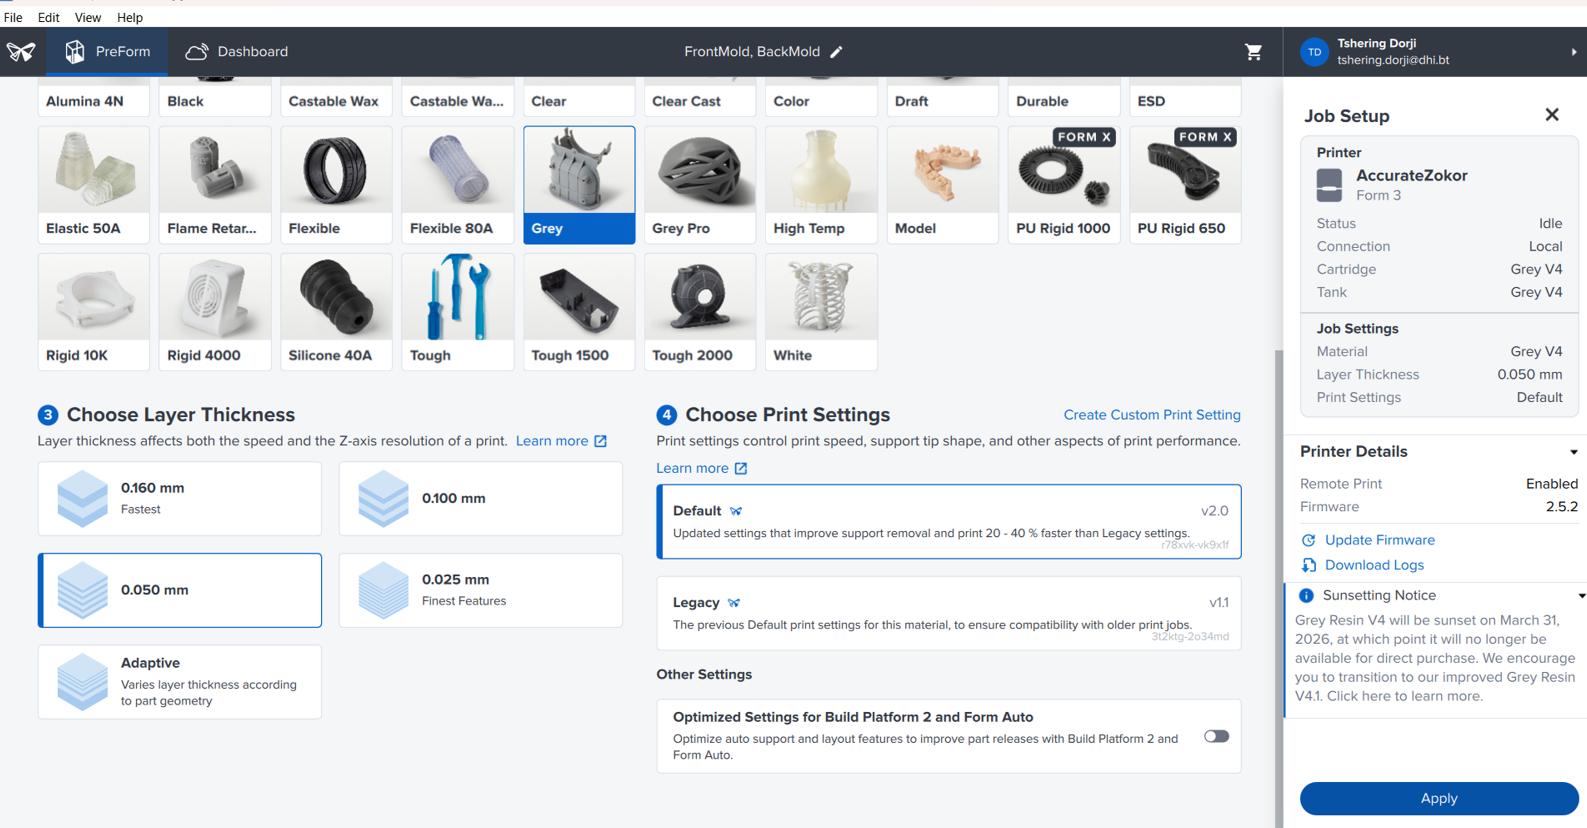
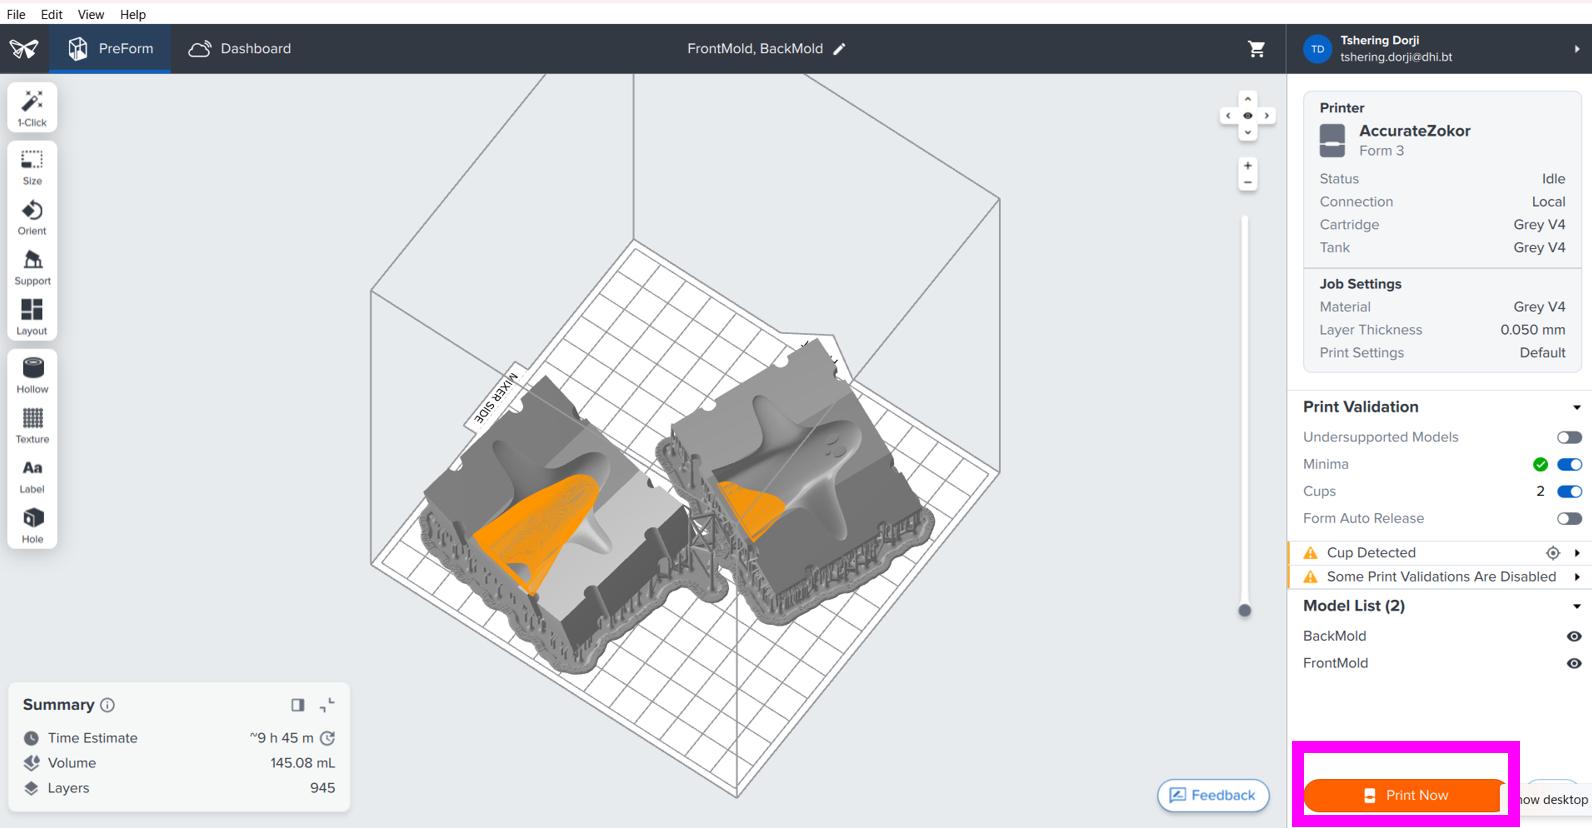
Here is how I slice my mold for printing in Form Lab. Following are the print setting I used to slice my modelin preform for FormLab3.
-
Machine: FormLab3
- Material Used: Gray Resin
- Layer Hight: 0.05 mm
-
Support: Auto-generated Support
-
I Checked the size to make sure that my model is in correct size.
-
Then I clicked the Auto-orientation to orient my mold model.
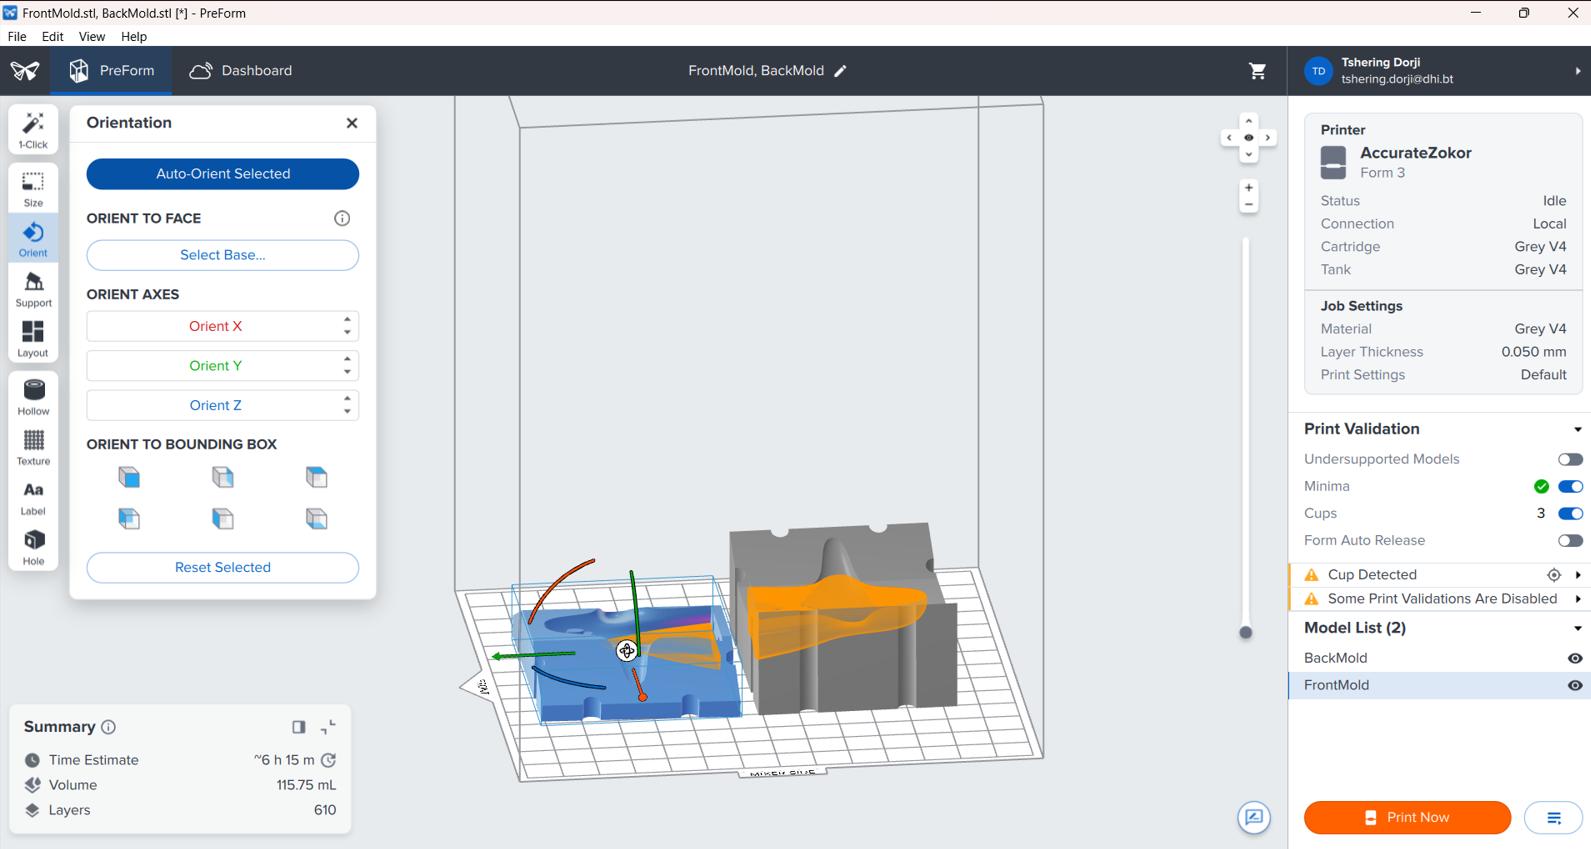
-
Support for printing is also auto generated.
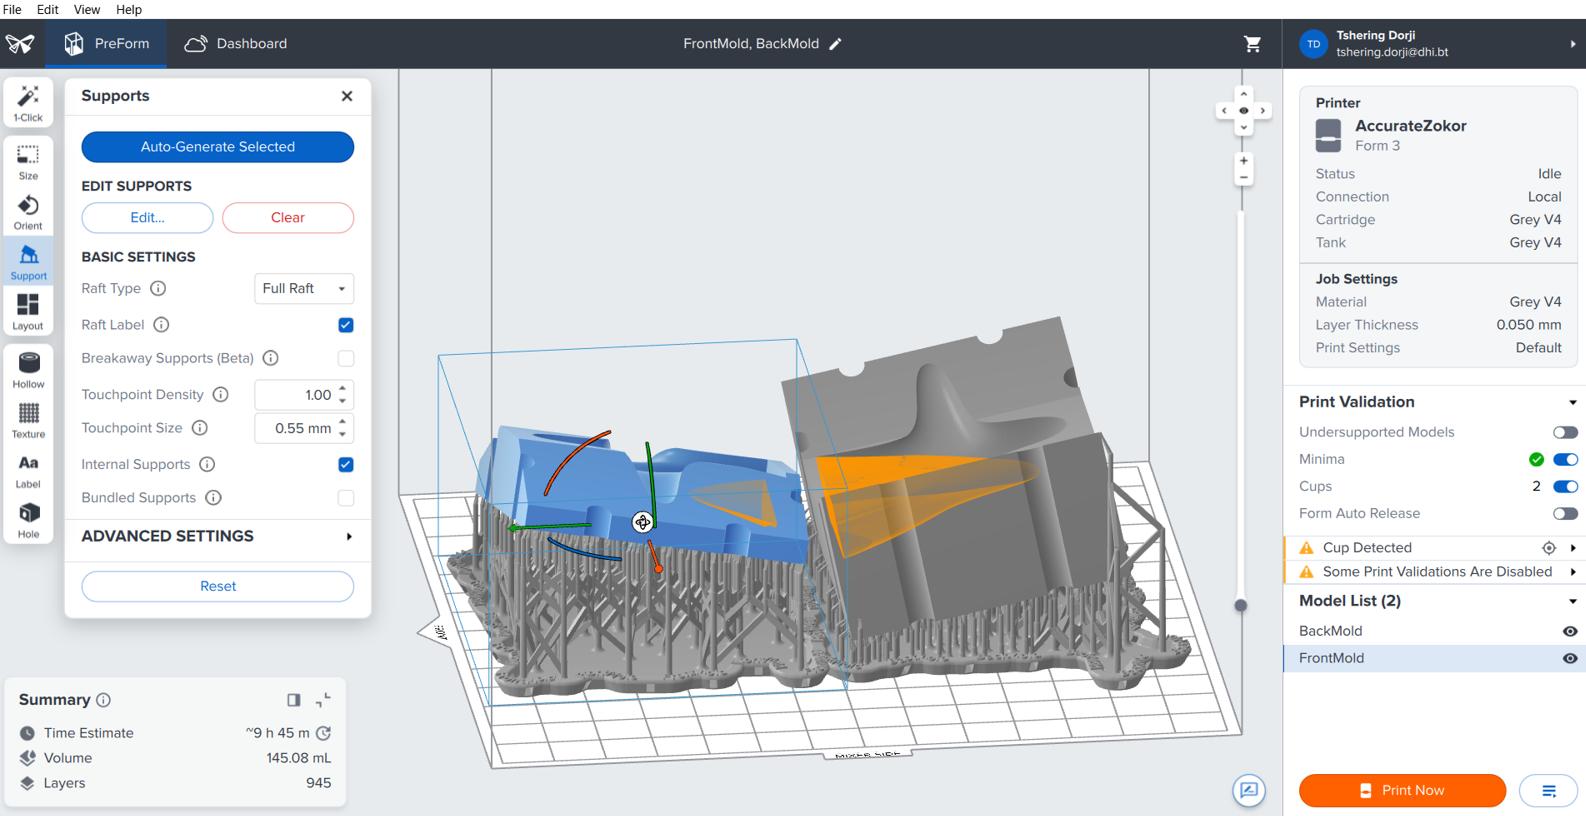
-
Auto layout.
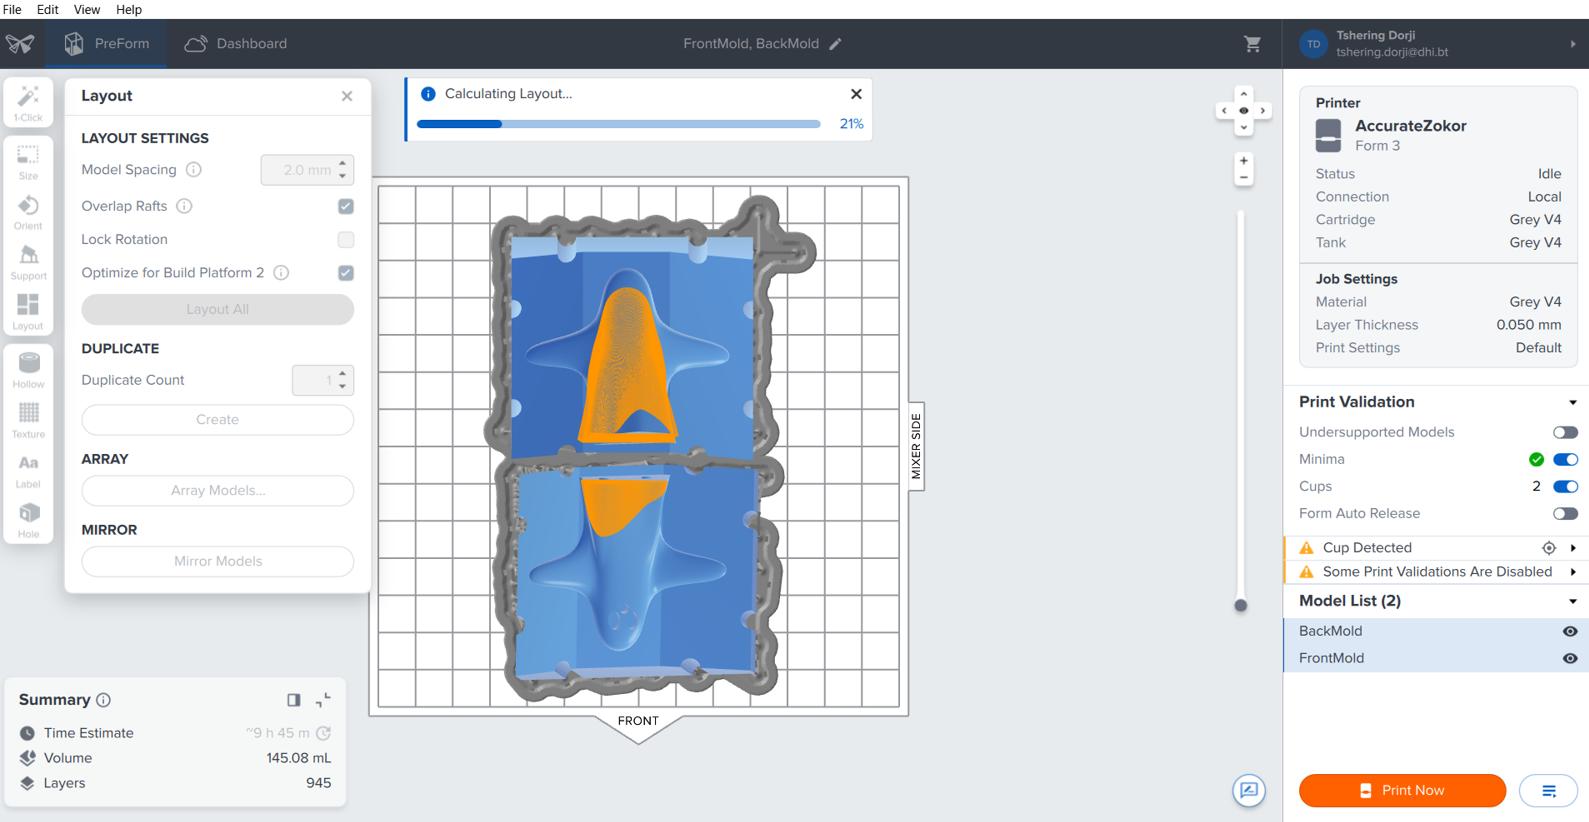
-
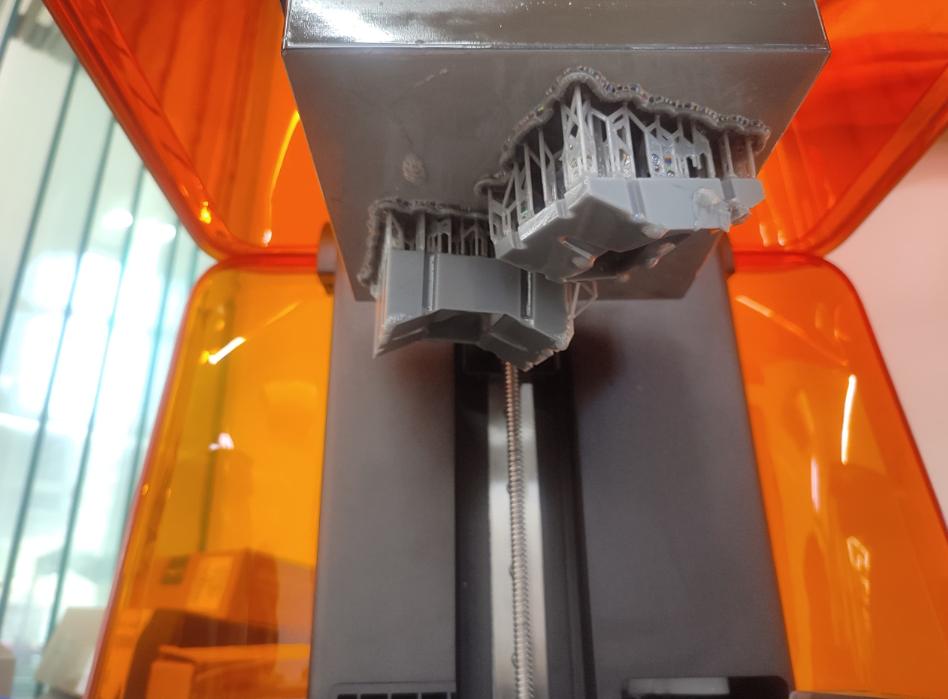
Then I printed my mold.
-
It took 9 hours to print my Mold! I hope it is wroth the time.
-
Alcohol treatment
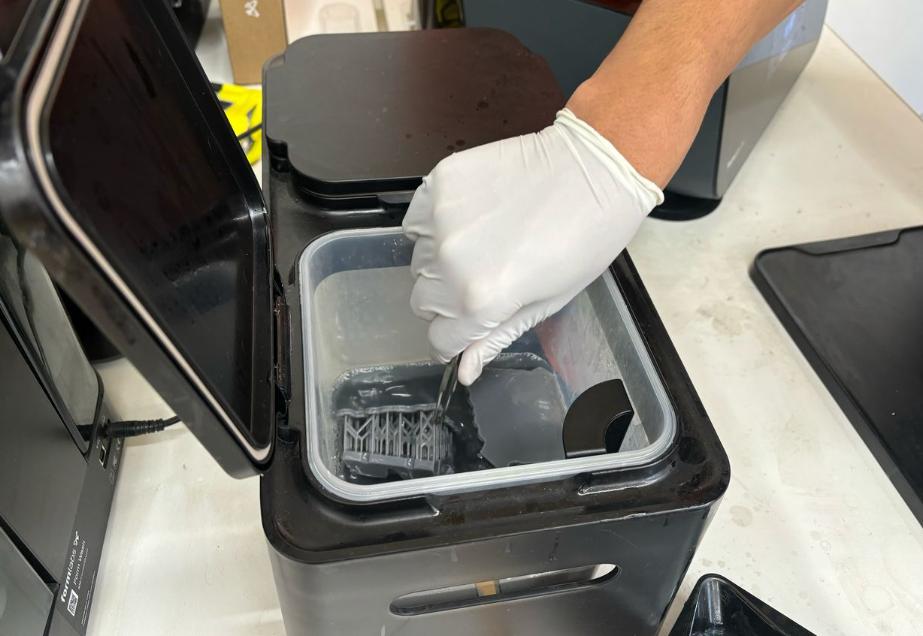
-
I then removed the support right after it is taken out from the first treatment.
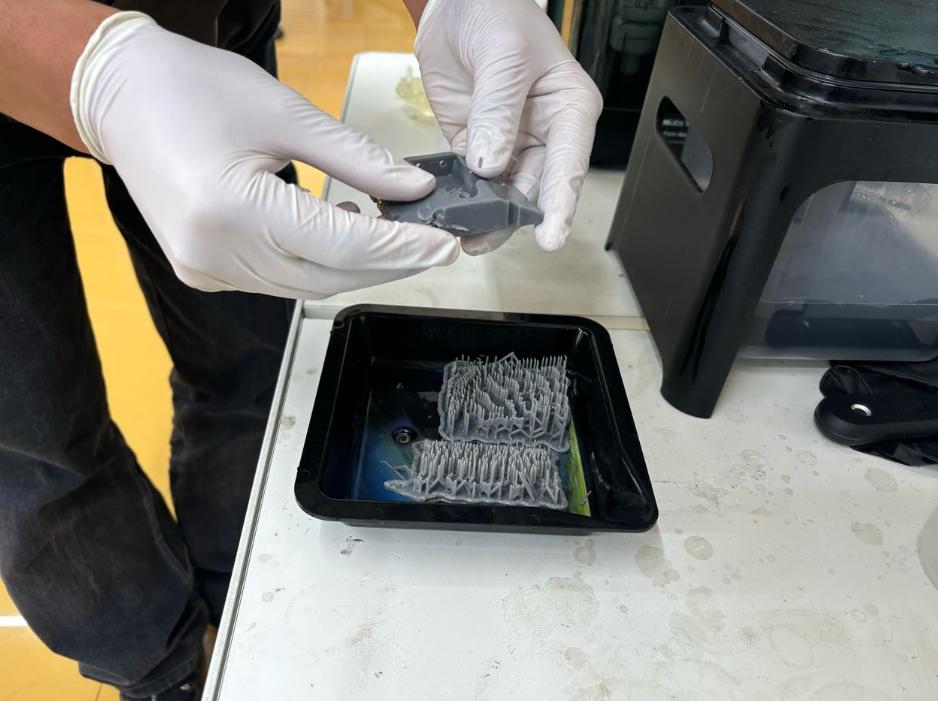
-
Another round of Alcohol treatment.
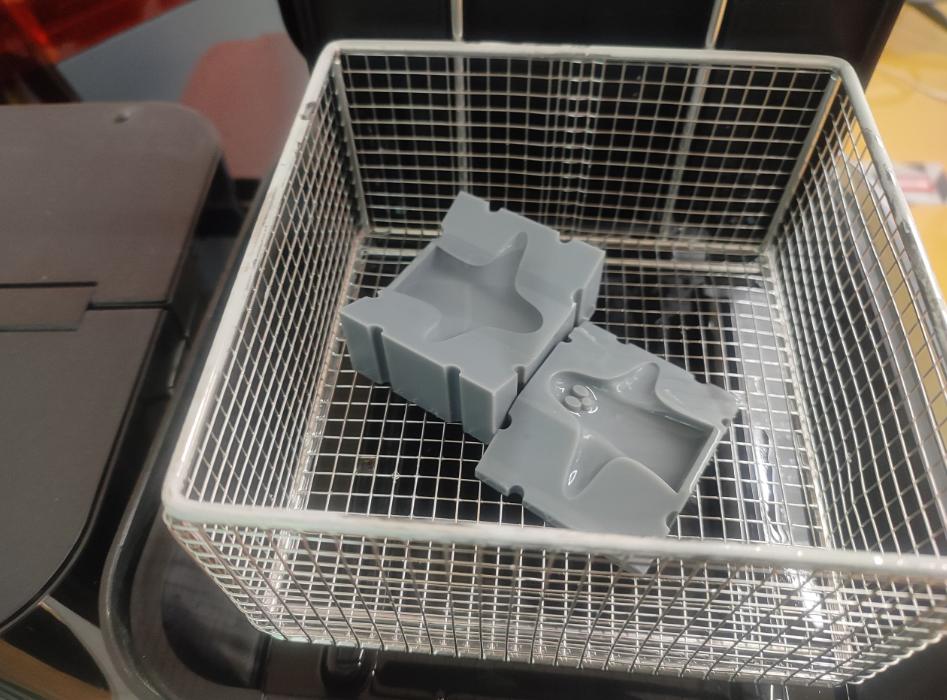
-
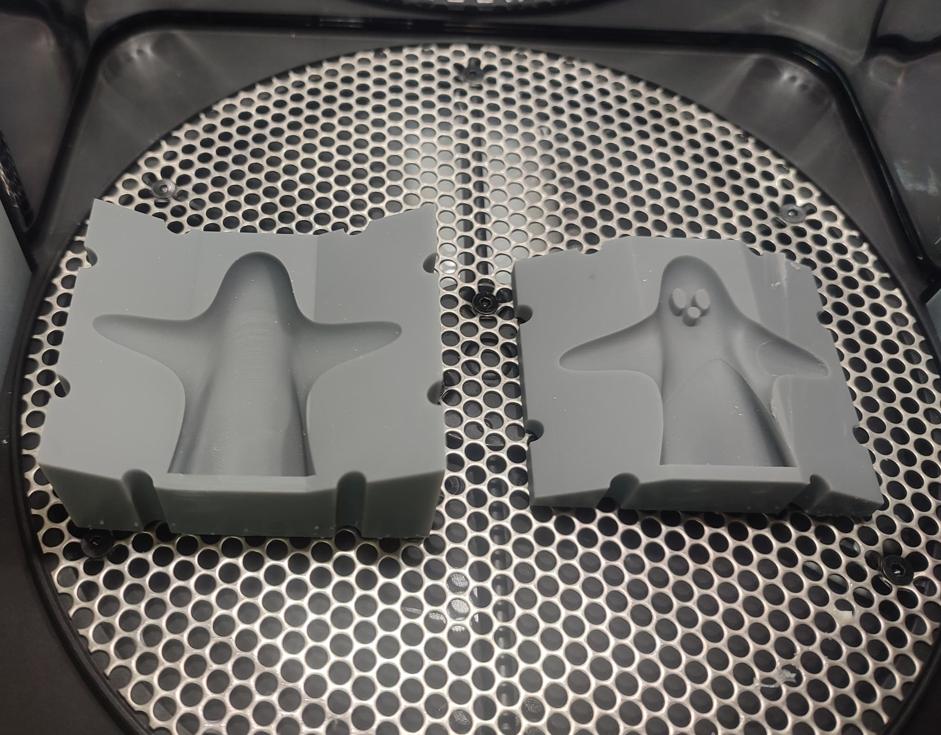
Drying after Alcohol treatment.
-
Now my mold is dry and ready for molding.
Molding and Casting using Mold Printed in Form Lab* This time I will be using Liquid Silicon Rubber and Catalyst LSR-2series.
-
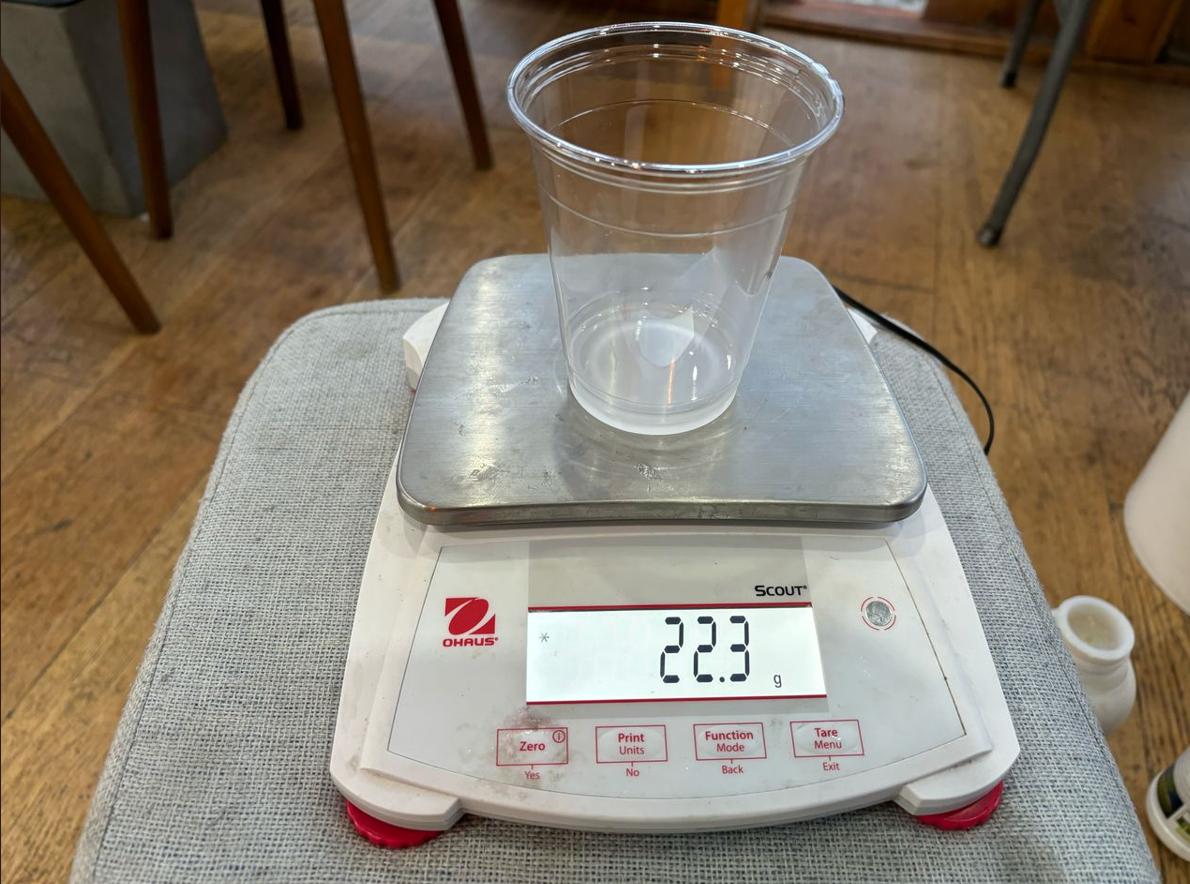
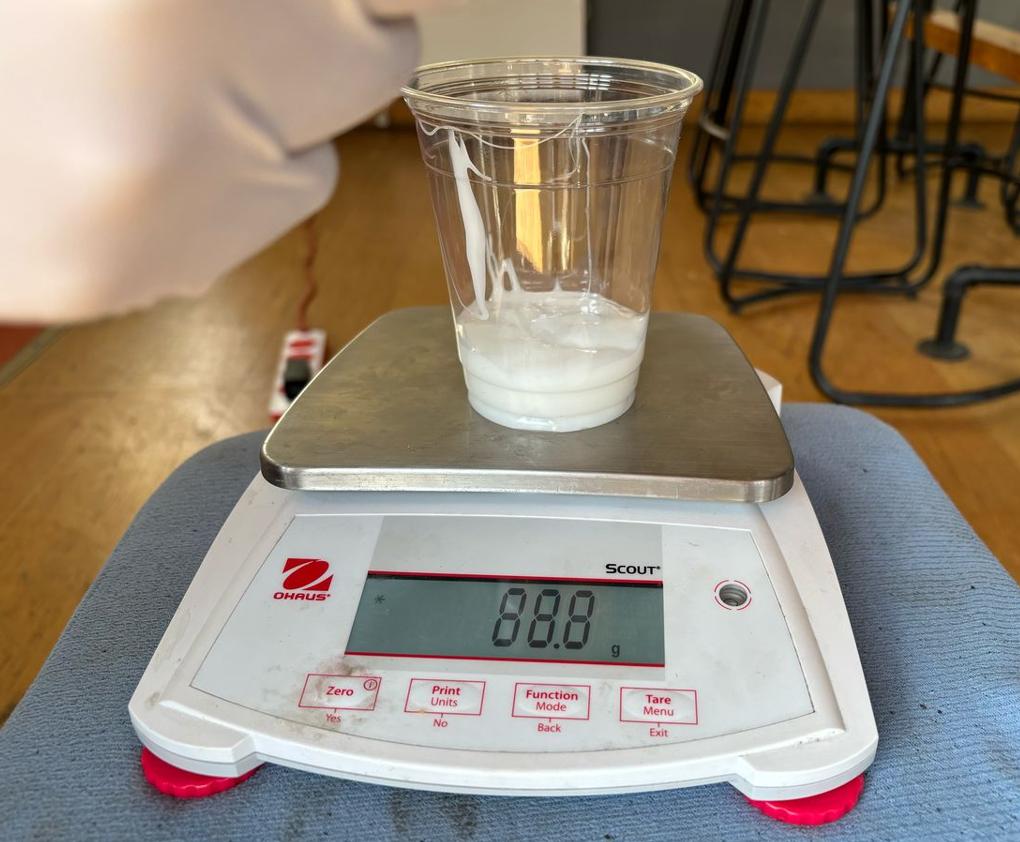
Zeroing weight of the plastic cup.

-
Liquid Silicon Rubber is poured into the plastic cup. I prepare 88.8g.
-
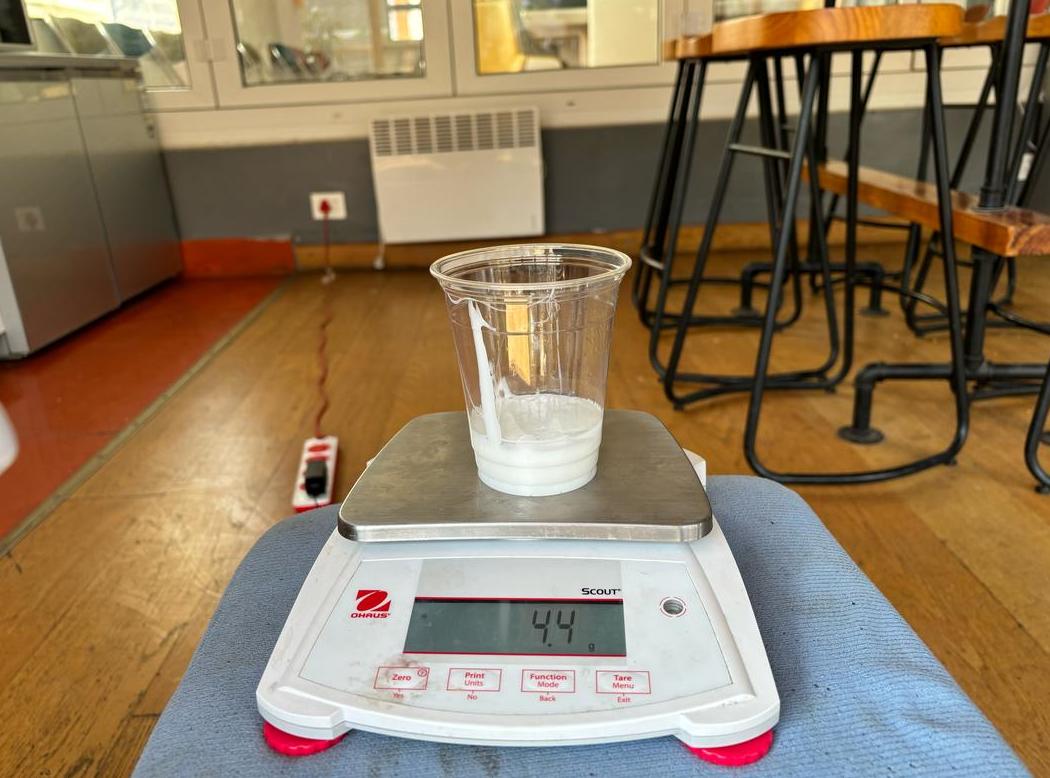
Zeroing Liquid Silicon Rubber and carefully pouring Catalyst LSR-2series on top of Silicon. The proportion specified in their data sheet says 3-5% of Catalyst have to used.
5% = 0.05
for 88.8g of Silicon:
88.8 * 0.05 = 4.44g of Catalyst
-
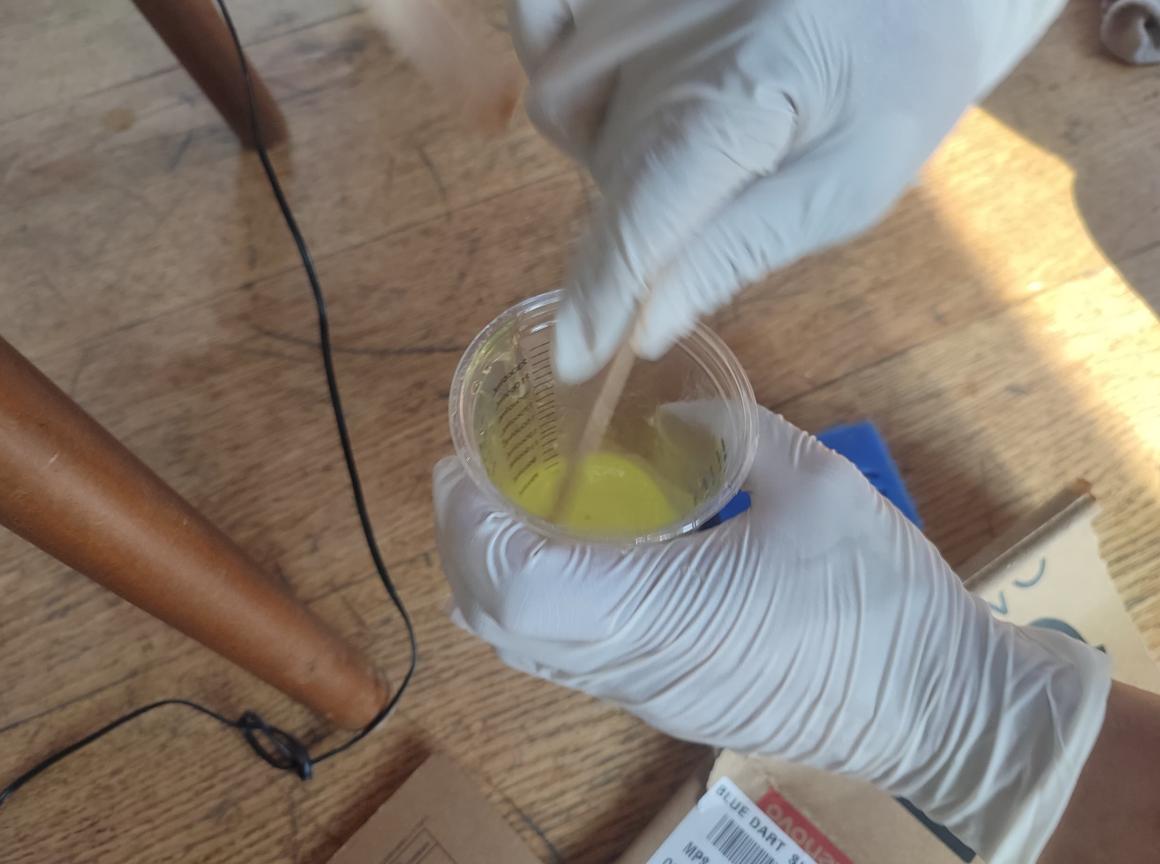
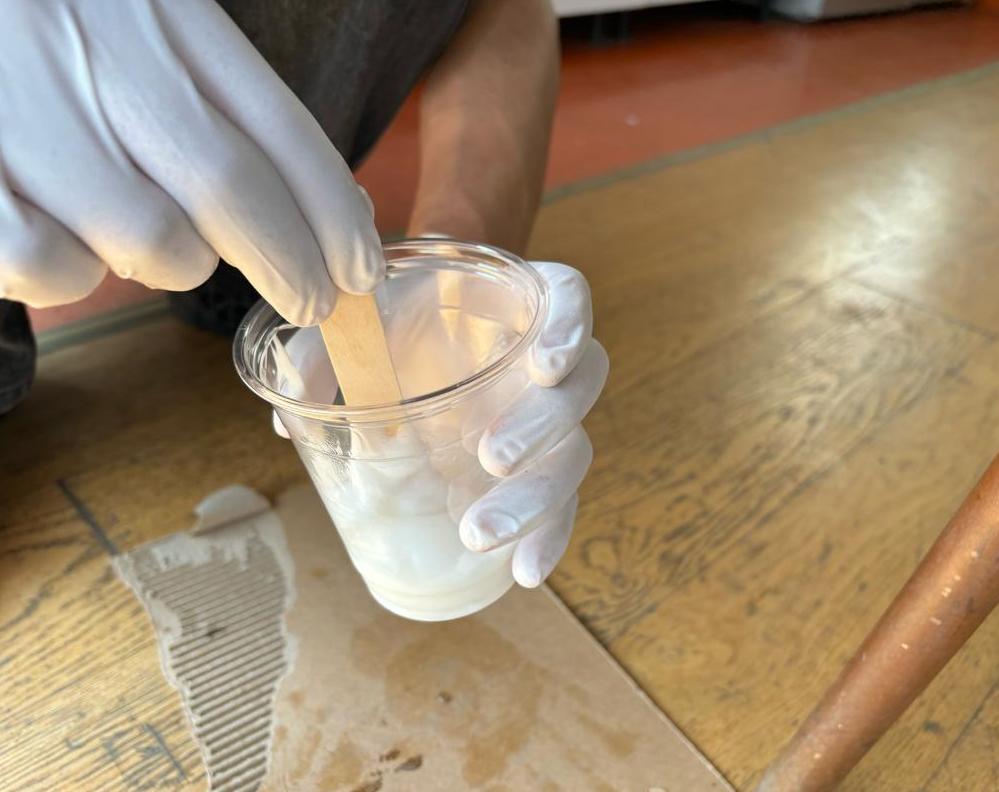
I then thoroughly mixed silicon and the catalyst.
-
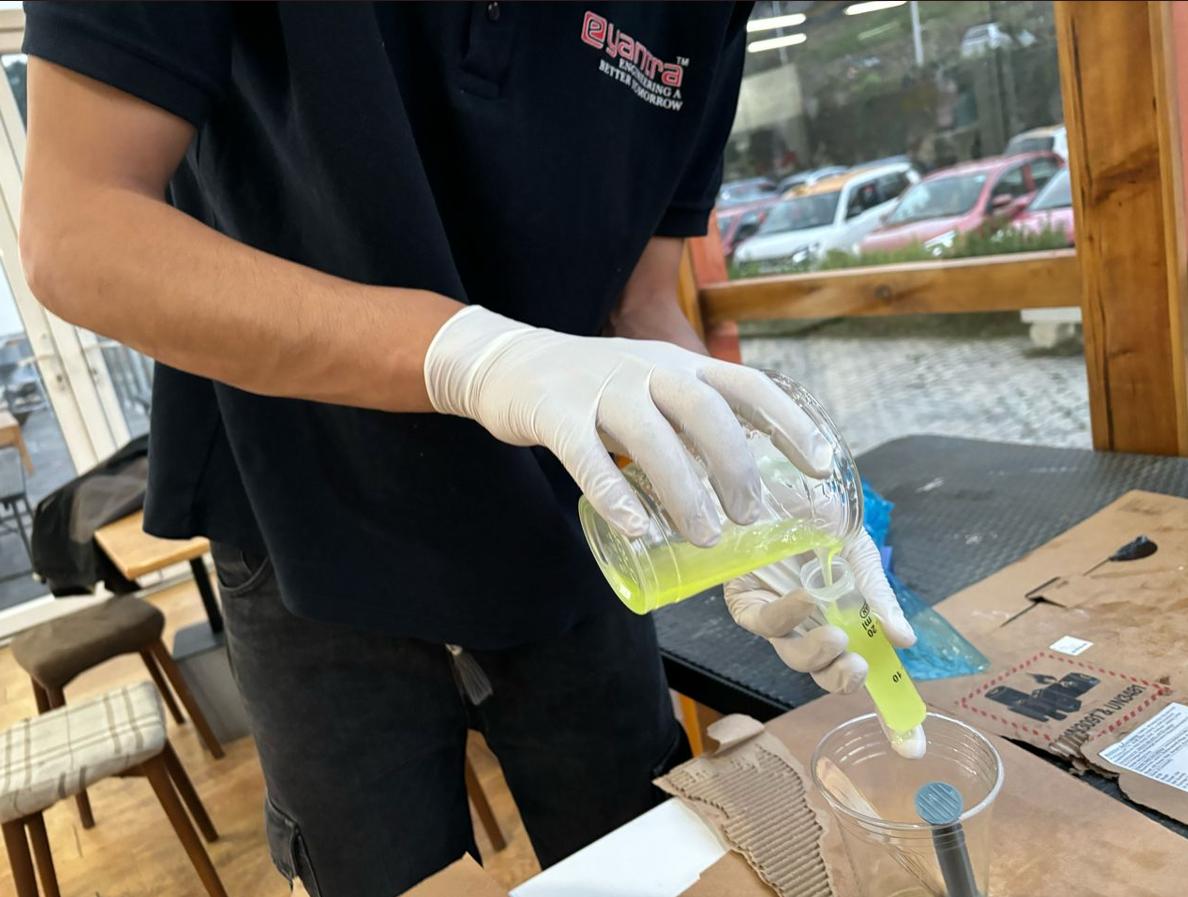
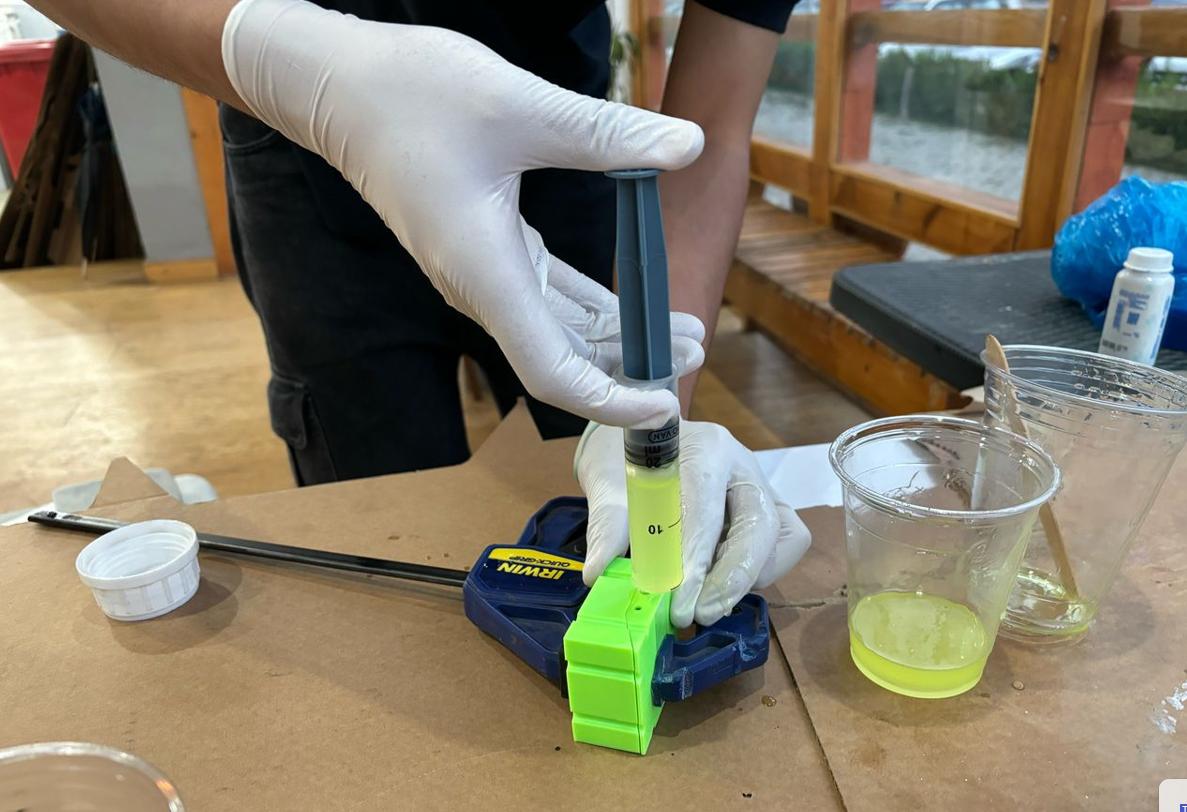
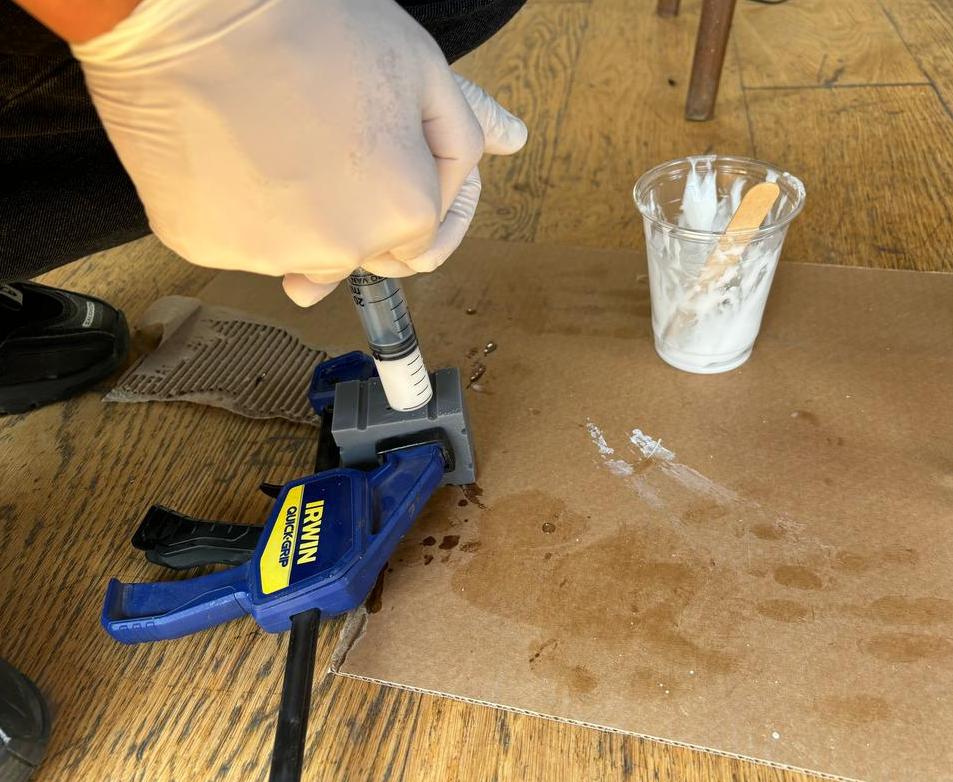
Put it inside Syringe and inject the silicon inside my two parts Mold.
-
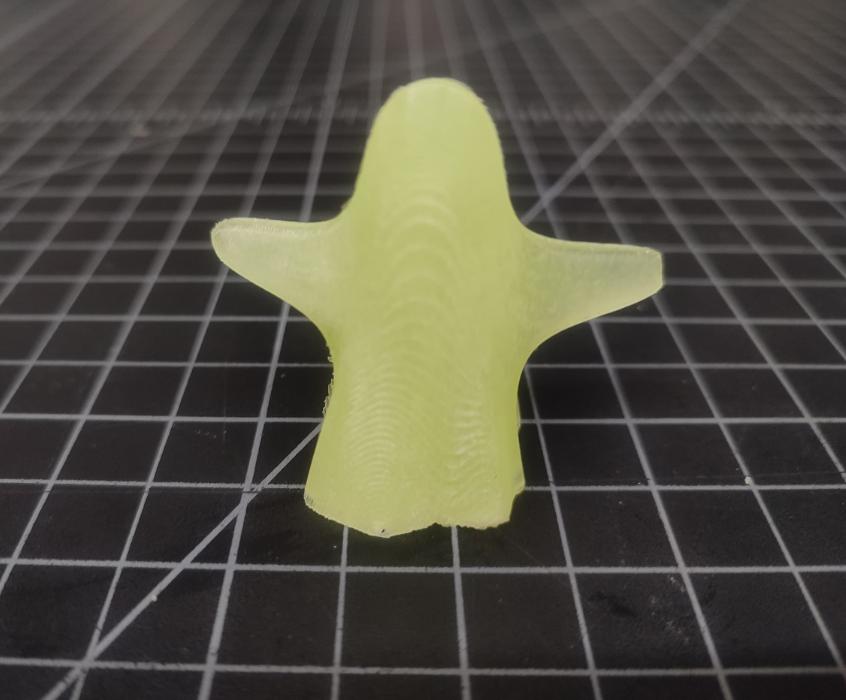
Result
-
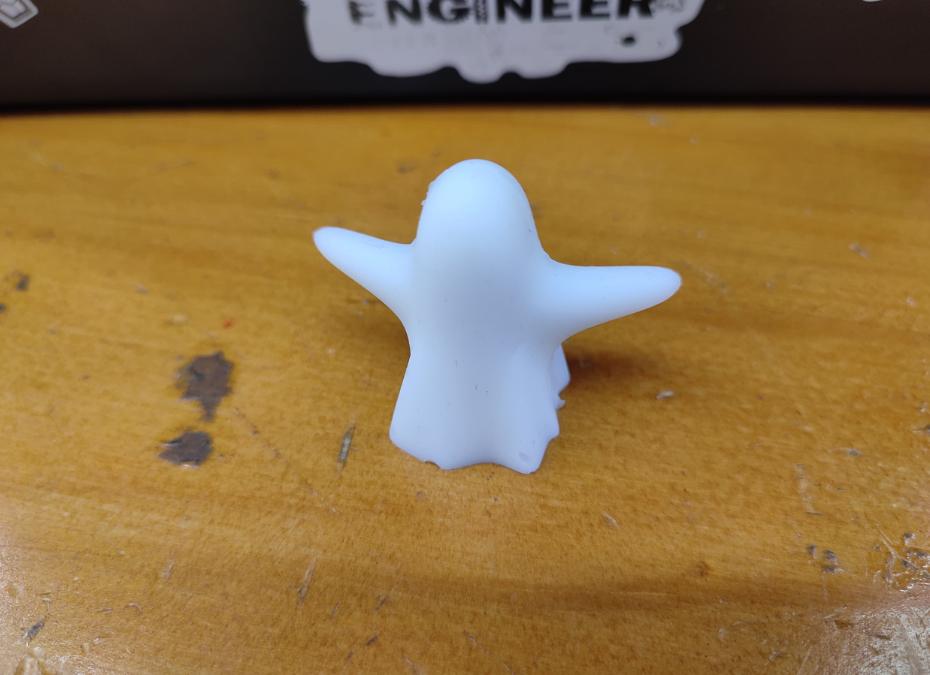
My Ghost look quite cute right!
Conclusion:
3D printed Mould didn’t come out nice because the tool path are clearly visible both on Mold and my Ghost made out of the Mold. I think use print quality from 0.2 mm to 0.08 mm could potentially reduce the visibility of the tool path on 3D printed mold and can give smoothier mold.
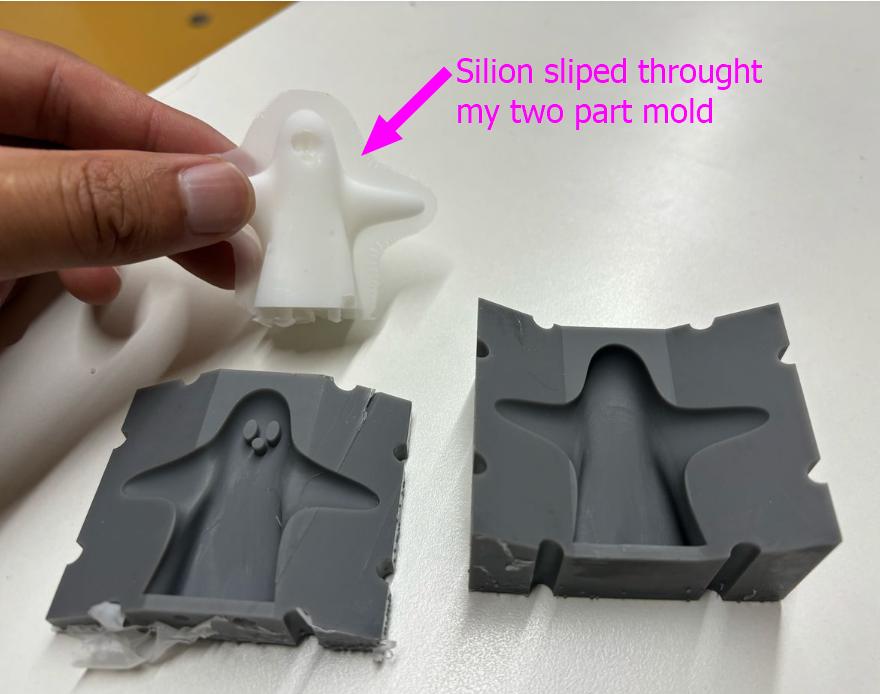
Mold printed in formlab3 are much smoother and the there seems to be no visible tool path. So they are much better than 3D printed mold. But when I did the molding using the mold printed in formlab, the silicon slipped between two parts of the mold although I clamped them. I think this issue can be solve by properly clamping the two parts of mould using two or more clamp.