Wildcard Week
Produce something.
General Objective
This week's goal is to design and produce something with some digital process not covered so far by another assignment. Our instructor, Melanie, suggested we do something with the embroidery machine and....why not?
Idea
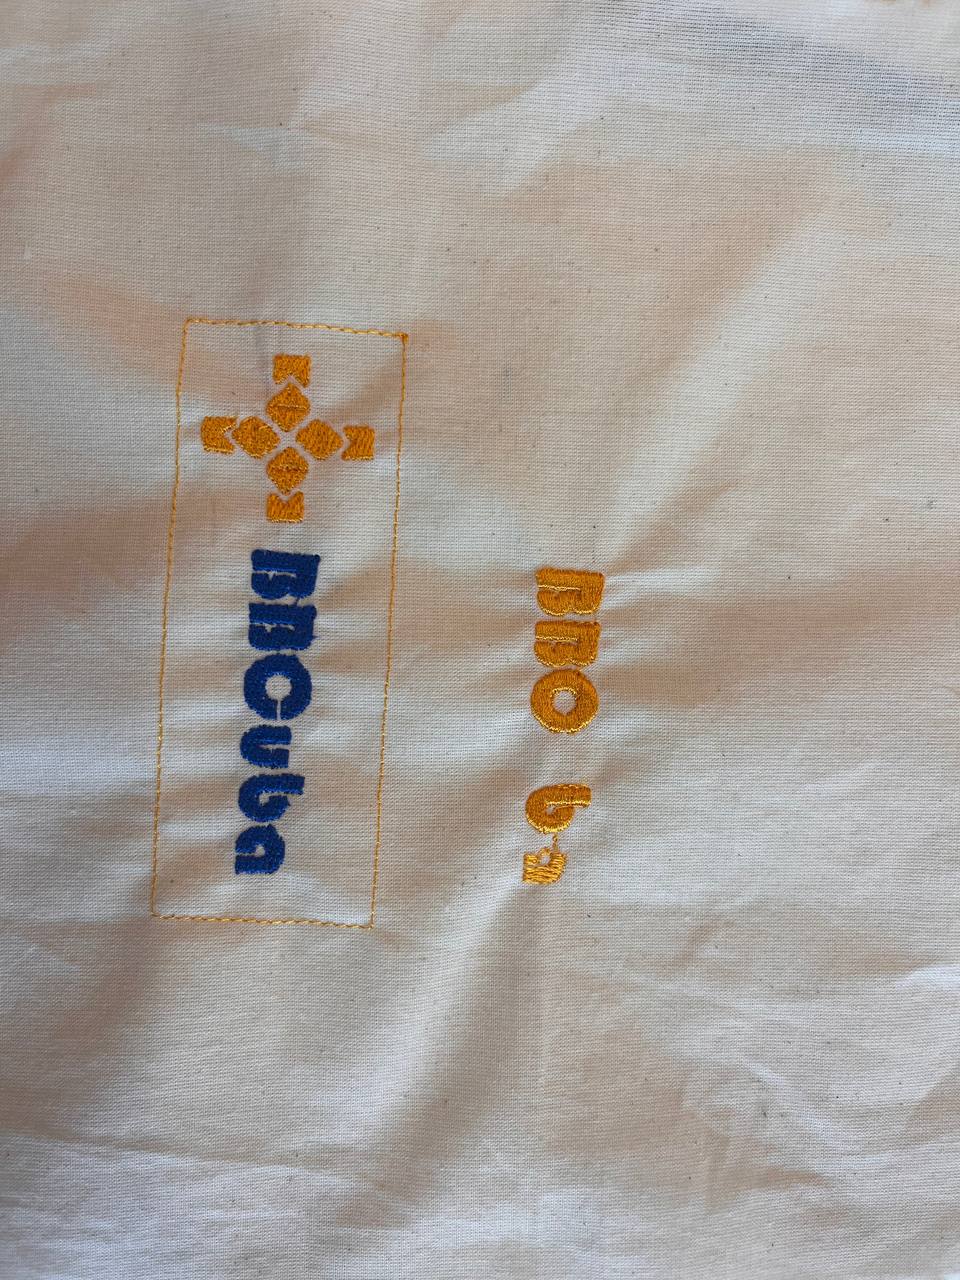
To carry out the objective, I designed the "final project" Logo in Inscape and embroidered it on a piece of fabric with the aim of making t-shirts for the entire team later.
Logo in Inkscape
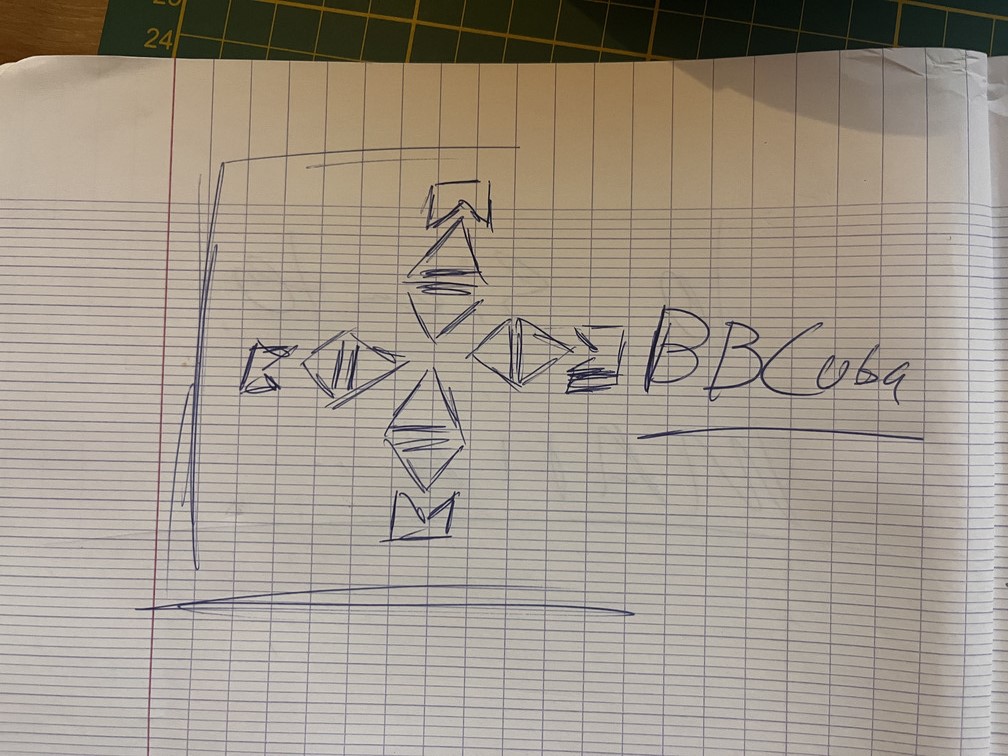
Before I start drawing anything, I'll do it by hand. After several attempts we arrived at a version that I like...this logo was already designed in week 2, so the step by step is there.
Ok, with the logo at this point we are ready to delve into what is truly new this week.
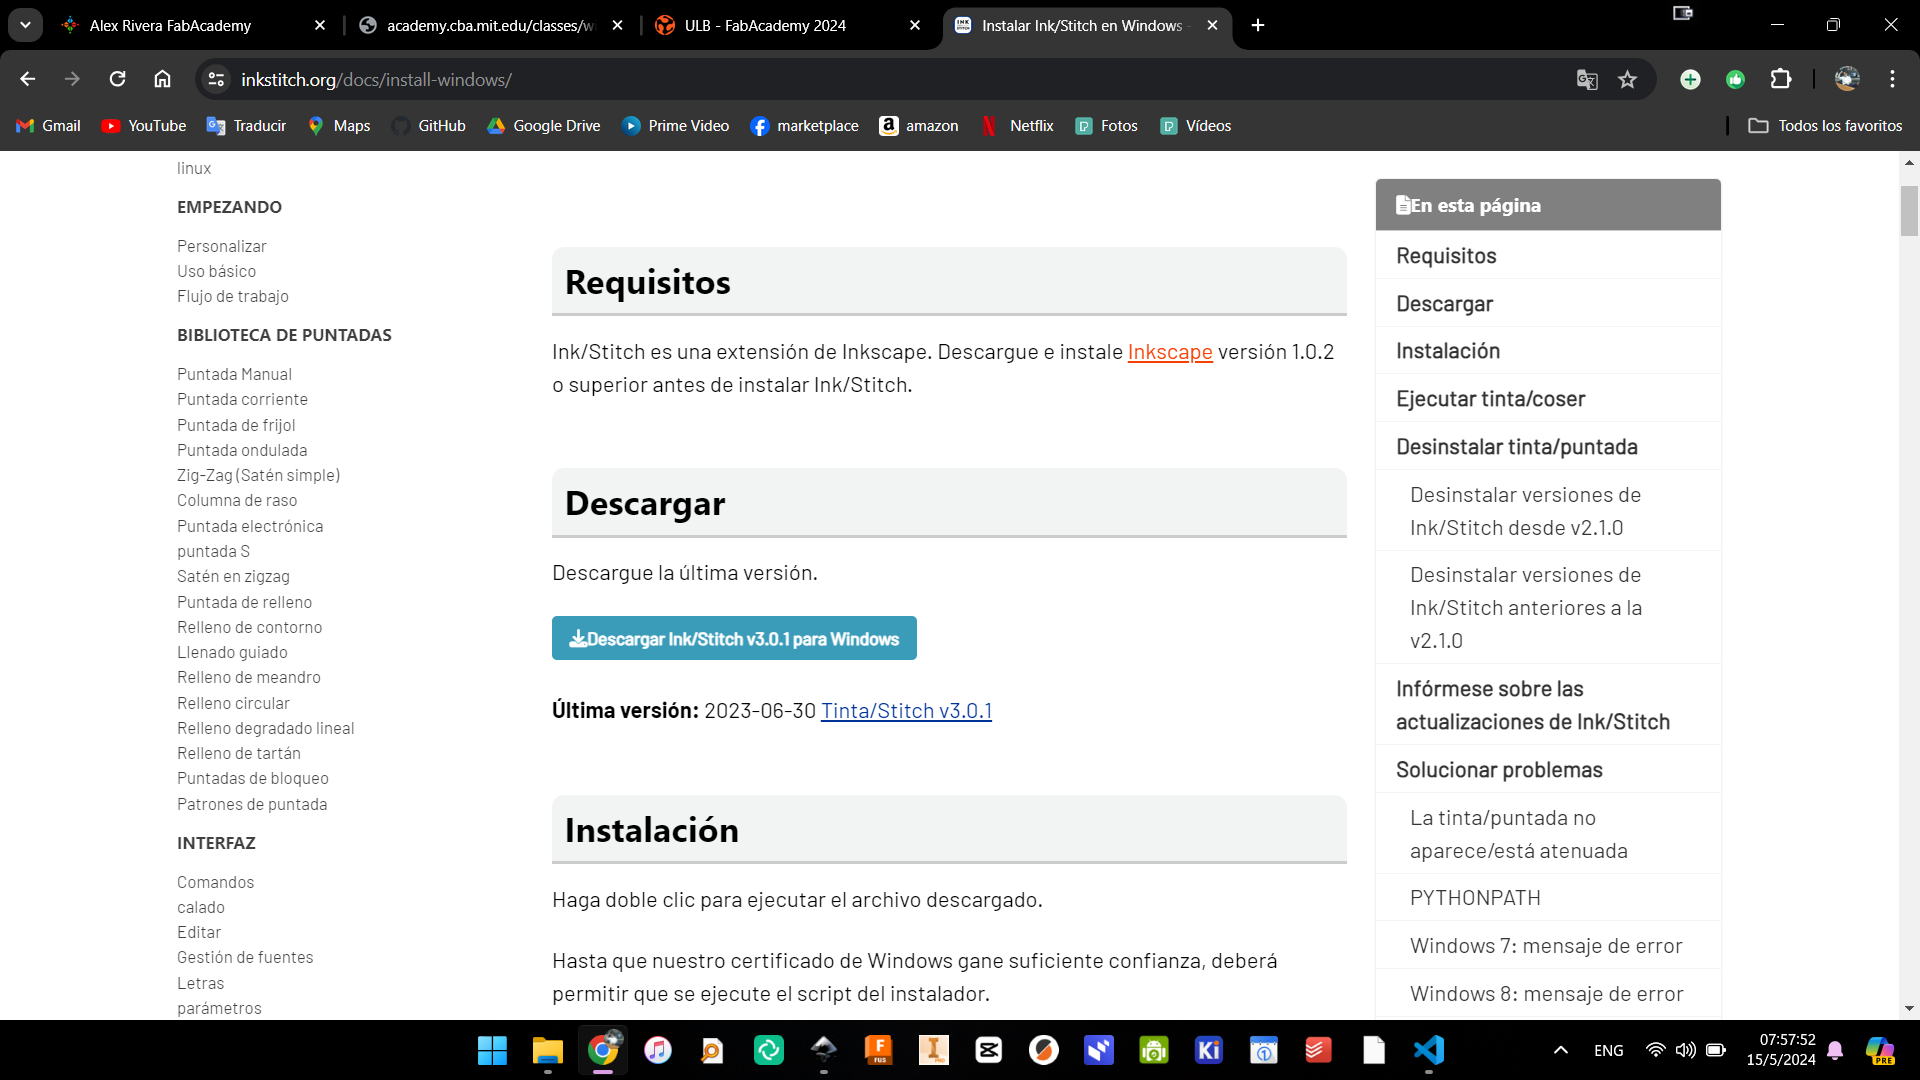
With the finished design it is necessary to install the extension inkstitch to work with the embroidery machine, just follow the instructions steps.
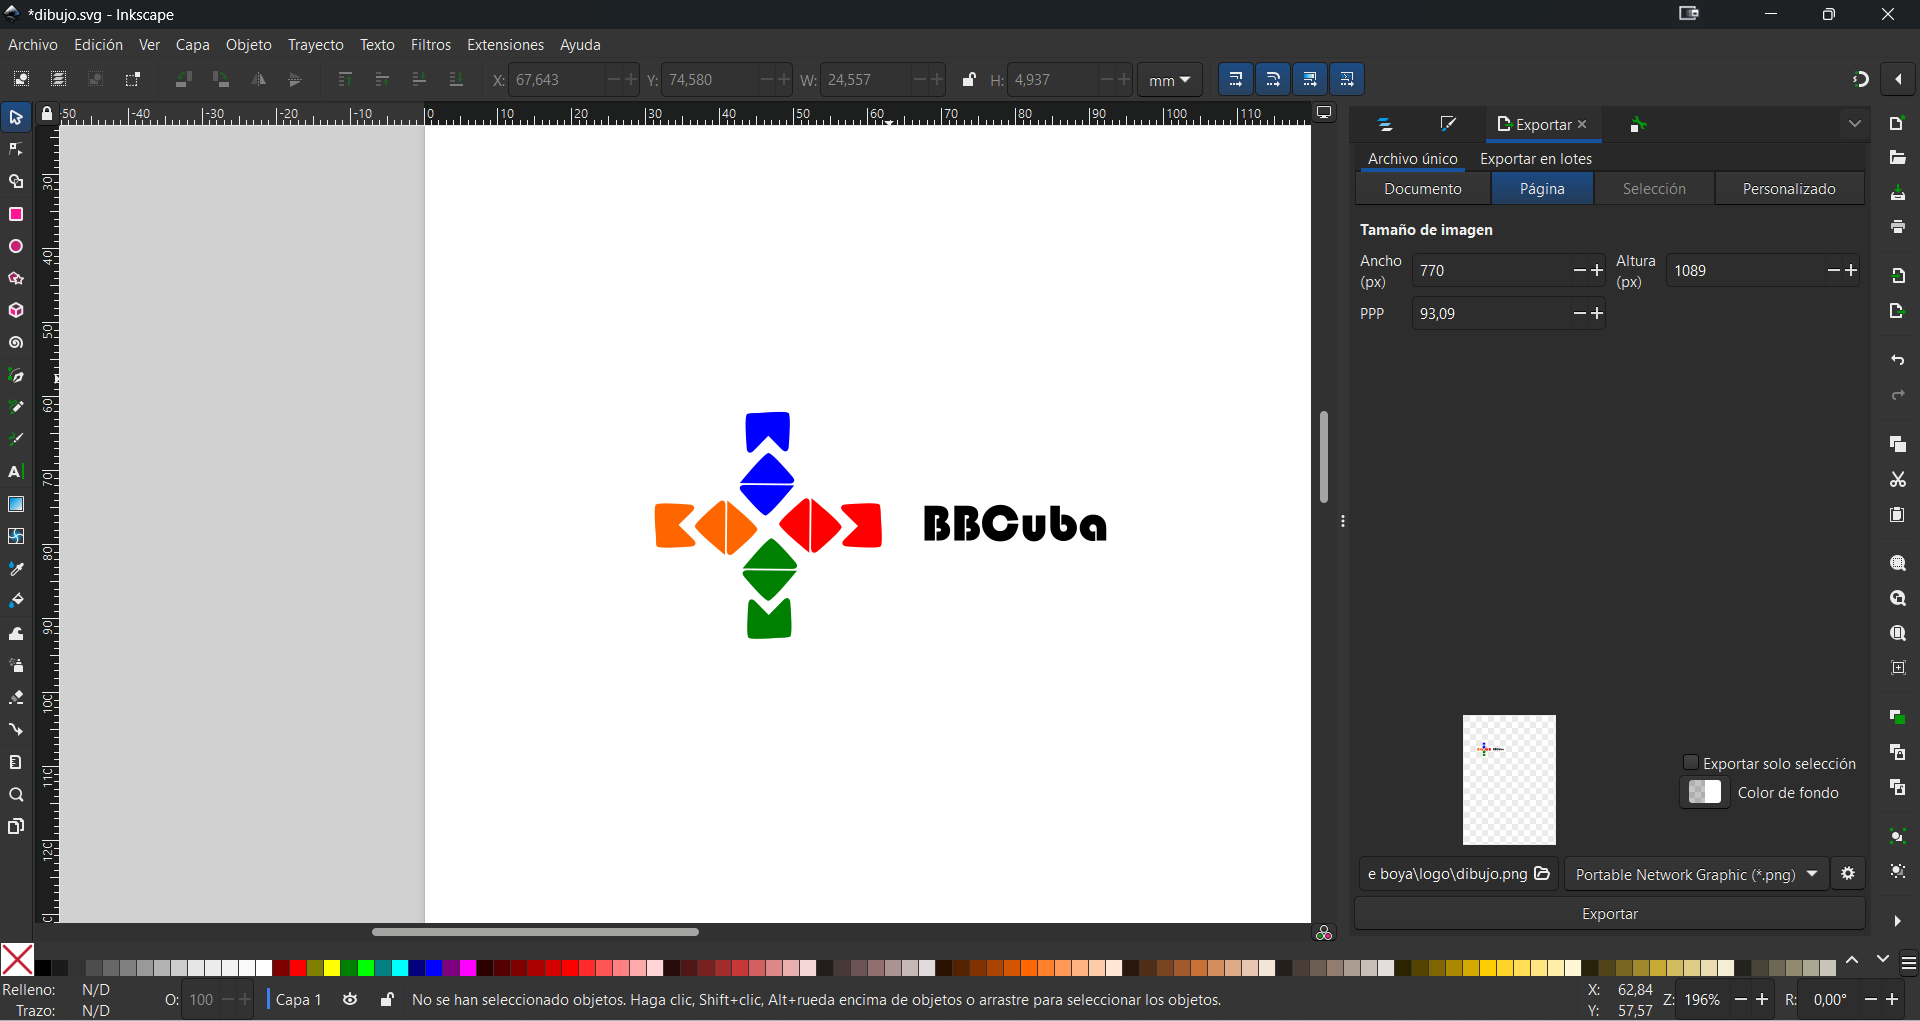
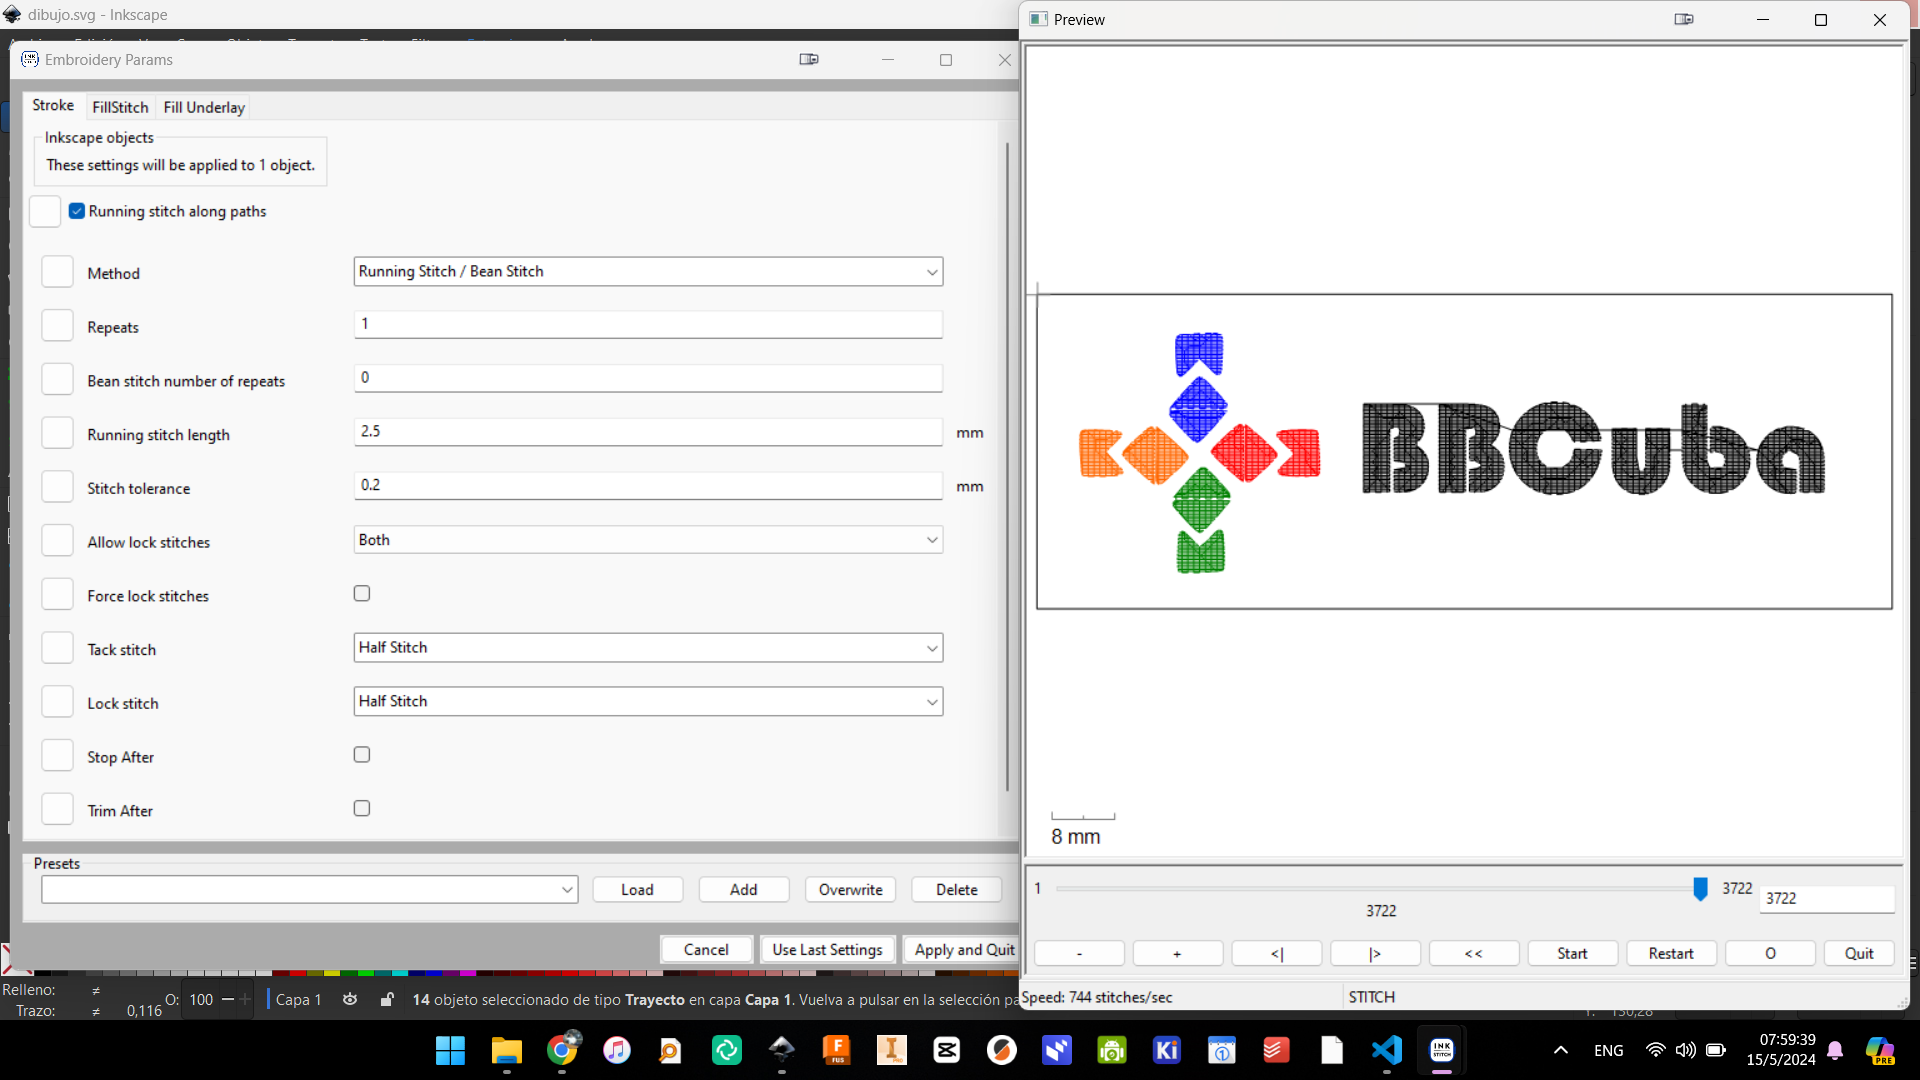
With the extension installed, the design is selected and we look for the "Parameters" tool, where we can edit the different parameters before manufacturing and have a preview of the process, where we can finally export it in .pes. When everything is fine, we will copy the exported file to a pendrive.
Prodution

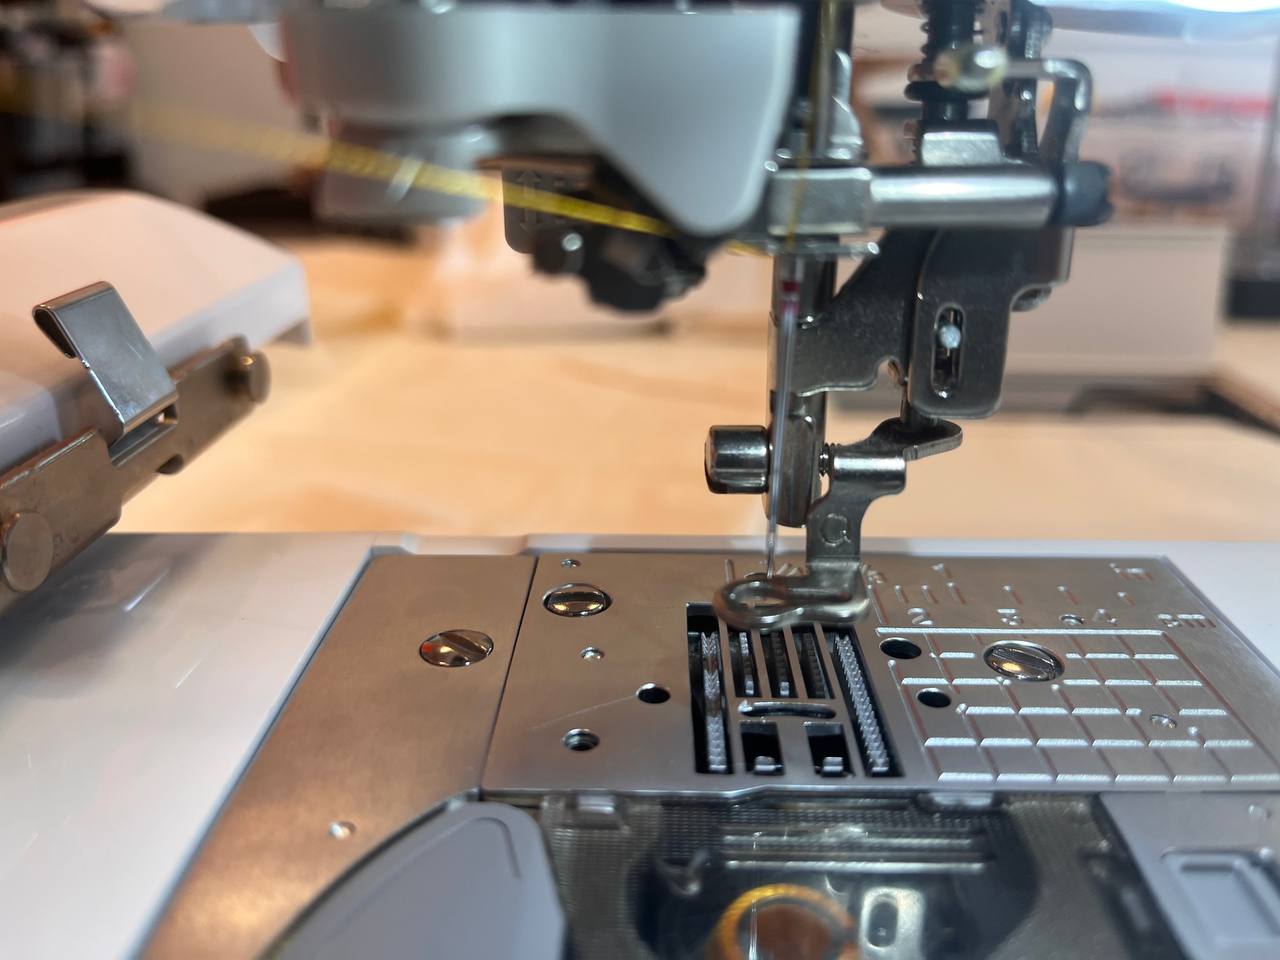
The Innov-is F480 is the ideal machine for both sewing and embroidery projects. The wide range of features and superior quality allow you to create labels, monograms and even your own stitch patterns. Its strengths are:
• Advanced threading system
• Quick coil change and winding mechanism
• Easy to use LCD screen
• Automatic thread cutting function
• SFDS: Square Feed System
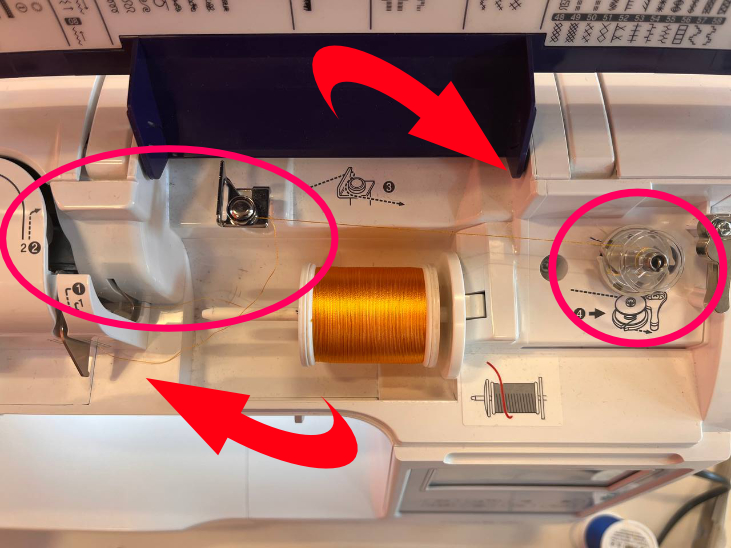
Before starting manufacturing, the initial settings must be taken into account. First, as seen in the photo, it is necessary to transfer some thread from the main spool to a small spool.
Once this is done, the small spool is placed just below the needle as if it were a traditional sewing machine.
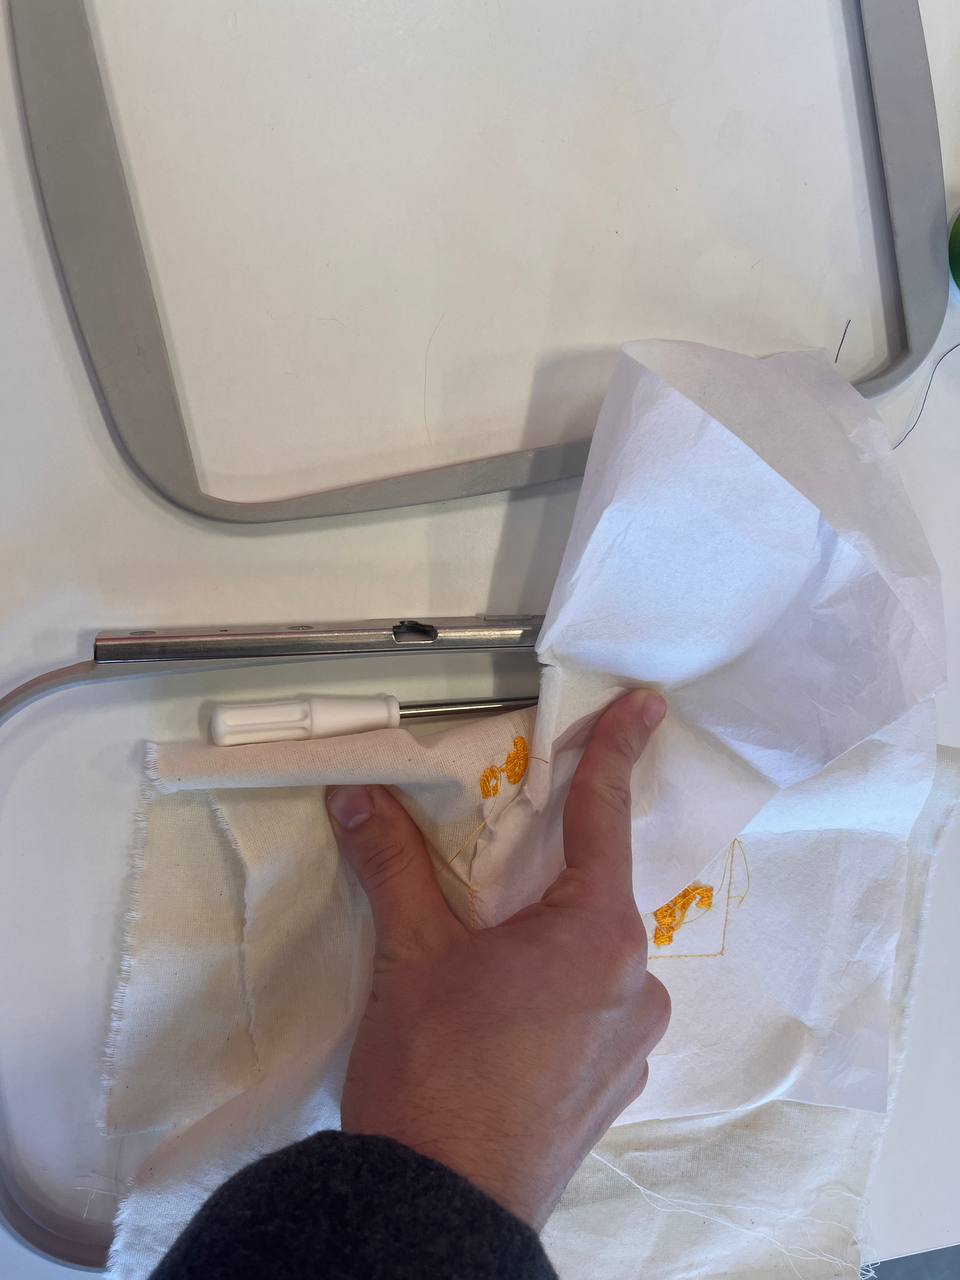
The next step is to place the fabric to be worked with a special paper underneath, taking into account that the maximum work area is 13x18cm
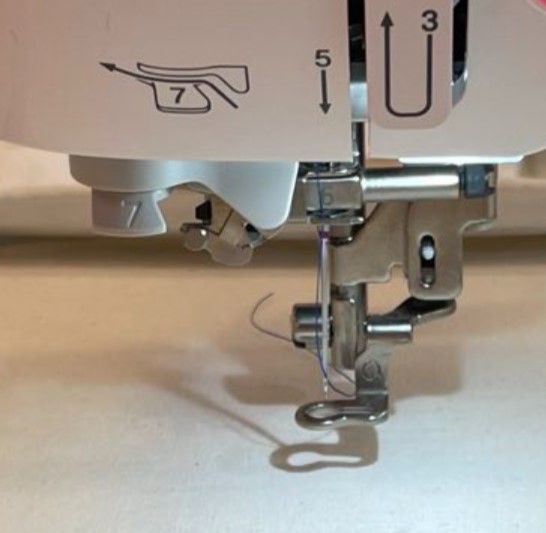
Before finishing we must put the thread, to do this we must follow the 8 steps that the machine has listed.
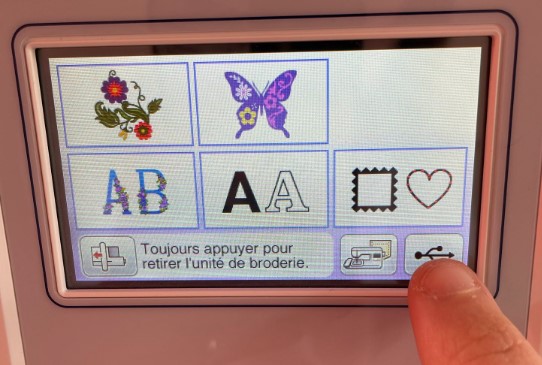
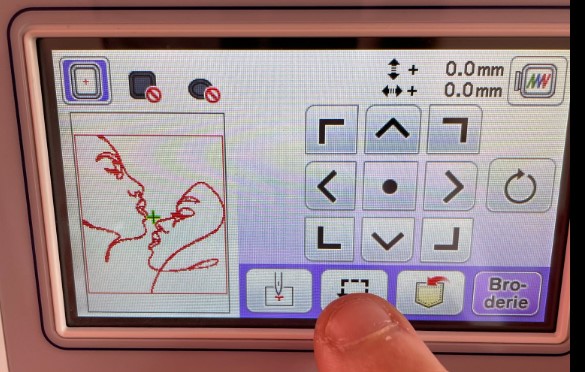
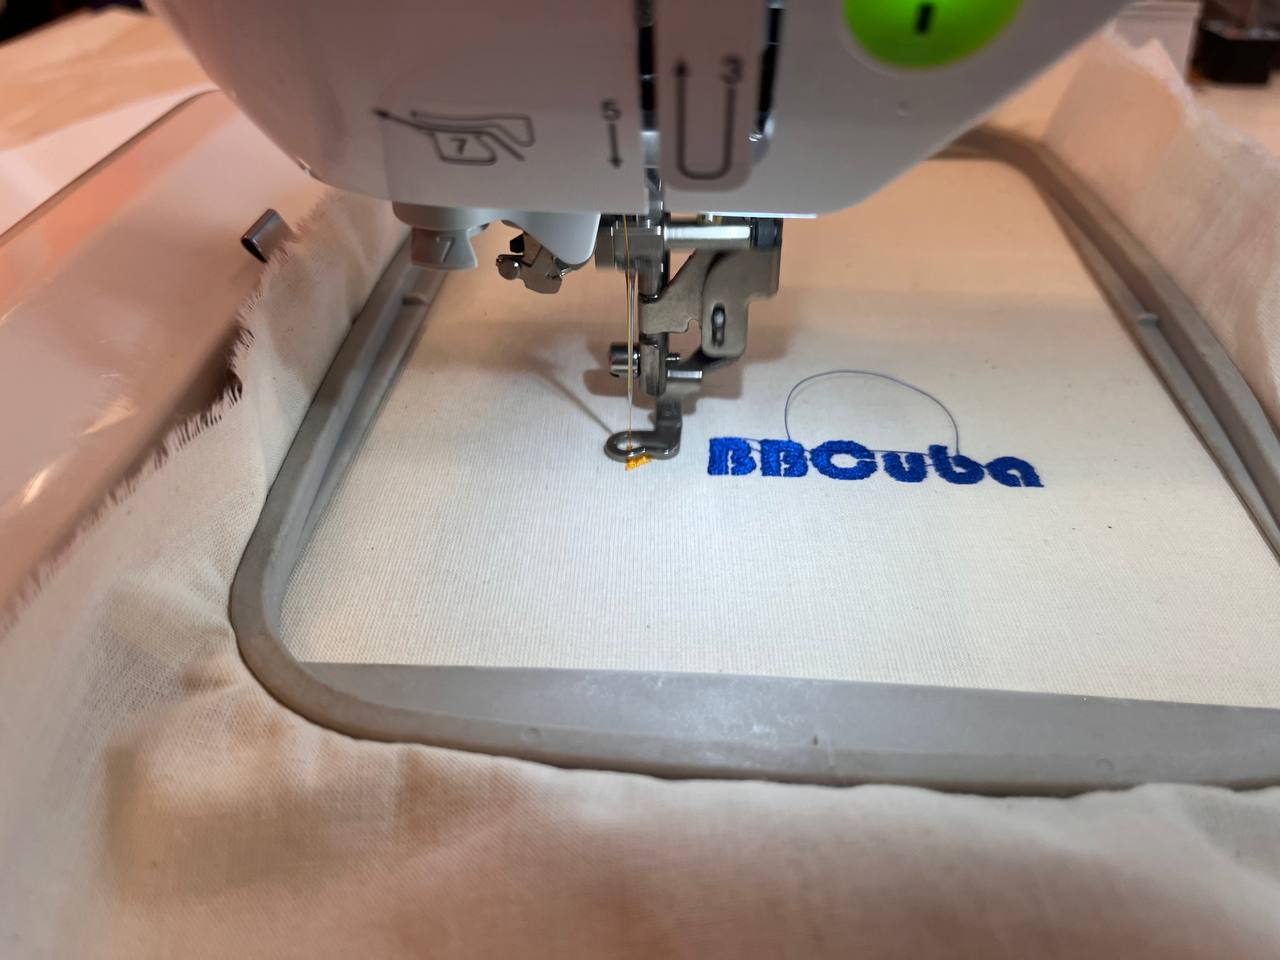
With everything ready, we must load the file from the pendrive into the embroidery machine. In the following photos taken by my colleague charlotte, the step by step is perfectly understood.
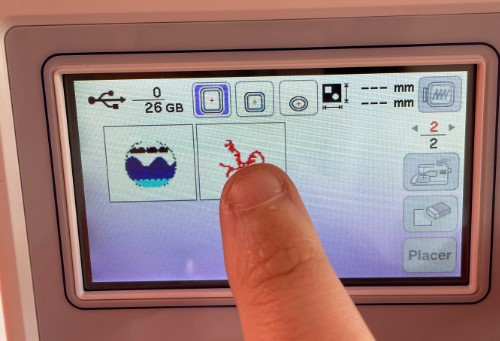
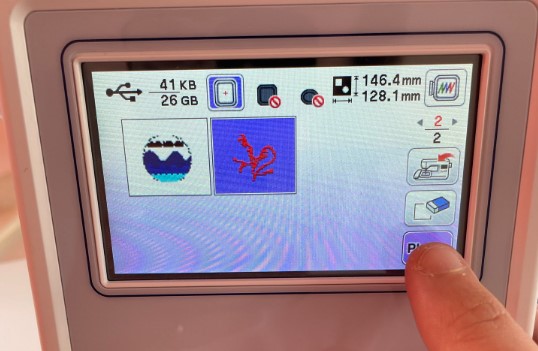
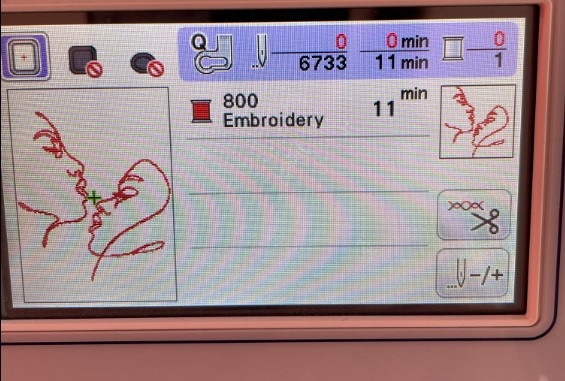
As the file has several colors, the machine will notify us when it has finished with each one, and we must change it manually, repeating the same steps at the beginning, in this case I will only change it once.
Result
Once it is finished, we remove the paper, clean the excess threads and see the quality of the work, which is very good and above all very fast. In the following link I leave all the files used for this work.