Networking Communications
Let's connect something
General Objective
The objective of this week will be to connect two nodes through some of the wireless technologies available on the market, and that this result will in turn serve to define the communication technology to be used in my final project.
Idea
Most popular wireless technologies
Depending on the technology to be used, the budget, the use case, consumption, etc. There are different wireless technologies to connect two devices, among the most popular are:
-> Bluetooth.
-> The WiFi.
->Zigbee technology.
->Lora technology.
The latter was the one I selected for the job.

Why Lora?

LoRaWAN is a proprietary LPWAN connectivity protocol developed by Semtech. It is known for its low power consumption and high transmission range (even compared to other LPWANs). In addition, it has a high resistance to interference, since its wireless modulation is based on technology developed for the military and space industry. Therefore, it is ideal for the project under development.
Limitations
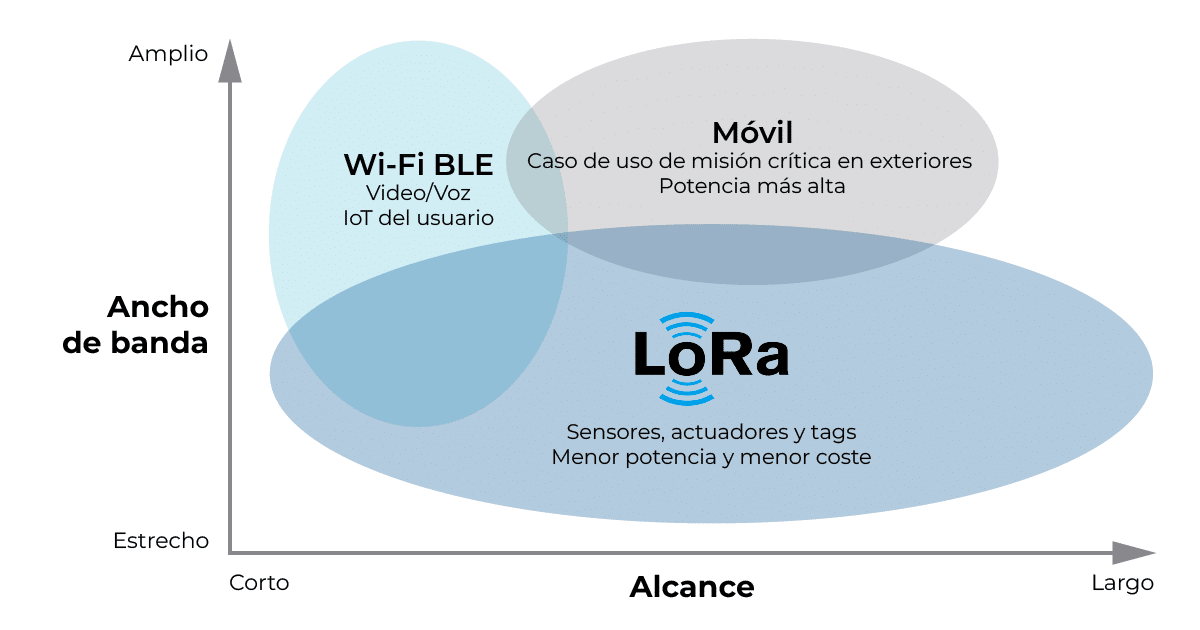
LoRaWAN achieves lower power and long range in part by sacrificing bandwidth. The use of unlicensed frequency bands (868 MHz in Europe) only allows uplink and downlink messages to be sent at predefined intervals and therefore does not allow a continuous flow of data. LoRaWAN is therefore only ideal for periodic communications and (if you want to save battery life) should be used primarily for uplink communications.As is well understood in this image taken from spacewell

LoRaWAN provides long-range communications of up to five kilometers in urban areas and 15 kilometers in rural areas, which can be tested before a larger scale launch. An indispensable feature of the LoRaWan solution is its ultra-low power requirements, enabling the creation of battery-powered devices that can last up to ten years.
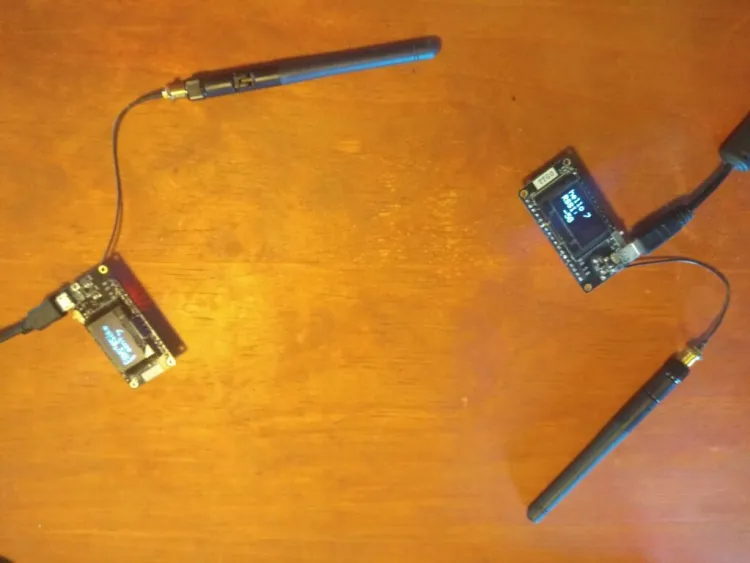
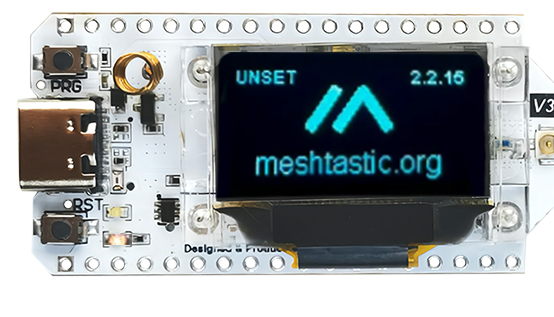
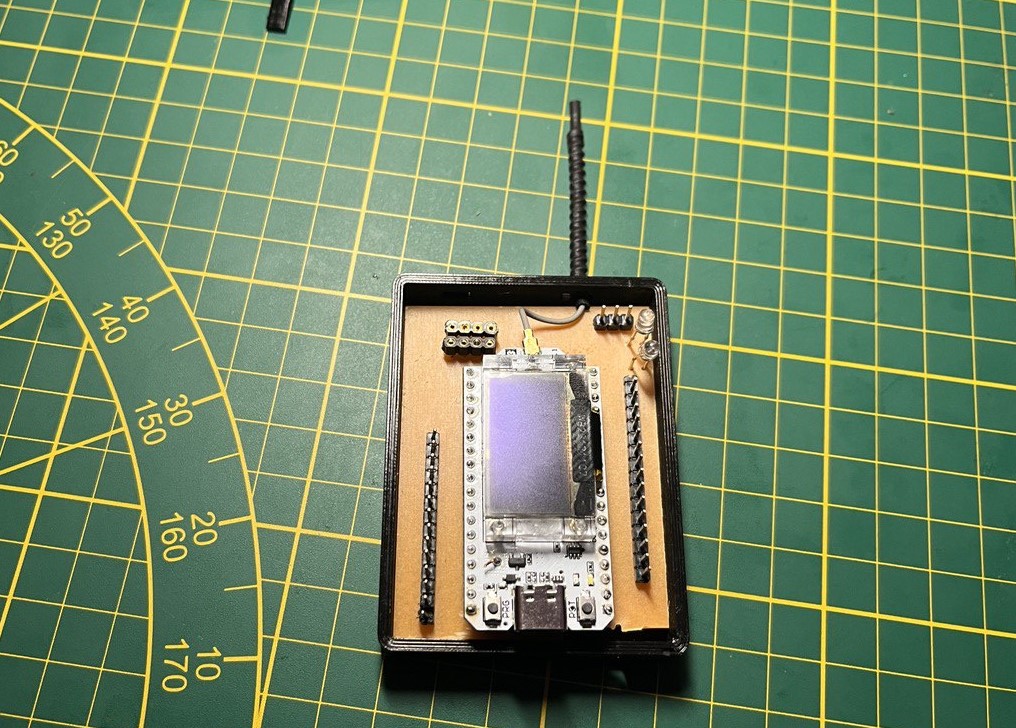
Although there are Lora modules to connect to any microcontroller, for this occasion I used the HELTEC V3 development board, based on an ESP32 + SX127x. It integrates Wi-Fi, Bluetooth, a lithium battery management system, dot matrix OLED display, micro USB interface with a voltage regulator, etc.
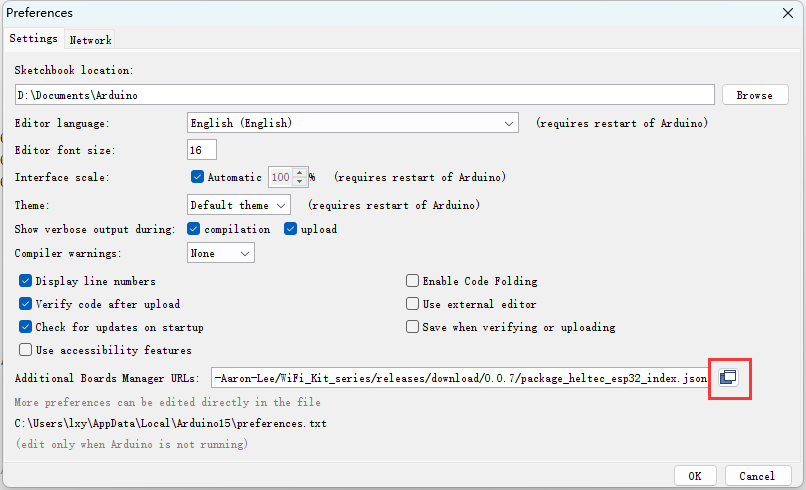
To program this development board I used the classic Arduino IDE, in which to use the board in question I had to add the following line in preferences section:
https://raw.githubusercontent.com/espressif/arduino-esp32/gh-pages/package_esp32_index.json
Then, to be able to quickly use its functionalities, I chose to use the heltec_unofficial library.
Among the main functionalities of this library we find:
1->> heltec _setup() and heltec loop(): To initialize all the necessary library processes in both sections.
2->>radio.transmit(): Transmits the data.
3->>radio.readData(): Receive the data.
4->>both.println(): It shows on the Oled screen with format and also the Serial monitor.
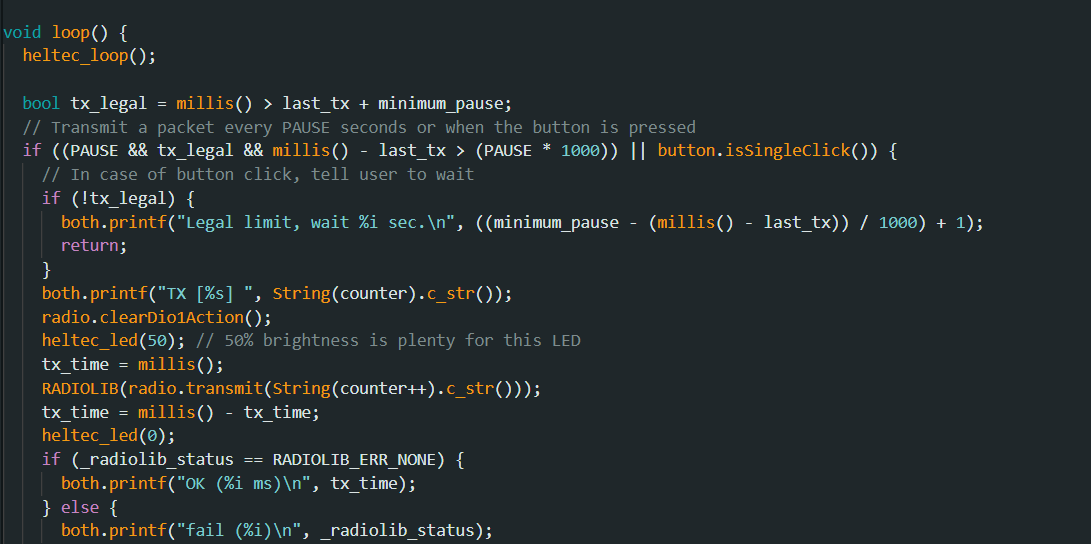
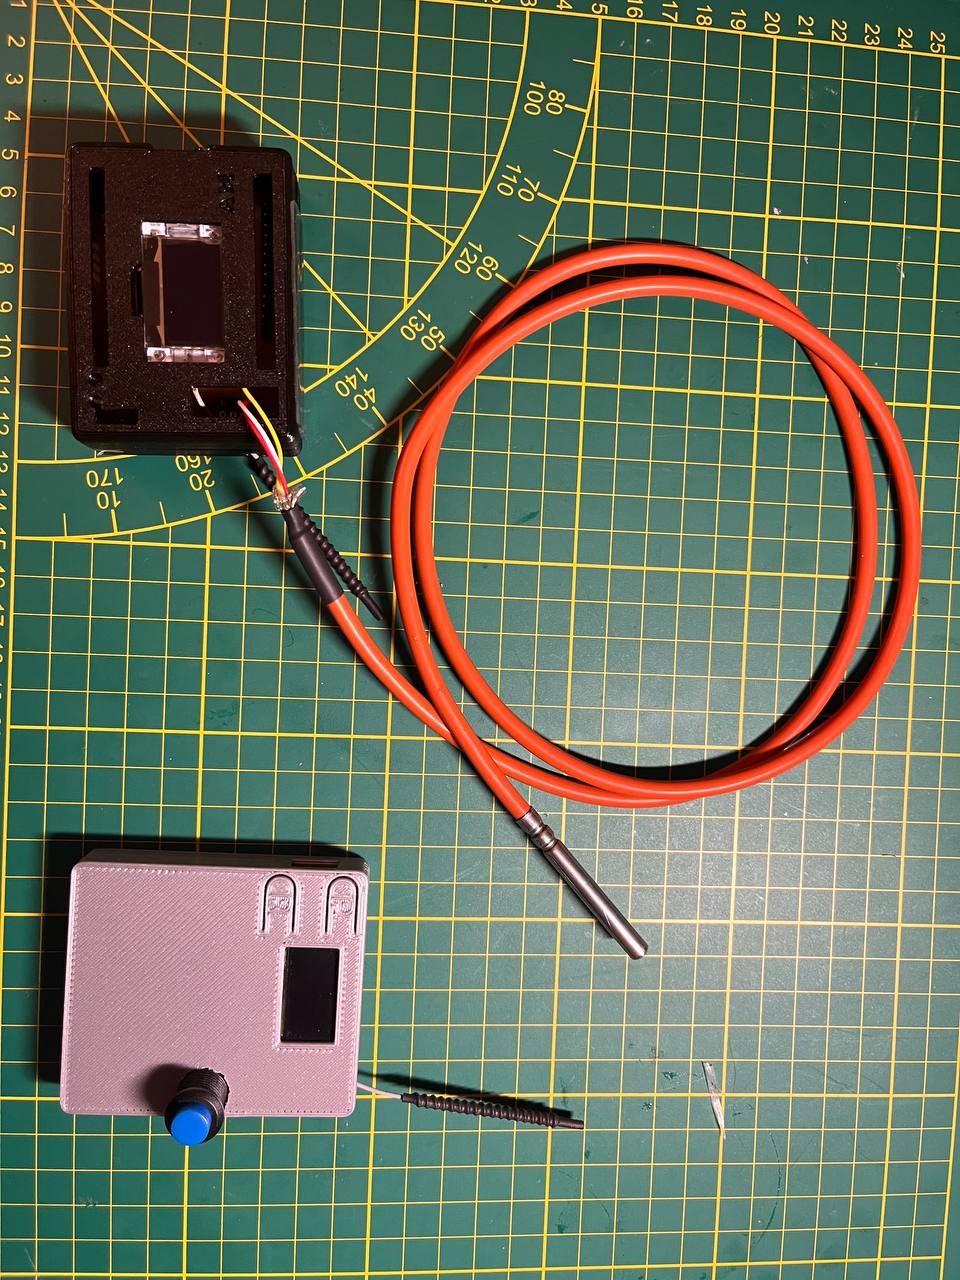
To execute these communication tests we will use the board that was designed in week 8.
After executing the test code we can see that a synchronous count starts, which stops when some of the devices are taken down, as seen in the video.
In this second example I tried only sending an "Hola" to test the connection, since it was almost the same as sending a sensor reading and as seen in the video there was no problem.
Finally, I try sending the sensor data and it is a complete success.
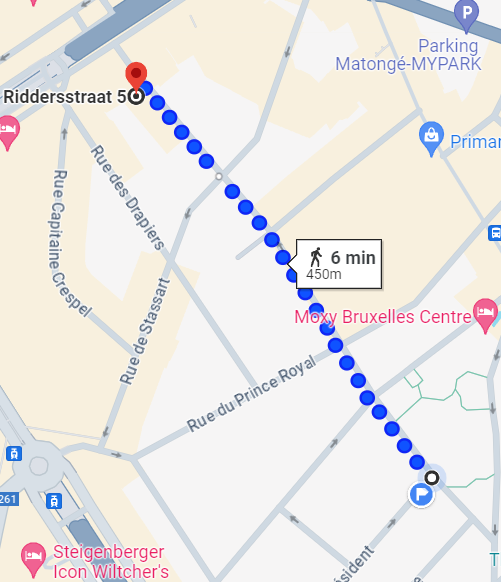
To finish the test, I left the sensor on my window and went out to do some tests, and we see that although it is far from being a good result, it will be enough for the final project.
Group assignment
The group's tasks: send a message between two projects fablab website.