Computer Controlled Cutting
Week03
Group Assignment
As far as I´m being conscious, at least in this part of the course, once you feel more confident and fluent using the programs from the previous week, a new challenge emerges. This was the first week we had to work as a team to deliver one part of the assignment. It was only possible to get through it with the company of a great team. I had the pleasure to share the lesson and machines with Sandra Garcia, and Israel Santacruz.
We agreed to use the same file, and each one of us try the laser cutting machine for a different material. This way, Sandra tested it with different settings for acrylic, Israel did so for MDF, and I used it with carton. As stated before, I really admire them because of their experience and willingness to help me. They got their tests really well. On the other hand, I made a couple of mistakes.
Next, I share the file for our group assignment, images and videos of our results:
Acrylic

MDF
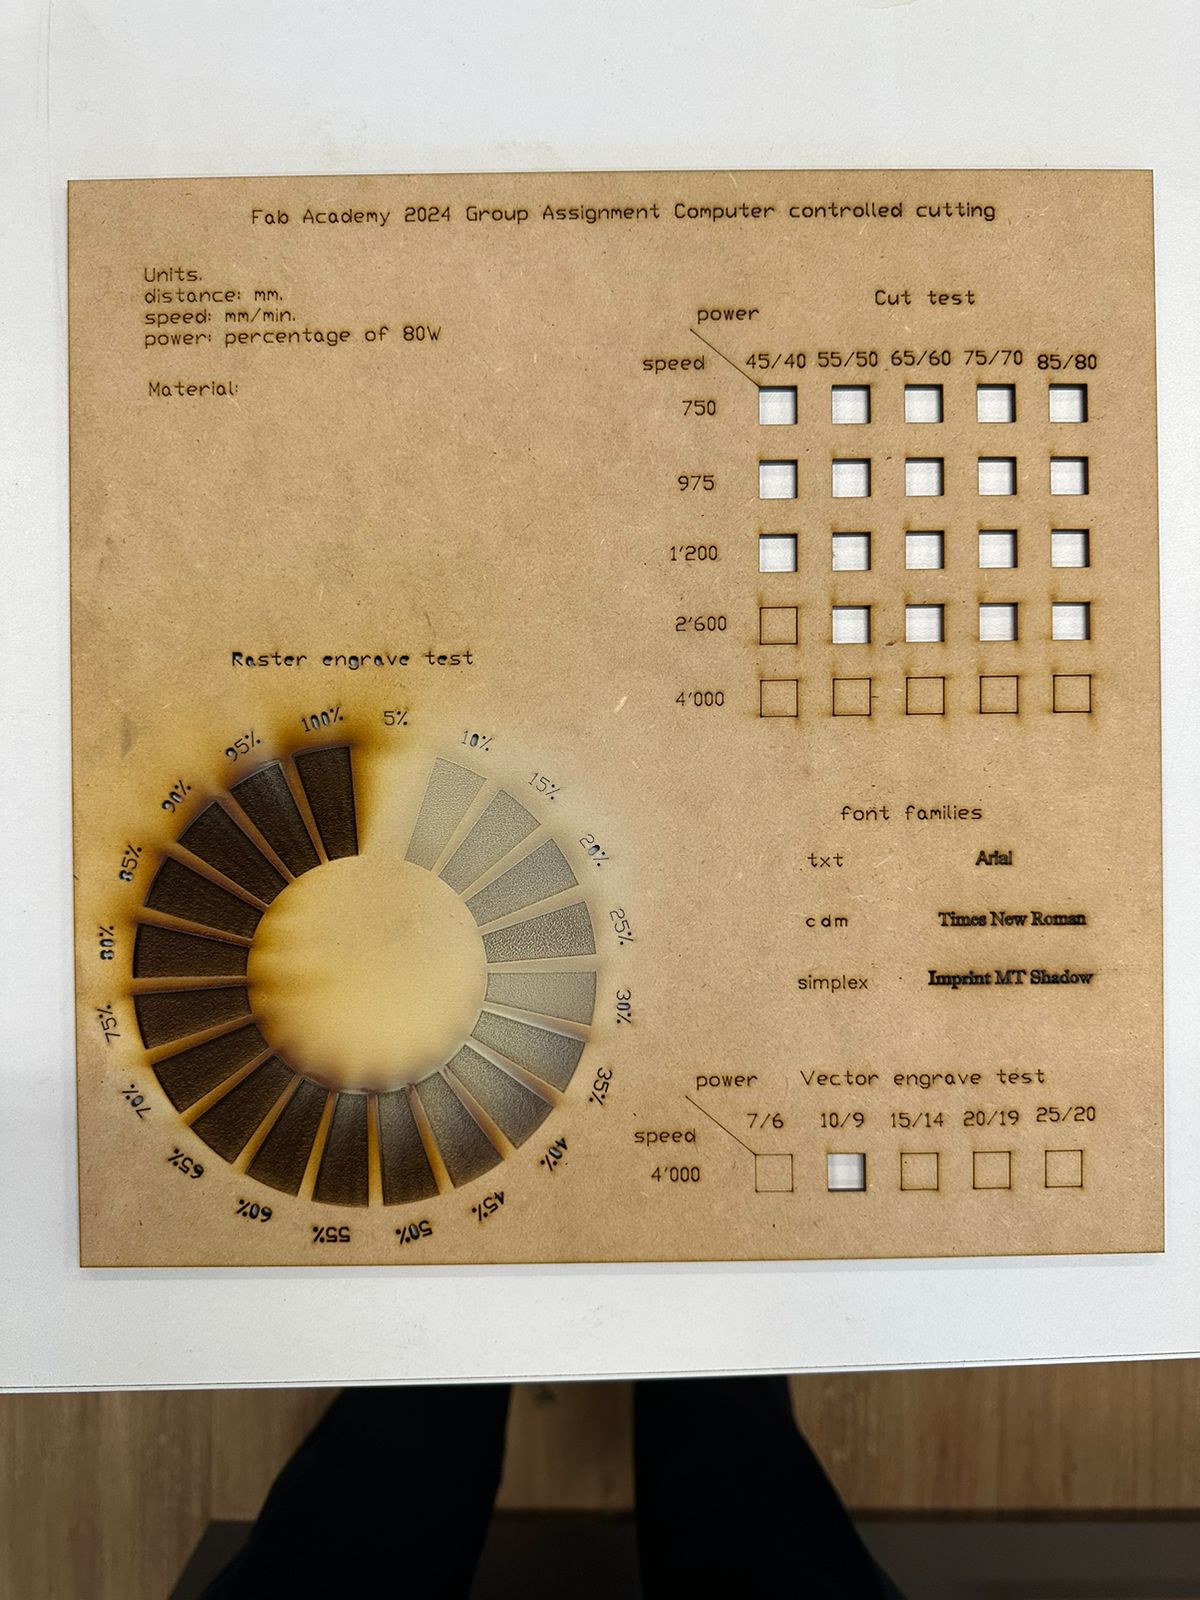
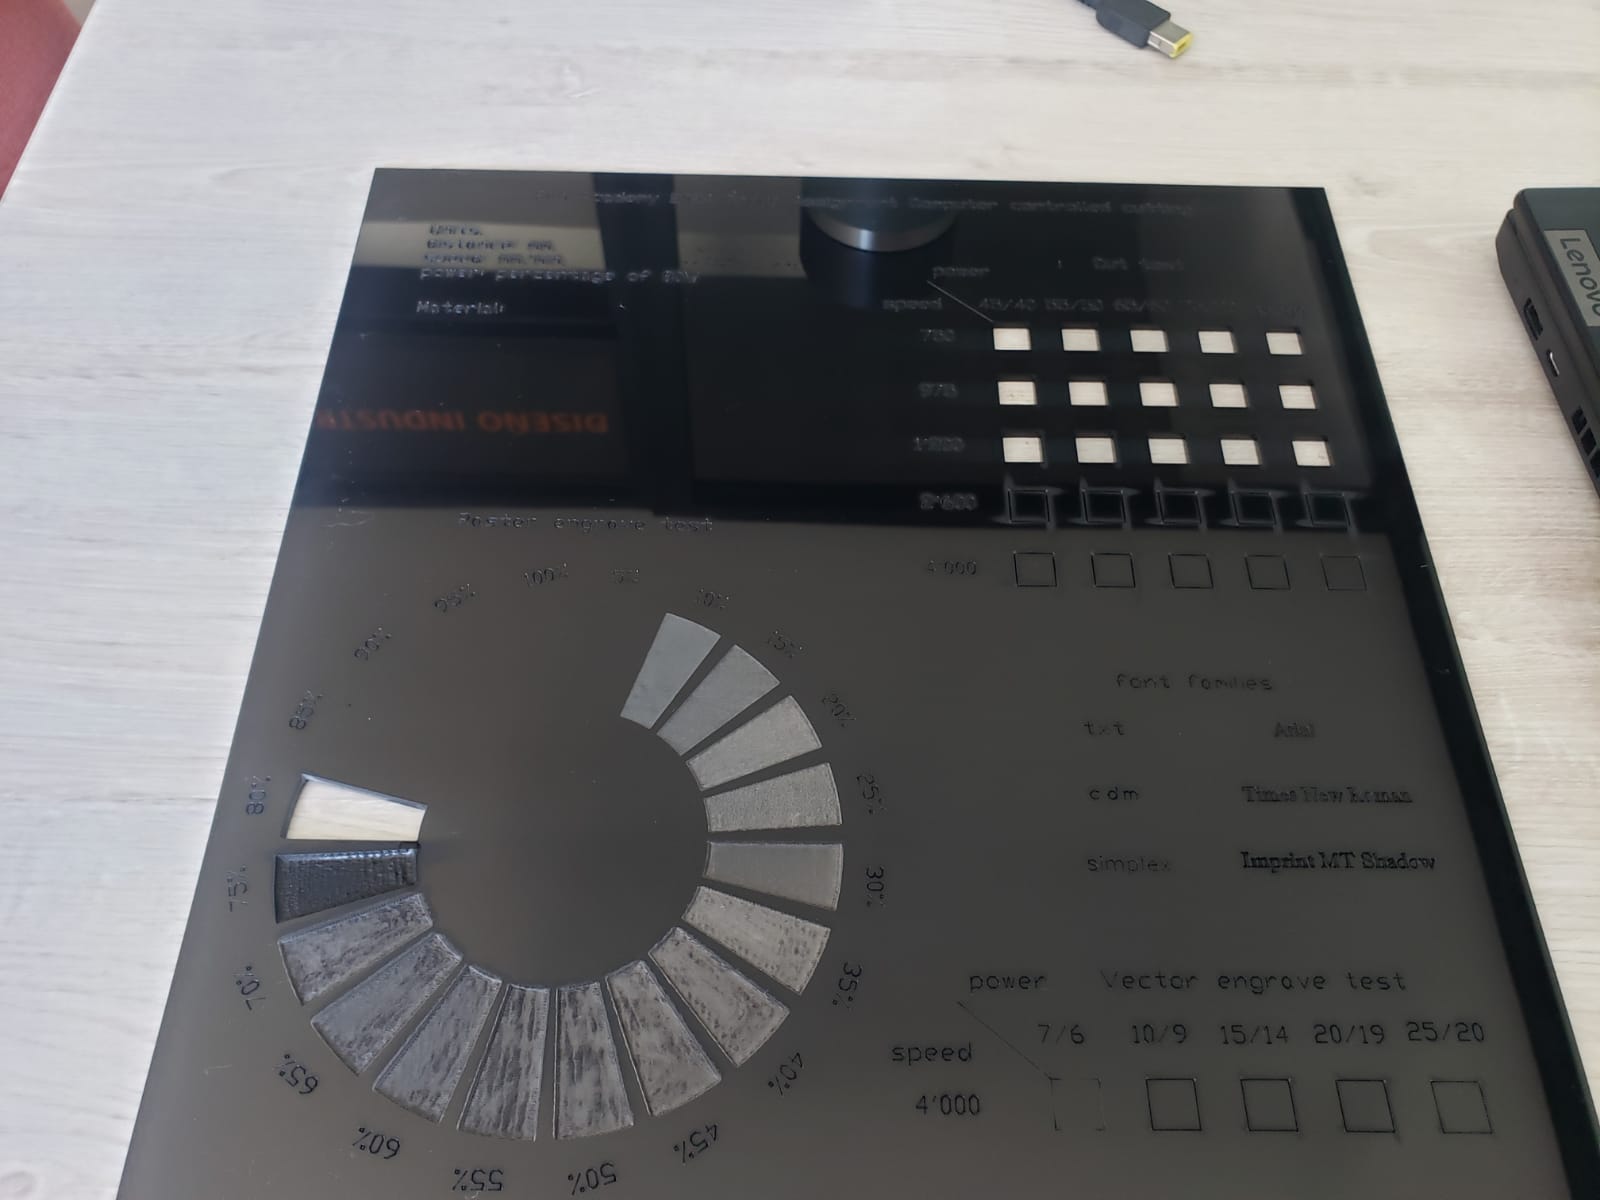
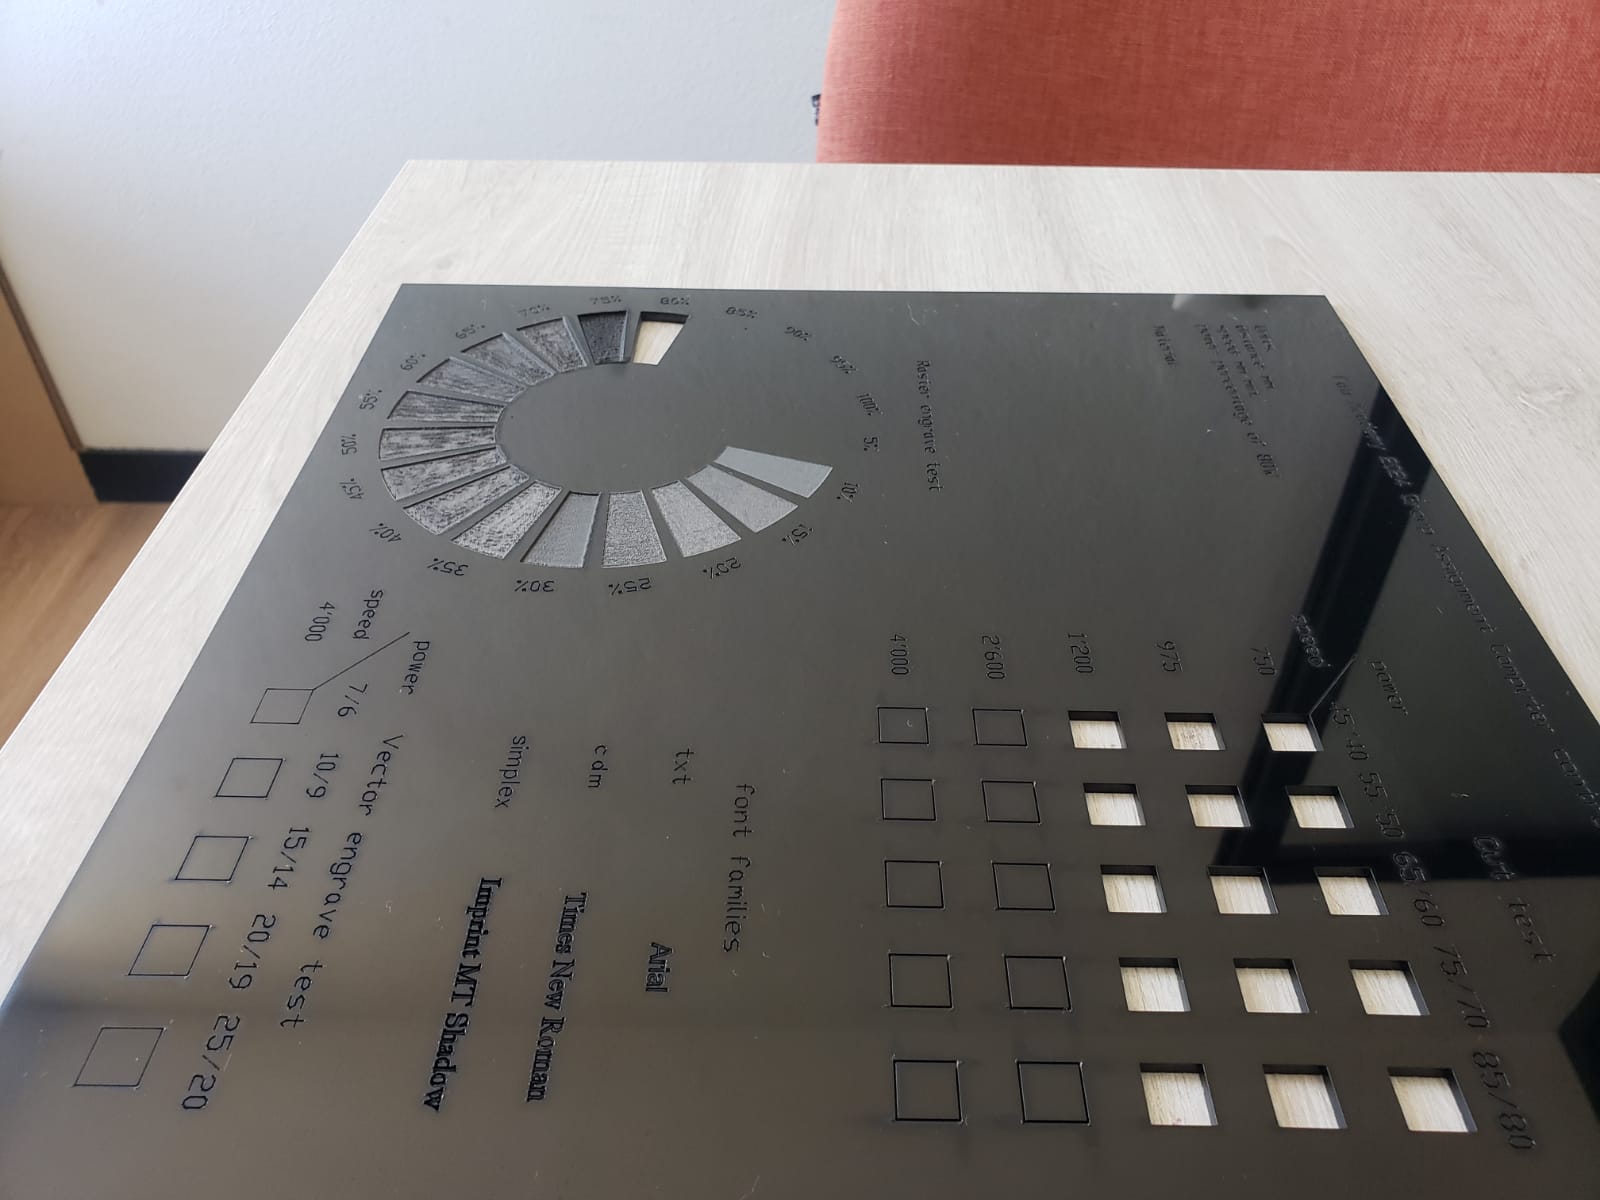
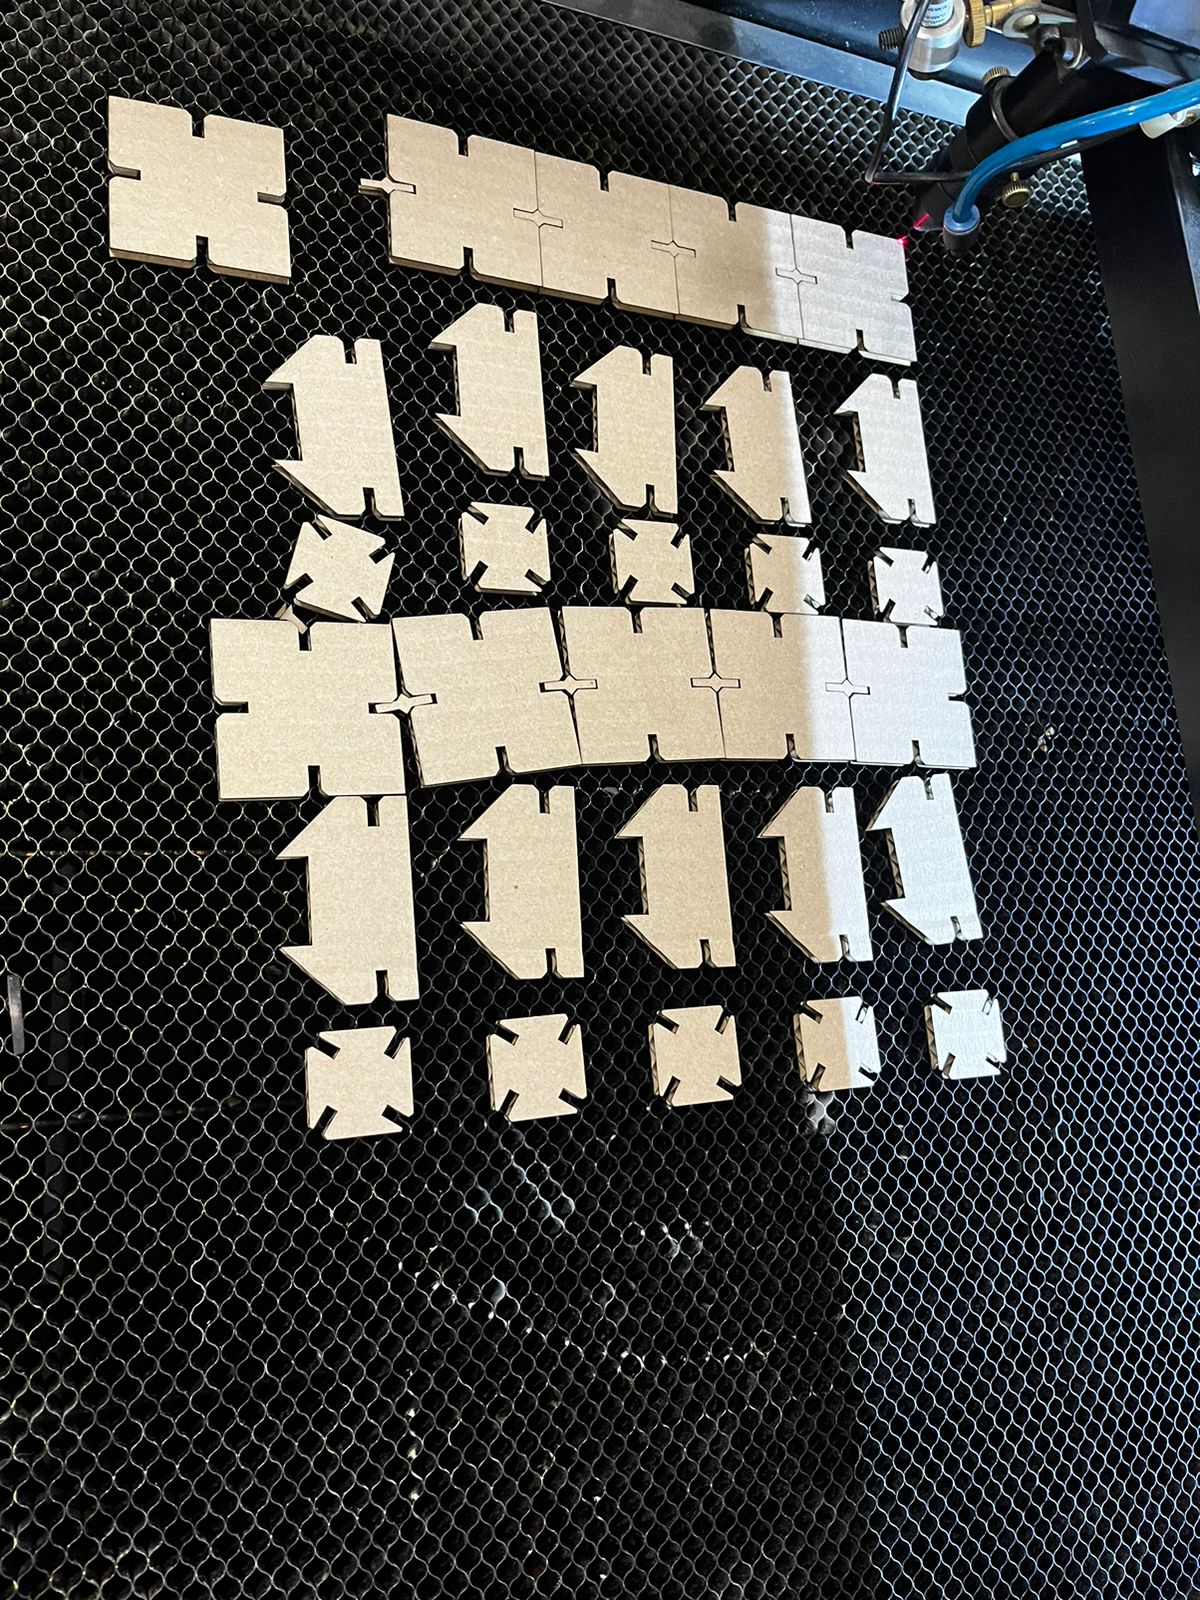
Carton
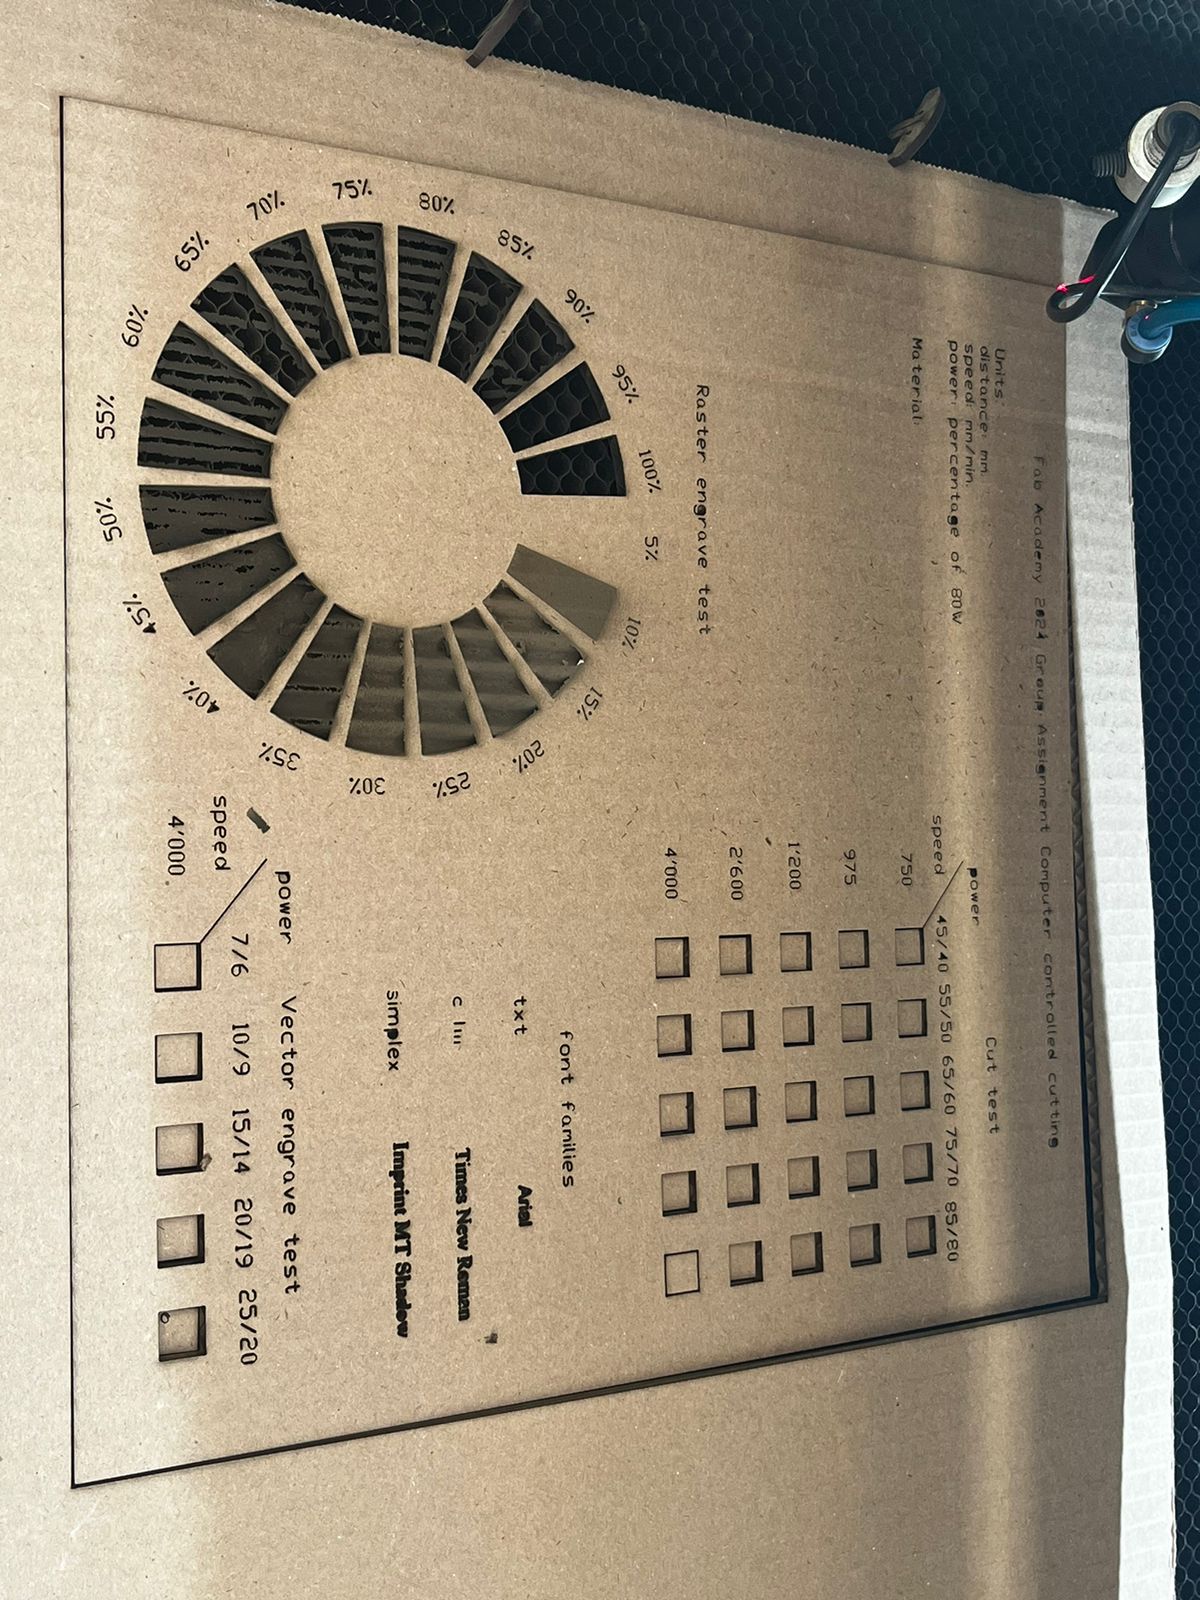
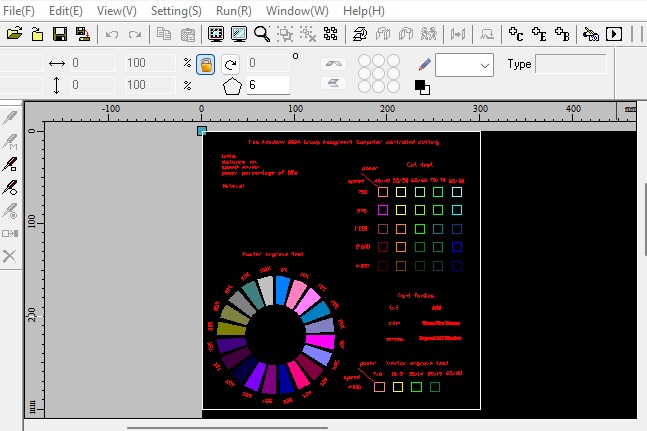
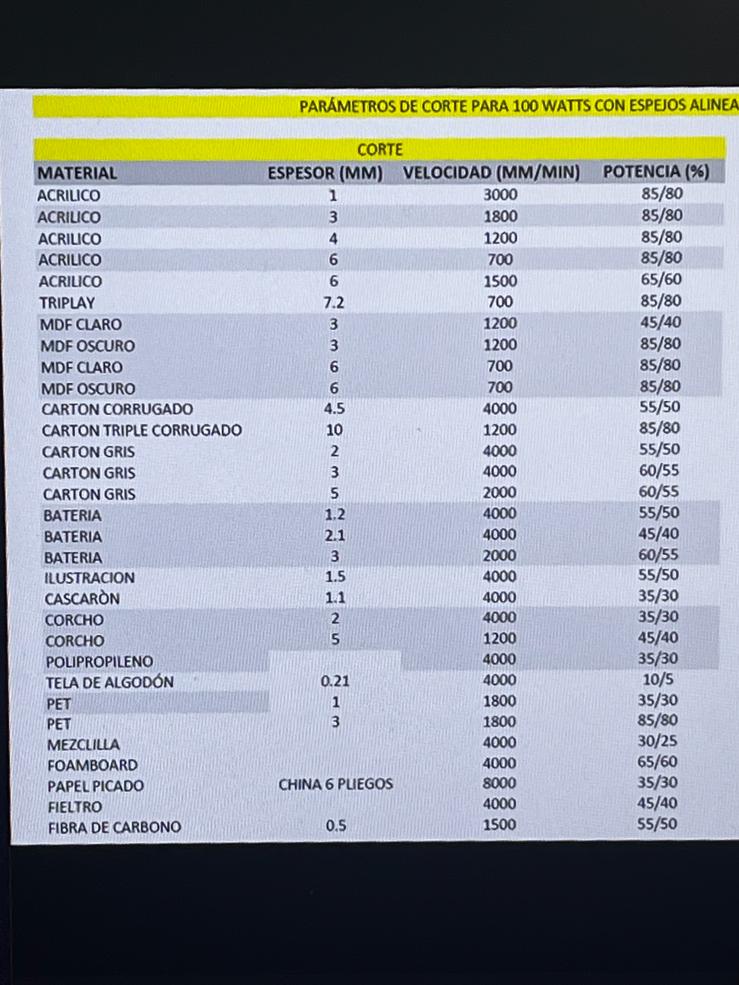
As you might have noticed, the importante thing is to set correctly the speed, strength and number of times the laser should pass over the surface. It is important to check it beforehand with the responsible of the Fablab, as different materials recquire different settings, and different desired outcomes need to be set in the machine. The one we used in Queretaro can be set in LaserCa.
A good practice is to test the machine, then save the desired settings for each desired outcome for each material in a table of settings, which we did. You may find it here:
You may find the final version of the file I used for my part of the assignment here.
You may find the link to the group assignment results here.
Individual Assignment
To be honest, I really admire my colleagues and often I feel like taking preK while they are at a postgraduate level. The new challenge was to do the next part by myself. I want to acknowledge the great mentorship and patience of my instructors Jonathan Leon, and Luis Hernandez. Thanks again for all your guidance. Also, I consider important to mention their mentor, who always is willing to help me to reach the next level, Ivan Hernandez
Once I was done with my part for the group assignment, it was time to come up with the individual tasks.I have to mention that another challenge I´m facing is to keep calm. I am facing contrasting emotions of frustration and adrenaline week after wee, as my pace has been to learn the basics of at least 3 new programs or softwares per week, to fulfill the minimum recquirements of both the FabAcademy and mine.
Vynil
The first thing I wanted to get done was the vynil part. So I decided to keep trying with Inkscape. Here, I share some of my frustrated tries:
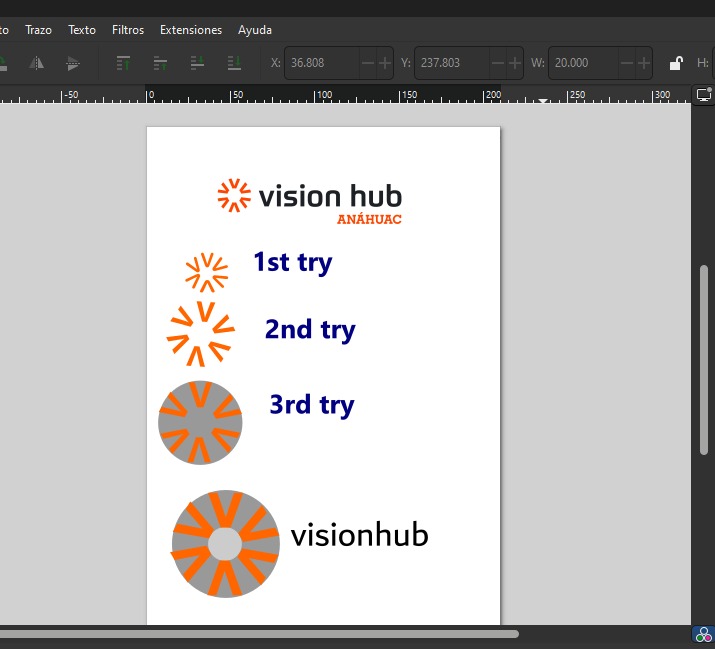

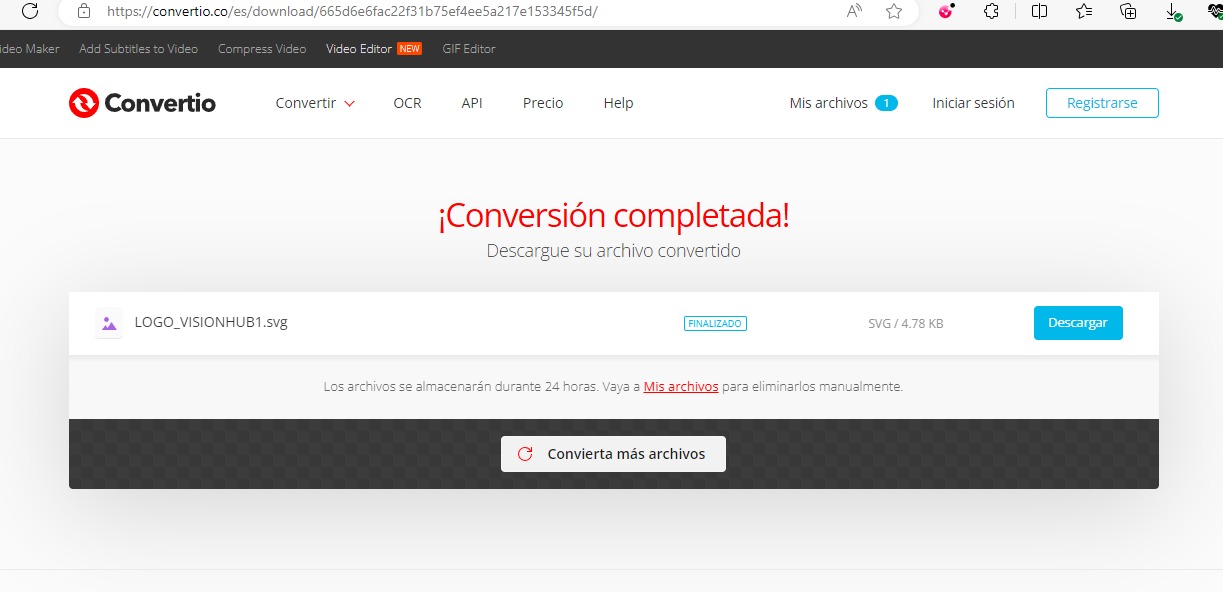
After many hours of frustration, finally and idea emerged: convert the image from PNG to DXF externally. After some research, I found a freeaccess software that makes it: Convertio. Here is an image that proves how to do it:
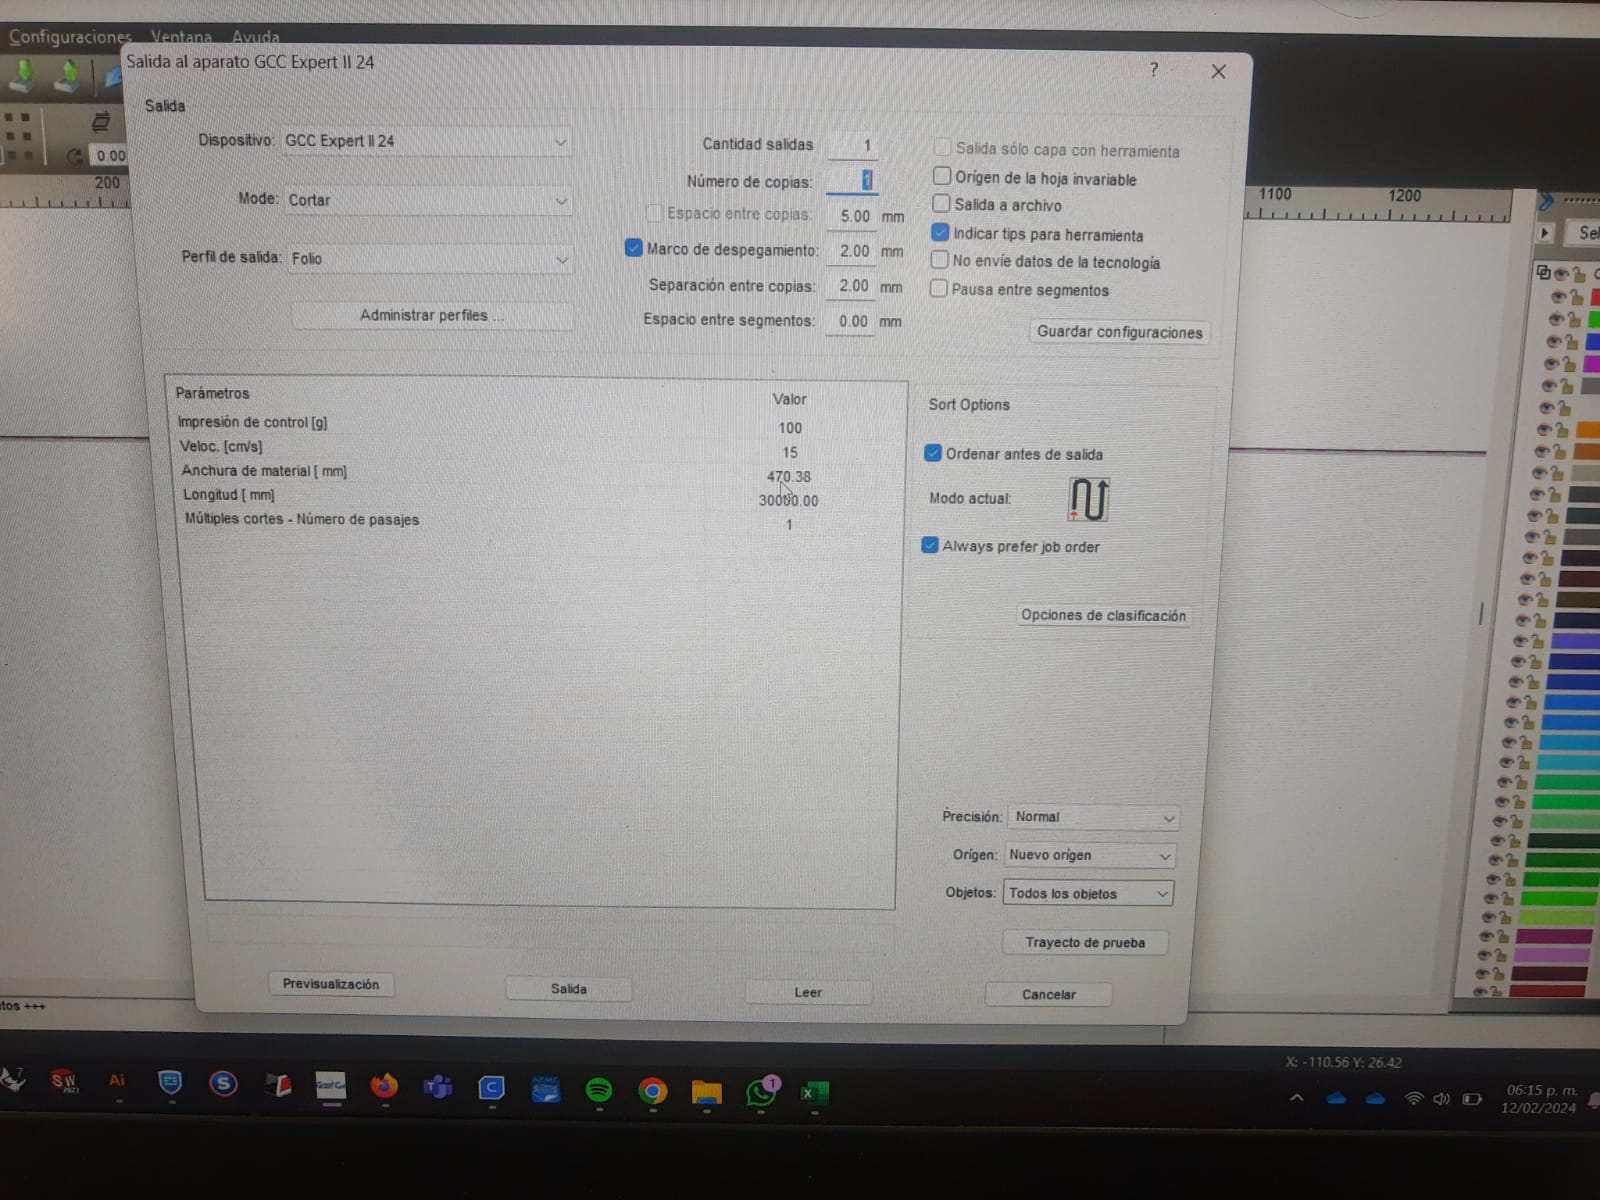
Once I achieved that miracle, it was time to get to know the machine. By now, I had already met the laser cutting one, the vynil one was kind of easier. On this one, you might set the "origin" manually, just by turning off the online button. Next, I share the downloadable file, some images and videos of the machine setting (first from the laptop, then manually), and working:

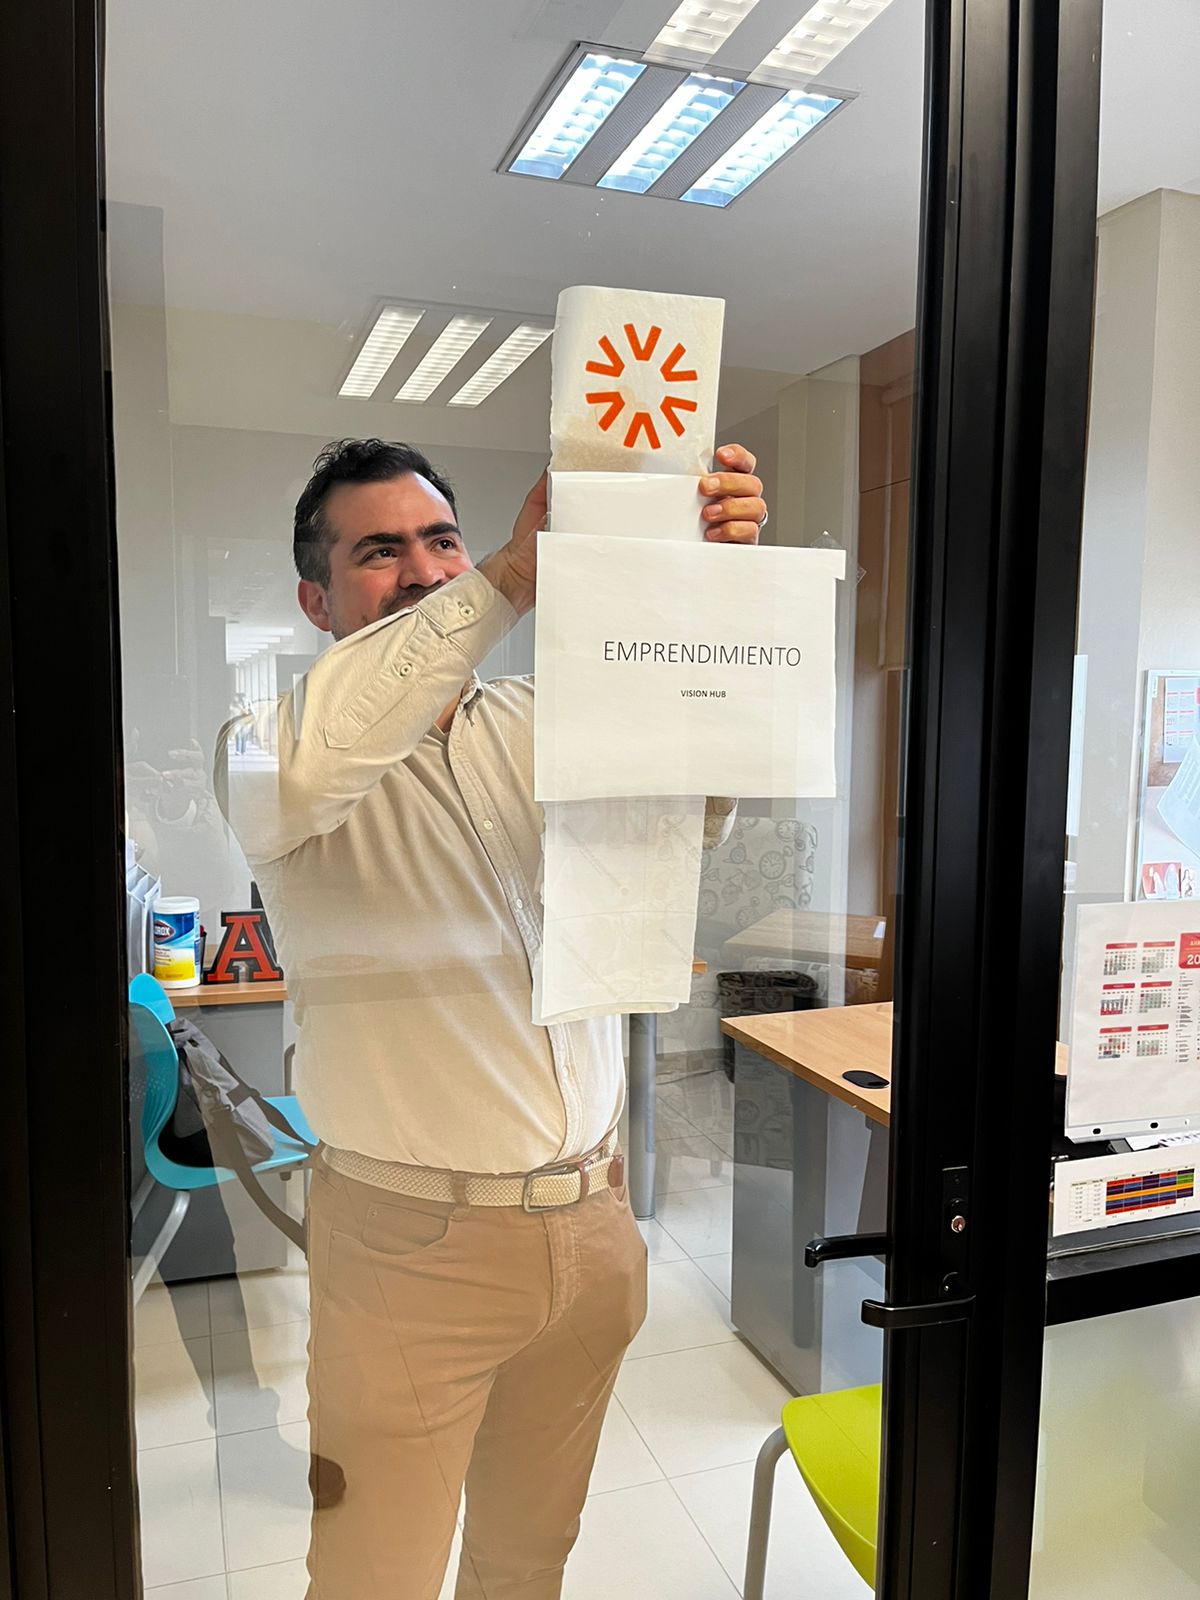
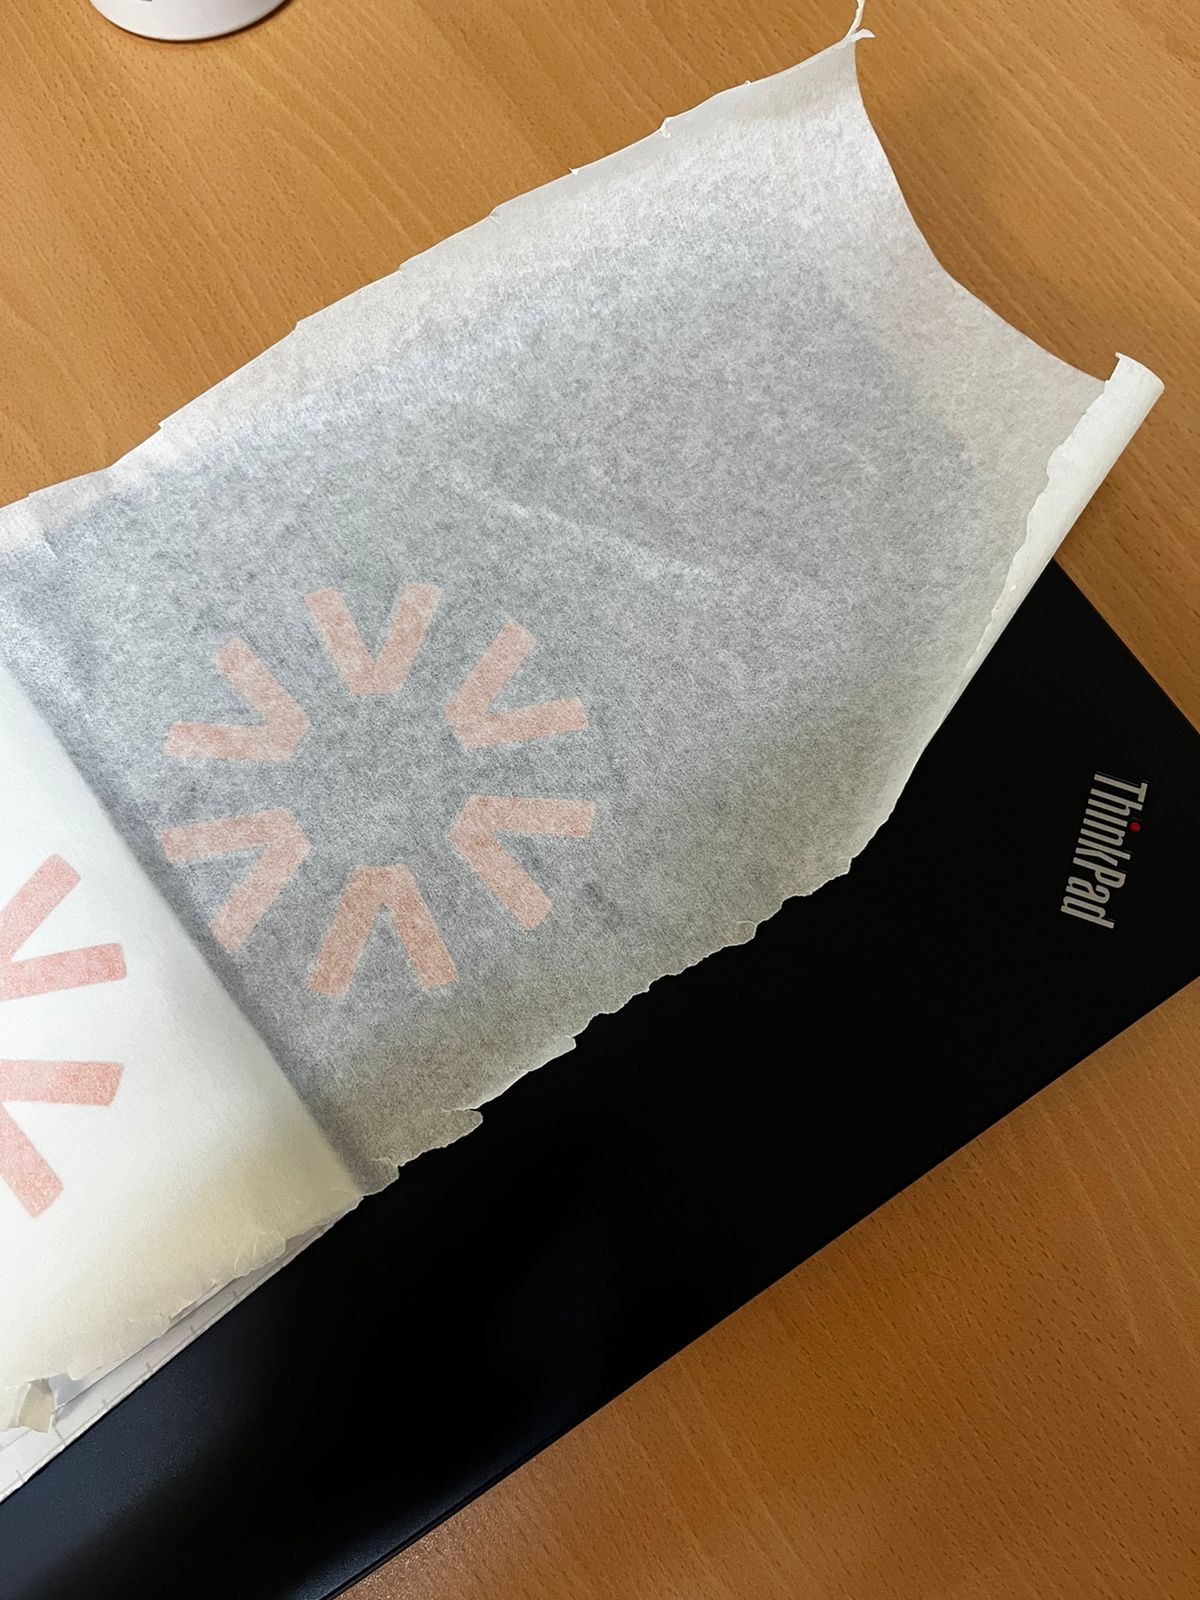
Next, I share some of the results:
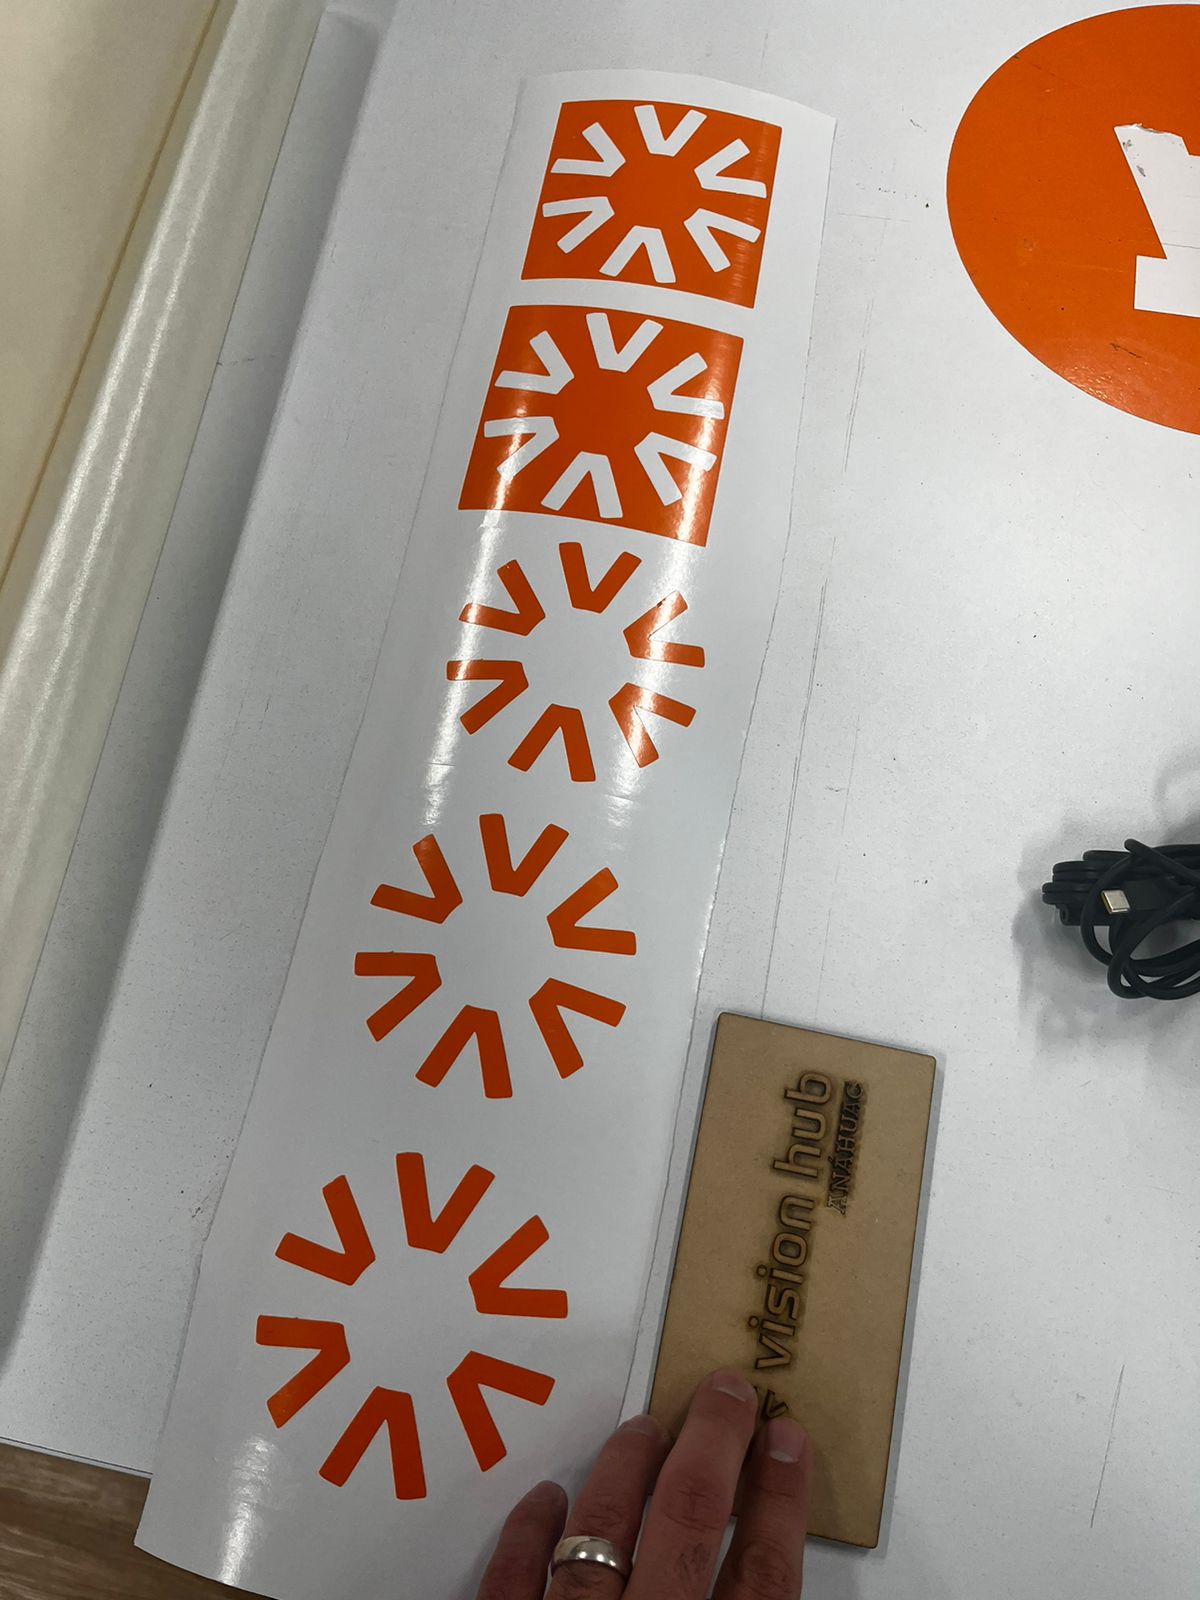
It is important to remember that vynils are monocromatic, and if you want to print in more than one colour, you need to set the machine for each new color, which equals one new "material", for each cape, and be lucky enough to manually set the machine in perfect allignment. The best idea is to use it for basic stuff, such as labels or monochromatic logos.
Another important note is that you are going to need to use special tape to pass the vynil from the original print to the desired one. As shown in the previous images.
Construction kit
Next, I wanted to create a construction kit. I have to admit that this part of the assignment excited me more while doing it. Probably, it was due to the fact that I could use Fusion360 again, and I can say that it helped me to improve my skills dealing with the program.
Nevertheless, it wasn´t as easy. I started by drawing lines in forms of a cross. I learned how to copy and/or move a shape, by using the comand "M". Here, I share my first tries:
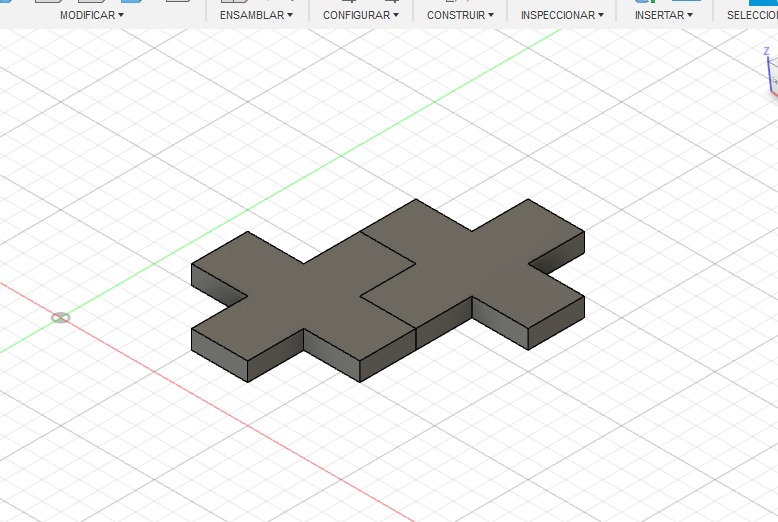
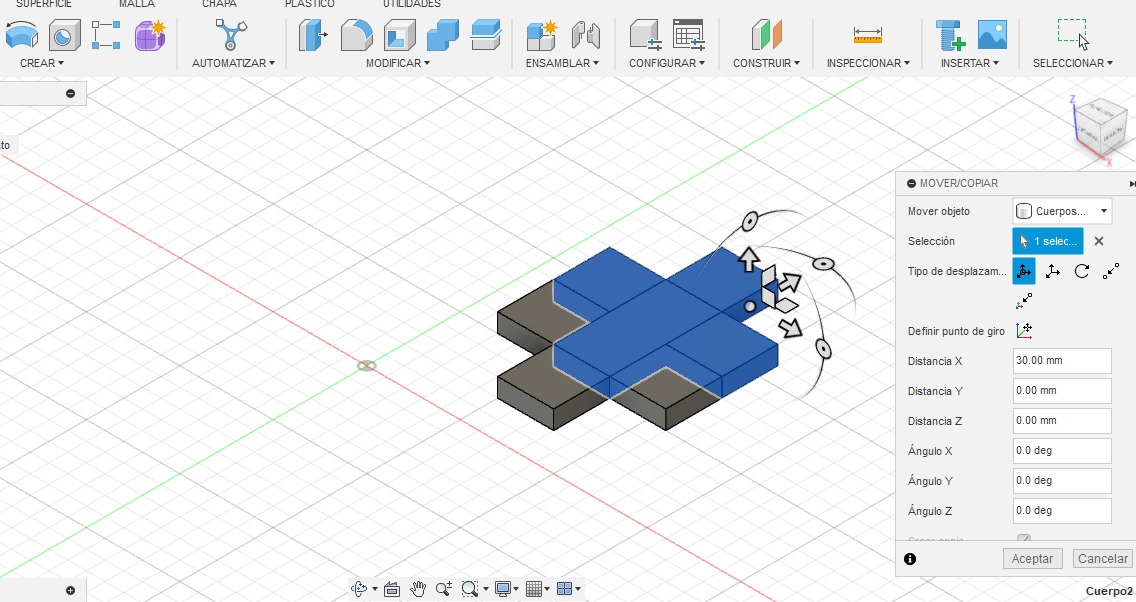
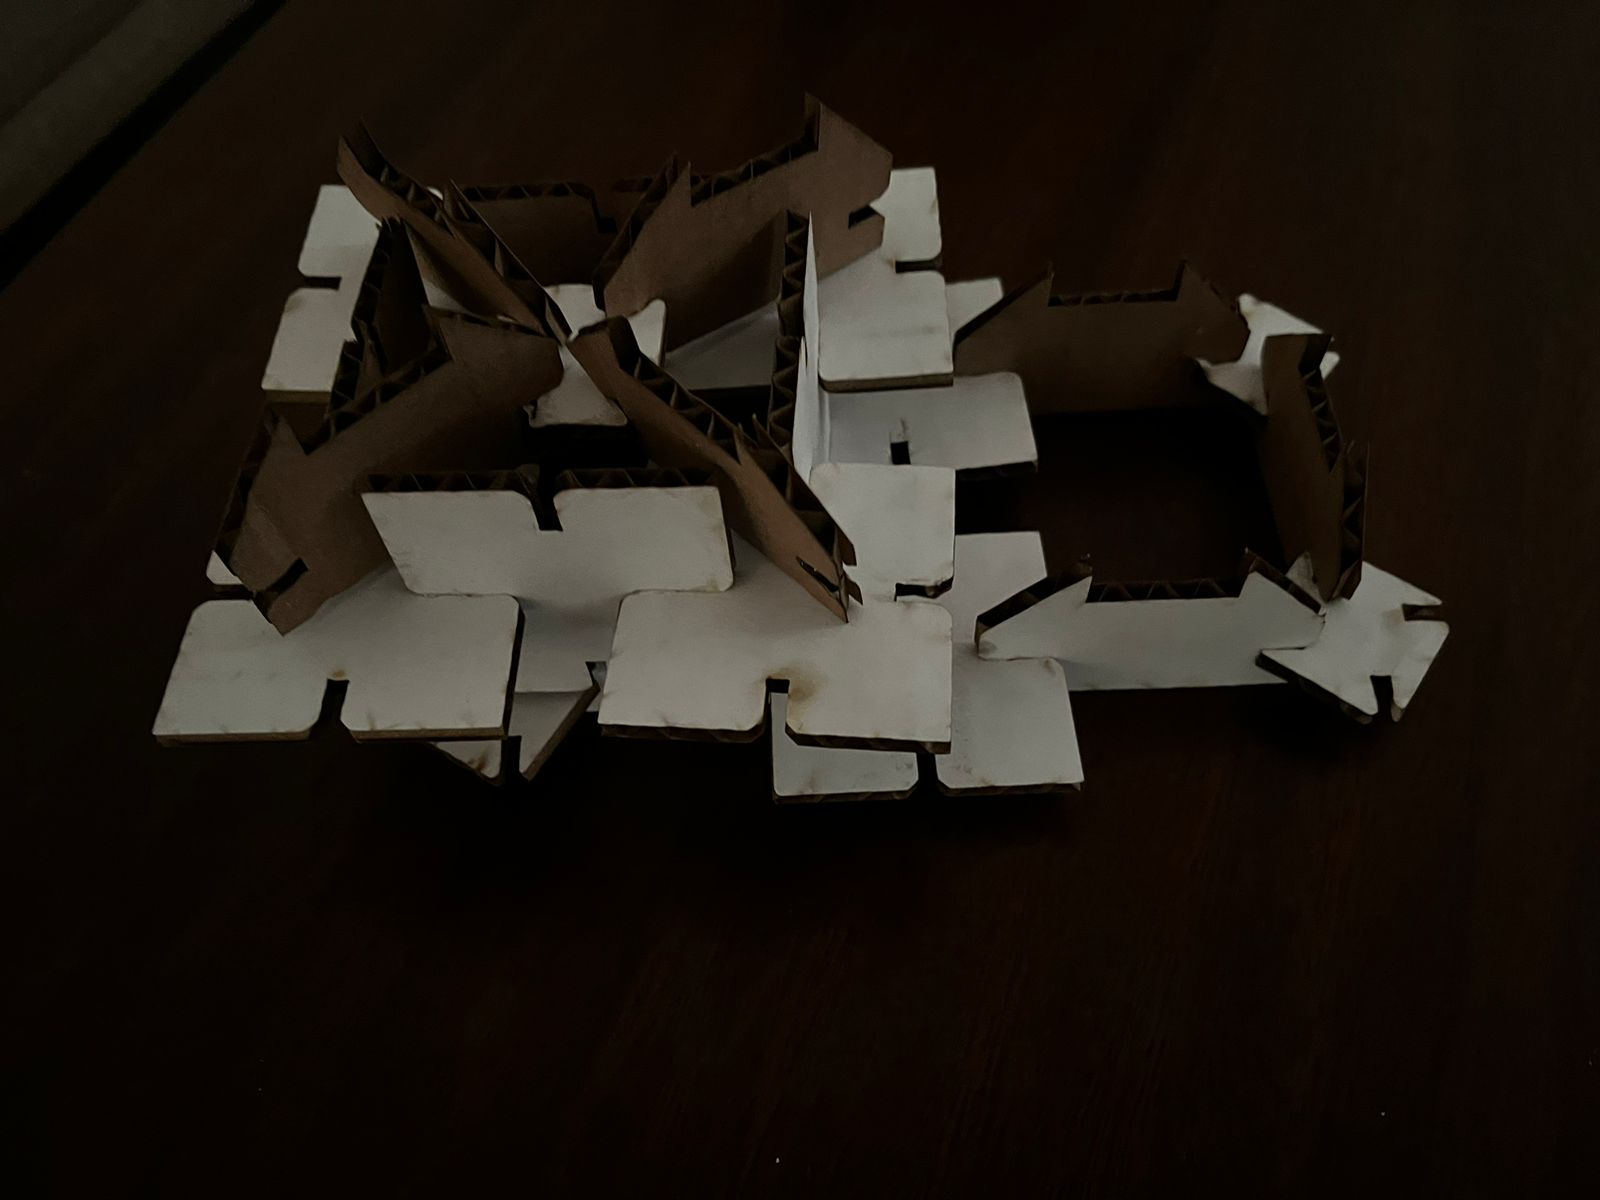
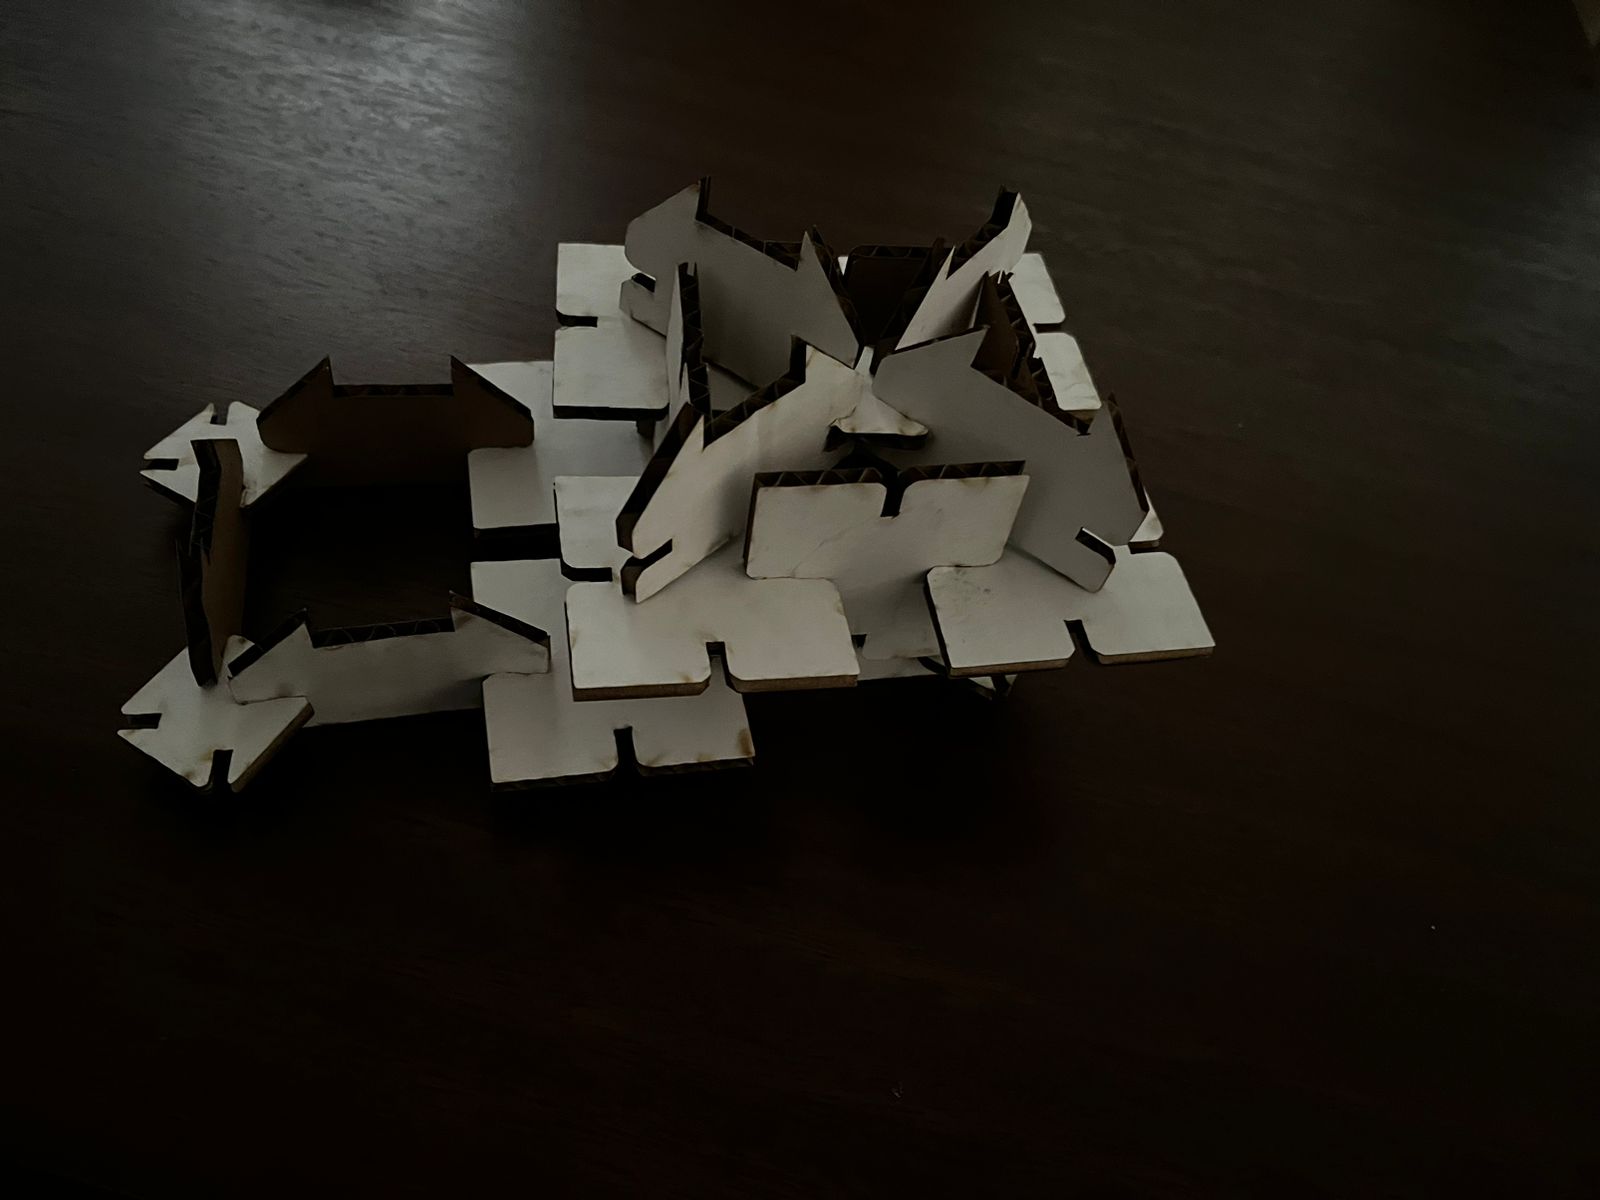
Once I got used to that command, I needed to build a kit with different assembleable pieces. So, here is what I came out with:
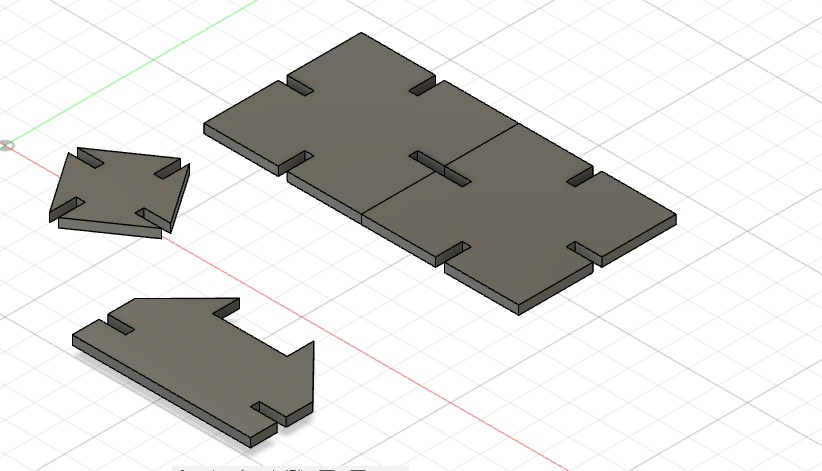
As you may see, by the end of the video the pieces look a little different than the image. The change is called "chamfer" ("chaflan" in Spanish). This tiny cut in the edges is what would allow my pieces to assemble easier.
Next, I share some evidence of the process:
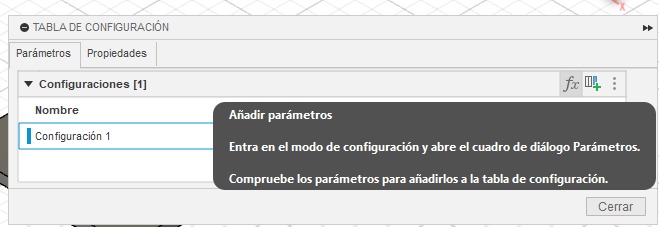
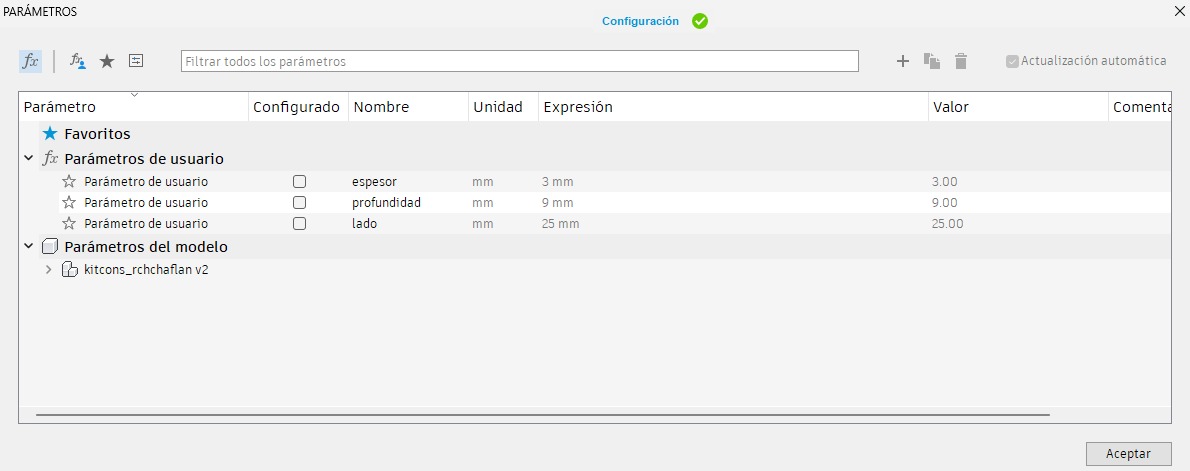
Now, I was able to start assembling the pieces. My idea was to create the construction kit with didactic purposes. I achieved the parametric feature by following the steps shown in the images captured from Fusion360:

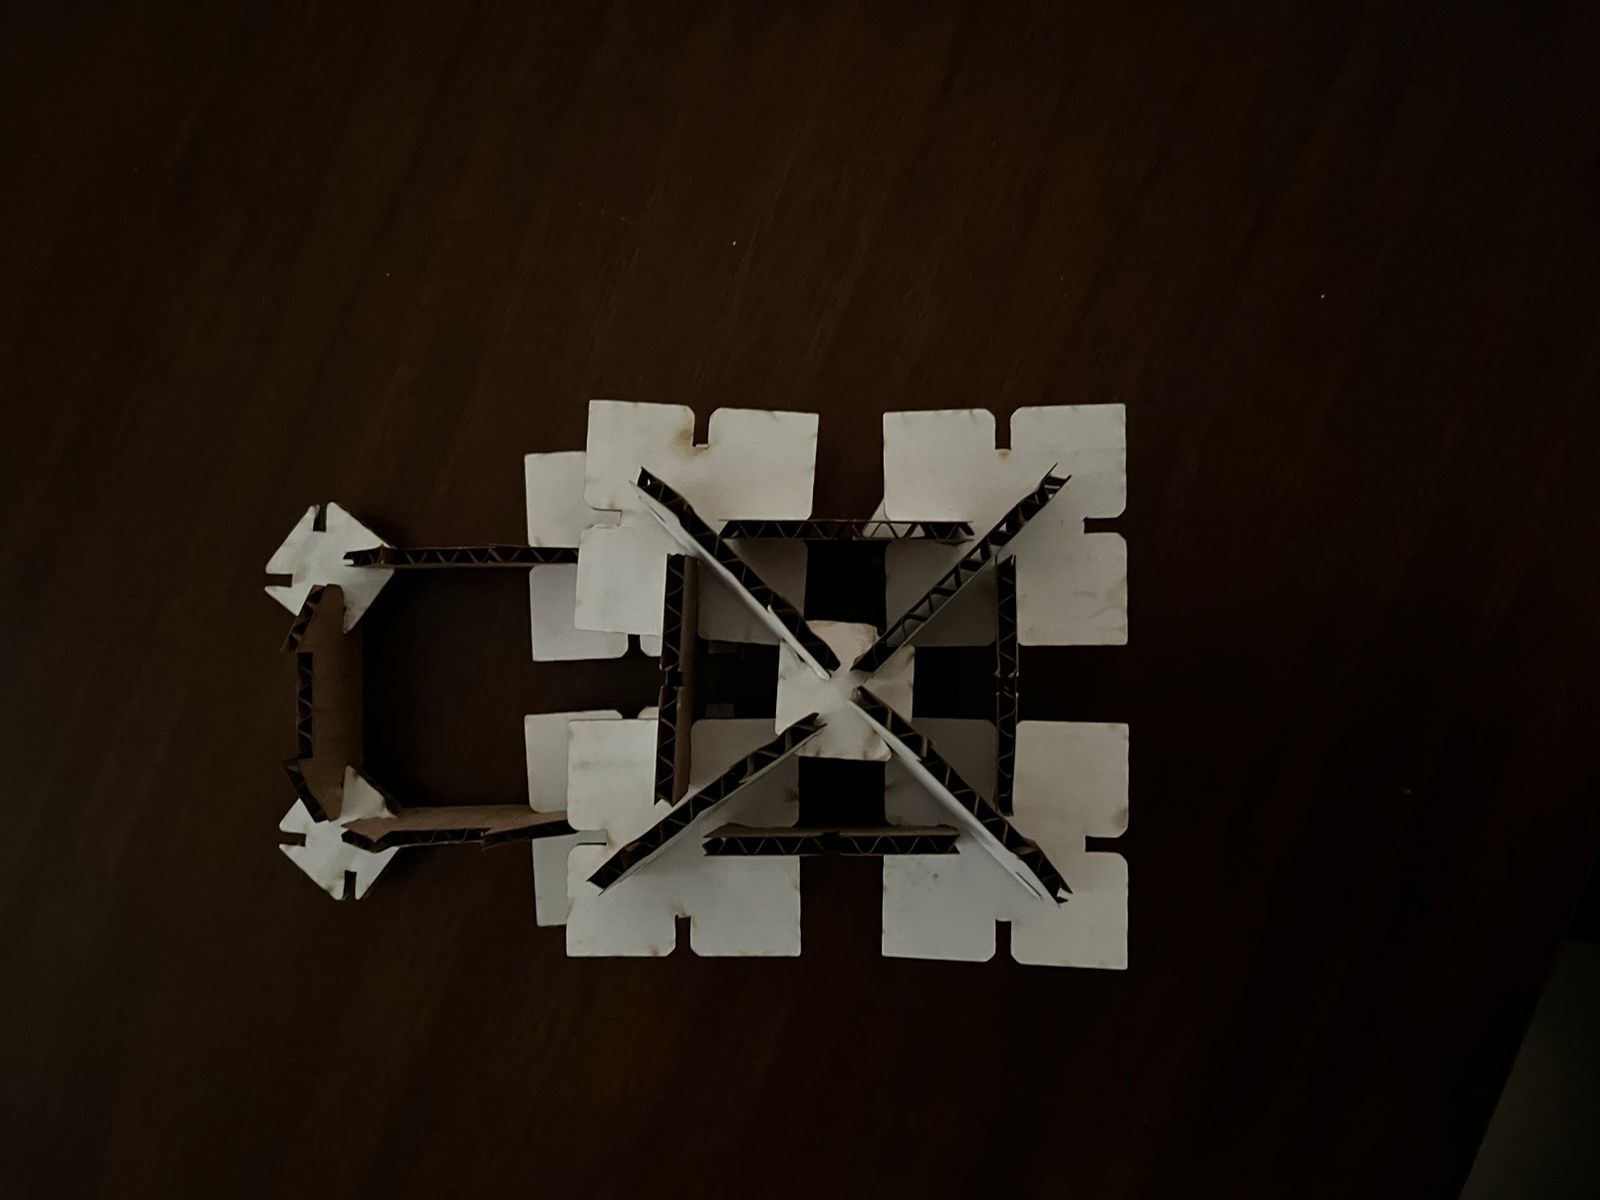
Here, you may see some of the things I was able to build with my kit:
By the way, you may find the dowloadable files here: