Final Project: Smart Coffee Thermo
Research
Coffee Temperature and Perception
Next, you will find a summary of an article published by Tasming Grant, published at perfectdailygrind.com:
"According to the National Coffee Association, the ideal serving temperature for coffee is between 82°C and 85°C. However, this would scald your tongue as temperatures in this range can exceed your thermal pain threshold. The most approved method of consuming coffee this way is through small sips or cupping ‘slurps’. This is where you only take in a small amount of liquid along with an inhale of air to cool the liquid down quickly.
Around 76°C is where flavour and aroma perception starts to take place. At this temperature, coffee releases a lot of vapour which enhances your perception of aromas, but can inhibit flavour perception. The volatile compounds are released faster and evaporate quicker here as well.
Higher aroma levels are perceived at temperatures around 70°C and can be maintained down to 60.4°C. These aromas tend to be described as ‘roasted’, ‘earthy’, and ‘intense’. Flavour tends to be trickier to perceive here, especially with more delicate notes of the coffee. In fact, research has suggested that various coffees roasted at a similar level are more likely to taste the same at higher temperatures.
The flavours that we perceive at 70°C are mainly bitterness, and as with the aromas, flavours associated with intensity and roastiness. These notes can linger until the coffee has cooled another 10°C, upon which we may detect an increase in bitterness. Bitterness has been found to be most intense at around 56°C.
At temperatures below 50°C, you’ll see a significant change in the flavours and aromas of coffee. Aromas become harder to detect; mainly due to the reduction in vapour being produced as the coffee cools.
Bitterness starts to decrease, allowing for more intricate flavour notes to come through. It’s between 31-50°C that the highest number of flavours can be detected. These will mainly be those associated with acidity and sweetness. Around 44°C is when sweetness is at its most prominent. Bitterness is least detectable around 42°C.
Between 31-37°C is when the smallest changes with the most interesting impacts can occur. Volatile compounds associated with sweet, fruity, floral, herbal, acidic, and nutty tasting notes are more prominent within this temperature range. It’s here where we really get to experience the defining characteristics of a coffee.
Acidity can be perceived best at lower temperatures such as 25°C, compared to at 44°C or 70°C."
The results are coincident with the ones obtained in the thesis held by Matthew James Chapko, which concludes that despite the differences in the sensorial experience of coffee depending on the expertise of the consumer, the best temperature range to serve brewed coffee is in the 40-55°C range.
Personally, I´ve made my empirical study, tasting coffee at different temperatures. I can say that I prefer coffe at 45°. For me, what really matters is that each person has different preferences in taste, flavour, and aroma. Also, depending on the kind of coffee, and outside temperature, preferences may vary.
My objective is to create a thermo in which each person can receive the best coffee according to their personal preference at the moment, and that their personalized temperature for the coffee makes it remain that way until the last sip.
Components
A temperature sensor is employed to continuously monitor the internal temperature of the thermo. This sensor, often a thermistor or digital temperature sensor, provides real-time data to the control system.
A microcontroller, such as Arduino or Raspberry Pi, processes the temperature readings and controls the heating element accordingly. This heating element, typically a resistive heater or Peltier module, is responsible for adjusting the thermo's temperature.
A control algorithm is developed to manage the interaction between the sensor, microcontroller, and heating element. This algorithm, could be based on Proportional Integral Derivative (PID) control.
For user interaction, a user interface is implemented, allowing consumers to set their desired temperature. Depending on the advancement of the project, this interface could range from simple LCD displays with buttons to more advanced touchscreen interfaces or smartphone apps.
Operation
Step 1: Gather Components and Tools
- Temperature sensor (e.g., thermistor, DS18B20)
- Microcontroller (e.g., Arduino, Raspberry Pi)
- Heating element (e.g., resistive heater, Peltier module)
- Power source (e.g., battery, power adapter)
- Display (e.g., LCD, OLED)
- User interface components (e.g., buttons, touchscreen)
- Enclosure materials (e.g., plastic, metal)
- Soldering iron, solder, wire cutters, and other basic electronics tools
Step 2: Design the Circuit
Create a circuit diagram showing how the components will be connected:
- Determine the pin connections for the temperature sensor, microcontroller, heating element, and any other peripherals.
- Consider power requirements and voltage levels for each component.
Step 3: Assemble the Circuit
Connect the components according to the circuit diagram:
- Use jumper wires, breadboards, or soldering to make the connections.
- Double-check all connections to ensure they are secure and correct.
Step 4: Program the Microcontroller
Write the firmware code for the microcontroller:
- Implement a control algorithm (e.g., PID control) to regulate the thermo's temperature.
- Include functions for the user interface to set temperature settings and display current temperature readings.
Step 5: Test the Circuit and Code
Power on the thermo and verify that all components are functioning correctly:
- Test the temperature sensor by measuring ambient temperature and comparing it to the displayed value.
- Test the heating element by adjusting the setpoint temperature and observing how the thermo responds.
Step 6: Build the Enclosure
Design an enclosure to house the circuitry and provide protection and insulation:
- Choose materials that are durable, heat-resistant, and suitable for the thermo's intended use.
- Consider incorporating ventilation or cooling features to prevent overheating.
Step 7: Install the User Interface
Install the display and user interface components in the enclosure:
- Ensure that buttons, switches, or touchscreen controls are accessible and easy to use.
Step 8: Calibrate the Thermo
Calibrate the temperature sensor to ensure accurate temperature readings:
- Test the thermo's temperature control accuracy by setting different temperature setpoints and observing the response.
- Adjust the control algorithm or parameters as needed to improve performance.
Step 9: Test and Iterate
Test the completed thermo in real-world conditions:
- Gather feedback from users to identify any issues or areas for improvement.
- Make adjustments to the circuit, code, or enclosure design as necessary based on user feedback and testing results.
Step 10: Finalize and Deploy
Once the thermo meets all requirements and performs reliably, finalize the design and assembly:
- Document the build process, circuit diagram, and firmware code for future reference.
- Deploy the thermo for use in its intended application, whether it's home heating, temperature-controlled storage, or another purpose.
How the thermo will work
Diagram illustrating the components and operation of the thermo. The heating element generates heat, which is regulated by the control algorithm based on feedback from the temperature sensor. Users interact with the thermo through the user interface.
Useful Links
- Article about variations in coffee´s temperature and their effects
- Paper about the effects of serving temperature on sensory perception and acceptance of brewed coffee
Inspiration
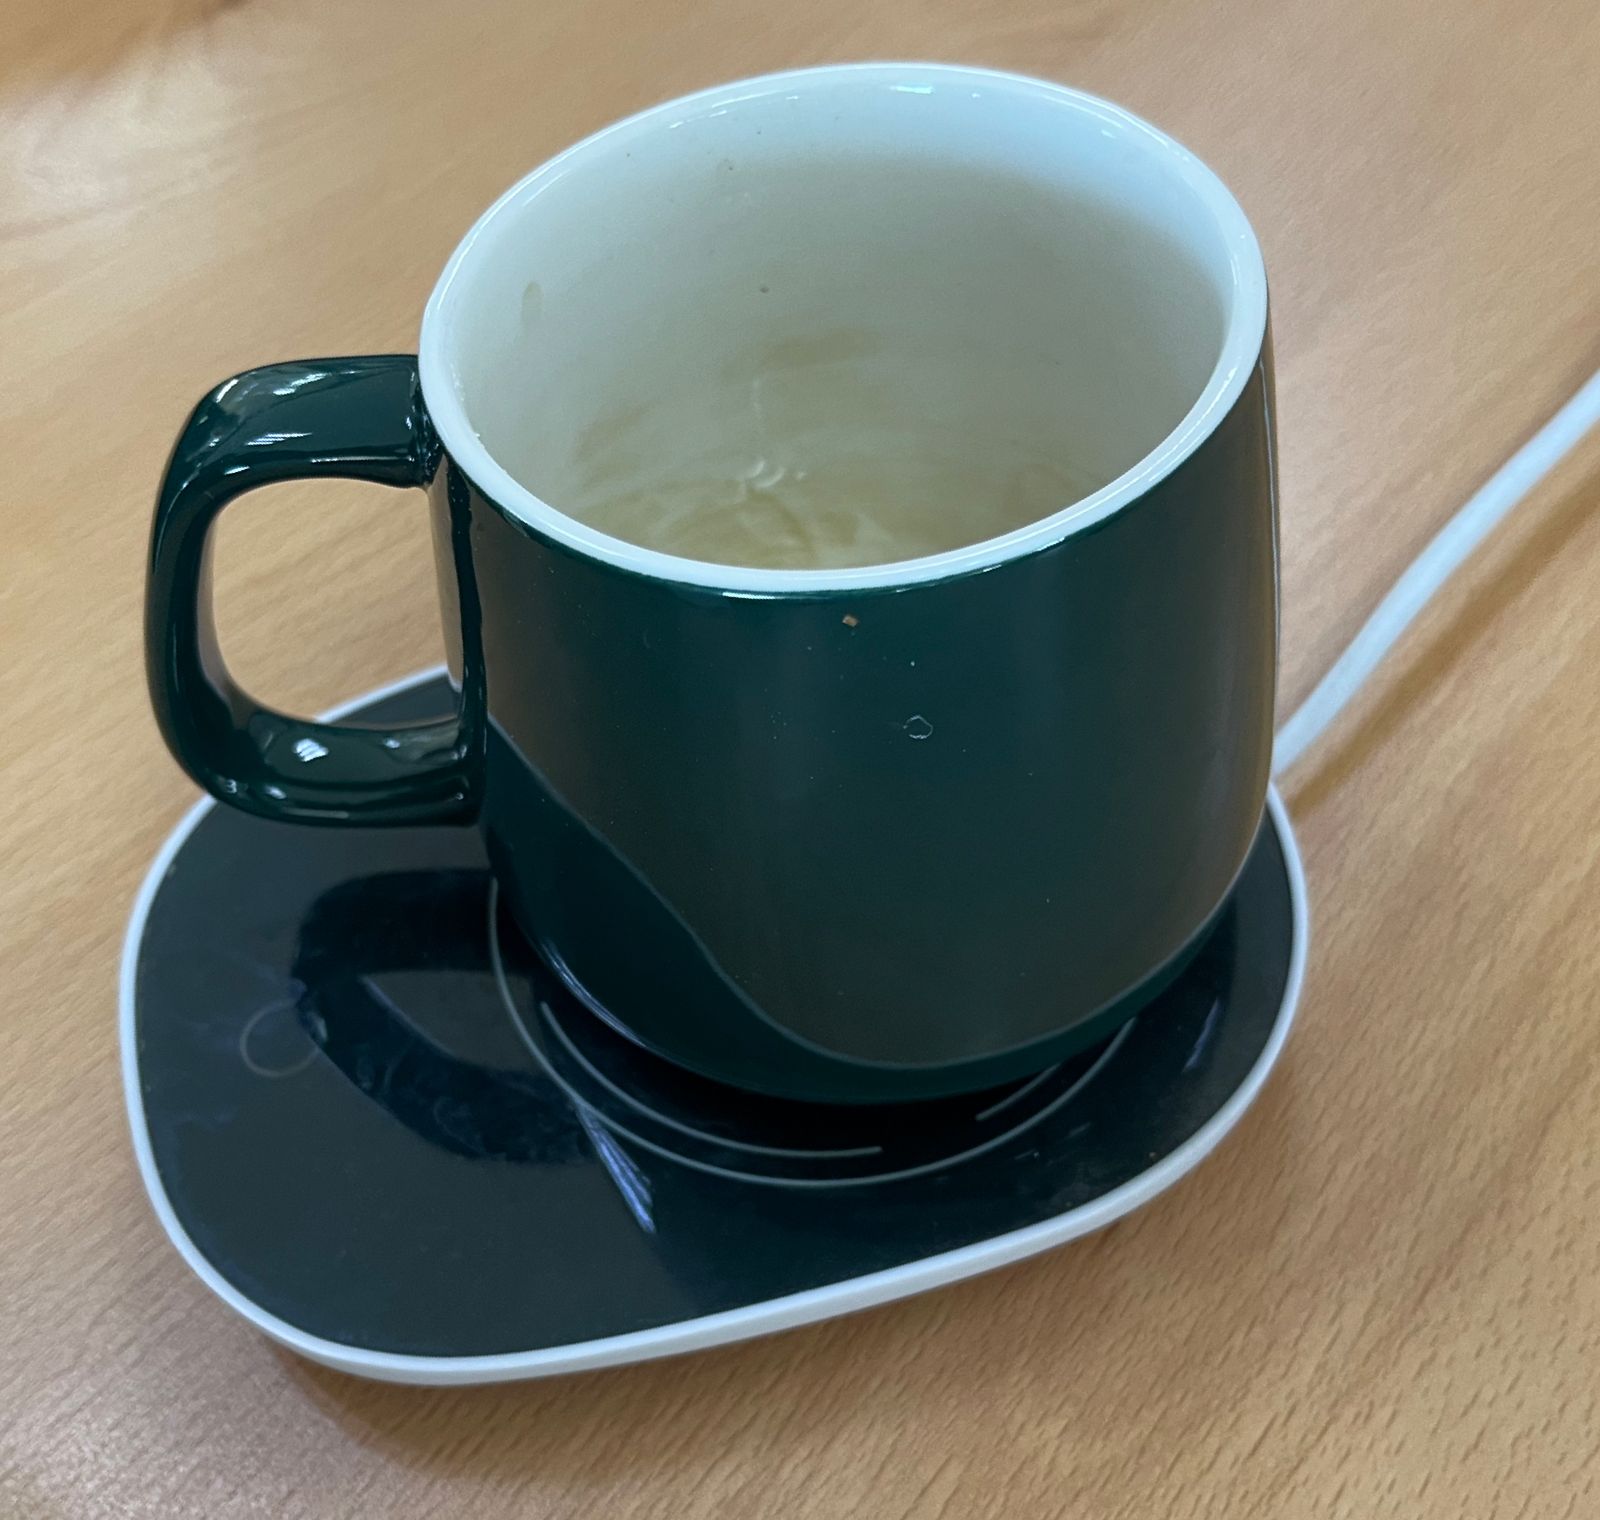
Chargeable cup
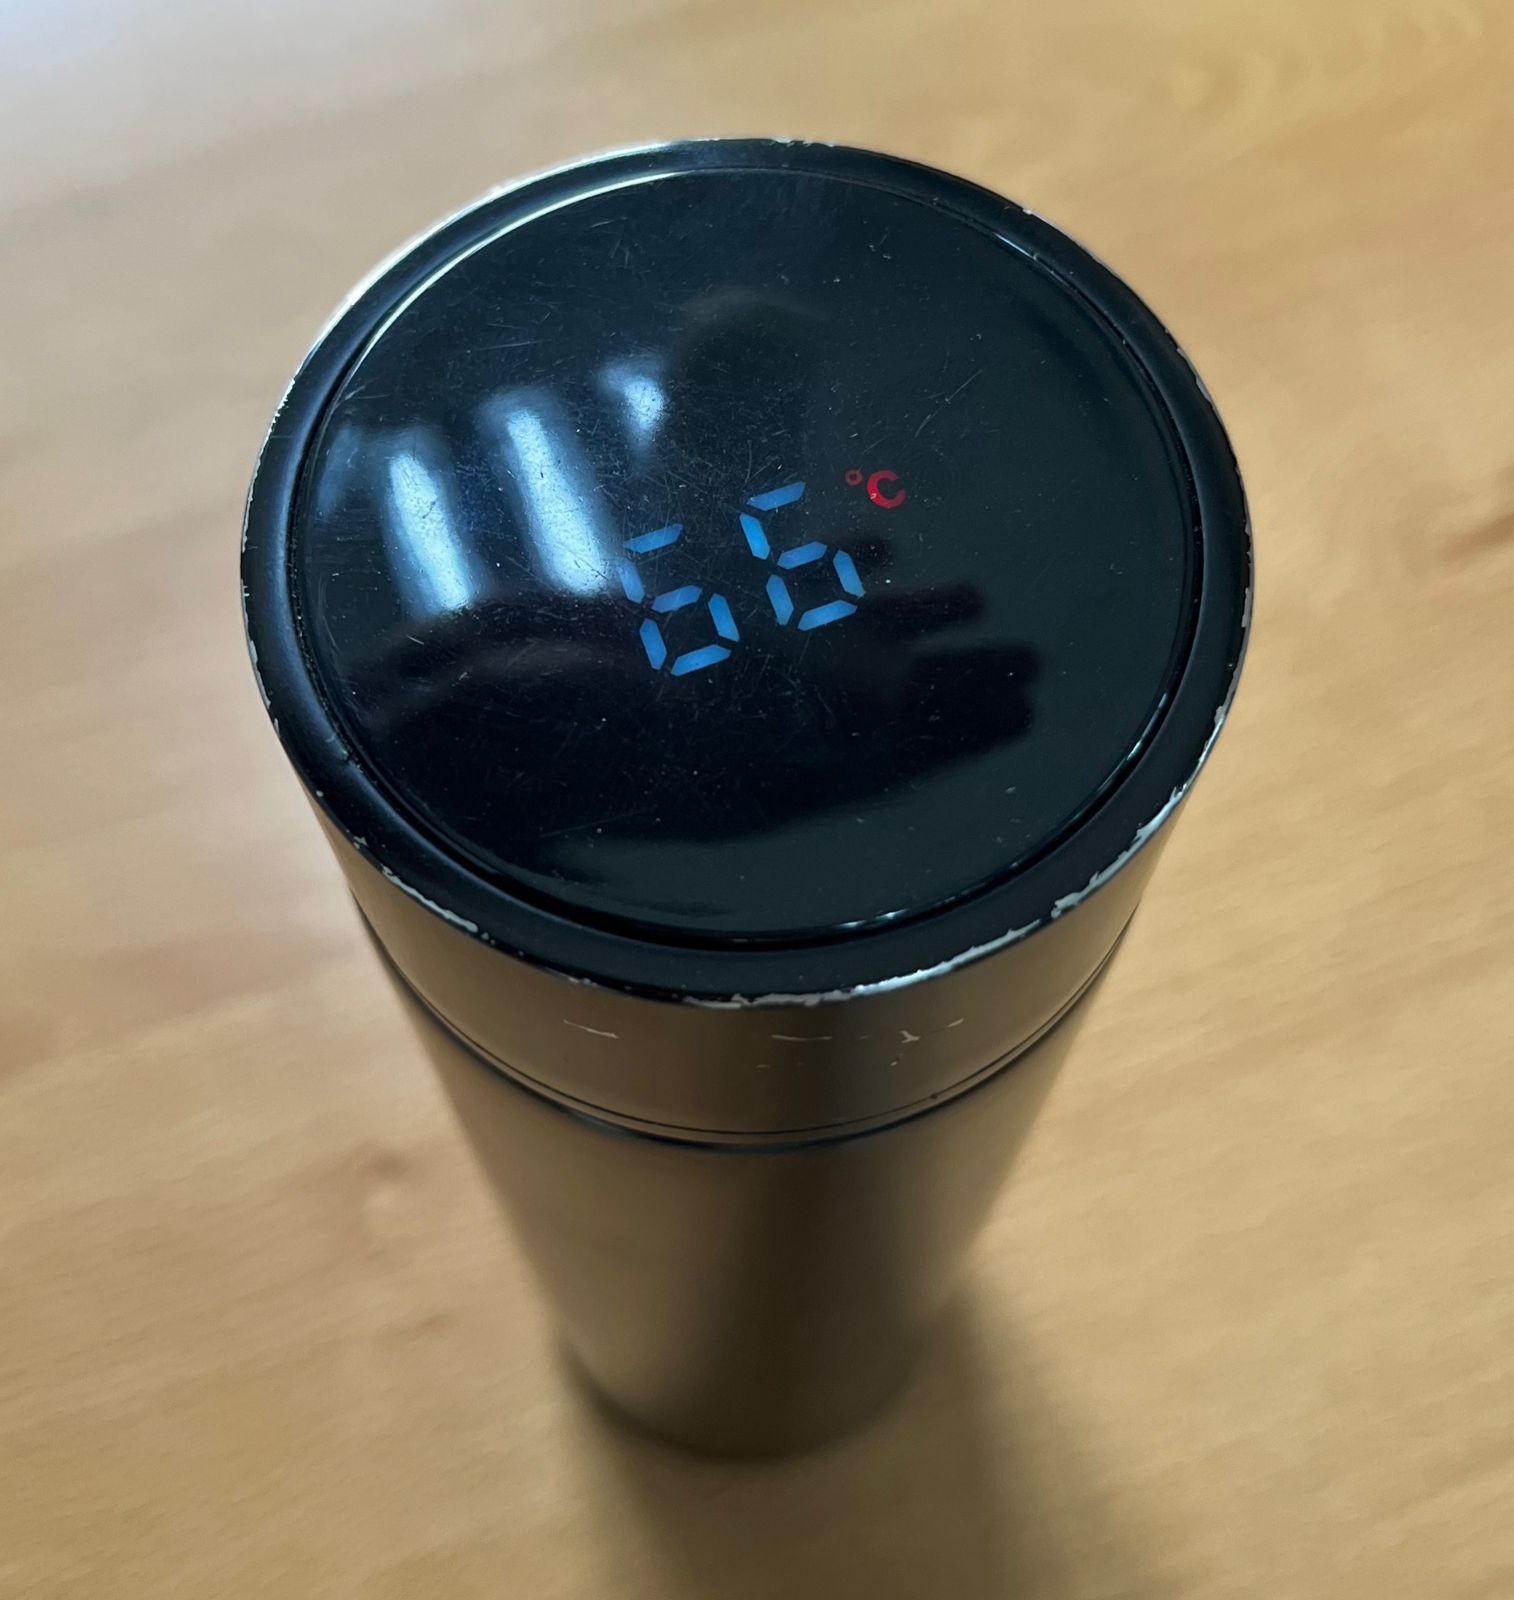
Thermo with thermometer
How to fusion the concepts?
Benchmarks:
Code Example
"With help from ChatGPT:"
<
#include
#include
// Replace these with your Wi-Fi network settings
const char* ssid = "YourSSID";
const char* password = "YourPassword";
// Initialize ESP8266 Web Server on port 80
ESP8266WebServer server(80);
// Dummy variables for temperature
float currentTemperature = 25.0; // Current temperature in Celsius
float targetTemperature = 30.0; // Target temperature in Celsius
// Function to display the web page
void handleRoot() {
String html = ""
""
""
"Auto-Regulated Thermostat "
""
""
""
"Thermostat Control
"
"Current Temperature: " + String(currentTemperature) + "°C
"
"Target Temperature: °C
"
""
""
"";
server.send(200, "text/html", html);
}
// Function to set target temperature
void handleSetTargetTemperature() {
if (server.hasArg("temp")) {
targetTemperature = server.arg("temp").toFloat();
// Here, add code to adjust your thermostat based on the new target temperature
}
server.send(204, "text/plain", ""); // No content response
}
void setup() {
Serial.begin(115200);
// Connect to Wi-Fi
WiFi.begin(ssid, password);
while (WiFi.status() != WL_CONNECTED) {
delay(500);
Serial.print(".");
}
Serial.println("");
Serial.print("Connected to ");
Serial.println(ssid);
Serial.print("IP address: ");
Serial.println(WiFi.localIP());
// Route to handle loading the main page
server.on("/", handleRoot);
// Route to handle setting target temperature
server.on("/set", handleSetTargetTemperature);
// Start the server
server.begin();
Serial.println("HTTP server started");
}
void loop() {
server.handleClient();
// Here, add code to read your actual temperature sensor and regulate the thermostat
// You might also update 'currentTemperature' based on sensor readings
}
Videos
Later, here I will share videos of my progress and the final results.