12. Moulding and Casting
This week we had to make a mold about anything. As I didn't seem to have something to mold for the final project, I decided to do mini chocolate Snoopies. For this I used the Asia Robotica shop-1325 to cut the mold into the wax block and silicone 3030 to pour it into the machined block and create the mold.
Learning
The local instructors gave us the possibility of create a mold from a wax block or print it in resin. I preferred the option including the machining in the wax block, because I like to practice using the router. In the group page are the data sheets of the materials (wax and resin) used. Also there are some steps to follow for the machined mold:
- Design mold (for which I used SolidWorks)
- Postprocess the design to create the toolpath (I used VCarve)
- Place the tools and clamps in the working area
- Machine with the roughing tool
- Machine with the finishing tool
Which is what I considered most important from the page, since we already had the computer controlled week to learn about the router. However, there were also steps to create the silicone mold:
- Prepare the security equipment and area
- Prepare the 100 A:10 B mixture
- Pour the mixture in the wax block already machined
- Let it dry
- Unmold
Mold Design
At first, I didn't have much of an idea of what to make a mold about, because I couldn't think of any for my final project. Finally, I came to the conclusion that I wanted to make something funny that could bring me joy, so I decided to make mini chocolate Snoopies (I love Snoopy). I don't really have a Snoopy figure to scan, so I had to search for an STL file of a Snoopy in Thingiverse. I had to make first the positive mold and then the negative one; the reason was that if I wanted chocolate Snoopies, I needed a flexible mold (as if I were doing ice cubes) and thus a positive mold to make the silicone one. Then I followed the next steps:
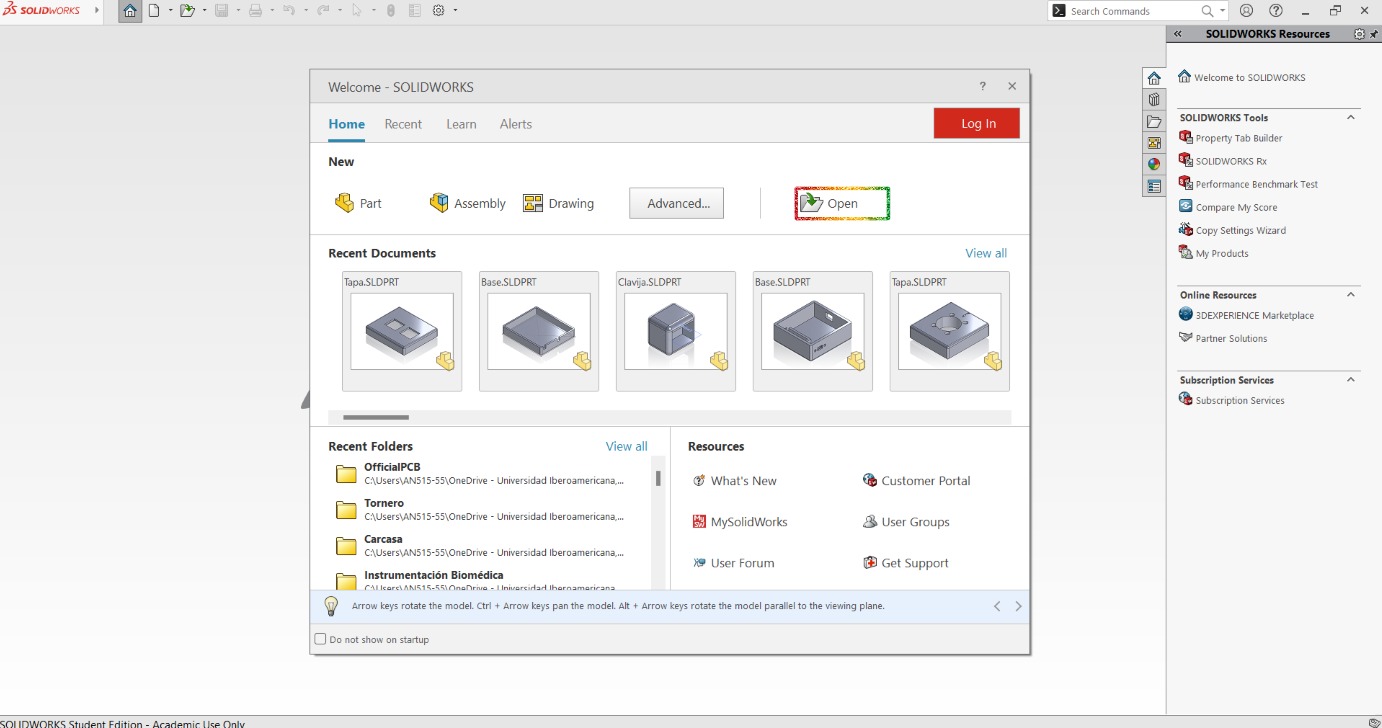
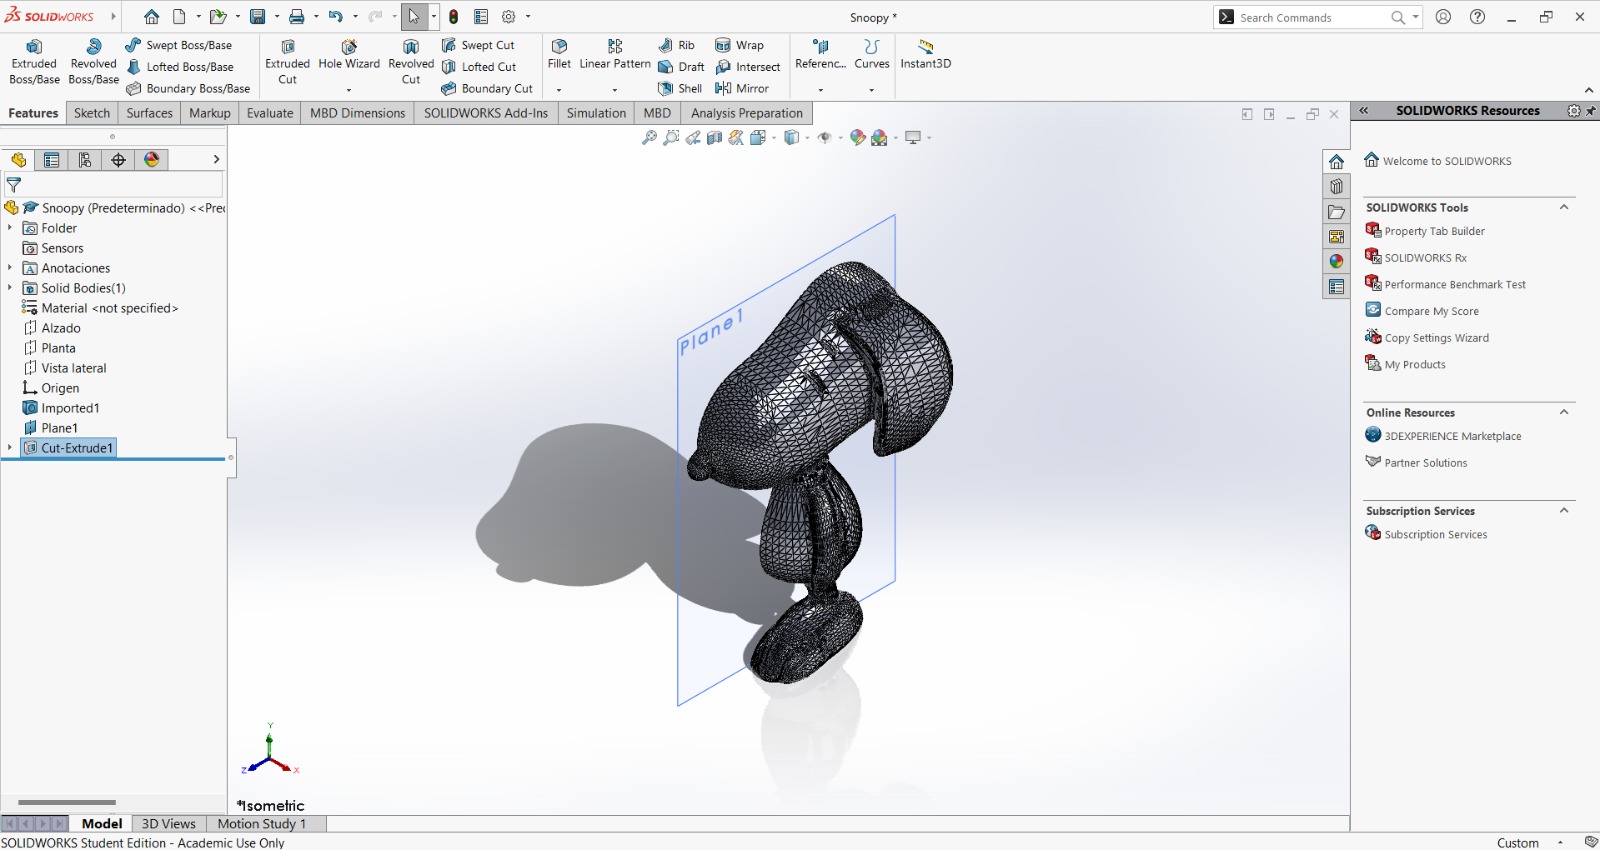
- Open SolidWorks and click the Open button.
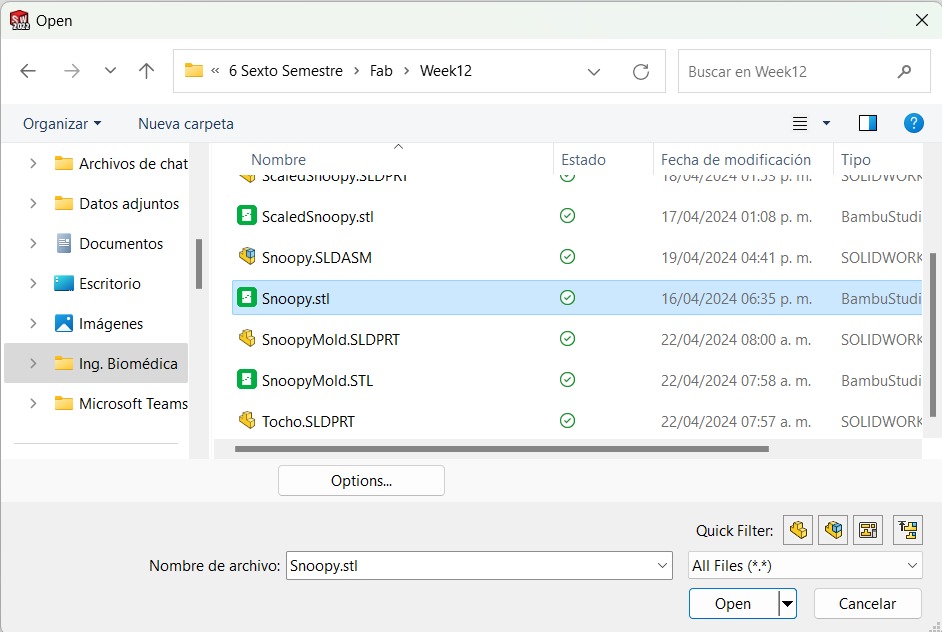
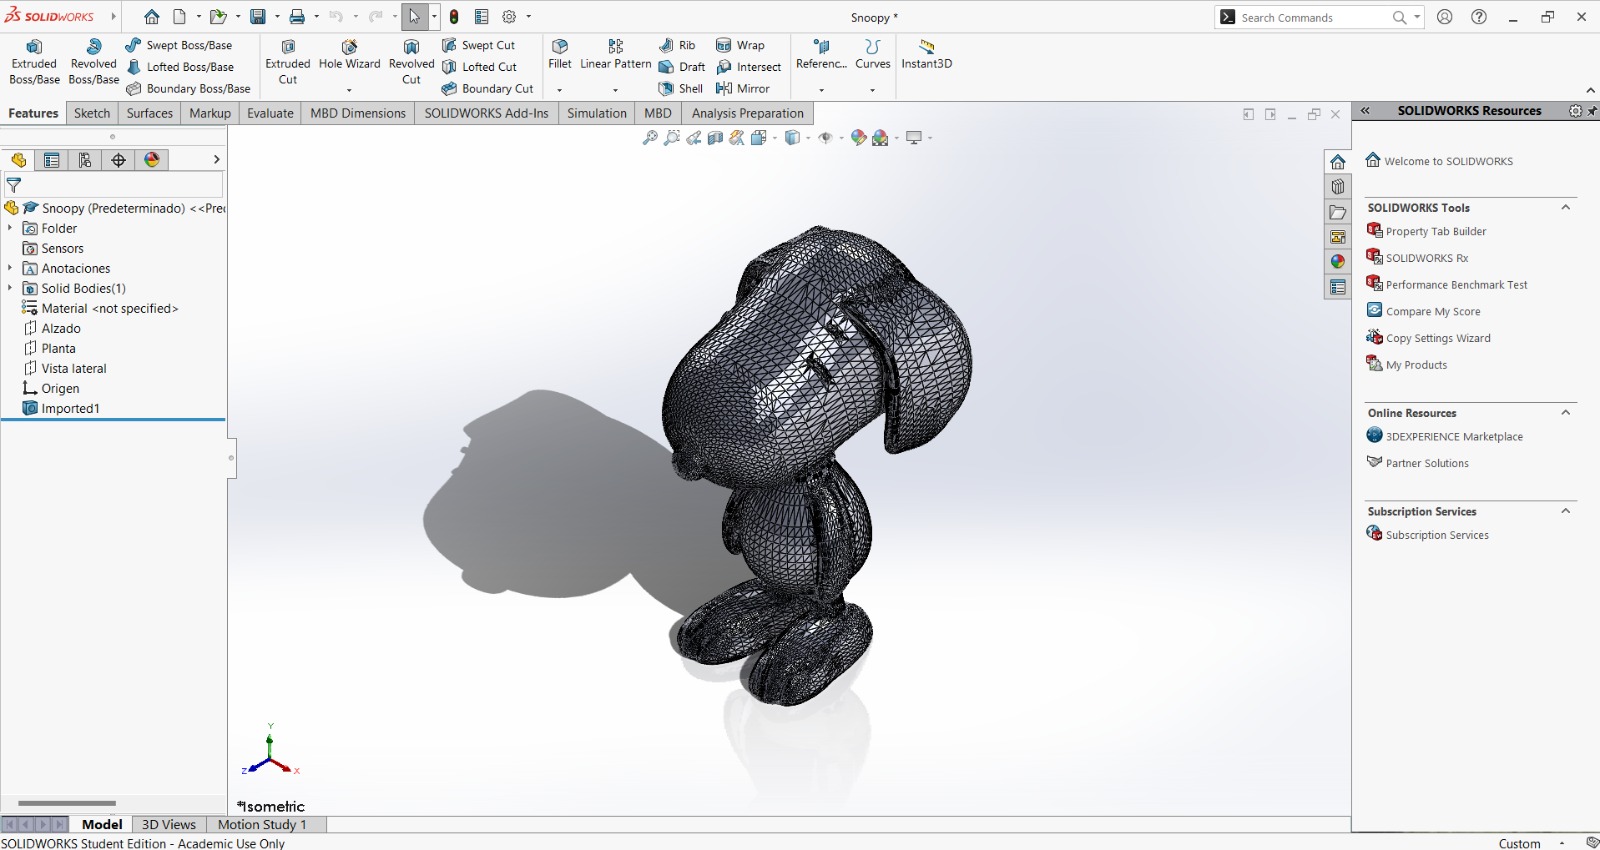
- Open the STL file.
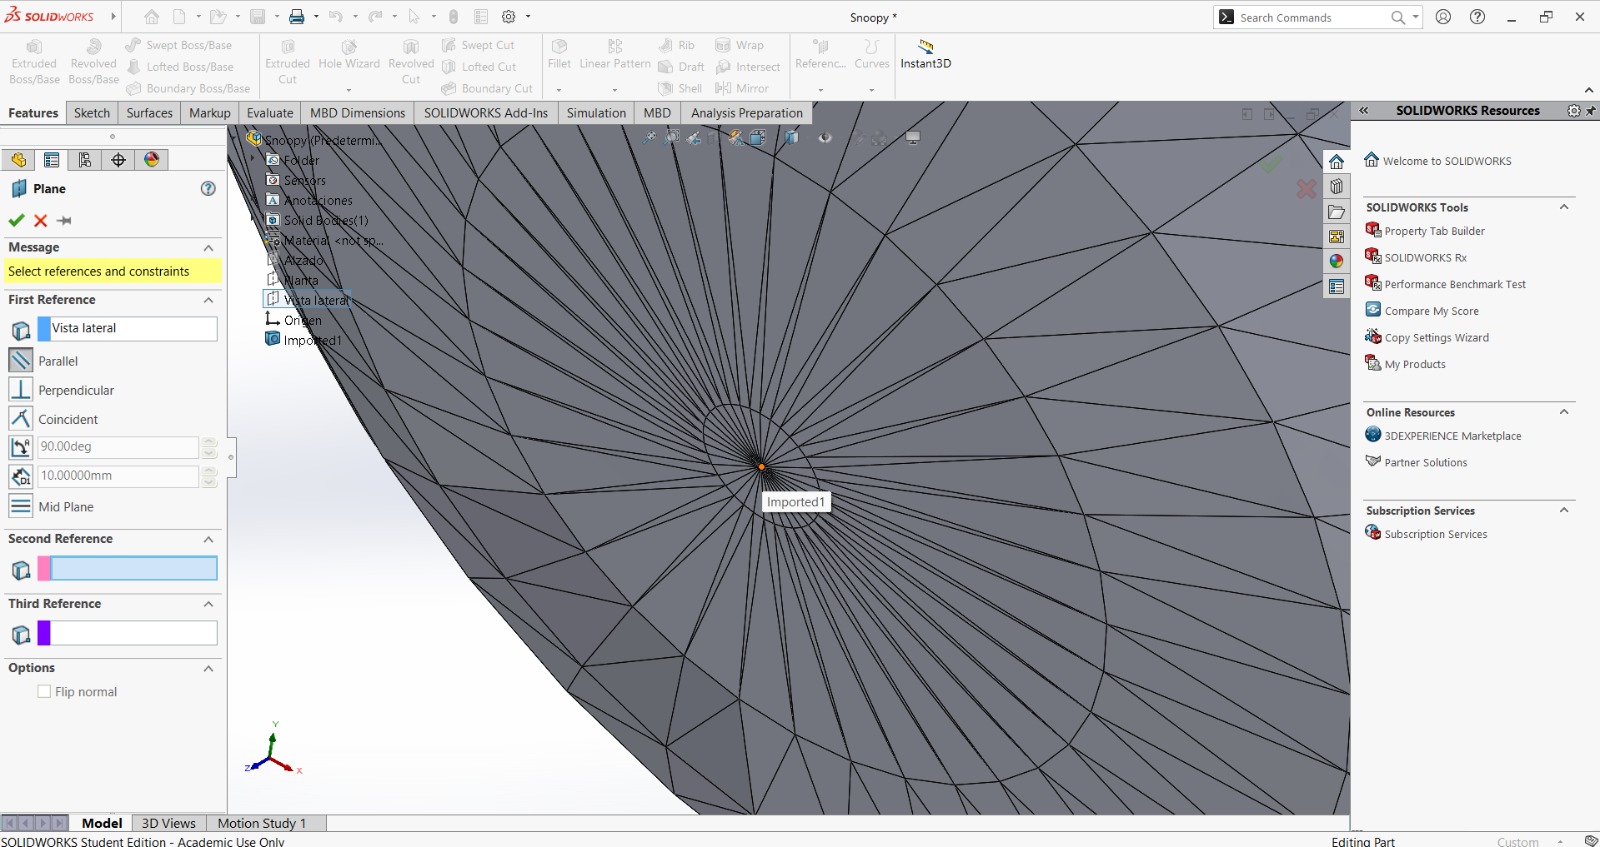
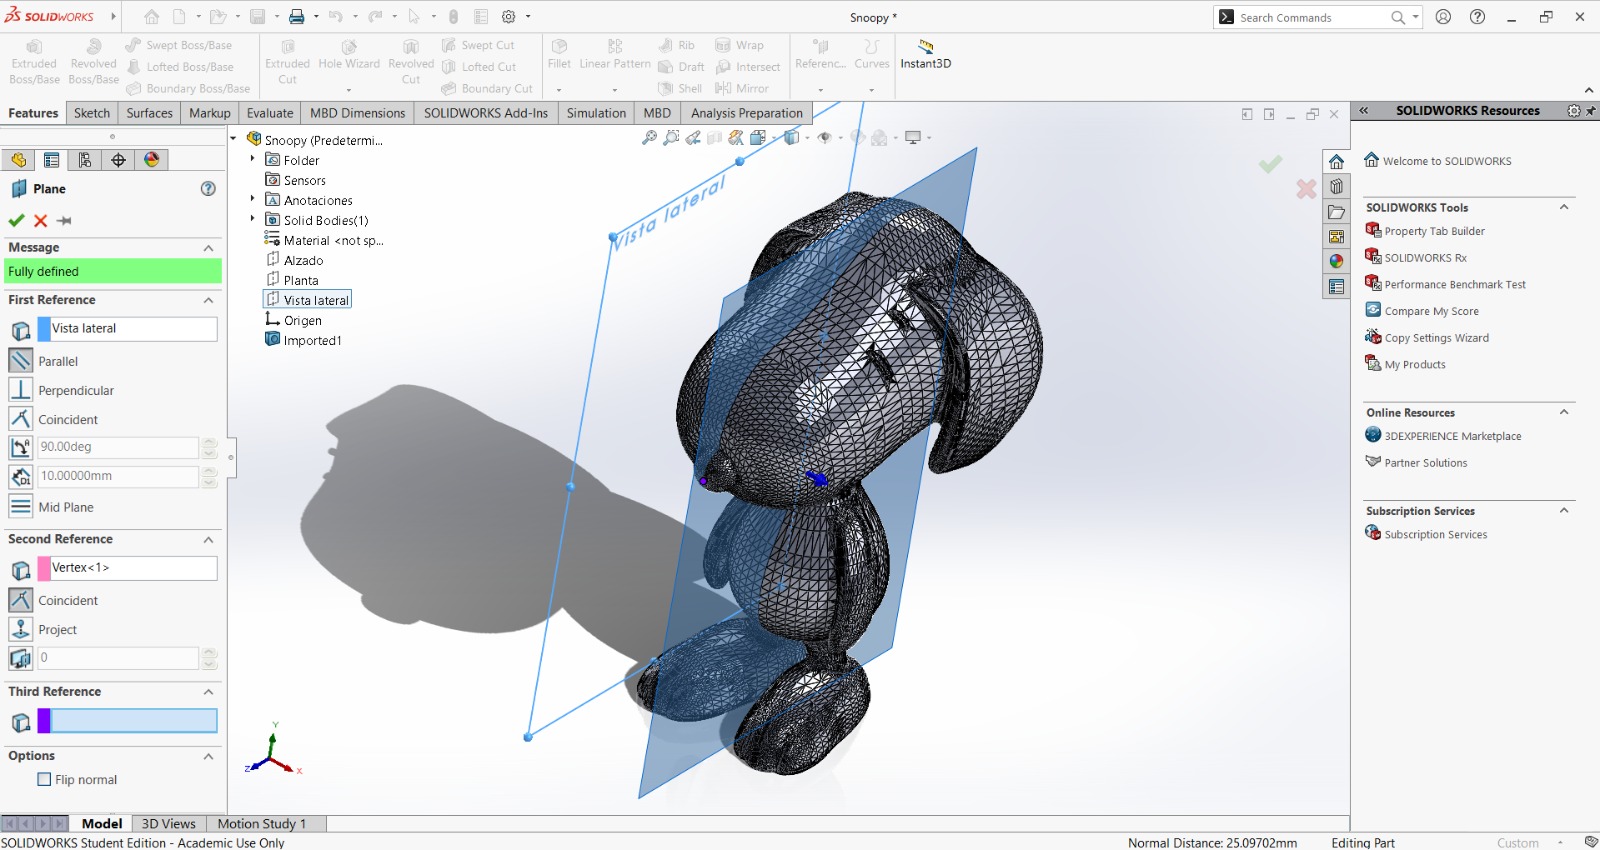
- Create a new plane taking as reference the side view and a point in the center of the nose.
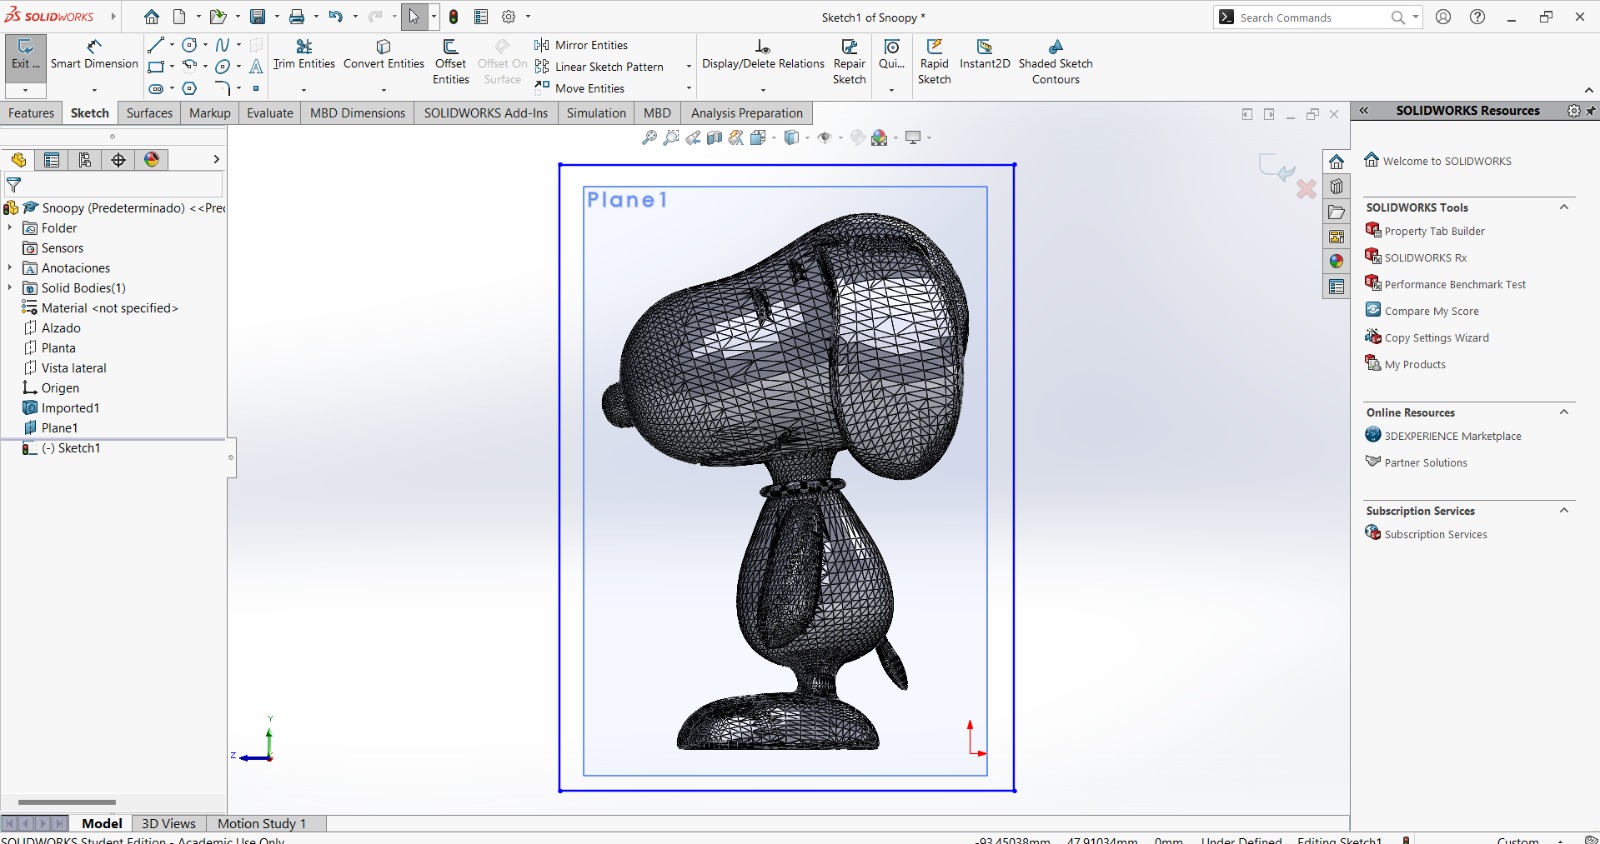
- Draw a rectangle that completely surrounds the Snoopy.
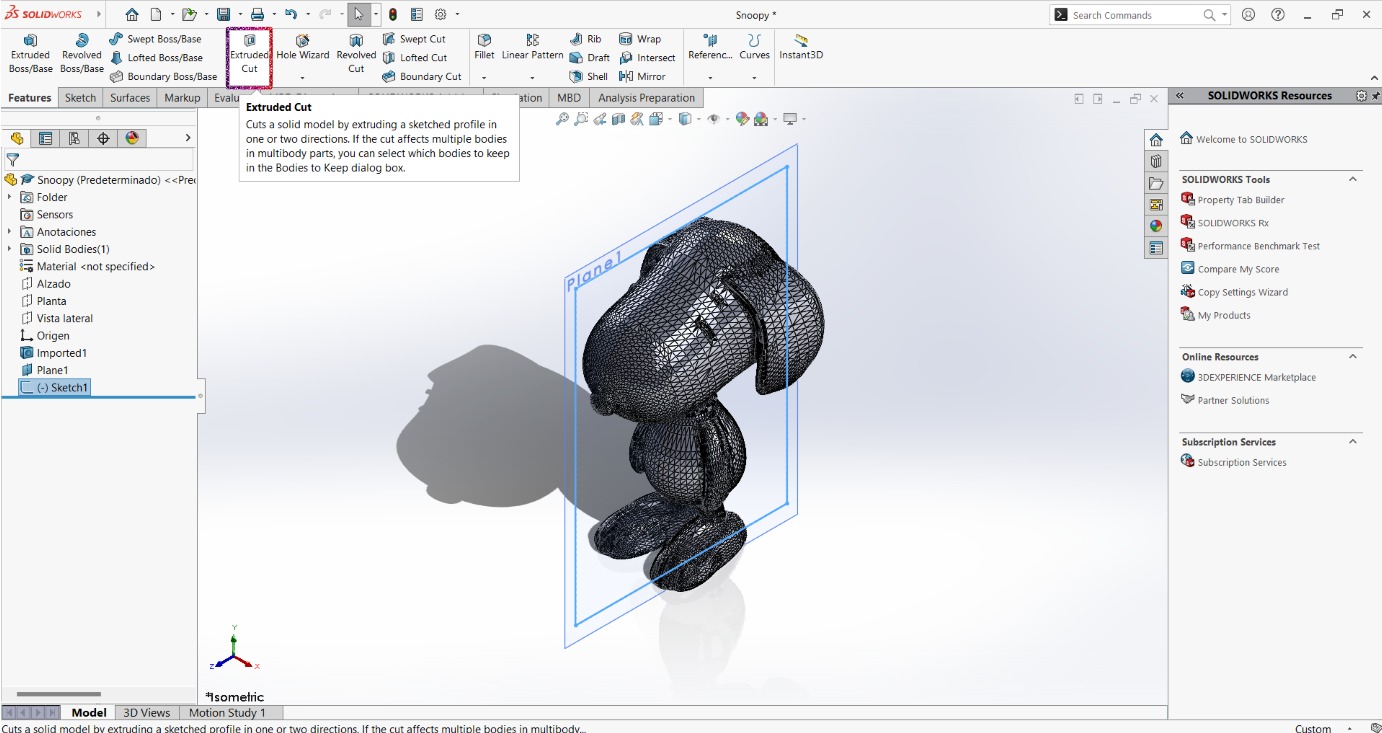
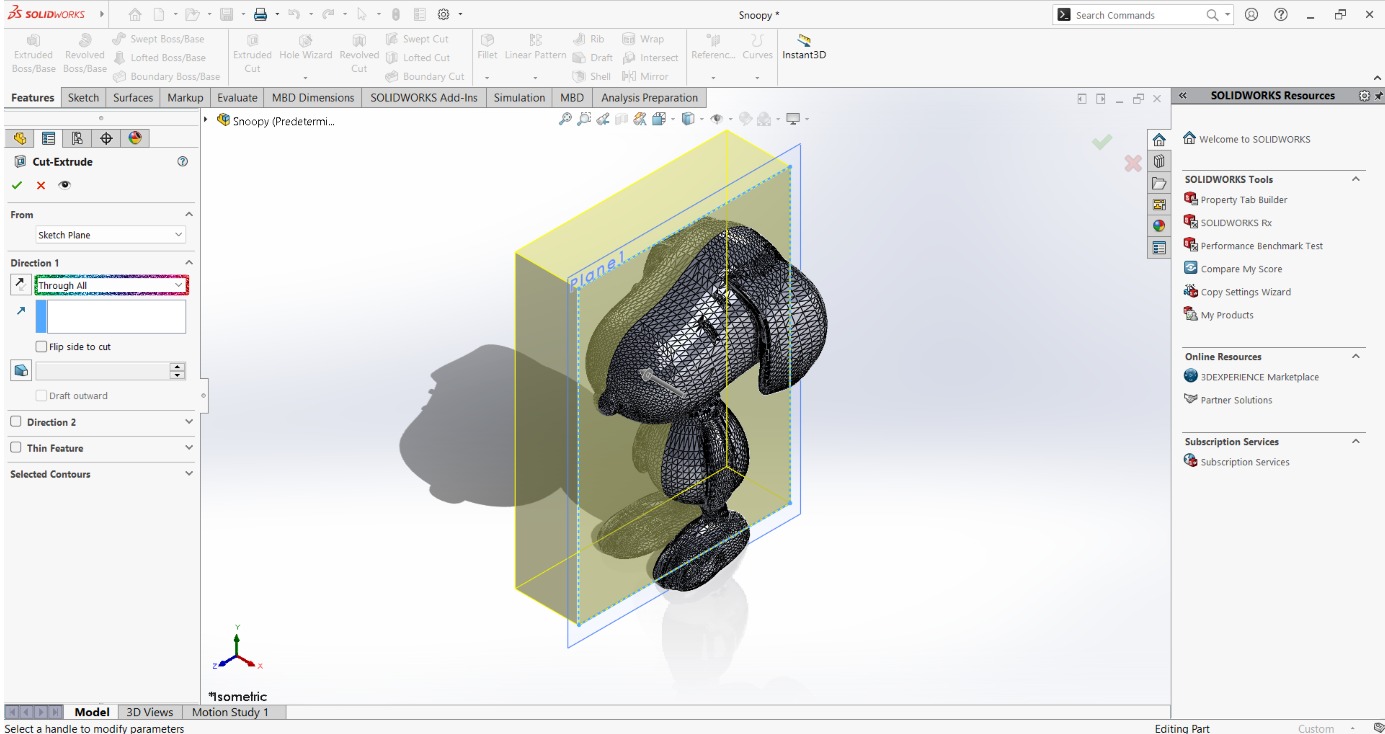
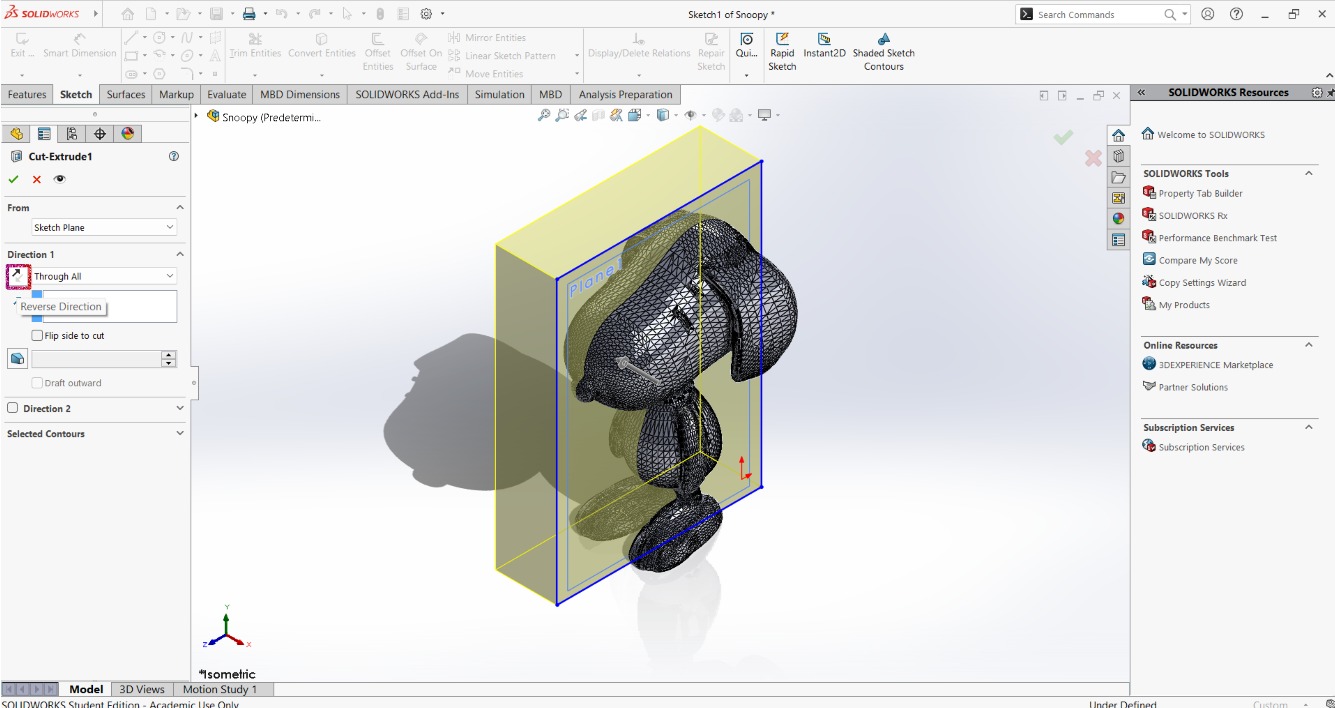
- Extrude the cut to obtain the right half of the Snoopy.
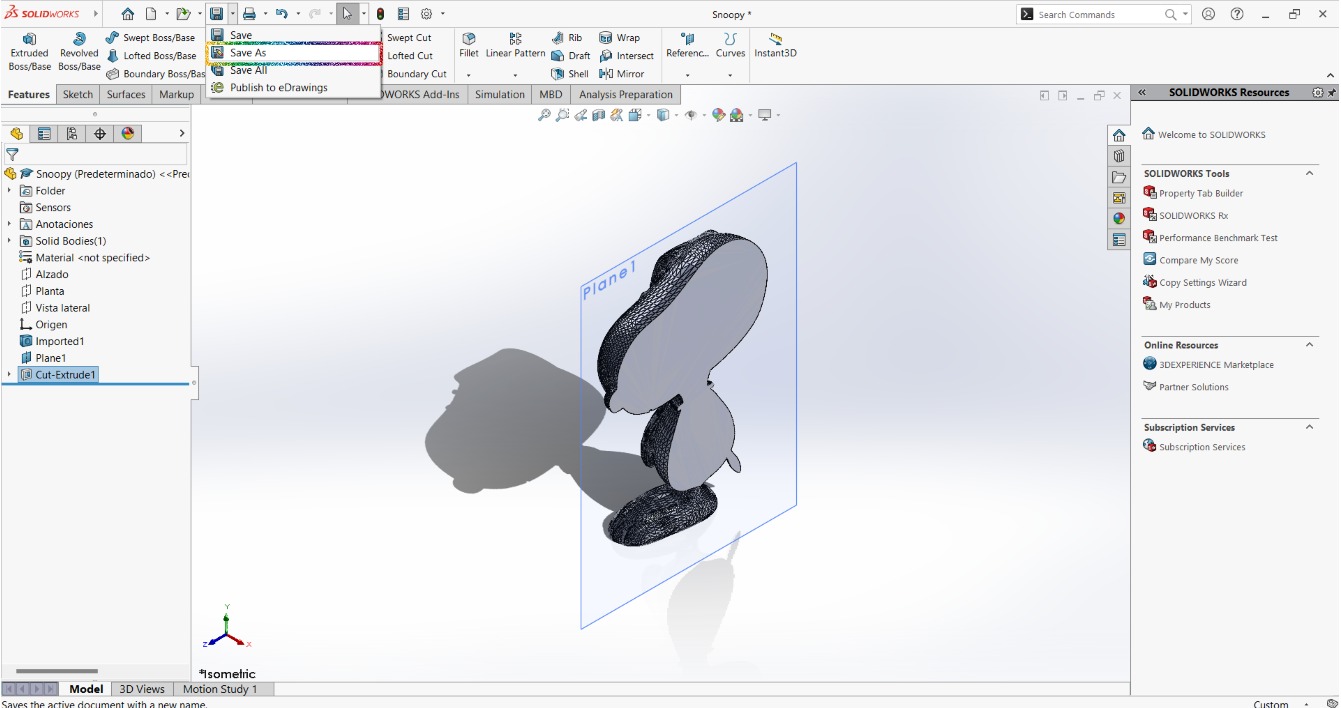
- Save it with Save As to obtain the right part of the Snoopy.
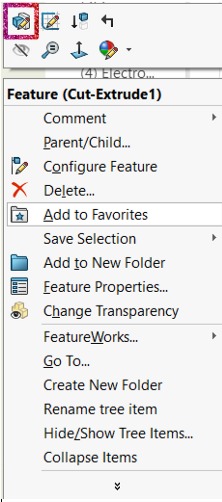
- Right click in the action Cut-Extrude1 and select the Edit Feature option.
- Reverse the direction of the cut.
- Save it with the Save As option to obtain the left side of the Snoopy.

Then I made the design of the positive mold in the following way:
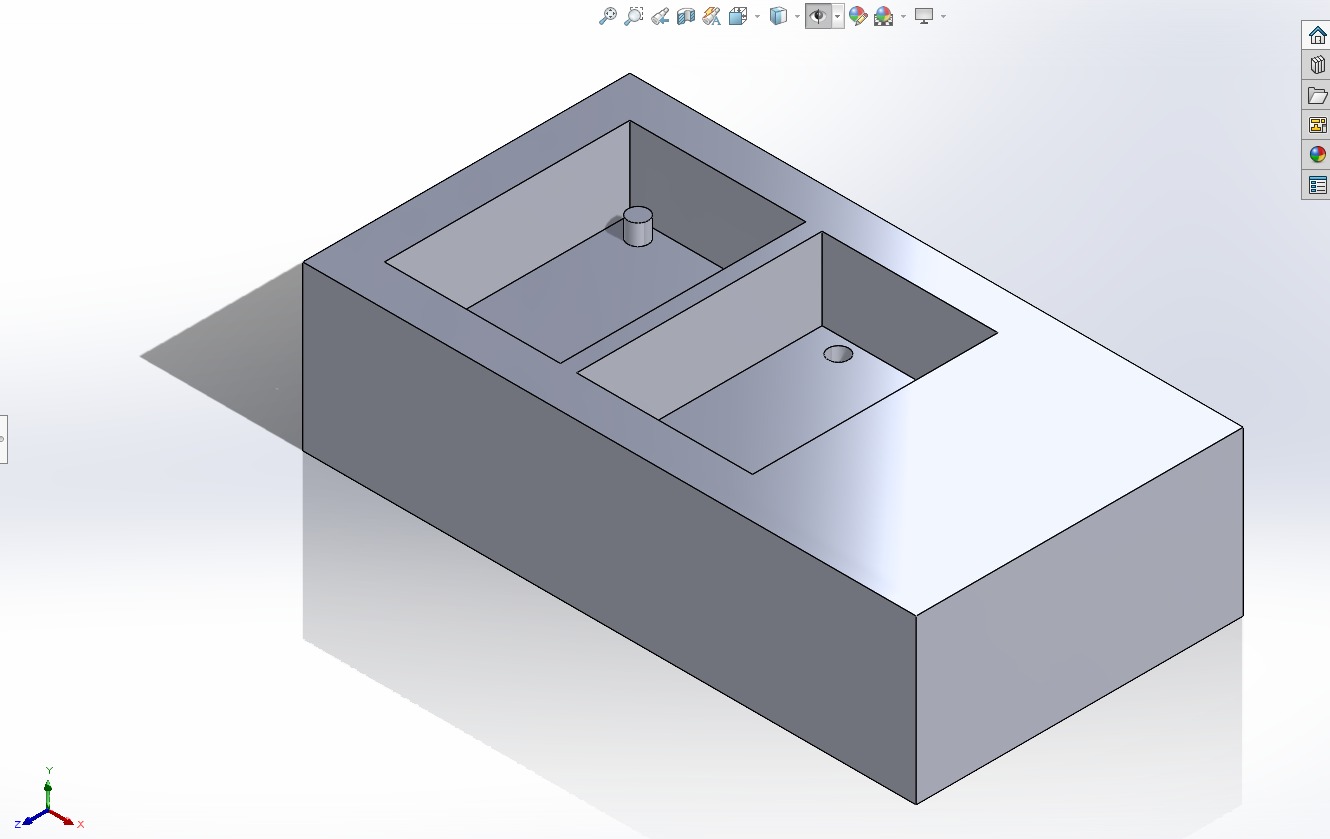
- Design the wax block in SolidWorks with the spaces for the two Snoopy sides:
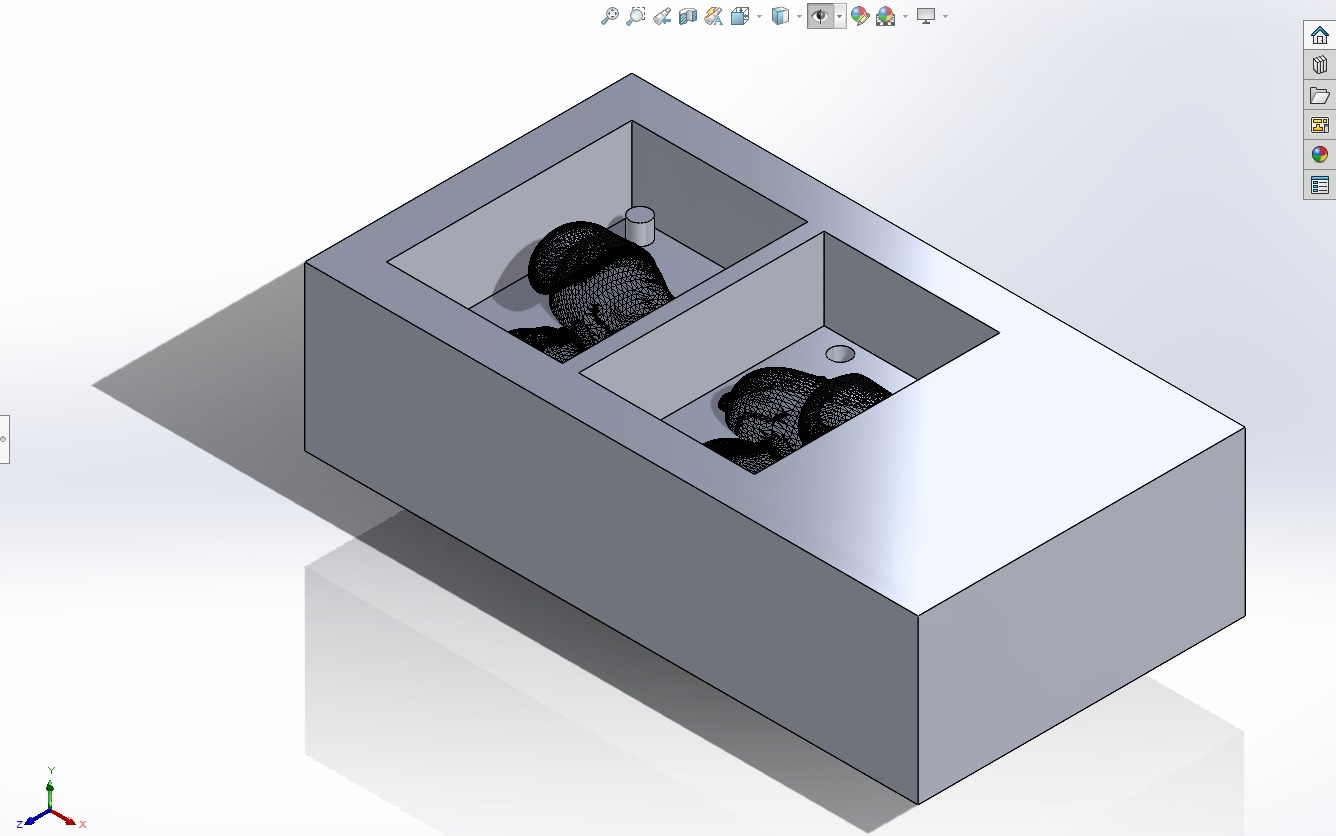
- Create an assembly file and place both sides of the Snoopy inside the designated spaces:
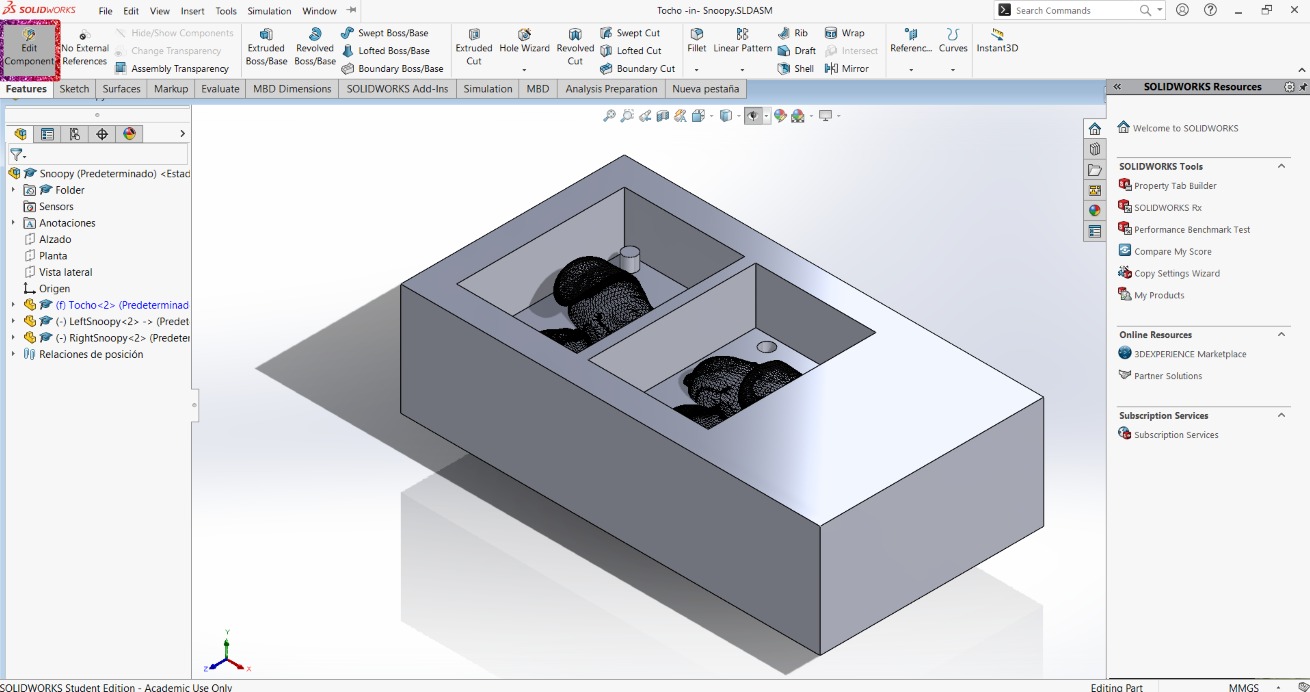
- Select the wax block, click in the Features tab and then click in Edit Component:
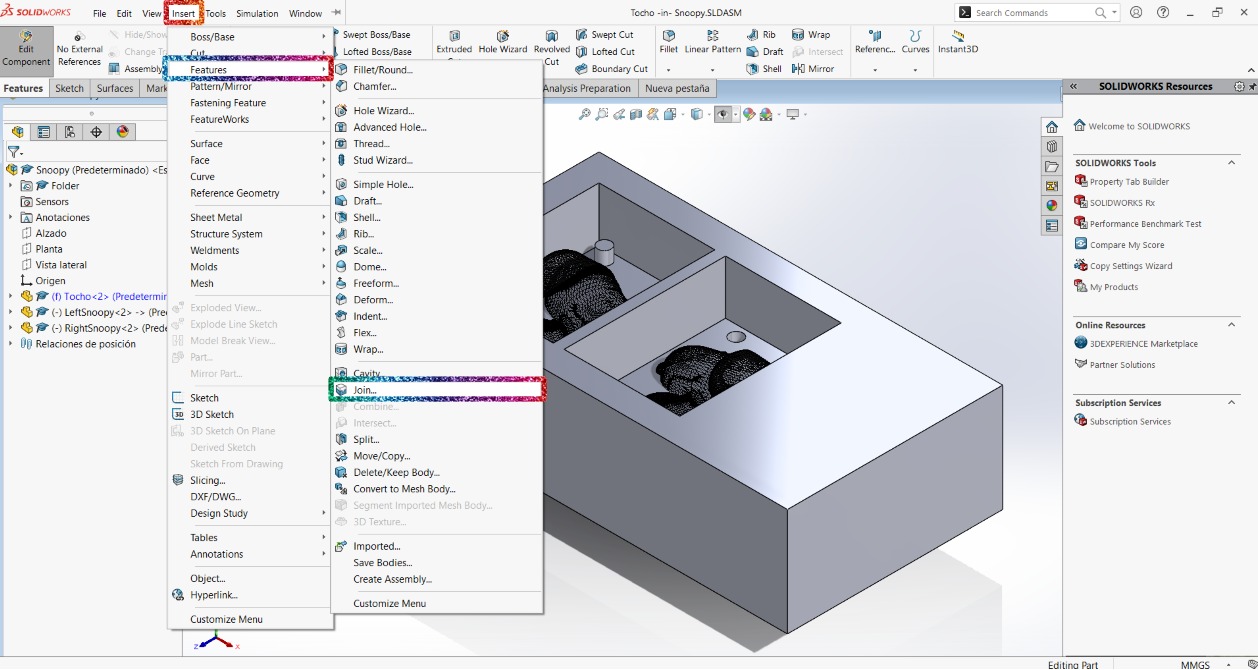
- Place cursor in the SolidWorks logo (top left corner) and click Insert > Features > Join...:
- Select the Snoopies from the operations tree:
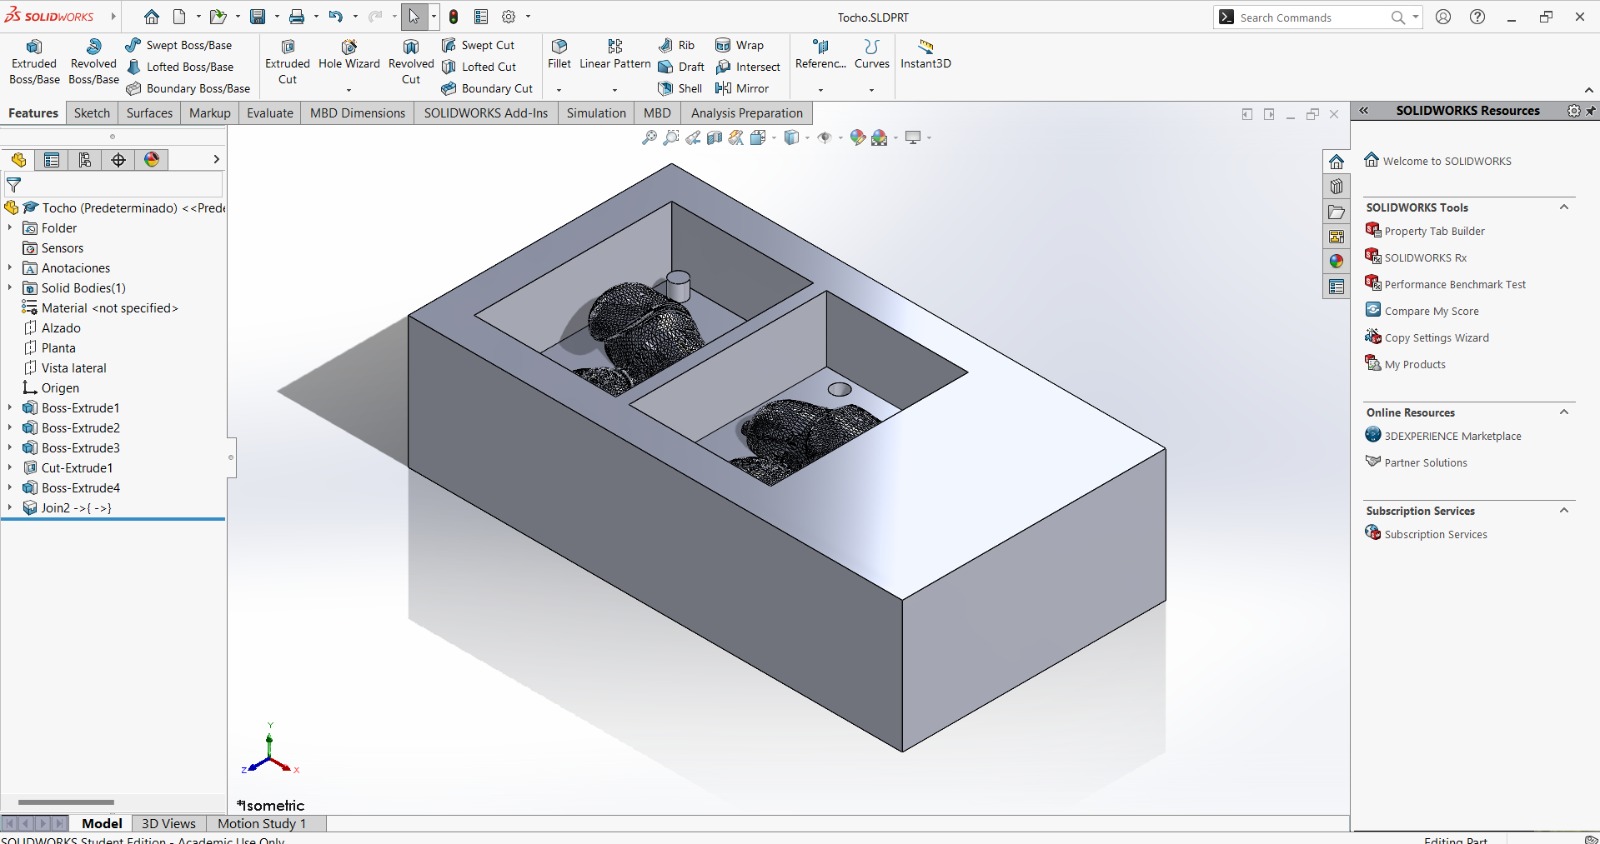
- Open the SLDPRT of the wax block:
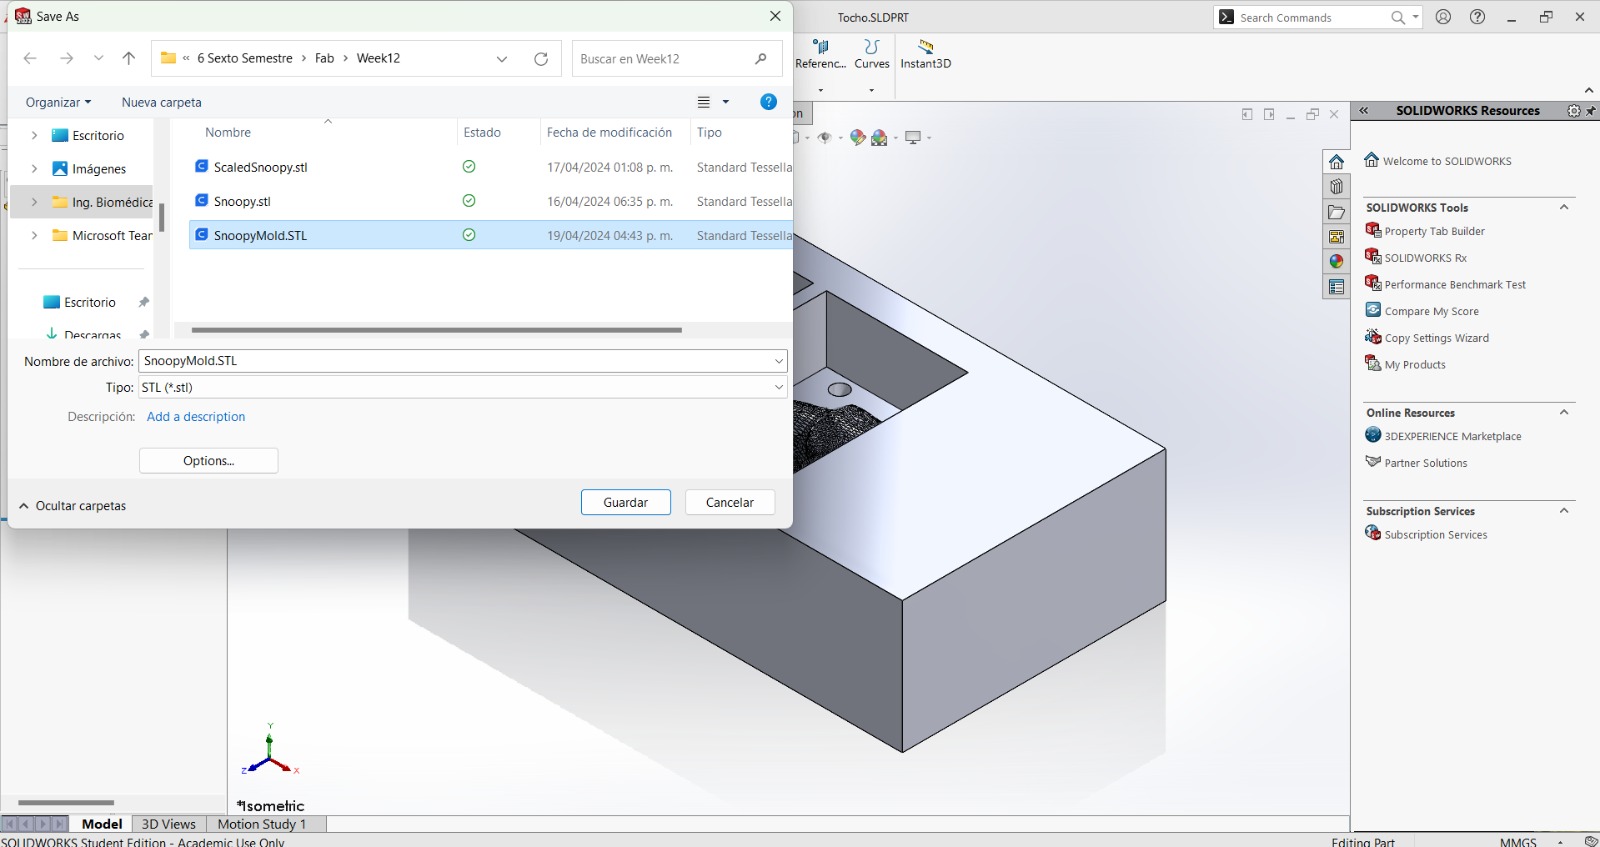
- And save it as STL:

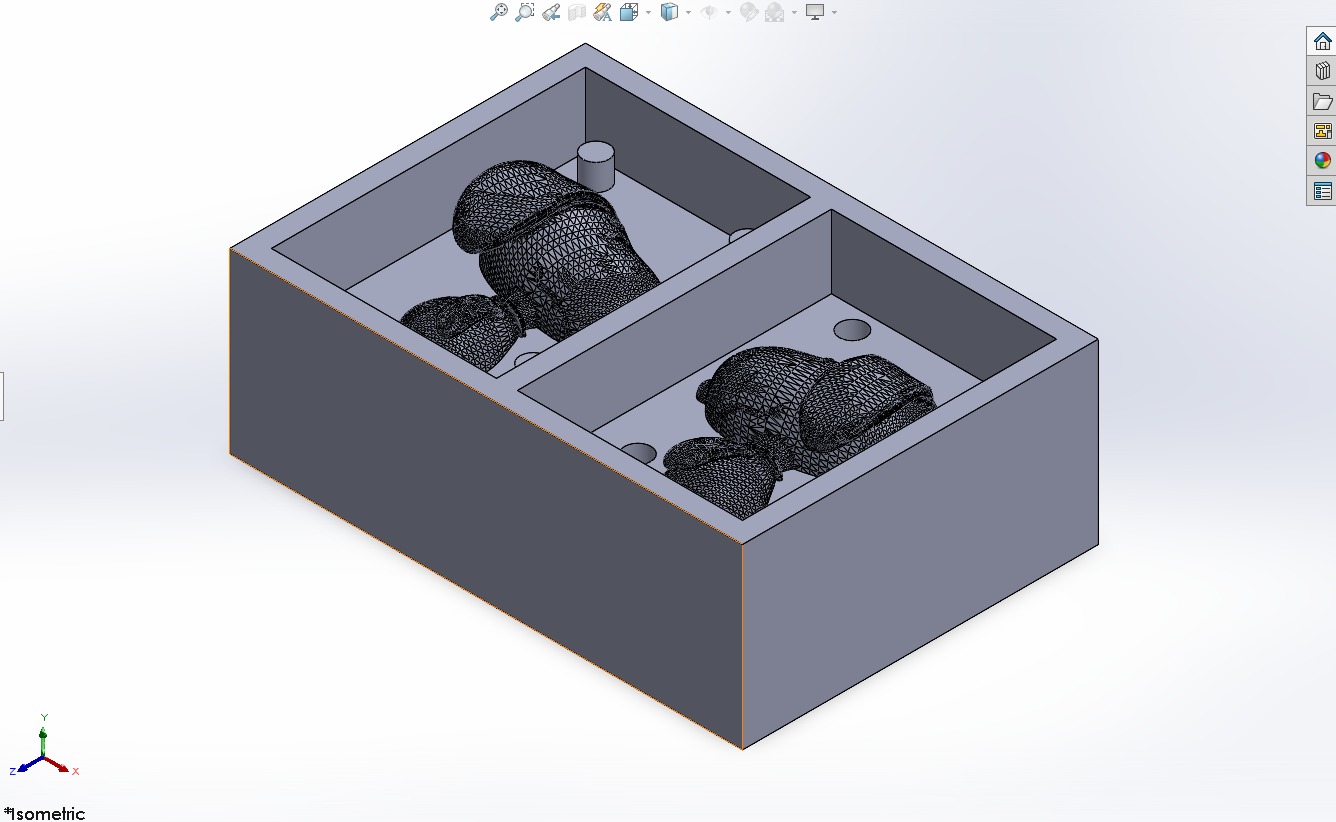
At first I designed the wax block as the exact size of the existing block, but when I put loaded the code in the machine, the tool traveled in the air over an empty space. Therefore I designed the wax block as the size I wanted the Snoopies to be and delimited the area:
I didn't include the SLDPRT and SLDASM files of this process, because they were too big (the mesh of the STL Snoopy file is too big even in a zip file).
Toolpath Creation
For the toolpath creation I used VCarve as in week 7, although some of the steps are different since this week I used the machine to create a 3D object instead of something 2D. This time, the steps are the following:
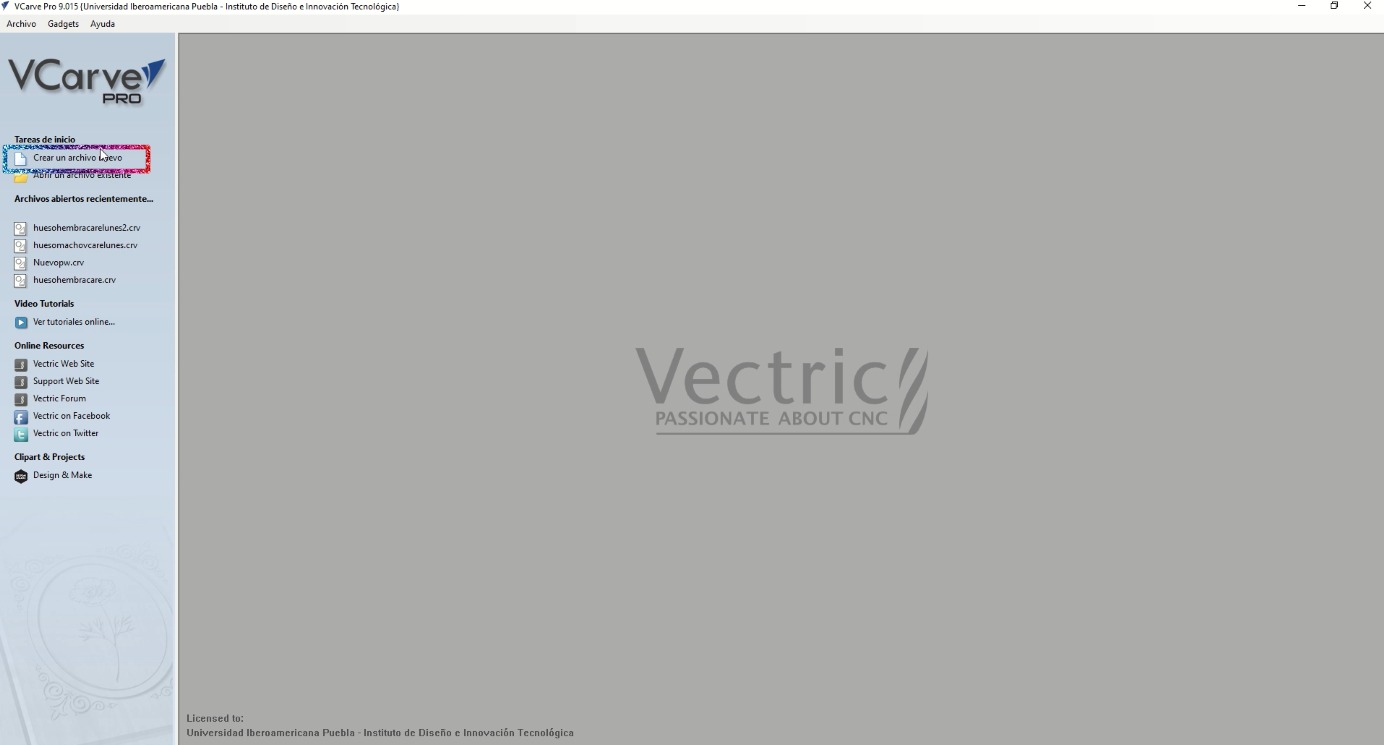
- Open VCarve and click in New File:
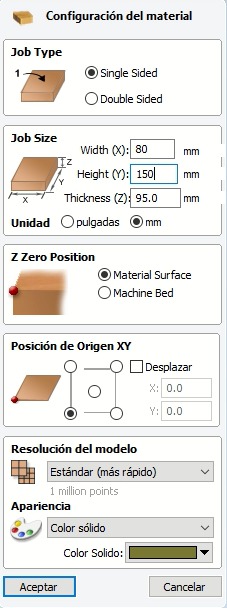
- Establish the material configurations:
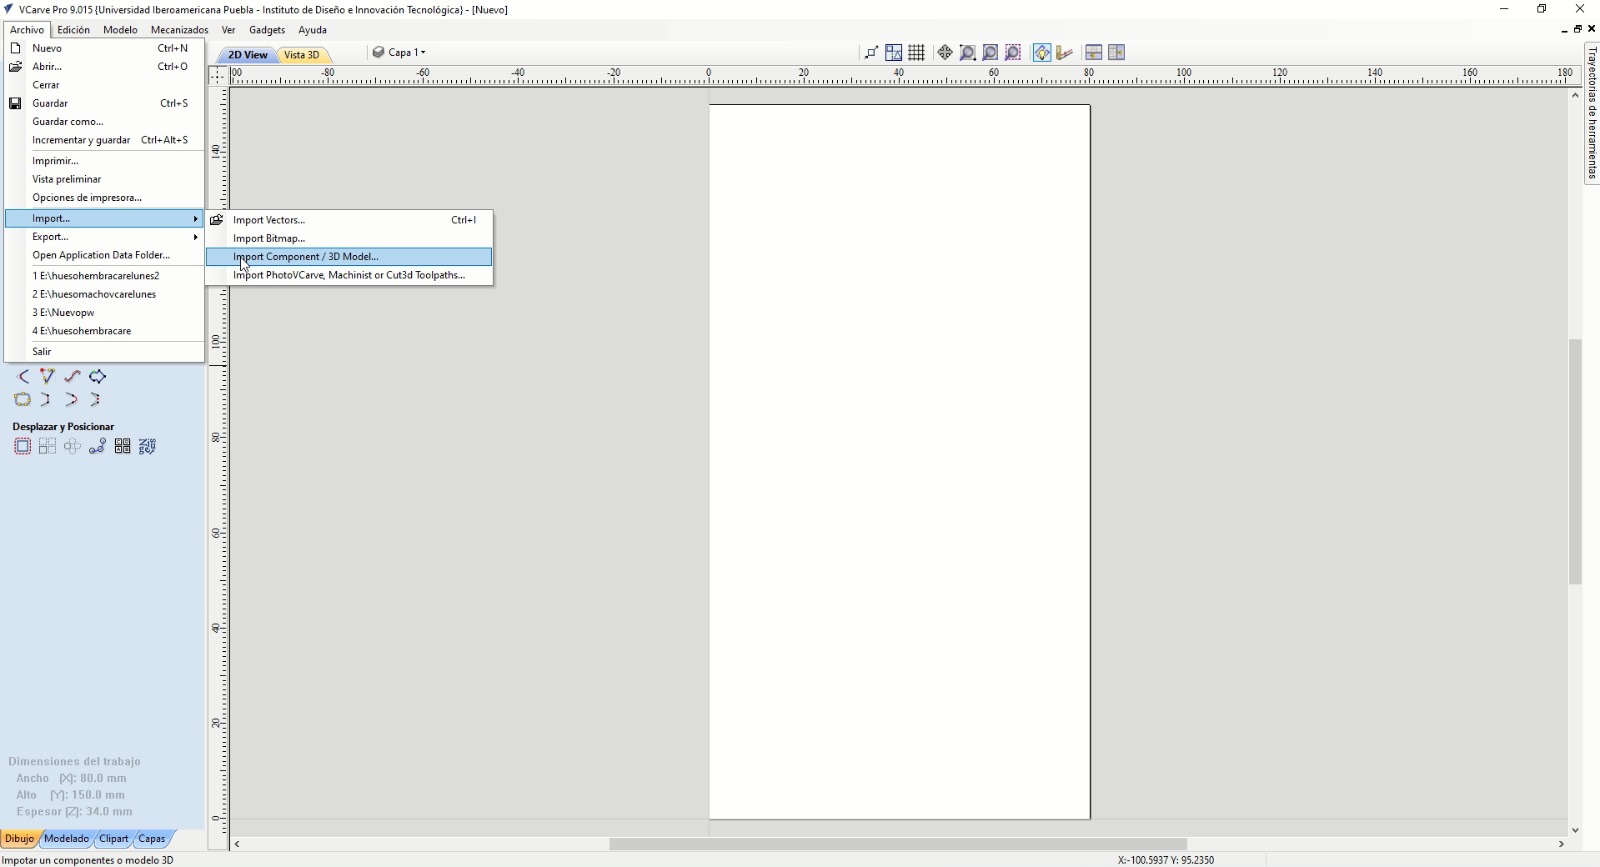
- Go to File > Import... > Import Component / 3D Model and select the desired STL file:
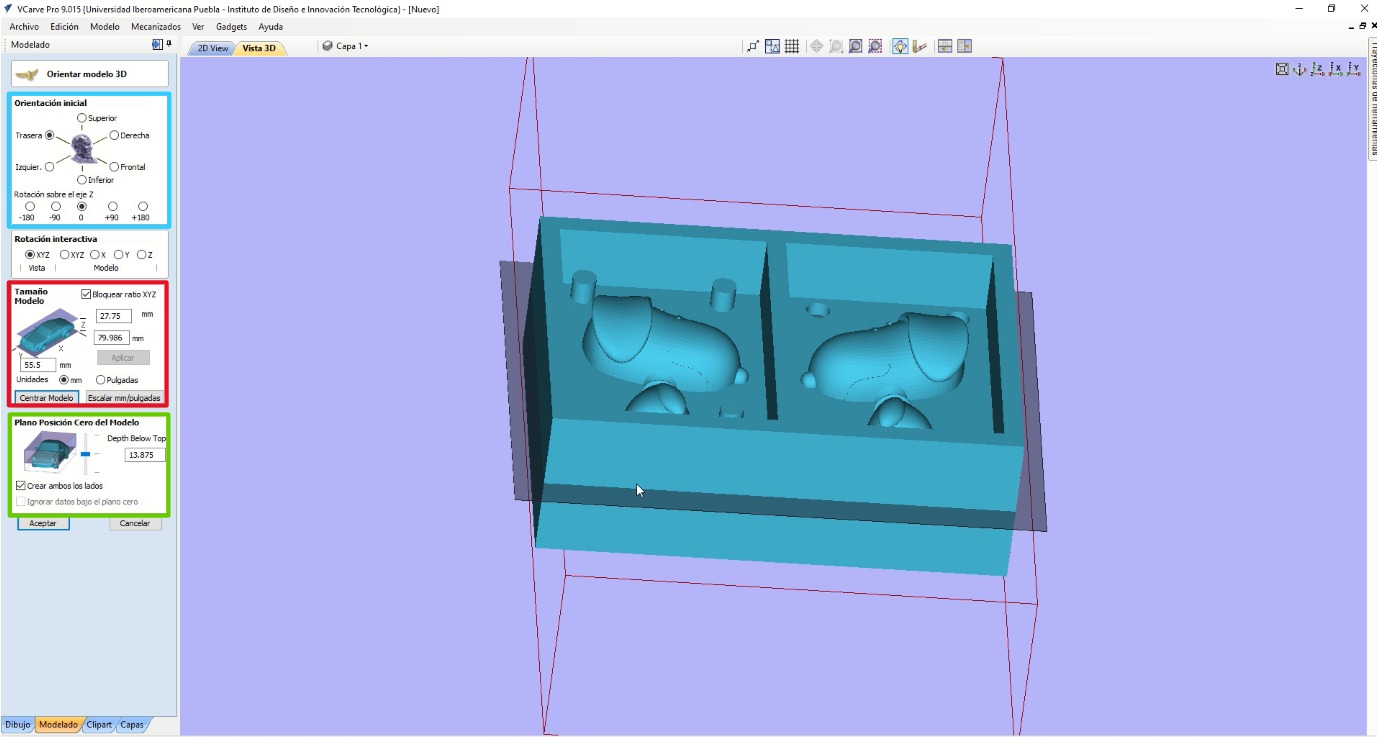
- Then, to align and adjust everything of the design in the wax block, I used the next configurations:
- Initial Orientation (blue rectangle): to rotate the model. I adjusted it with the back view and with zero rotation on the Z axis.
- Model Size (red rectangle): to scale the model. I scaled it to fit it as the width of the wax block.
- Zero Position of the Model (green rectangle): to align the model to the wax block. I placed it in the middle.
- Click on the roughing operation:
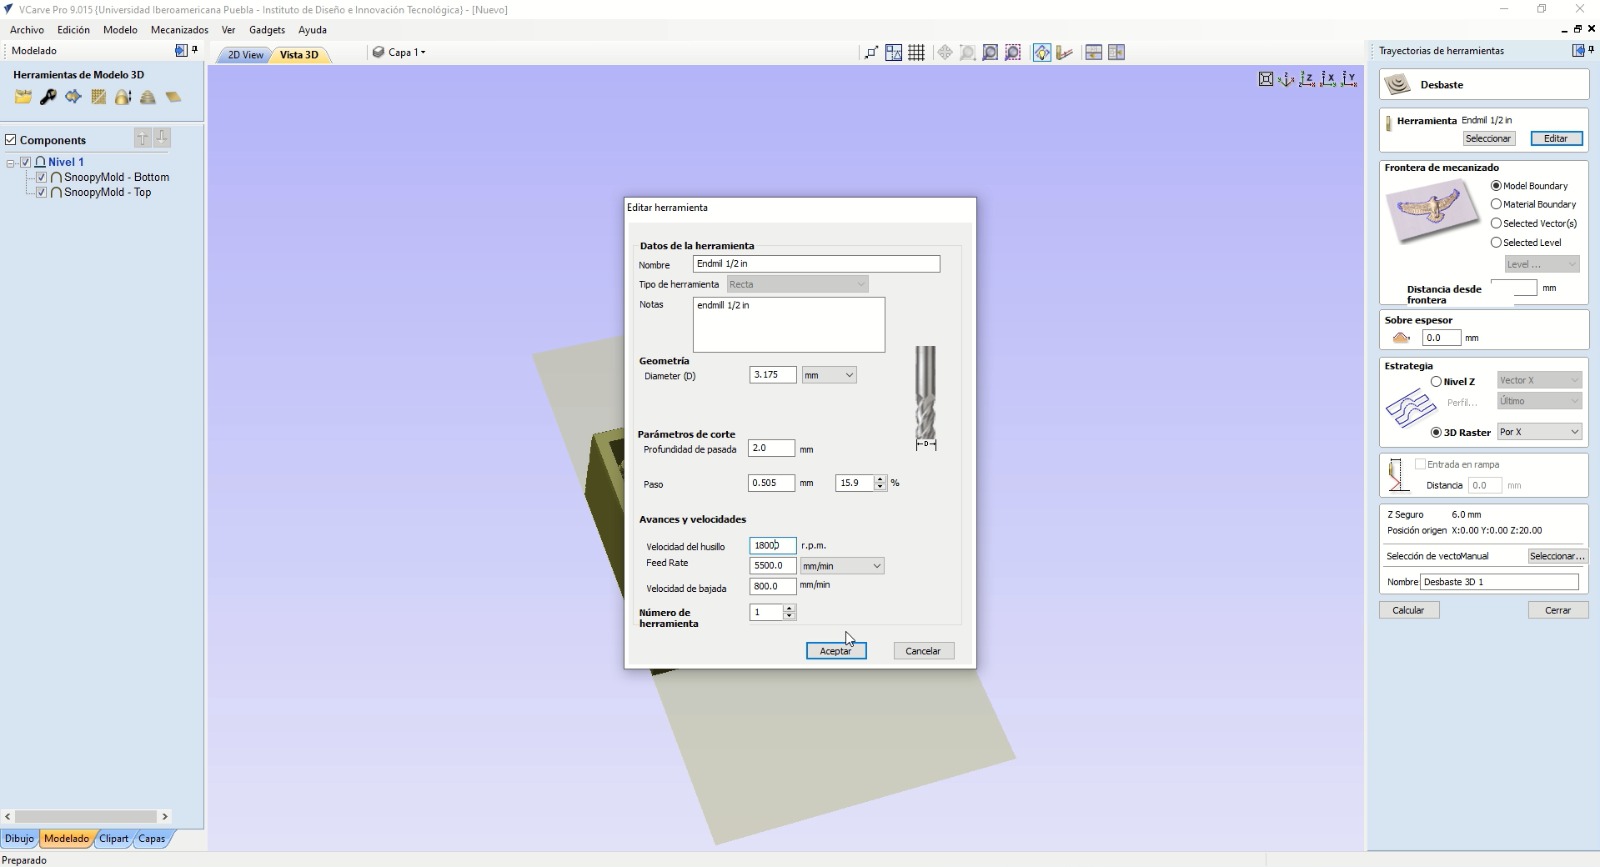
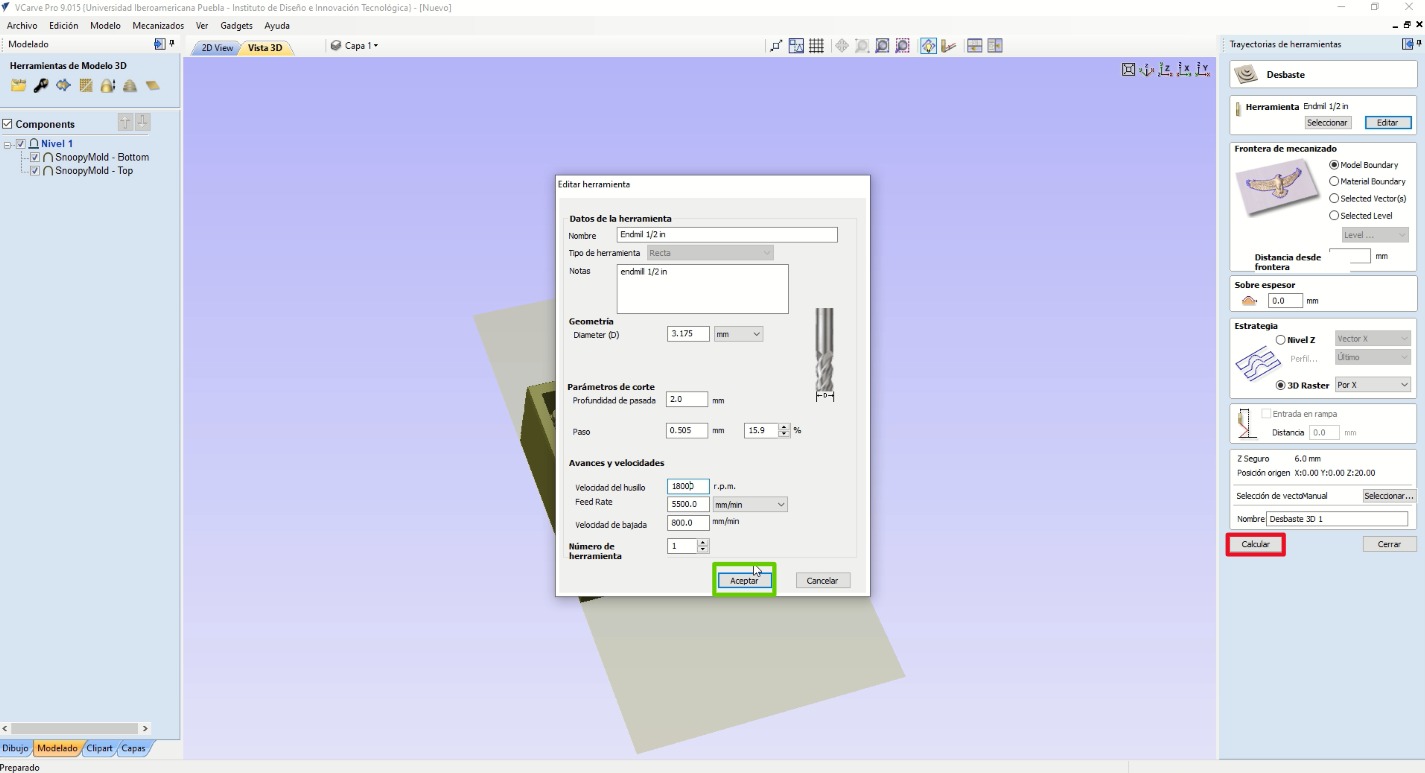
- Then looked for the roughing tool (End Mill 1/2 in) and established the cutting parameters:
- Pass depth: 2 mm
- Pass: 0.505 mm
- Spindle Speed: 18000 rpm
- Feed rate: 5500 mm/min
- Descent speed: 800 mm/min
- Tool number: 1
- Then clicked on Ok (green rectangle) and then Calculate (red rectangle):
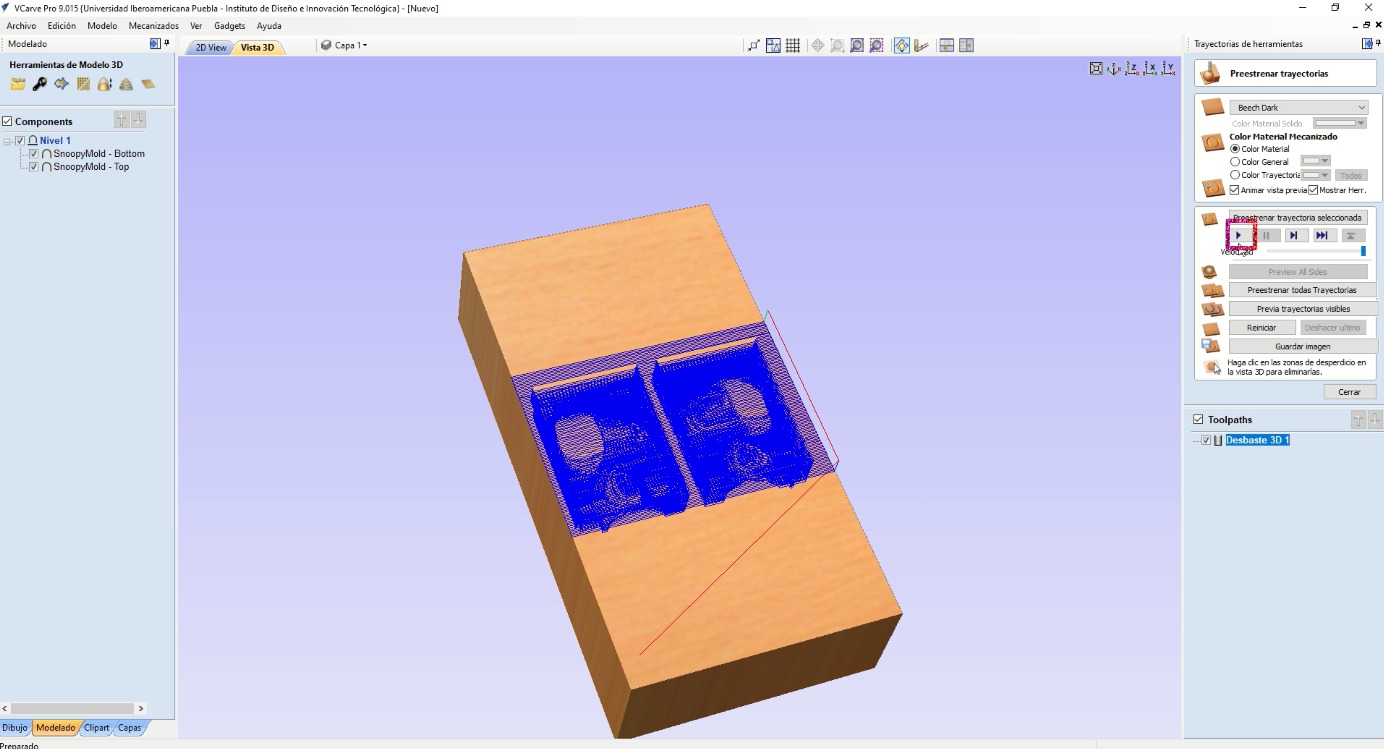
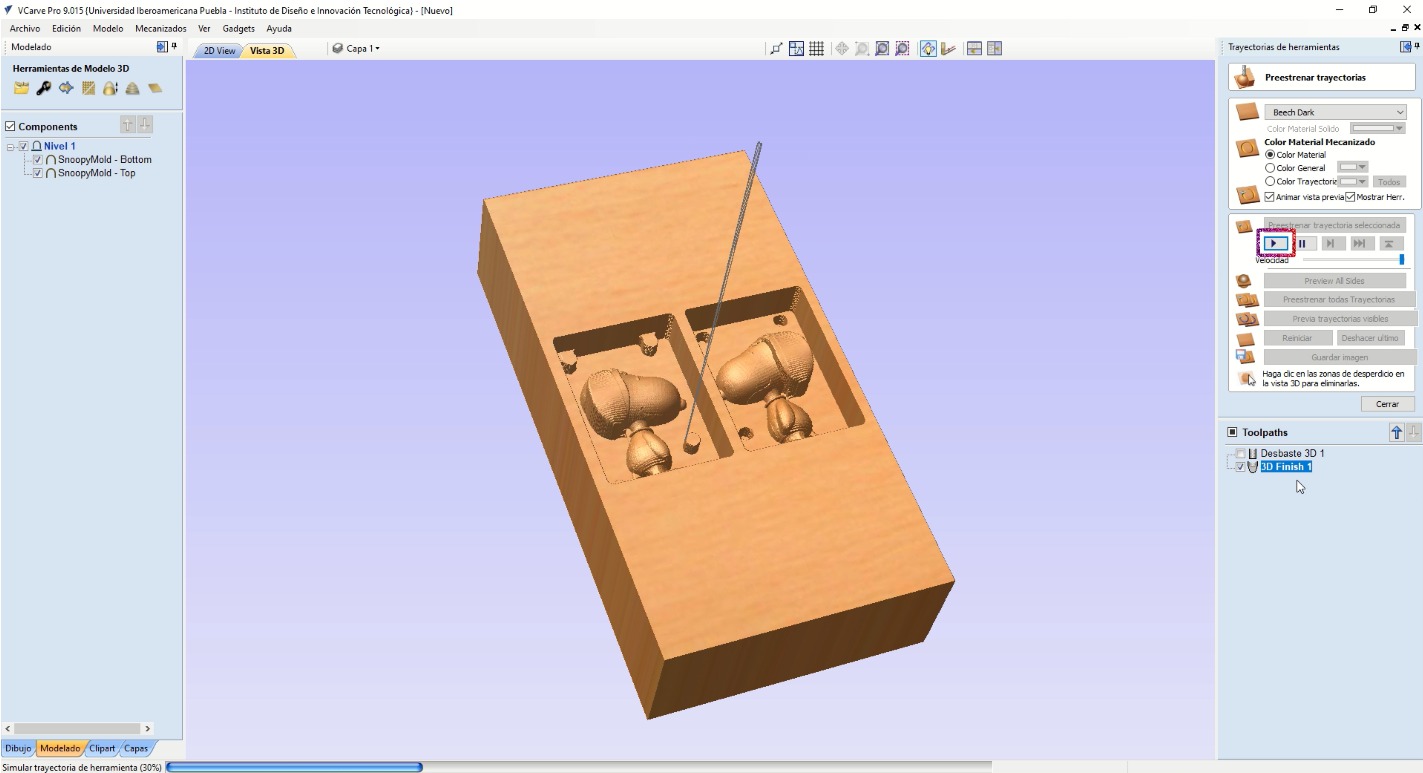
- It automatically opens the following section and I clicked Play to observe that everything goes well during the toolpath:
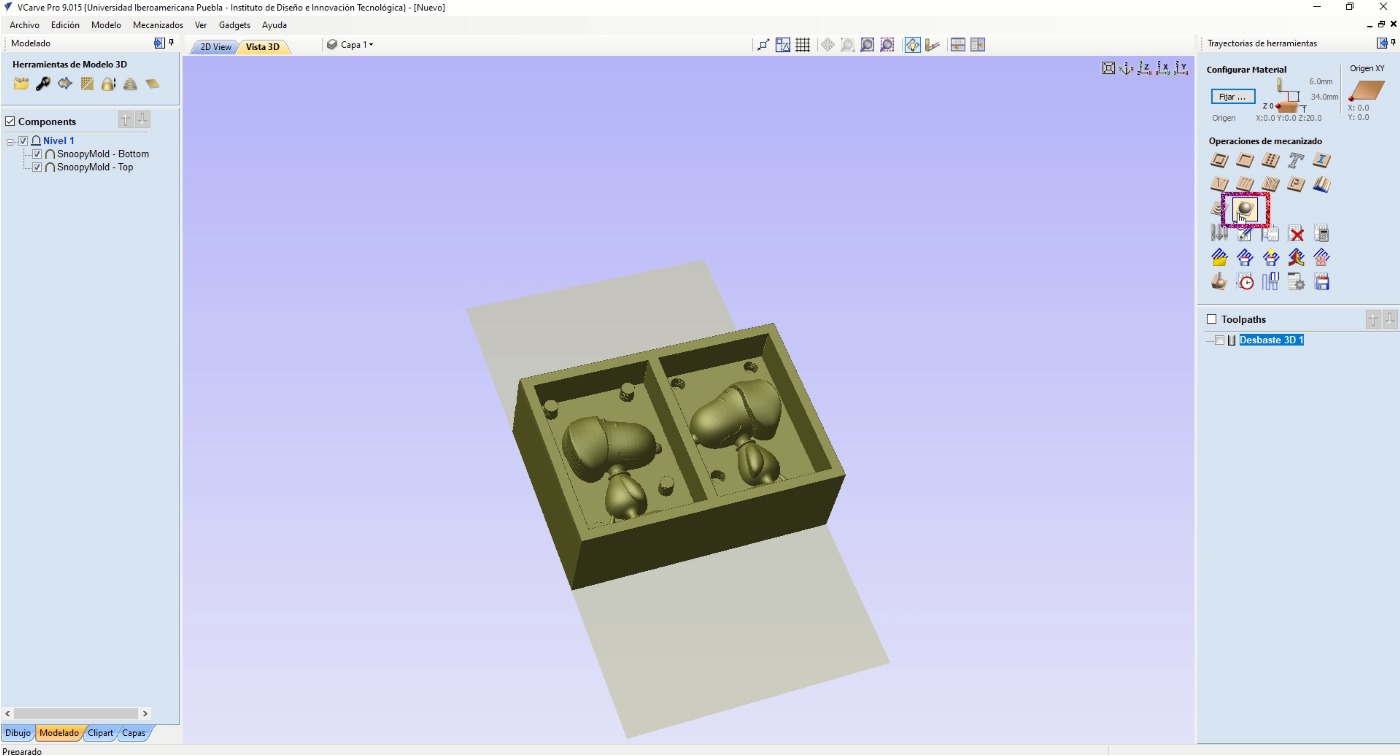
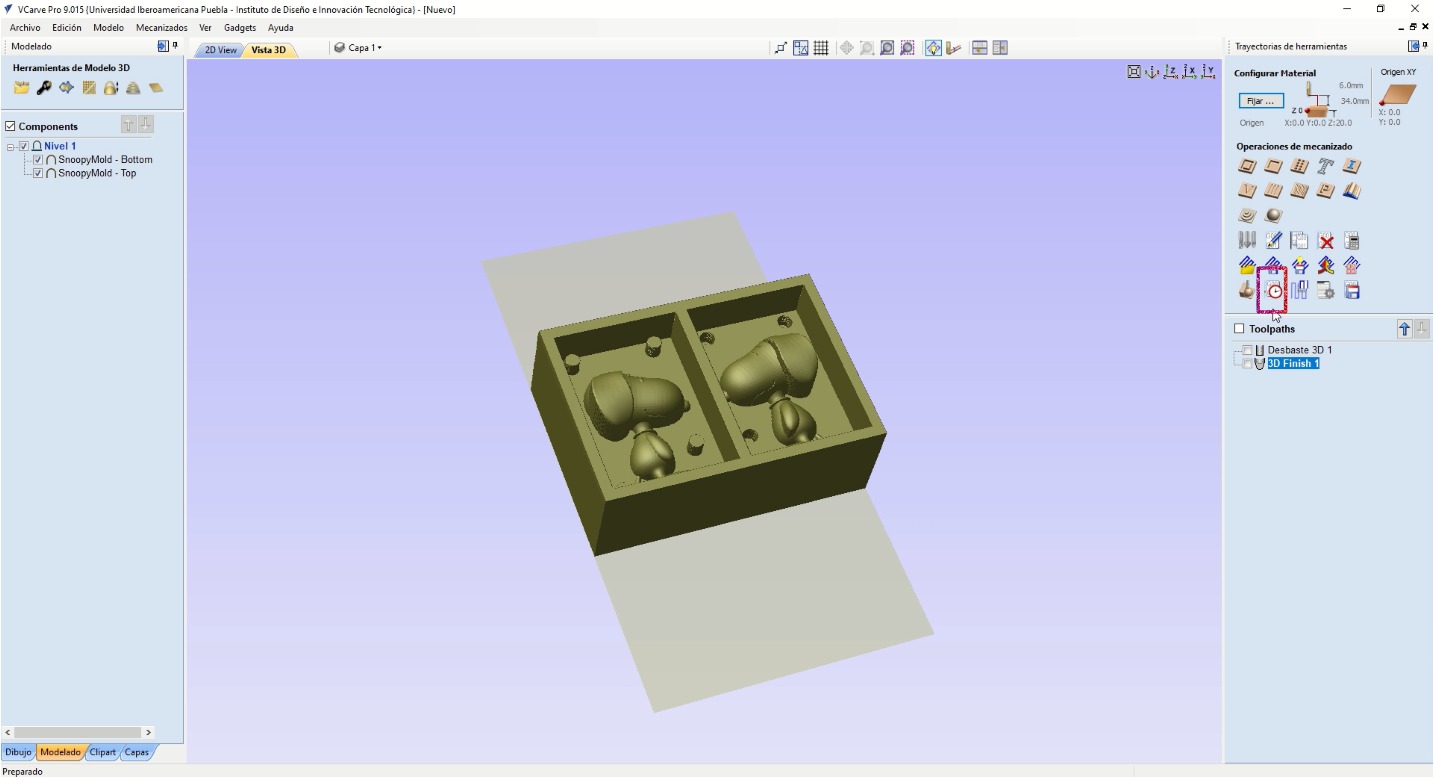
- After closing the simulation of the toolpath, I selected the finish option:
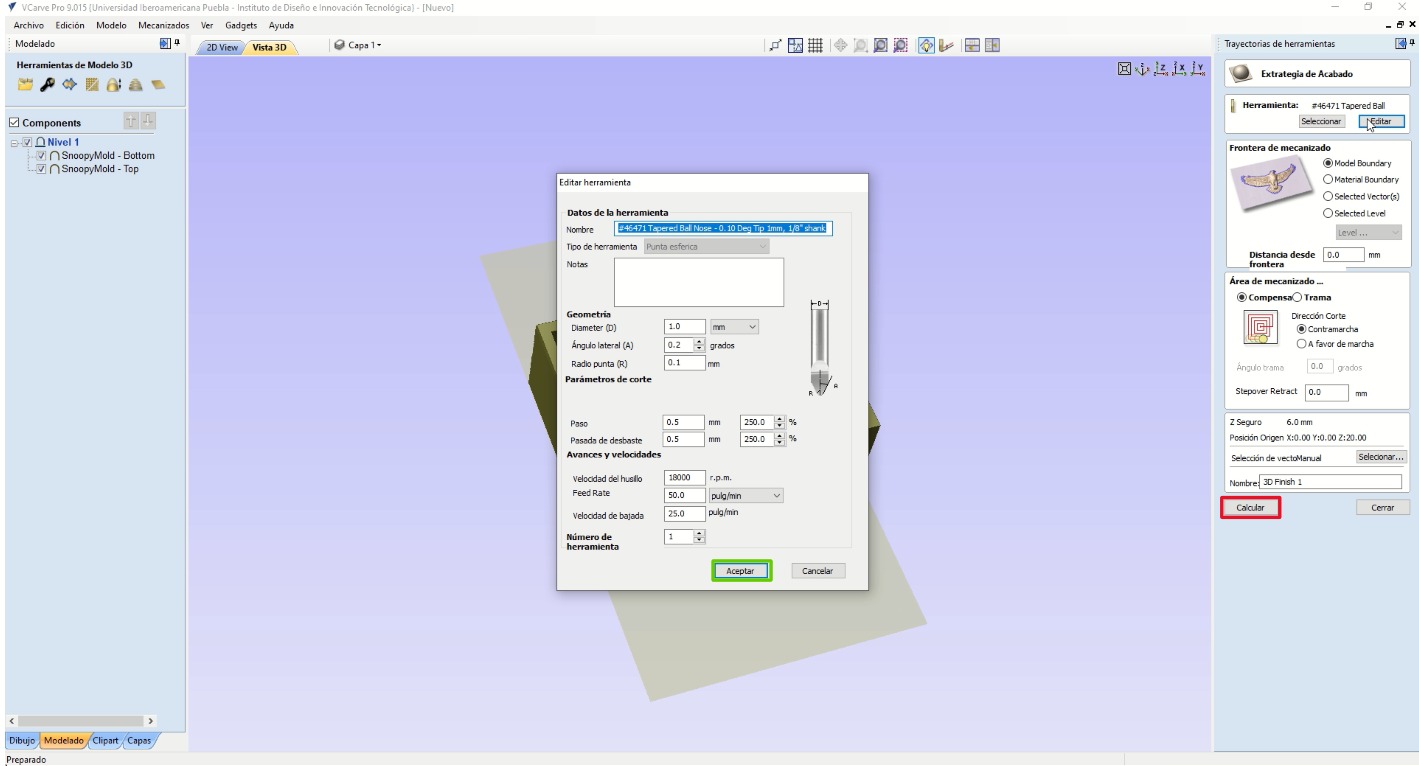
- Then looked for the finish tool (#46471 Tapered Ball Nose . 0.10 Deg Tip 1mm, 1/8" shank) and established the cutting parameters. After that, I clicked Ok and then Calculate:
- Pass depth: 0.5 mm
- Pass: 0.5 mm
- Spindle Speed: 18000 rpm
- Feed rate: 50 in/min
- Descent speed: 25 in/min
- Tool number: 1
- It automatically opens the following section and I clicked Play to observe that everything goes well during the toolpath:
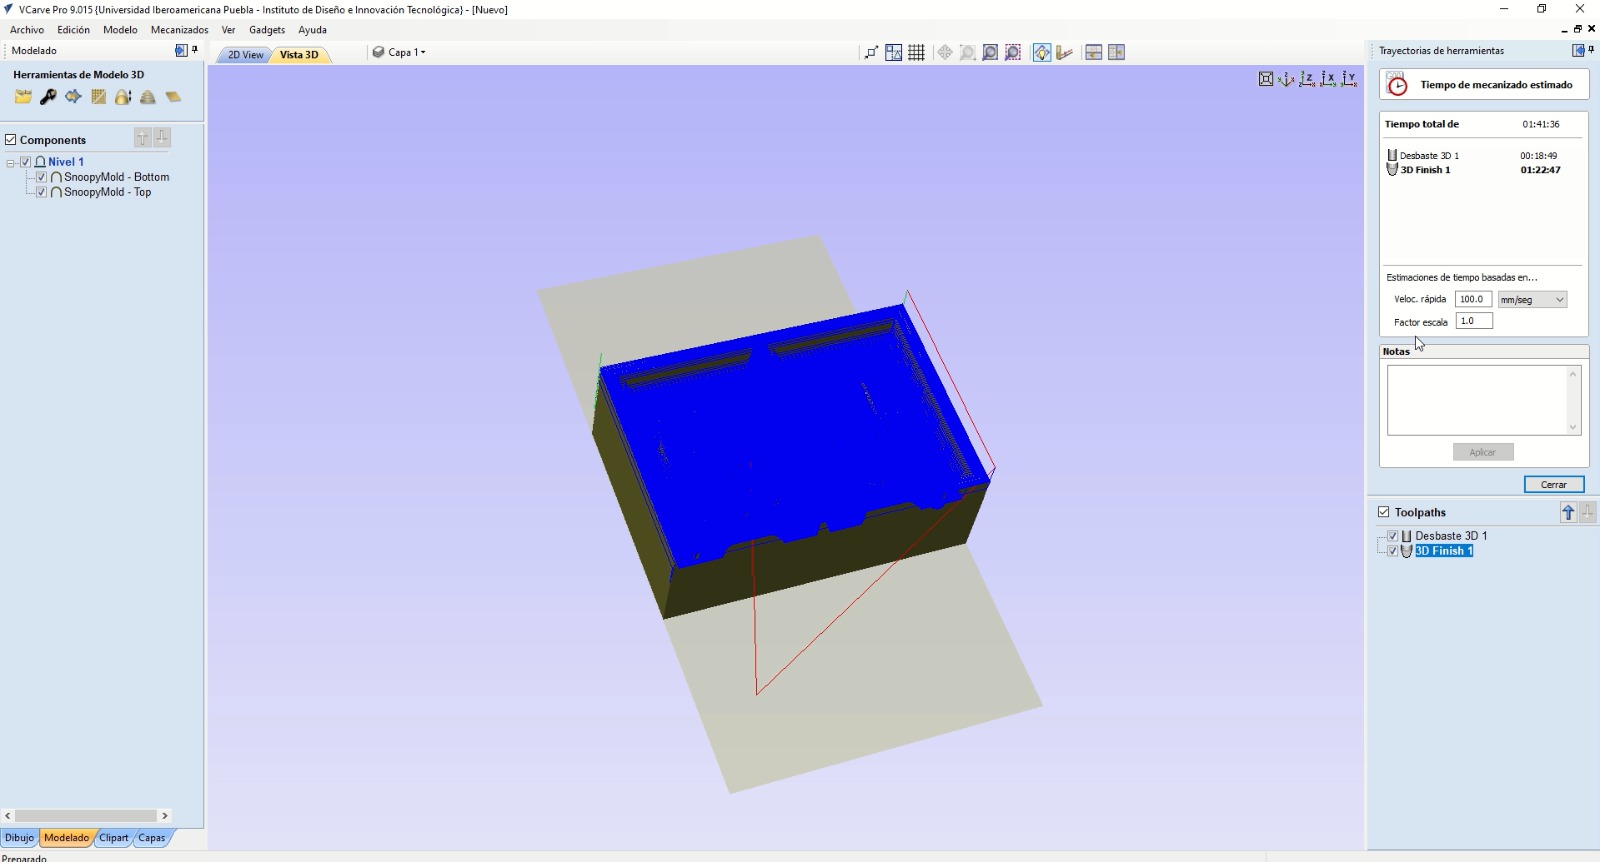
- After closing the simulation, I opened the estimated time for the machining:
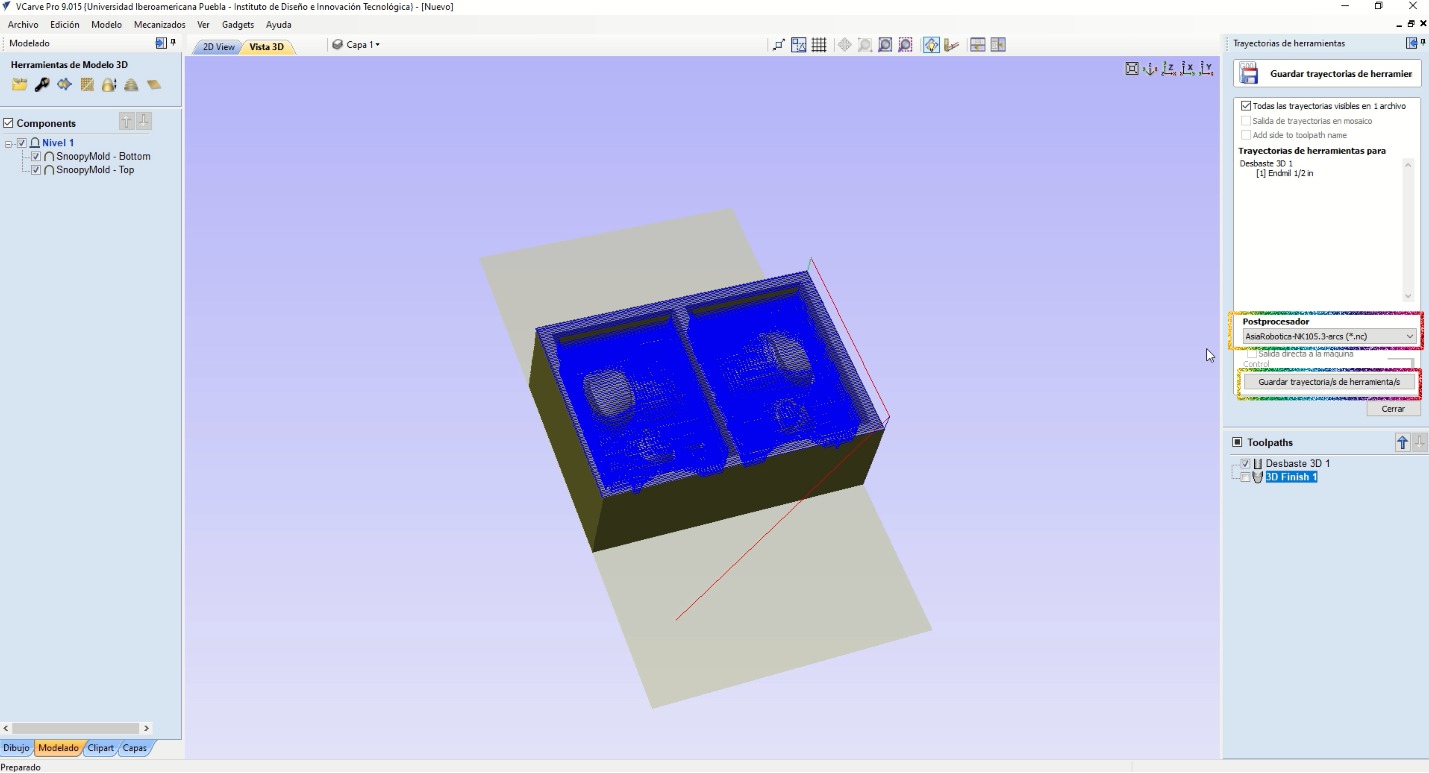
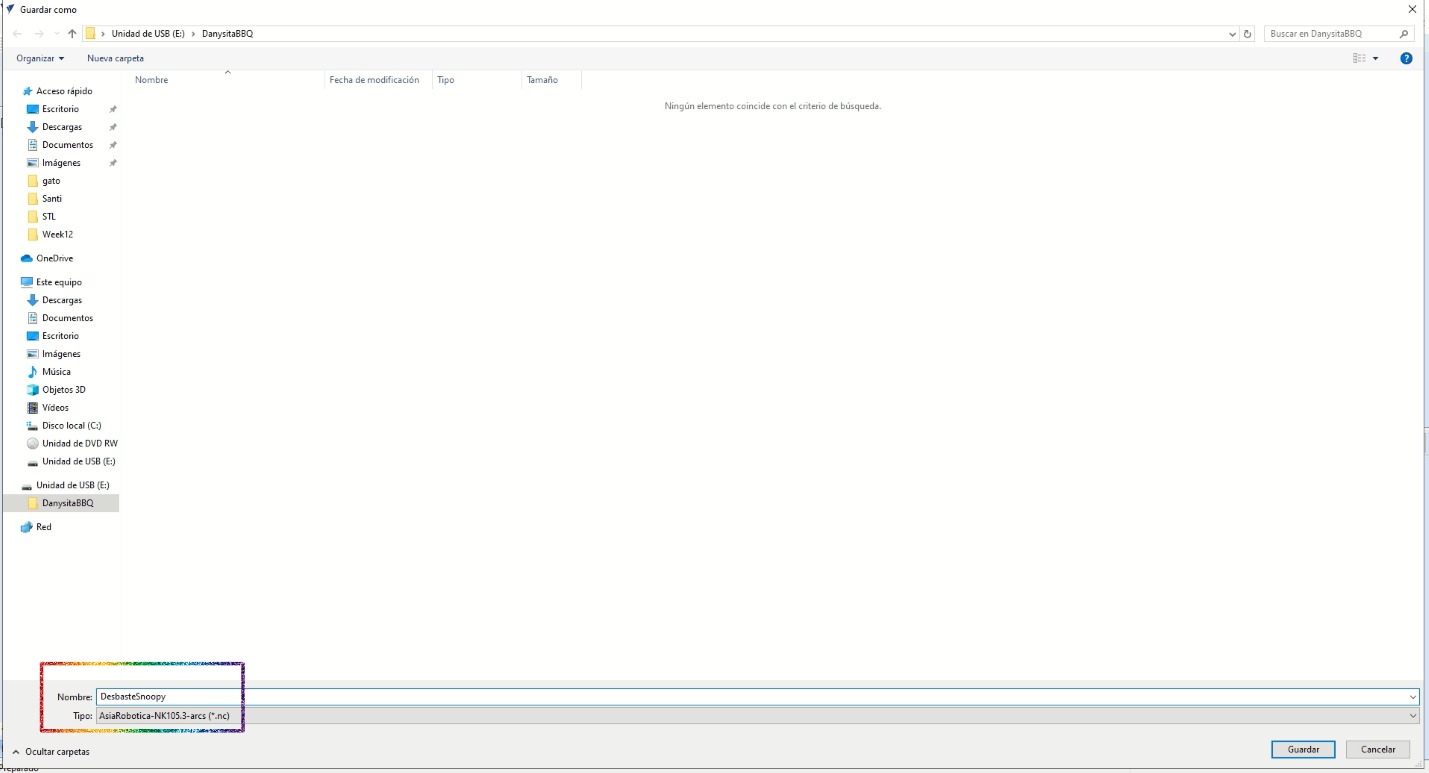
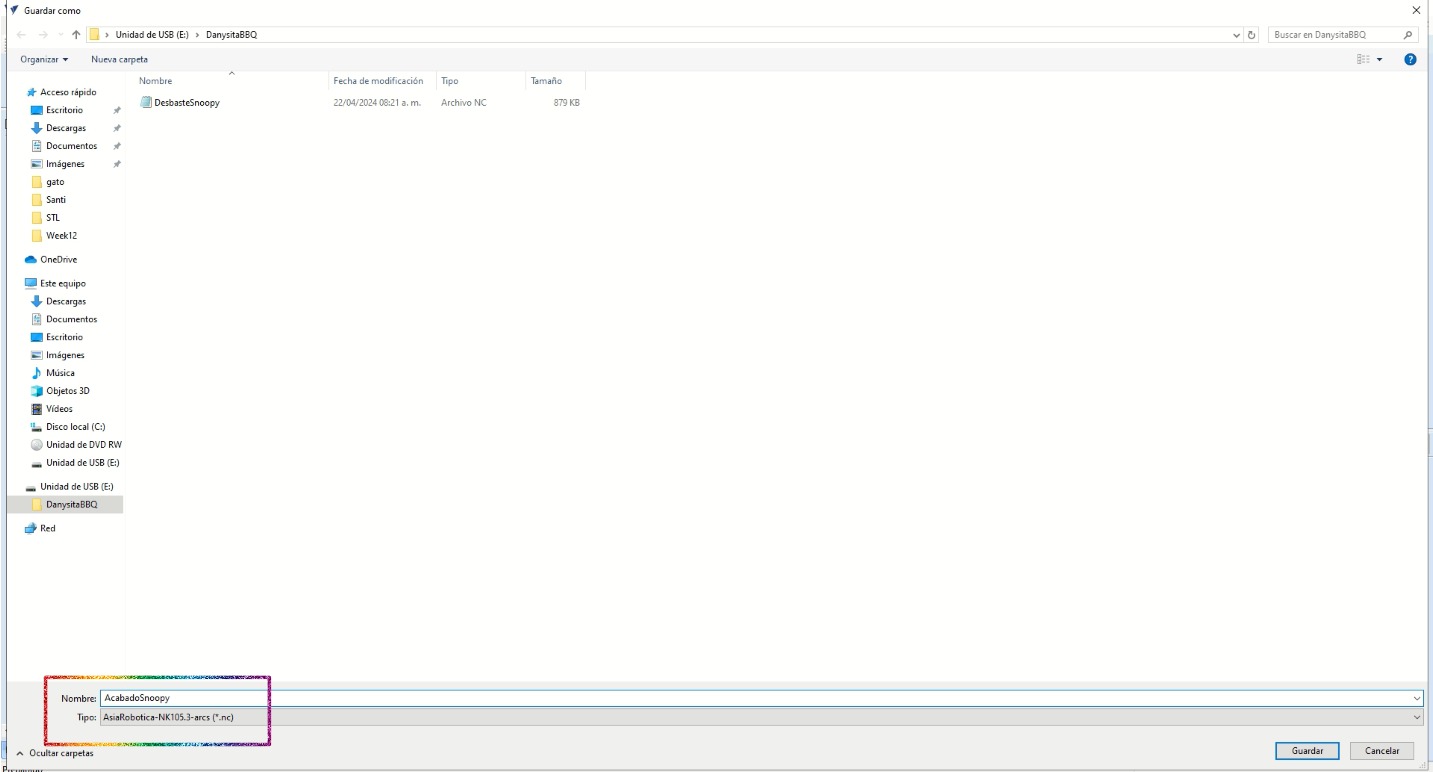
- To save the toolpath, I clicked on the following:
- I selected the postprocessor and saved each process individually:


Cutting
The cutting was in a wax block and done with the Asia Robotica shop-1325. The decision of using wax for the positive mold is because wax is usually used for sculpting due to the possibility of returning the removed material to the original block. According to the data sheet, some of the characteristics (the ones I'm more interested in) are:
- Melting point: 240°C
- Flexibility: excelent
Which helped me to return the material to the block when something didn't go as expected. By knowing this, I put the heat gun at 260°C so it would melt and I'd be able to return the material.
In general, I did the same as in week 7. However here are somethings I did for the cutting in this machine:
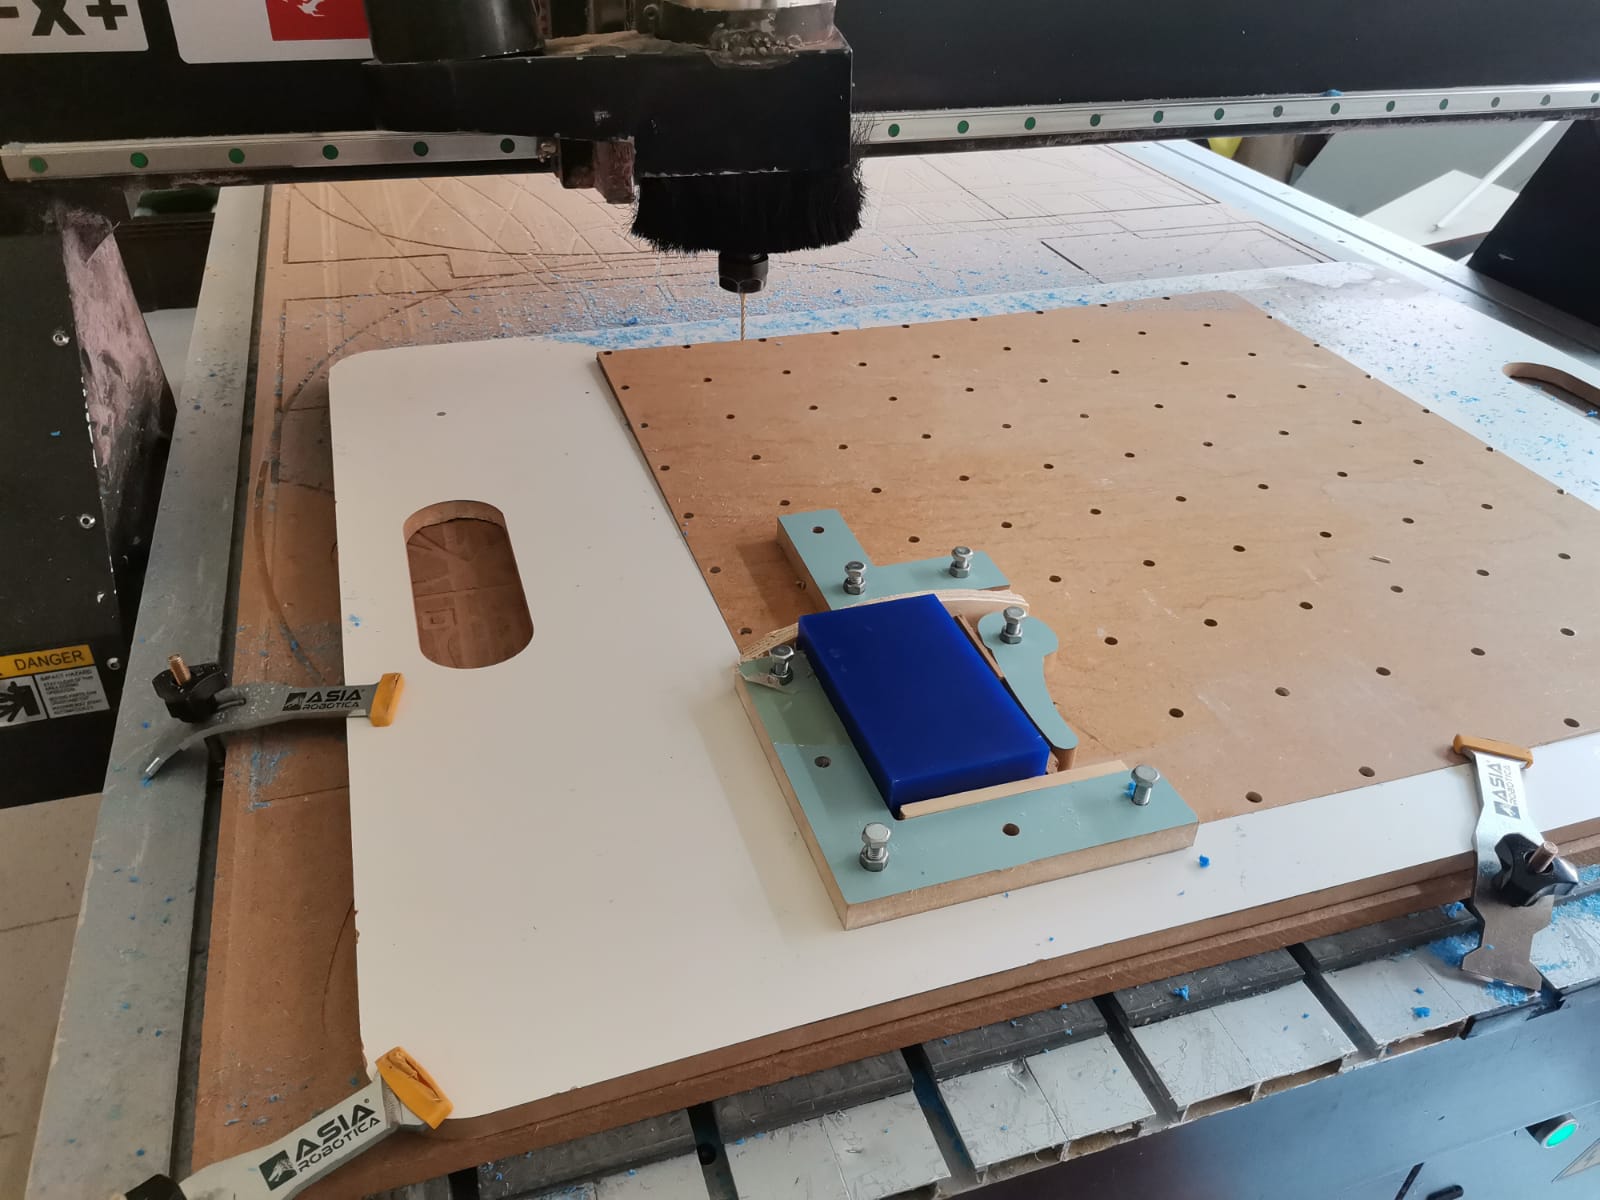
- Place material on workspace: there is a board with holes which can be secured with clamps to the workspace. Then
I secured other mini boards to the previous board using screws to make the shape of the wax block. Given that the
block is smaller than the provided space, I adjusted it with other mini woods to secure it.
- Move axis and set origin: to move the axisa long the workspace, the machine has a control, so I used the
corresponding buttons to each positive and negative axis (X, Y, and Z). Finally, to set the origin,
I pressed the XY=0 button (pink rectangle) to set the origin in the X and Y axis. Then I pressed
shift (rainbow rectangle) and the previous button at the same time to set the Z axis.

The tool should be placed in the bottom left corner of the material, whiole touching it:

- Select file: to select the file I pressed the button at the right of the pink rectangle and searched for my file using the arrows.
- Begin cutting: to begin the cutting I only pressed the play button (green button), and stopped it with the red button in case something went wrong.
This time, the main problem was that I couldn't finish the machining of the positive mold on the same day. As I couldn't finish the machining, I thought of pausing it but since the machine had to be turned off, the progress was lost. Then I thought that if I was going to cut again, I would at least make it faster. The first time I was cutting, the tool cut something in the air because I inserted the Snoopies in a bigger block and the tool was trying to shape that "inexistent" part. Having this in mind, I improved my positive mold in Solidworks:
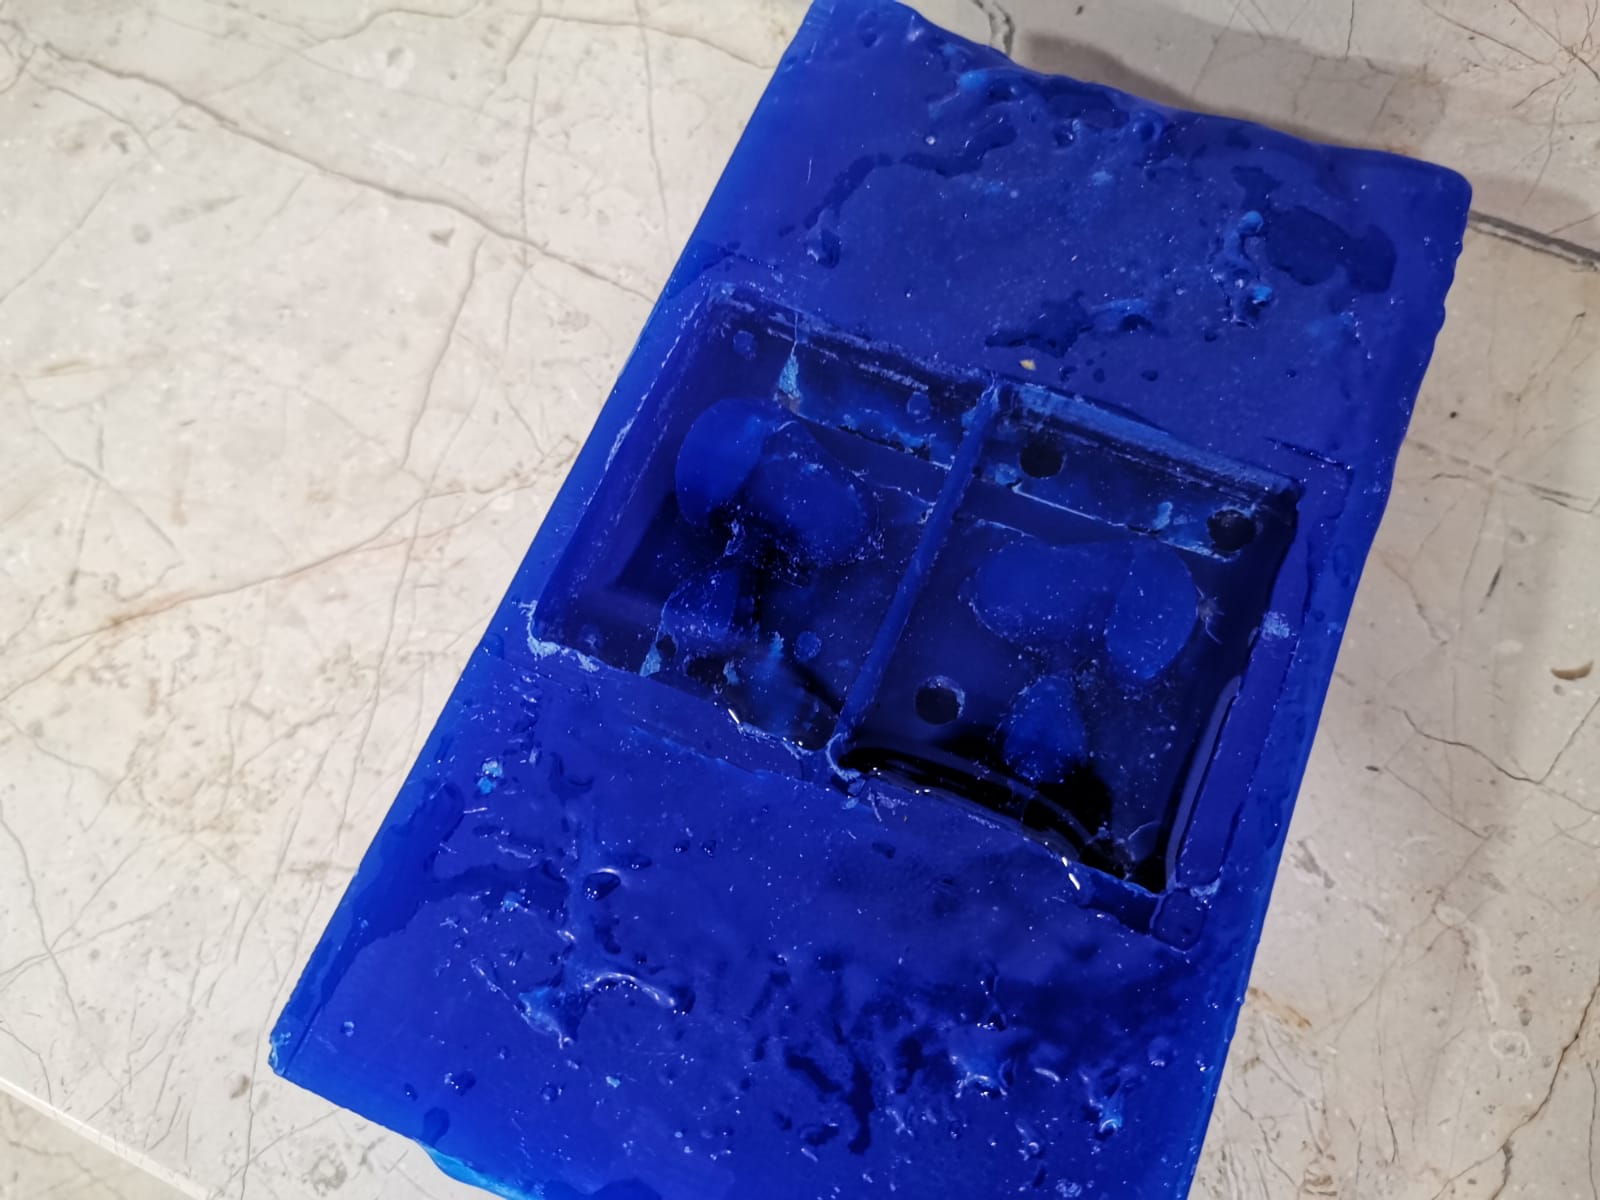
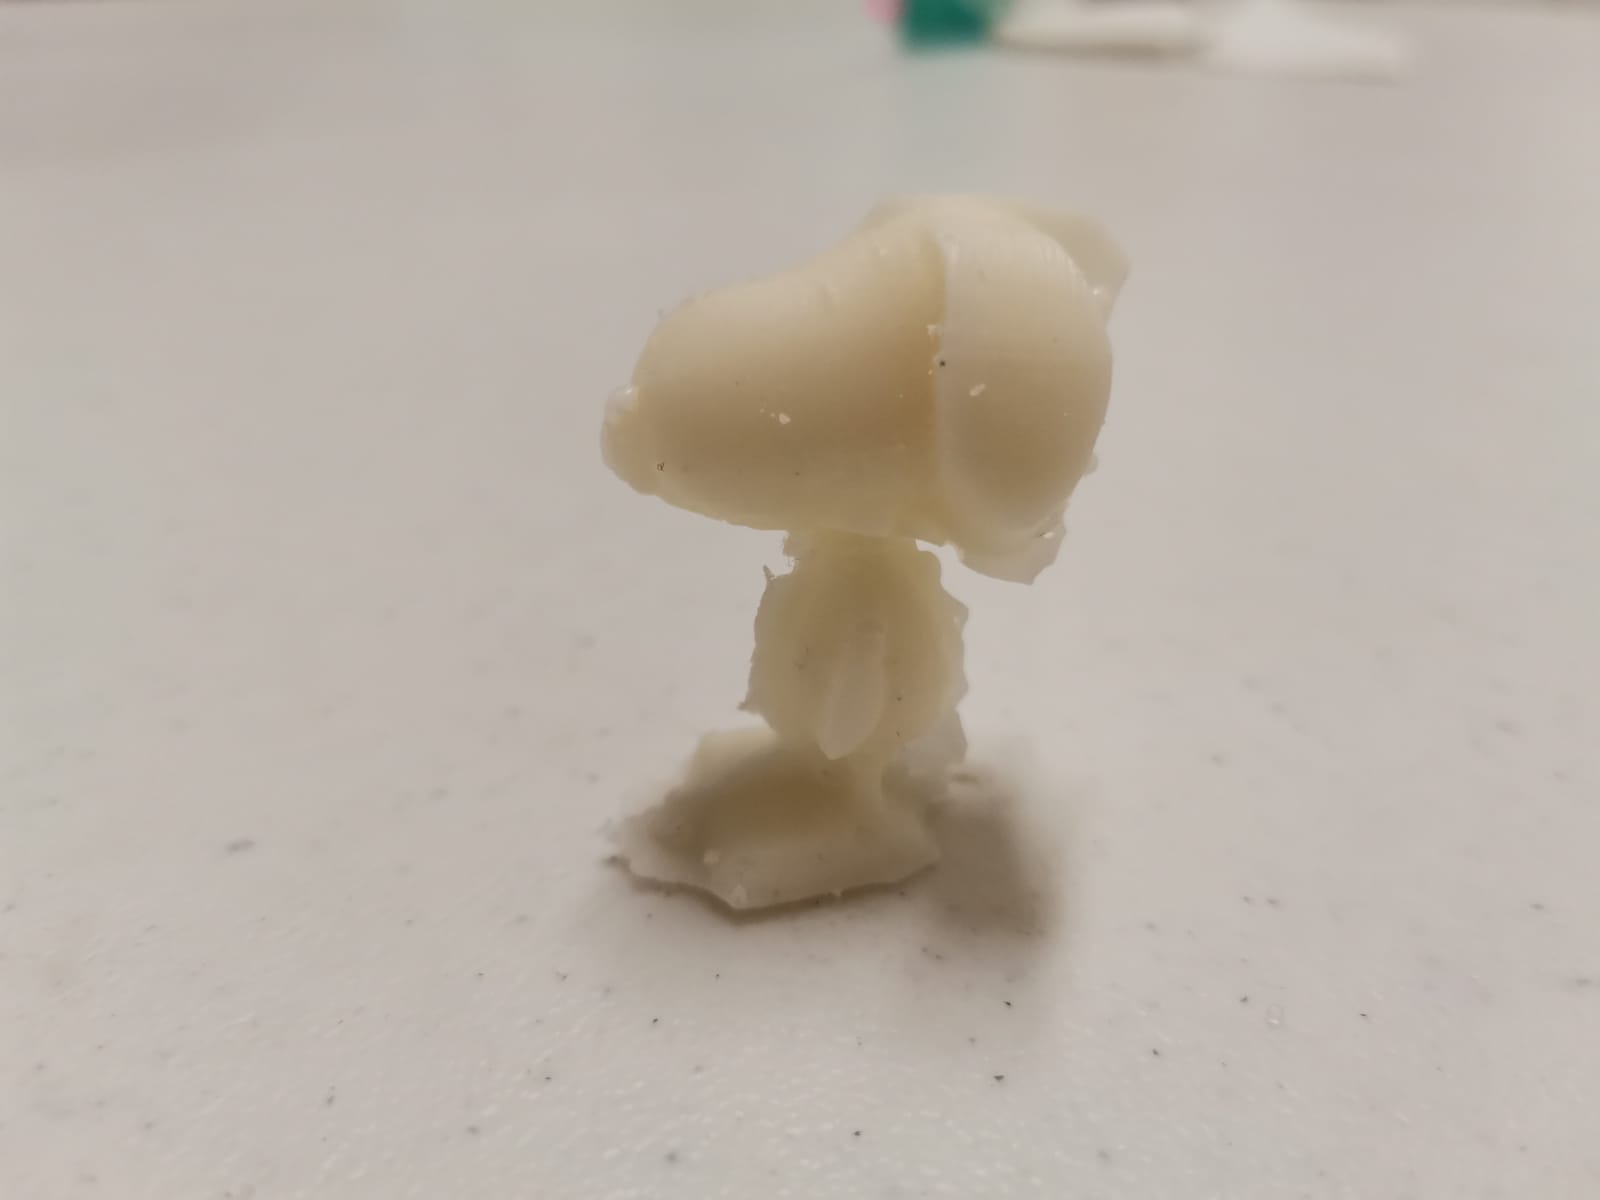
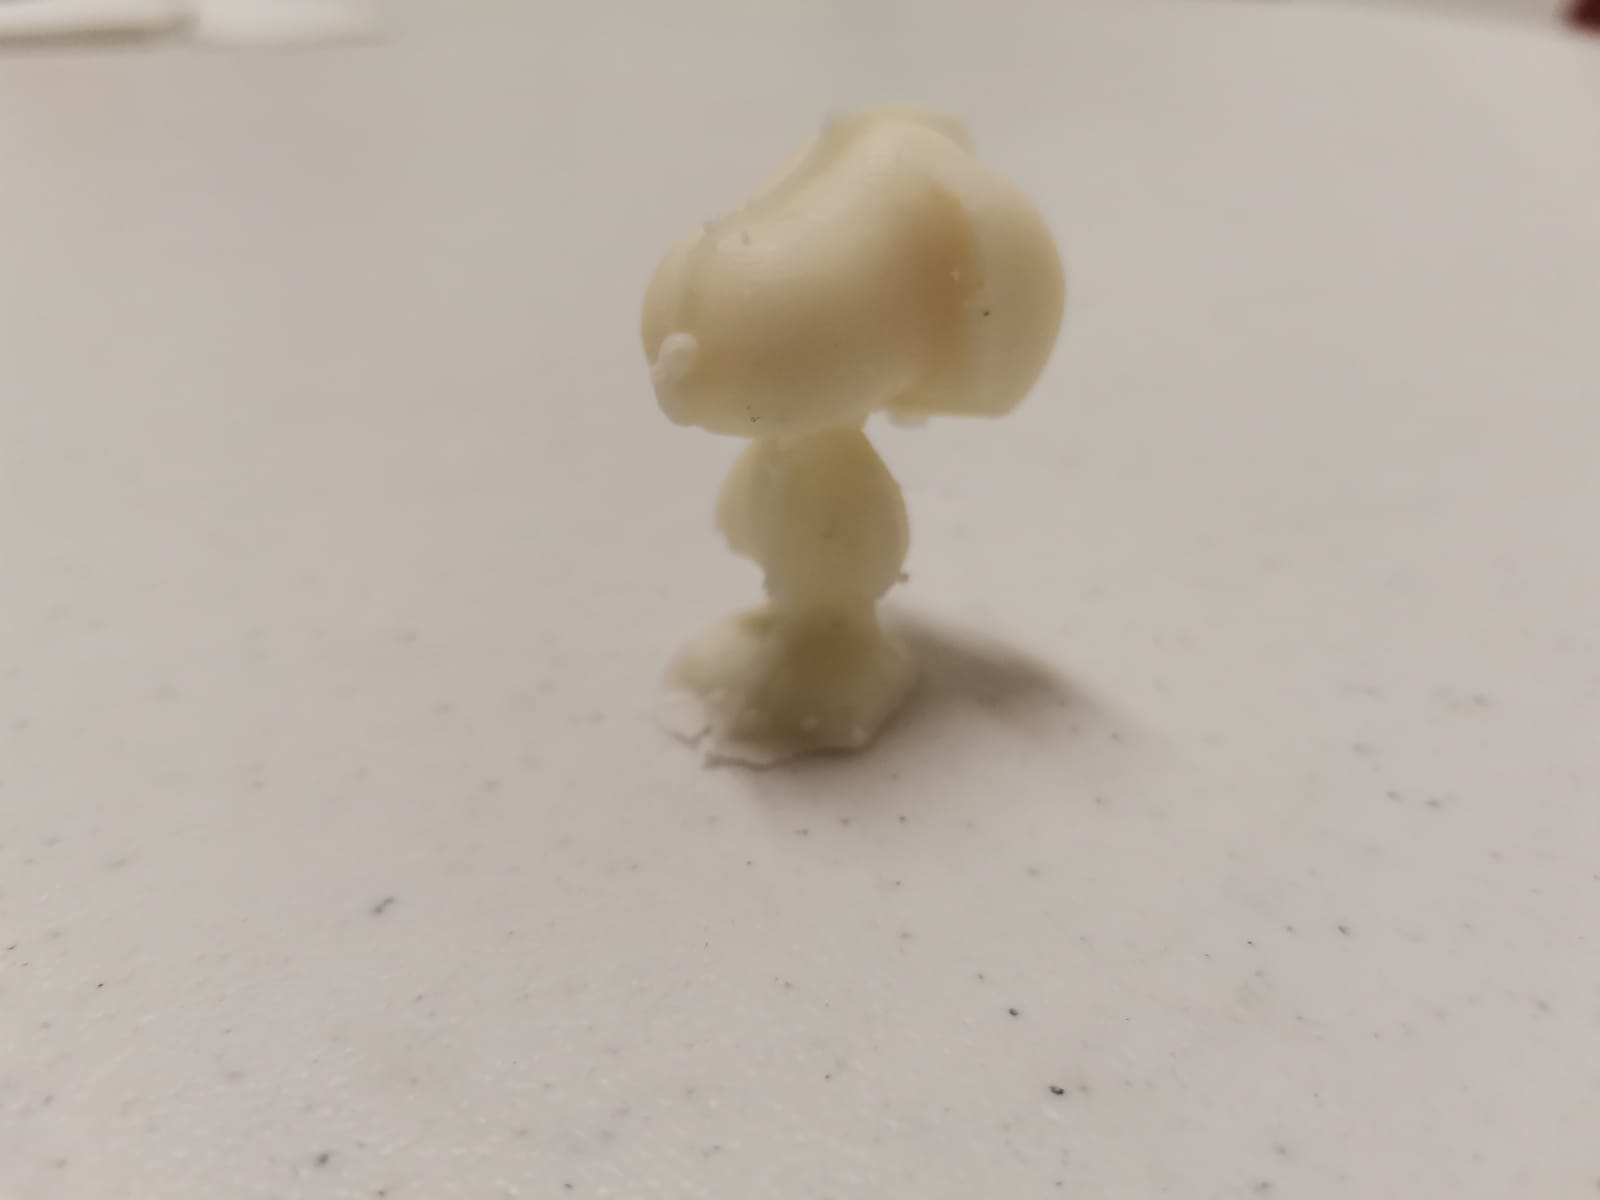
After I improved the file, I had to return the wax to the block. It was a slow process, because I used a heat gun. However, even though I was being very careful, I think it was this process what made the final positive mold to have the small cracks at the bottom of the machining (I may have left some bubbles while using the gun):
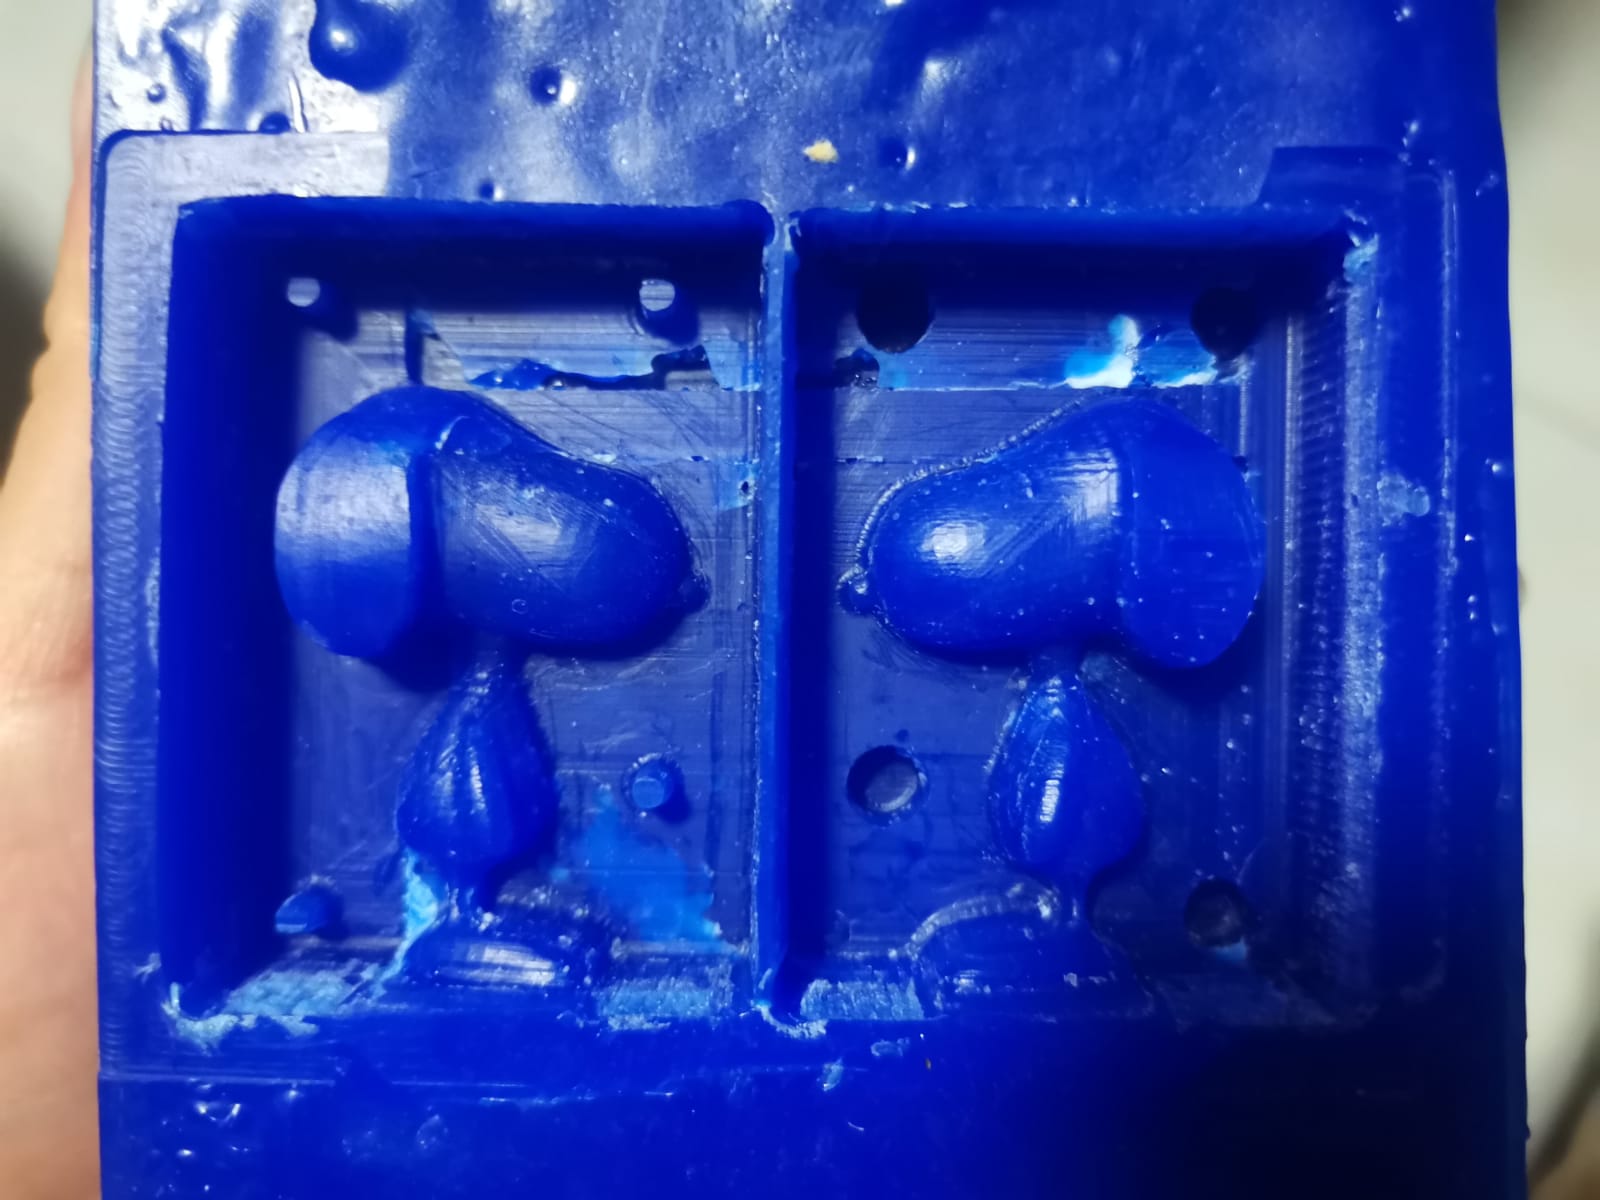
Although, there were some cracks, the Snoopy's finish was smooth and I had ready the positive mold.
Mold
For the negative mold I used Smooth-On Silicone 3030. After reading the data sheet, also present in the group page, I retrieved the following information:
- Consists of two parts: the silicon and the catalyst.
- The silicon and catalyst should be poured in a 100:10 amount (100 of the Part A and 10 of the Part B).
- Not hazardous.
- There aren't any symptoms or effects after exposition to it.
- If on fire, there aren't hazards arising from it.
- Wash hands after using it.
- Store in cool, dry, well ventilated place.
- Insoluble in water.
- No hazardous reactions.
- Chemically stable.
- No toxic.
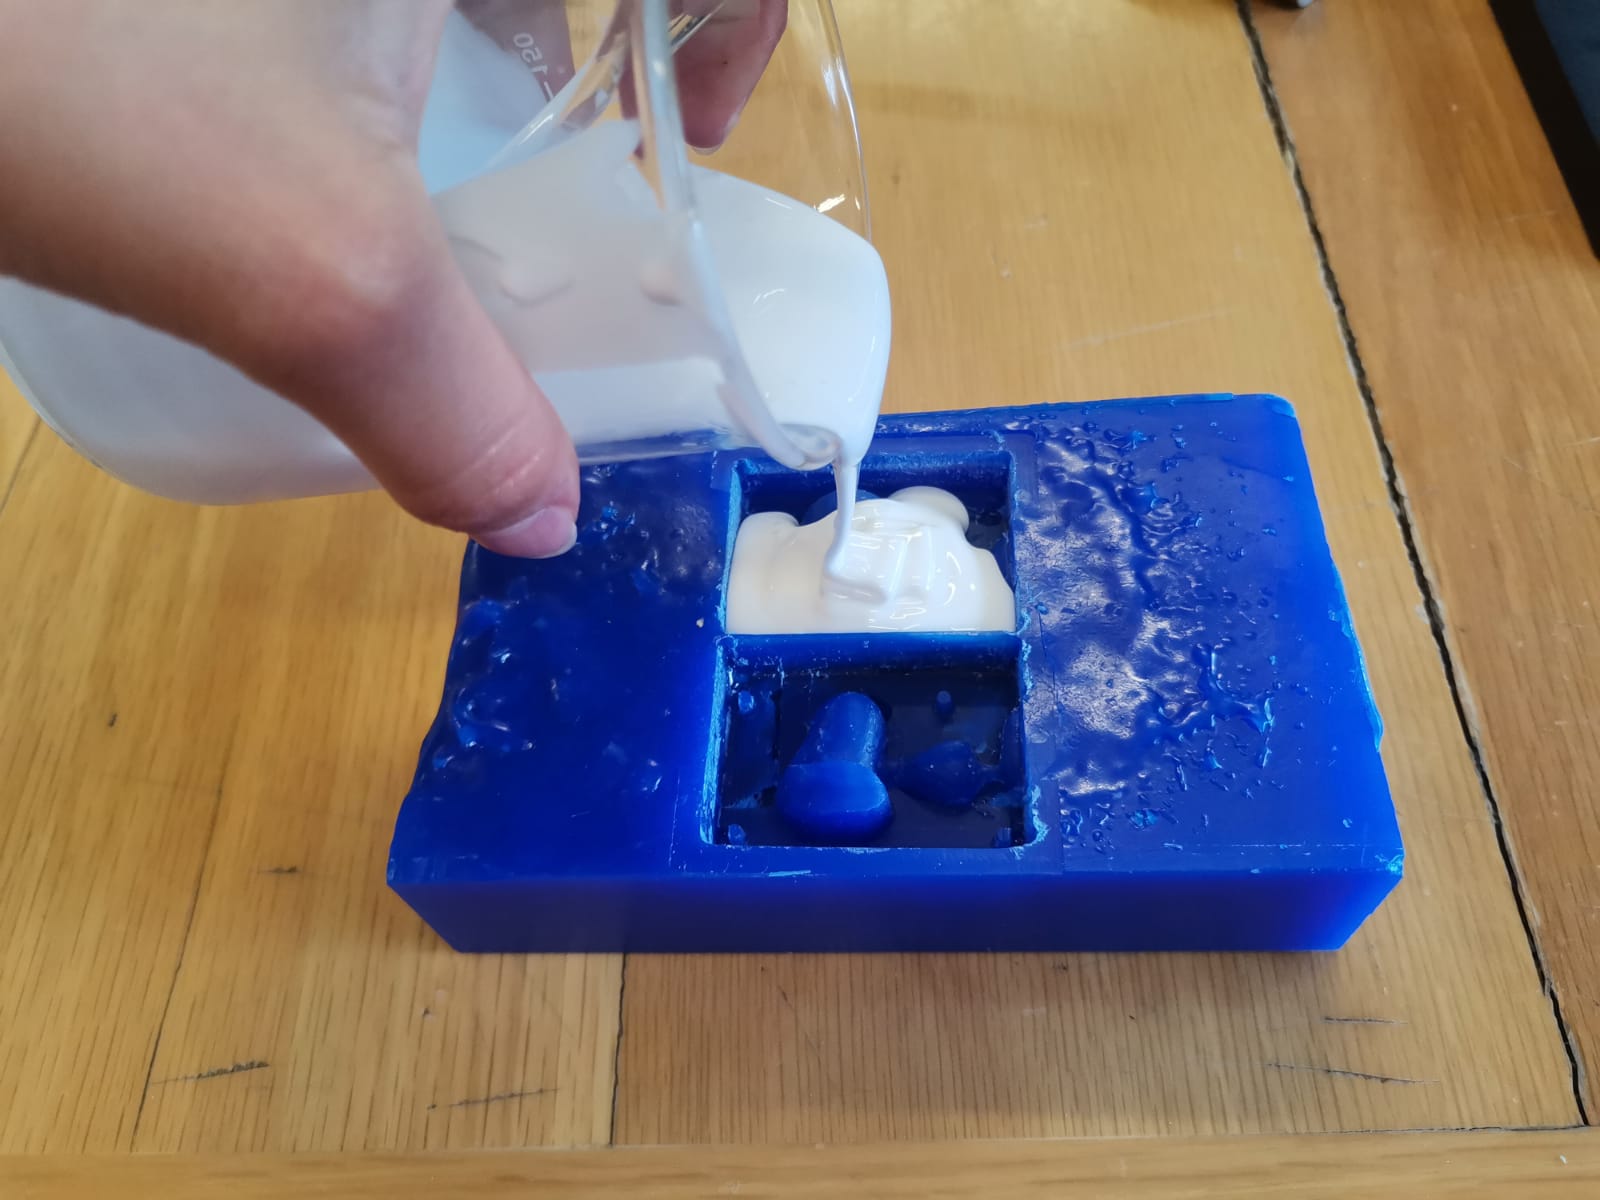
After that, I was ready to make the mold and followed the next steps:
- Pour water in the already machined wax block.
- Measure its volume.
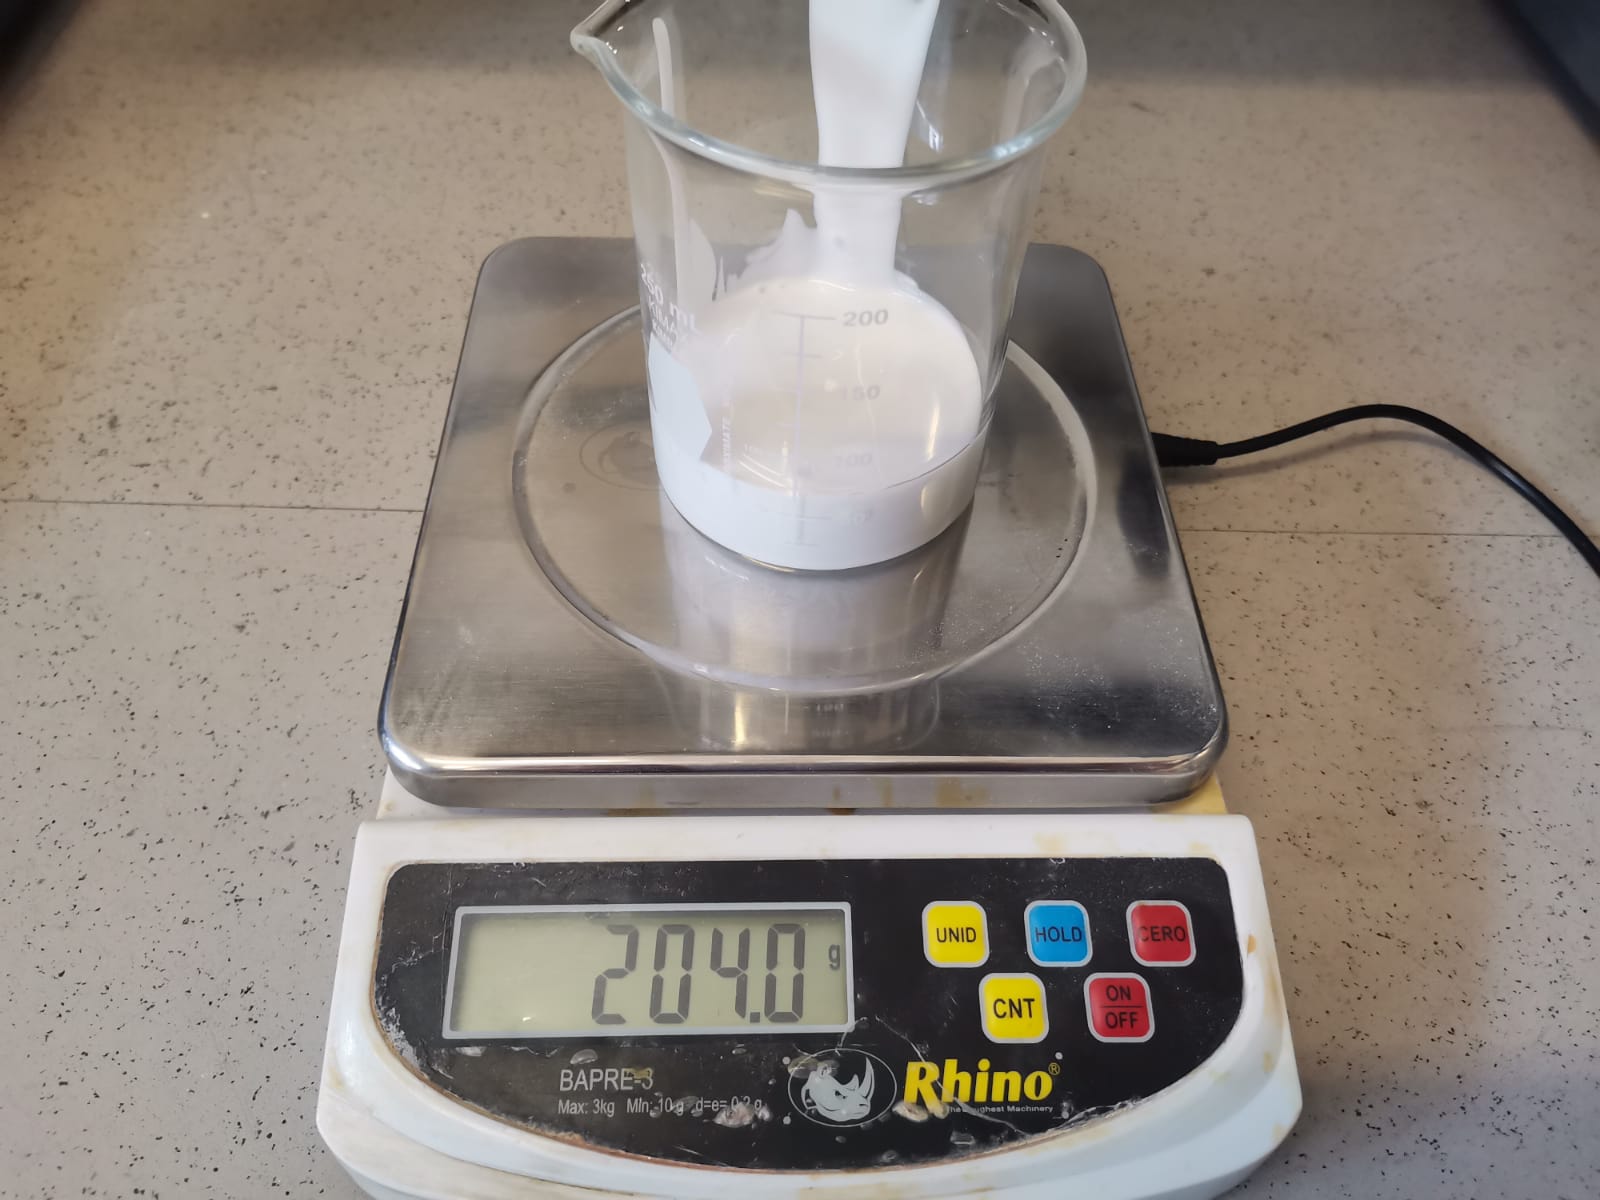
- Pour the same volume amount of silicon in a beaker and weigh it.
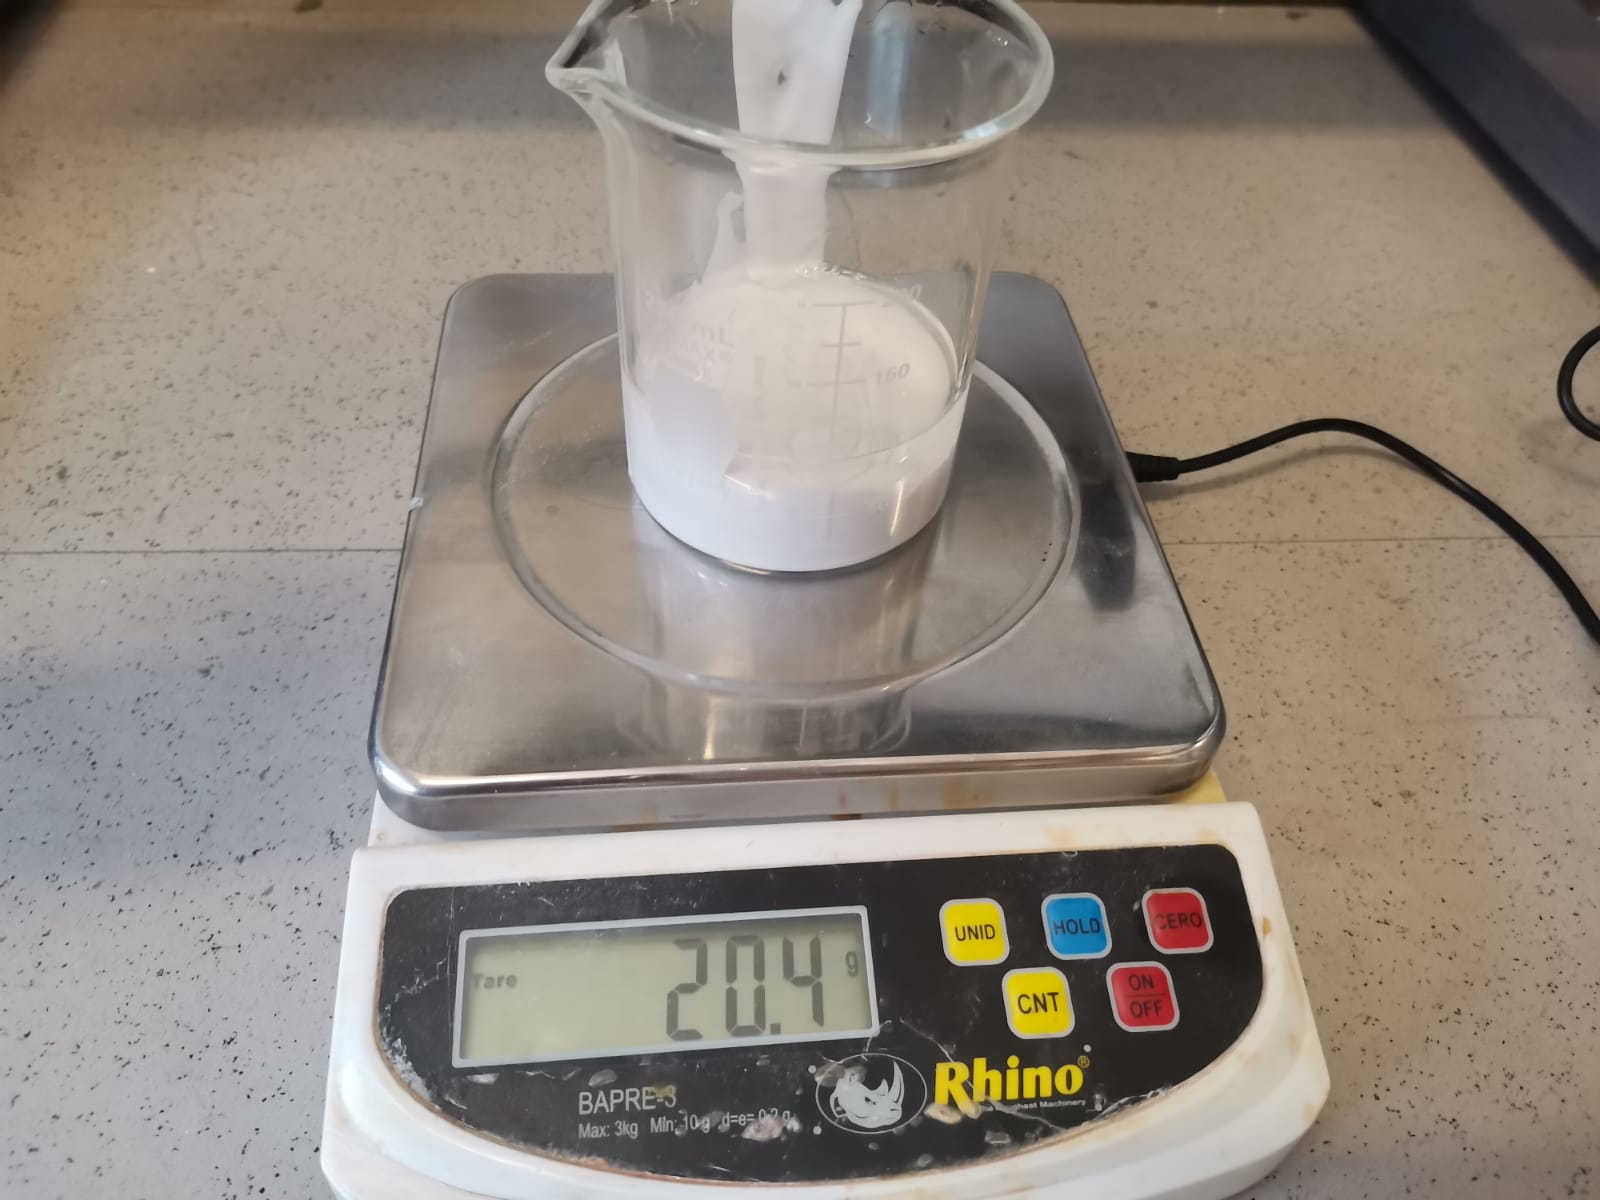
- Weigh the catalyst in an amount of 10% of the silicone weight (I tared the content of everything and only added the catalyst).
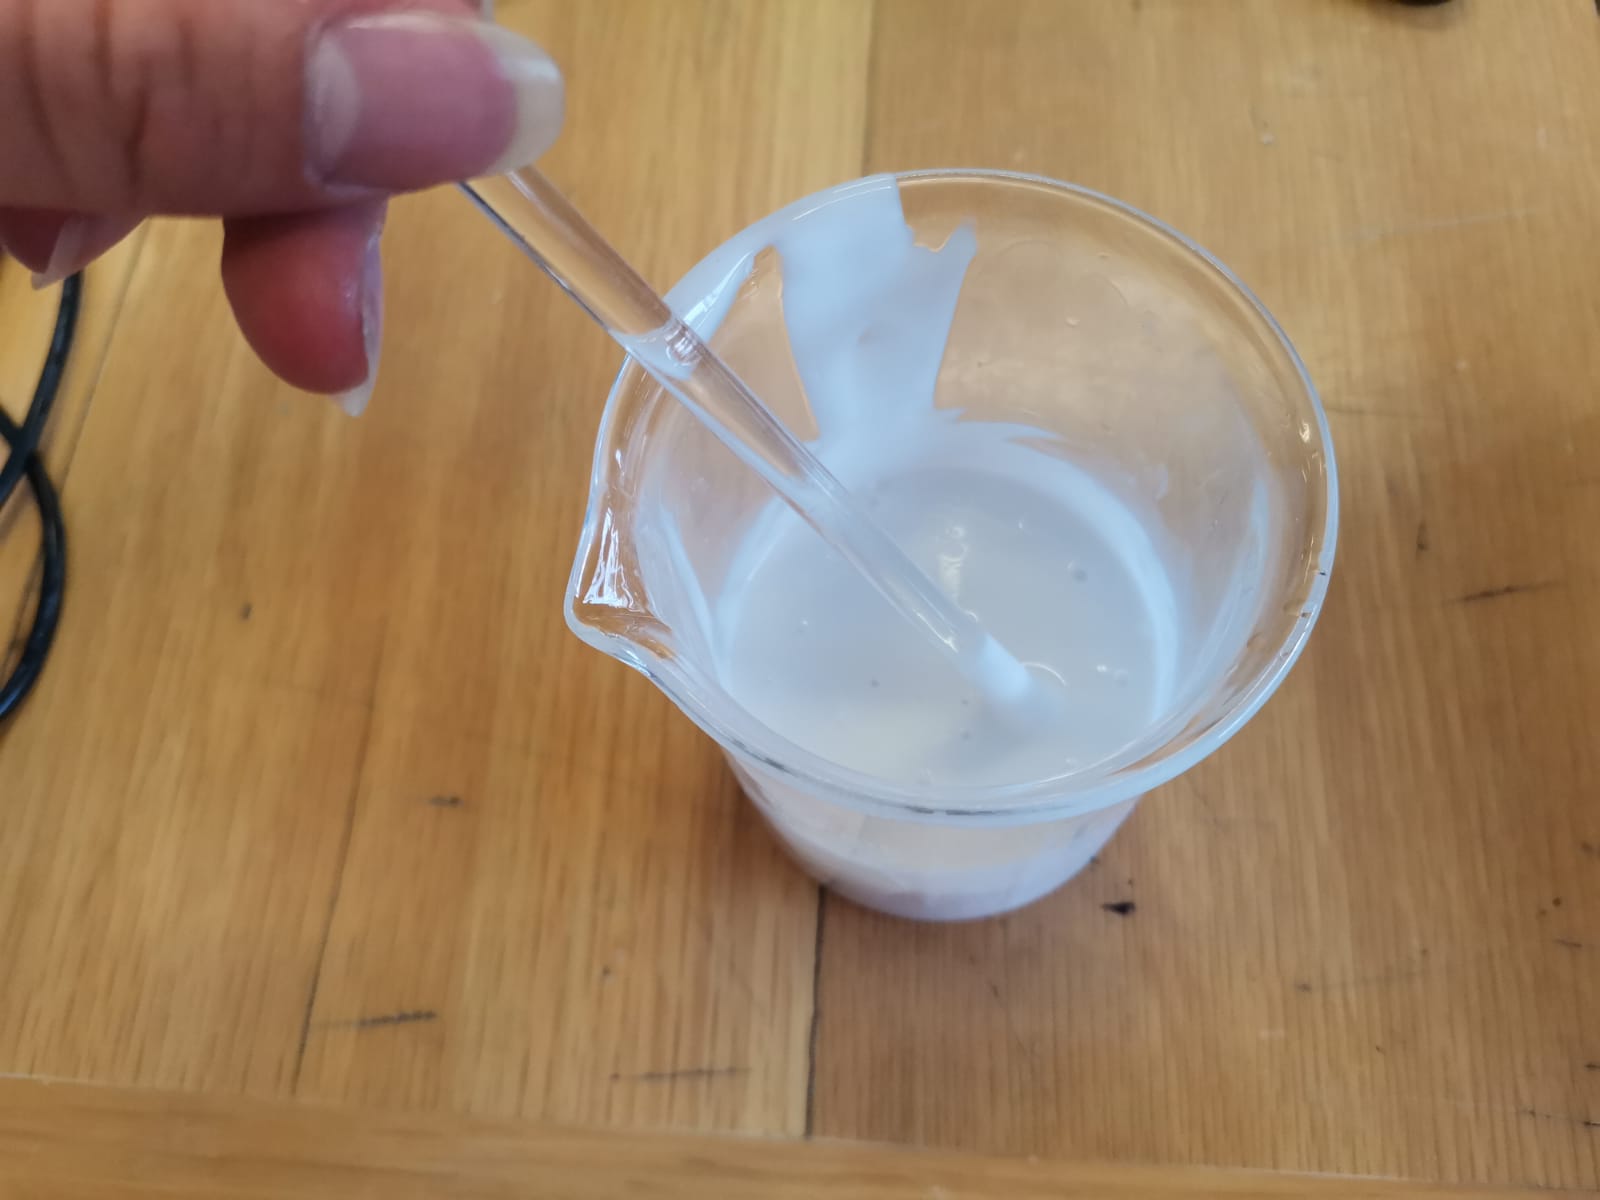
- Mix.
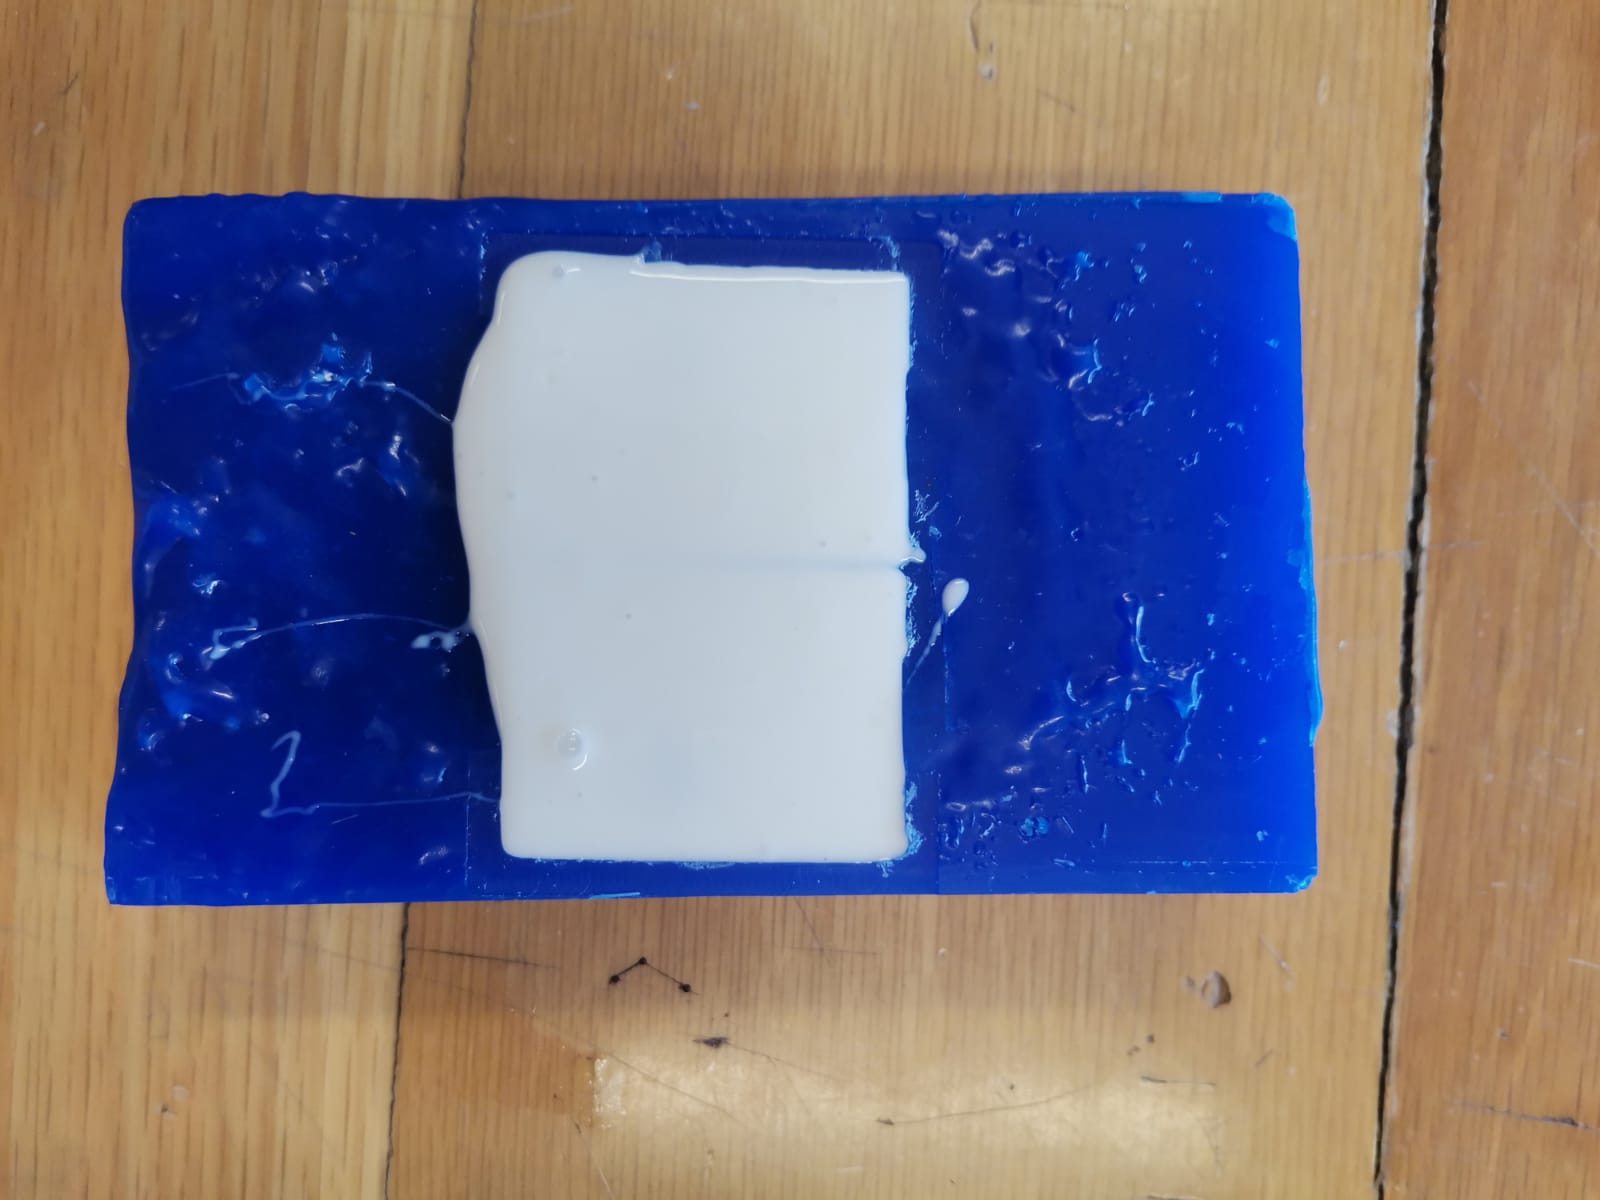
- Fill the positive mold (wax block) with the mixture.
- Let it dry for 6 hours.
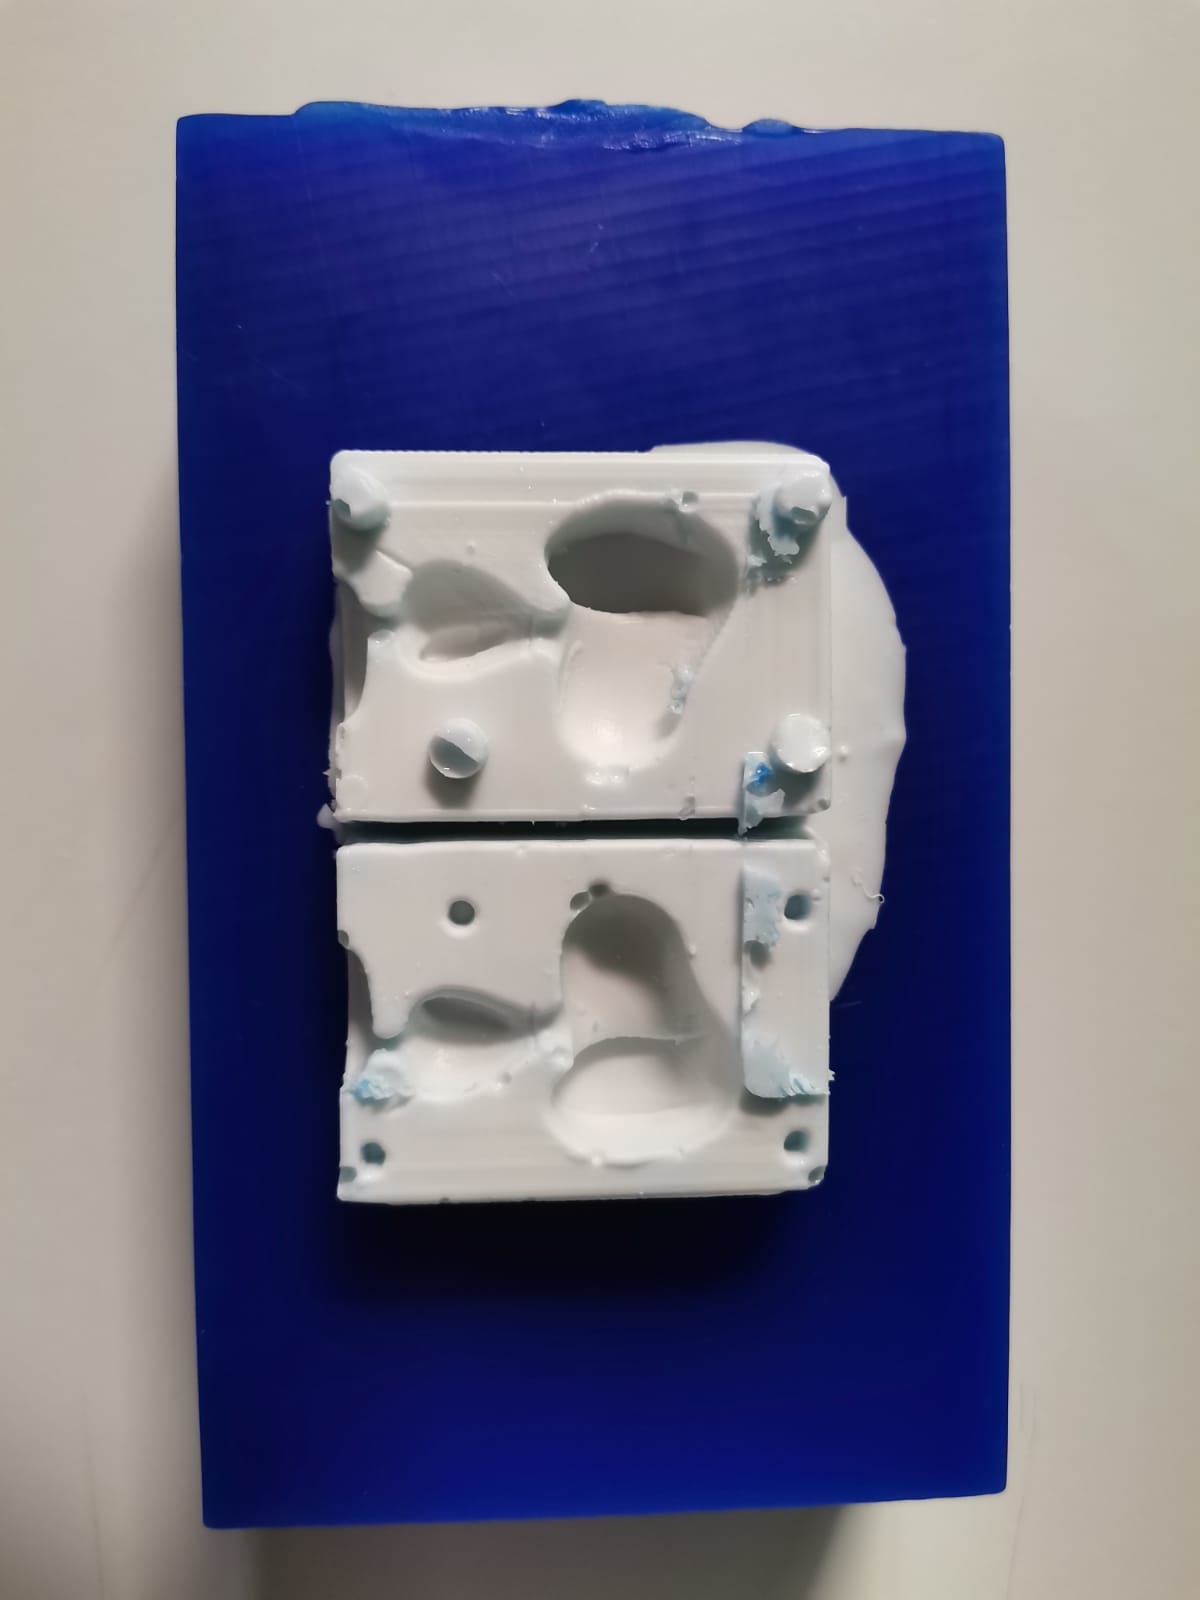
- Remove it.

Mini Chocolate Snoopies
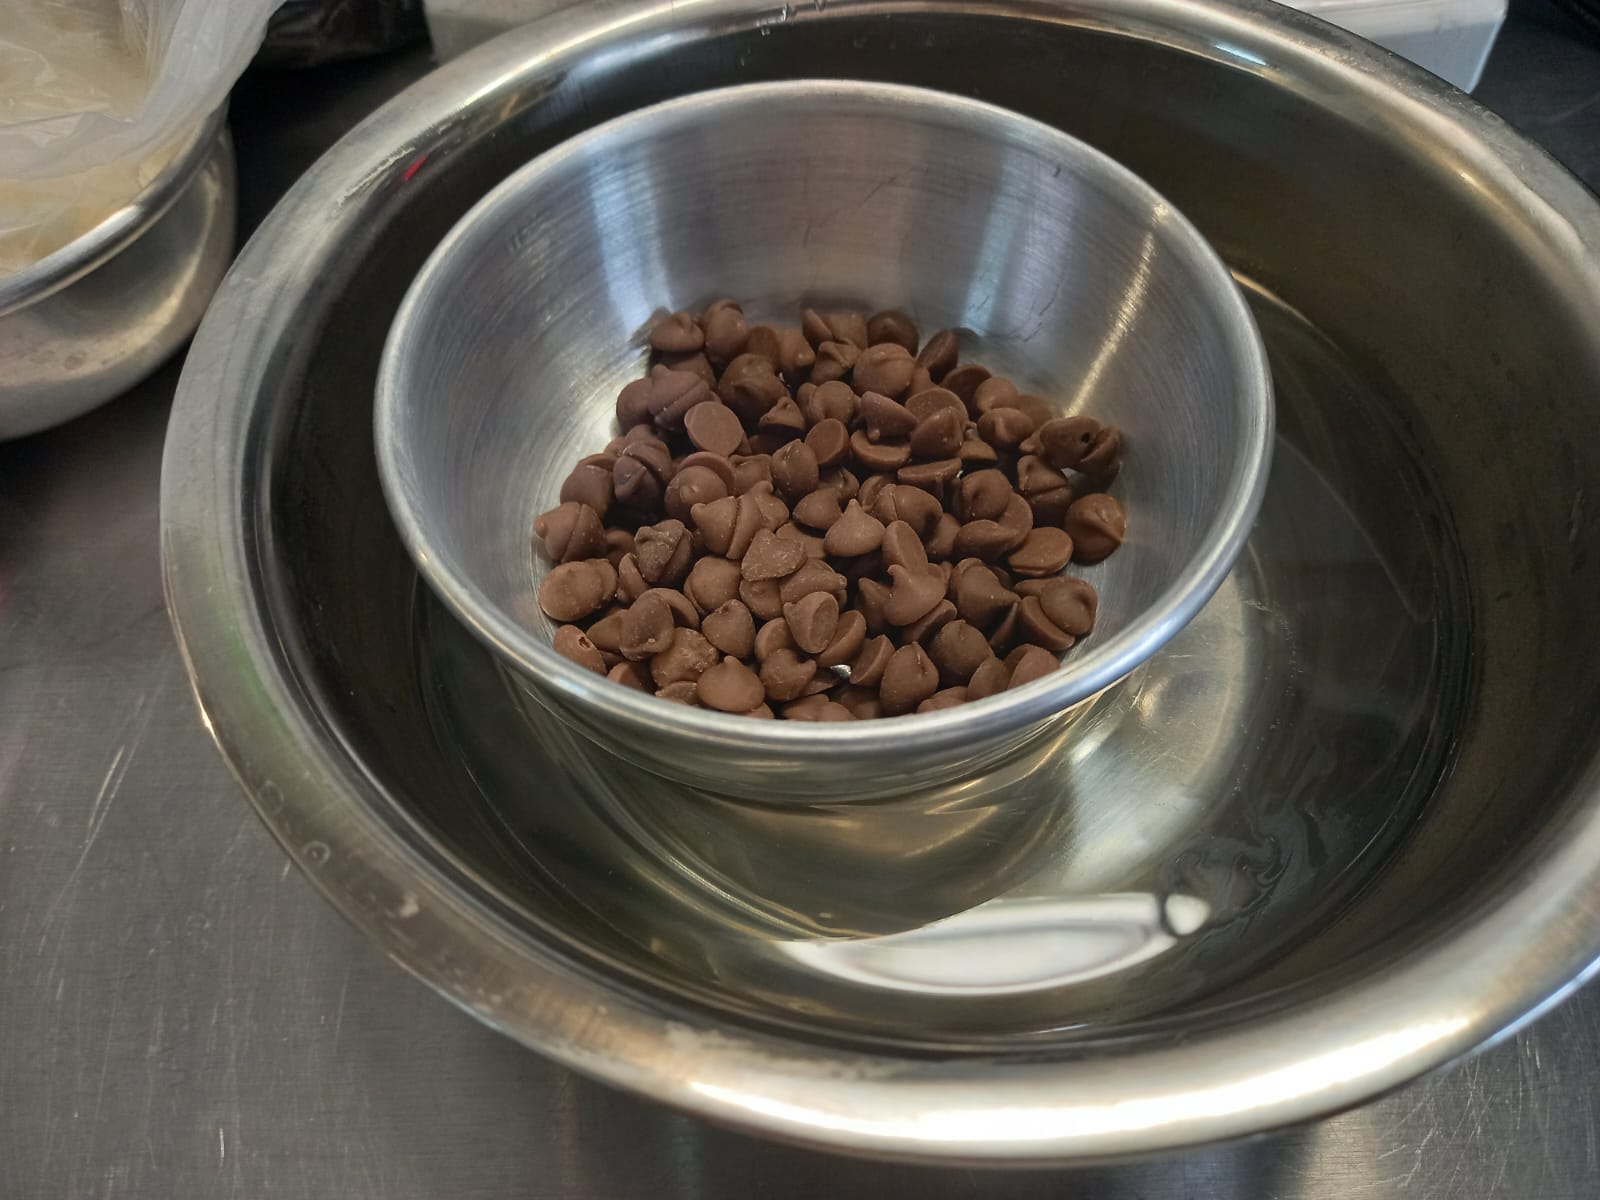
As the silicone isn't alimentary grade, these Snoopies aren't for eating. However, I already had the idea of making chocolate Snoopies, so I did it anyways with the warning that they are not consumables. This time I did the following:
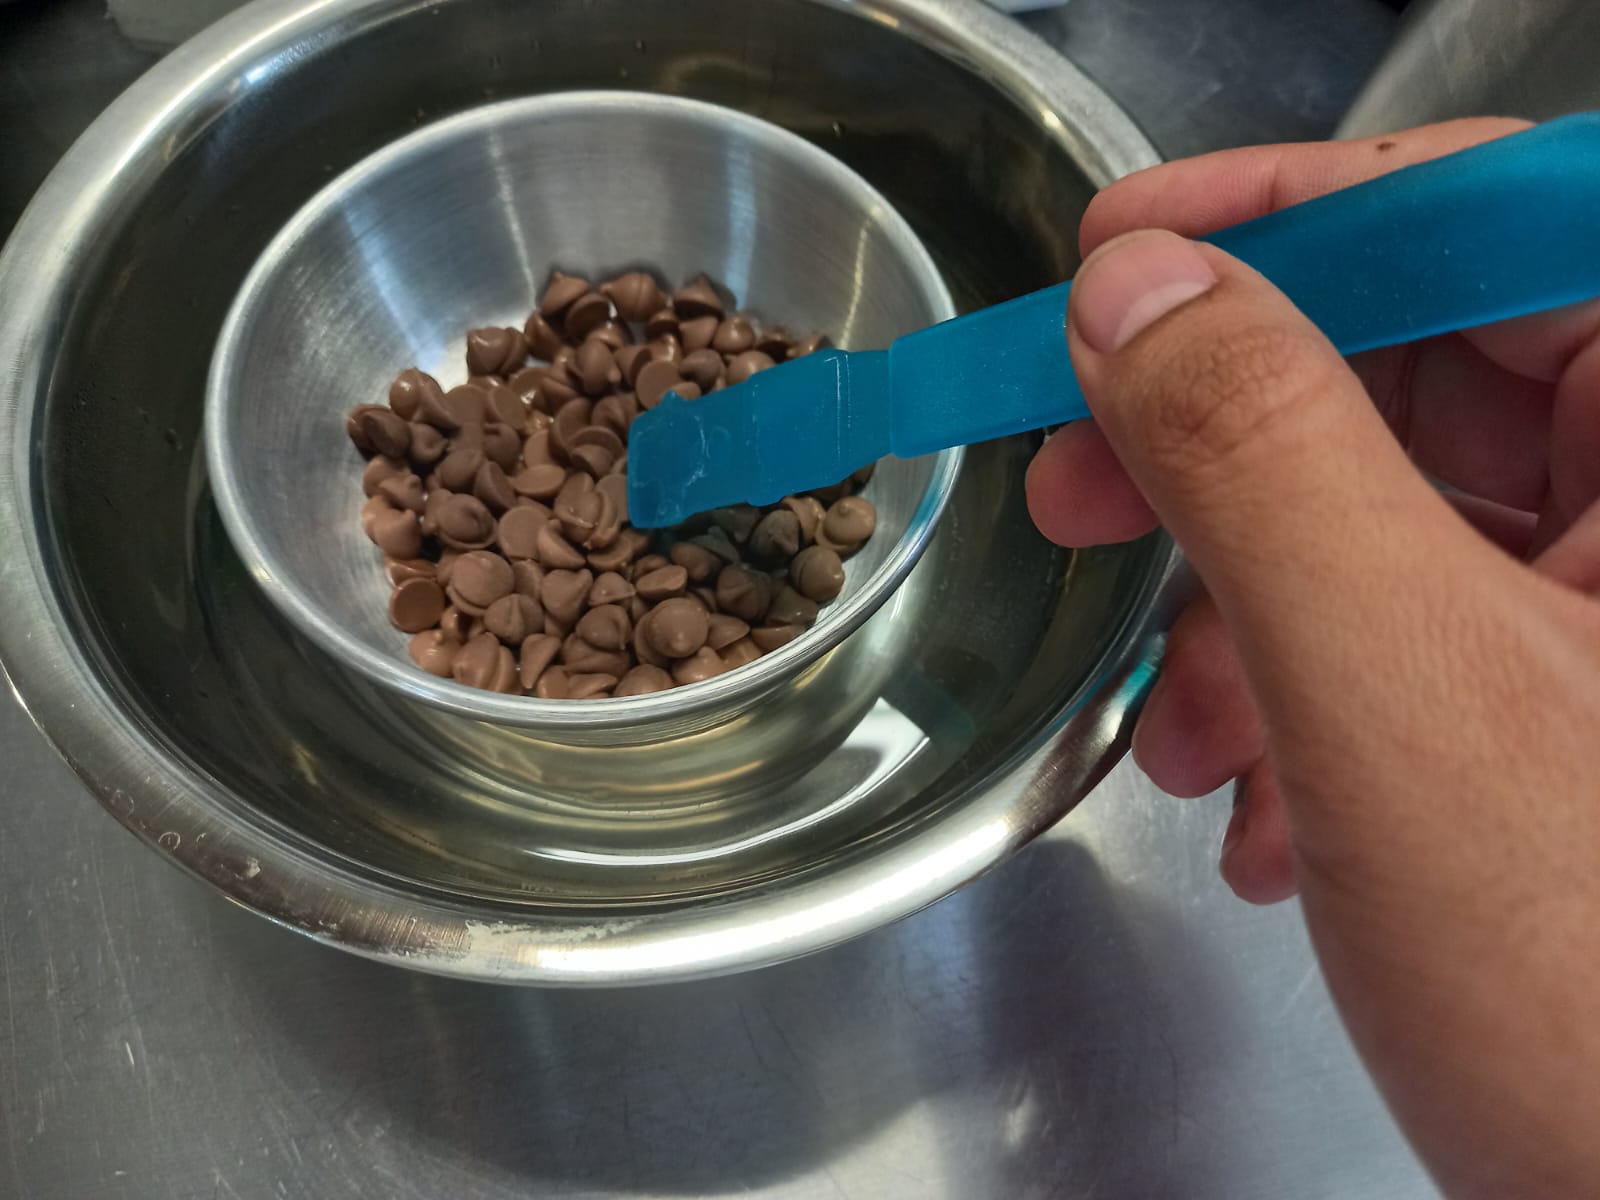
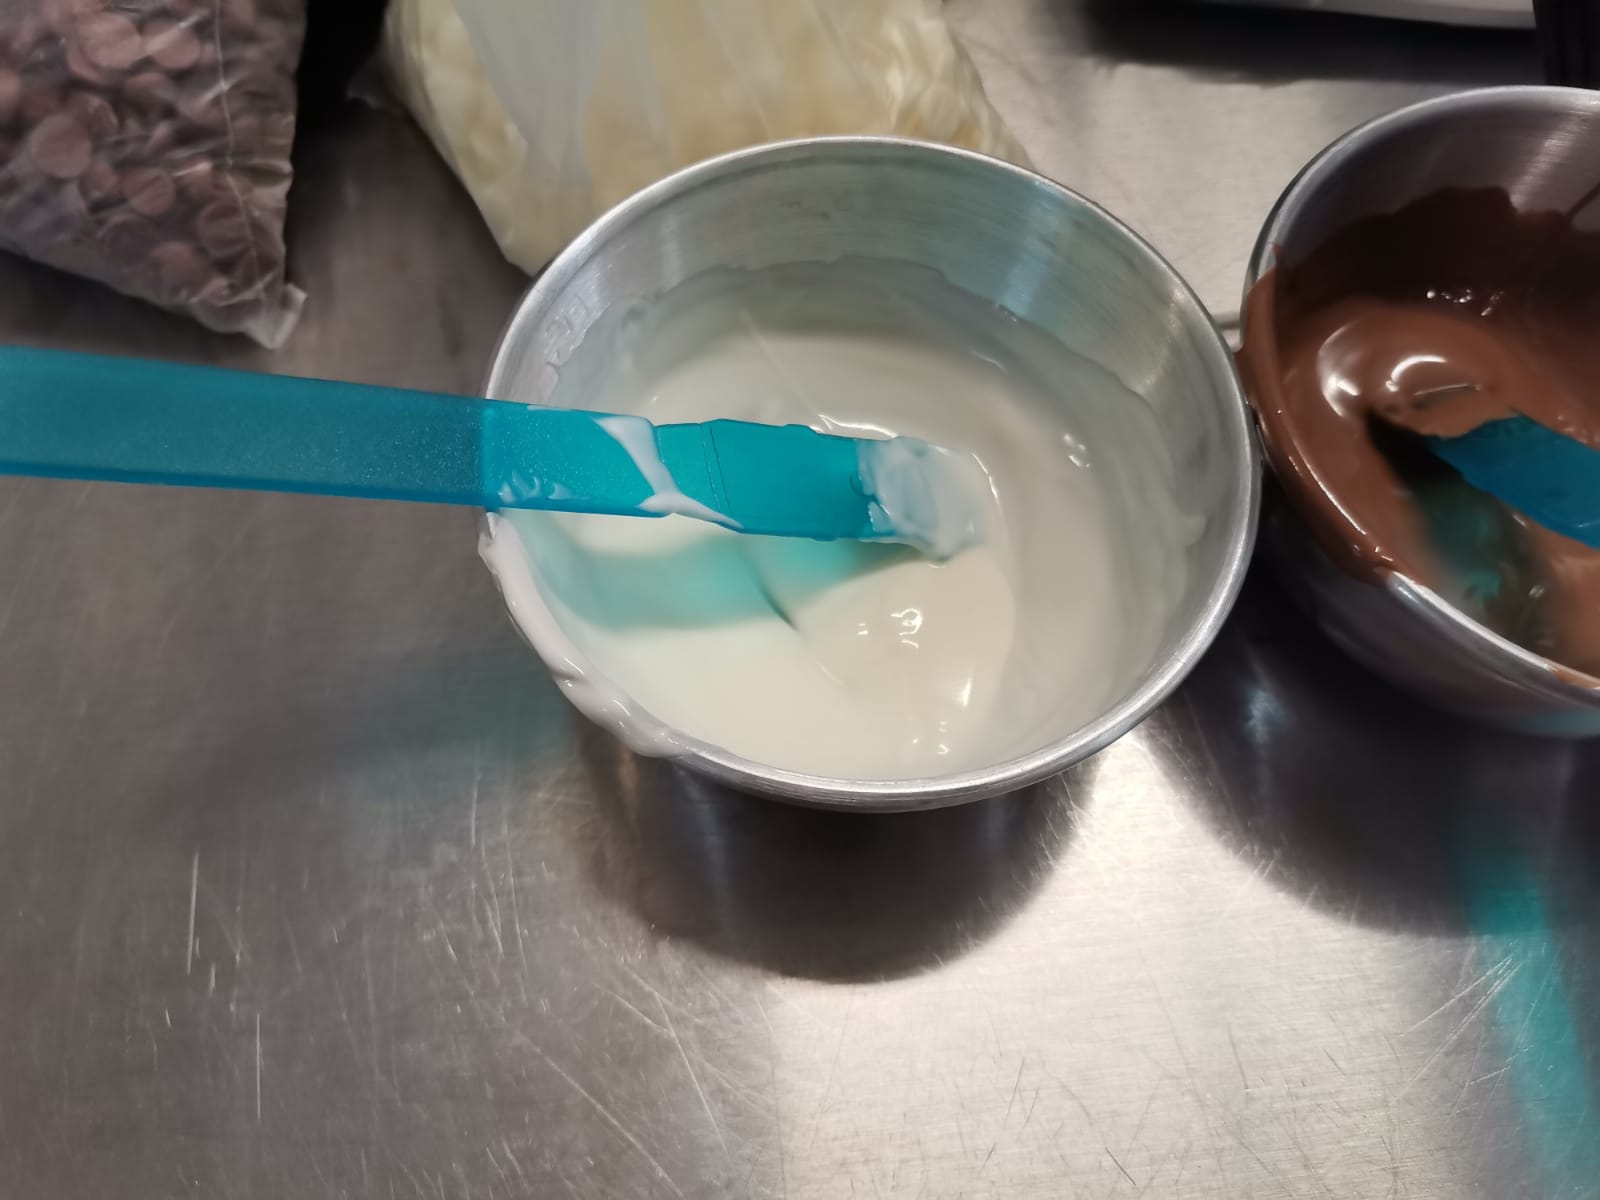
- Heat chocolate in a bain-marie (the images are from brown chocolate because I did it with Santi, but I used white chocolate for the Snoopies):
- Pour the heated chocolate inside the mold
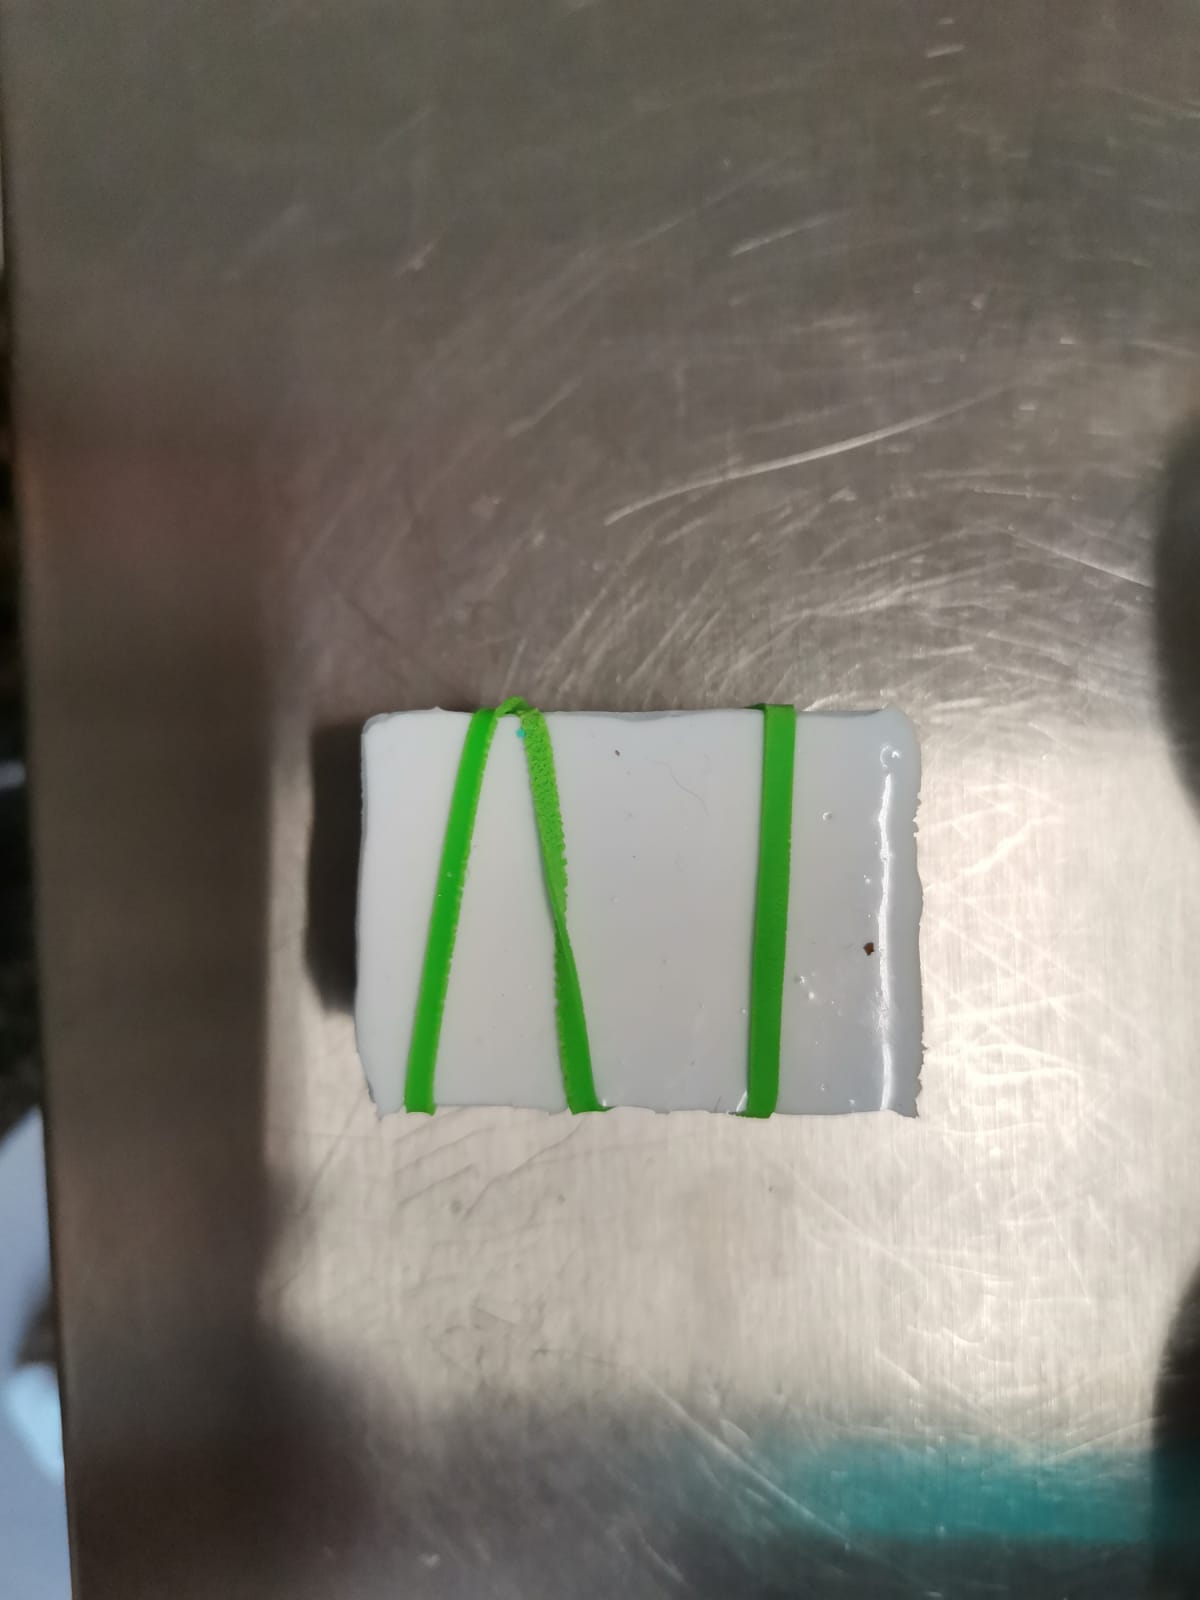
- Fasten it with a ribbon and let it cool:
- Take it out (it has a few borders because of the remaining chocolate when pressing both molds):
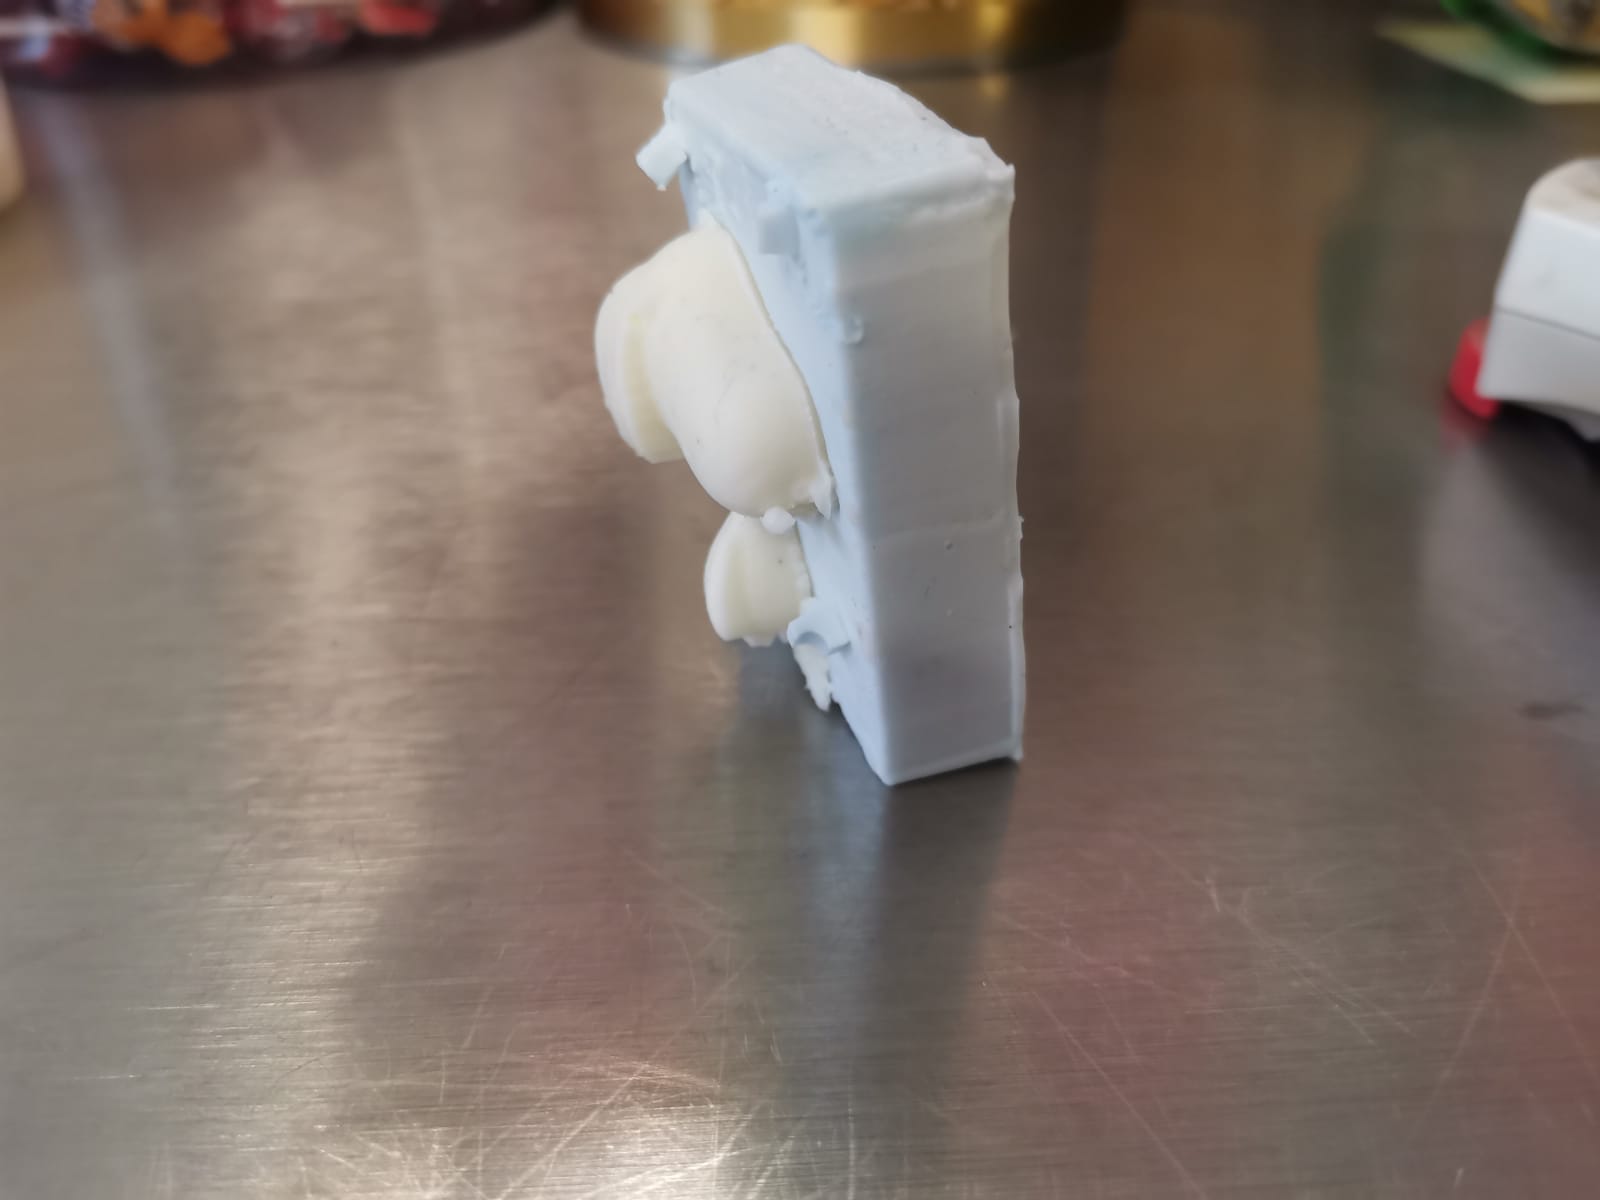
As shown in the pictures above the chocolate Snoopy has some small details making the Snoopy to not be perfect. Although the silicone isn't alimentary degree, I ate it anyways (nothing happened as it was a small amount of chocolate).