12. Molding and casting
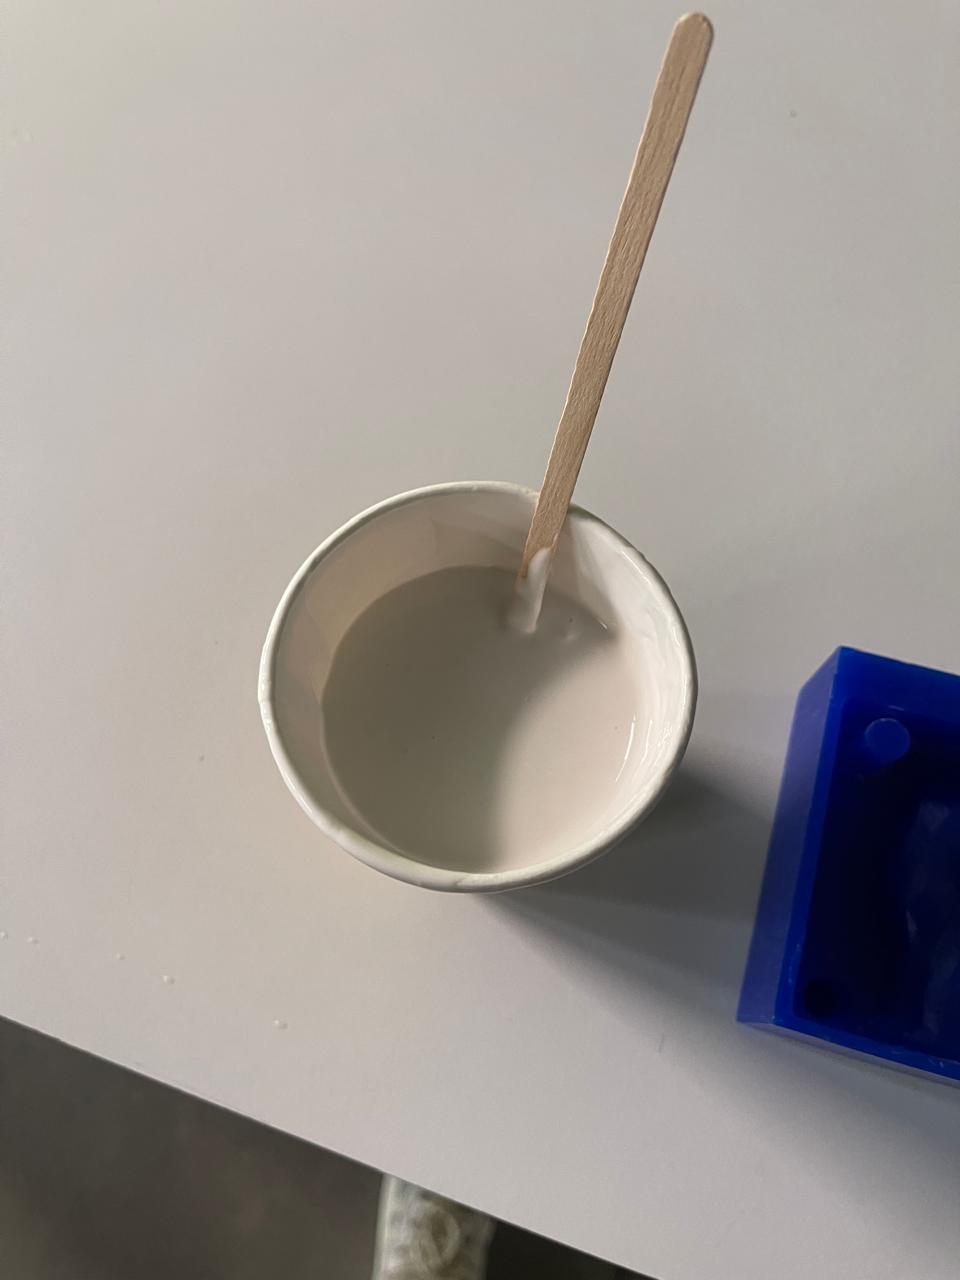
For this week of molding, I used a wax bar to create my design on the CNC router. Later, I measured how much water my design could hold to estimate how much 3030 silicone I would need for the mix. For product A, every 100 ml required 10 ml of product B, which is the catalyst. In my calculations, it turned out that my design could hold 180 ml of water, which, when measured by weight, was 0.1823 kg. After conversions, I determined that I needed a total of 0.0202 kg of product B. In the images, you'll see how the combined weight of both products was 0.2083 kg, slightly exceeding what I needed. However, this was fine as there was still some product left in the mixing container.
Here you will find the group assignment with a little more information about the Molding and Casting.
Here you will find the group assignment with a little more information about the Computer Controlled Machining.
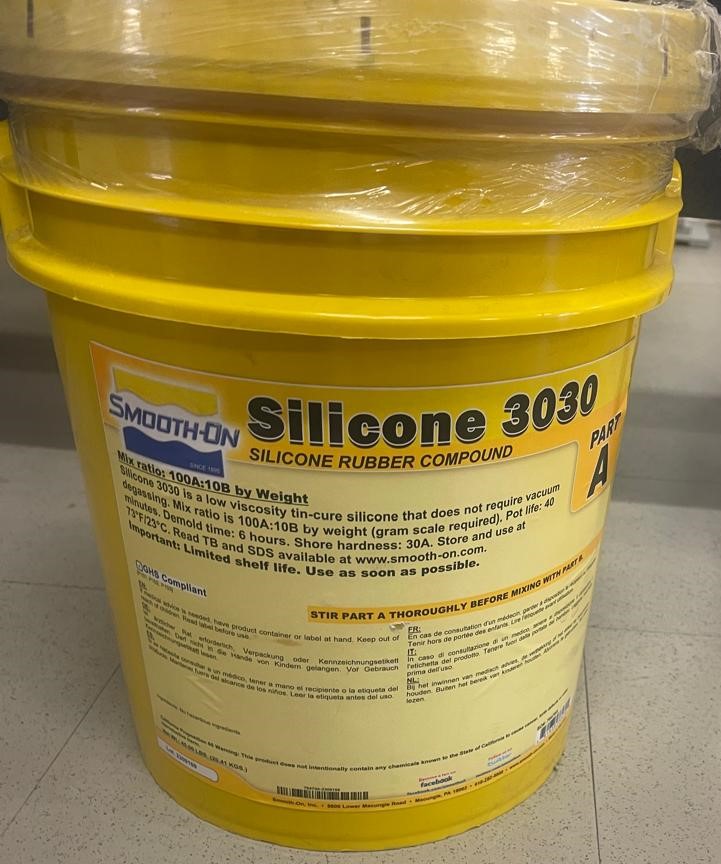
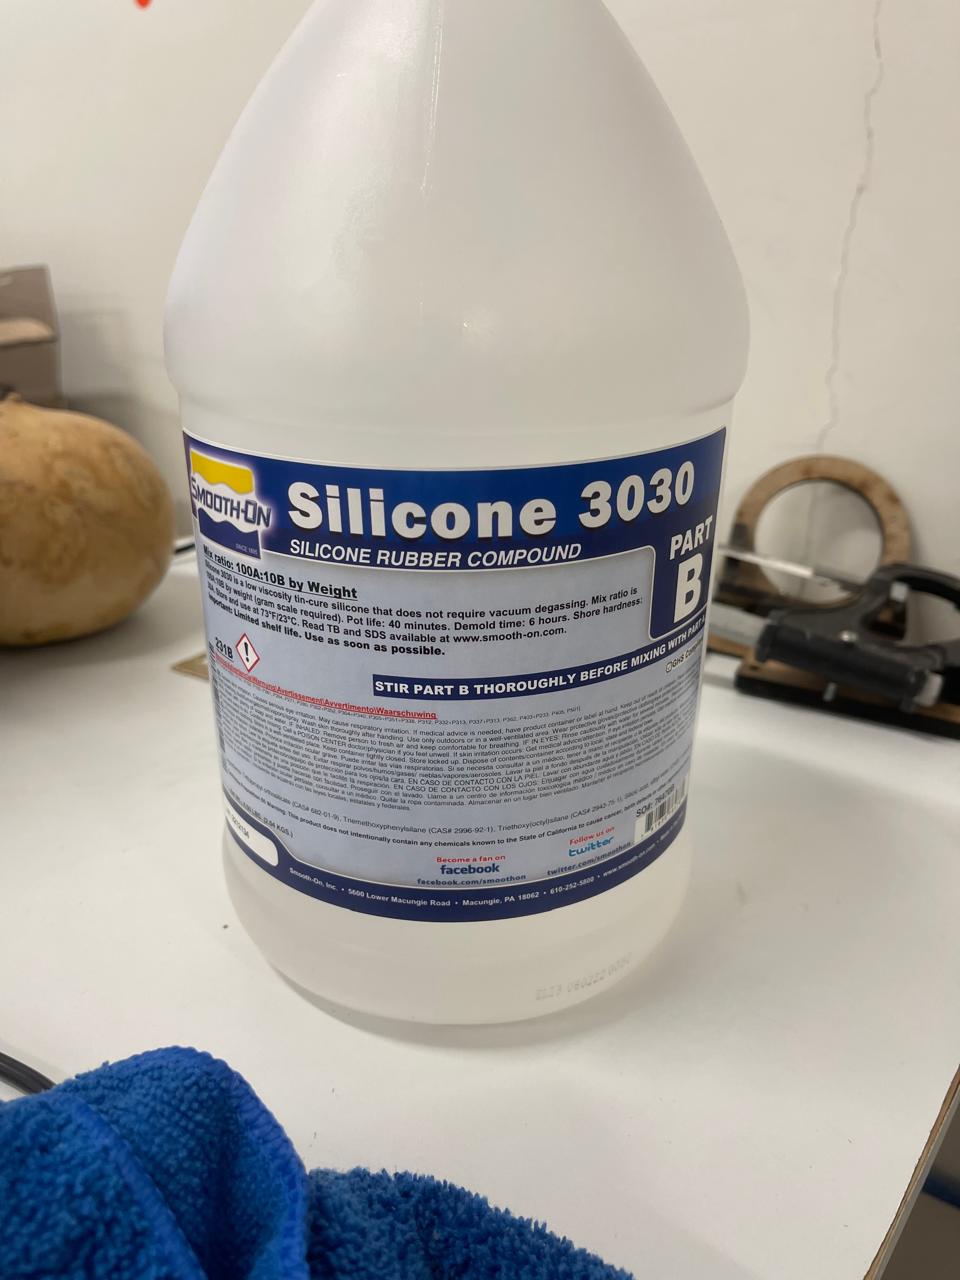
Here you can find the datasheet for silicon 3030.
The datasheet for SILICONE 3030 highlights several important safety and handling points. In case of skin contact, it is essential to wash the affected area with soap and water. If the product comes into contact with the eyes, rinse immediately with plenty of water and consult a doctor. In case of ingestion, do not induce vomiting and seek medical attention immediately. It is important to avoid using the product near flames or ignition sources and not to smoke while handling it. The product should be stored in a cool, well-ventilated place, out of the reach of children and animals. Additionally, the use of personal protective equipment, such as gloves and safety goggles, is recommended to minimize risks.
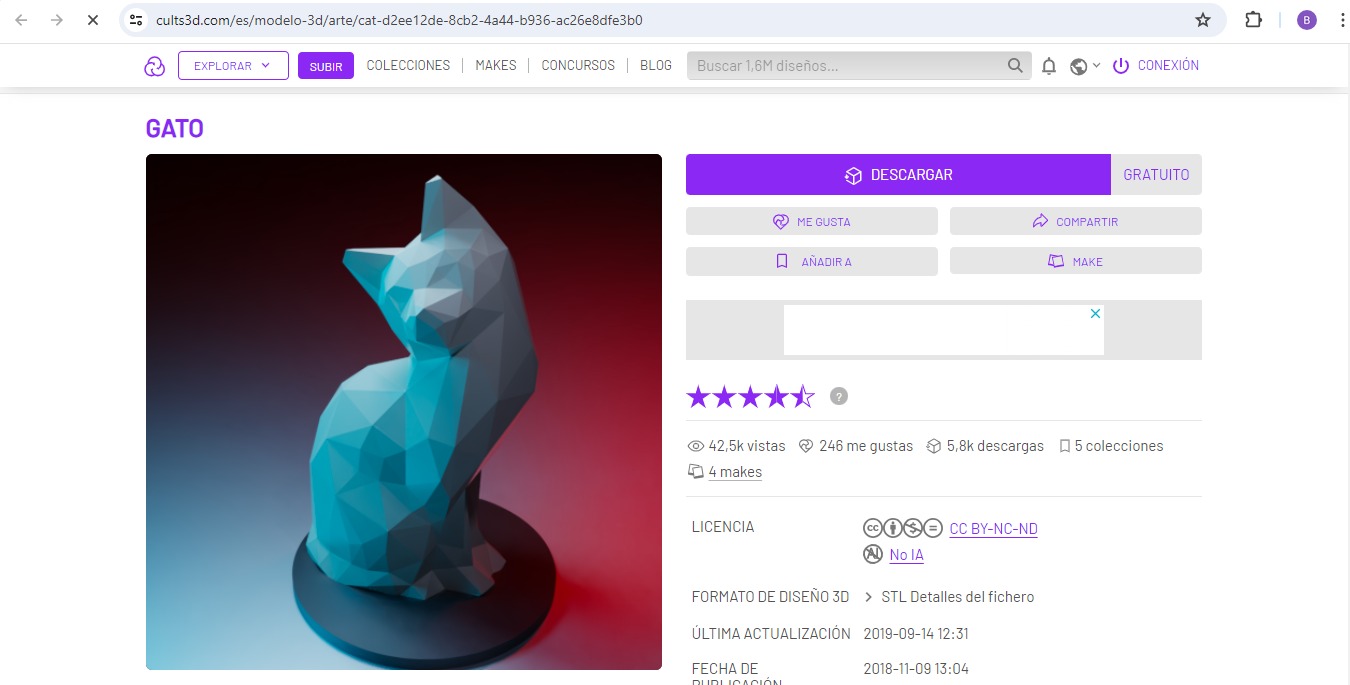
For the first part of this task, the first thing was to know what I wanted to do, so I decided to search for a 3D design on the internet. The design I chose is freely available, and you can find it at the following link.. I downloaded the STL files and loaded the file into Cura for 3D printing. Afterwards, I made the modifications in SolidWorks to create the mold.
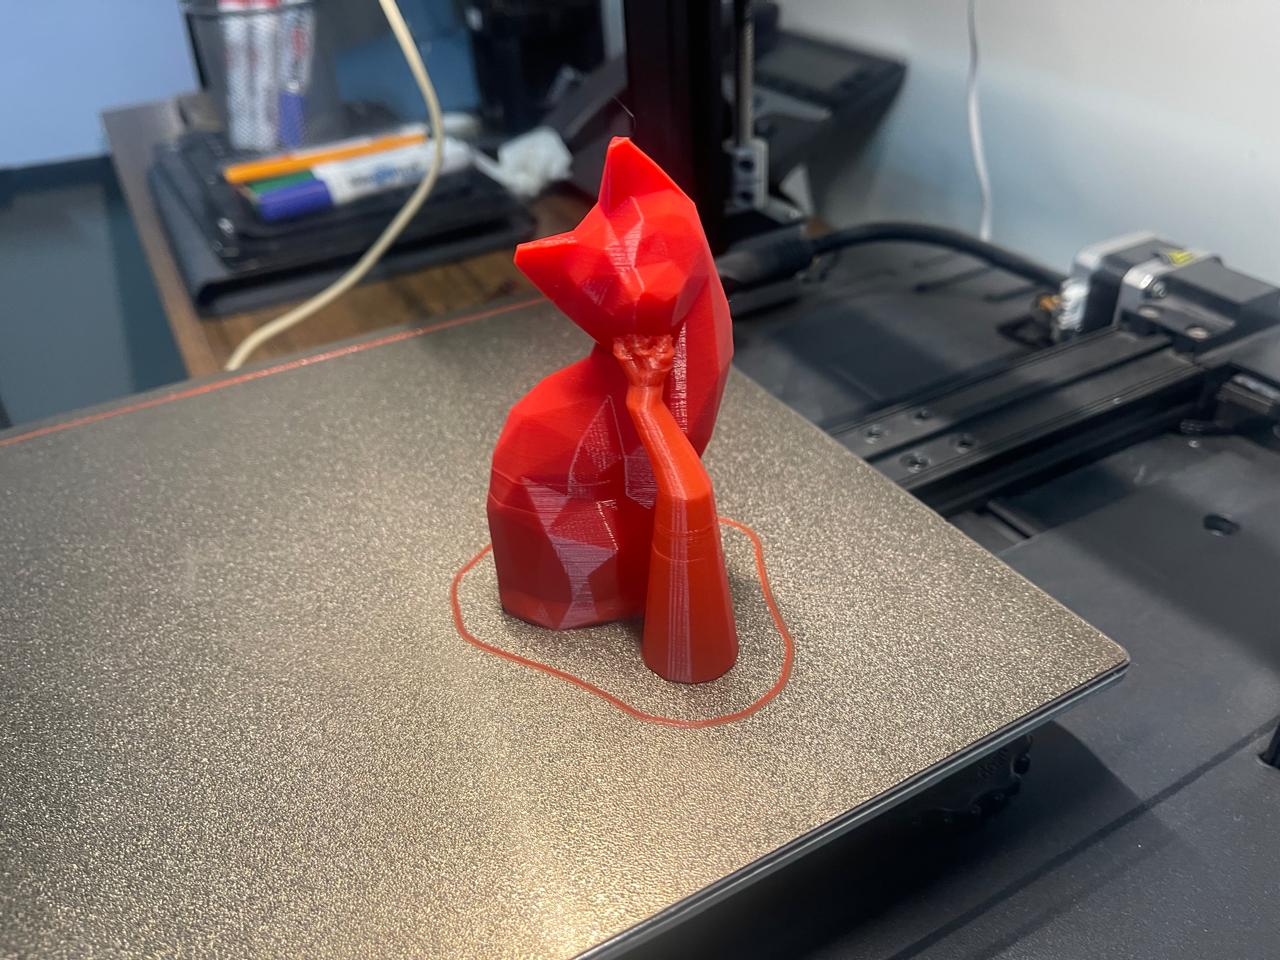
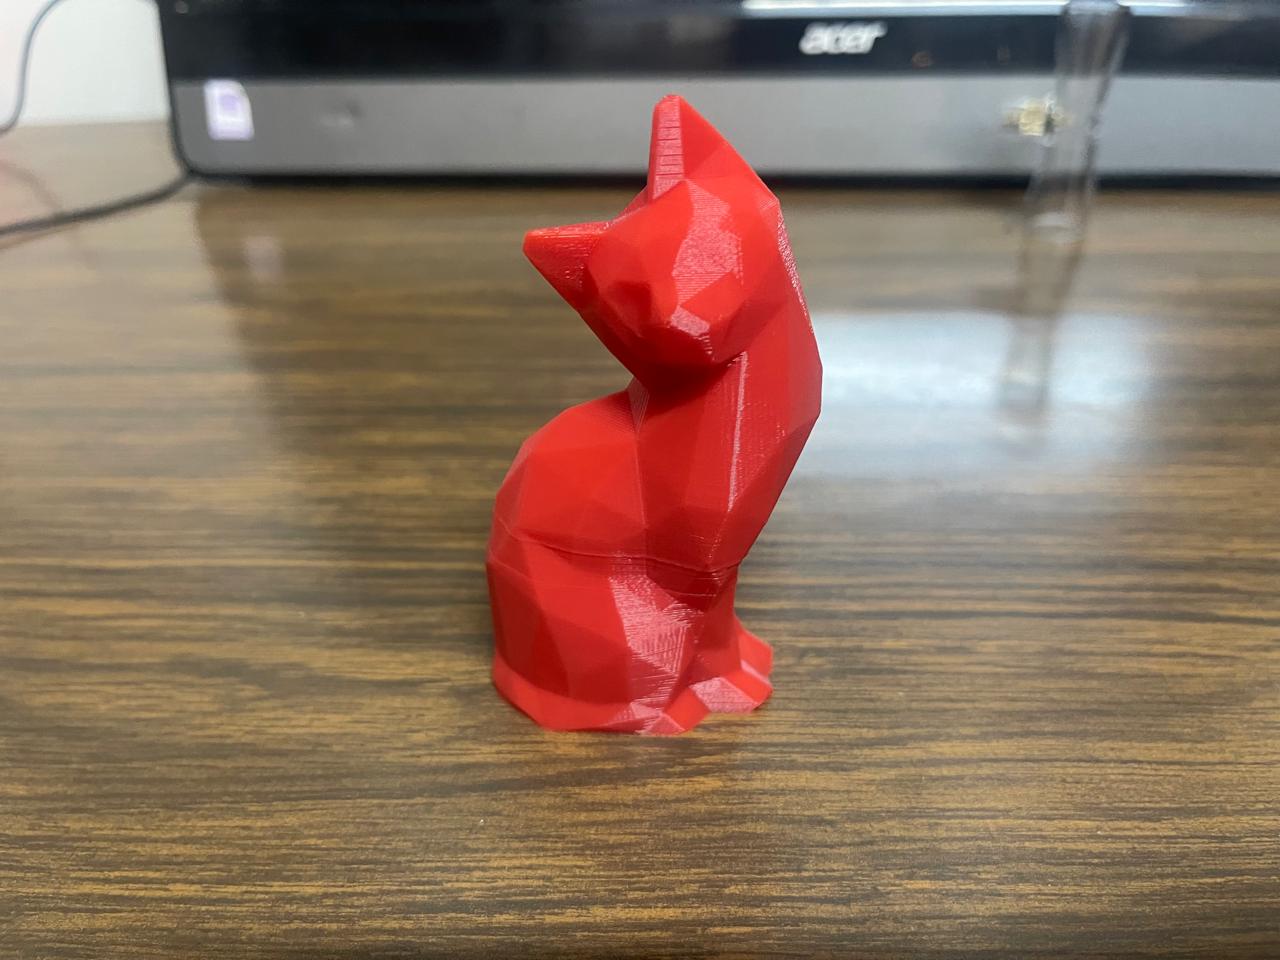
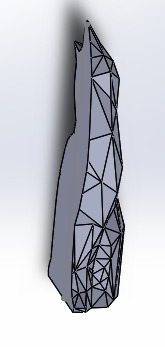
The next step I took was to 3D print the model to see if it would really look good and to understand in what way it would be convenient for me to make the mold.
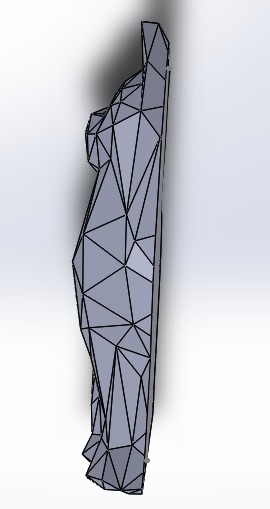
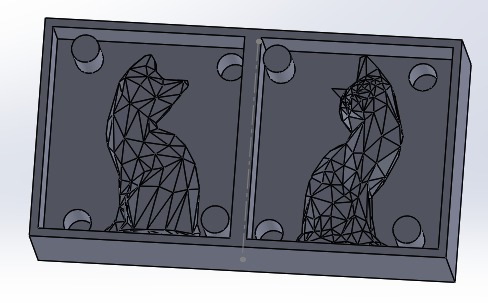
Next, with the help of SolidWorks, I split the model in half and then assembled it into a block exactly the size of the wax where I would make the mold.For my design, you can see some posts that fit with their counterparts so that once the mold is assembled, the front part and the back part stay together and do not move. It is also important to mention that I went from a positive mold (wax) to a negative mold (silicone) to finally create the final mold, which would be a positive (wax in the shape of a cat).
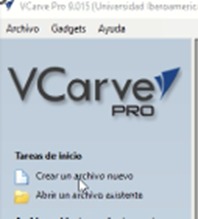
The next thing I did was open VCarve and create a new file.
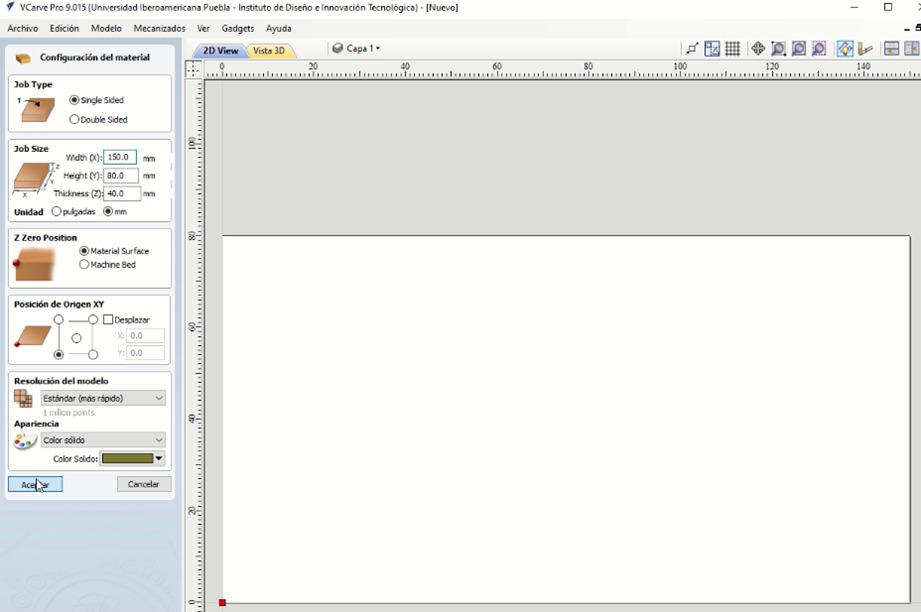
Subsequently, I placed the measurements of the wax block I will work with in order to have everything at the exact depth
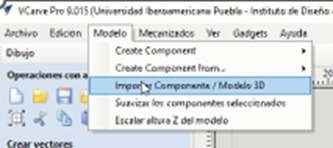
To import the SolidWorks file, it's important that it's in STL format. To import it, you can find the option at the top: Model -> Import Components / 3D Model.
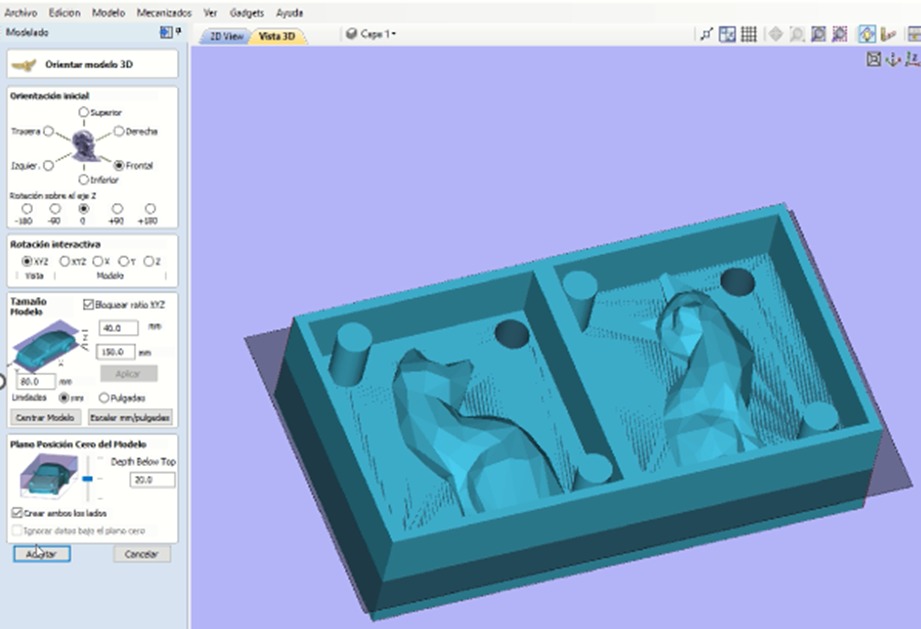
Selecting the file we created, it's necessary to position it correctly to avoid errors. That means it should be within the workspace boundaries.
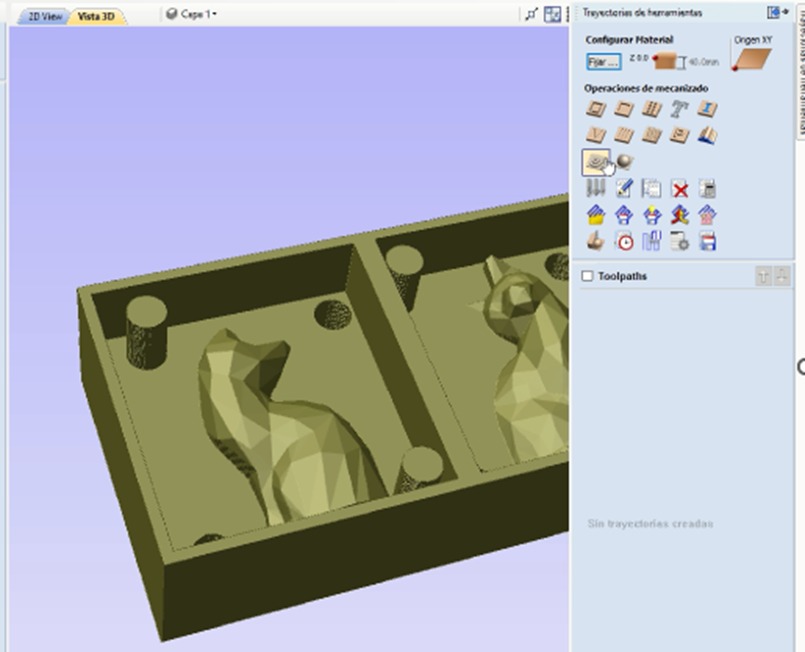
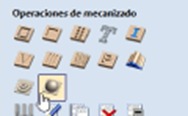
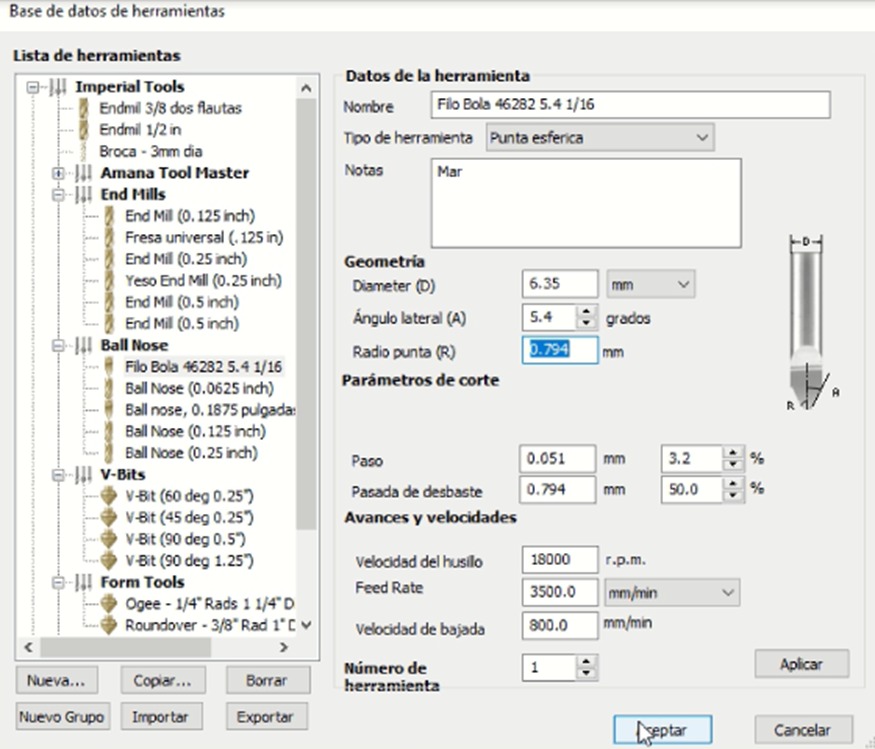
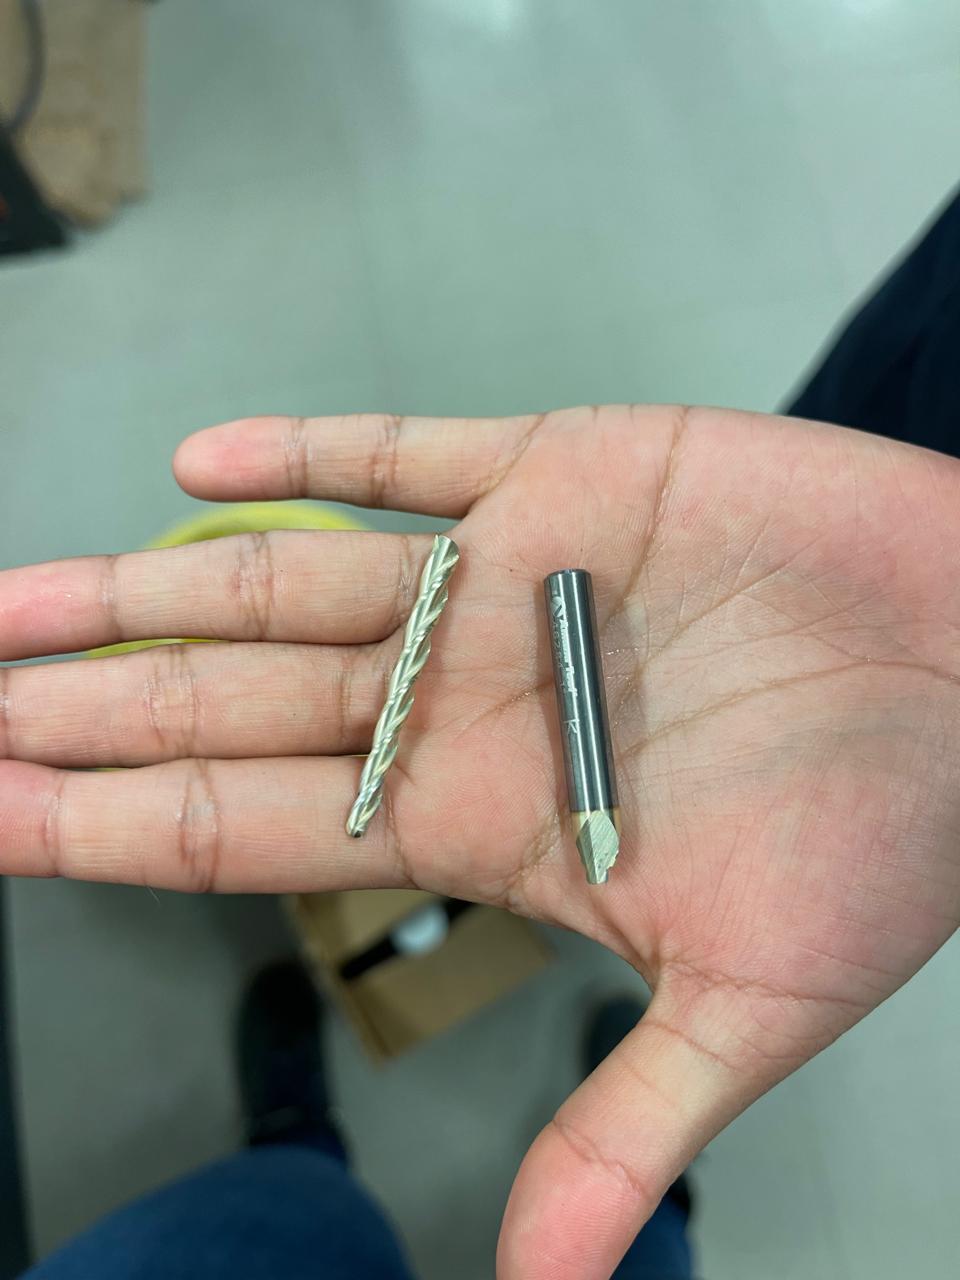
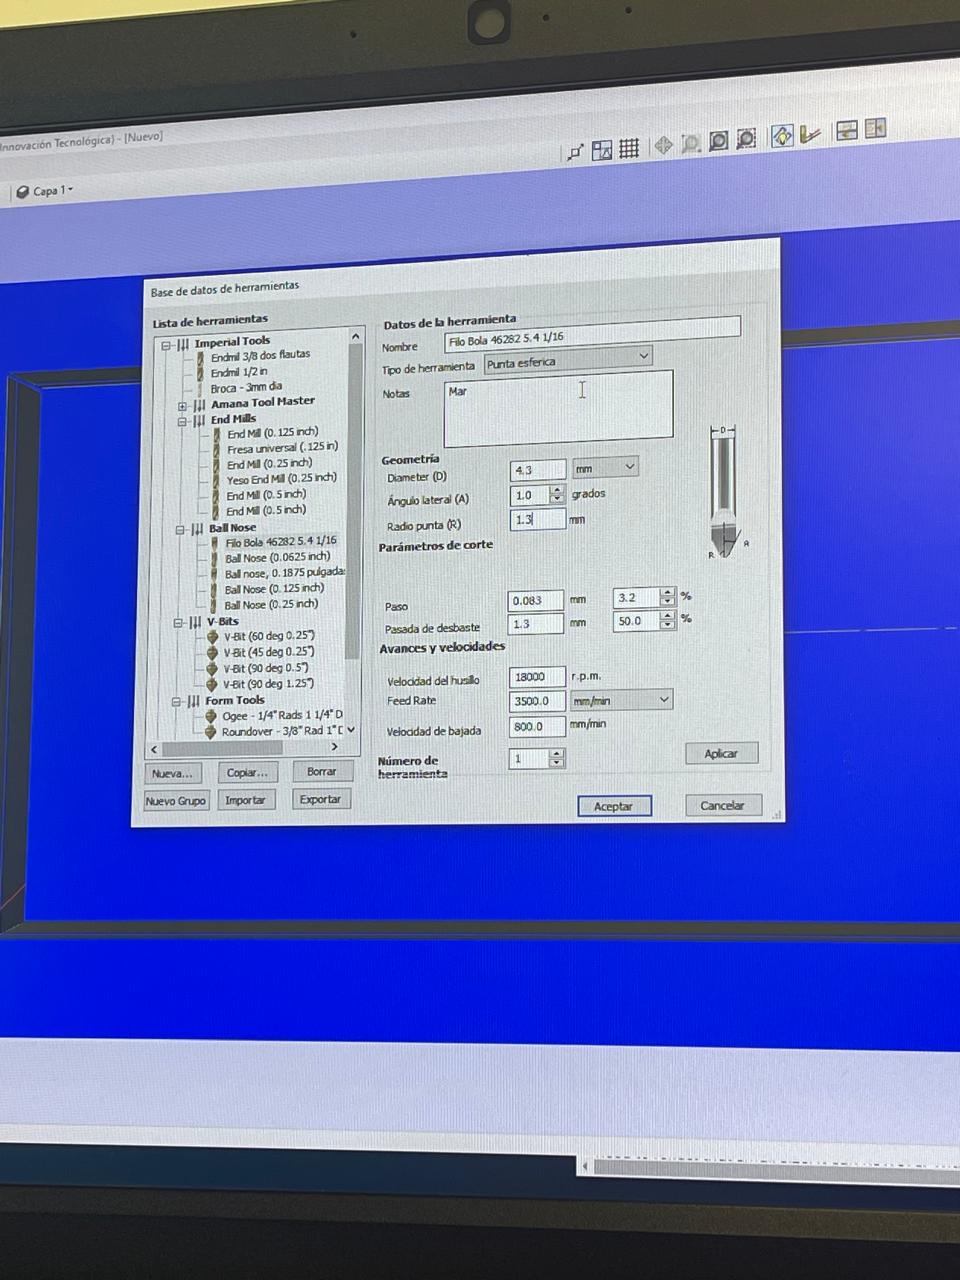
For the next step, you should select the option shown in the image for the extraction of less detailed material, as well as the tool.
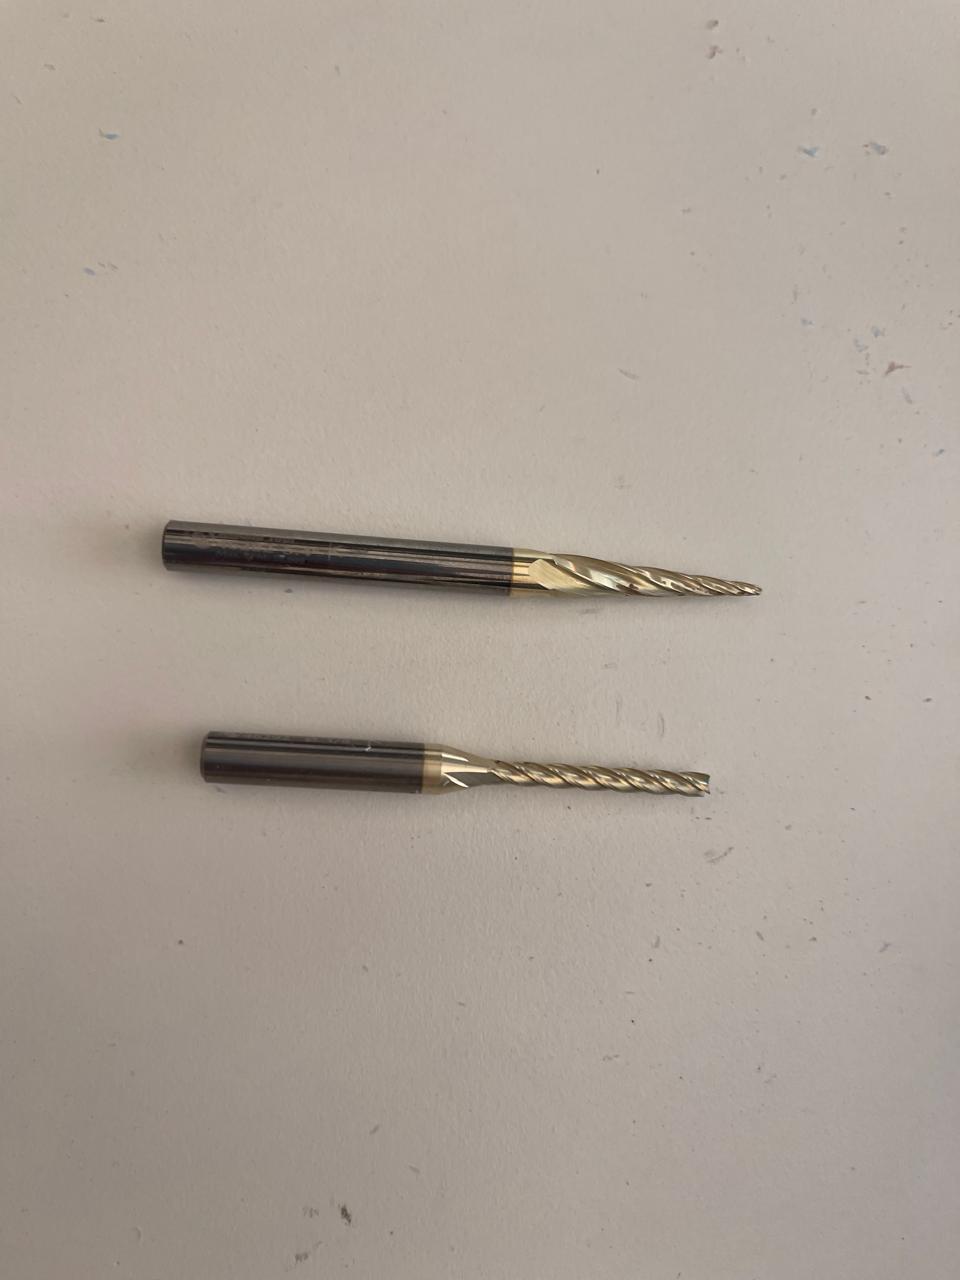
To finish, you should use another more detailed tool for the finishing, which is the ball-end mill. In my case, I used this one.
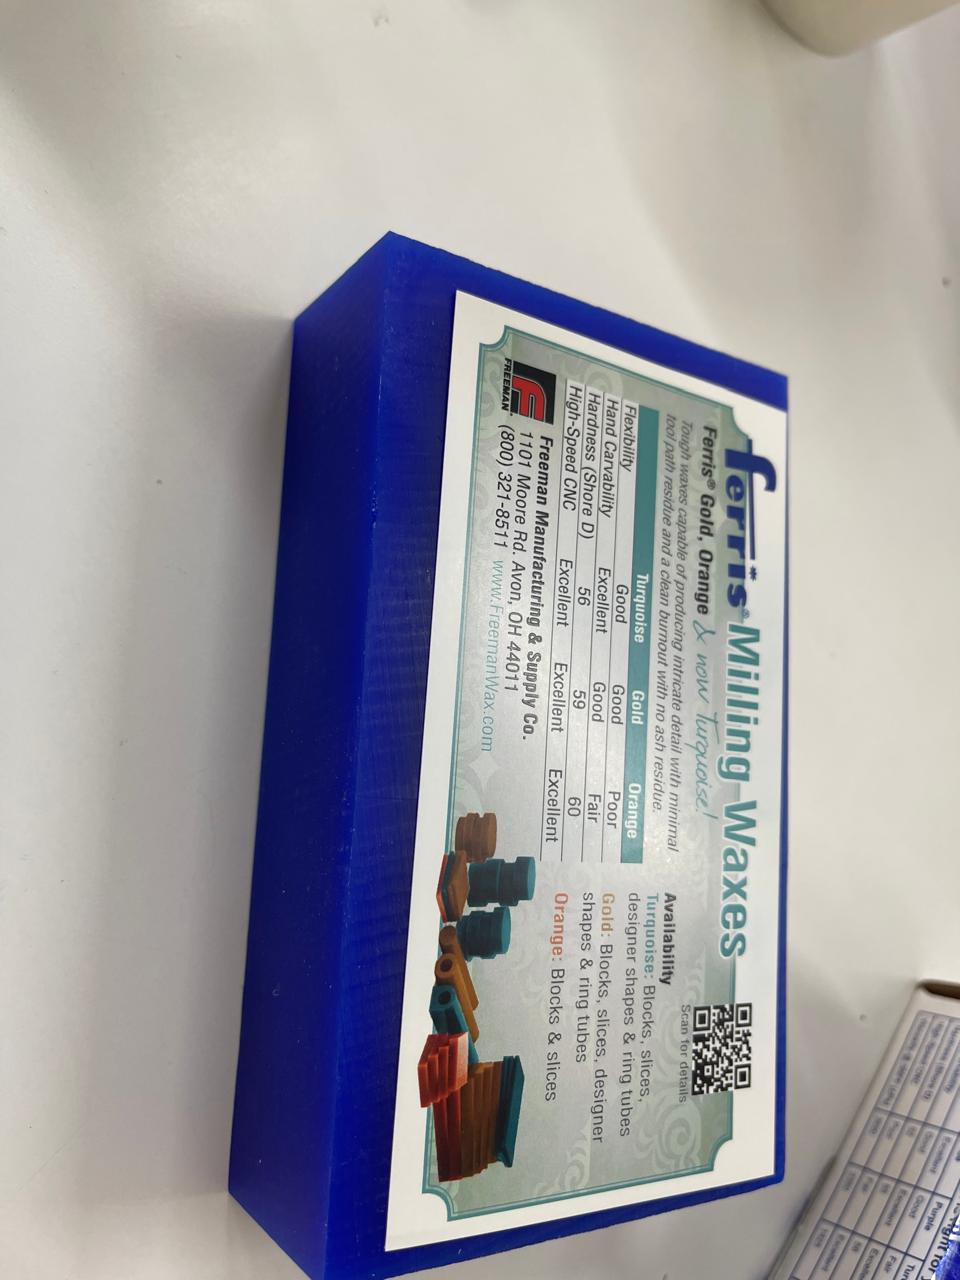
In the following image, you can see the wax block that I used. You can also see the tools that I used.
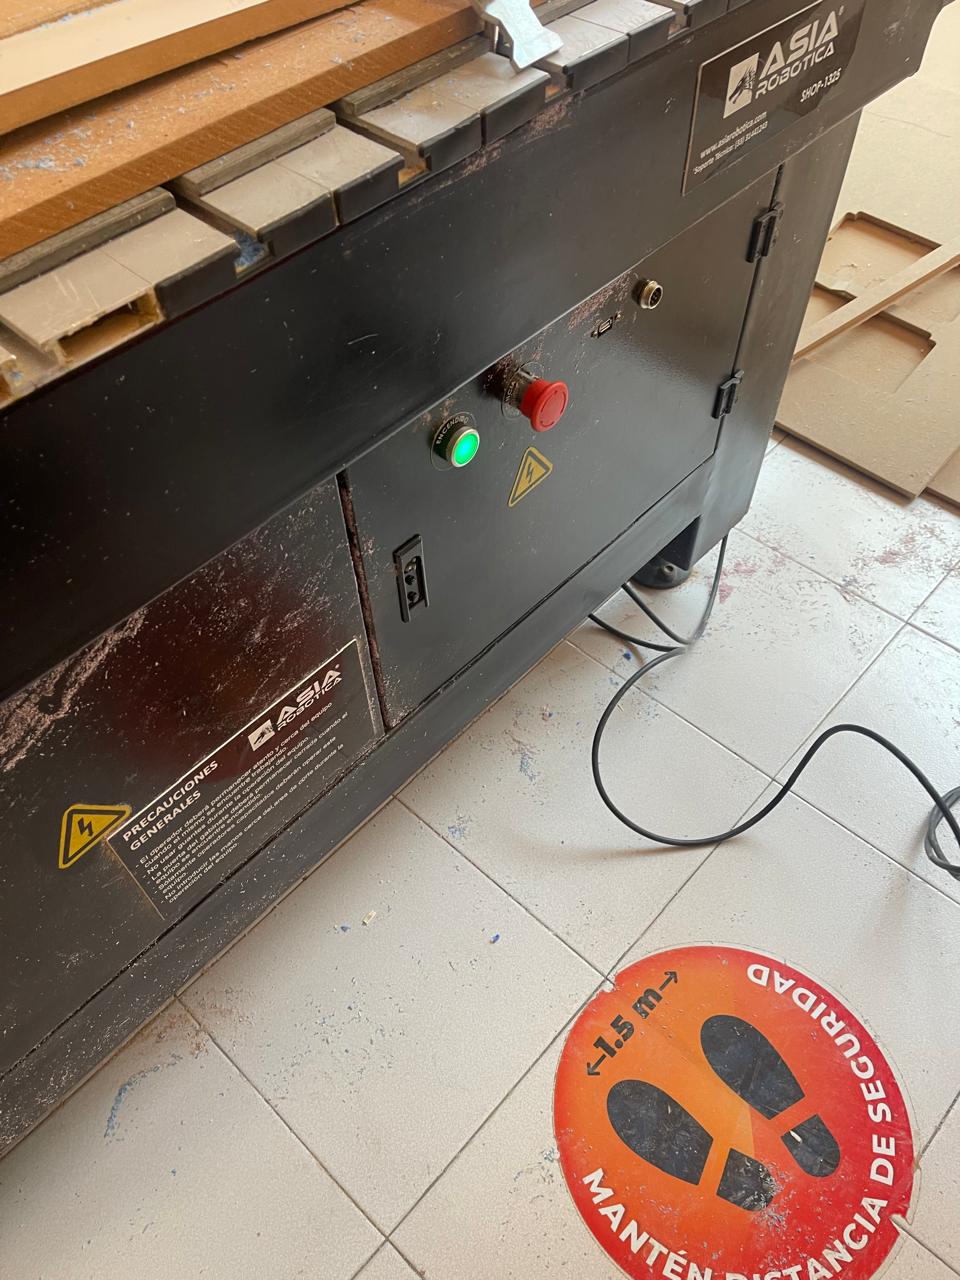
CNC Asia Robotica shop-1325
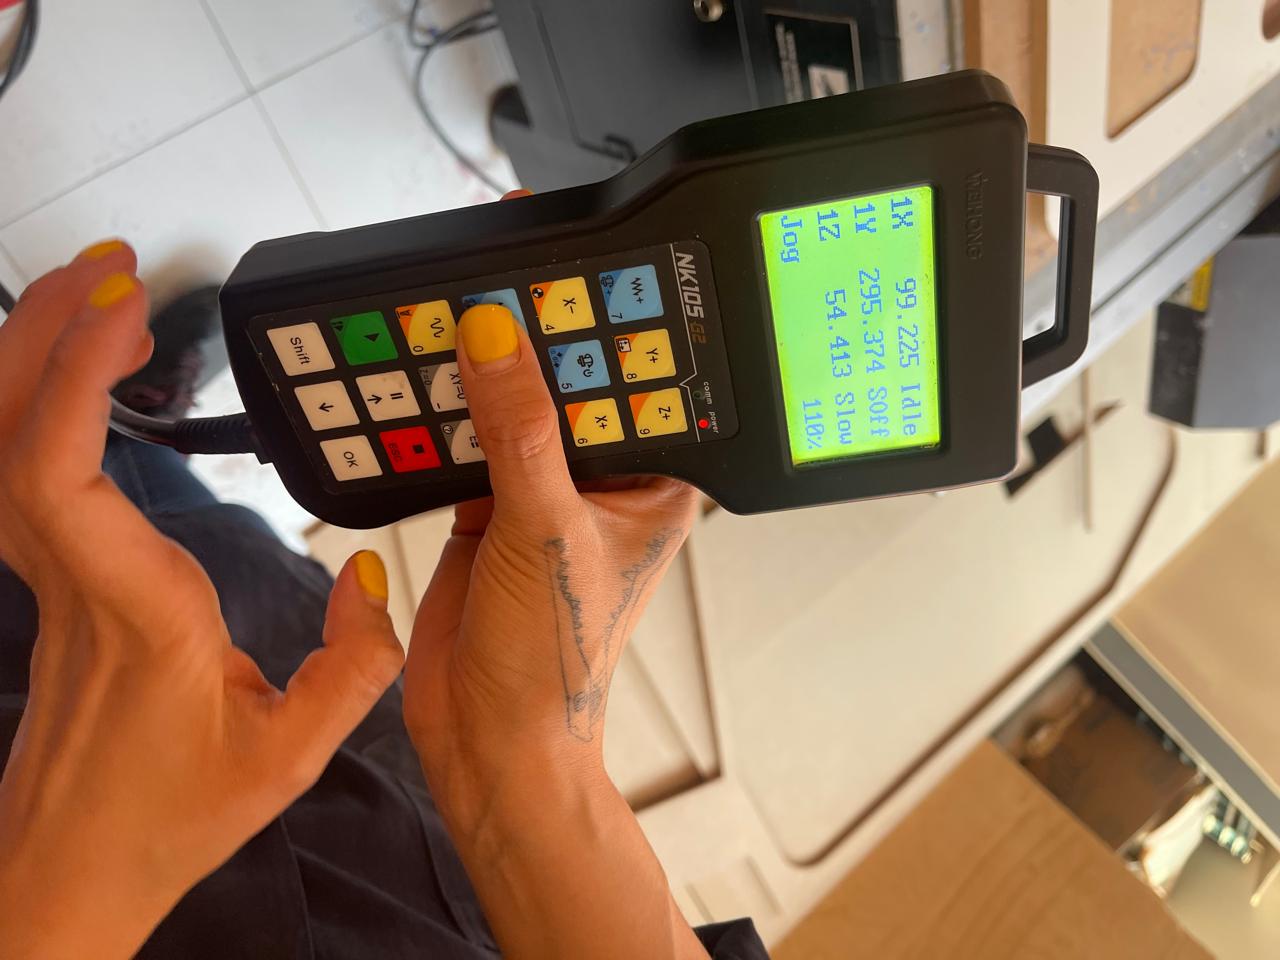
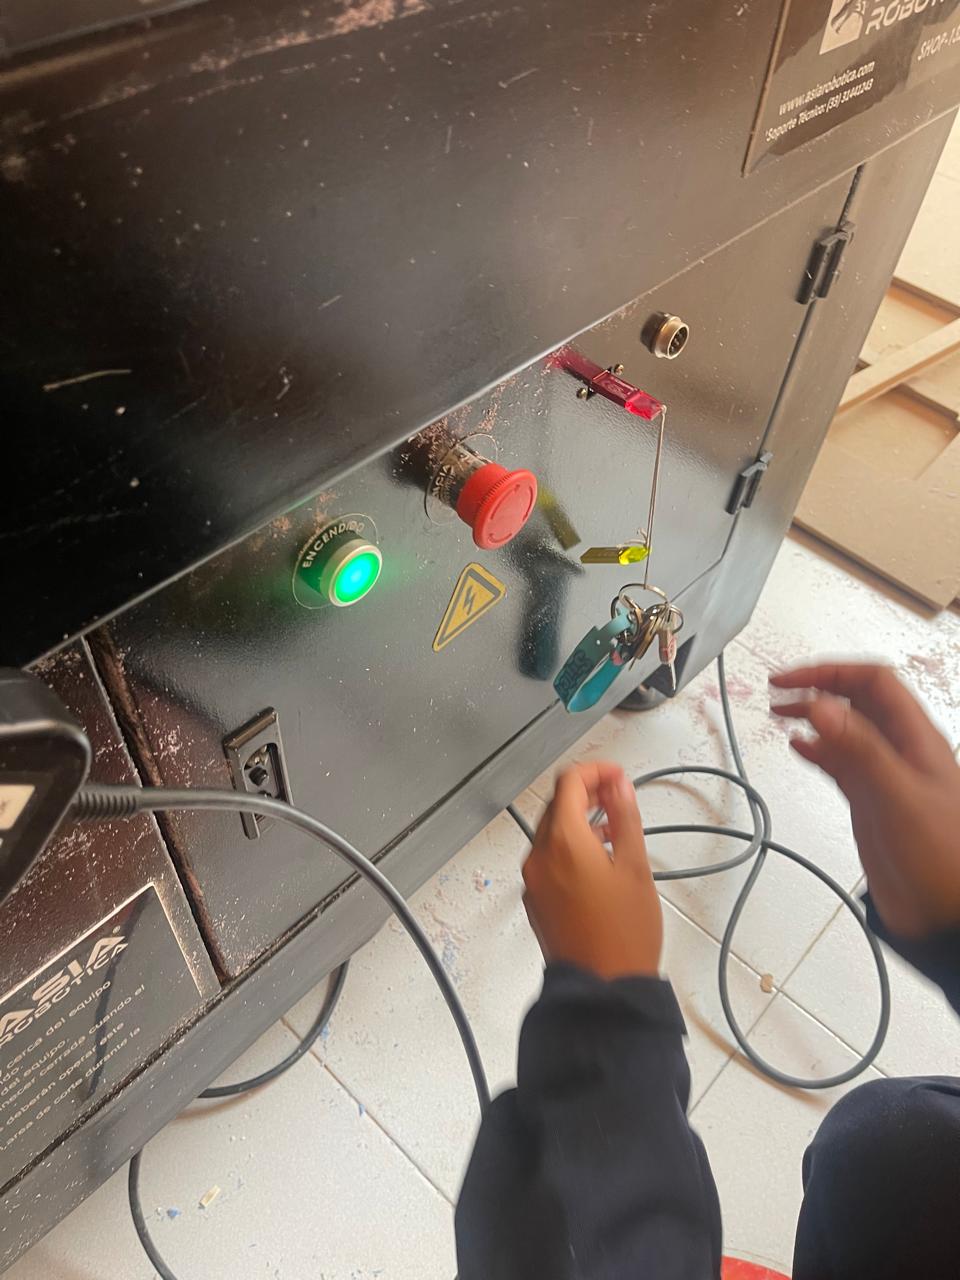
The CNC machine must be turned on, as well as removing the safety button.
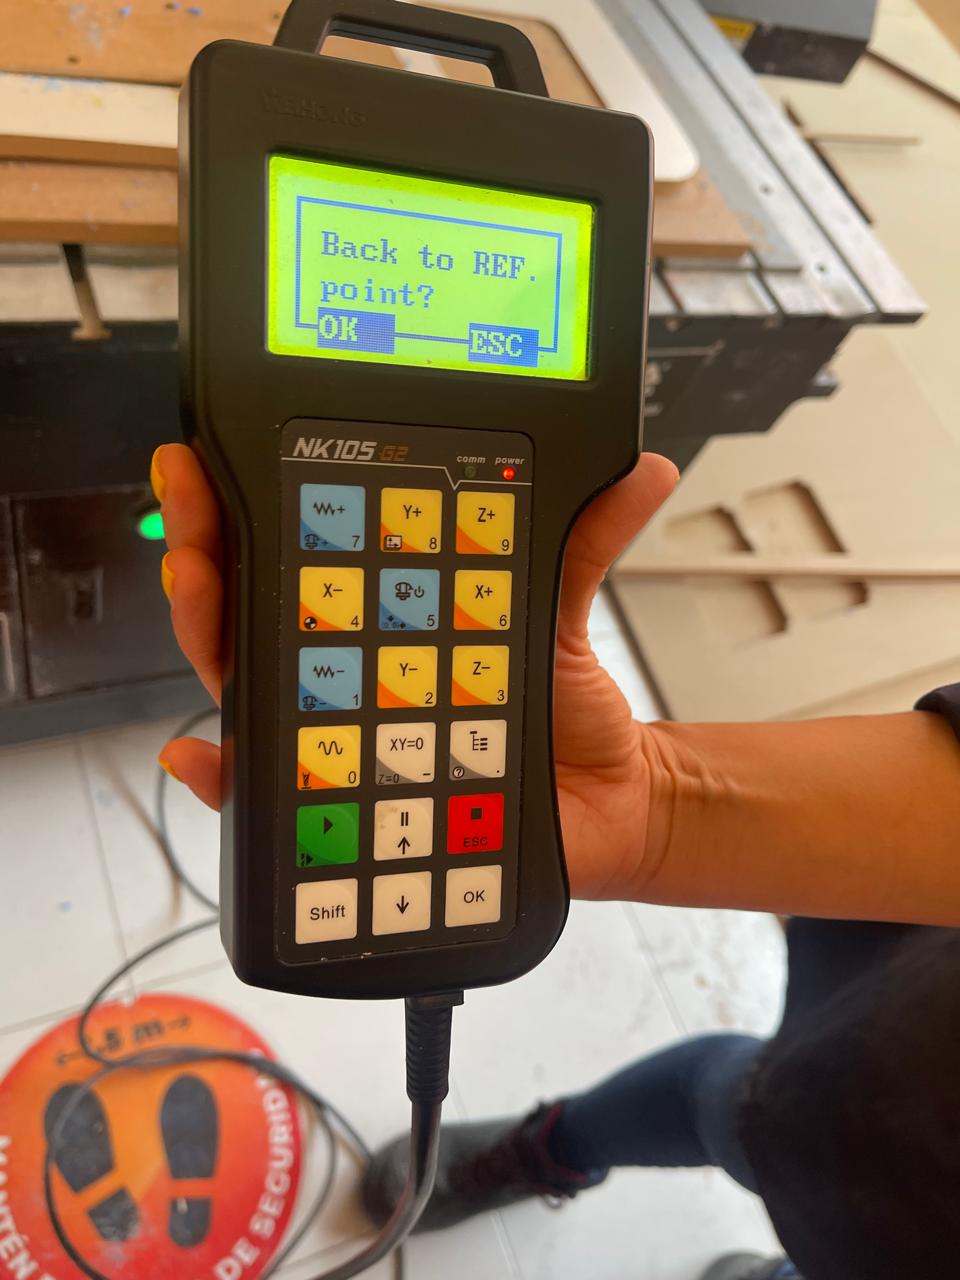
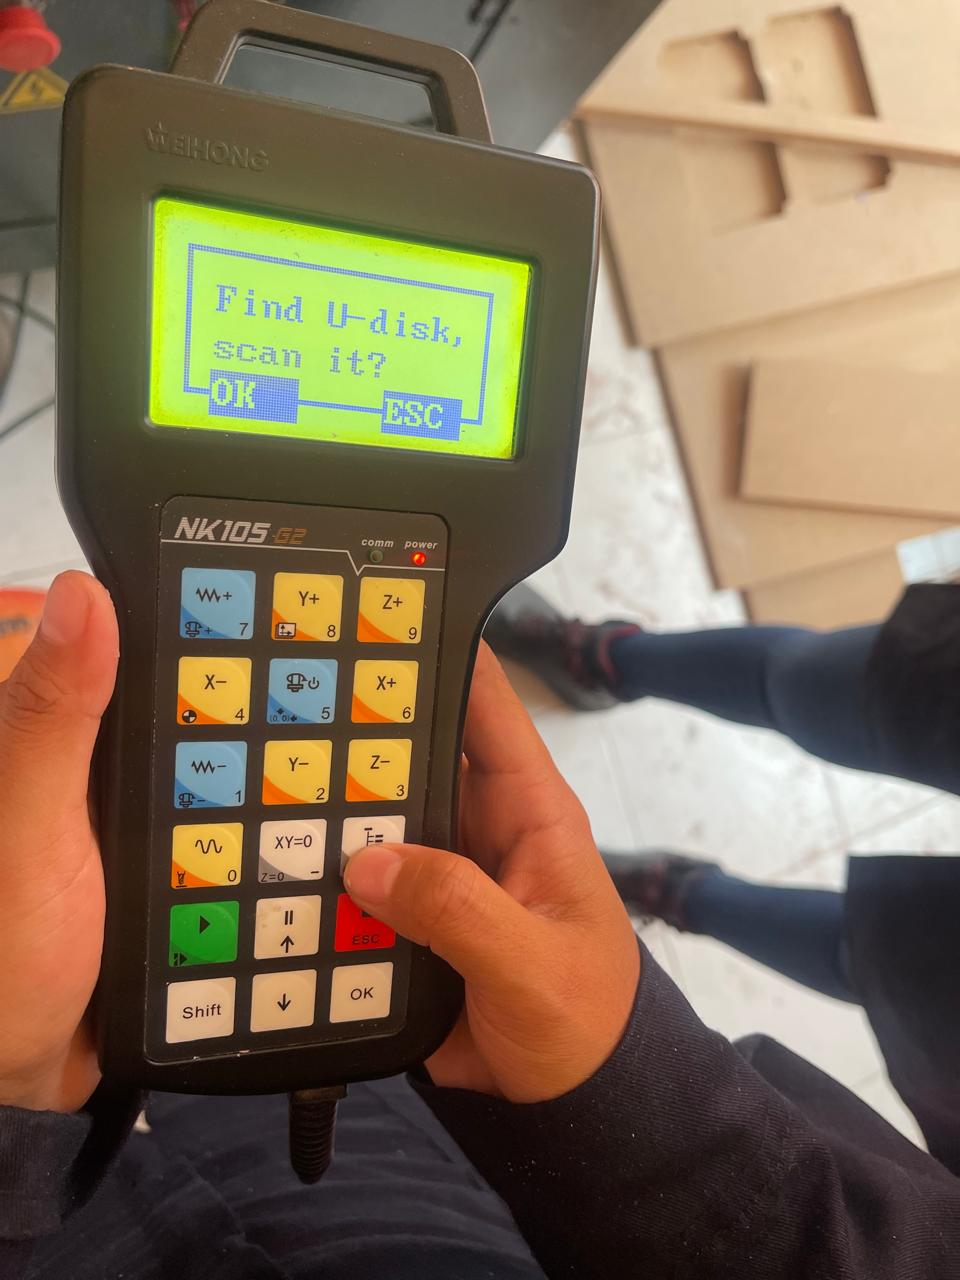
When turning on the machine, it will give us an indicator if we want to return to the home position, we say ok.

The following screen will appear, and the CNC will be placed at its reference point.
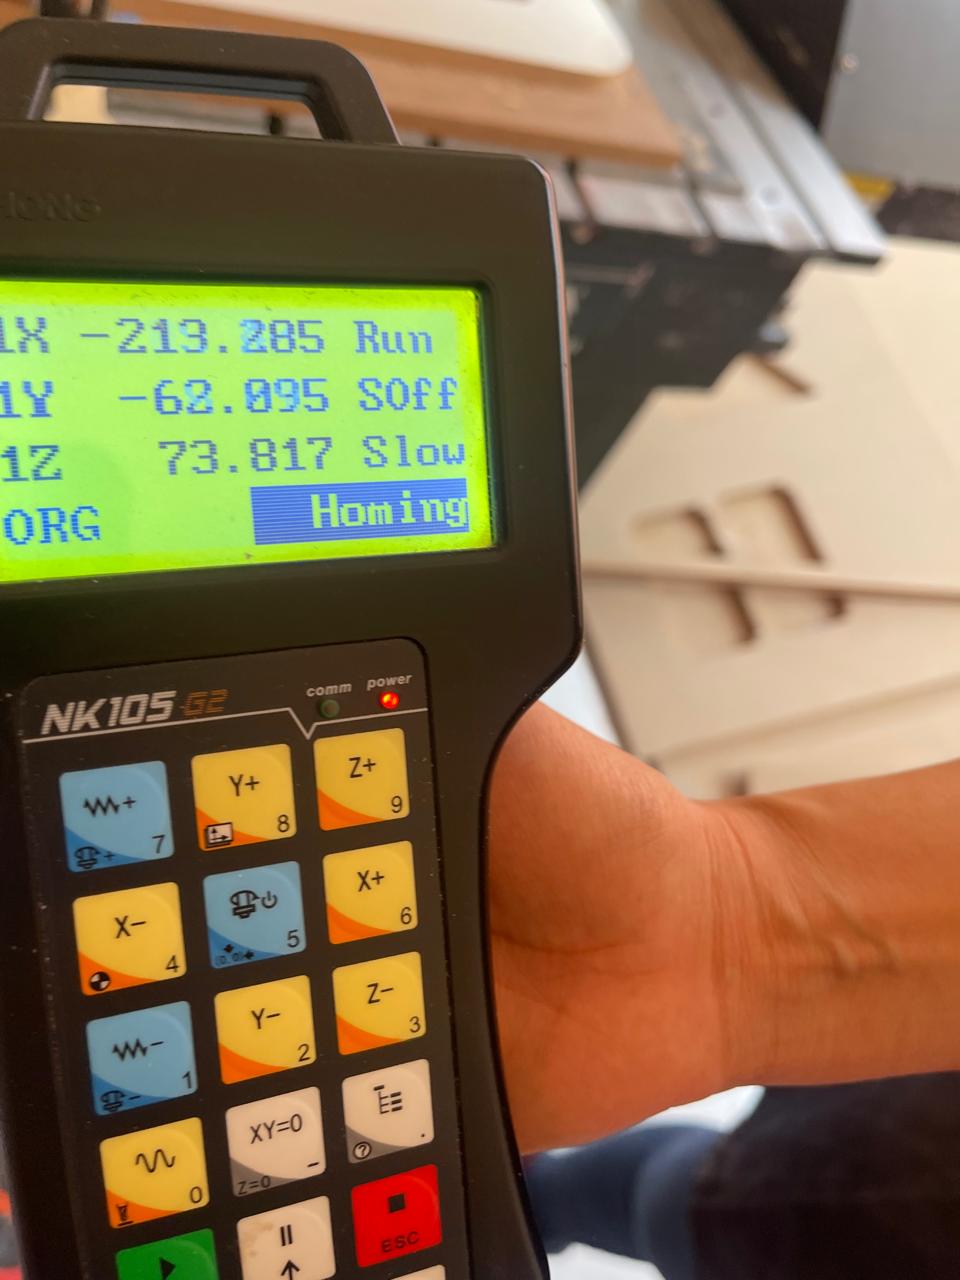
With the button being pressed, you can decrease the machine's speed; conversely, if you want to increase the speed, the button at the top left should be pressed.
To place the working tool, you must use 2 wrenches and apply pressure between both to tighten and loosen the place where the tool is placed.
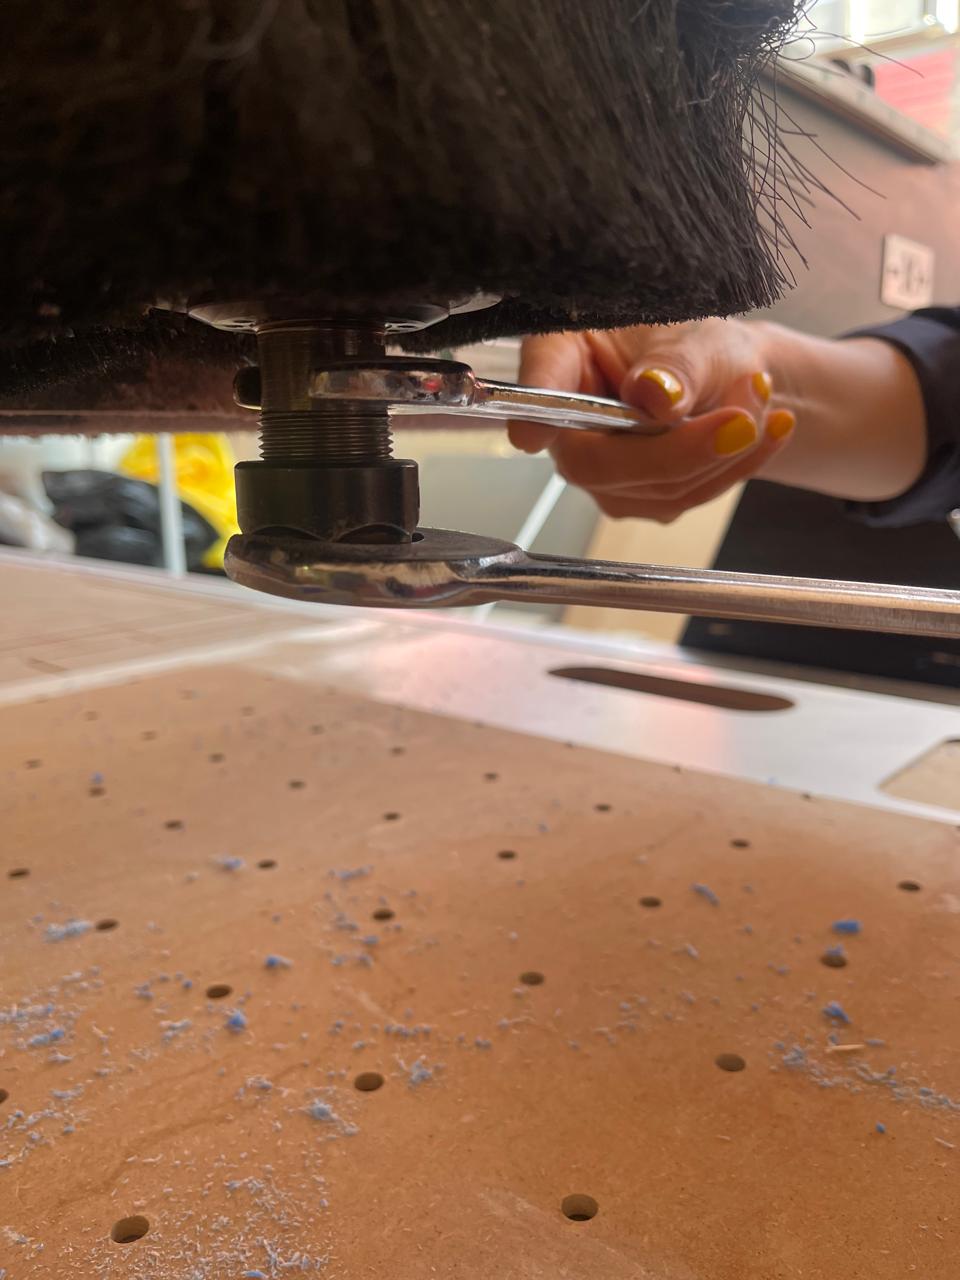
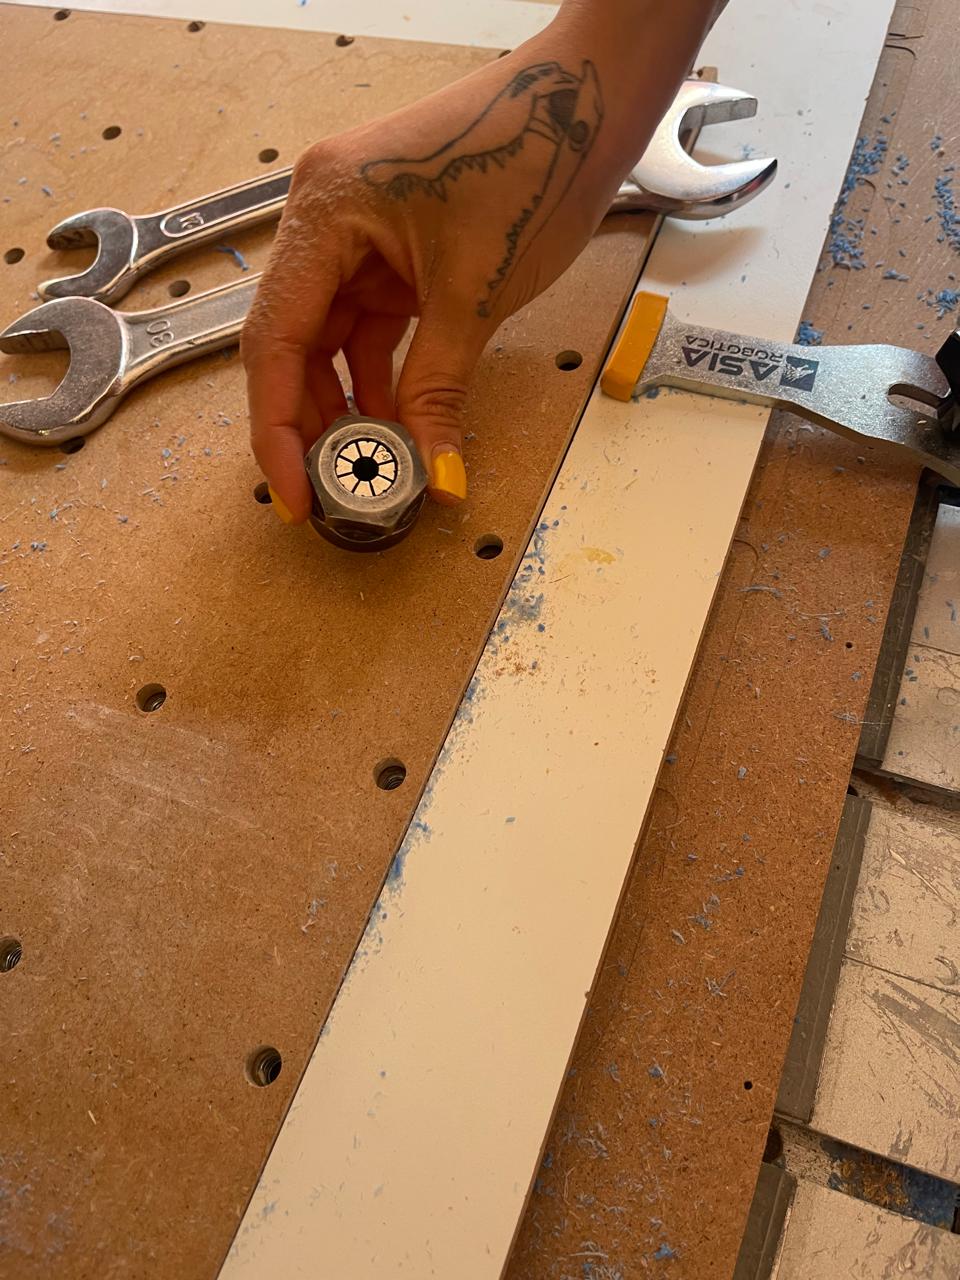
When placing the tool, try to attach a protector so that if it falls, it doesn't break or lose its edge.
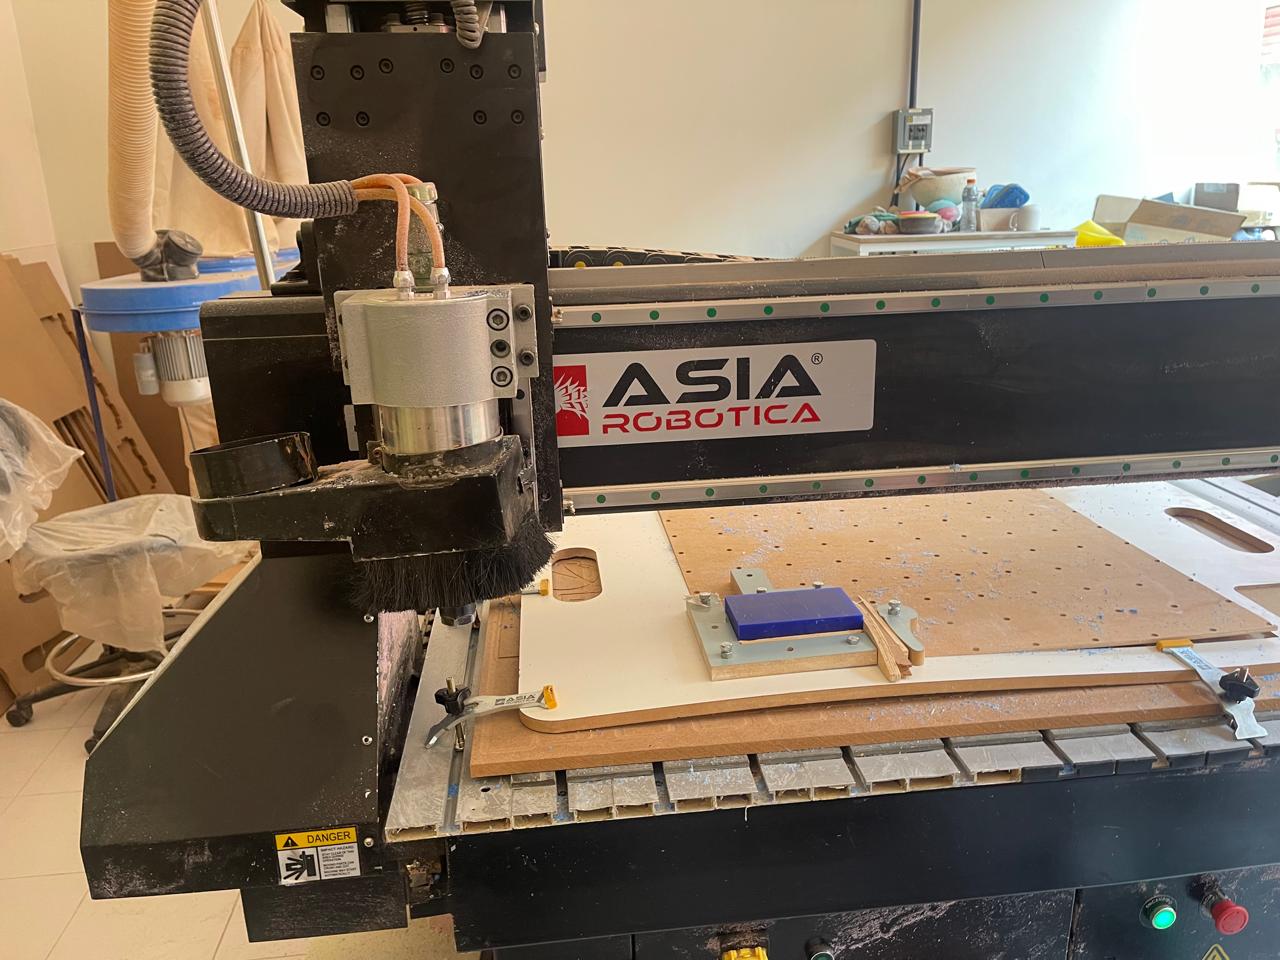
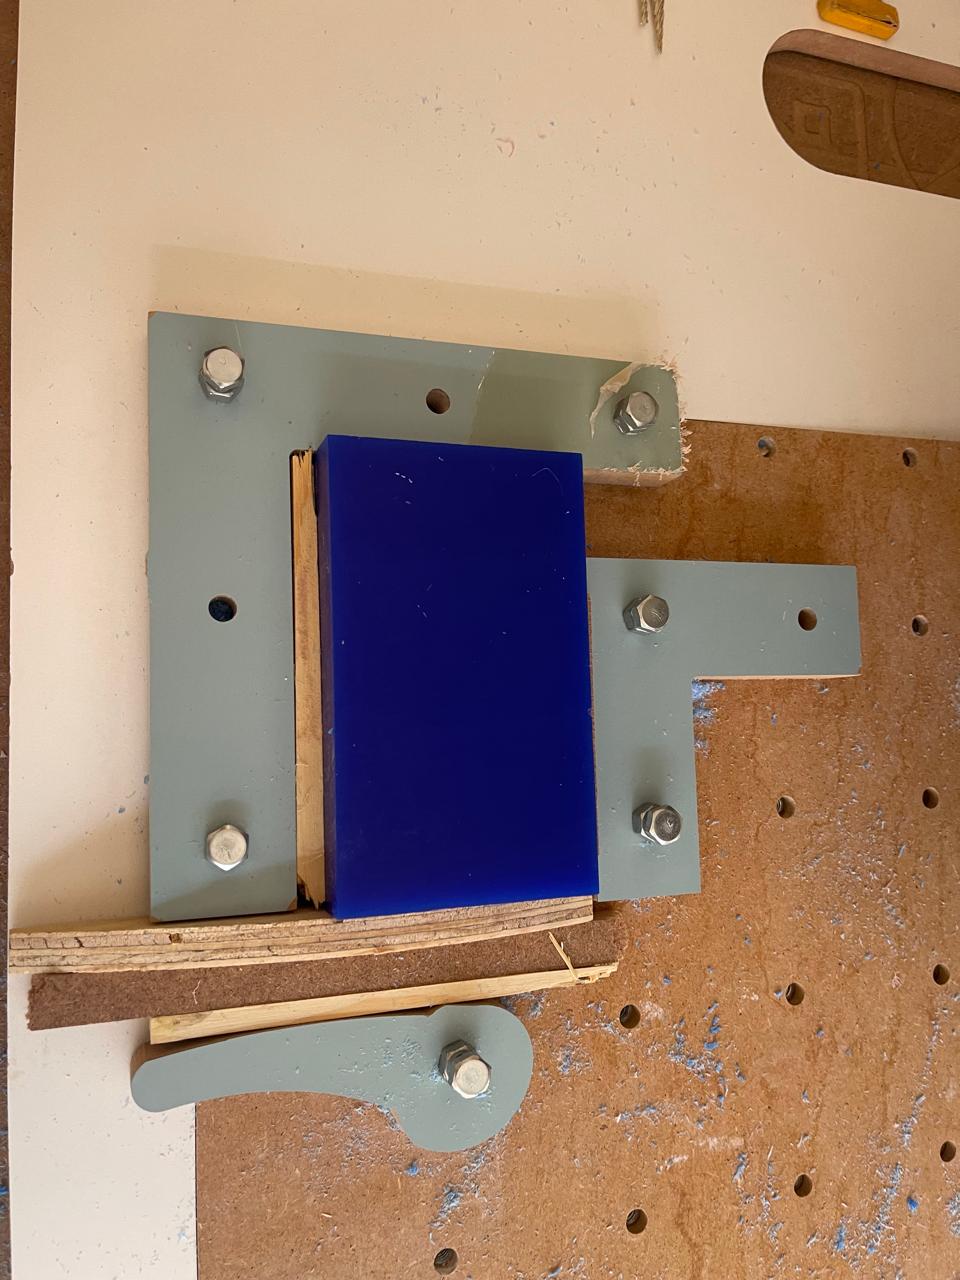
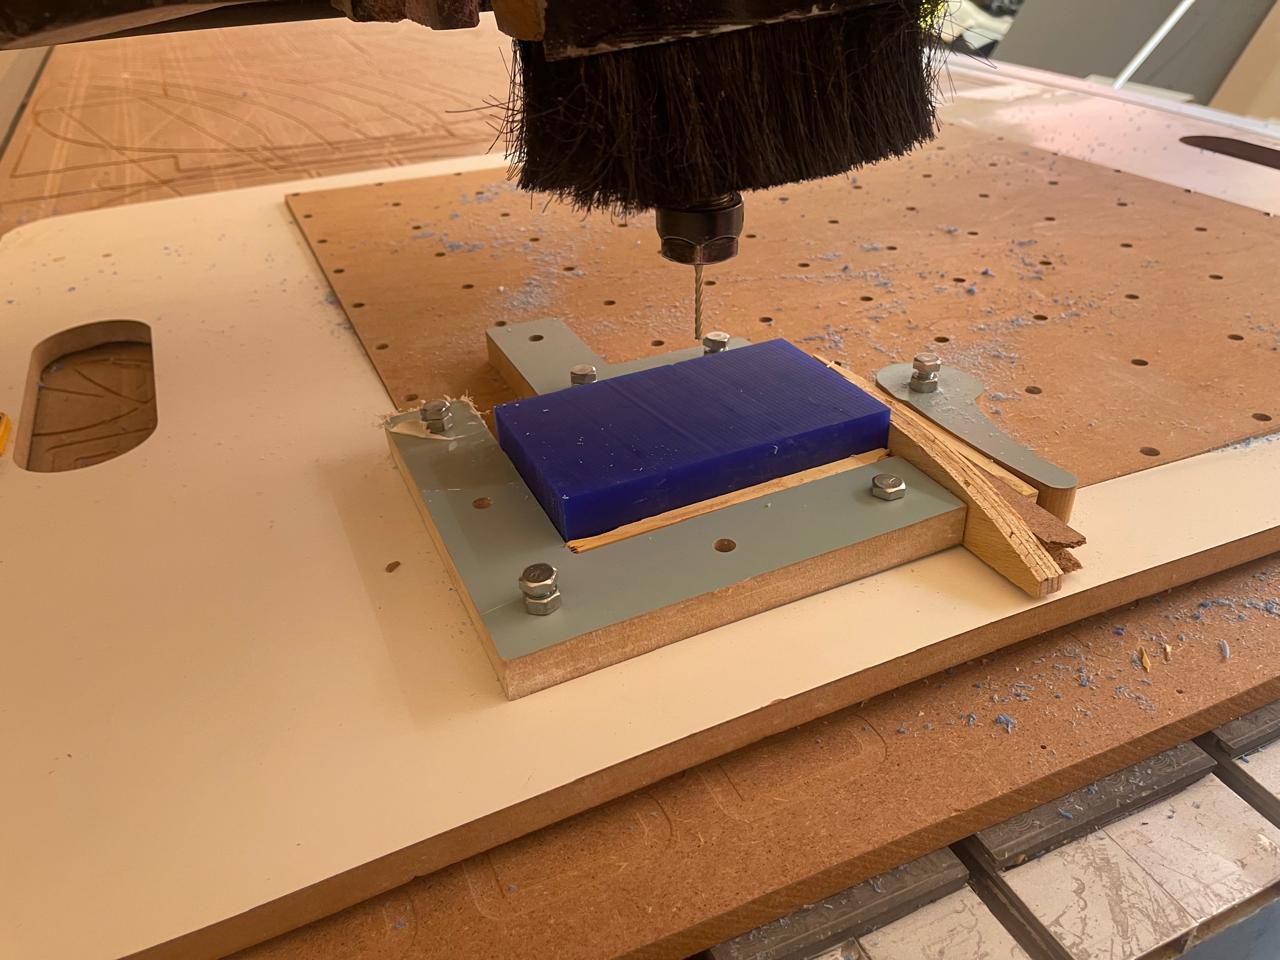
To set it up on the CNC Asia Robotica shop-1325, we placed the wax block secured with its respective screws. However, in doing so, we realized that we only needed to tighten the nuts because otherwise, the table that served to grip would warp and cause the block to be crooked.
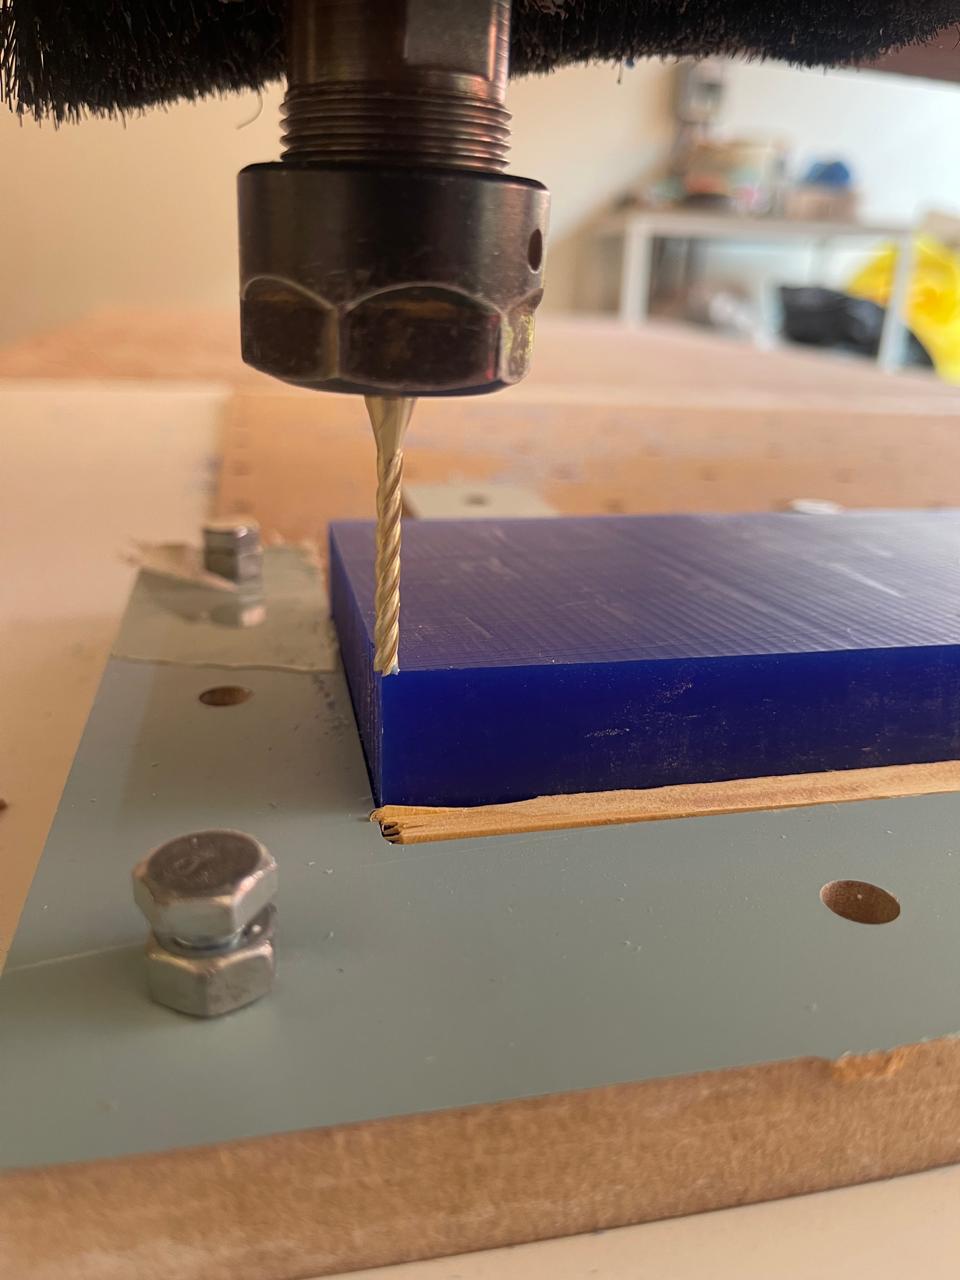
Now, the tool must be placed by aligning it with an imaginary line drawn from the edge of the wax block.
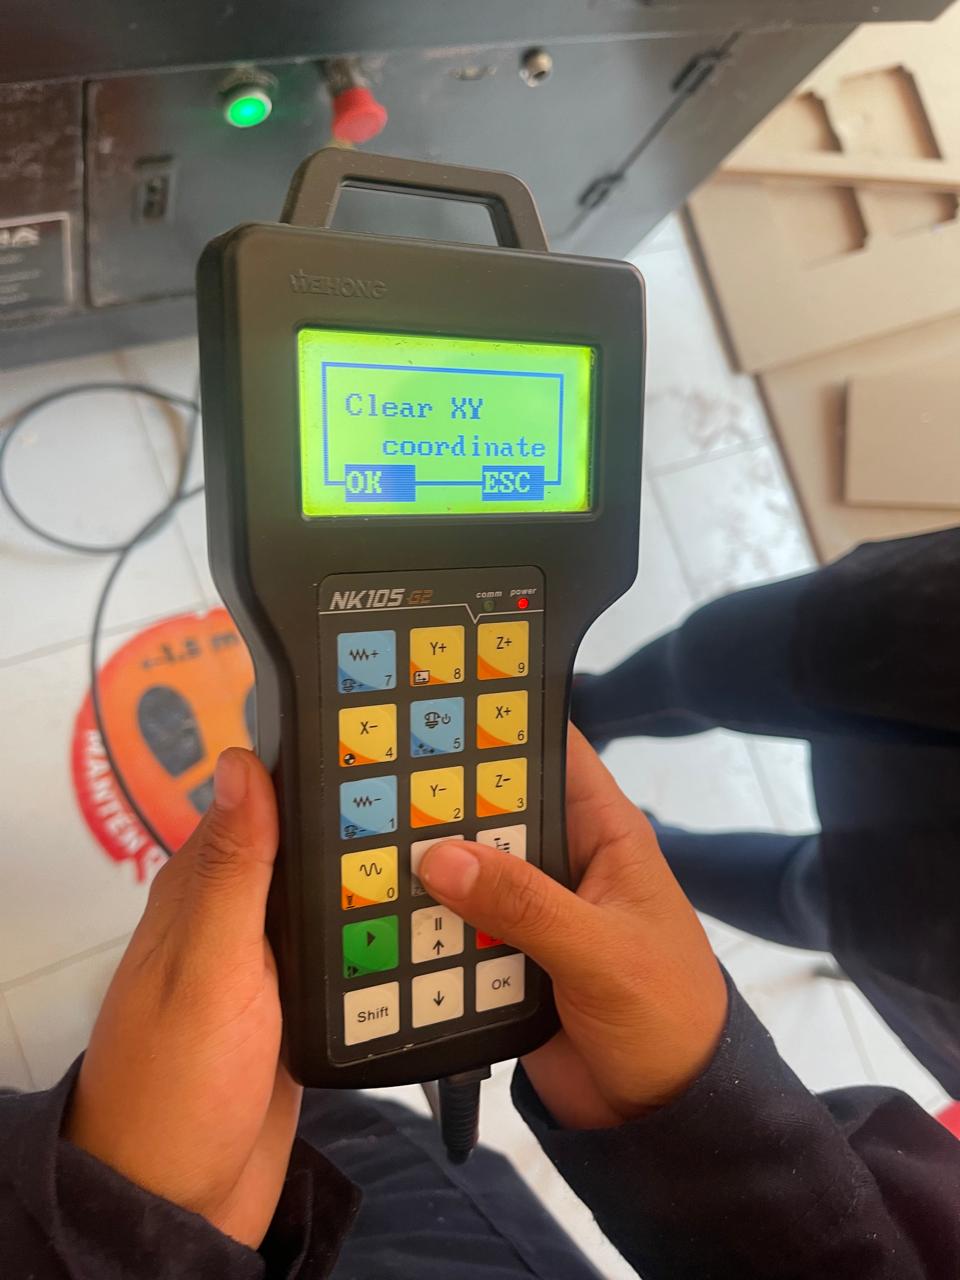
To indicate that this will now be our XY 0 axis, you need to press the button shown in the image and then press the OK button.
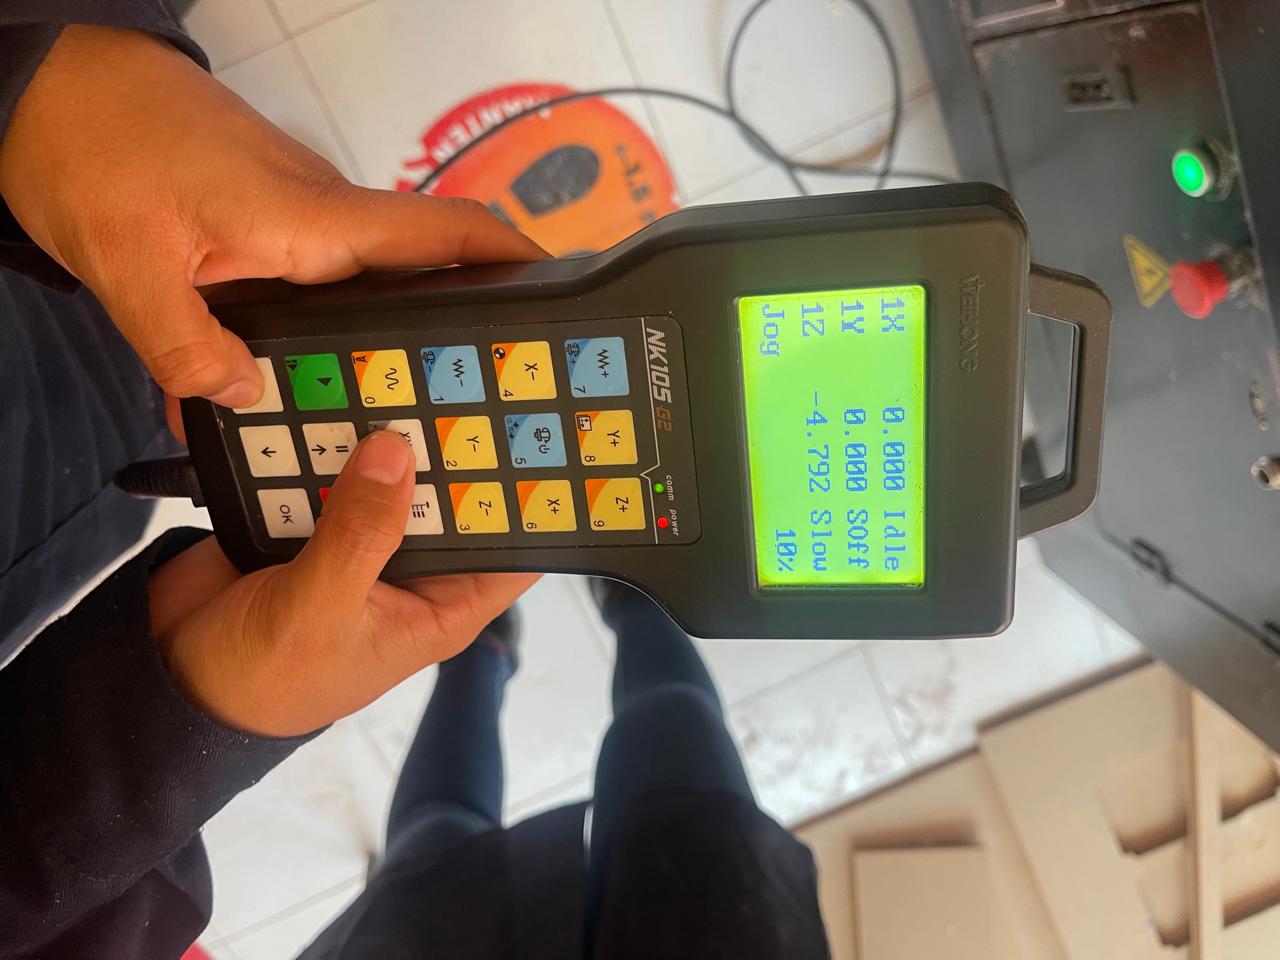
To set the Z-axis, press the same button as in the previous step while simultaneously pressing the Shift button, which are the buttons shown in the following image.
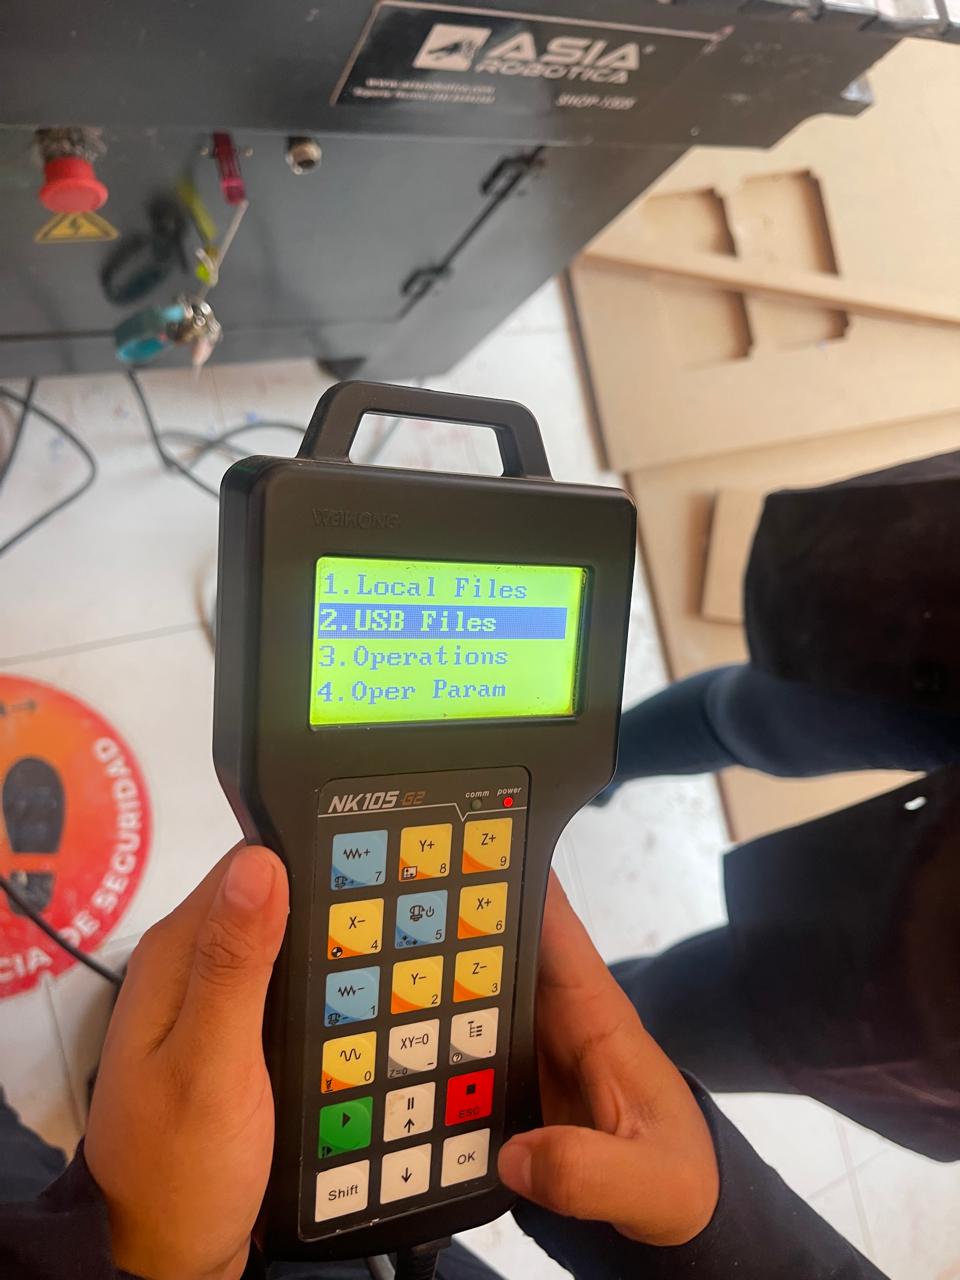
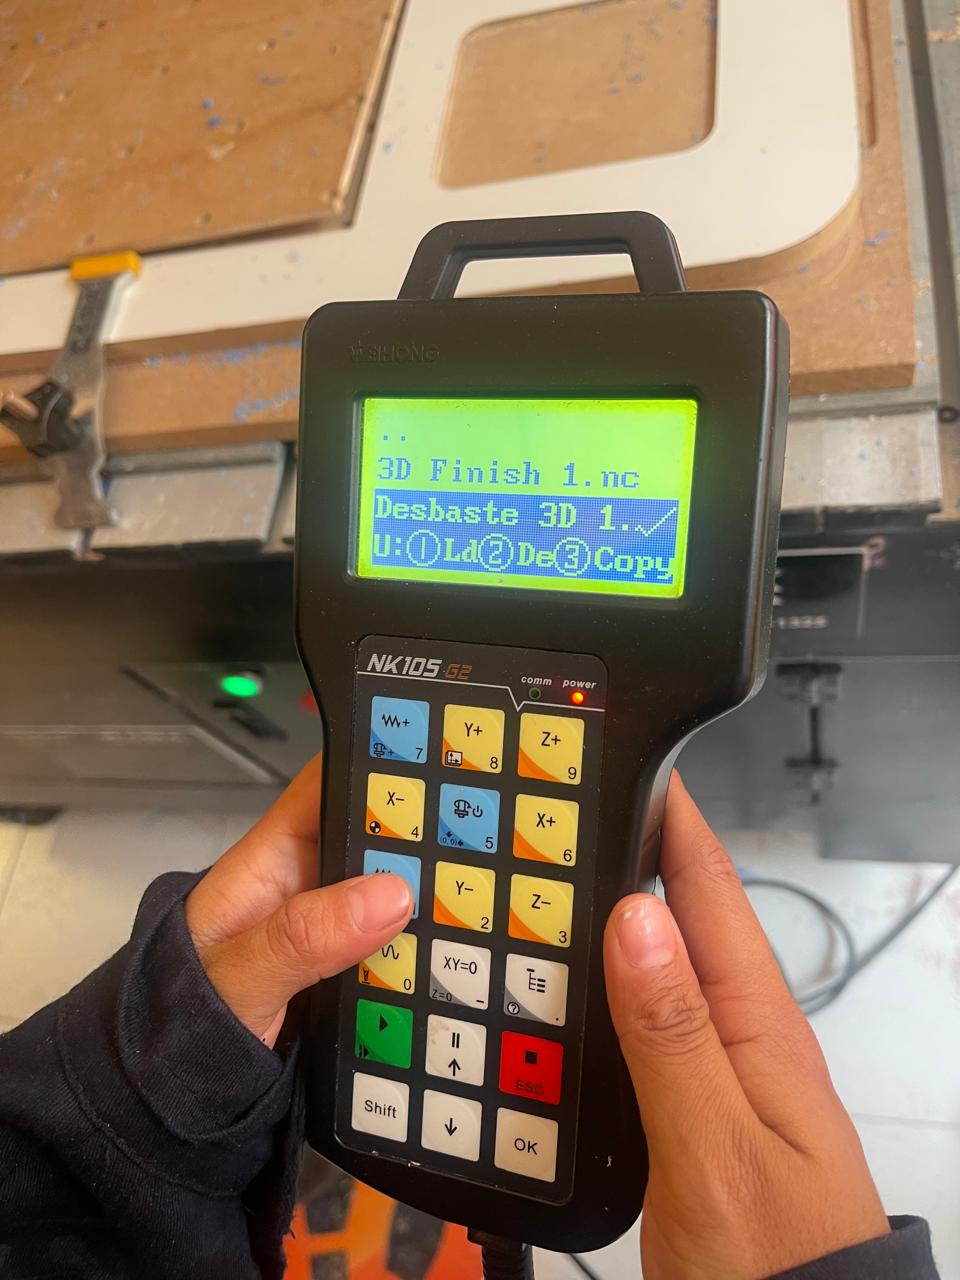
To open the files located on your USB, press the button shown in the image.
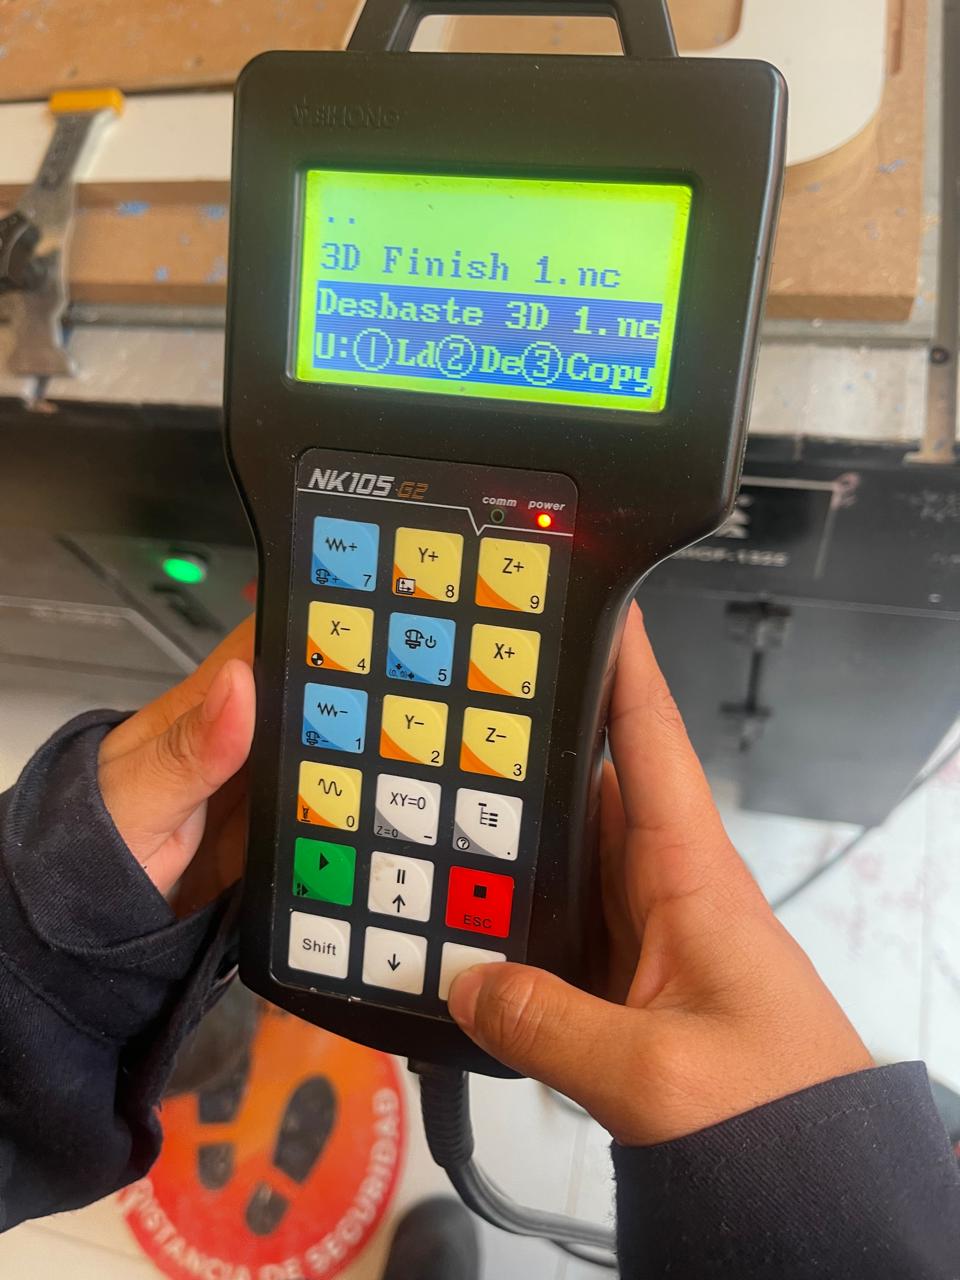
Next, once you have selected the folder and file where it was saved, press OK, and then select option 1, which is the button shown in the second image.
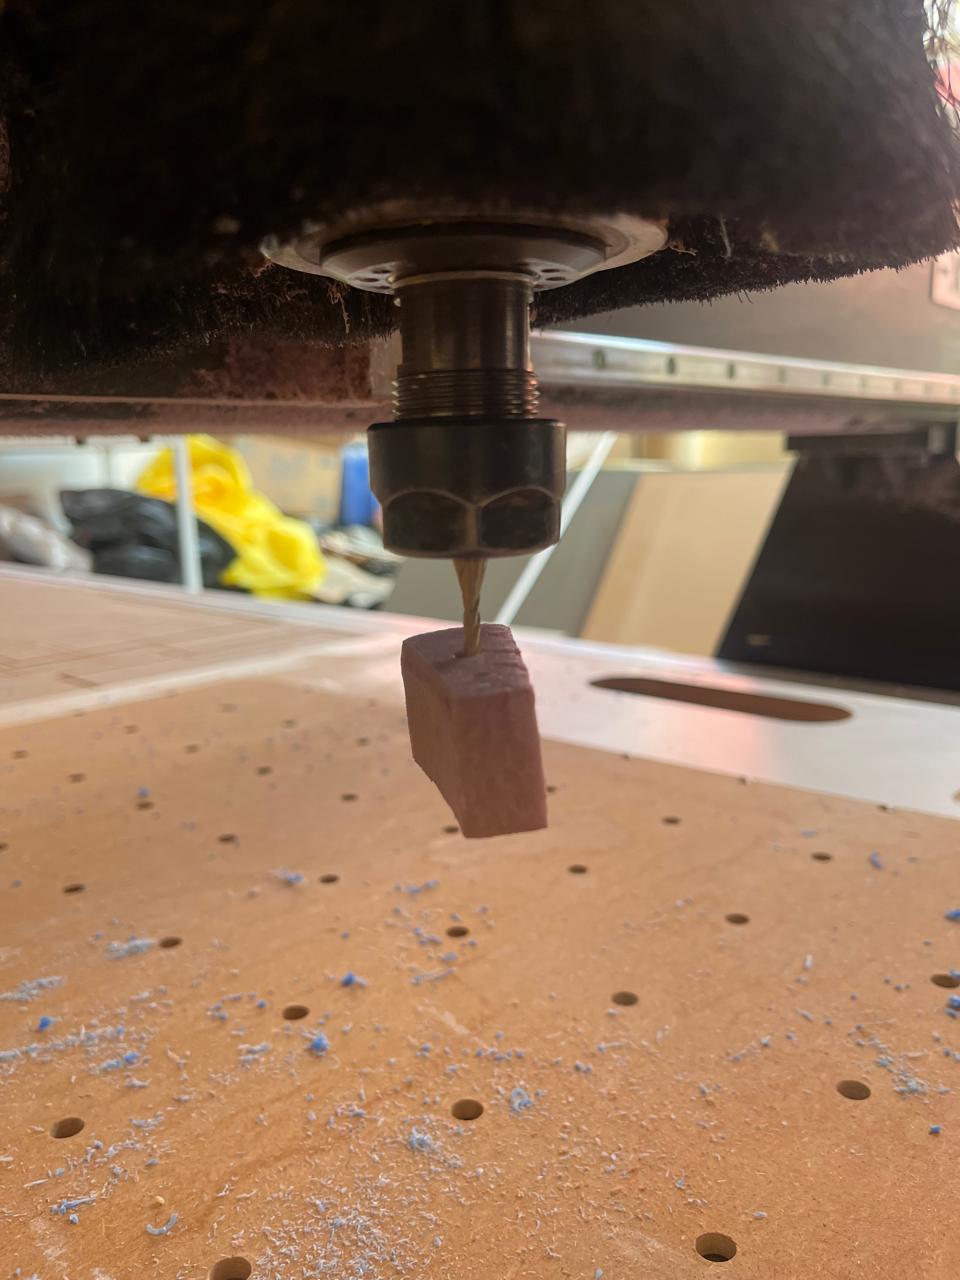
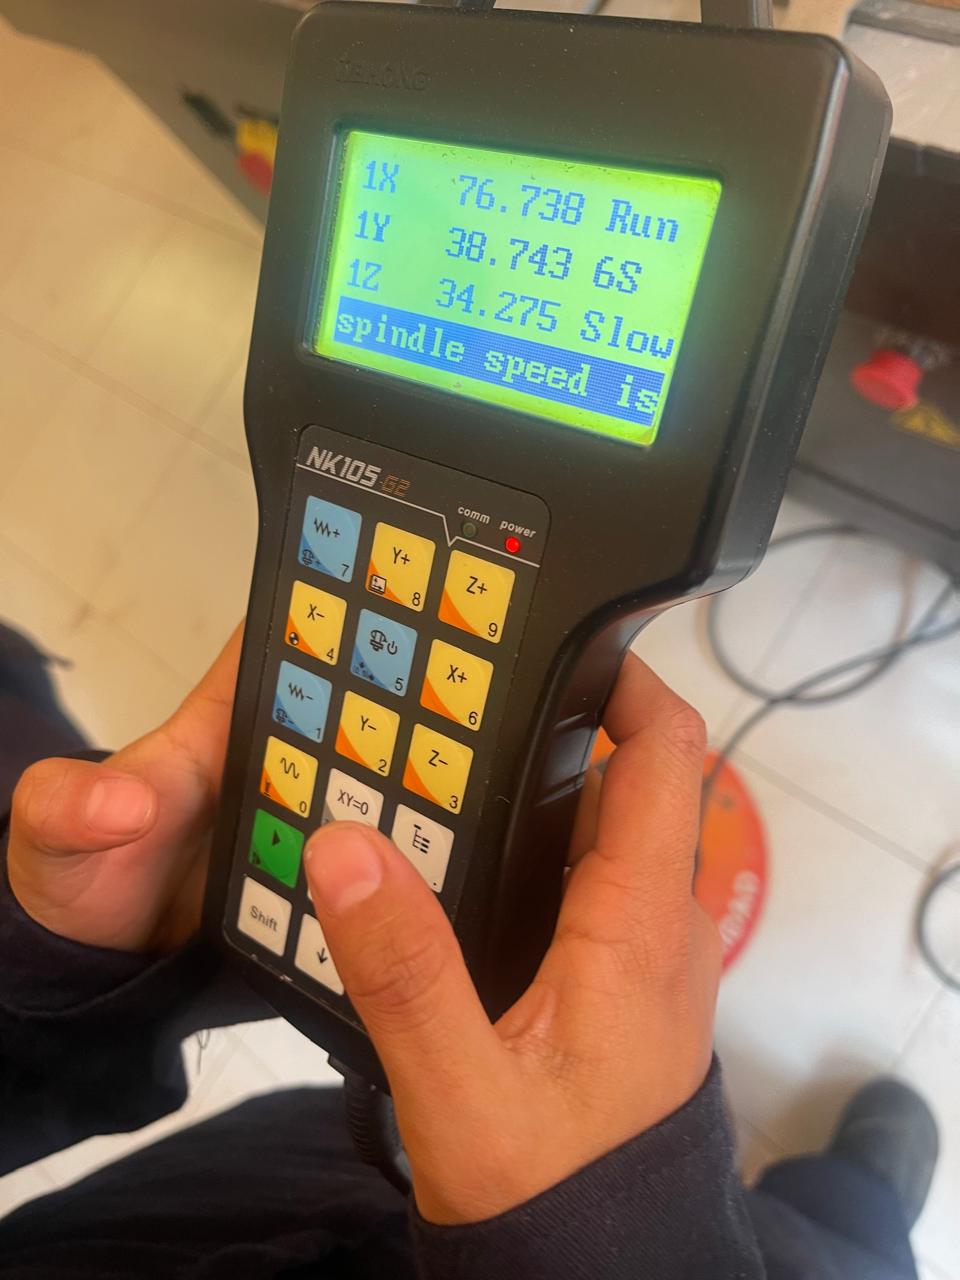
Next, the following image should appear, indicating that the tool has started rotating at speed to proceed with cutting the wax.
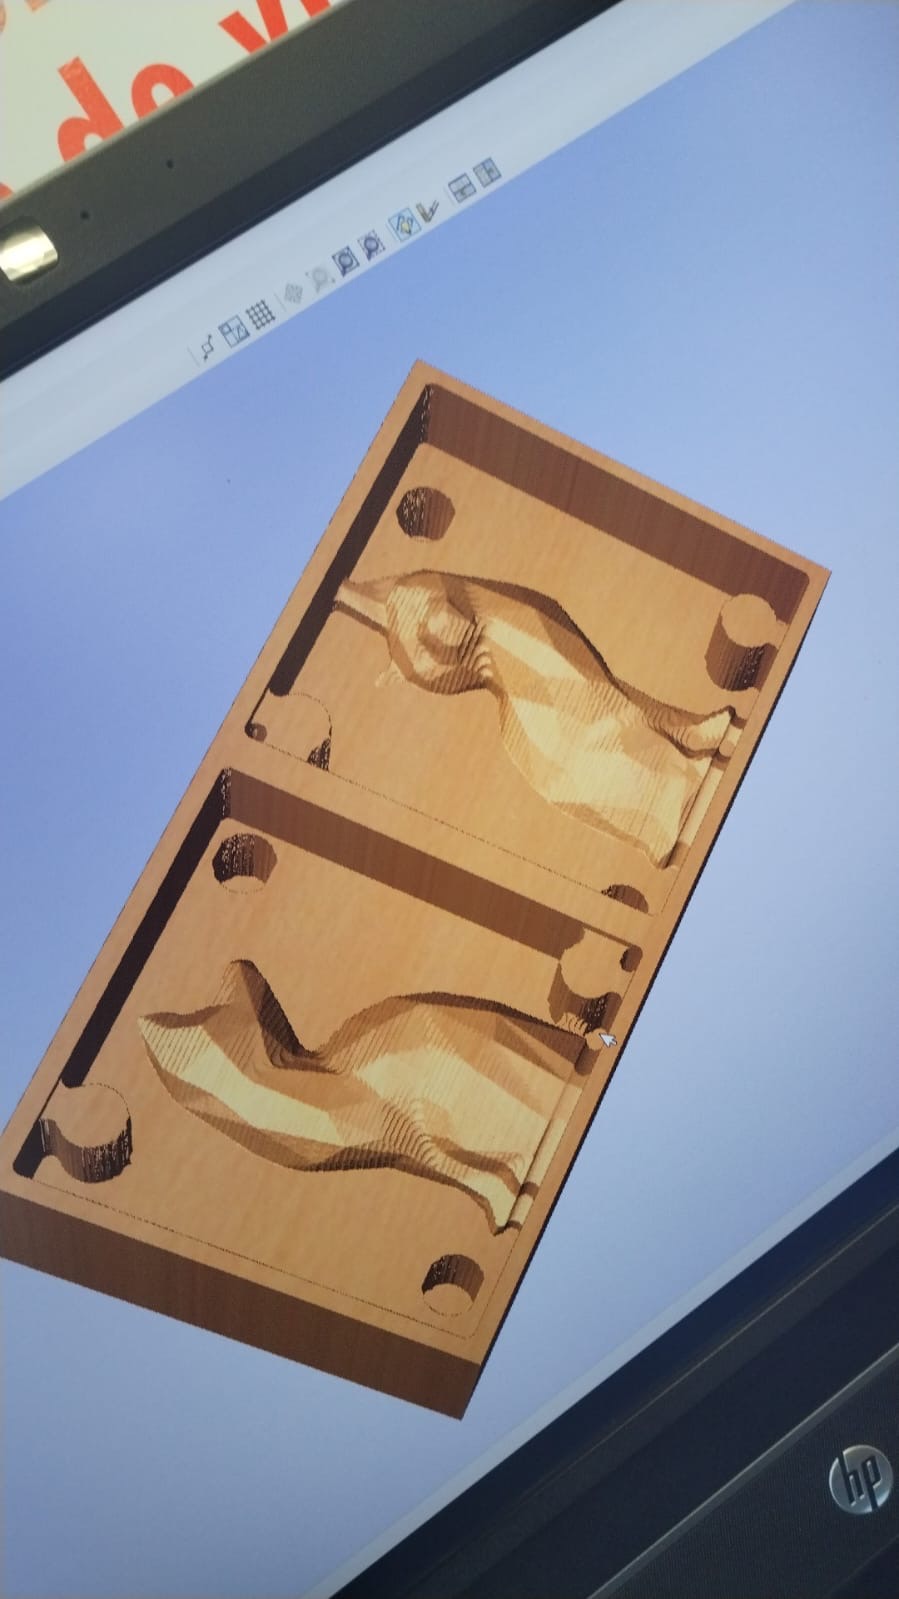
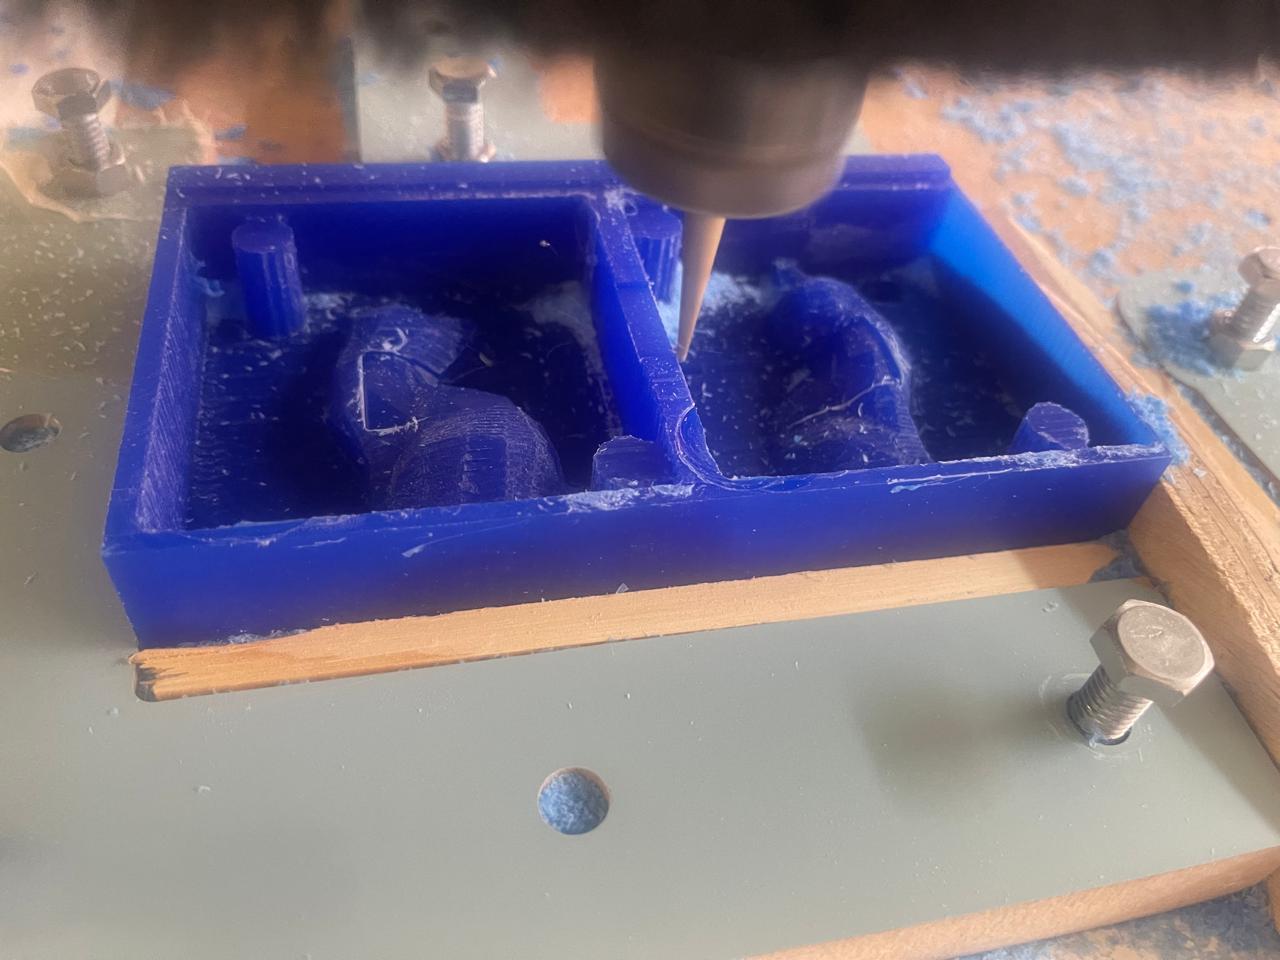
In the following image, you can see the wax with the design. Note that I changed the tool to the ball one for the details and had to reposition my new Z-axis, as well as select the finishing file.
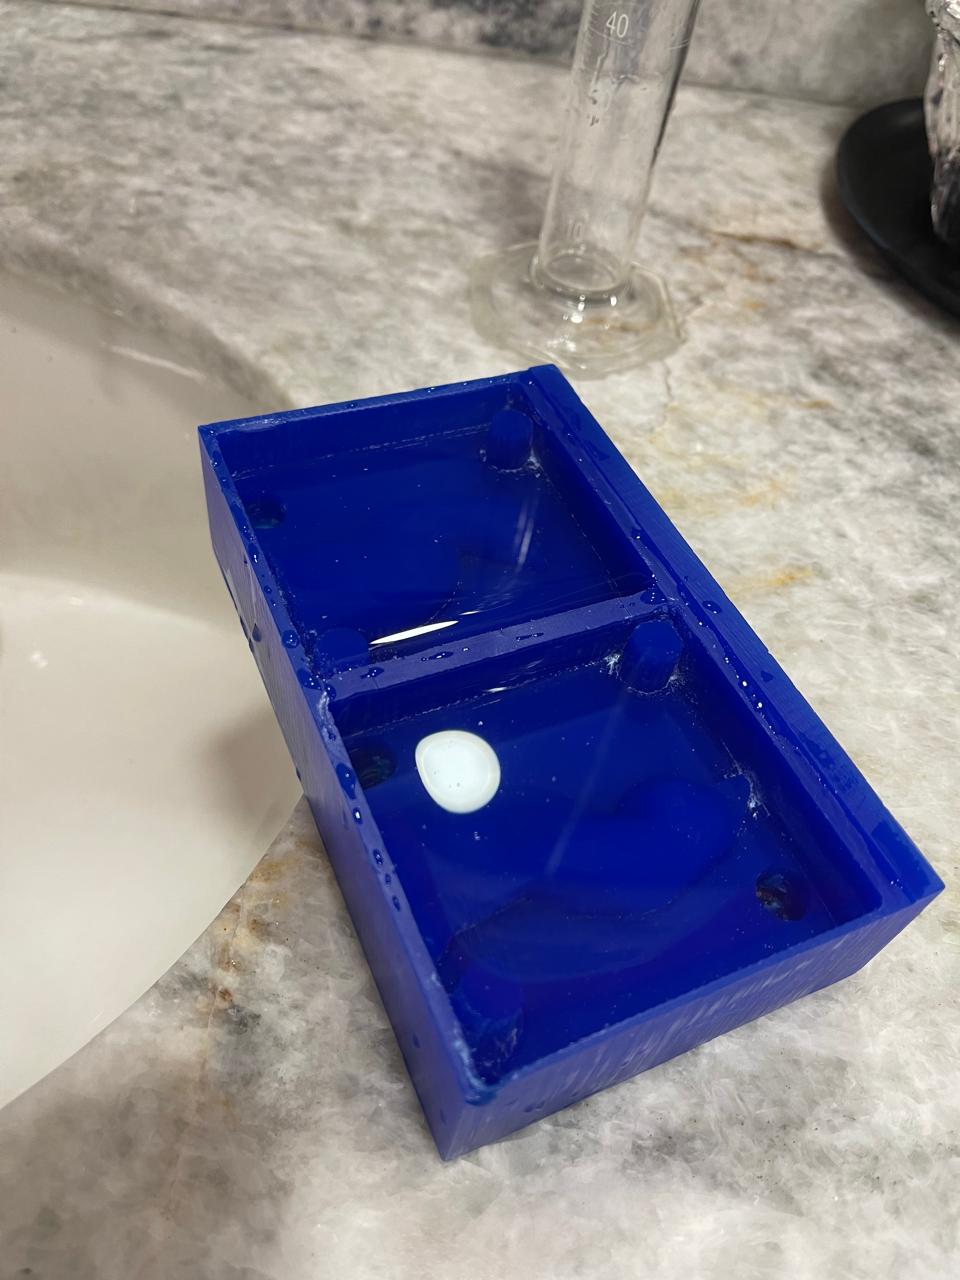
Silicone mold creation
For this part, I used a graduated cylinder to measure the amount of water that could be poured into the mold. Then, with the help of a scale, I weighed the water to get a better idea of how much material it would take.

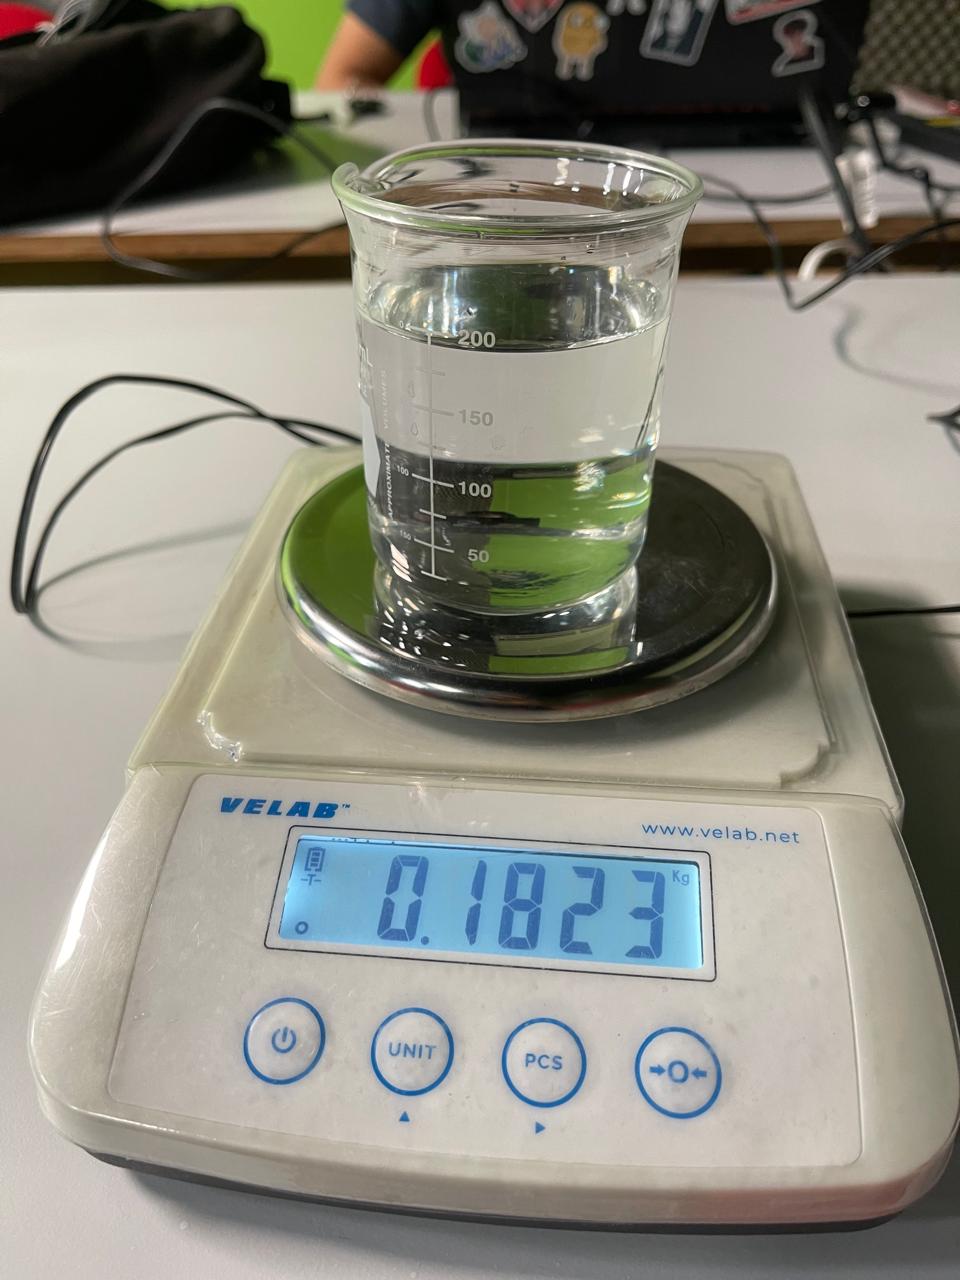
For product A, every 100 ml required 10 ml of product B, which is the catalyst. In my calculations, it turned out that my design could hold 180 ml of water, which, when measured by weight, was 0.1823 kg. After conversions, I determined that I needed a total of 0.0202 kg of product B. In the images, you'll see how the combined weight of both products was 0.2083 kg, slightly exceeding what I needed. However, this was fine as there was still some product left in the mixing container.
Here you will find the group assignment with a little more information about the Molding and Casting.
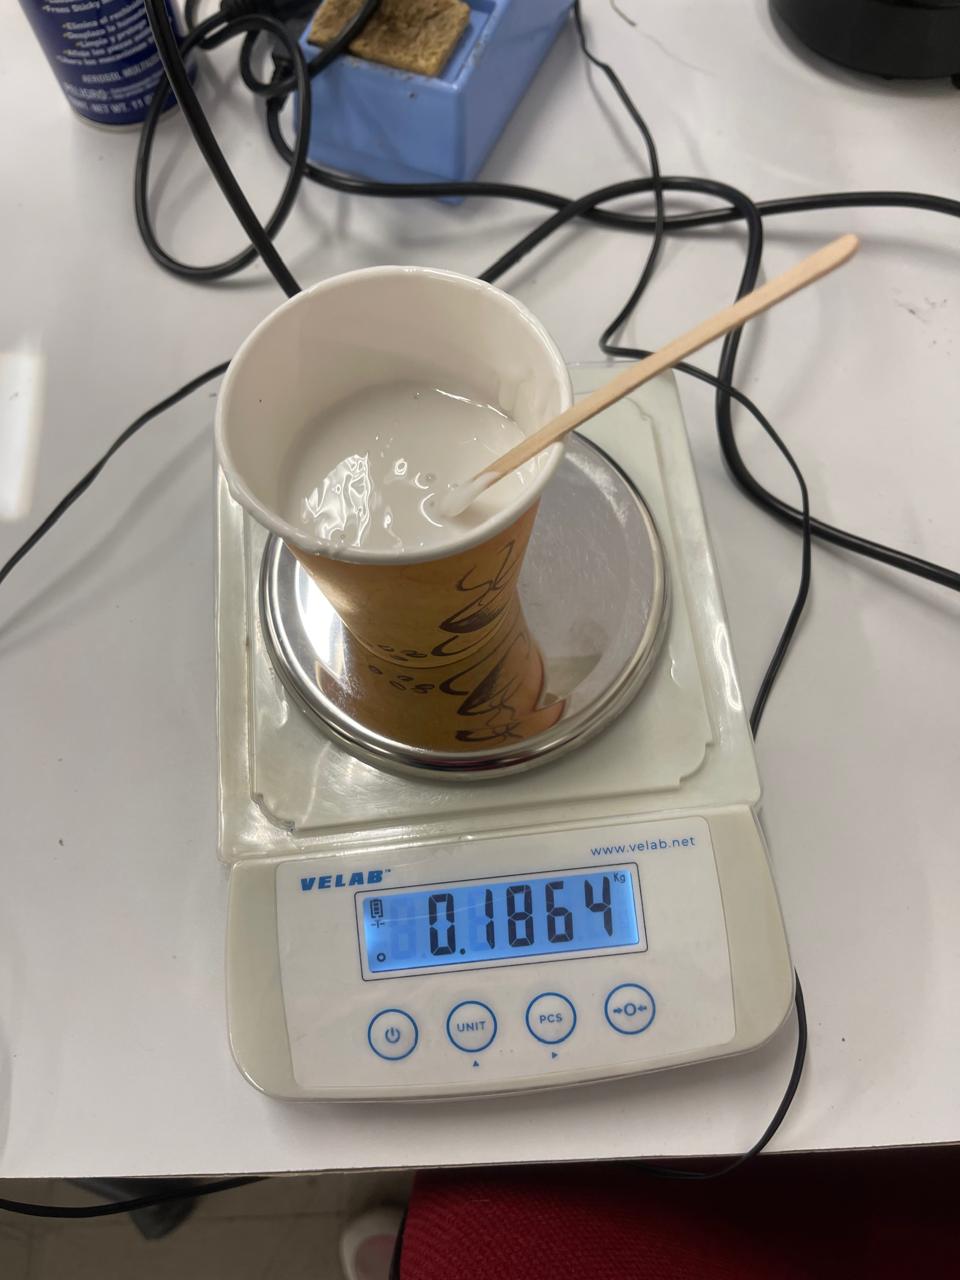

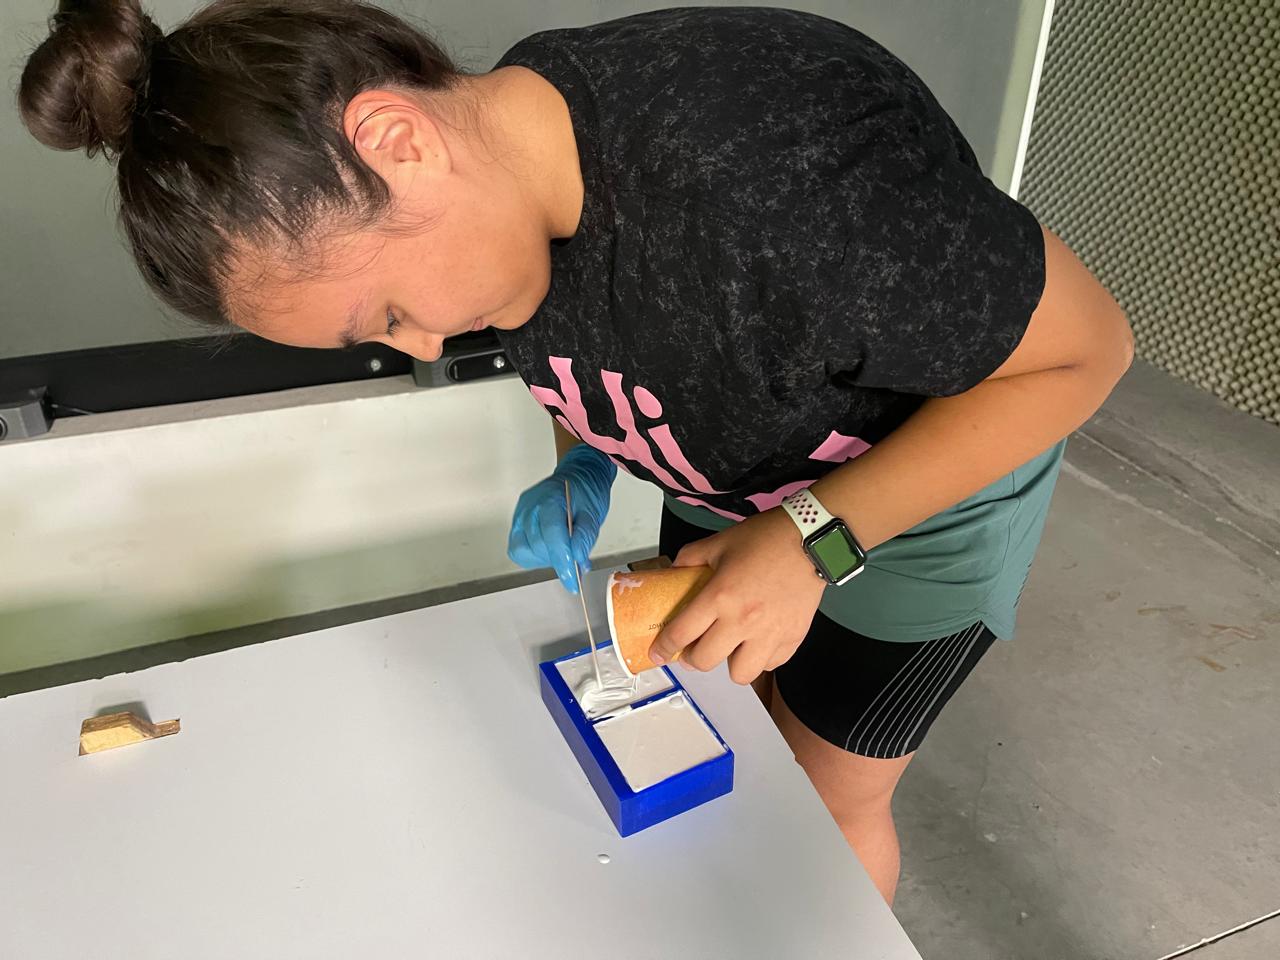
It's important to stir the mixture for approximately 5 minutes to ensure everything is thoroughly combined. Once ready, pour it into the wax block.
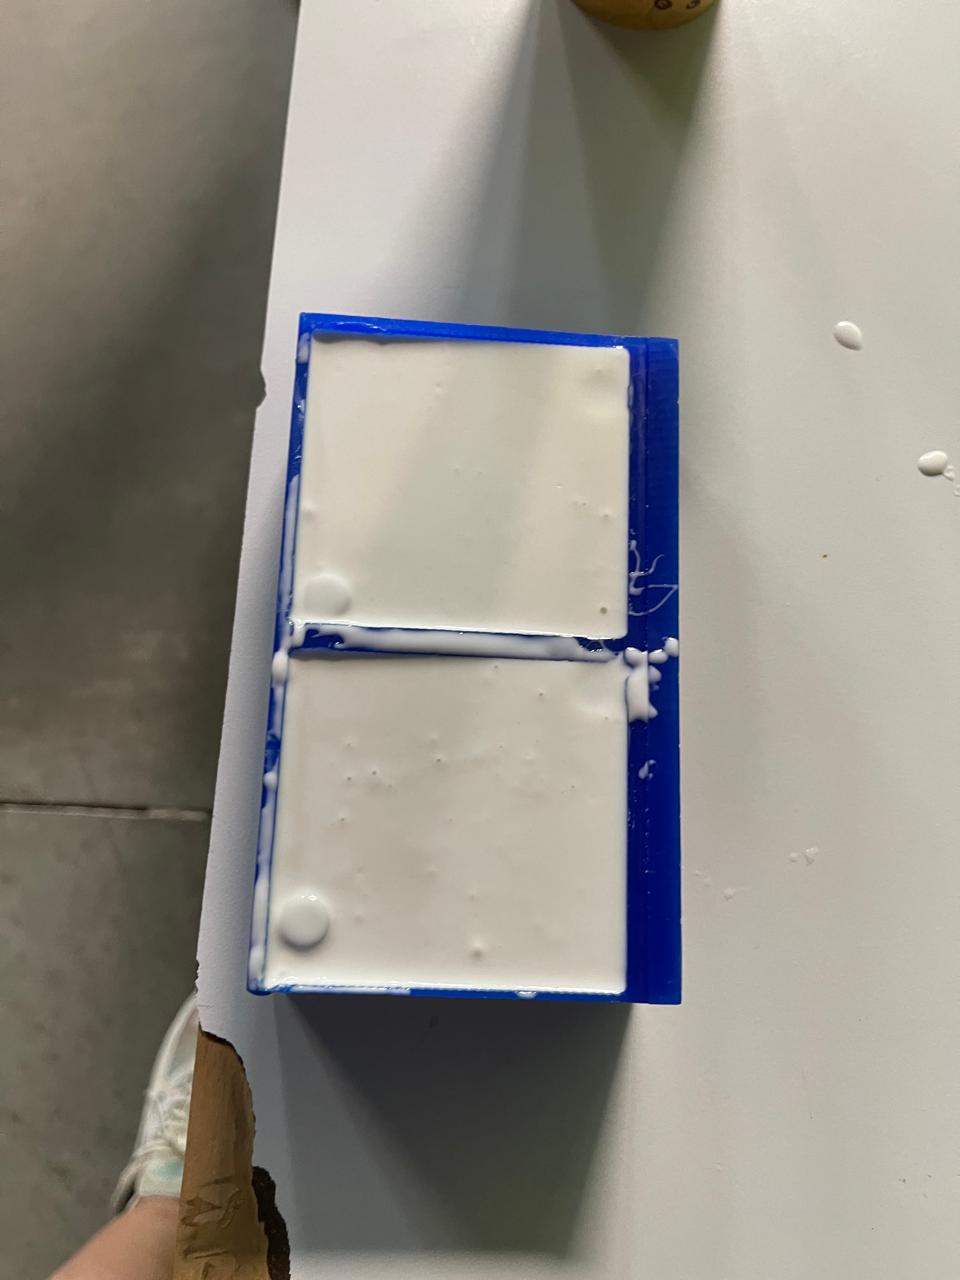
Once the mold is dry, you can remove it from the wax block. It's recommended to bake it for 4 hours at 65°C.
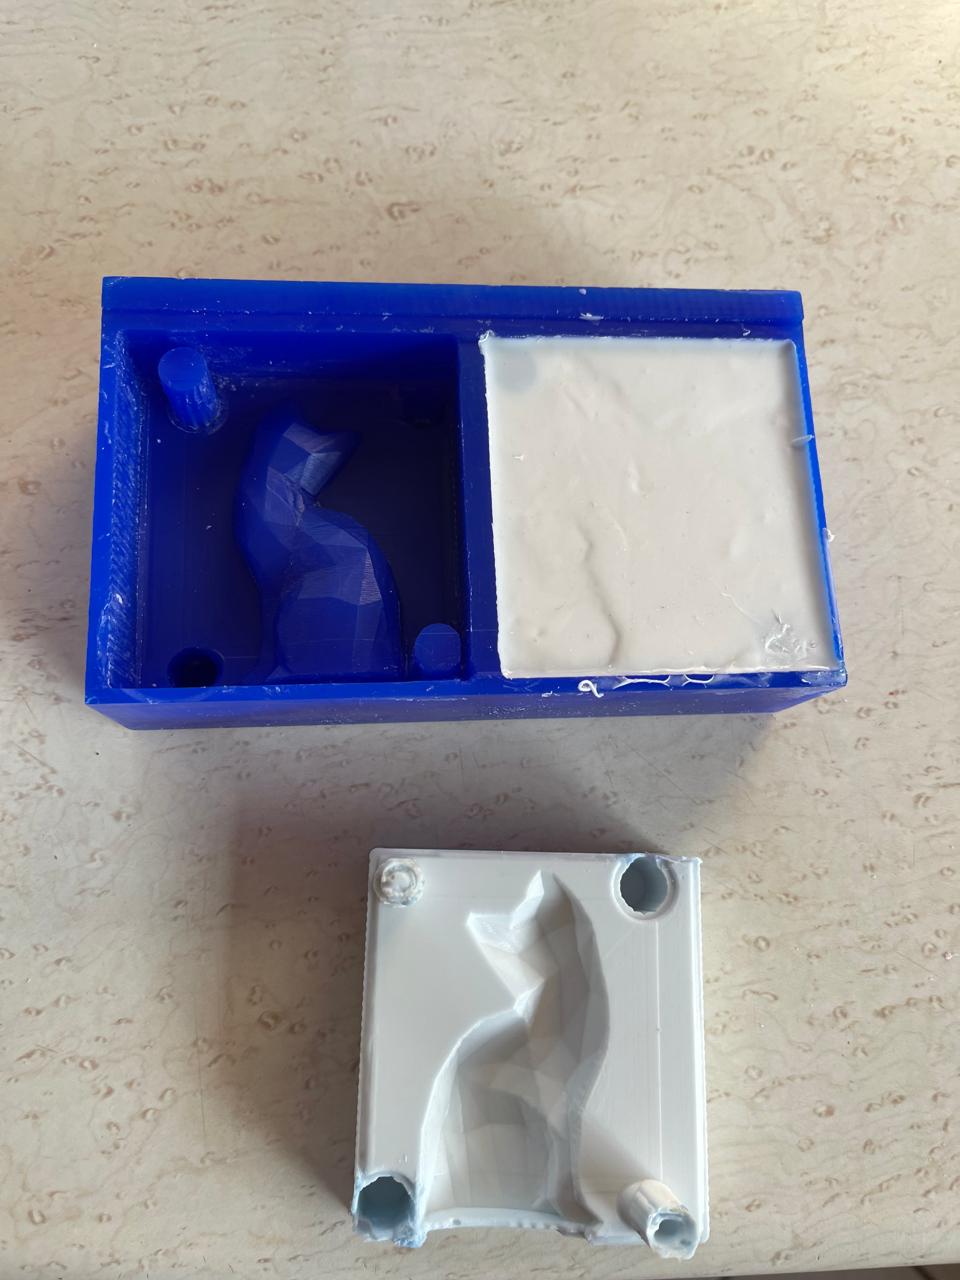
For my figure, I used the same excess wax sprue. I heated it with the help of a heat gun and then simply separated the molds.
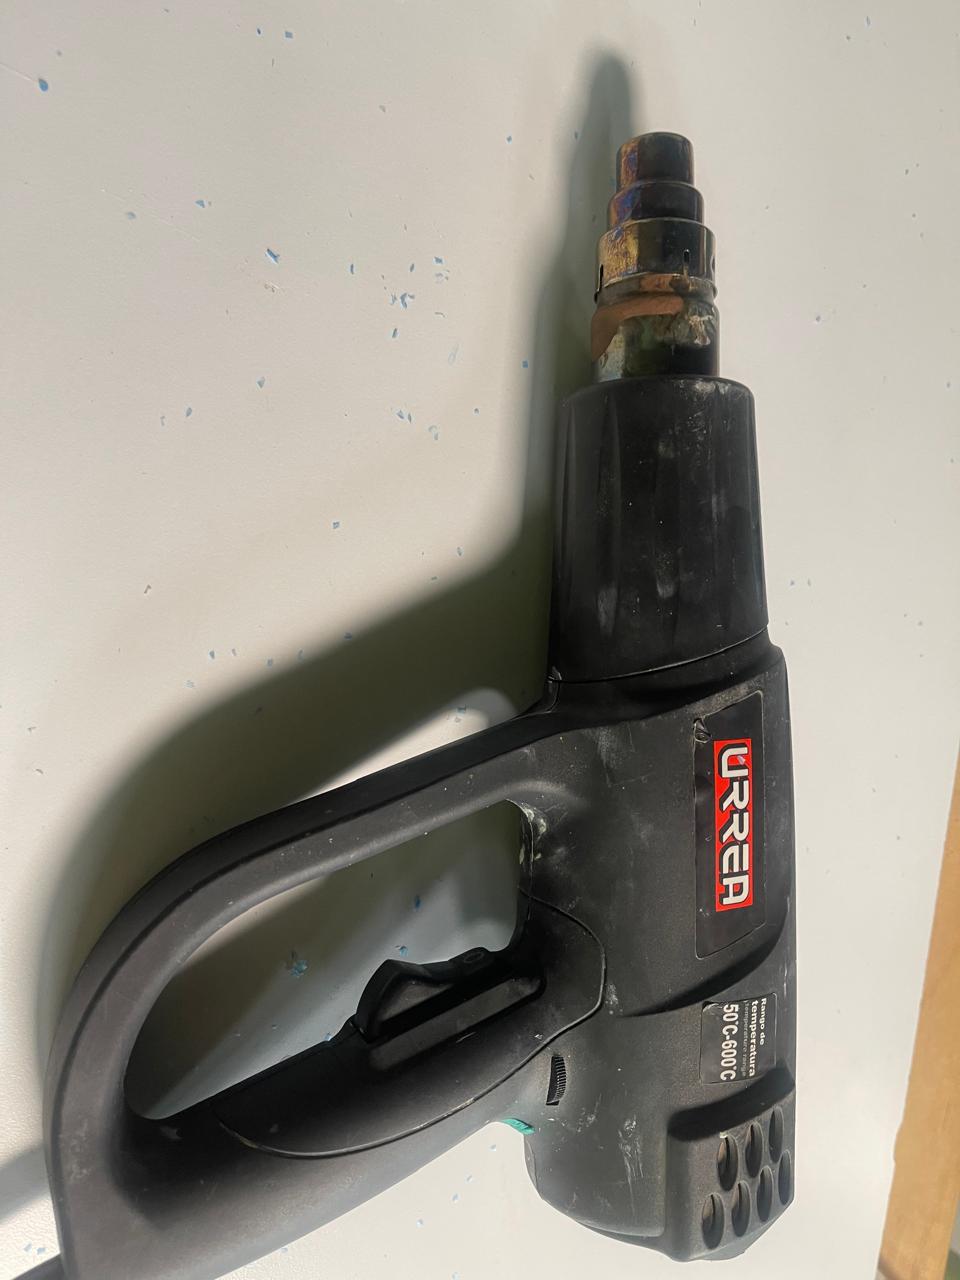
For the part where I poured the hot wax after heating it with the hot air gun, I forgot to take photos because I was handling hot material and had both hands occupied.
Problems
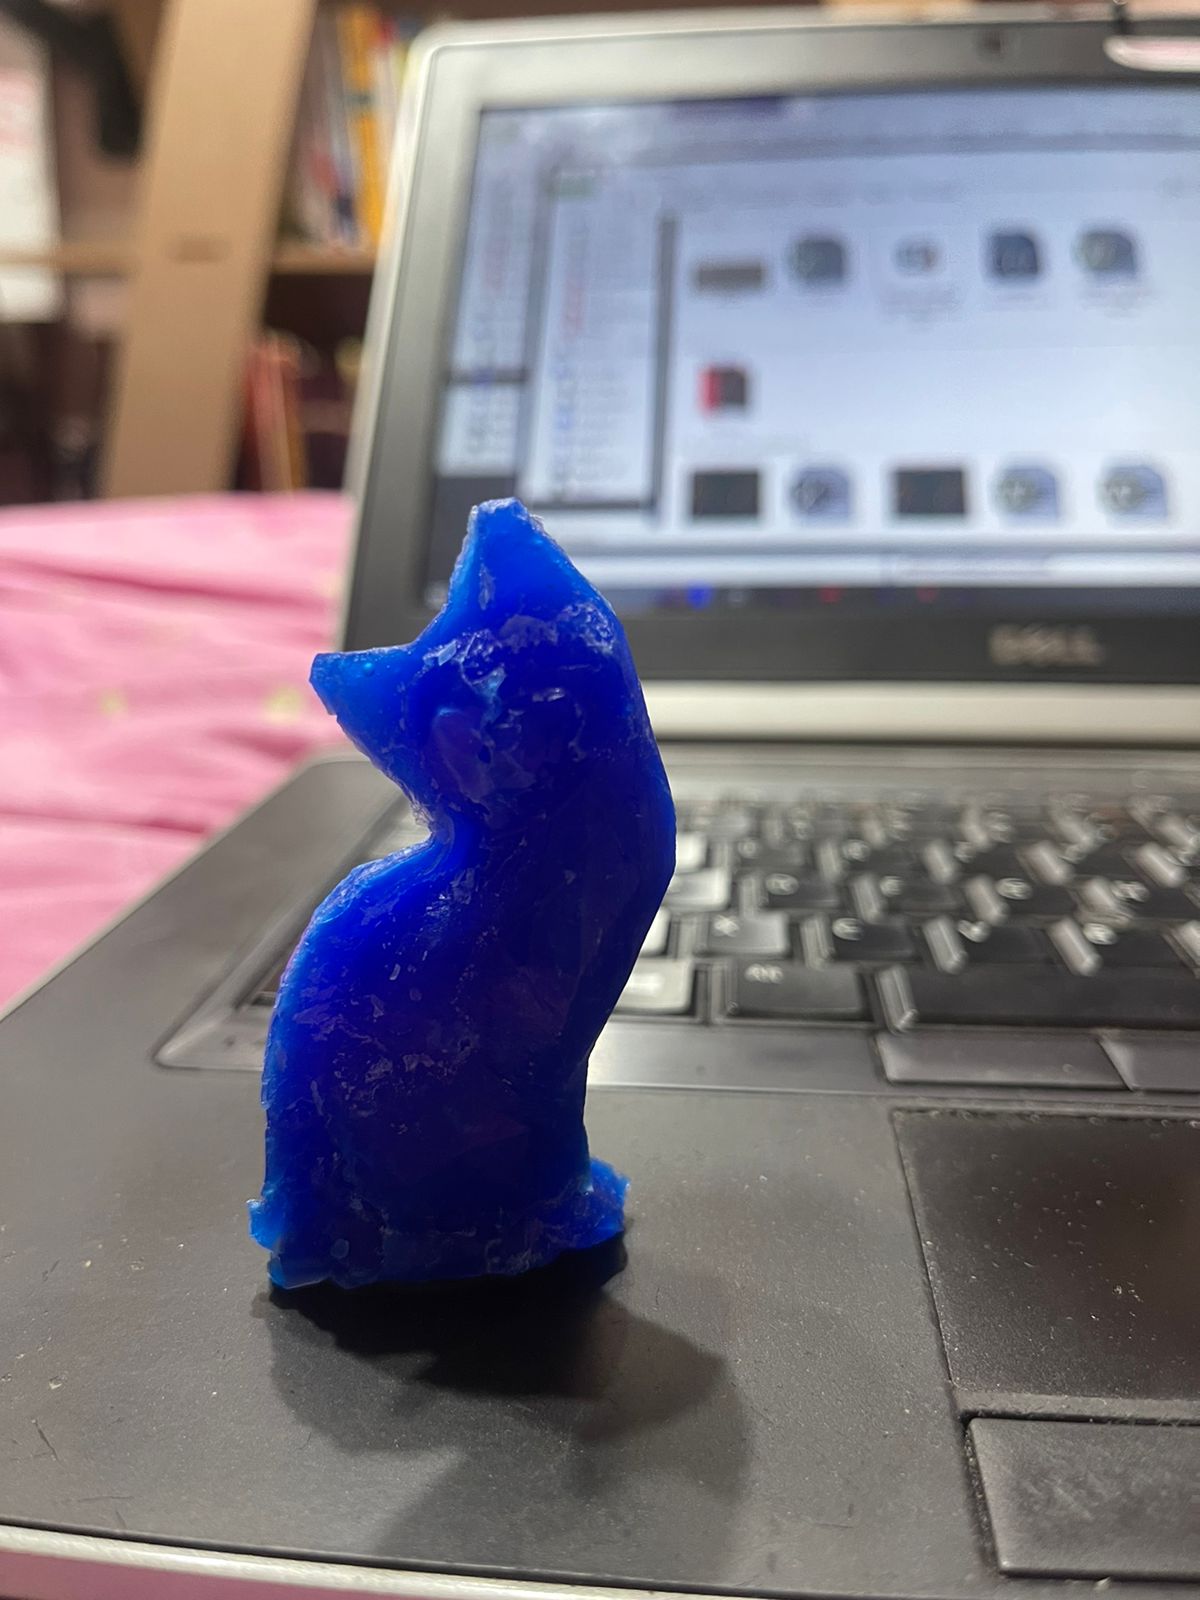
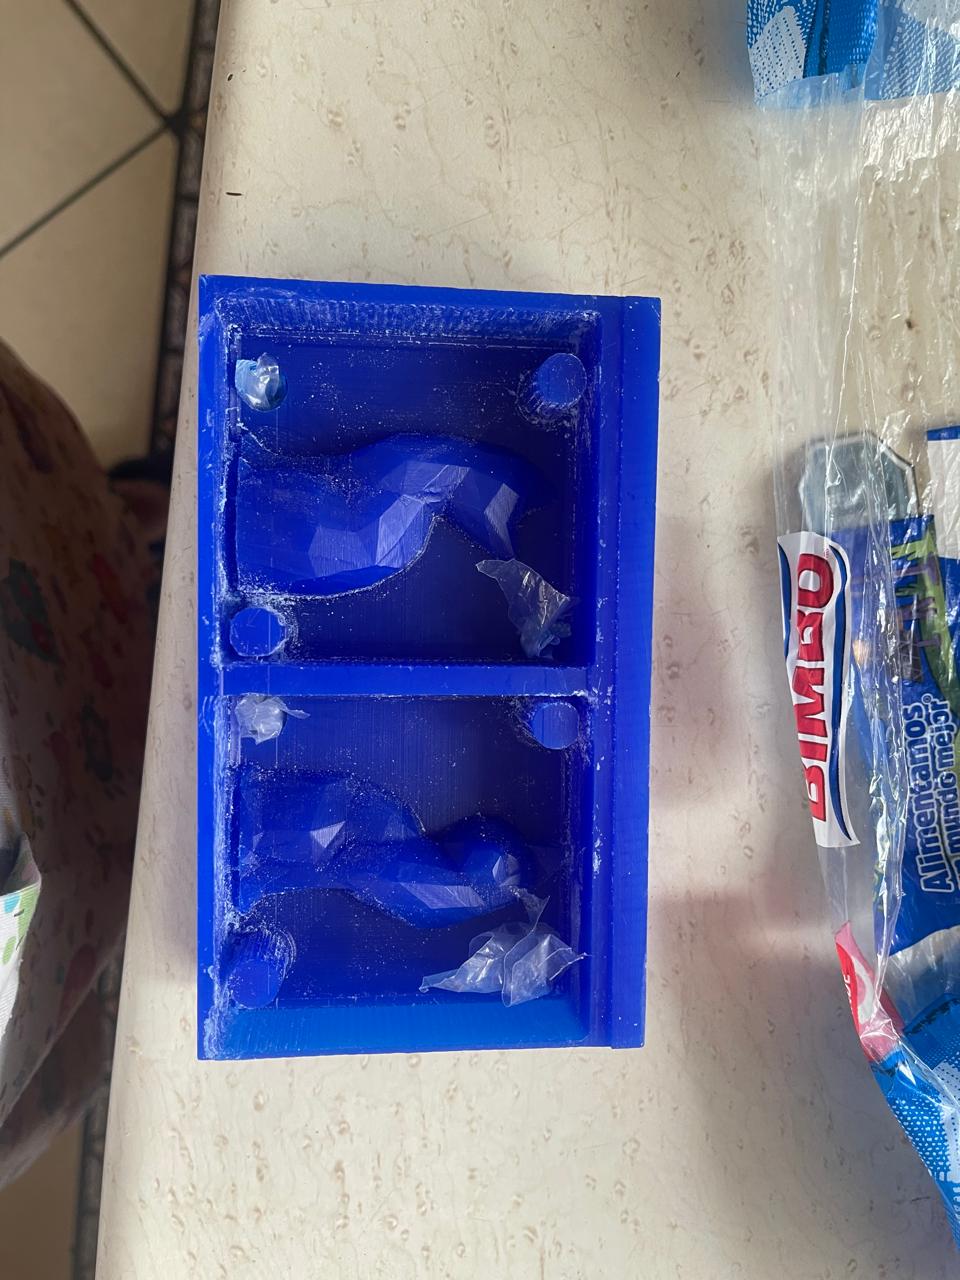
Some of the issues I encountered included the fact that the tool I had used to configure my G code for the router was broken, so I had to use another one. However, this resulted in some parts of my wax not being able to be cut because the tool wouldn't pass through them. Therefore, I had to manually wear down the wax a bit. Another problem arose when the holes in the roughing on the CNC became too deep, causing the material to overflow when poured. My solution was to cover them with some of the remaining wax cuttings and place a plastic barrier to prevent the wax from dripping. Another problem I faced was not knowing what to do next, so I decided to make a mold of silicon 3030 with the remaining wax to create a cat shape. However, it didn't turn out well because some parts remained unmelted. The solution was to melt a larger quantity.
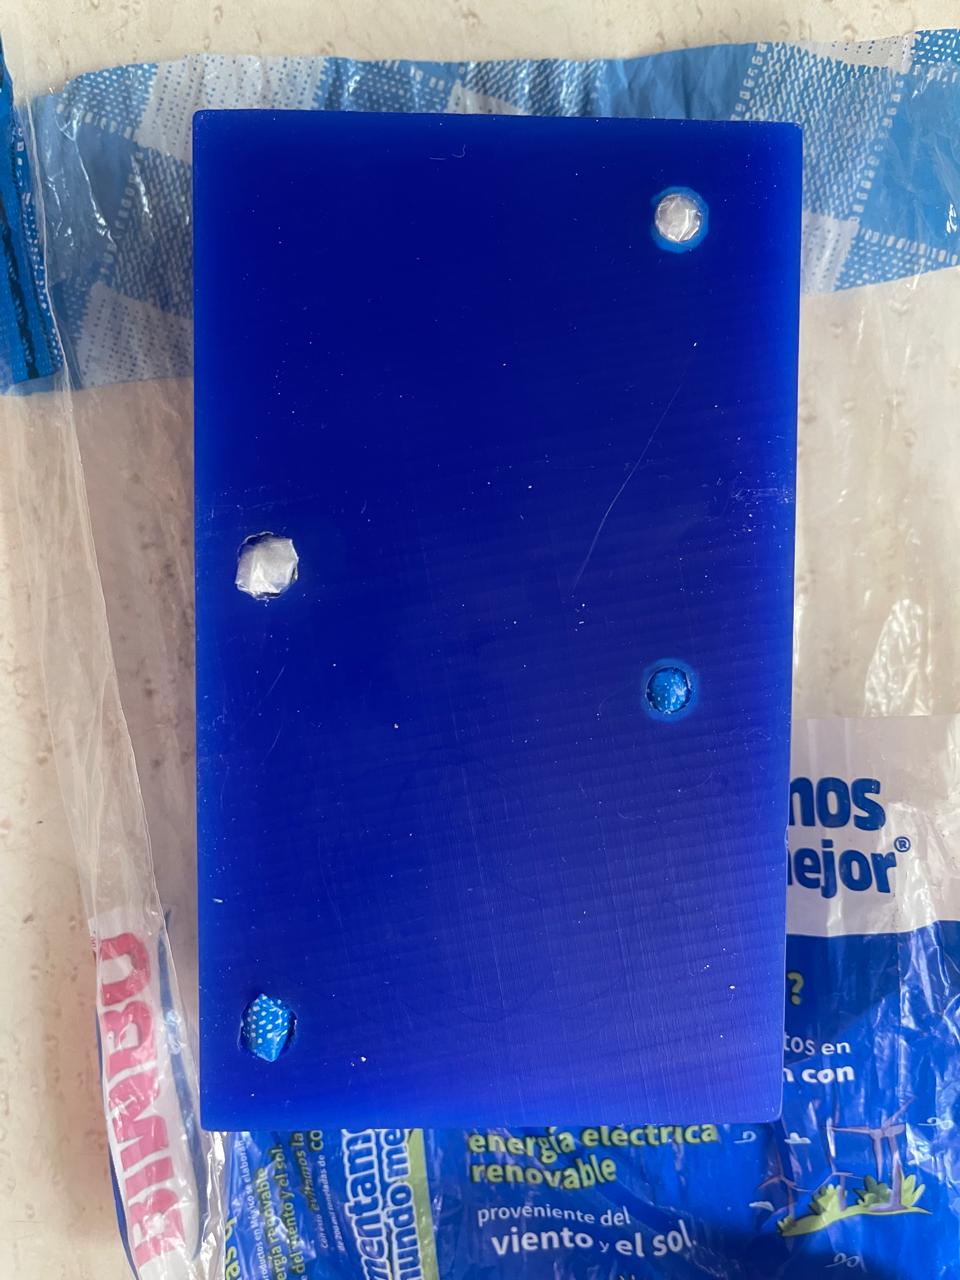
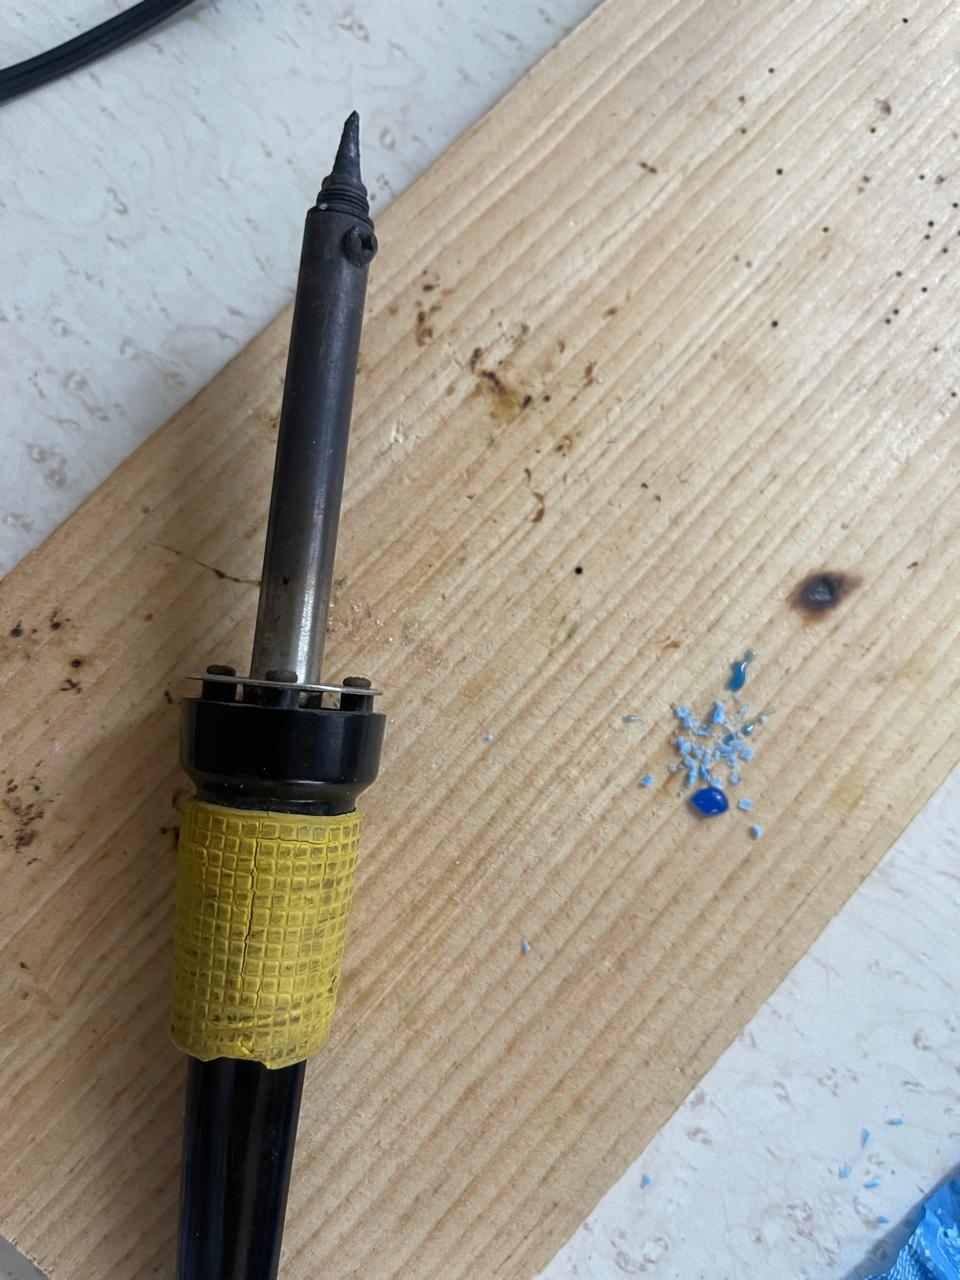
Another issue I encountered was that the mold was drilled too much. My solution was to use a soldering iron to heat up the excess wax that came out while making the mold. I placed a piece of plastic over the holes to prevent the wax from dripping further
Conclusion
In conclusion, I learned valuable technical skills through the application of molding techniques. The individual experience allowed me to develop precision and attention to detail, as well as the importance of safety measures. On the other hand, with the group assignment, we understood the importance of following safety regulations for the products we are using and how to use the router safely.