Mechanical Design, Machine Design
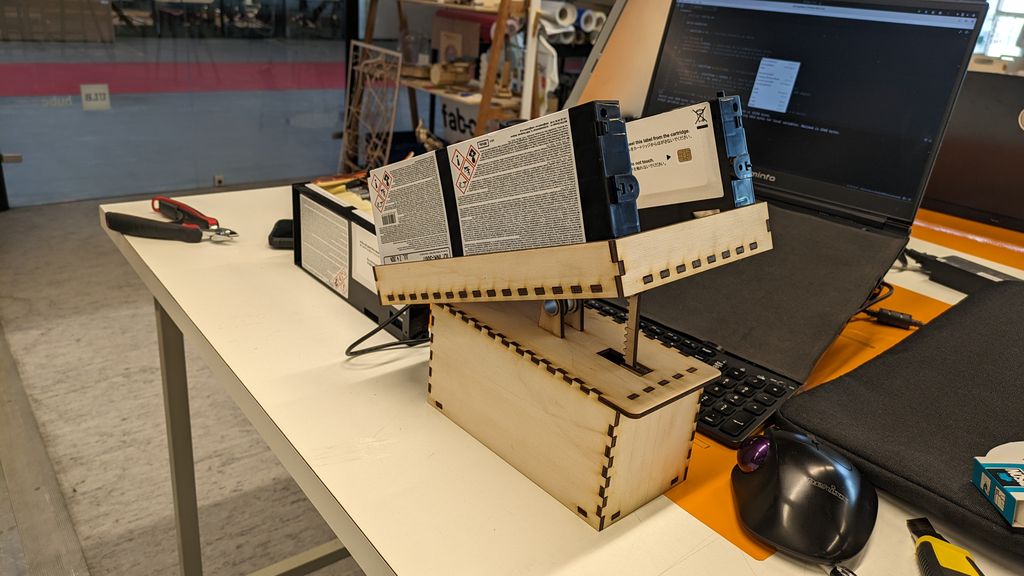
Hero Shot - Shaker for UV Printer cartridge
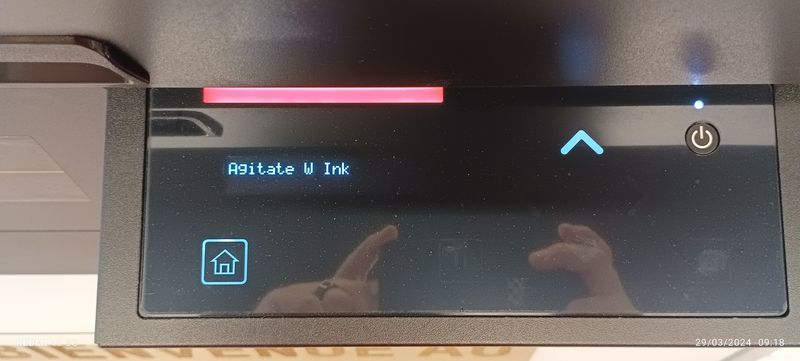
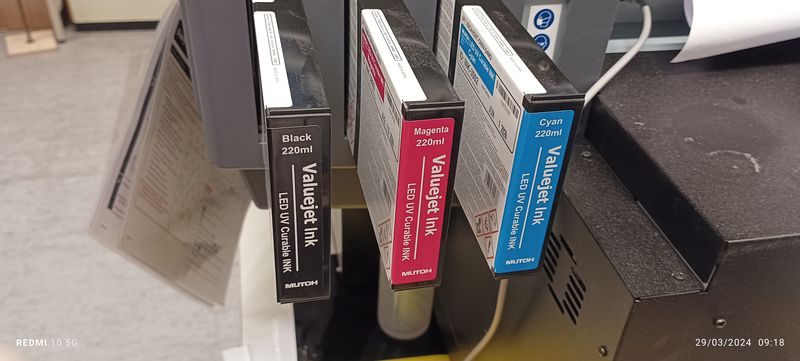
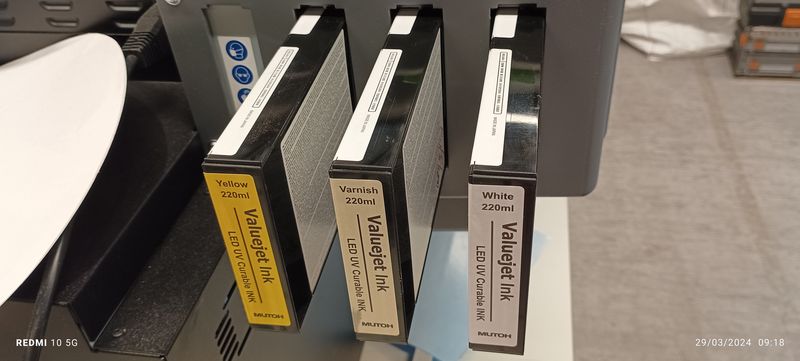
Problem
The fablab has acquired a UV printer. There’s a slight problem: the cartridges have to be shaken every day. You have to shake them all for about 1 minute, but above all, don’t make a mistake when you put them back in place.
shake slowly
Research in french
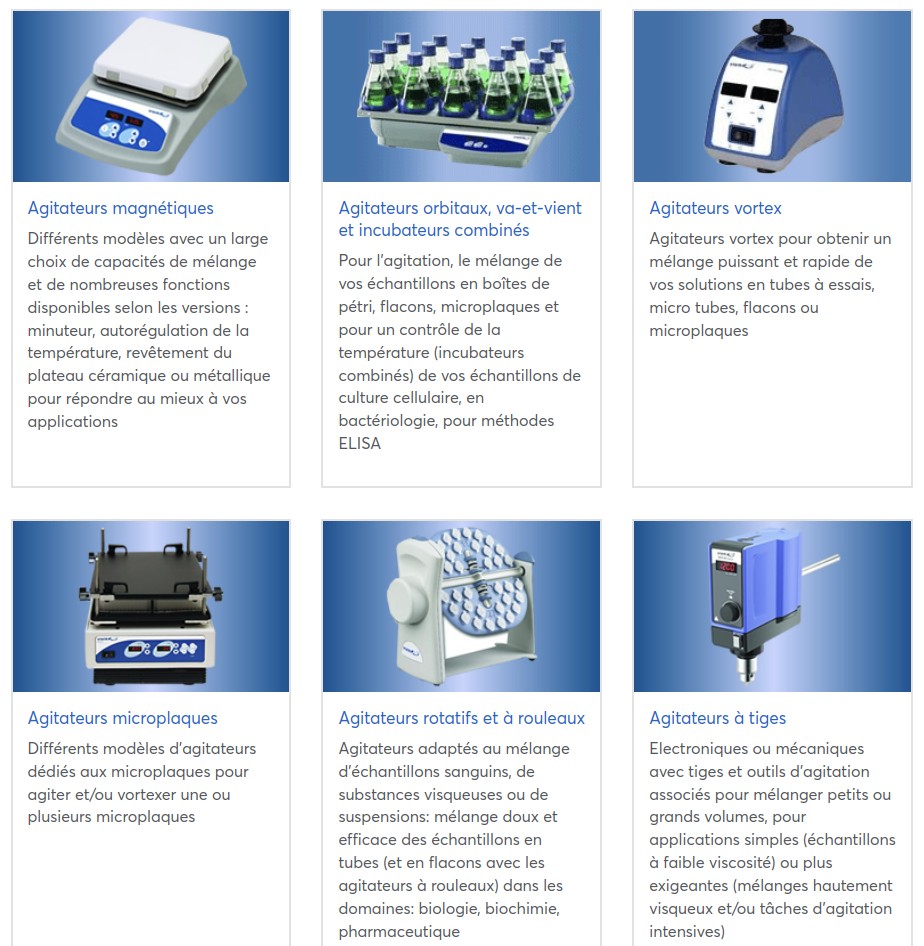
none of the systems are valid
Idea
Create a machine that can shake the cartridges so that we’re not stuck with this task.

First idea
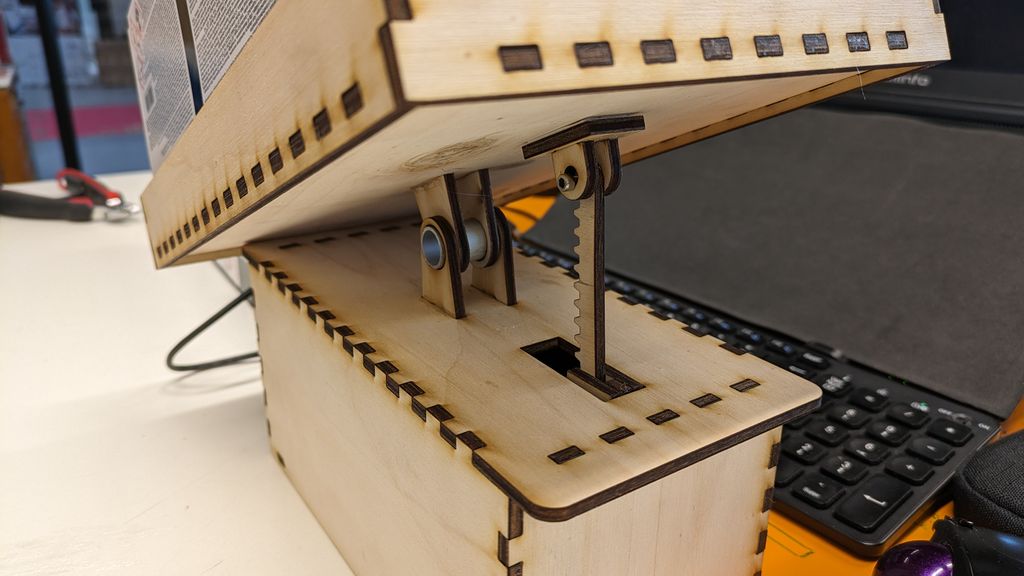
the first idea was to use an iron rod to transfer the movement, but after some thought, we decided on the rack and pinion (the iron rod could bend at any moment).
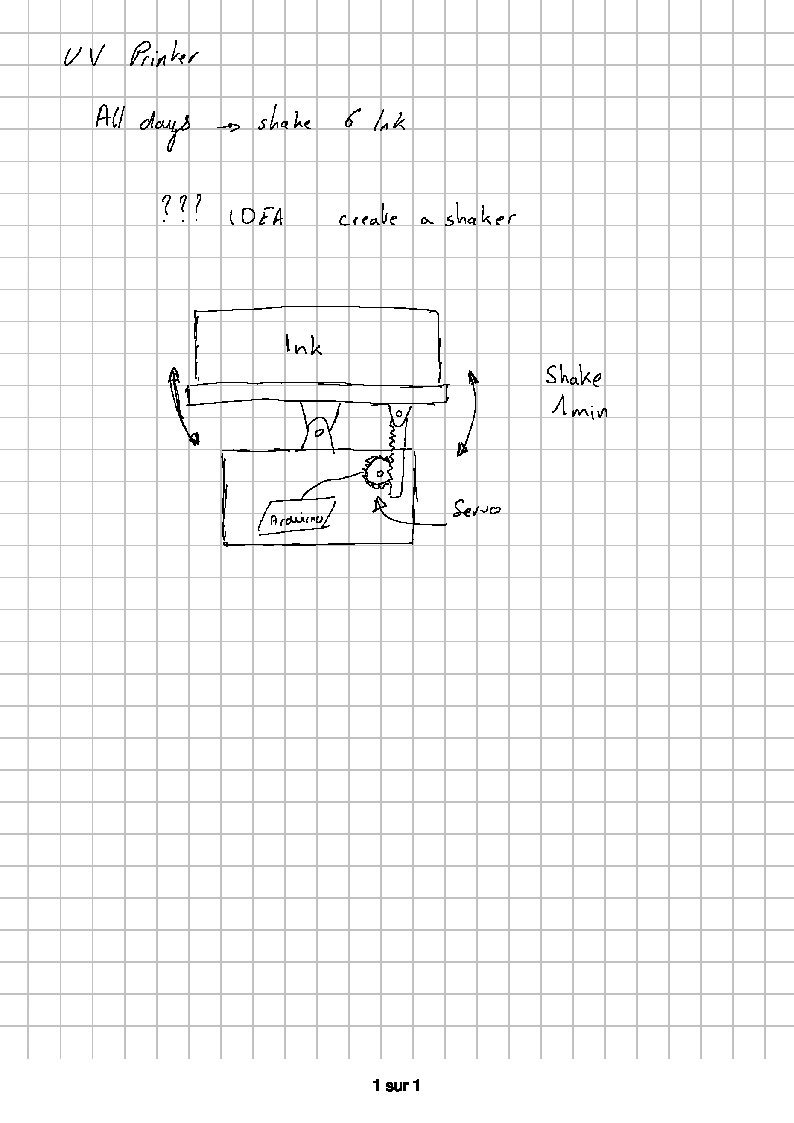
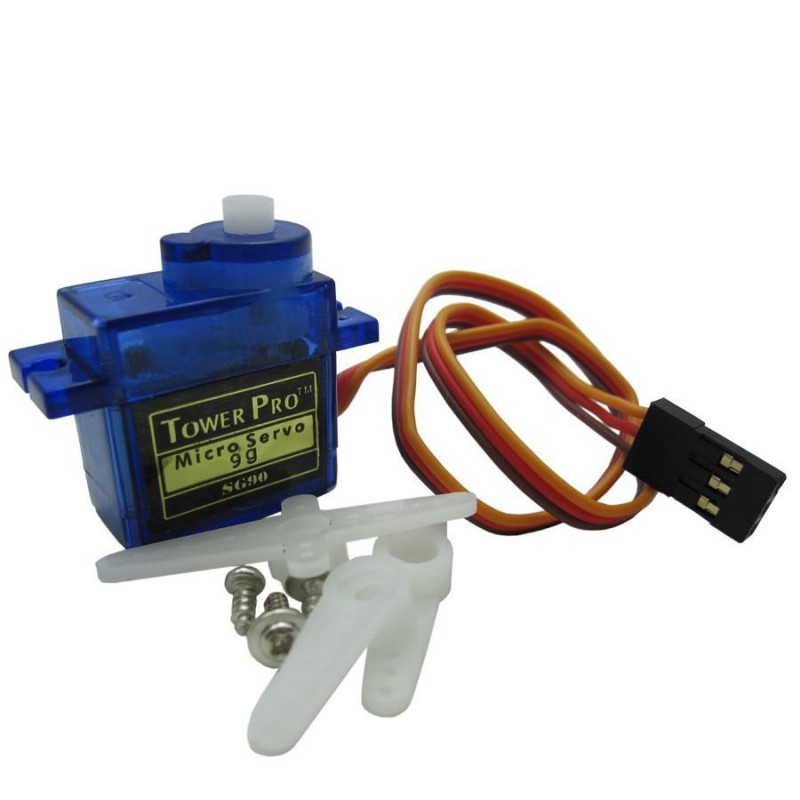
Normally, you don’t need many electronic components. As we don’t have any other servo motors at the moment, we’ll start with SG9 servos. Later we’ll upgrade later.
components :
- 1 arduino uno
- 1 SG9 servomotor
here’s a rendering of the idea that comes from the brains

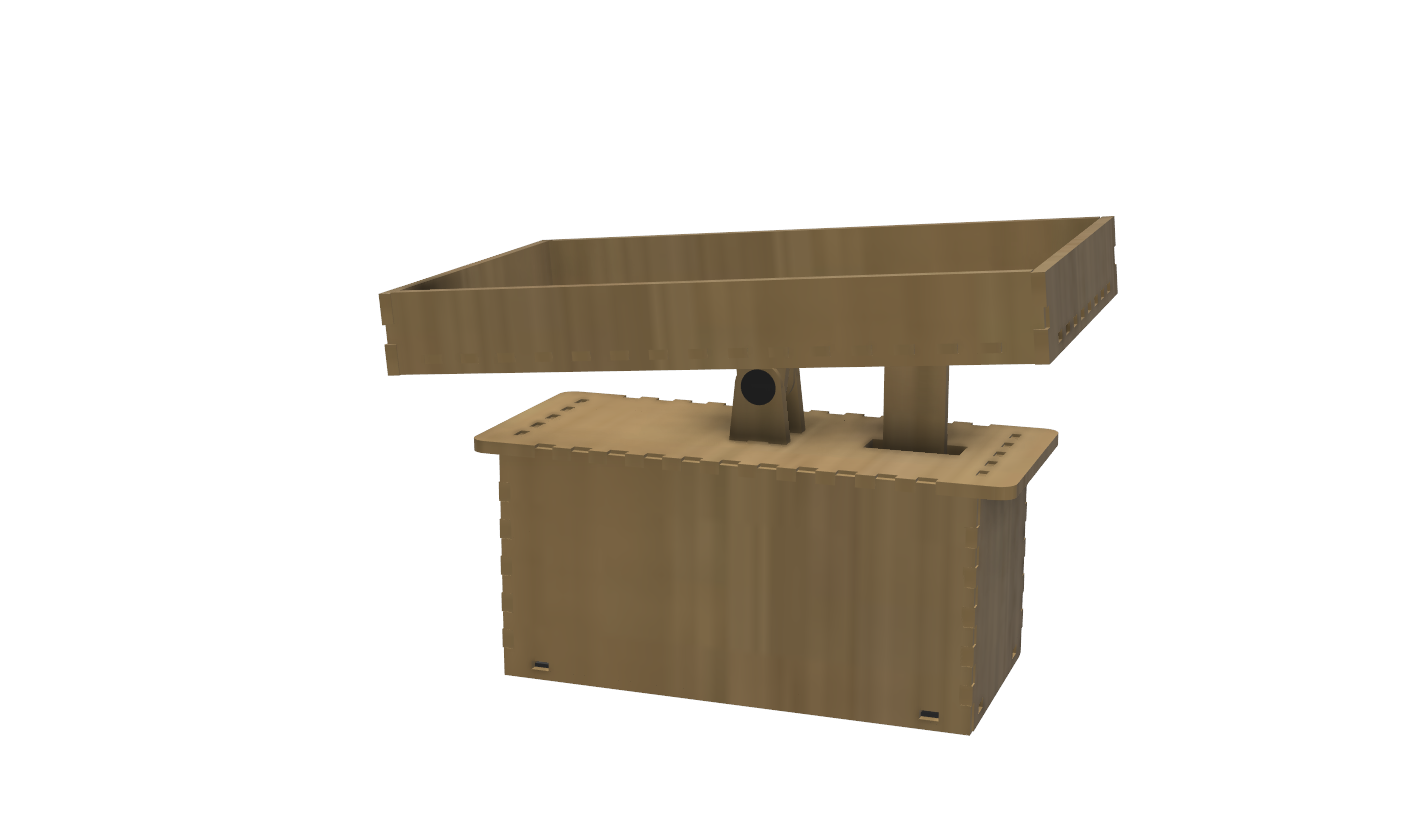
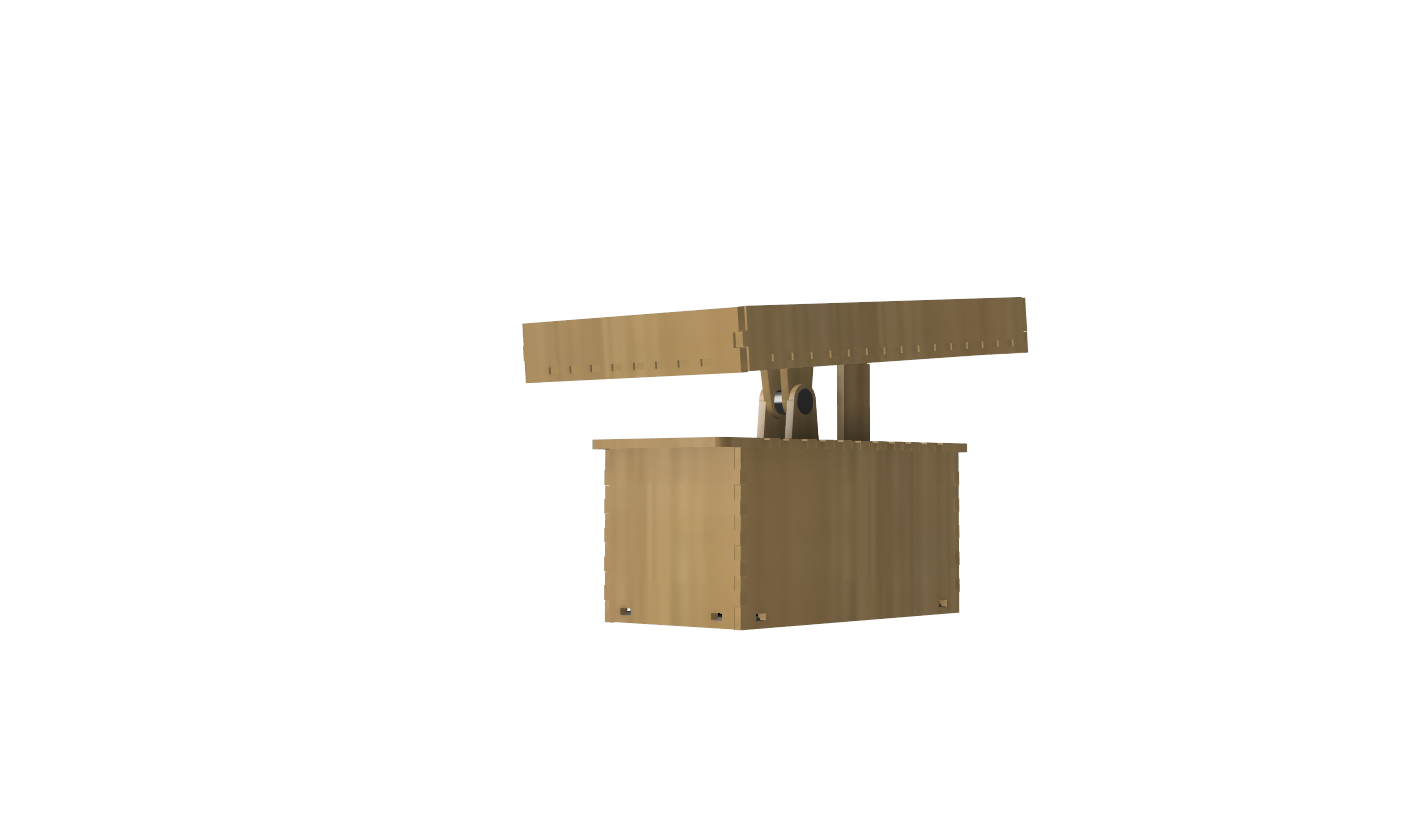
File Fusion 360 = cartouche_v2.f3d
here are the files created with Inkscape for laser cutting


Here is the 1st code to see how it works
#include <Servo.h>

Servo monServo;

int position = 0; // Position actuelle du servo

void setup() {
  Serial.begin(9600); // Démarrage de la communication série
  monServo.attach(9); // Attachement du servo à la broche 9
  monServo.write(0); // Initialisation du servo à la position 0
}

void loop() {
  unsigned long startTime = millis();  // Enregistrement du temps de départ

  while (millis() - startTime < 60000) {  // Boucle pendant 60 secondes (1 minute)
    for (int i = 0; i < 180; i++) { // Boucle pour faire tourner le servo de 0 à 180 degrés
      monServo.write(i); // Positionnement du servo à l'angle i
      delay(10); // Attendre 10 millisecondes
    }

    for (int i = 180; i >= 0; i--) { // Boucle pour faire tourner le servo de 180 à 0 degrés
      monServo.write(i); // Positionnement du servo à l'angle i
      delay(10); // Attendre 10 millisecondes
    }
  }

  // Arrêt du servo après une minute
  monServo.detach();

  // Arrêt du programme après une minute
  while (true) {
    // Code inactif (optionnel)
  }
}
attachment


Finally we use a nut with washers. It’s more stable
evolution - axis correction
Results
test valid for 1 cartridge
SG9 servomotor too weak for several
future developments
We thought of adding a button to restart the process for each cartridge. Here is the code:
#include <Servo.h>

Servo monServo;
int position = 0; // Position actuelle du servo

const int buttonPin = 2; // Définition de la broche pour le bouton
boolean buttonState = false; // Initialisation de l'état du bouton

void setup() {
  Serial.begin(9600); // Démarrage de la communication série
  monServo.attach(9); // Attachement du servo à la broche 9
  monServo.write(0); // Initialisation du servo à la position 0

  pinMode(buttonPin, INPUT_PULLUP); // Définir la broche du bouton en entrée avec une résistance de tirage interne
}

void loop() {
  buttonState = digitalRead(buttonPin); // Lecture de l'état du bouton

  if (buttonState == LOW) { // Vérifier si le bouton est enfoncé
    // Redémarrer la logique du programme ici
    unsigned long startTime = millis();  // Enregistrement du temps de départ
    while (millis() - startTime < 10000) {  // Boucle pendant 10 secondes
      for (int i = 0; i < 180; i++) { // Boucle pour faire tourner le servo de 0 à 180 degrés
        monServo.write(i); // Positionnement du servo à l'angle i
        delay(10); // Attendre 10 millisecondes
      }
      for (int i = 180; i >= 0; i--) { // Boucle pour faire tourner le servo de 180 à 0 degrés
        monServo.write(i); // Positionnement du servo à l'angle i
        delay(10); // Attendre 10 millisecondes
      }
    }

    // Arrêt du servo après 10 secondes
    monServo.detach();
    //delay(1000); // Attendre une seconde avant de réinitialiser
    setup(); // Réinitialiser le programme
  }
}
This is a simulation
Another step would be to add a screen with the shaking time countdown.