Wildcard Week
Assignments
Design and produce something with a digital process (incorporating computer-aided design and manufacturing) not covered in another assignment, documenting the requirements that your assignment meets, and including everything necessary to reproduce it.
All the important links are Here
Learning outcomes
Individual Assignment
Design and produce something with a digital process (incorporating computer-aided design and manufacturing) not covered in another assignment, documenting the requirements that your assignment meets, and including everything necessary to reproduce it.
Screen Printing
What is Screen Printing?
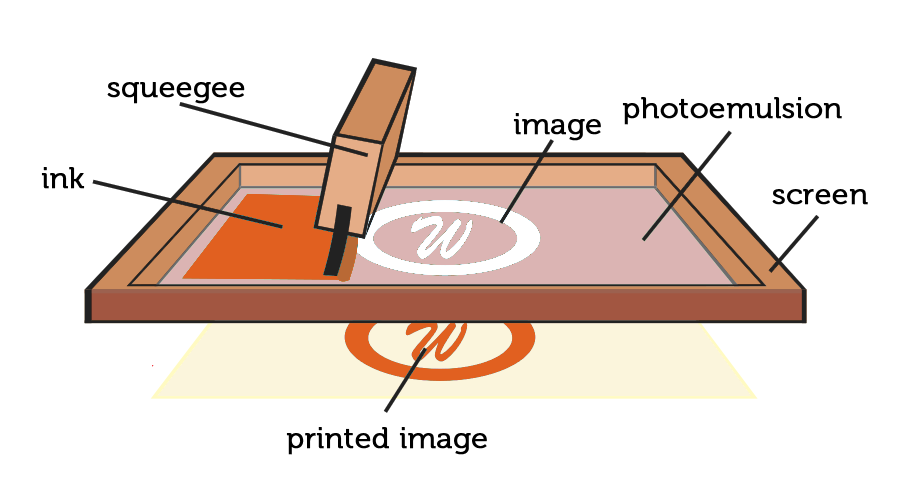
Screen printing is a printing technique where ink is pushed through a stenciled mesh screen onto a surface, creating a design. It's used on various materials like textiles, paper, and glass. This method is known for producing vibrant colors and detailed designs.
For more information on Screen Printing, please visit Understudio's Article
Screen printing, also known as silk screening, is a technique where ink is pushed through a patterned mesh screen to create a design on a surface. Here’s a basic guide to making your design and printing your own stickers:
Methods to Create the Design:
- Using Masking Tape or Vinyl: Cover the areas you don’t want to print with tape or vinyl.
- Using Screen Blockers: Apply glue or lacquer to the mesh screen to block out parts of the design.
- Using Light-Sensitive Emulsion: Coat the screen with a special emulsion, expose it to light with your design, and wash away the unexposed parts to create your pattern.
For designs with multiple colors, create a separate layer for each color. Apply the ink in stages, letting each layer dry before adding the next.
Designing process
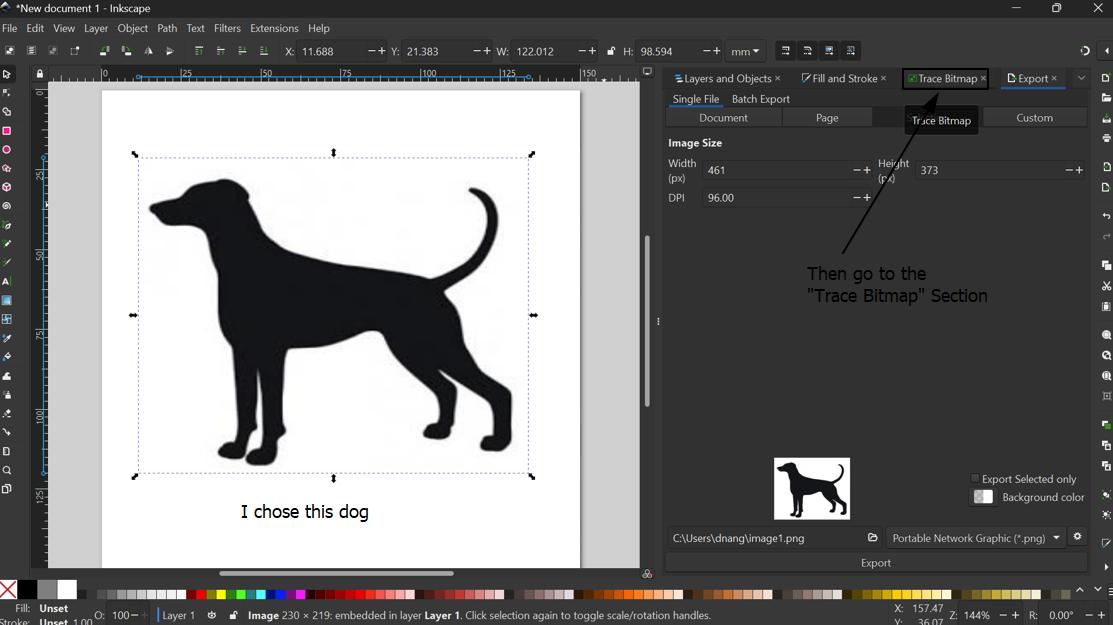
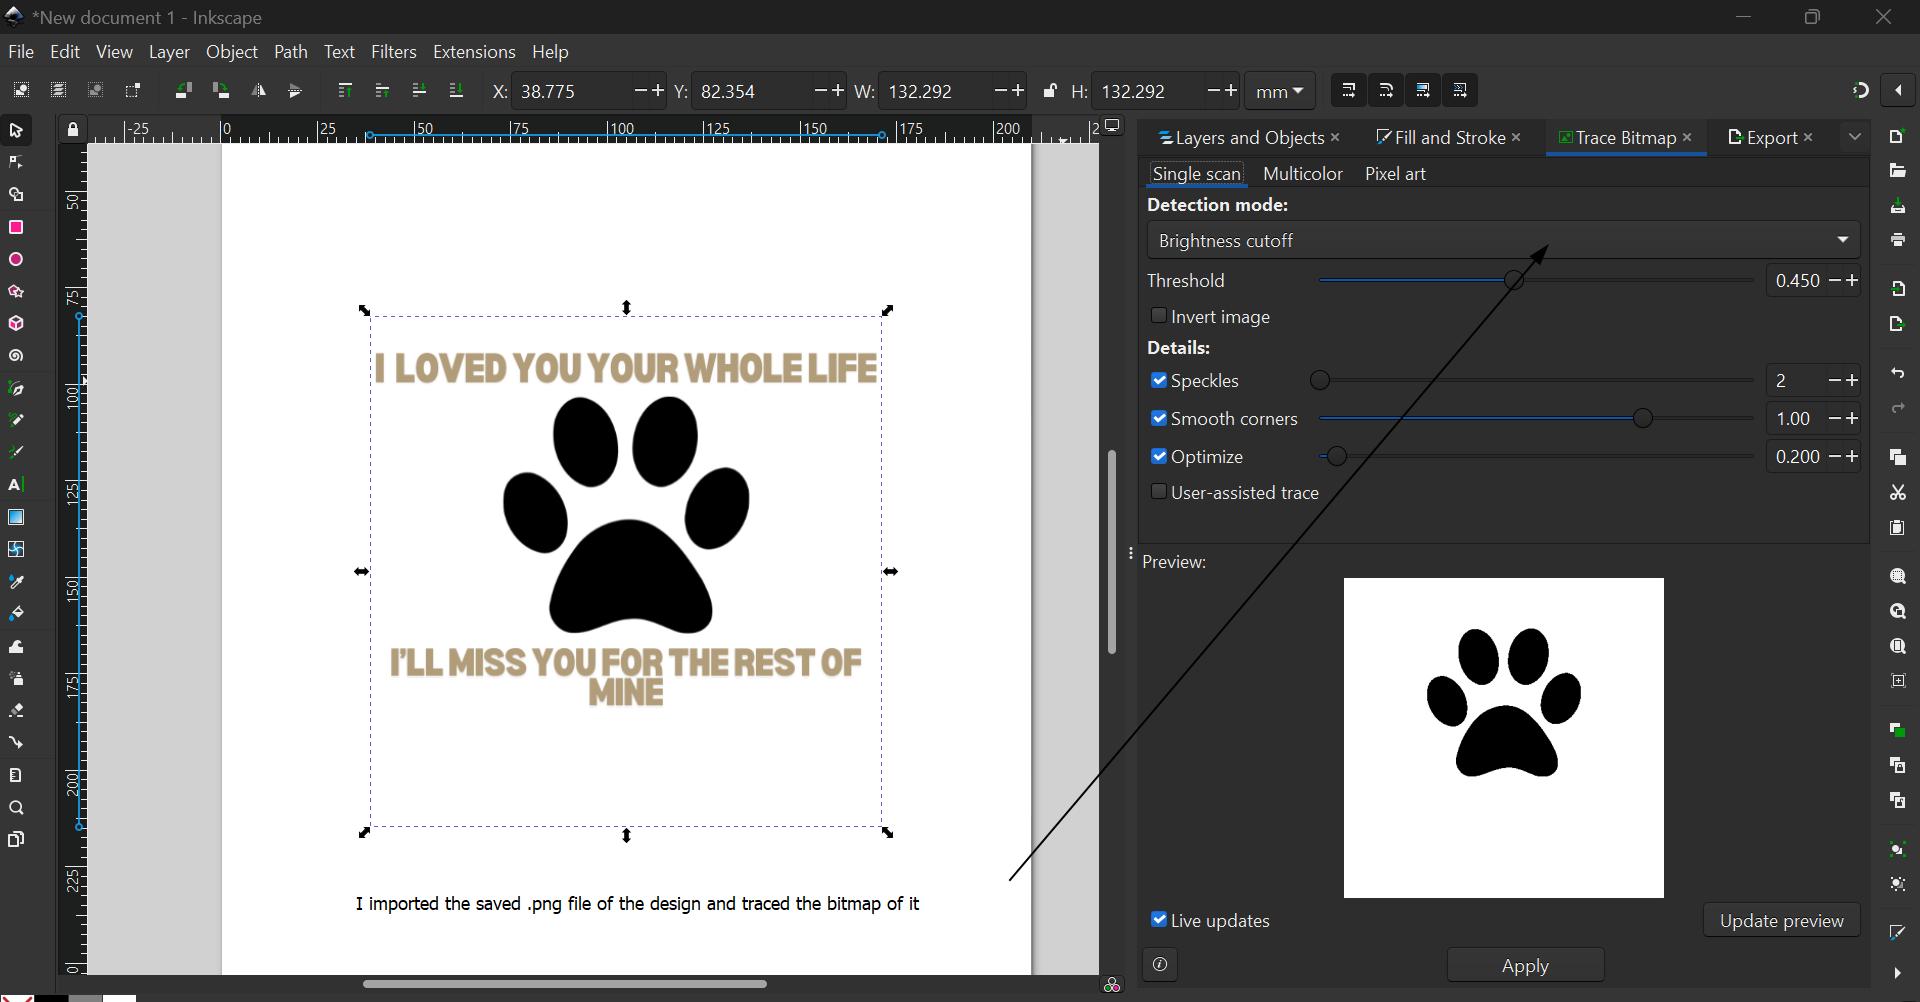
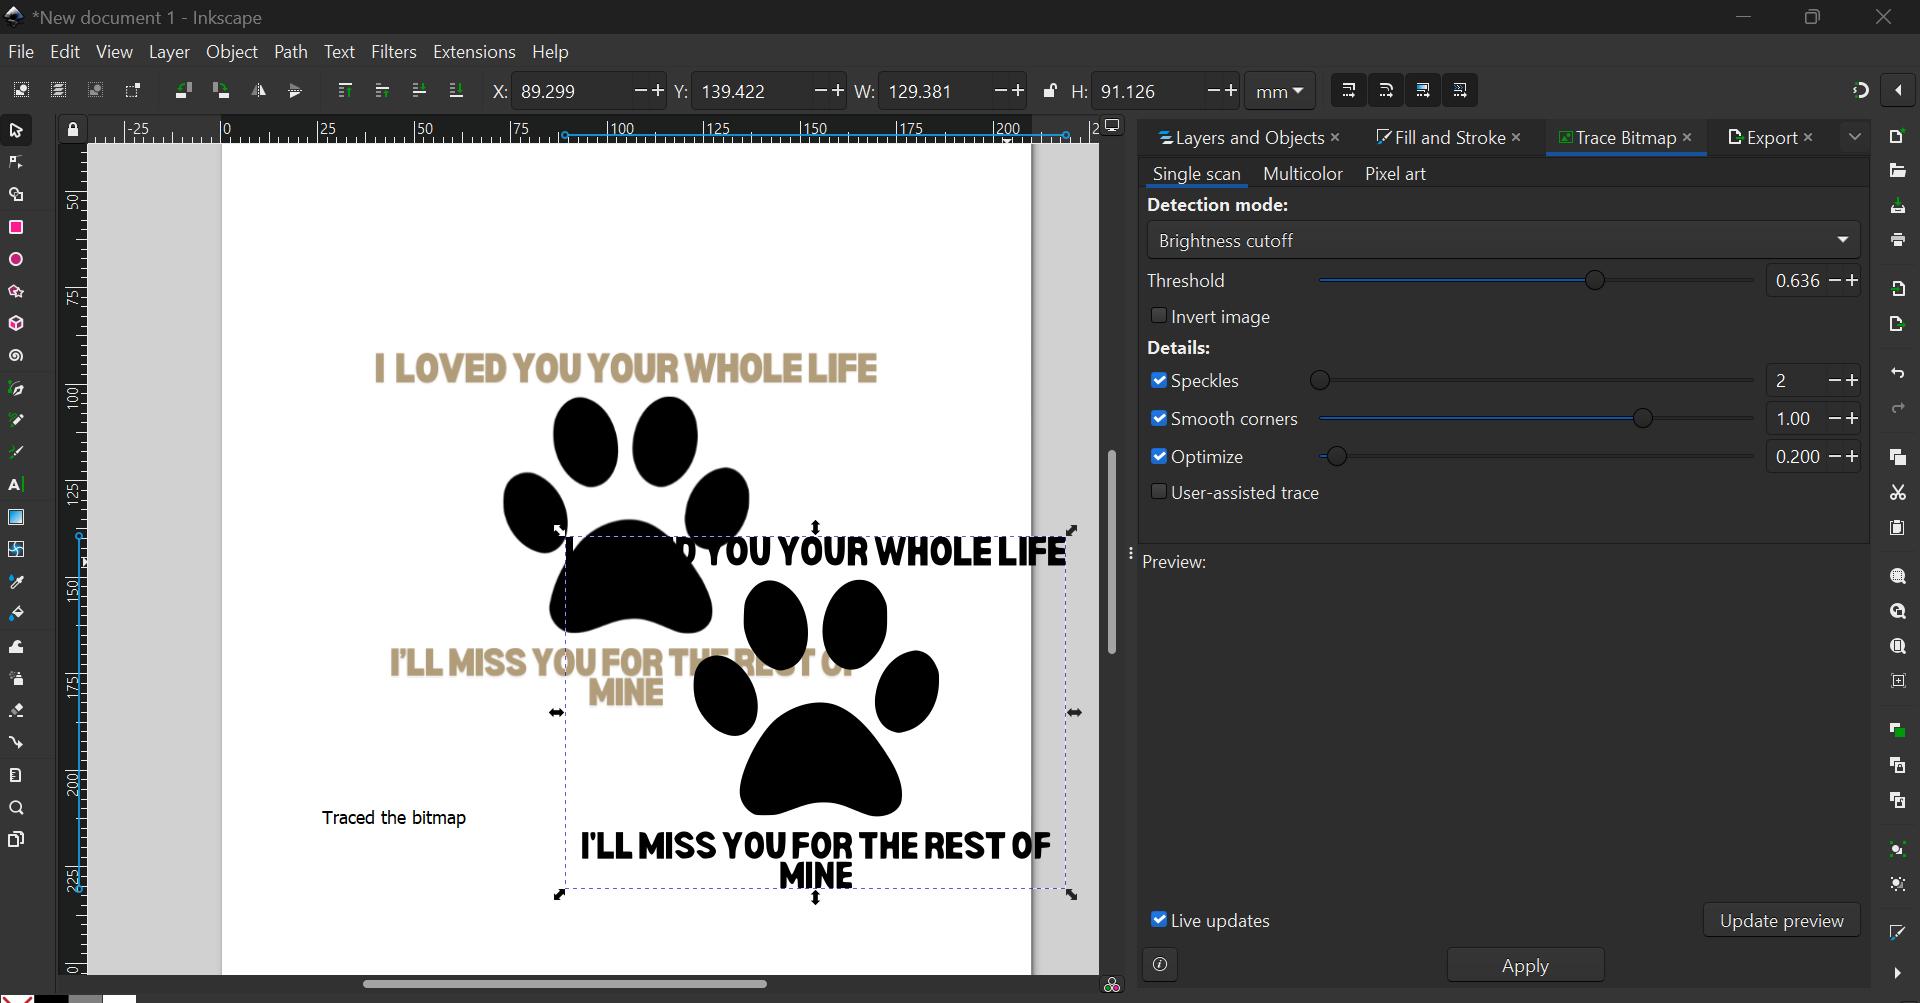
The design I chose to Screen print is a Dog!
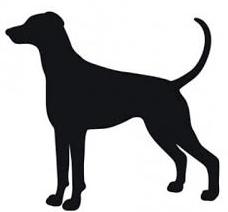
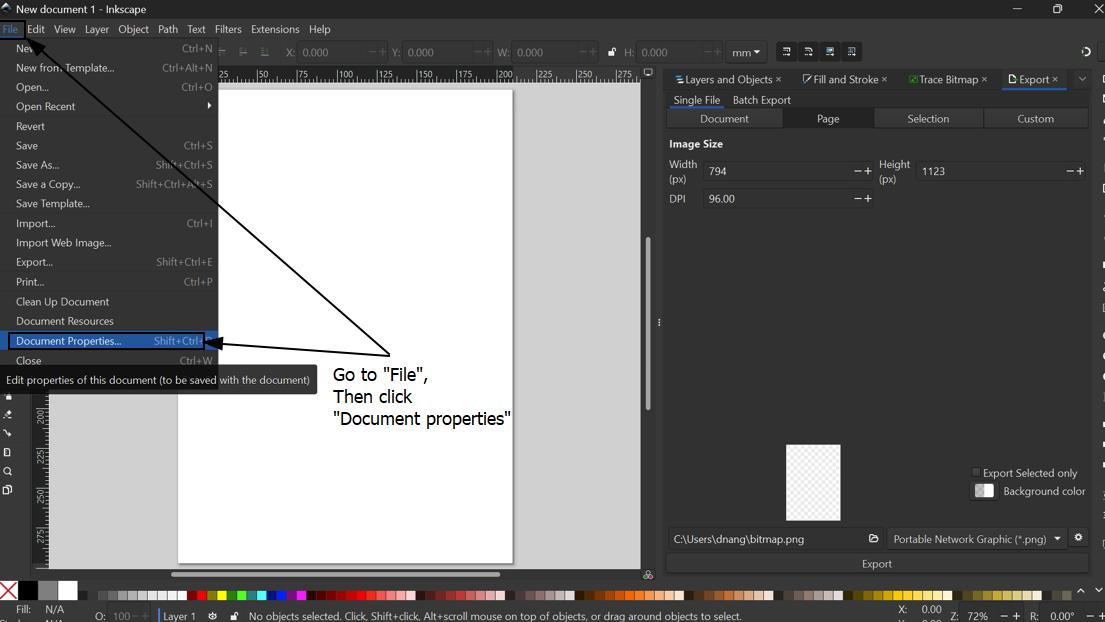
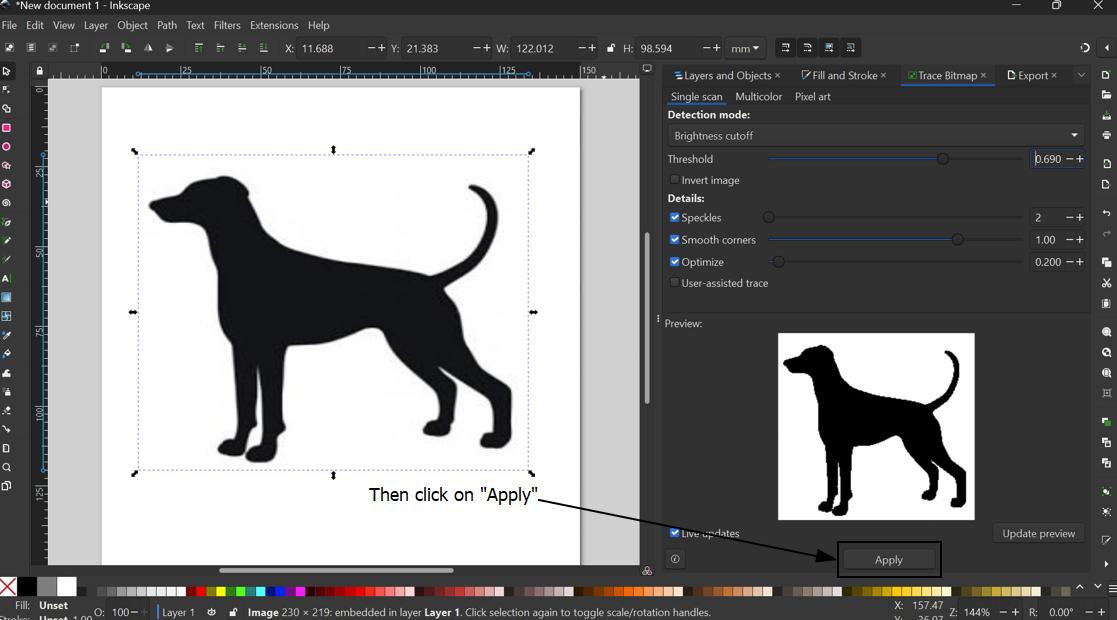
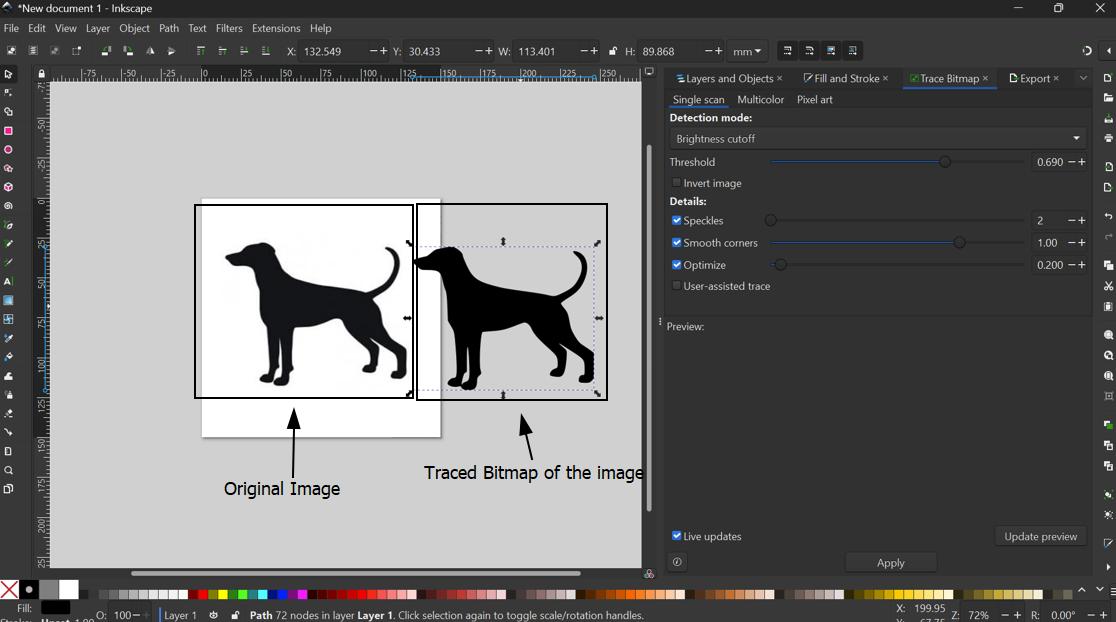
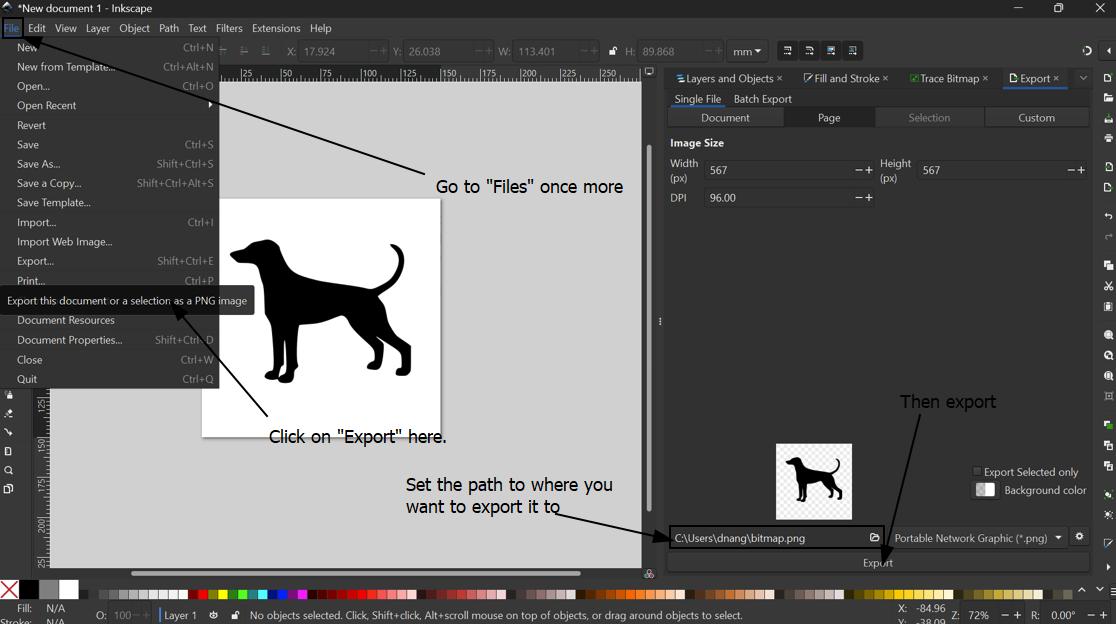
I simply used inkscape to trace the bitmap of the image above
You can also refer to my week 2 documentation on using the Inkscape software
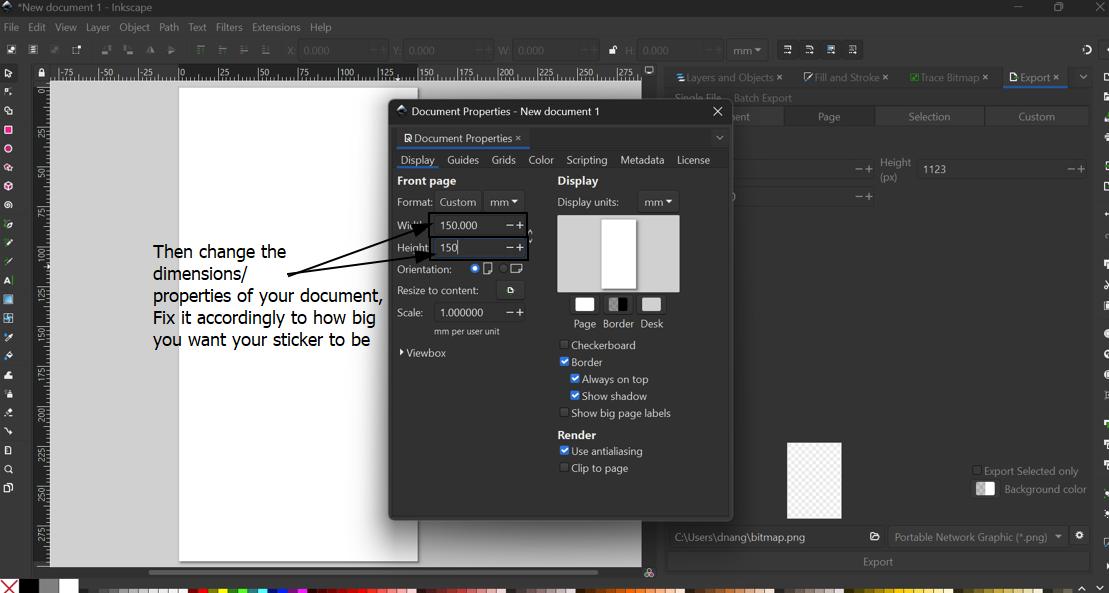
Below are the steps I took to creating it

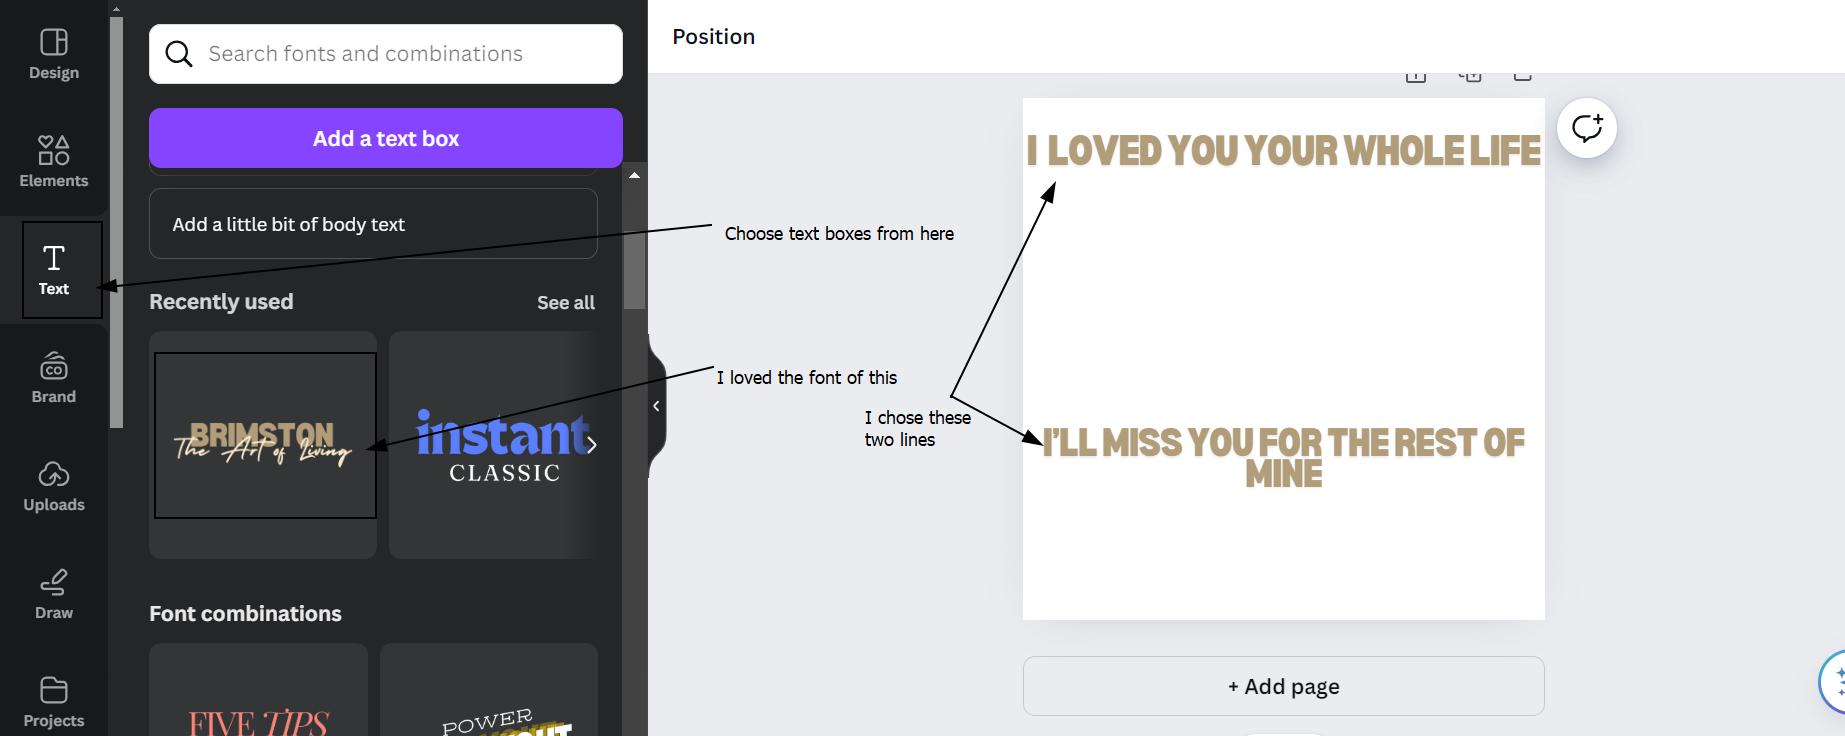
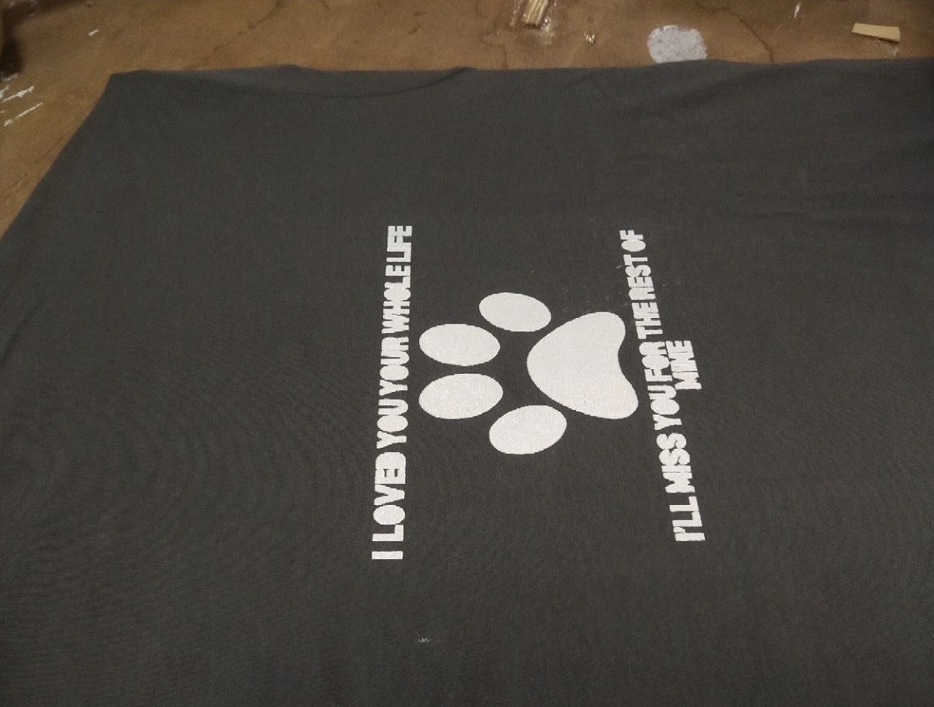
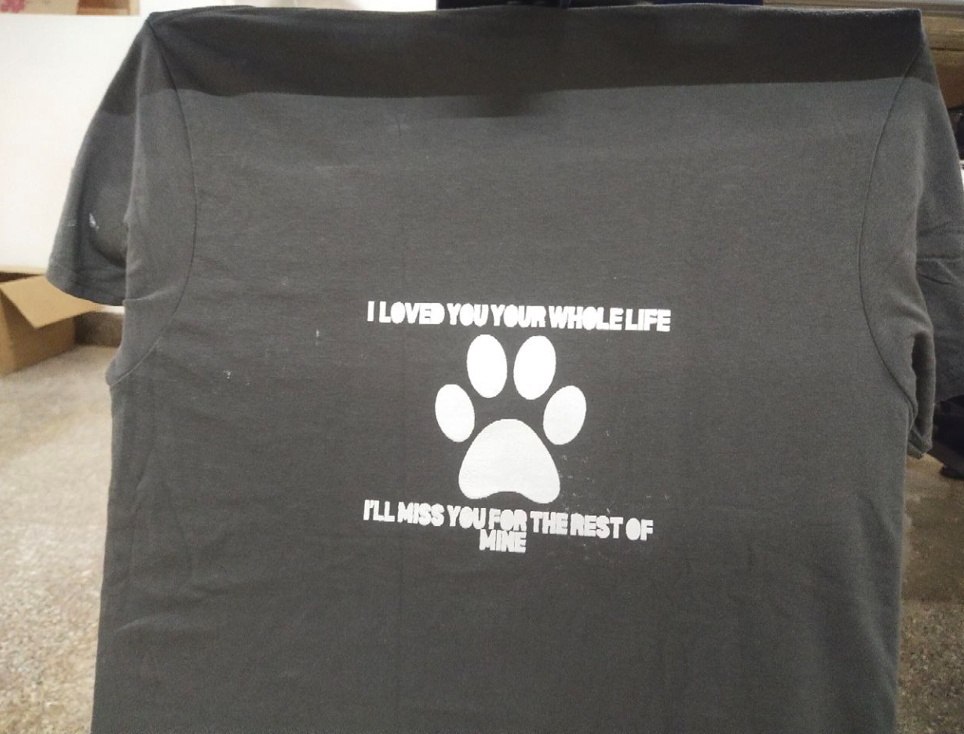
This is going to be in front of my shirt, but I wanted something on the behind of the shirt.
So I chose my most favorite quote that reminds me of my dog. which is "I loved you your life, I'll miss you for the rest of mine"
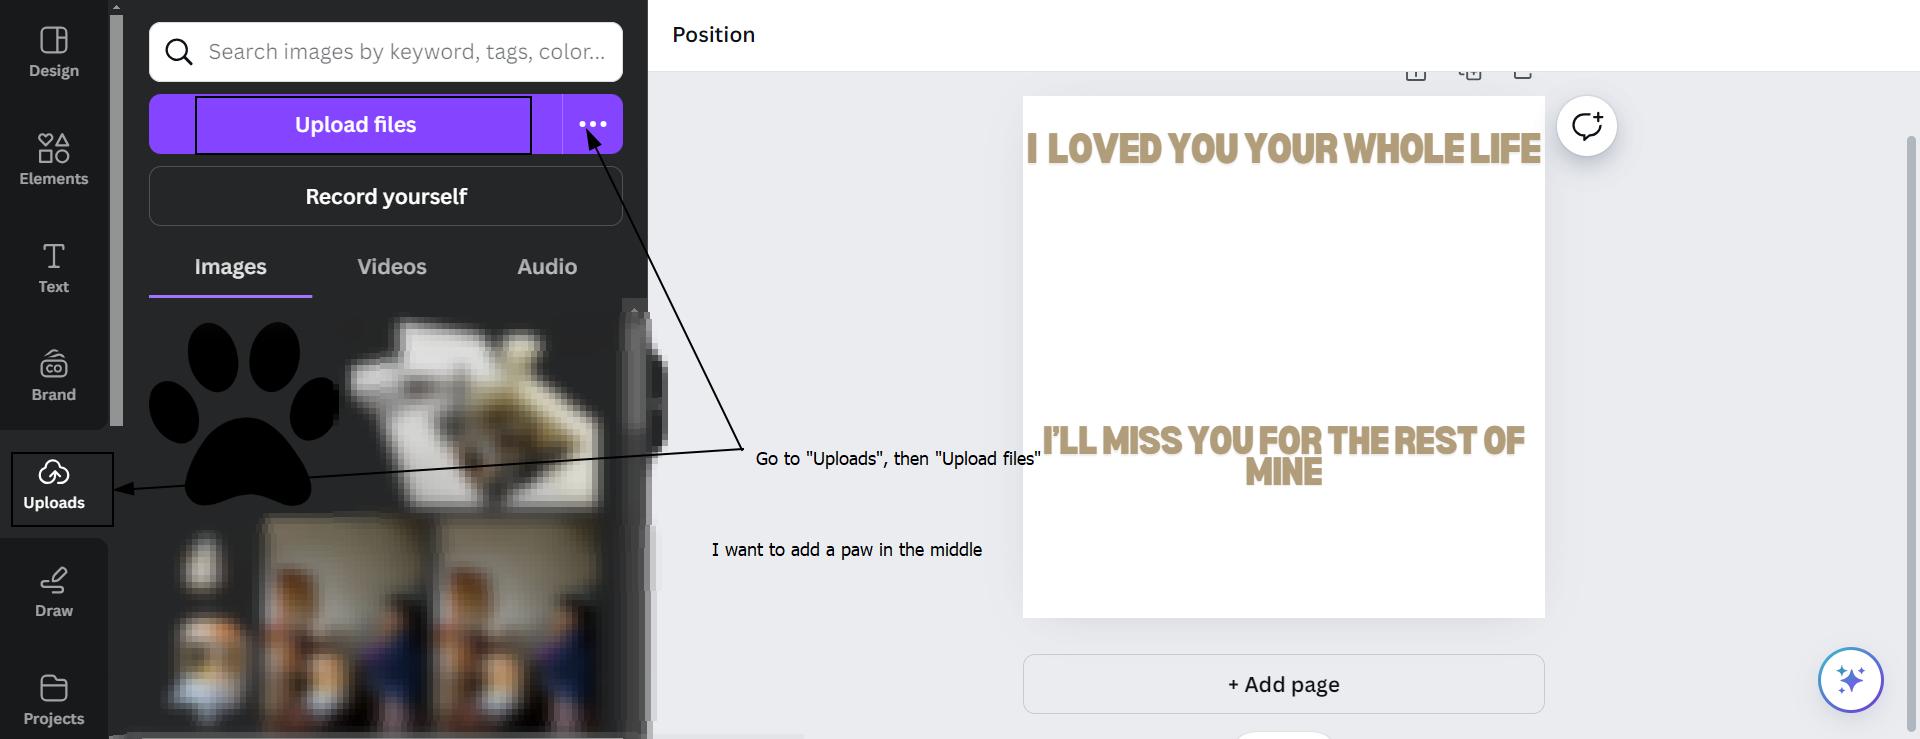
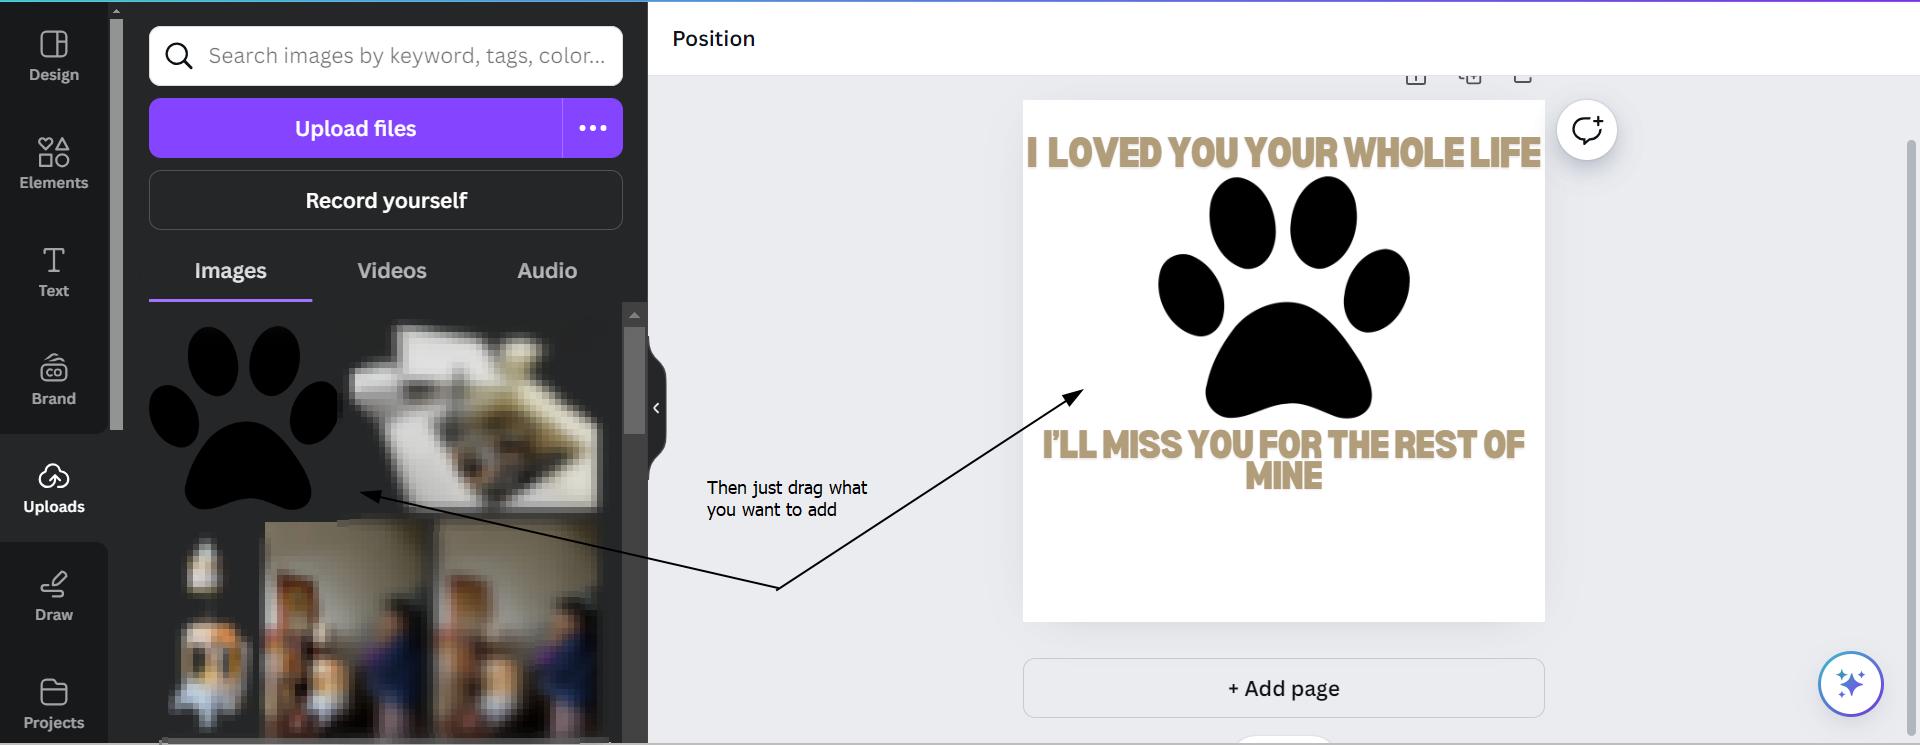
But in my opinion without a paw print this quote is not complete. So I decided to go with the image below and my quote to fulfill the requirements of the assignments.

Vinyl Cutter
For a more detailed description on how to use the Vinyl Cutter, please refer to my week 3 documentation
The Roland CAMM-1 GS-24, also known as a vinyl cutter, is used to precisely cut designs, shapes, and lettering from vinyl sheets or rolls. It operates by following digital designs created in vector graphics software. Instead of printing, it uses a sharp blade to cut out the design from the vinyl while leaving the backing sheet intact. After cutting, excess vinyl is peeled away, leaving the design ready to be applied to surfaces like walls, windows, or clothing.
How to Use a Vinyl Cutter:
- Design Preparation: Create or import your design into cutting software like Inkscape or Gimp. Ensure the design fits within the cutting area and is scaled correctly.
- Vinyl Selection: Choose the appropriate vinyl material for your project, considering factors like adhesive strength or heat transfer capability.
- Setting Up the Cutter:
- Adjust the cutter settings such as cut depth, cut pressure, and cut speed based on the type and thickness of the vinyl.
- Perform a test cut on a small piece of vinyl to ensure the settings are correct before cutting the full design.
- Cutting Process:
- Send the design to the vinyl cutter from your computer.
- Monitor the cutting process to ensure the vinyl is being cut accurately and without issues like material movement.
- Weeding: After cutting, use a weeding tool to remove the excess vinyl from around and inside the design. This process is crucial for preparing the design for transfer.
- Applying the Design:
- Use transfer tape to lift the design from its backing sheet.
- Carefully apply the vinyl design to the desired surface, ensuring it is smooth and free of air bubbles.
- Final Touches: Smooth down the design to ensure adhesion, then carefully peel away the transfer tape, leaving the vinyl design securely applied.
Screen Printing!
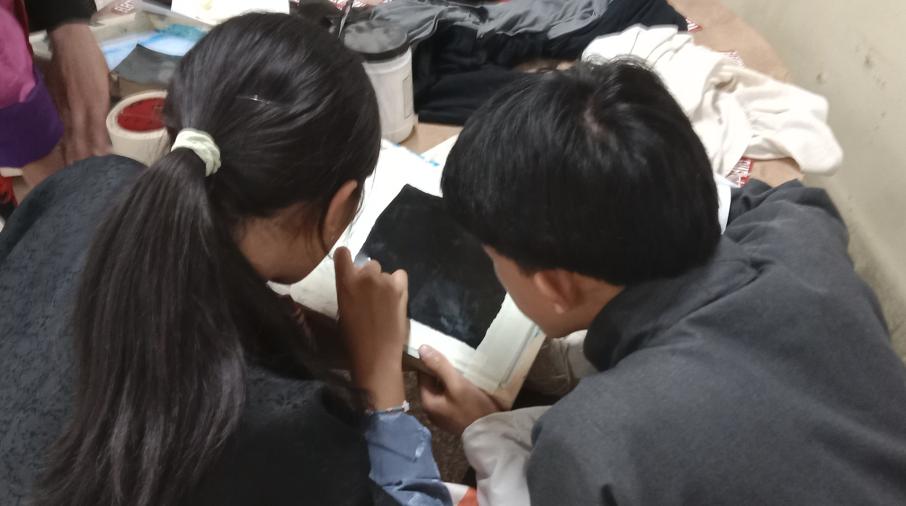
In the process of learning screen printing, we gained valuable insights and skills as a group, exploring the art of transferring designs onto various surfaces.
Glimpses of us learning how to screen print


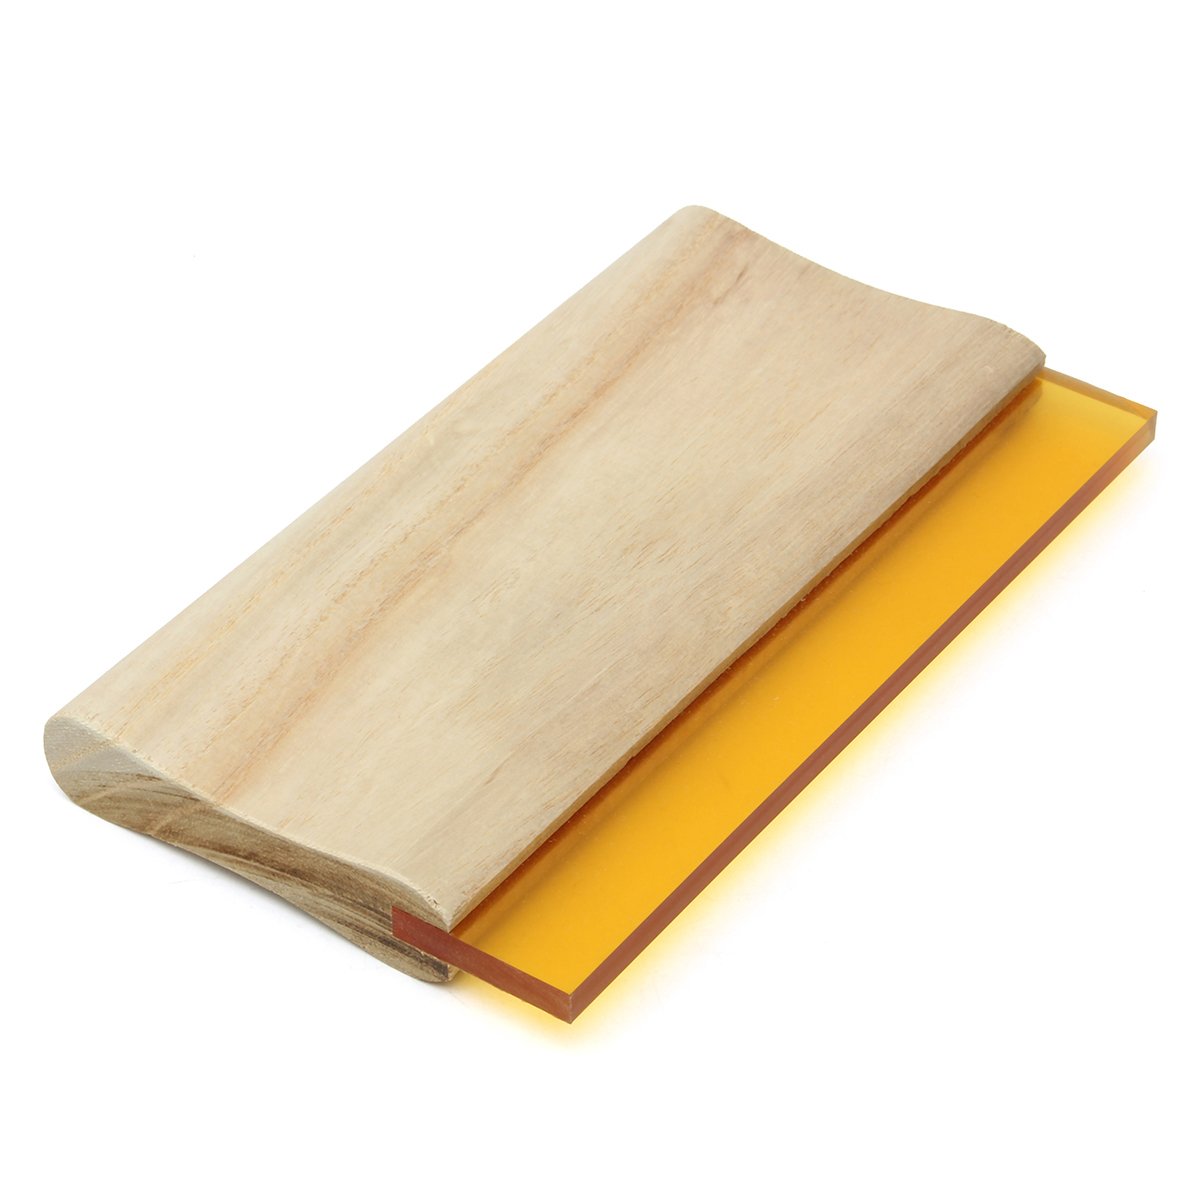
Key Components
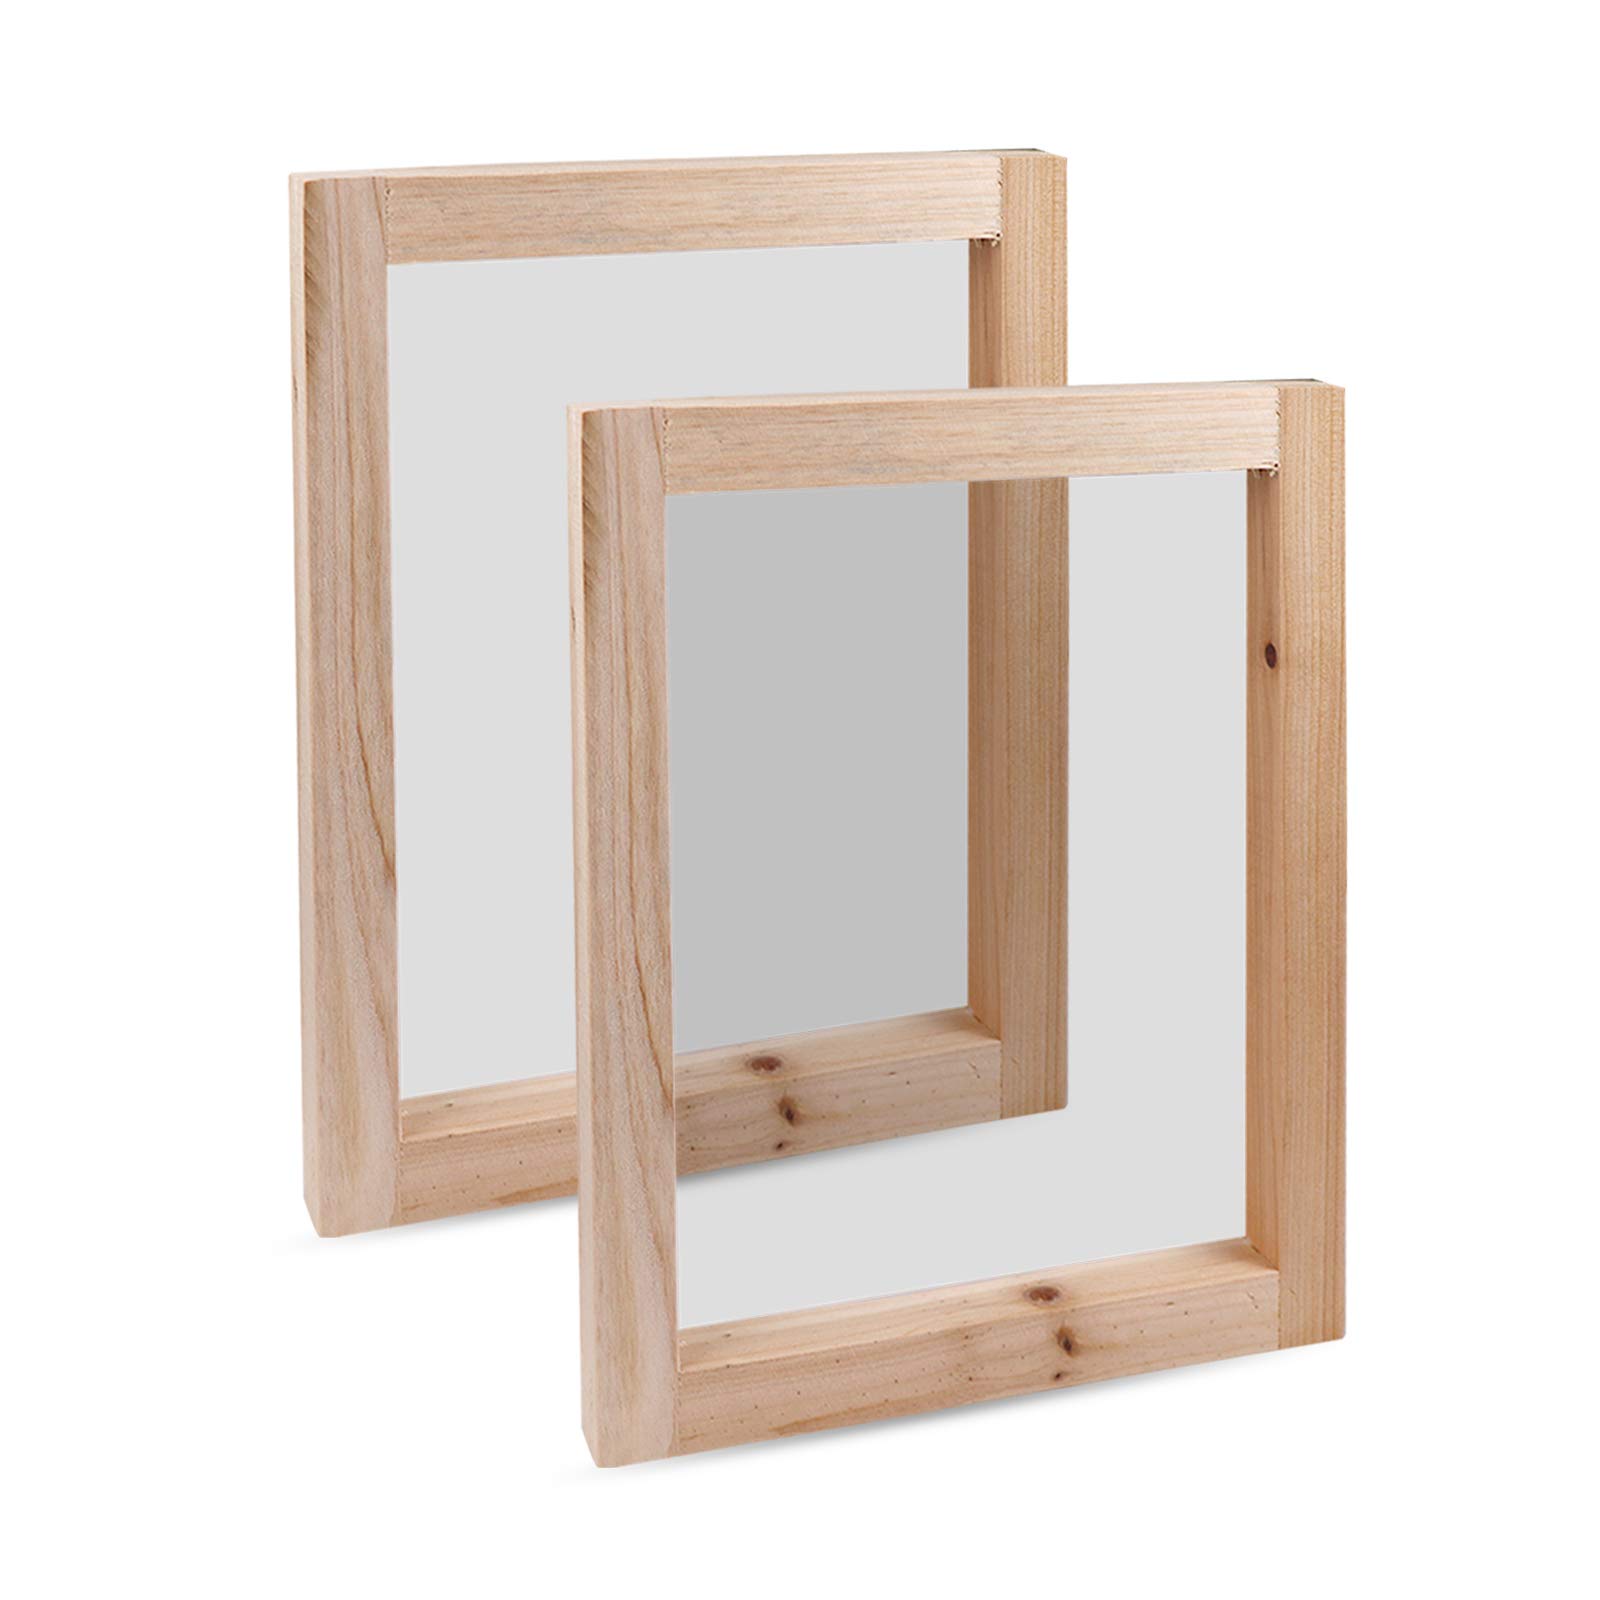
Before anything else, I apologize for not having photos of my own screen printing process. We all learned and printed our designs together simultaneously, and I forgot to capture my own steps. Below are images we used collectively, reflecting our collaborative effort and teamwork.
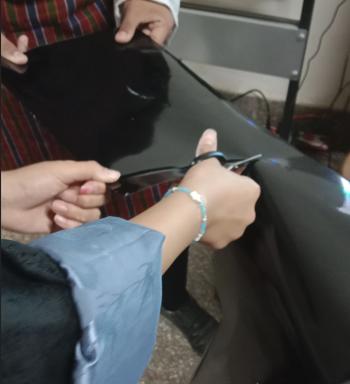
Now the process of Screen Printing!
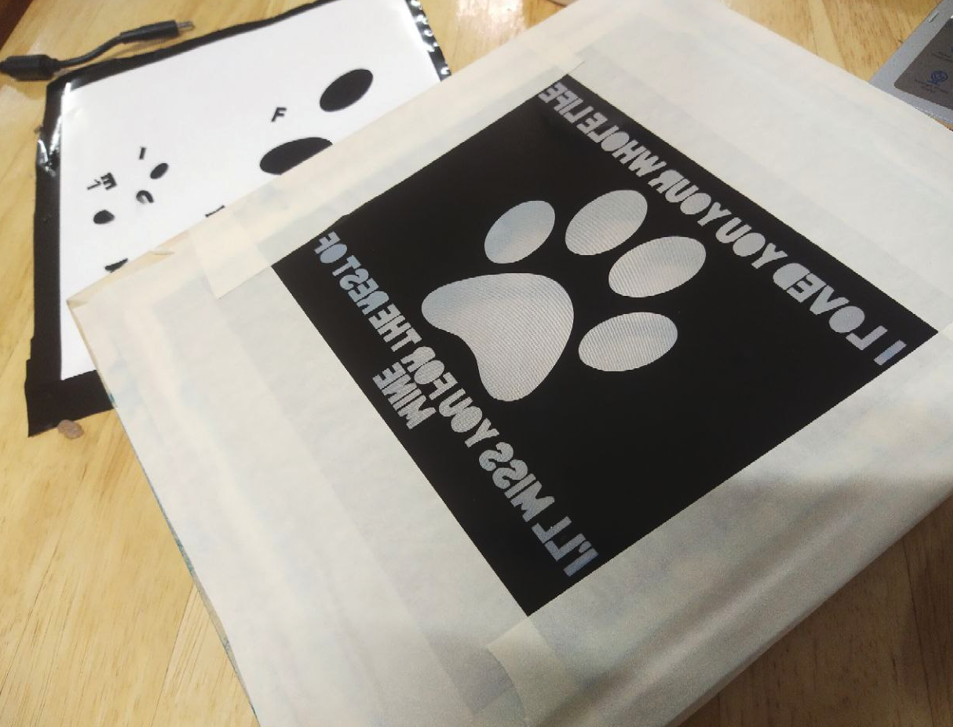
After printing the sticker, carefully cut it out from the rest of the vinyl to prepare it for application onto the mesh screen of the silkscreen.
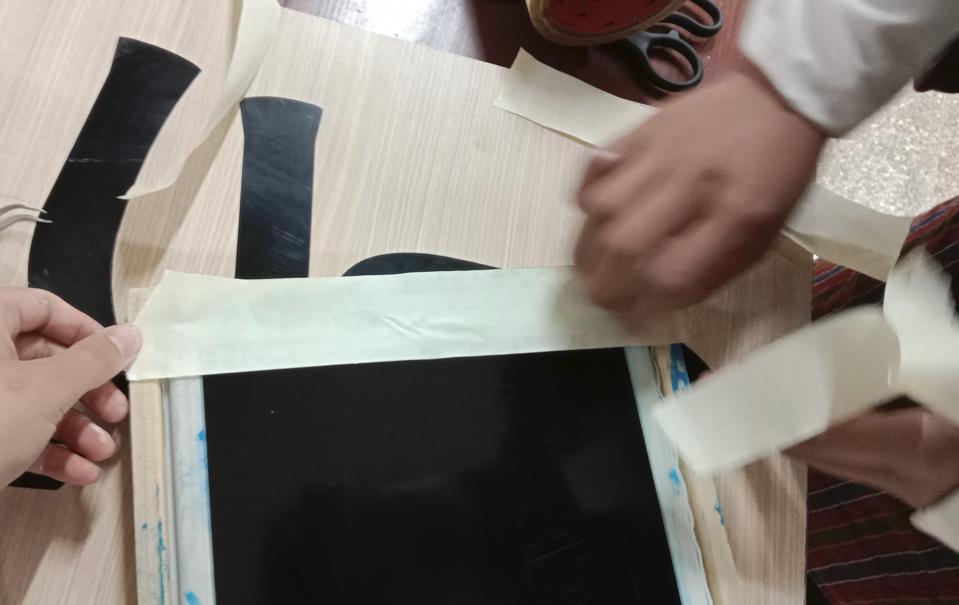
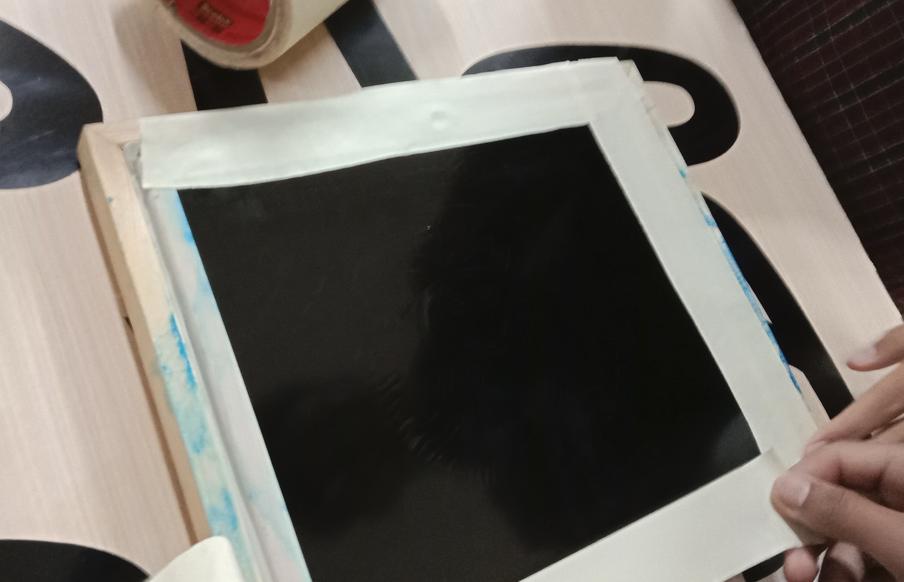
Adhere the sticker securely onto the wooden frame to prepare for screen printing, ensuring it is positioned accurately for the desired print placement.
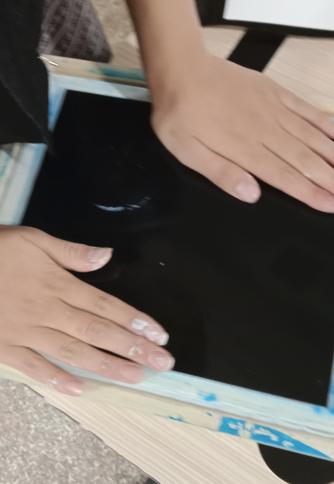
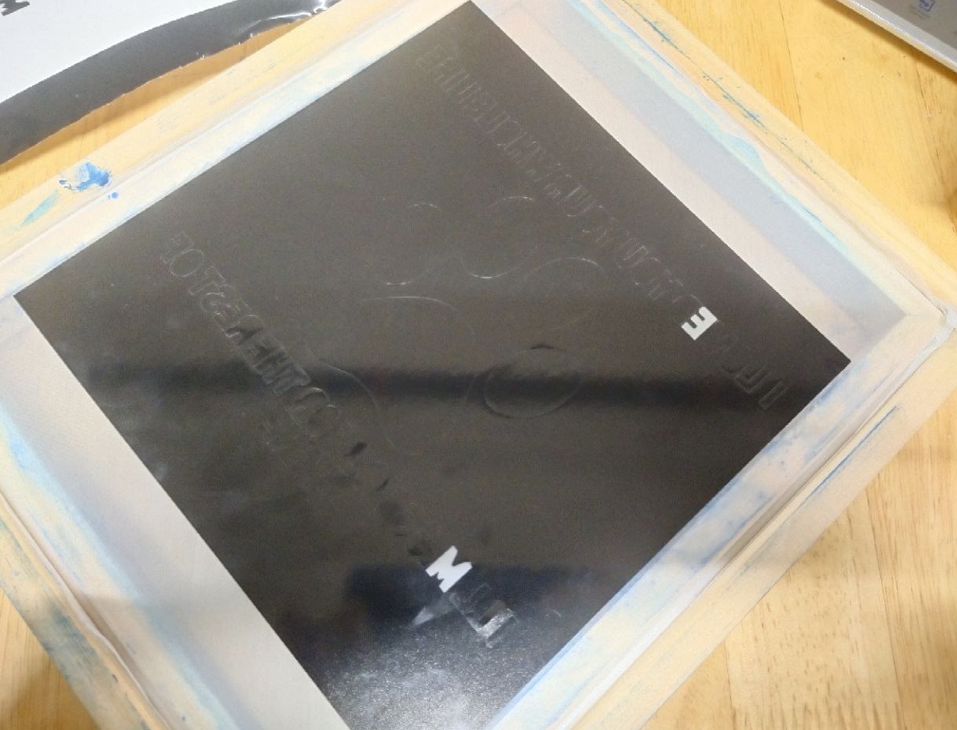
After printing the sticker, adhere it to the mesh screen of the silkscreen. Apply masking tape around the edges of the frame to seal them, preventing paint from leaking out during printing.
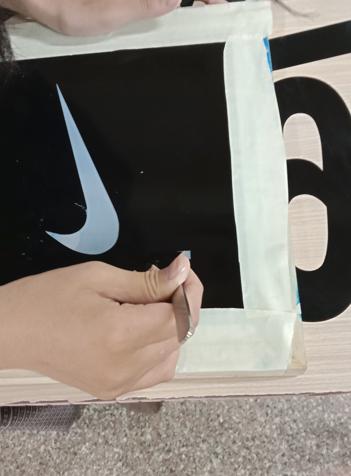
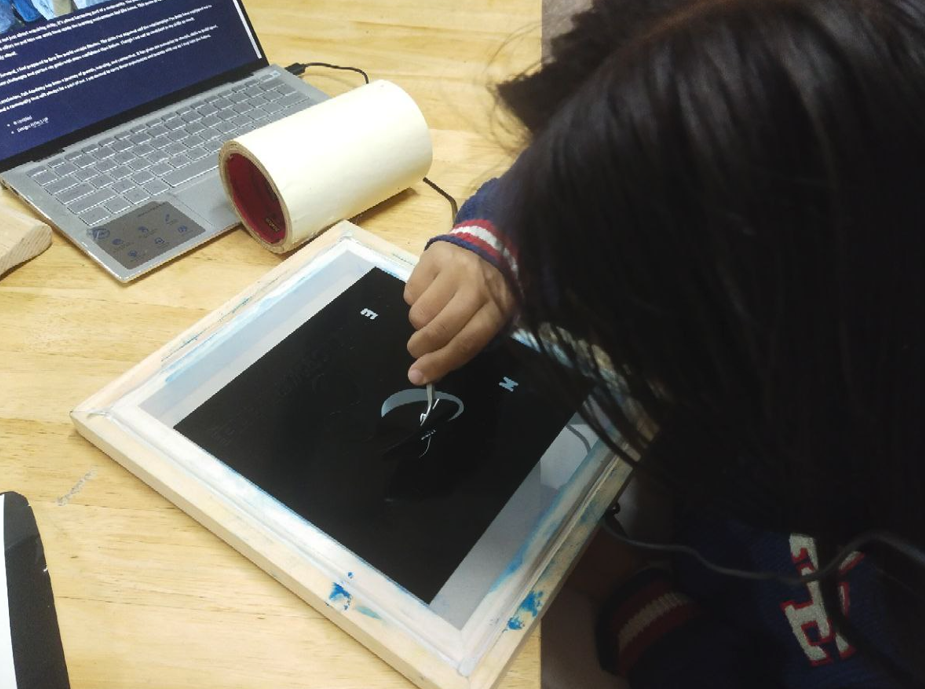
remove the main part from the design to create a stencil that allows the paint to cover the desired areas during screen printing.
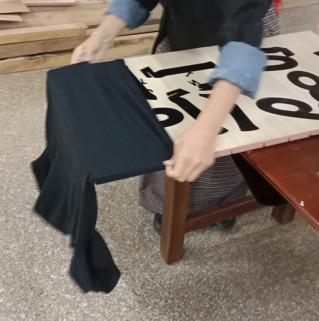
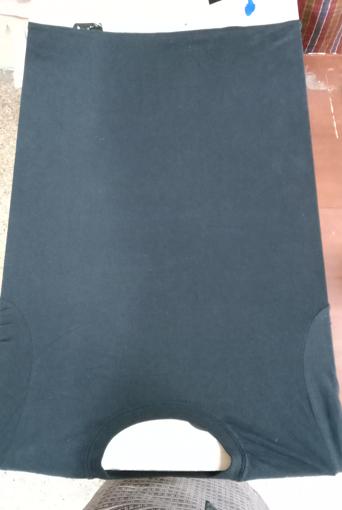
To prevent the ink from soaking through the fabric and reaching the backside of your shirt during screen printing, place a piece of wood inside the shirt. This helps maintain a flat surface and creates a barrier that ensures the ink only transfers onto the front of the shirt where the stencil is applied.
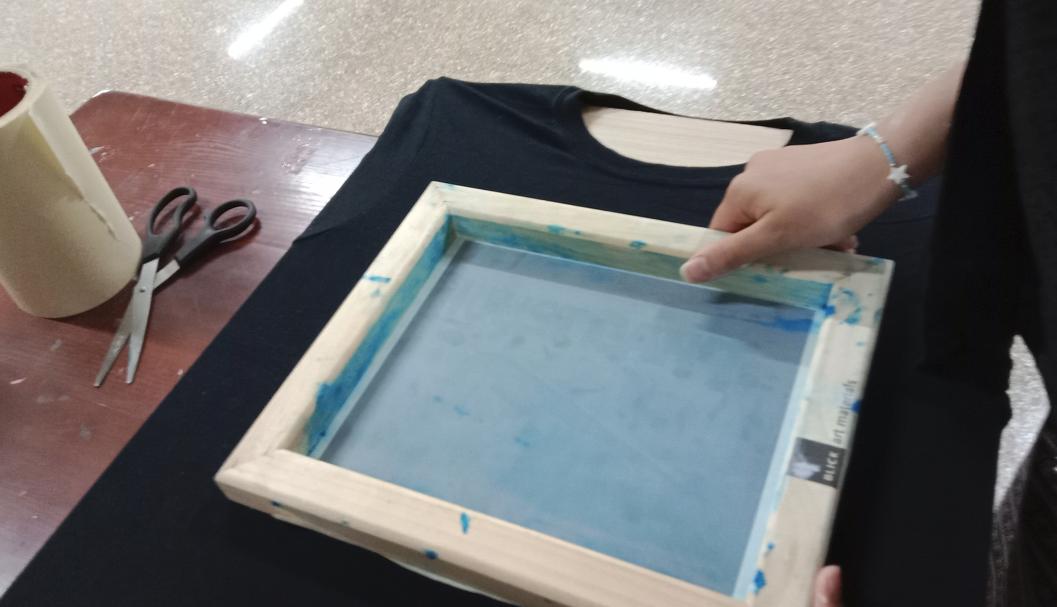
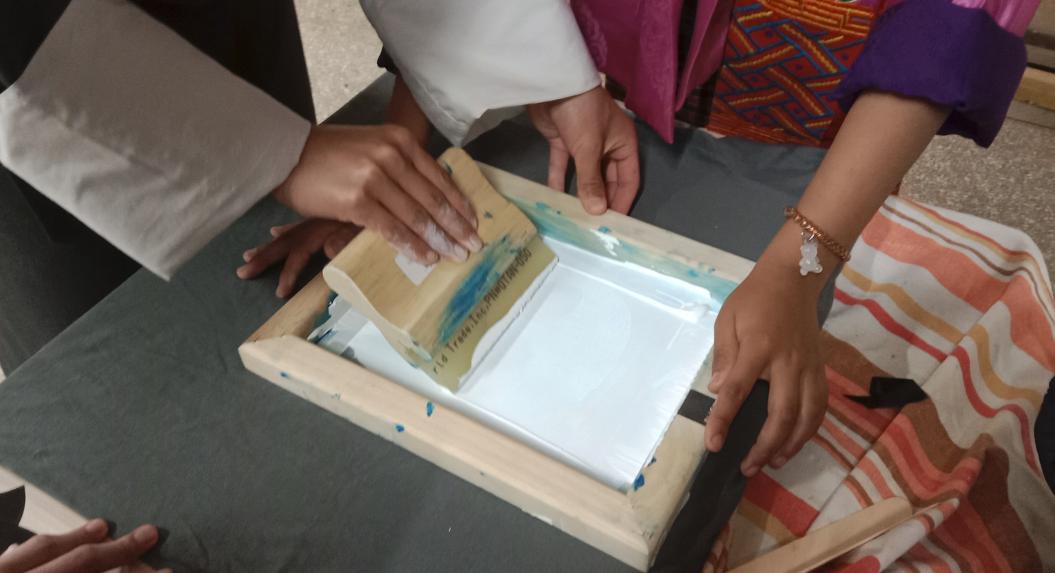
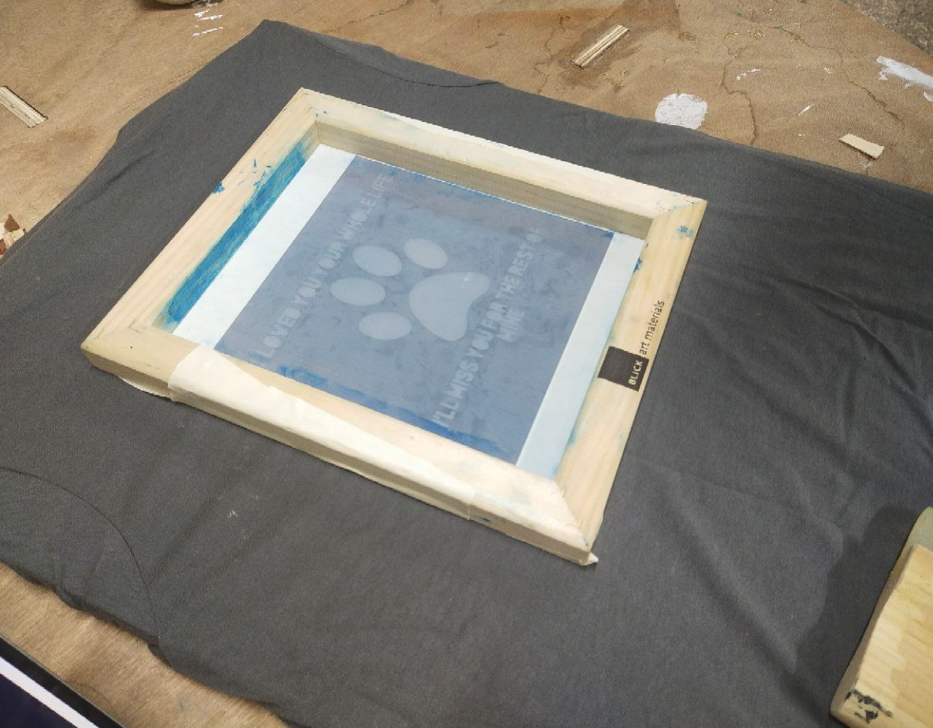
Position the frame securely over the area where you intend to screen print the design, ensuring it is aligned precisely to achieve accurate placement and consistent results.
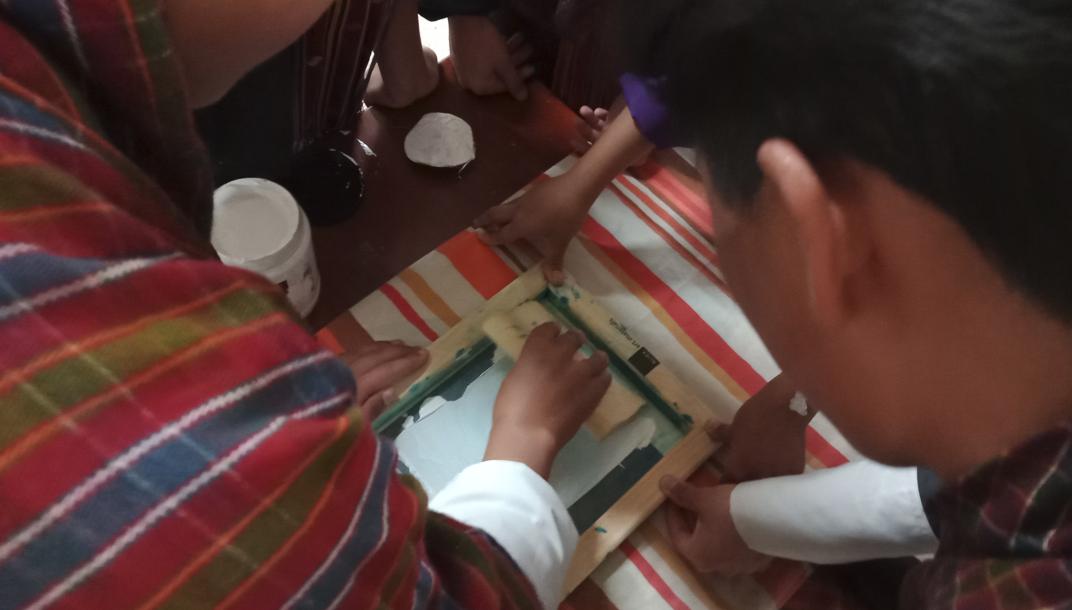
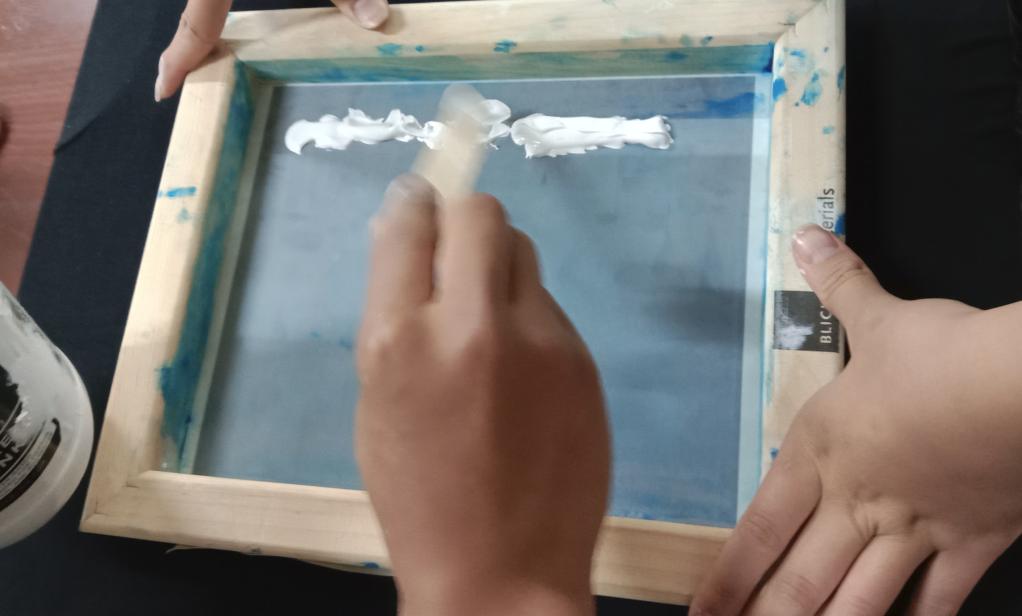
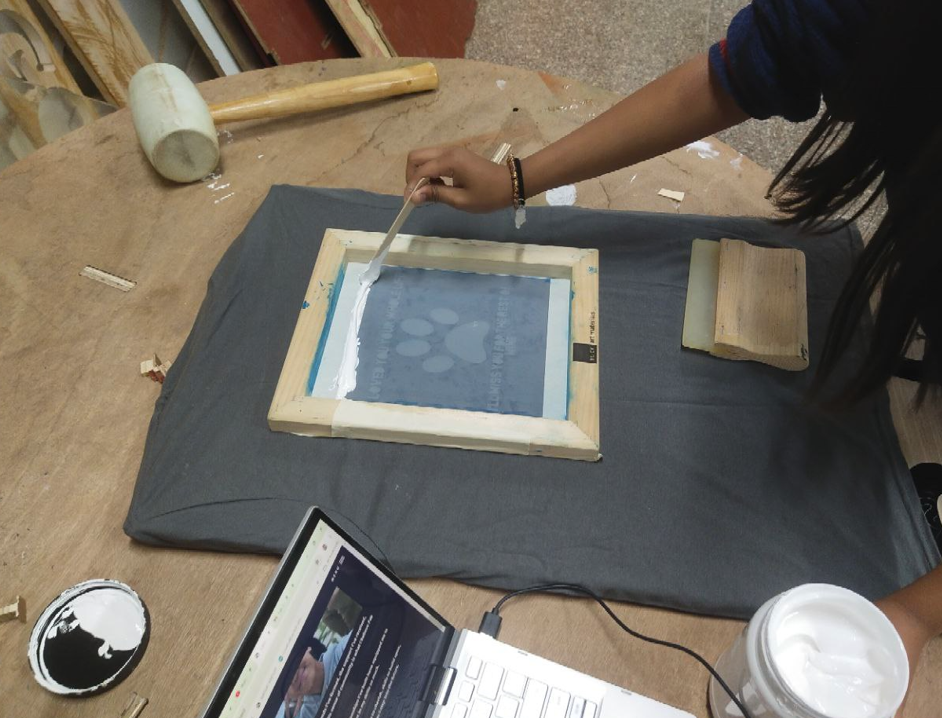
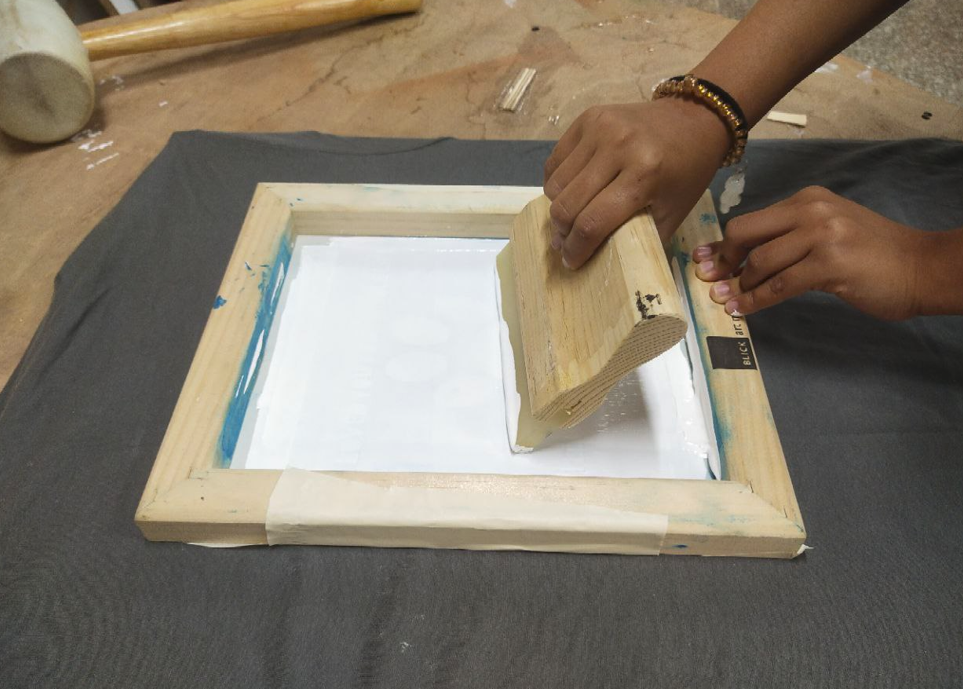
To prepare for screen printing, apply a line of screen printing ink along the top edge of the design area on the screen. This step ensures that when you pull the squeegee across the screen, the ink will evenly coat the mesh and transfer onto the printing surface below. The ink should be applied in a straight and consistent line, allowing for smooth and uniform distribution during the printing process. This initial application of ink helps prime the screen and ensures that the design transfers accurately and cleanly onto your chosen material.
Use a squeegee to evenly spread the ink across the design by applying consistent pressure while pulling the squeegee from one side of the screen to the other. This action ensures that the ink fills the open areas of the stencil on the screen, transferring the design smoothly onto the printing surface below.
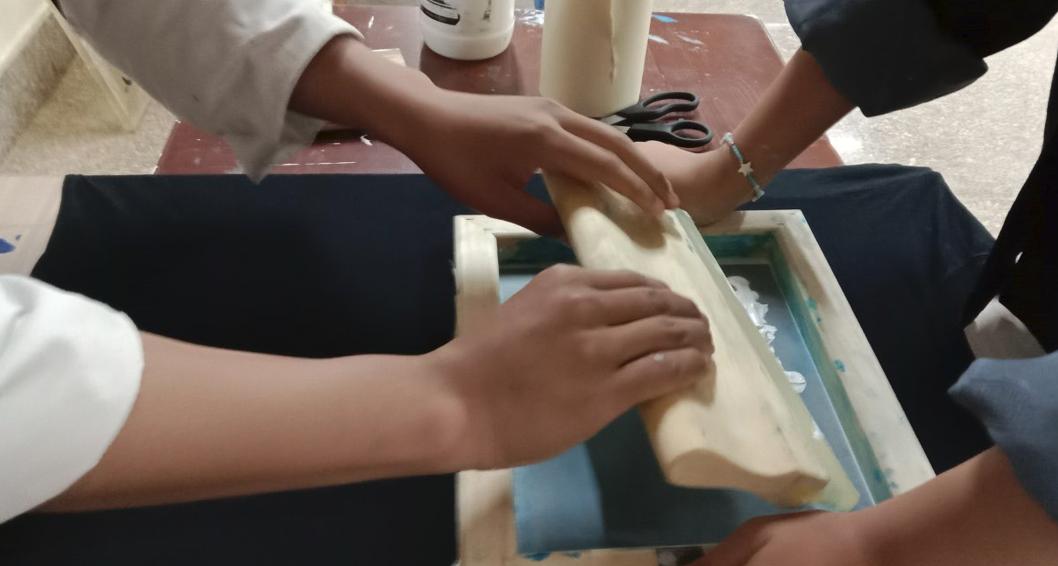
Ensure thorough coverage across the entire design to achieve vibrant and consistent prints.
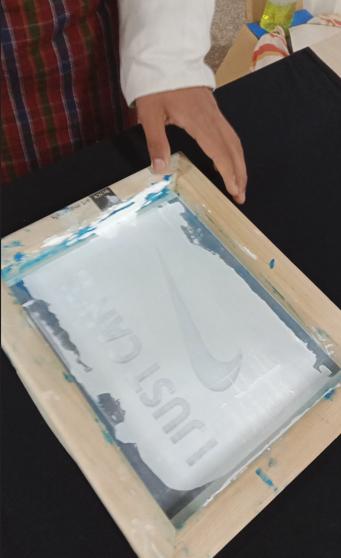
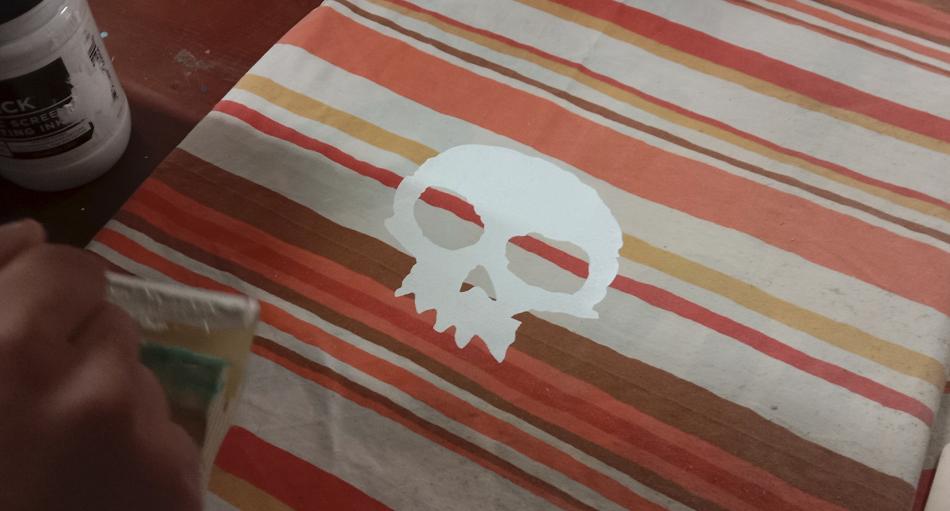
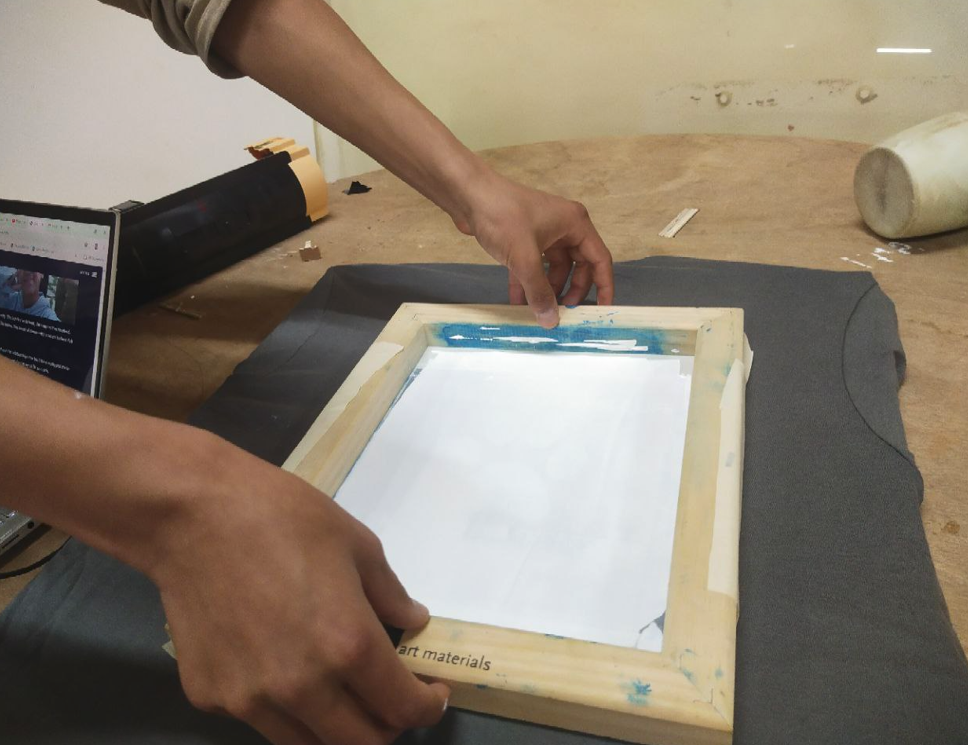
Raise the screen carefully to reveal the printed design transferred onto the substrate, showing the final result of your screen printing process.
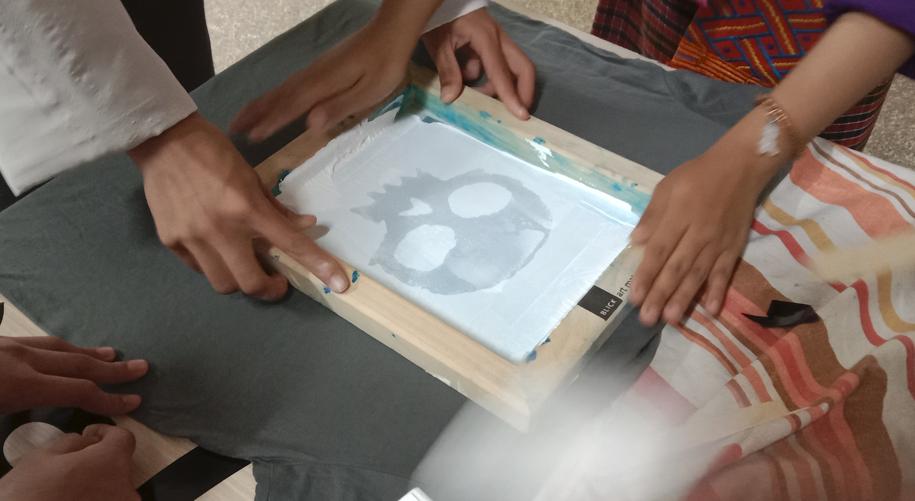
The following images display the vibrant outcome of our collaborative screen printing project, showcasing the results of our shared effort and teamwork.
And most importantly my learning of this week.
The other side of the shirt
Like before, First start by pasting the sticker on the frame
remove the main part from the design to create a stencil that allows the paint to cover the desired areas during screen printing.
After printing the sticker, adhere it to the mesh screen of the silkscreen. Apply masking tape around the edges of the frame to seal them, preventing paint from leaking out during printing.
Position the frame securely over the area where you intend to screen print the design, ensuring it is aligned precisely to achieve accurate placement and consistent results.
To prepare for screen printing, apply a line of screen printing ink along the top edge of the design area on the screen. This step ensures that when you pull the squeegee across the screen, the ink will evenly coat the mesh and transfer onto the printing surface below. The ink should be applied in a straight and consistent line, allowing for smooth and uniform distribution during the printing process. This initial application of ink helps prime the screen and ensures that the design transfers accurately and cleanly onto your chosen material.
Use a squeegee to evenly spread the ink across the design by applying consistent pressure while pulling the squeegee from one side of the screen to the other. This action ensures that the ink fills the open areas of the stencil on the screen, transferring the design smoothly onto the printing surface below.
Raise the screen carefully to reveal the printed design transferred onto the substrate, showing the final result of your screen printing process.
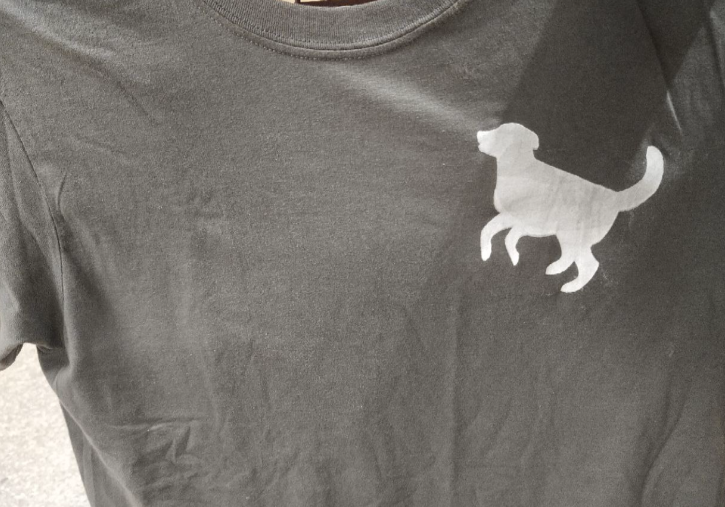
The Result
Front
Back
Reflection
Reflecting on this week's assignment, I learned about screen printing, blending digital design with hands-on crafting. Working with others helped us explore techniques for precise prints and vibrant outcomes. Though I didn't document my process, the shared experience taught me a lot about teamwork and problem-solving. This assignment deepened my skills in design and execution, showing how digital tools and traditional methods can create amazing results.