Week 5: 3D Scanning and Printing
-
Group assignment:
-
Test the design rules for your 3D printer(s)
-
Document your work on the group work page and reflect on your individual page what you learned about characteristics of your printer(s)
-
-
Individual assignment:
-
Design and 3D print an object (small, few cm3, limited by printer time) that could not be easily made subtractively
-
3D scan an object (and optionally print it)
-
Sections in page:
Printing learning:
The first thing this week was to start with testing the properties of the printer.
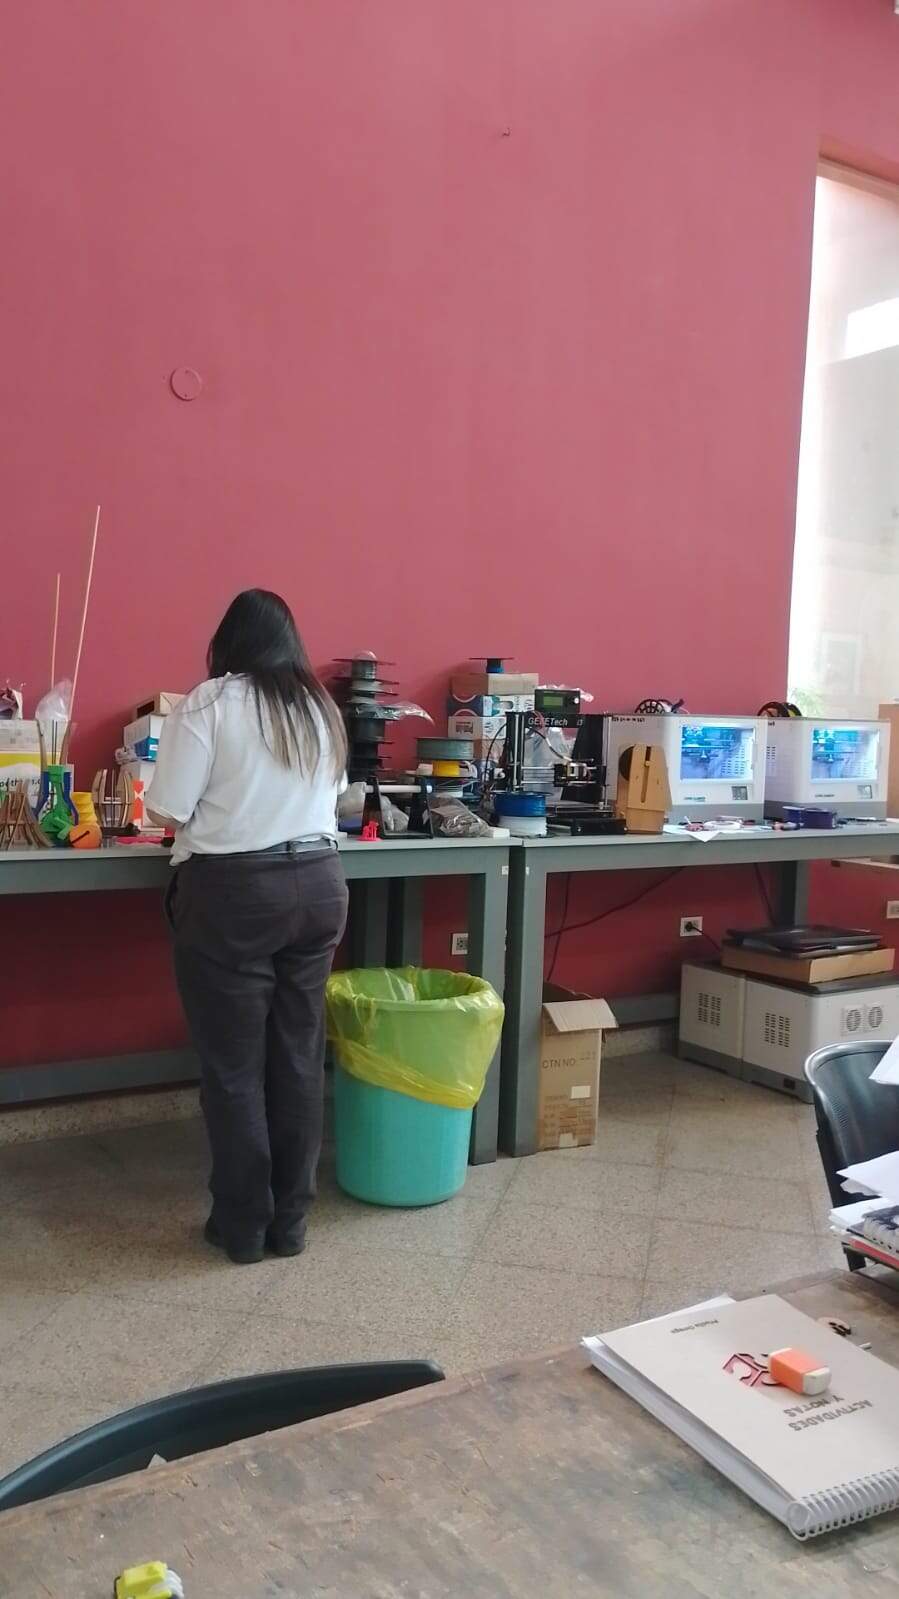
At the beginning of the week we only had one printer working from the apparent 4 that were in the lab before. This was a huge inconvenience to us all, cause we are 4, and all of us really wanted to test things and usually have the same working hours during the week.
Anyway, we tried to make it work by being teammates and taking into account everyone's needs.
First thing, the working printer in the lab is a FlashForge Dreamer model, so the software we have to use for it is FlashPrint.
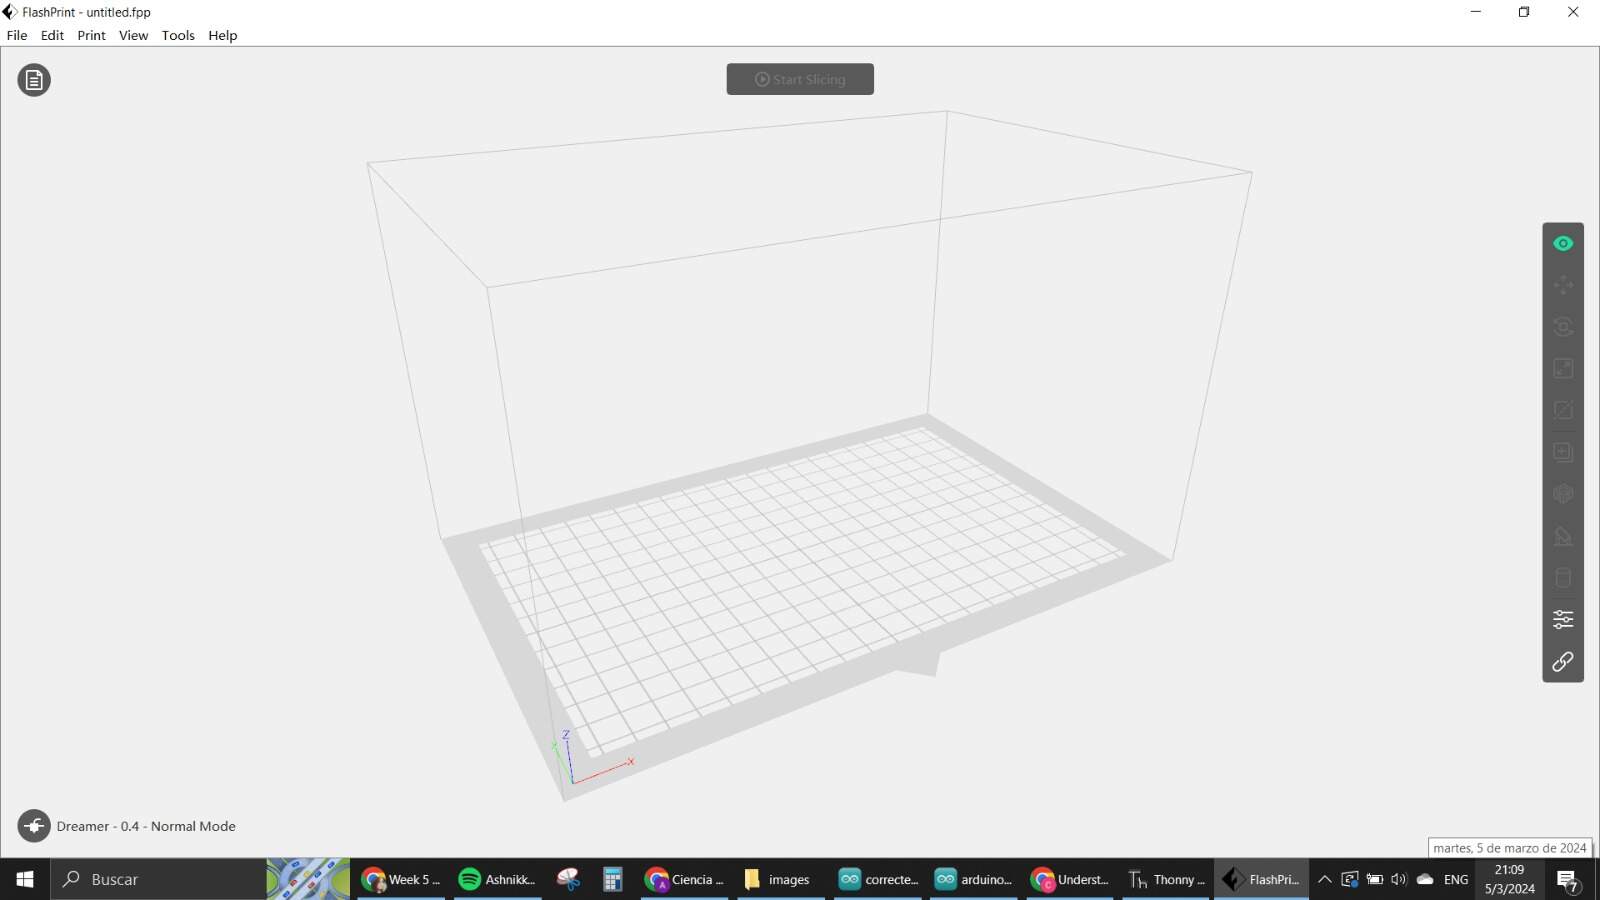
We installed it so we could start preparing our designs for the printing process and learn what are the most important properties we have to do for it.
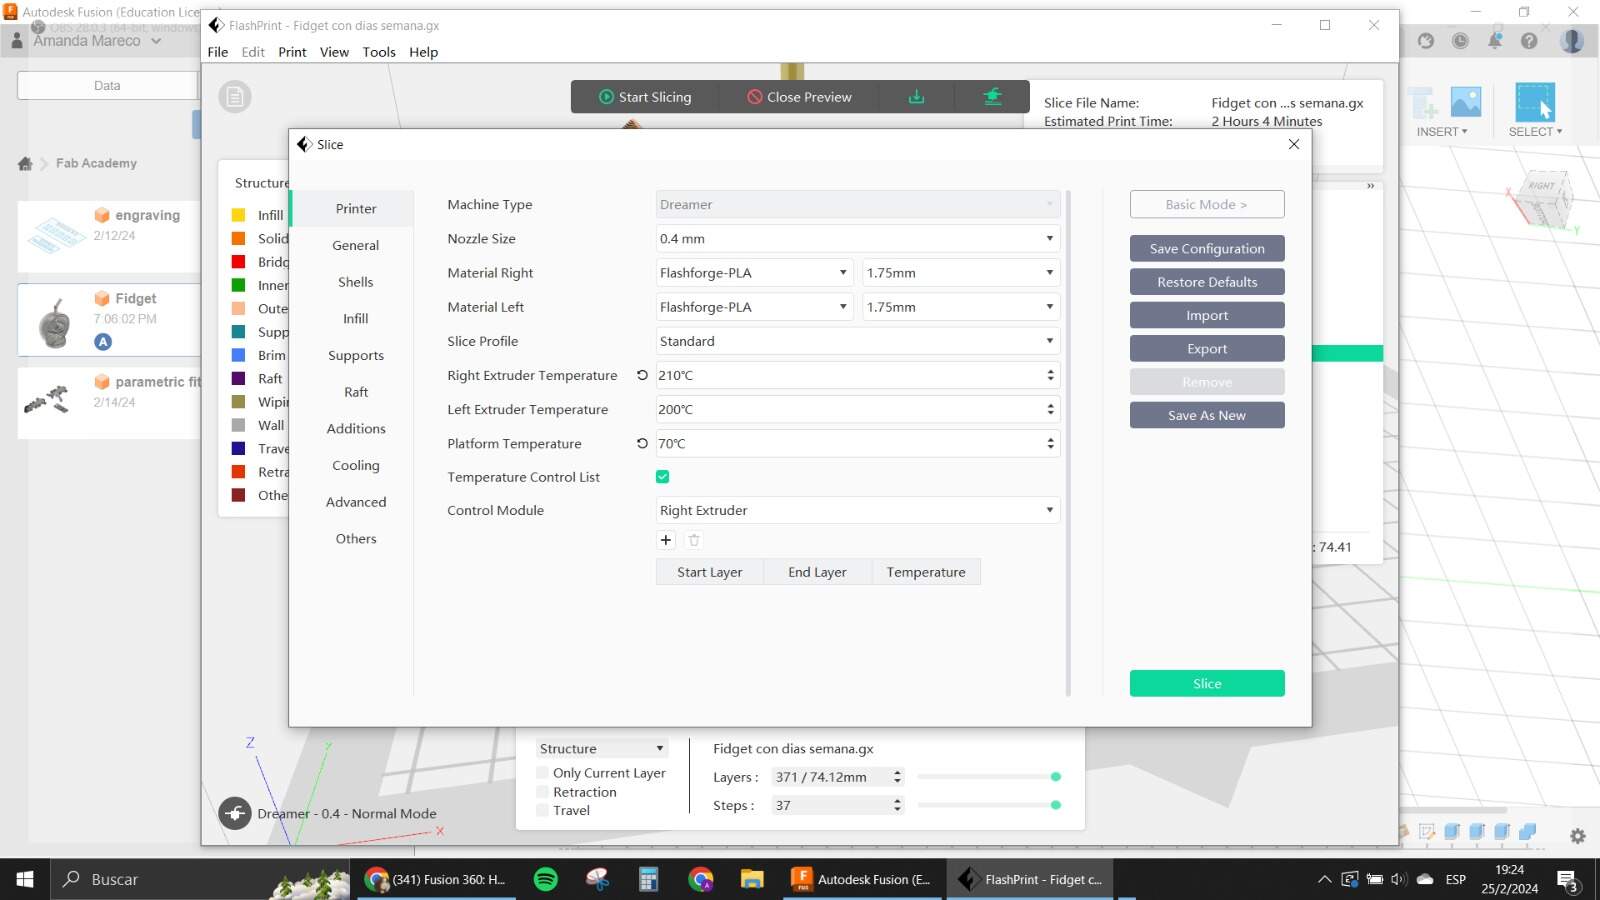
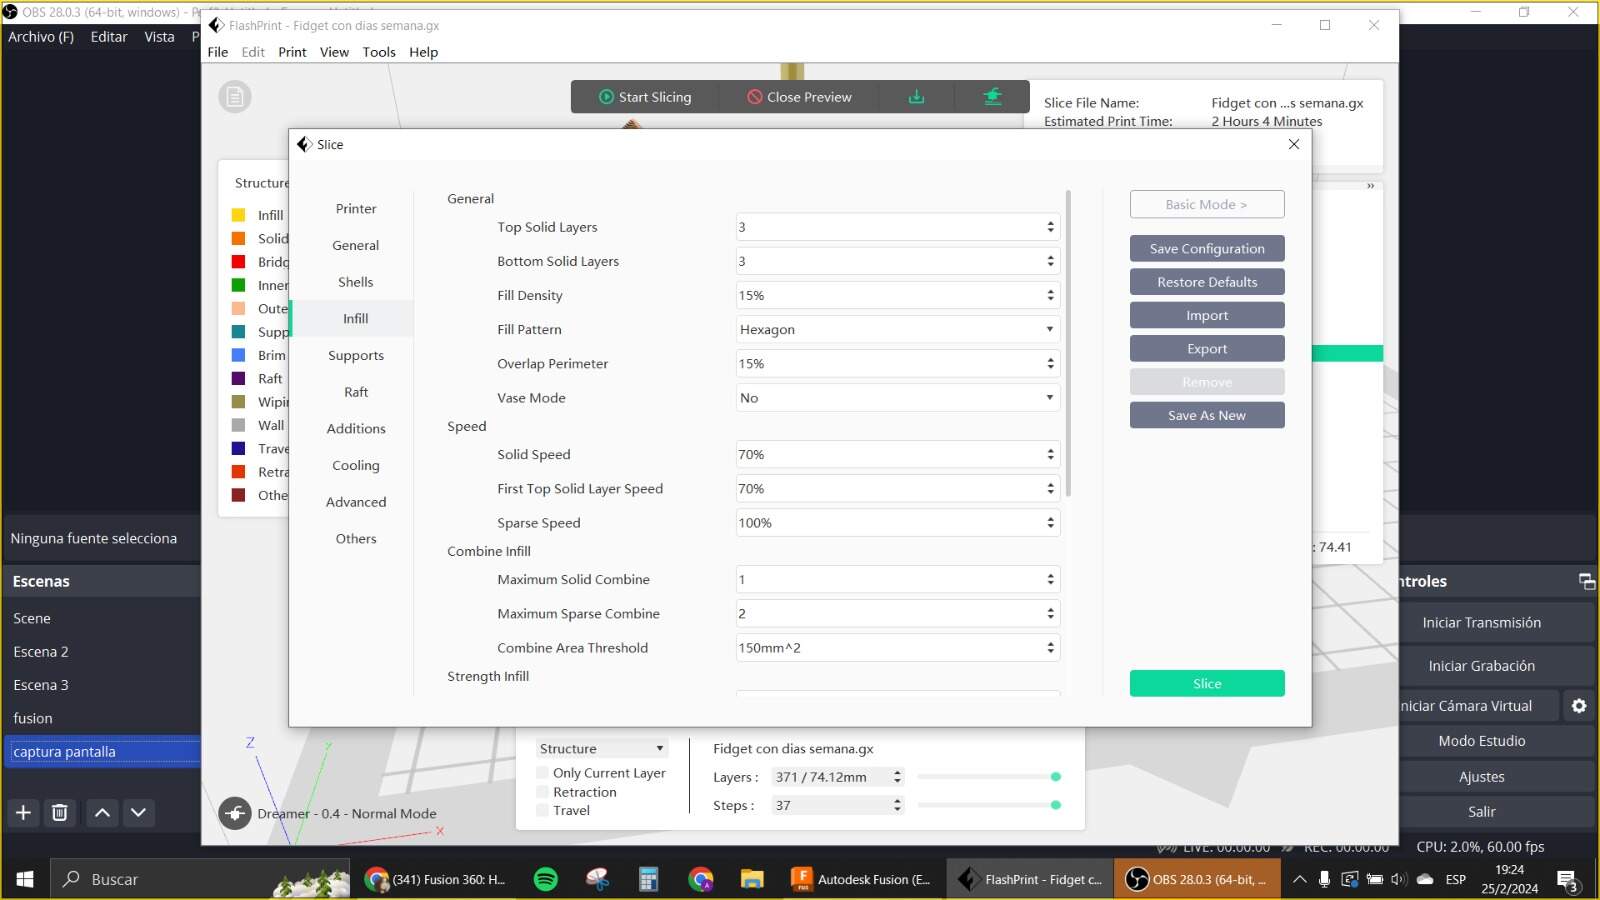
In short, what you really need to take into account to print are these things:
-
Nozzle and bed temperature according to the material (for PLA usually 200° for Nozzle and 70° for bed).
-
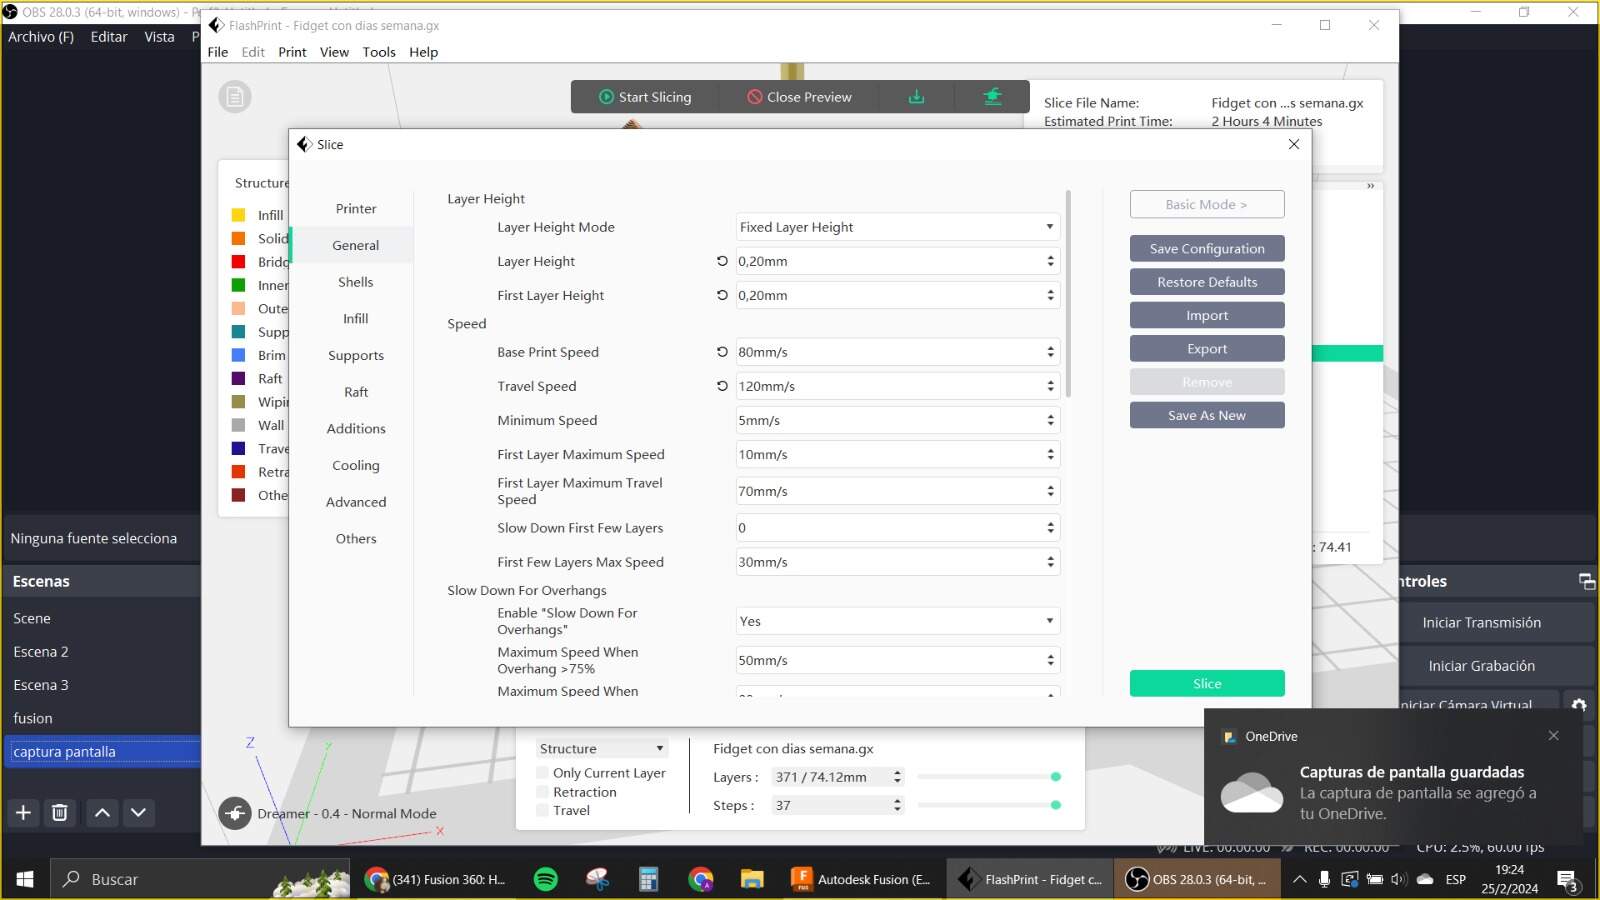
Layer size (usually 0,2mm) and Speed of the print (if it is a simple design it can go up to 80mm/s and for more intricate better to have it at 60mm/s, first layers are always with less speed)
-
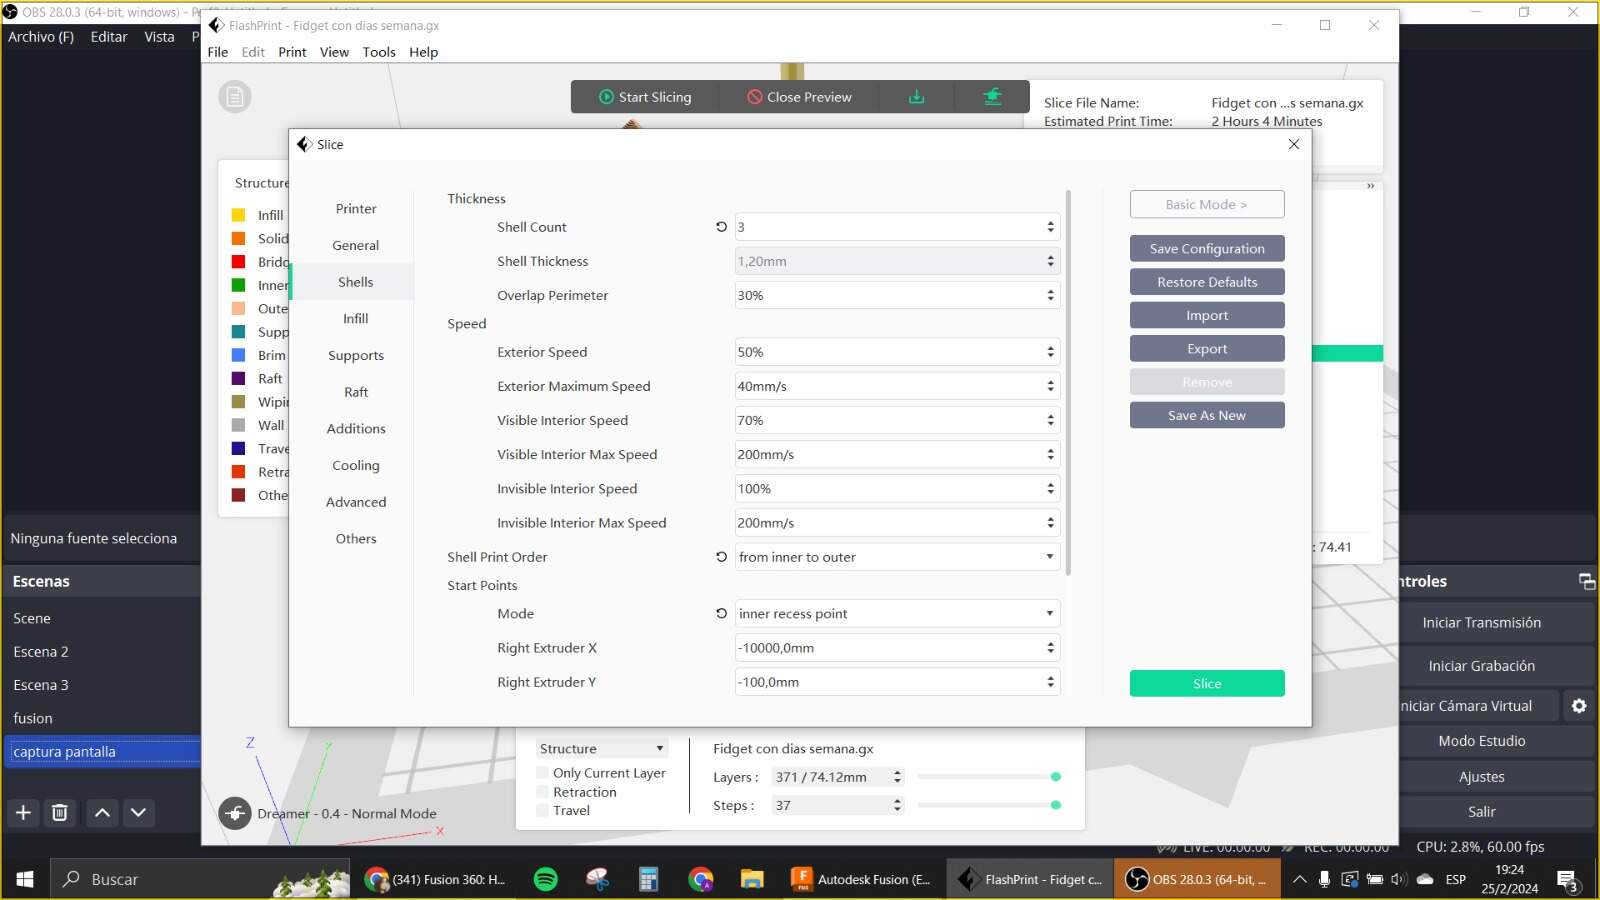
Thickness of the walls and base and top layer (3 times the layer size usually, and top and bottom usually depend on the design but also 2 times the layer). Also the infill
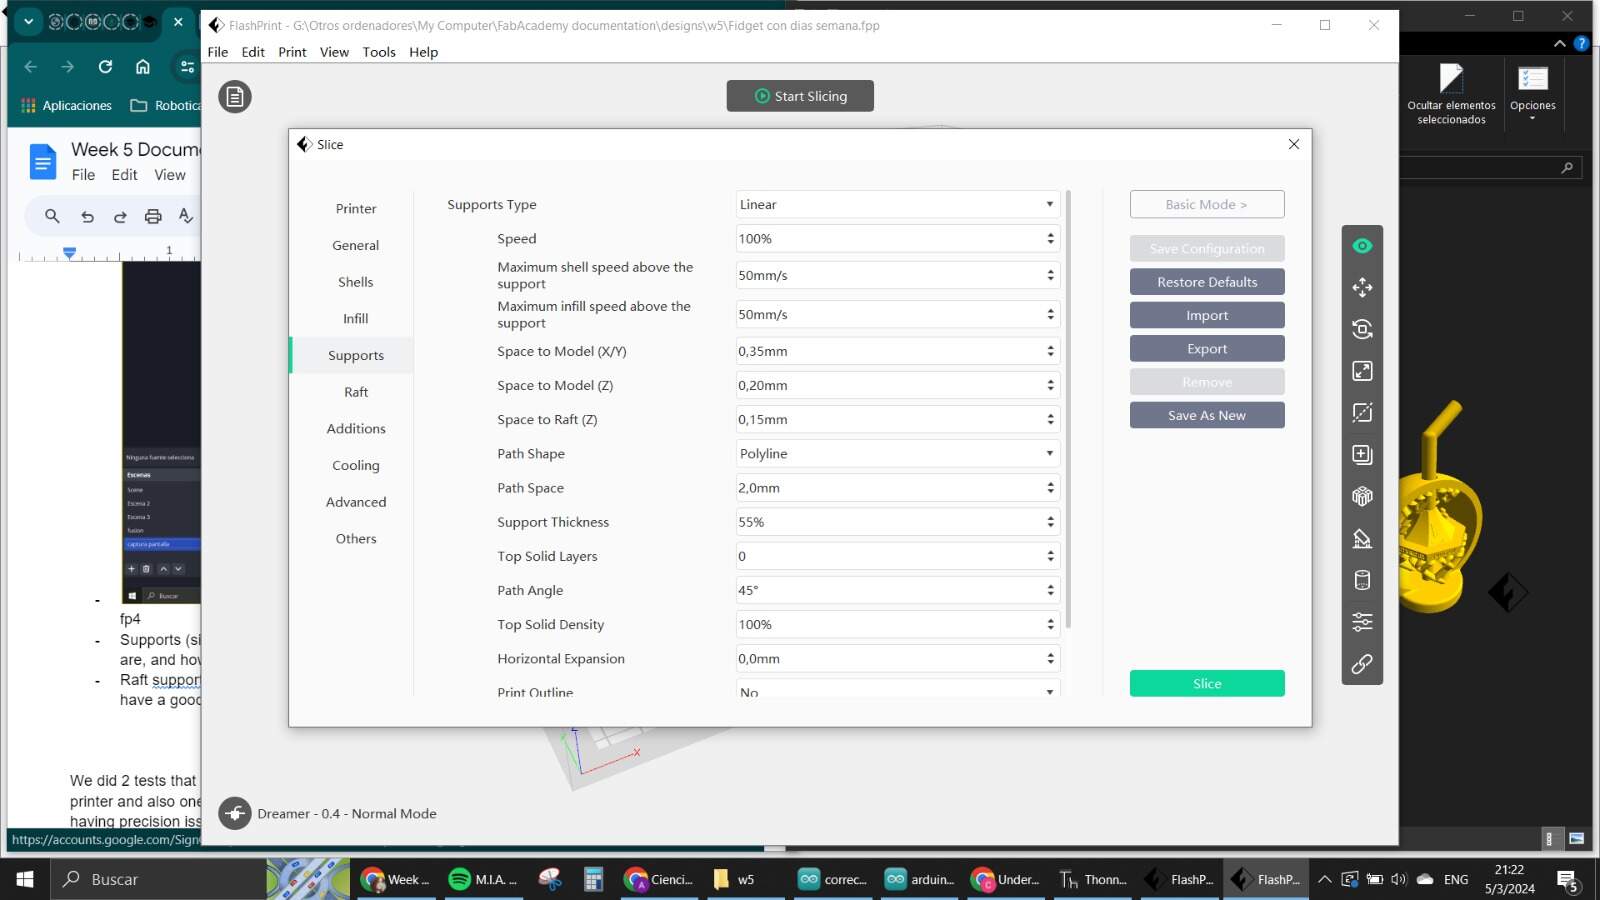
- Supports (size of the support, type of support depending on the design, how thick they are, and how are they placed according to the print)
-
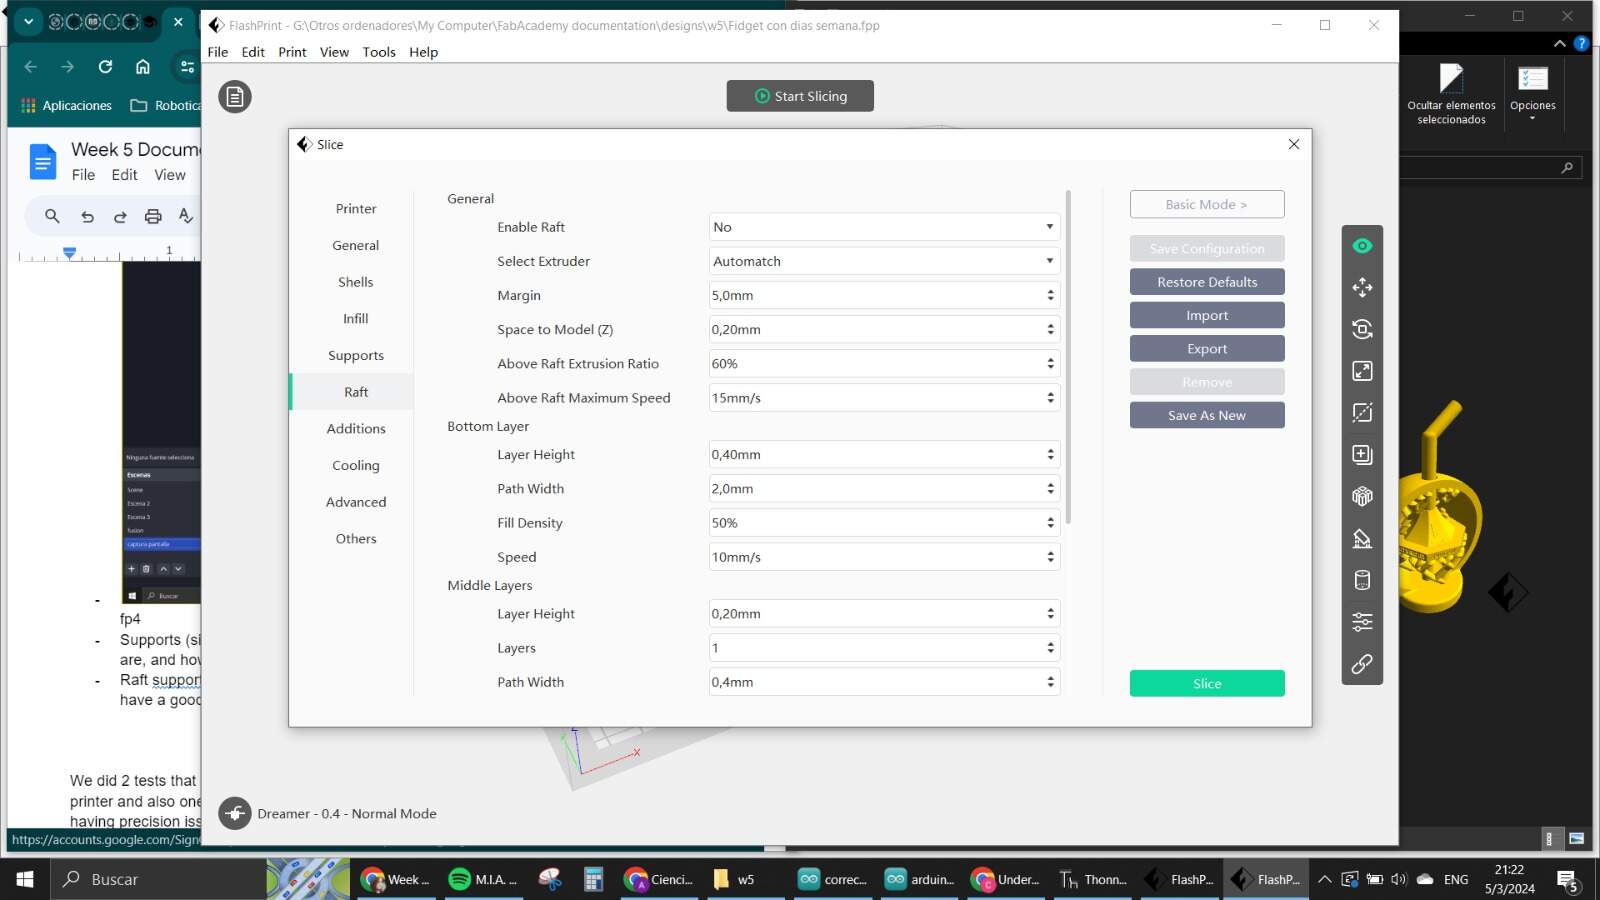
Raft supports, for designs that have a bottom with not too much ground covered, so they have a good base to stick to.
We did 2 tests that basically helped us understand how the overhangs were resolved in our printer and also one that allowed us to see how small the print can make the layers without having precision issues. Those will be explained in the group assignment.
The only material we truly tested was PLA, even though we had access to ABS and TPU, we didn't have enough time to go for all of them, seeing that only one of the printers was available, so we prioritized learning all about PLA. Still, we knew ABS is better if you need something more sturdy and hard, and TPU is more flexible.
Buying my own printer
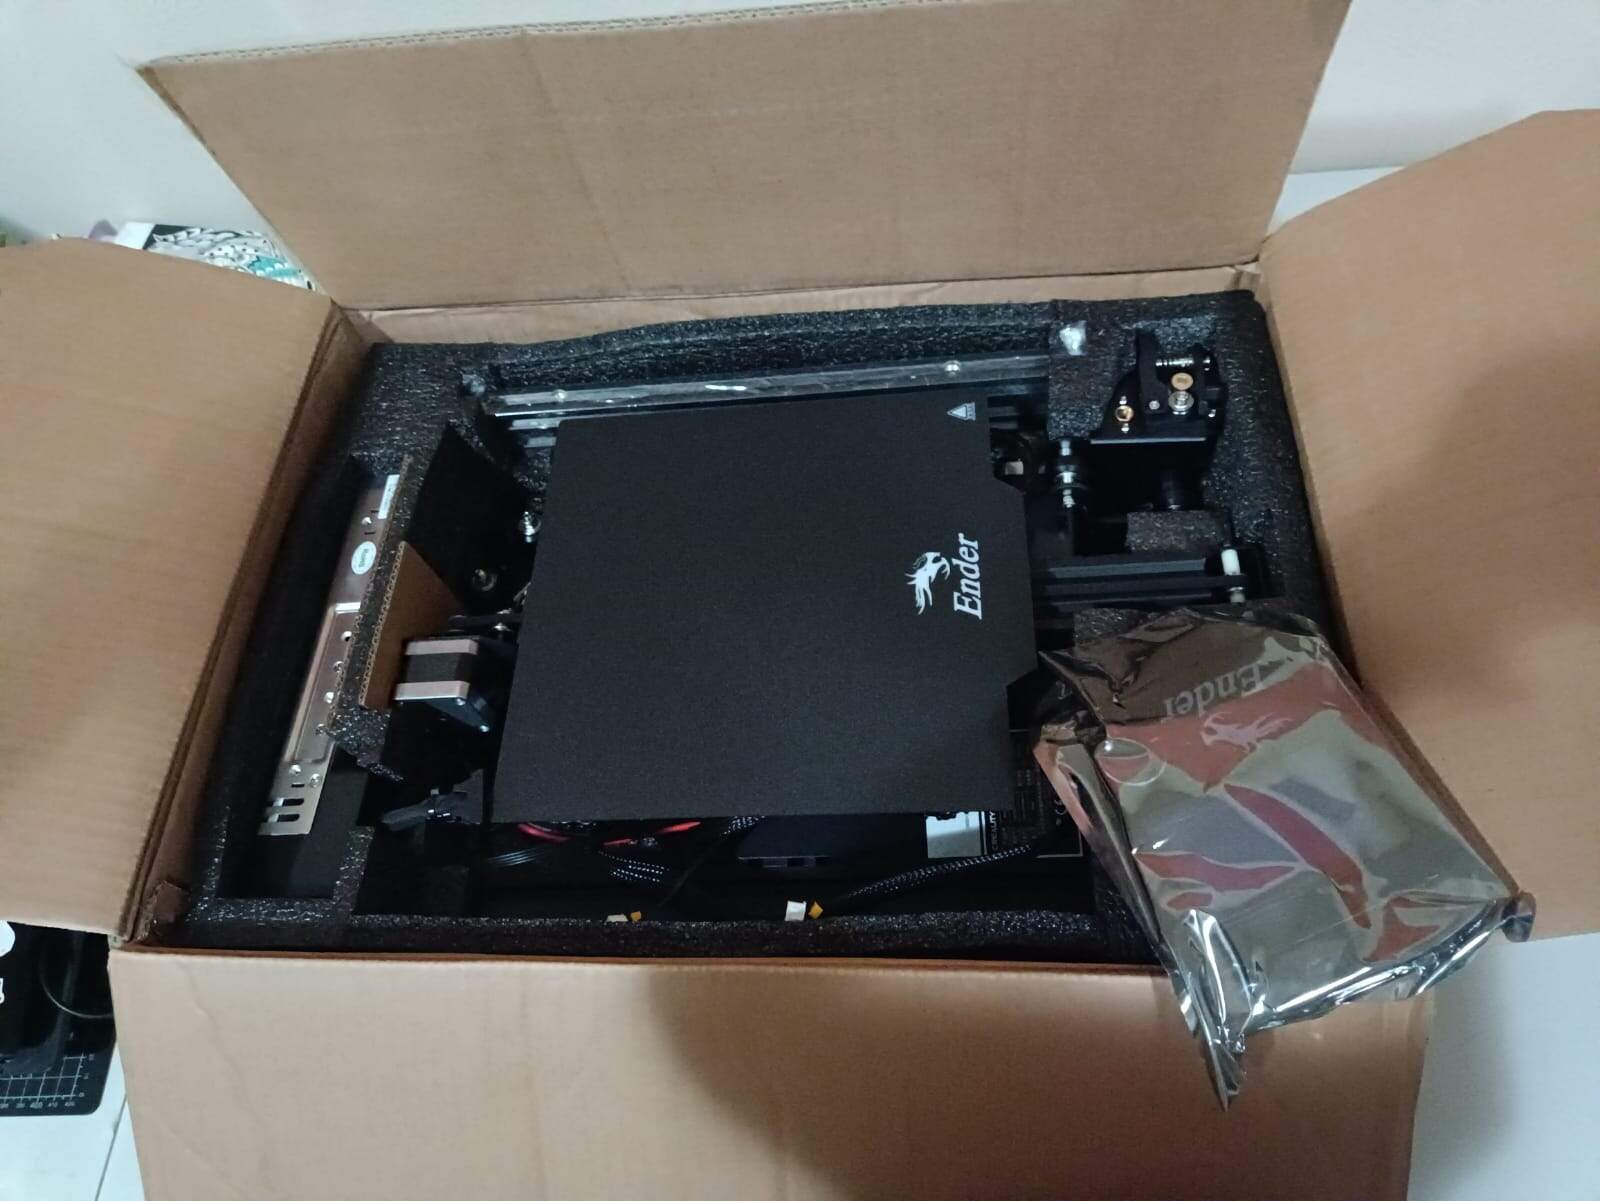
Now this week inspired me to finally decide on buying my own printer! This was something I have been thinking about for quite some time already, but wasn't really sure about many things and didn't want to just spend money. But now with the excuse of finally knowing more and that I have more experience it was the right moment. I looked into some of the available ones in commercial houses and found one that was quite cheap, costing me around 290USD total which is the Ender V3 Pro.
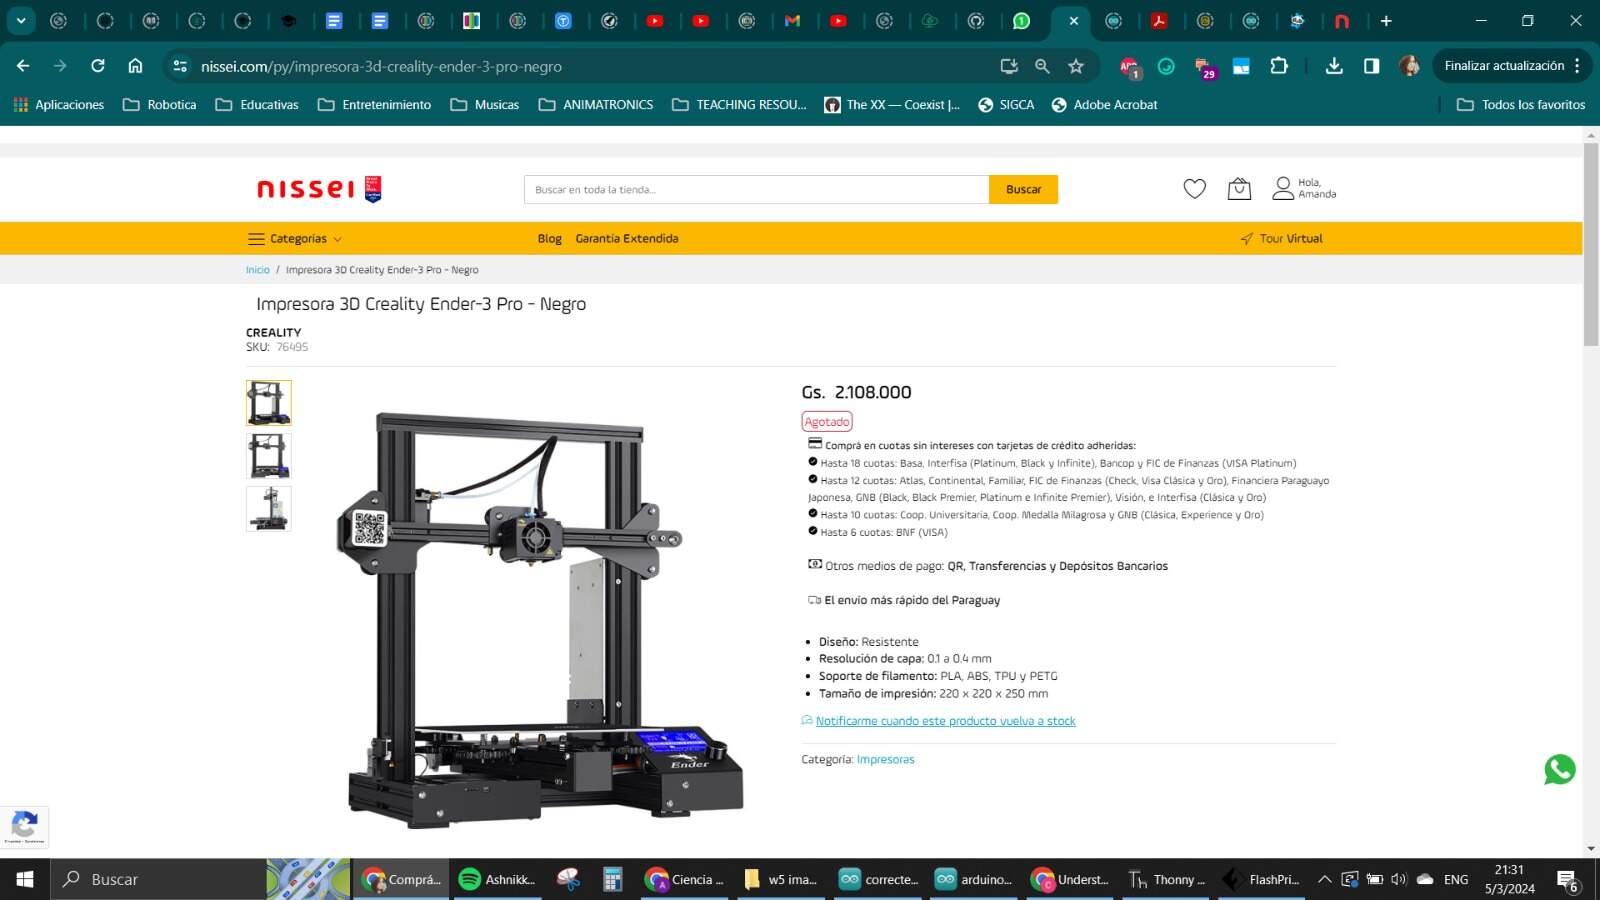
Ps: 1 USD is approx 7.320Gs. Also, I apparently bought one of the last ones cause it is already sold out 😂
When it arrived home it was already Tuesday of this week's assignment, so I couldn't truly use it at full for the assignment, but tested it still.
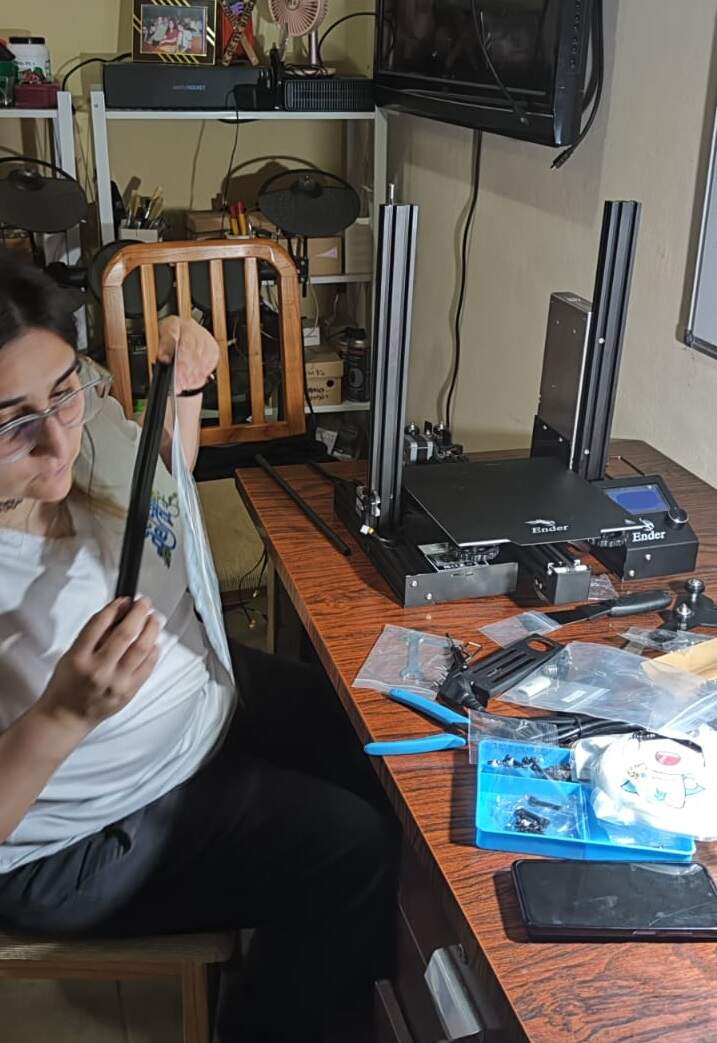
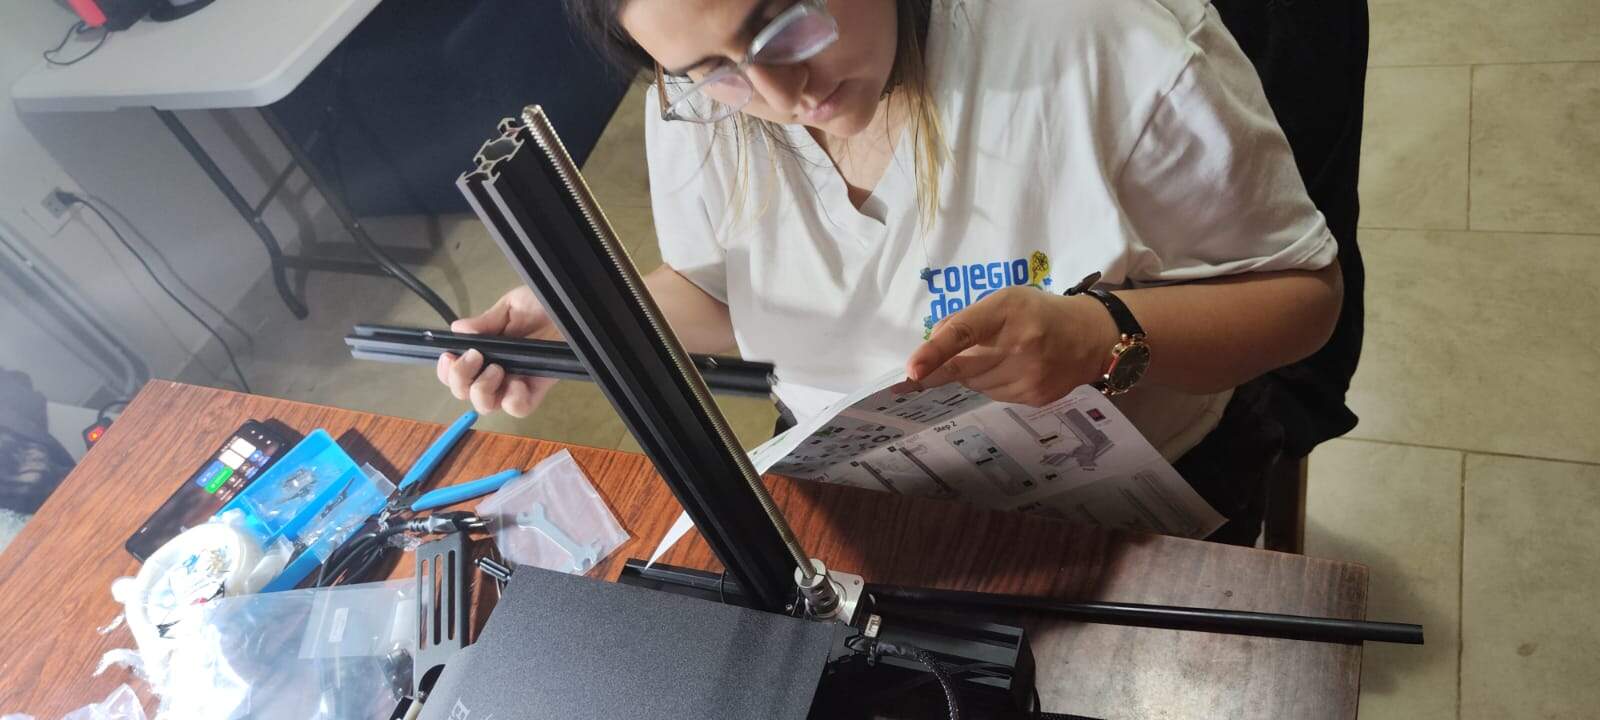
I built it with my boyfriend's help, and we used the instructions that came already with the printer as well as one video on youtube for the parts that weren't as clear. This video was extremely helpful
With it all ready, we grabbed some filament and loaded it into the extruder and also downloaded the software for it to work which is UltiMaker Cura. I liked this software way better than flashprint to be honest!

We first tested a miniature Benchy in Standard Quality to see how well the printer was working, which took like half an hour to print. It came out pretty nicely but we realized that the bed wasn't pretty level.
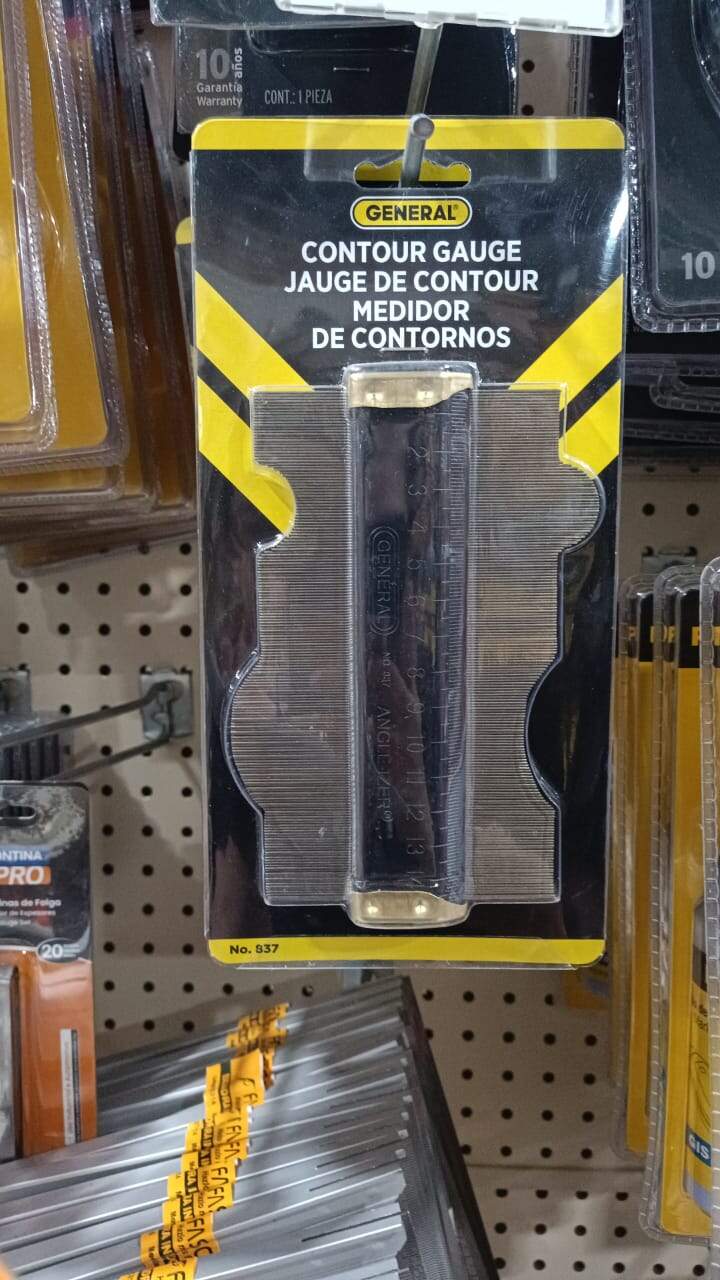
We found a calibration wizard for the bed, which we used the next day to level the bed and used a contour gauge to see that the separation of the nozzle from the bed is of only 0.05mm. After that our prints were better.
I'm super happy with this acquisition, it is something I have been wanting for some time and now I can finally play with it at my own pace!
\Designing in 3D:
For this week's assignment I tried to make something that allowed movement, to see if I could manage to create a mechanism in one print only.
Since I am not that familiar with how to design these kinds of things, I went with something fairly simple, which was a little fidget toy that spinned inside a semi sphere.
My first inspiration where some fidgets that I found on pinterest that I wanted to try and recreate:
I started by making a sphere and then cutting it in half to make it hollow. I placed the sphere in the center of the coordinates to have that as a reference at all times if needed.
Then I made the base of the spinner with a cylinder, and added a second one in the middle that would act as the axle. I made sure to make the second cylinder go through the semisphere completely, but wasn't completely satisfied with it being too in the border, so I made the semisphere a little bigger.
After that, the challenge was to make the mechanism so it could spin and be assembled all together. So I used the split function to create the holes in the geometry.
Then, the idea of the axle that could move inside without getting loose was given to me by one of my instructors that explained how i could design the thing with a drawing.
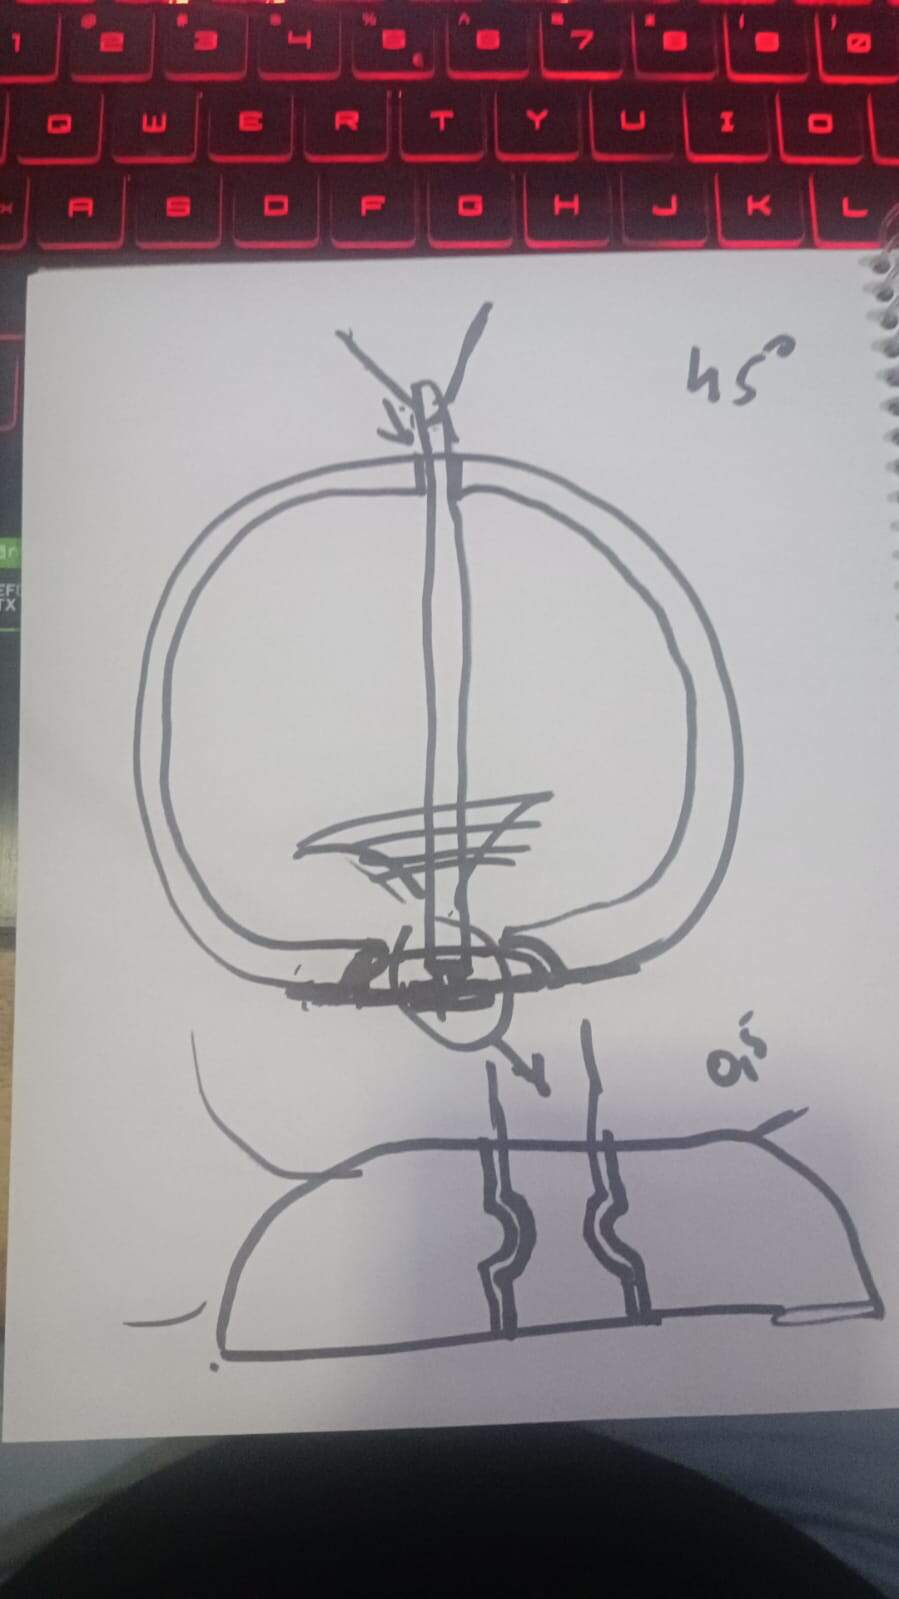
Then, by using some sketches and offset planes, the mechanism was done.
I tested it in the printer already to see if it was working.
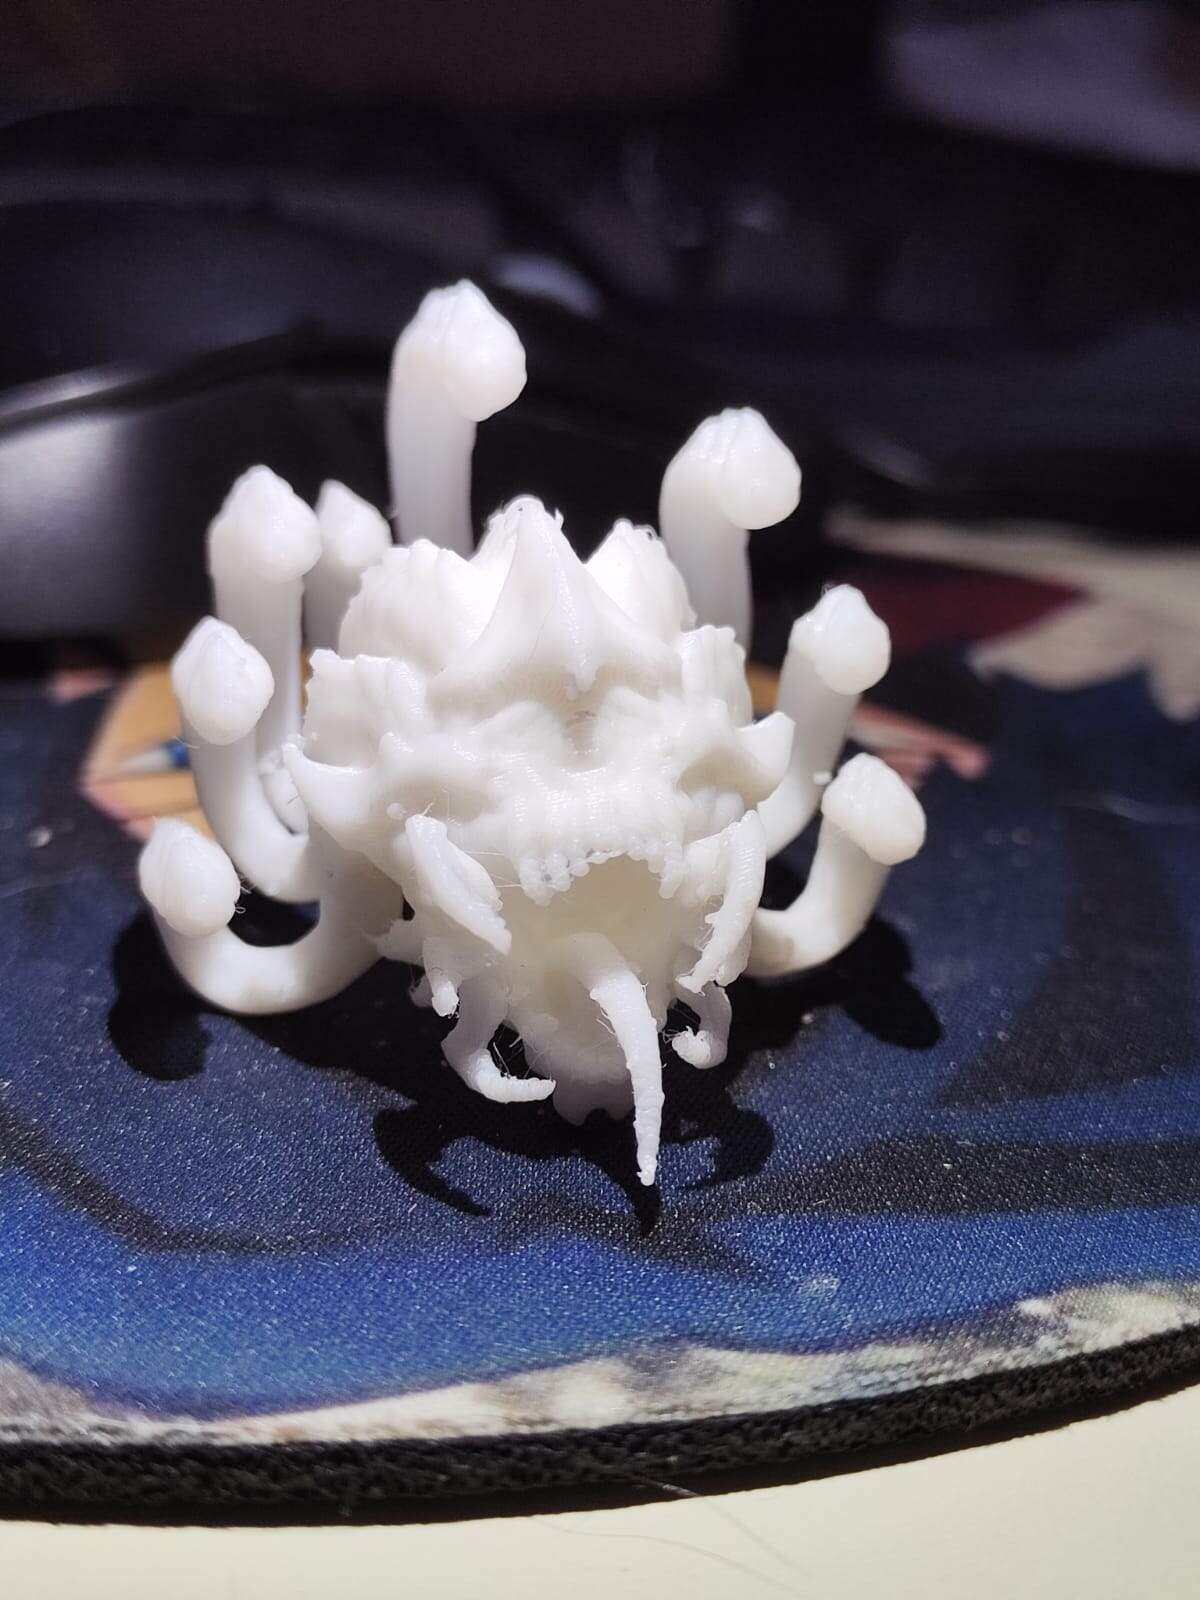
It wasn't a successful print. First of all, I made it smaller than the actual model (I scaled it down to about a 50%) and used white filament. While it was printing I already saw it beginning to turn all blotchy on the sides of the sphere, and the axle was also pretty rough looking, not maintaining its shape. Apparently the temperature was a little high.
I let it finish anyway to see if the mechanism worked, and guess what, when I took it out and wanted to spin it, it broke. The space between the 2 bodies was too small and the printer couldn't handle it. In my design alone it was only 0.3mm of separation, so the scaling down made it too small for the printer to make it accurately. Also the thing couldn't stand with its base being too little. It was time to go back to the design table (?)
This time, I added a handle on top for it to be easily movable and started to think what I could have as a model for the middle part to spin.
That's when I went to pinterest again for more inspiration, and kinda wanted to recreate some kind of music box of sorts. First ideas where to make something with smileys, but then I kinda went for something simpler. A spinner that tells you that Sunday is a happy day (cause usually for me they are pretty depressing), by using the loft tool and creating something similar to a carousel only without the horses xD
Here is how it ended up. I know is pretty simple but I wanted to test the printer and since I already had some issues I didn't want to make something too big.
This is where the nightmare began.
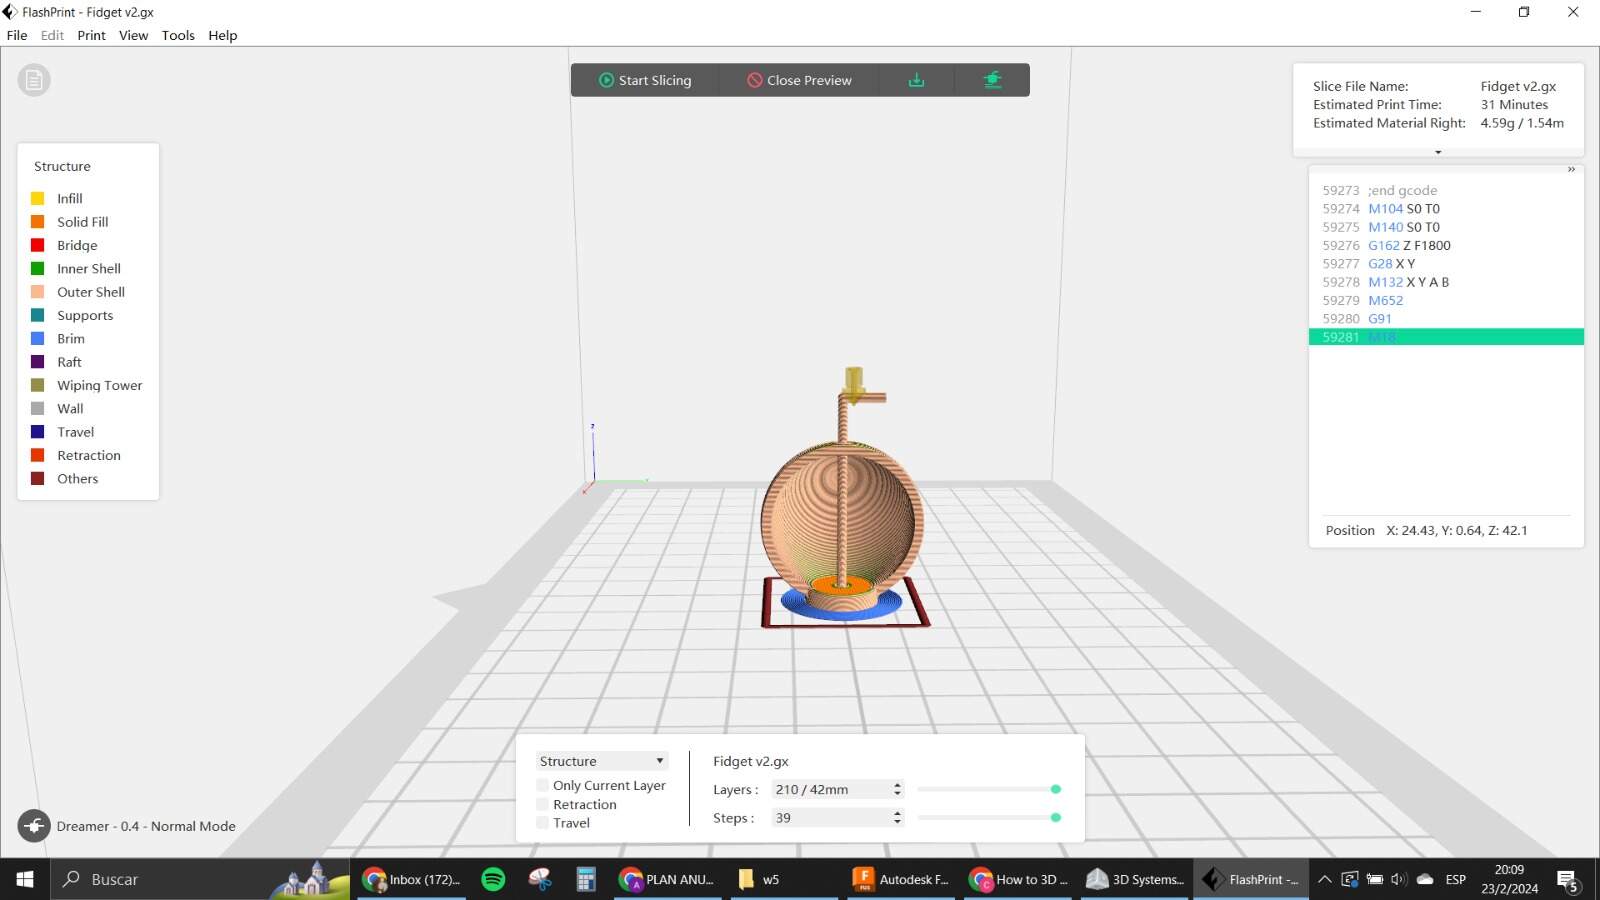
I tried changing some of the parameters for the printing process in flash print according to recommendations (210 instead of 215). I also tried to put the print more on the side.
Next try, at the point where the sphere starts to curve, it happened again, a blotchy exterior that didn't look nice. Stopped the printing and wondered what could be the thing causing the problems. At least the axle was spinning 😣
One of the solutions given was to reduce the temperature of the extruder because it seemed to be too hot, which could be causing the deformation. Also to print from inwards to the outside and make the starting points of each layer random.
Went back to the printer, here goes v3 with 200℃. Started ok, but then at the same height approximately, it was looking wrong again so I decided to stop it and start over once more. This time, I also changed the base temperature to see if that helped a bit.
Now temperatures are at 200 and 60 in the base. But the color of the filament was also changed. I used the yellow one to check if the problem was solved.
I noticed a little difference in how the base cylinder was coming along, but I thought that it was ok so I let it continue. Now when it started to go into the sphere I saw bubbles and the deforming on one side again. So yeah, it was time to stop it one more time. This time it was even worse, cause the mechanism wasn't even working, the bottom part was supposed to have a little space between the base and the axle, and in this version, both were combined in the bottom layer. Again, most likely for the temperature being way too high.
This time, temperature went down to 190 and base at 60, and one last thing, I turned the design to the side, so both of the sides of the sphere were in the same y orientation. I thought that probably the base center was just too hot and the side was not hot enough, which basically was causing one side to fail. But I was afraid that leaving it in the center would melt the whole thing, since it was on the center that it was hotter. So I decided to use the side.
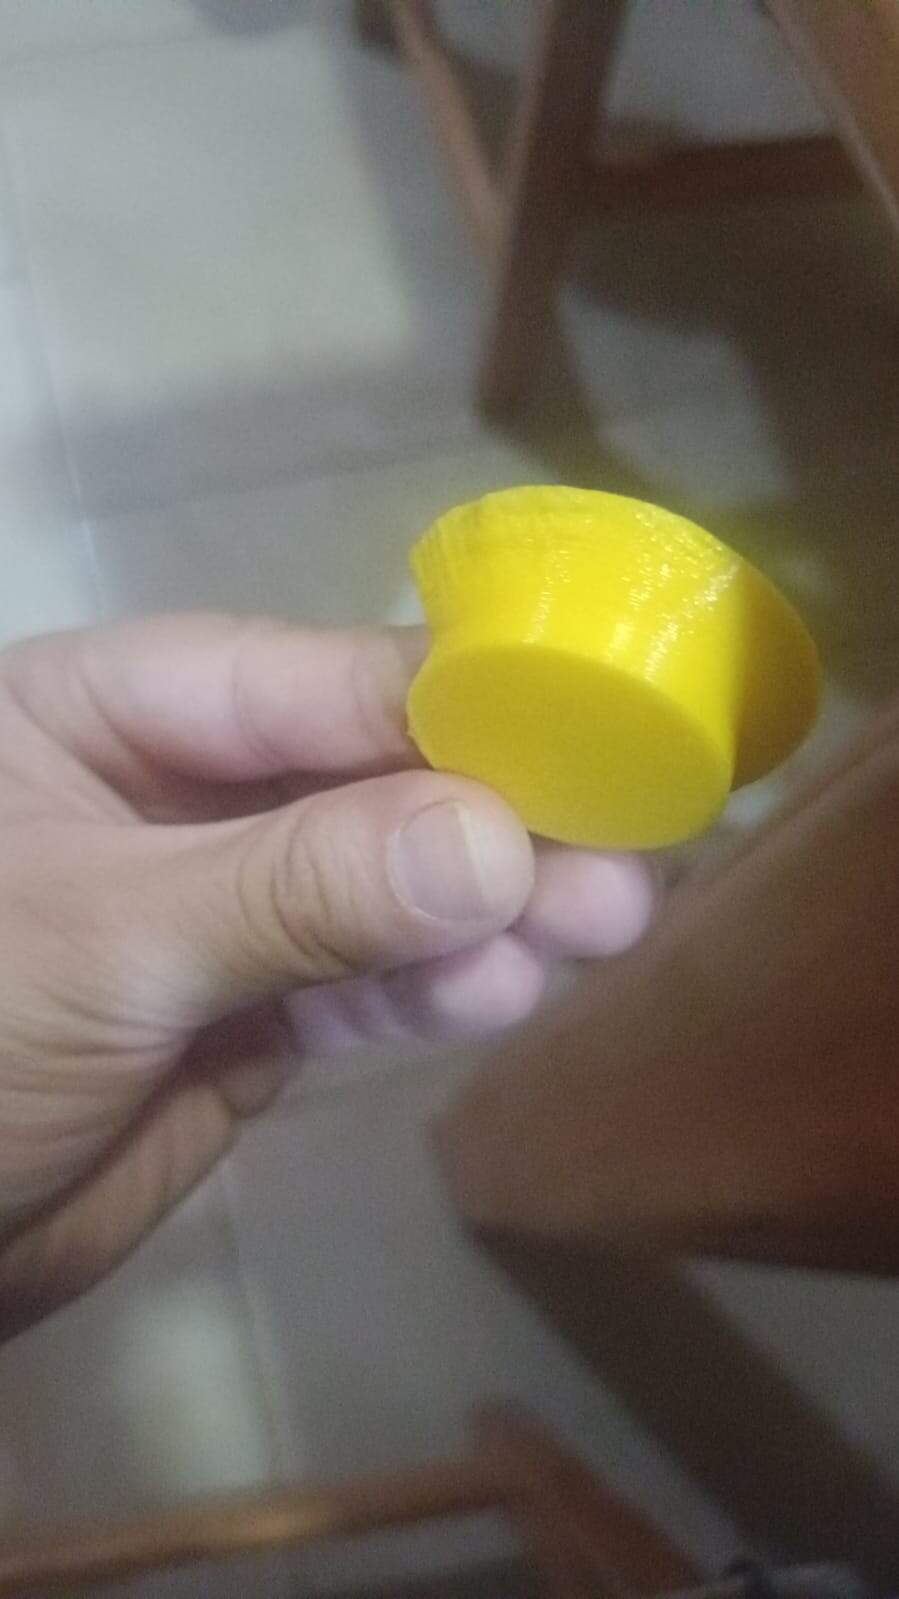
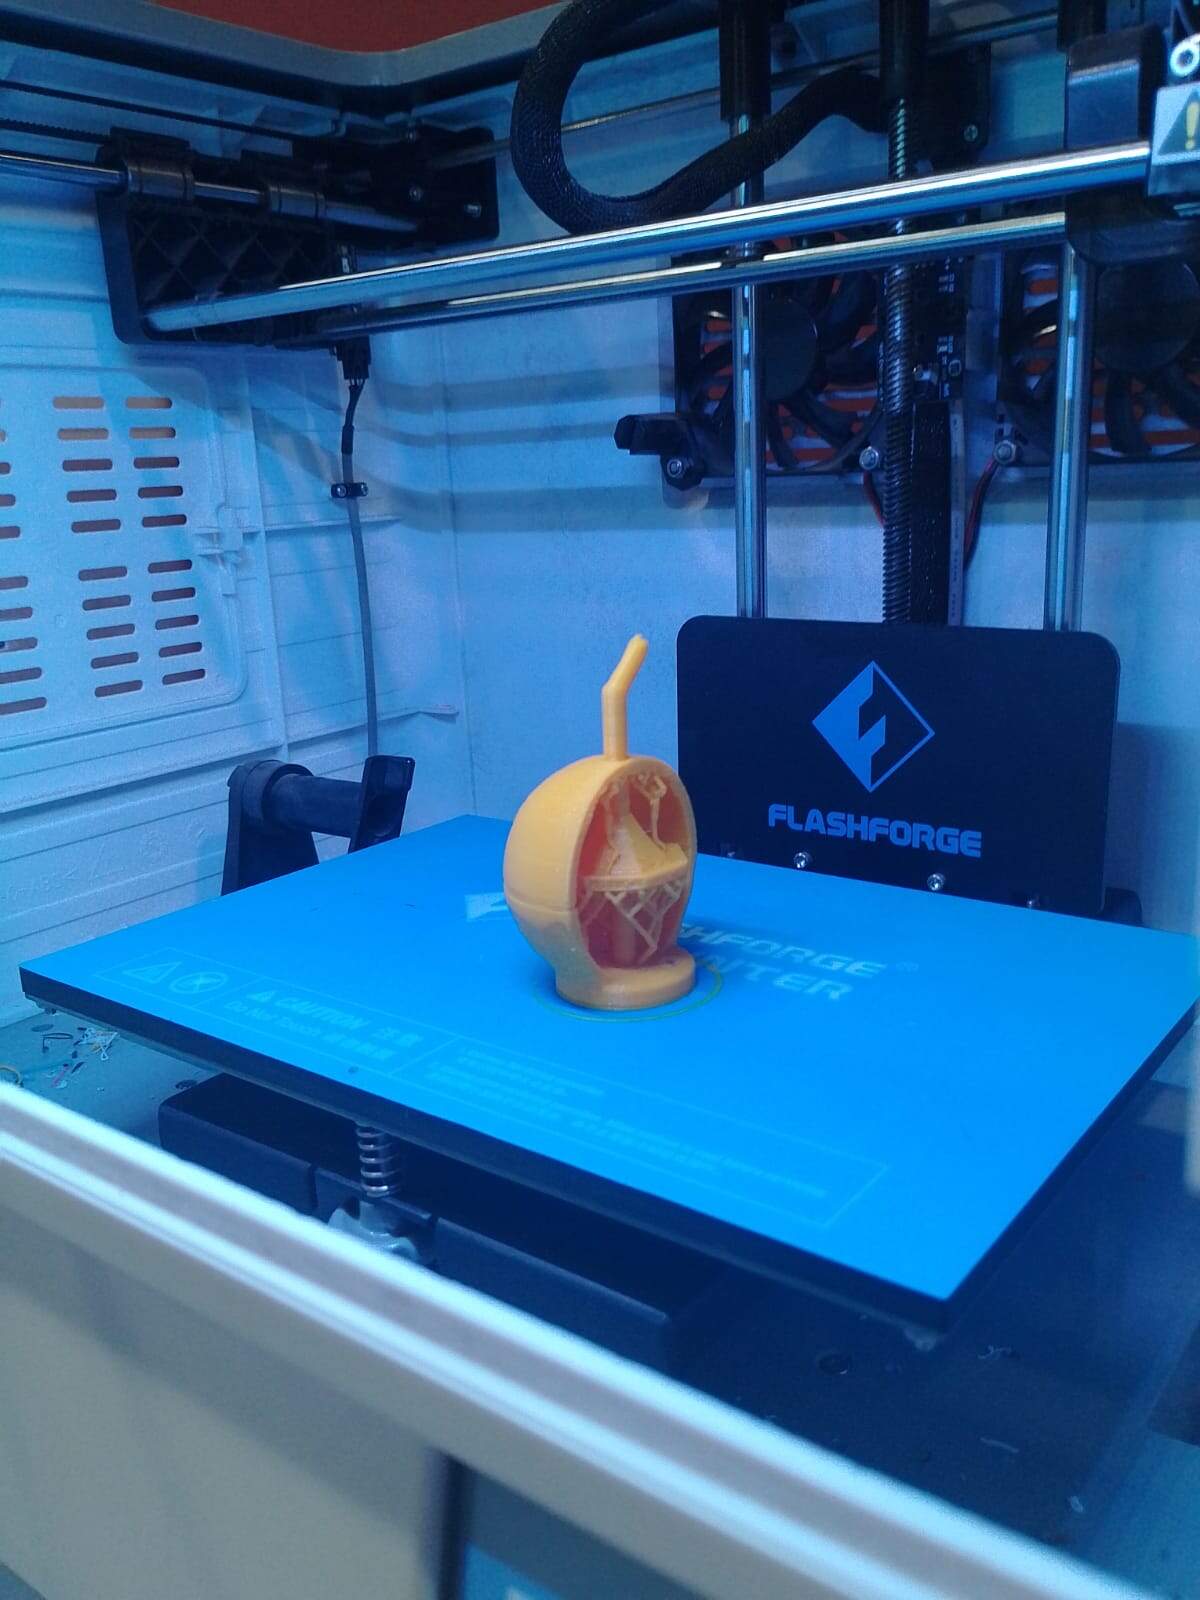
The yellow was working! Finally the sphere was not looking too blotchy, so I left it working cause it was going to take approx 2hs. I came back to check on it, and now the problem was different, the extruder stopped working. 😧 So the print had to be stopped once more, and now we had to check on the clogging.
Now here is where it started to just be messy, it was a bit late in the night already, so my instructor and I were quite tired. First thing we tried was to clean the extruder and take out the blockage in the stepper (something was stuck there too). We had to disassemble the part where the cooler was and see the inside of the system.
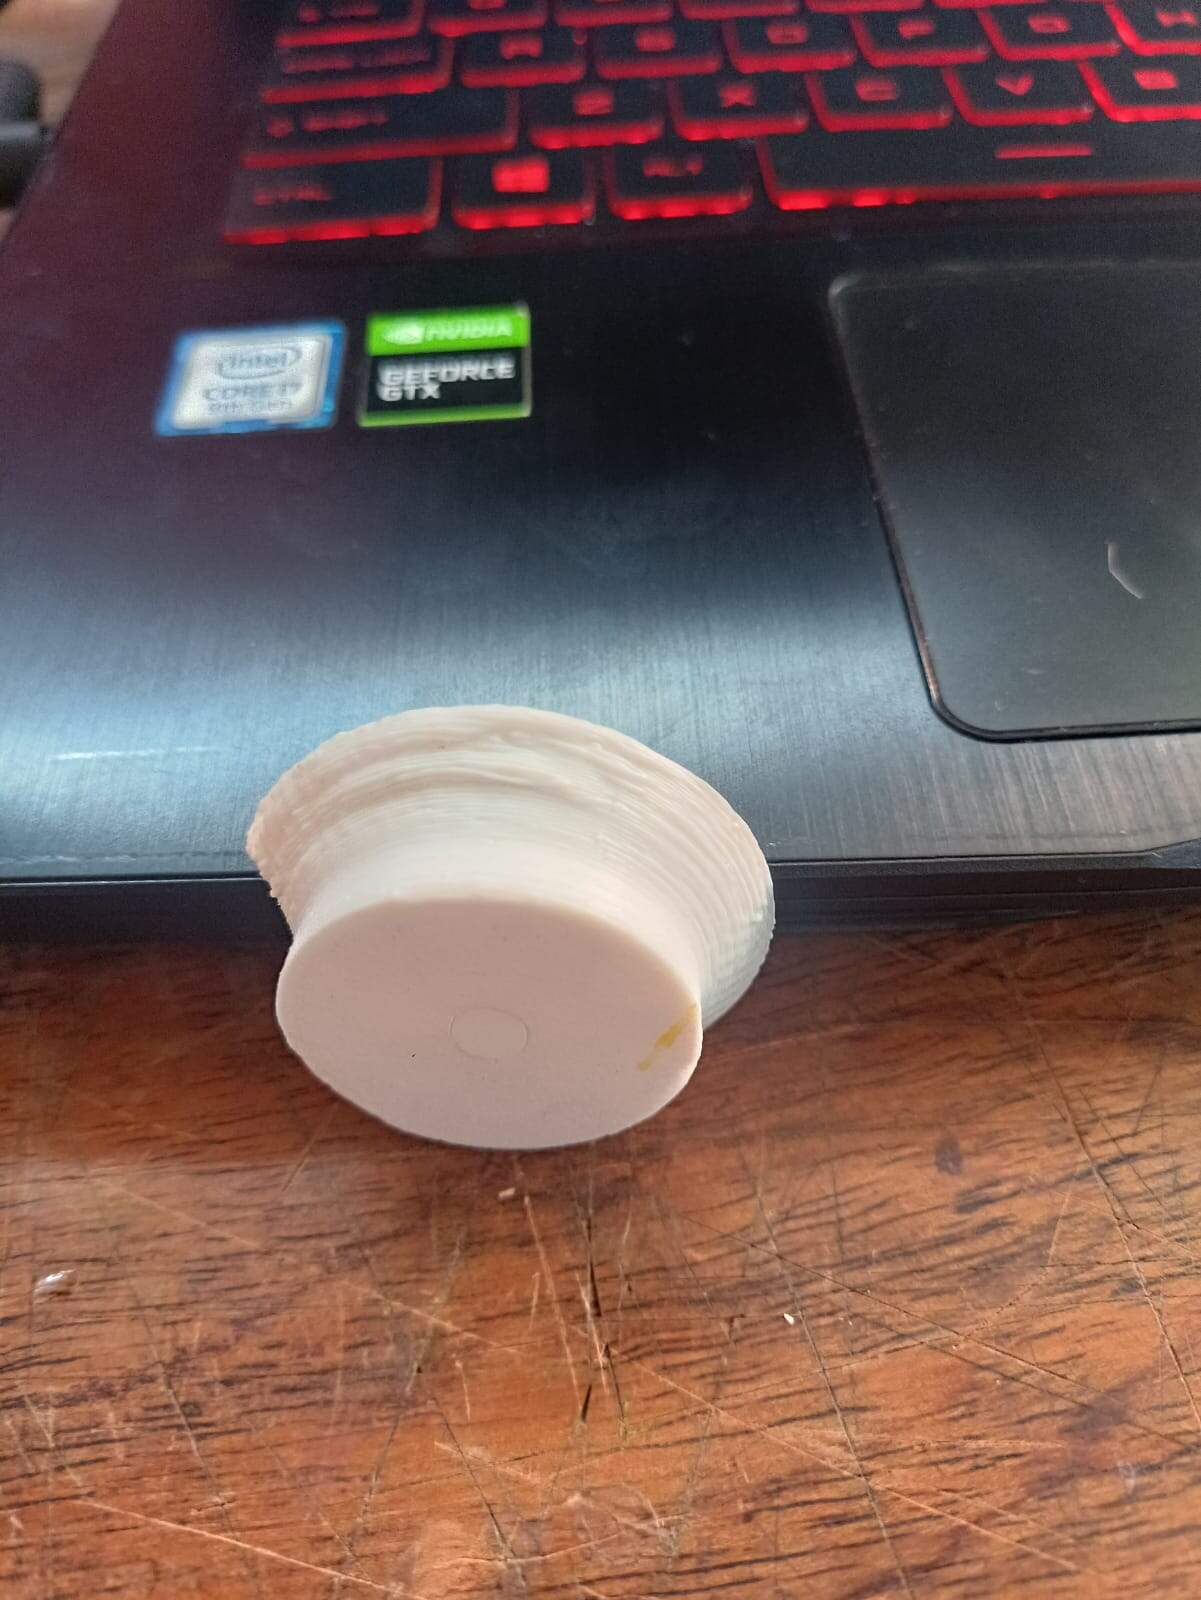
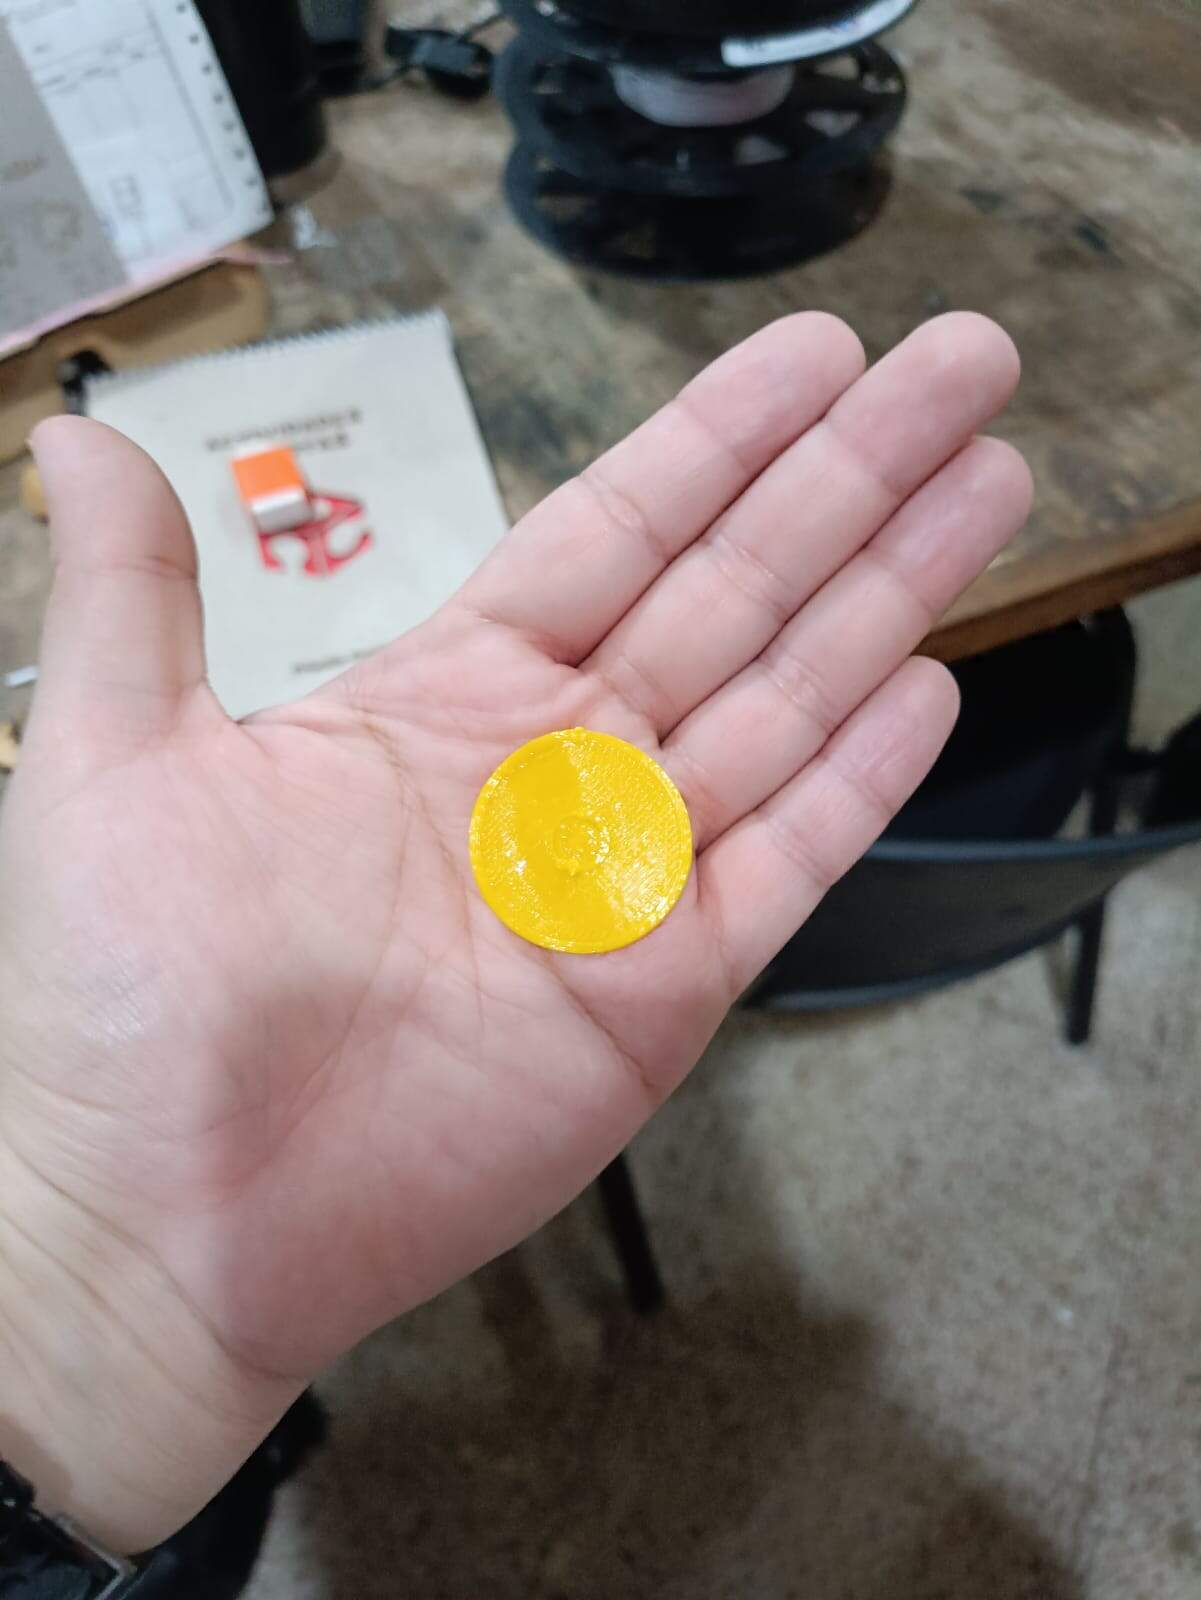
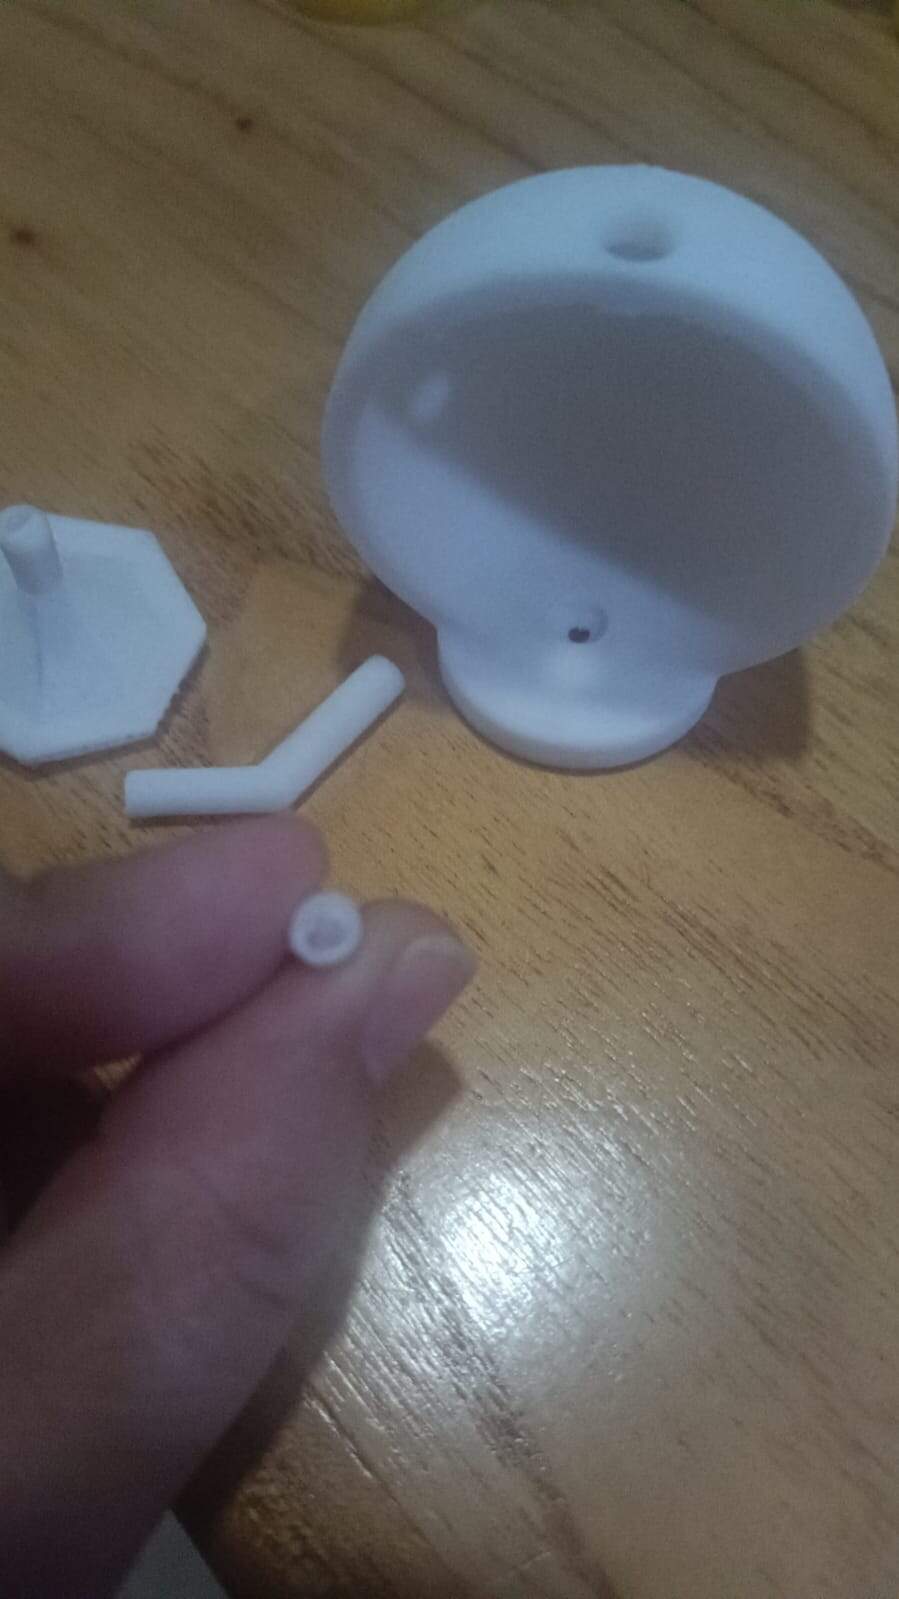
We fixed it and tested it again with the yellow filament and in the base layer already appeared to not be gluing to the base. This came out as it is in my hand
We changed the color again, after looking at the nozzle of the extruder. But we made a mistake, cause we didn't realize the filament was an ABS one. 😟
That one we left working for a little bit and at some point the whole thing just came out of the base. So yep.
Last thing we did was try to put on the black filament. But again, it was not coming out when the print started. Now I tried changing it and disassembling the cooler system, but one of the stoppers for the cooler fell off and I couldn't find it anymore, so that was when we called it a day. 😆 (I don't really have pictures of this part. The stress was at high levels xddddd)
The next day I tried to print again (this was Tuesday afternoon already), and the printer was being used a lot. My print was left to be done at last because I was the last to arrive to the lab, but since it was pretty late, and my own printer arrived home already, I went home and left the printer working with my design that was supposed to take about 2hs. When I arrived on Wednesday, before Neil's class, I took it off and started taking the supports off, but sadly the bottom part was glued, so the mechanism couldn't spin as it was intended to.
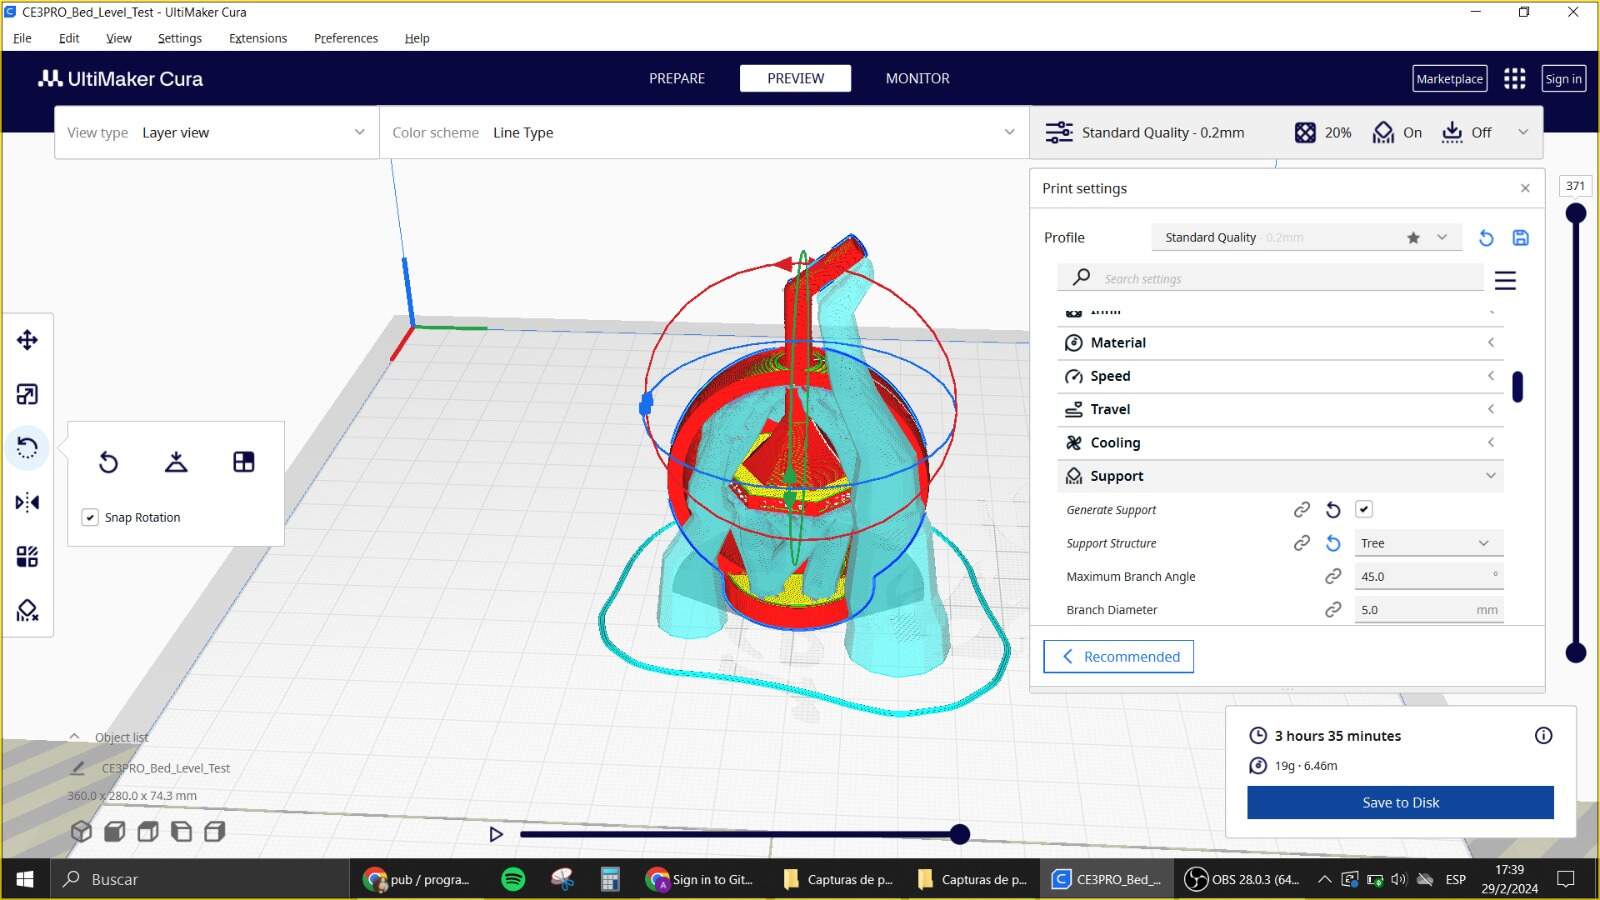
I was ready to give up, but my instructor told me to test it in my printer. At night after having a pretty rough day, I put the print into my Ender, with some tweaks into the Cura system. The supports where so different in this software that I had to play with them quite a lot.
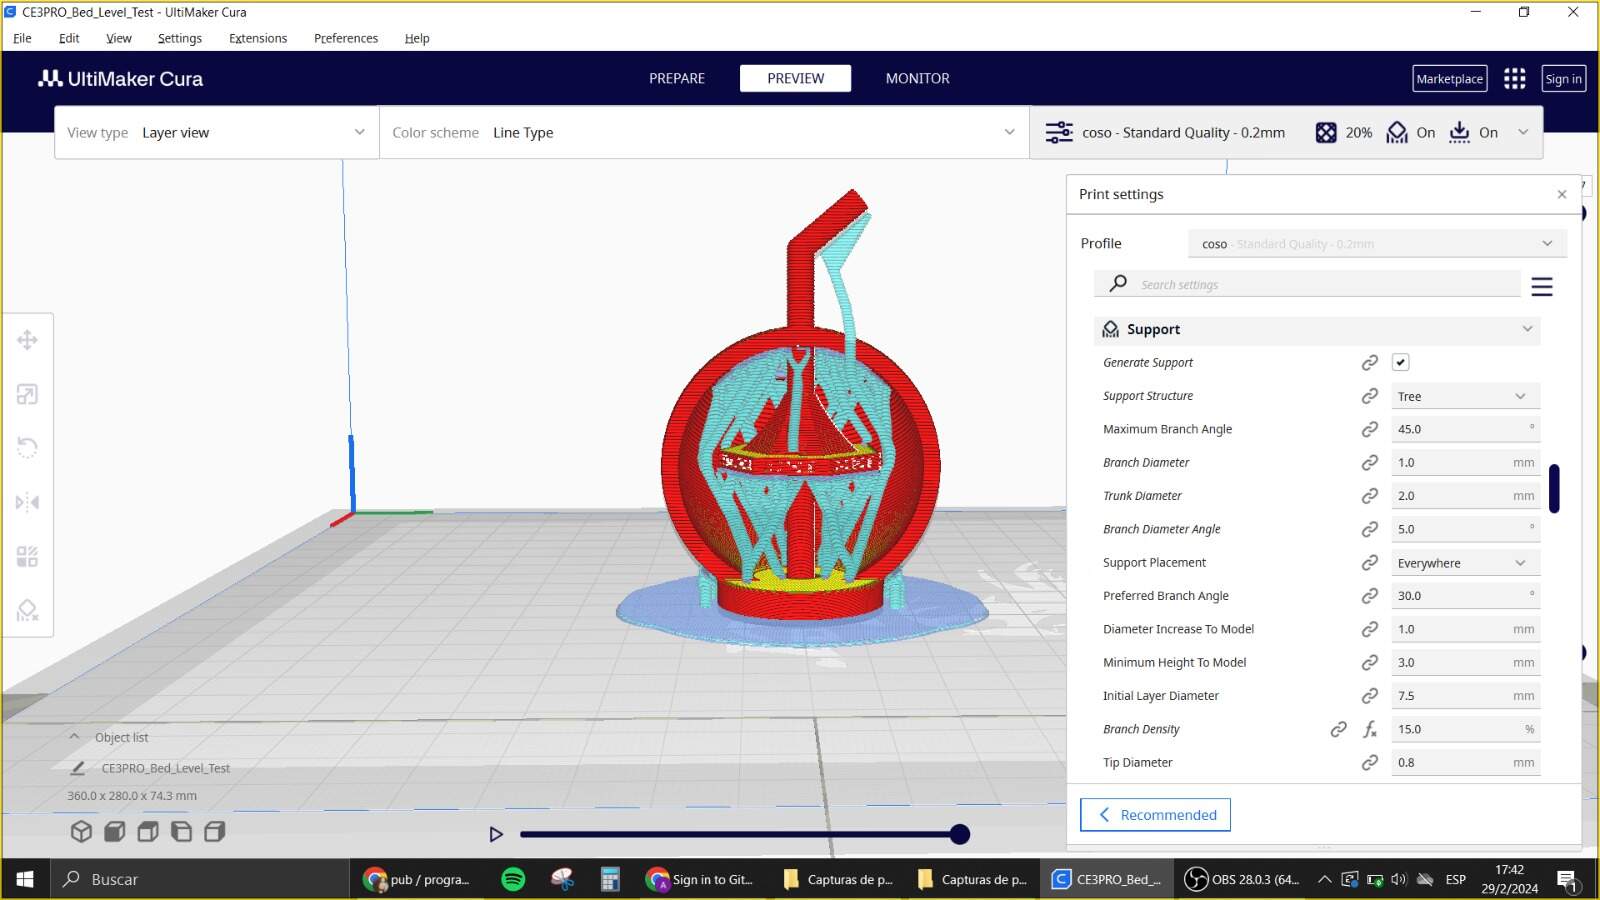
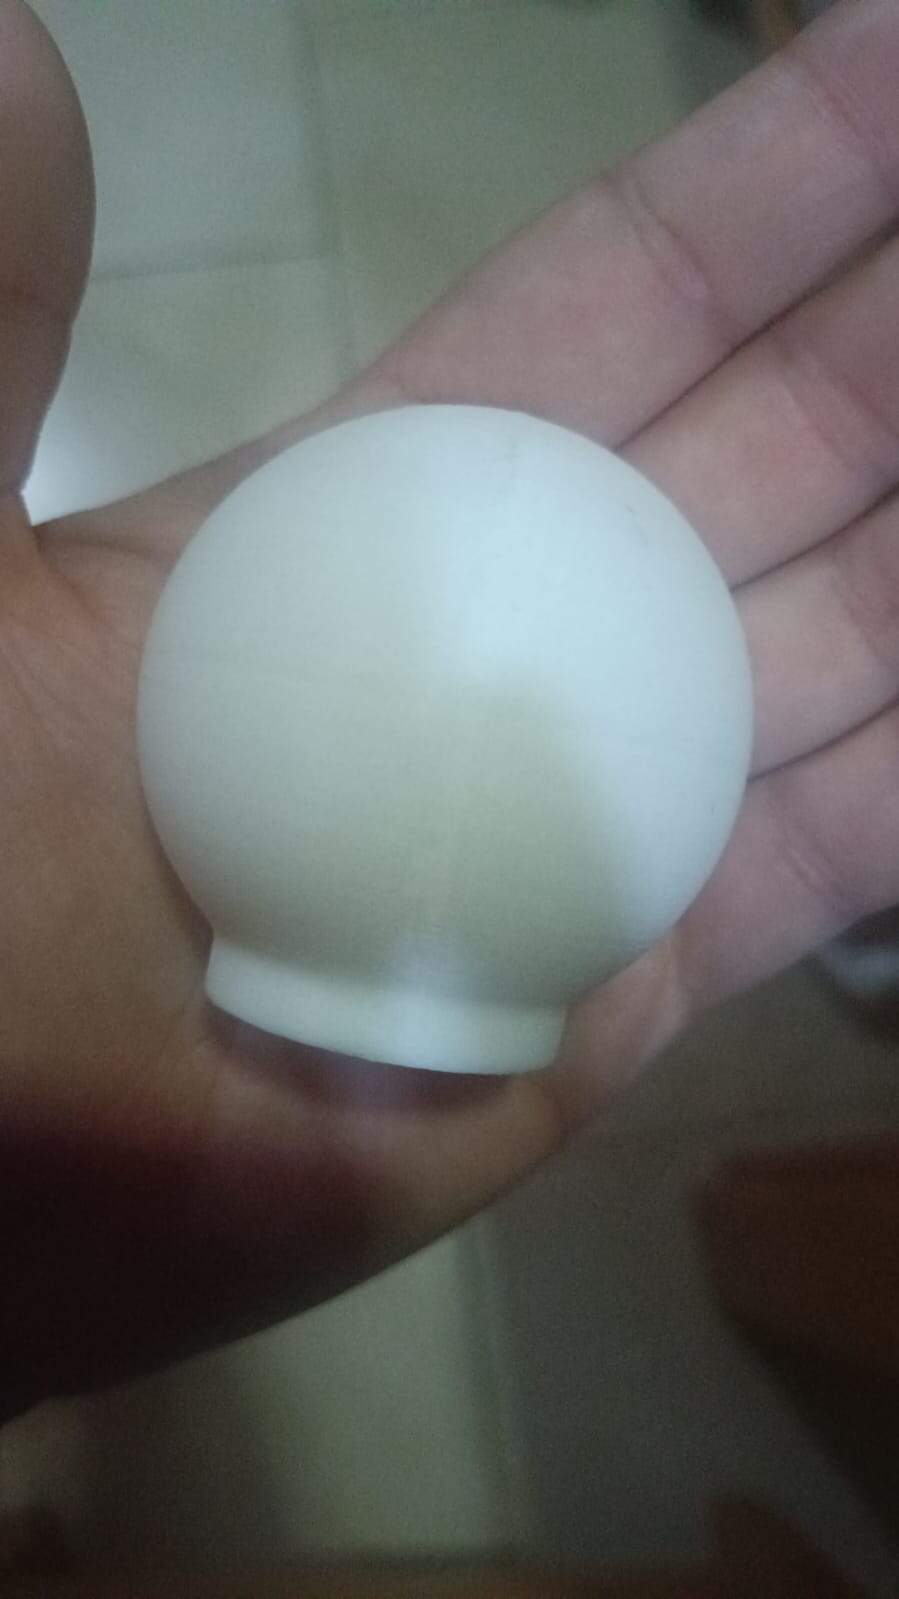
I left it printing at night cause it got pretty late again. And in the morning I went to check on it and it looked fine. The sad part was when I started to clean the supports. Cause it broke the axle. I realized that my infill was a little too scarce in the axle so it became pretty flimsy.
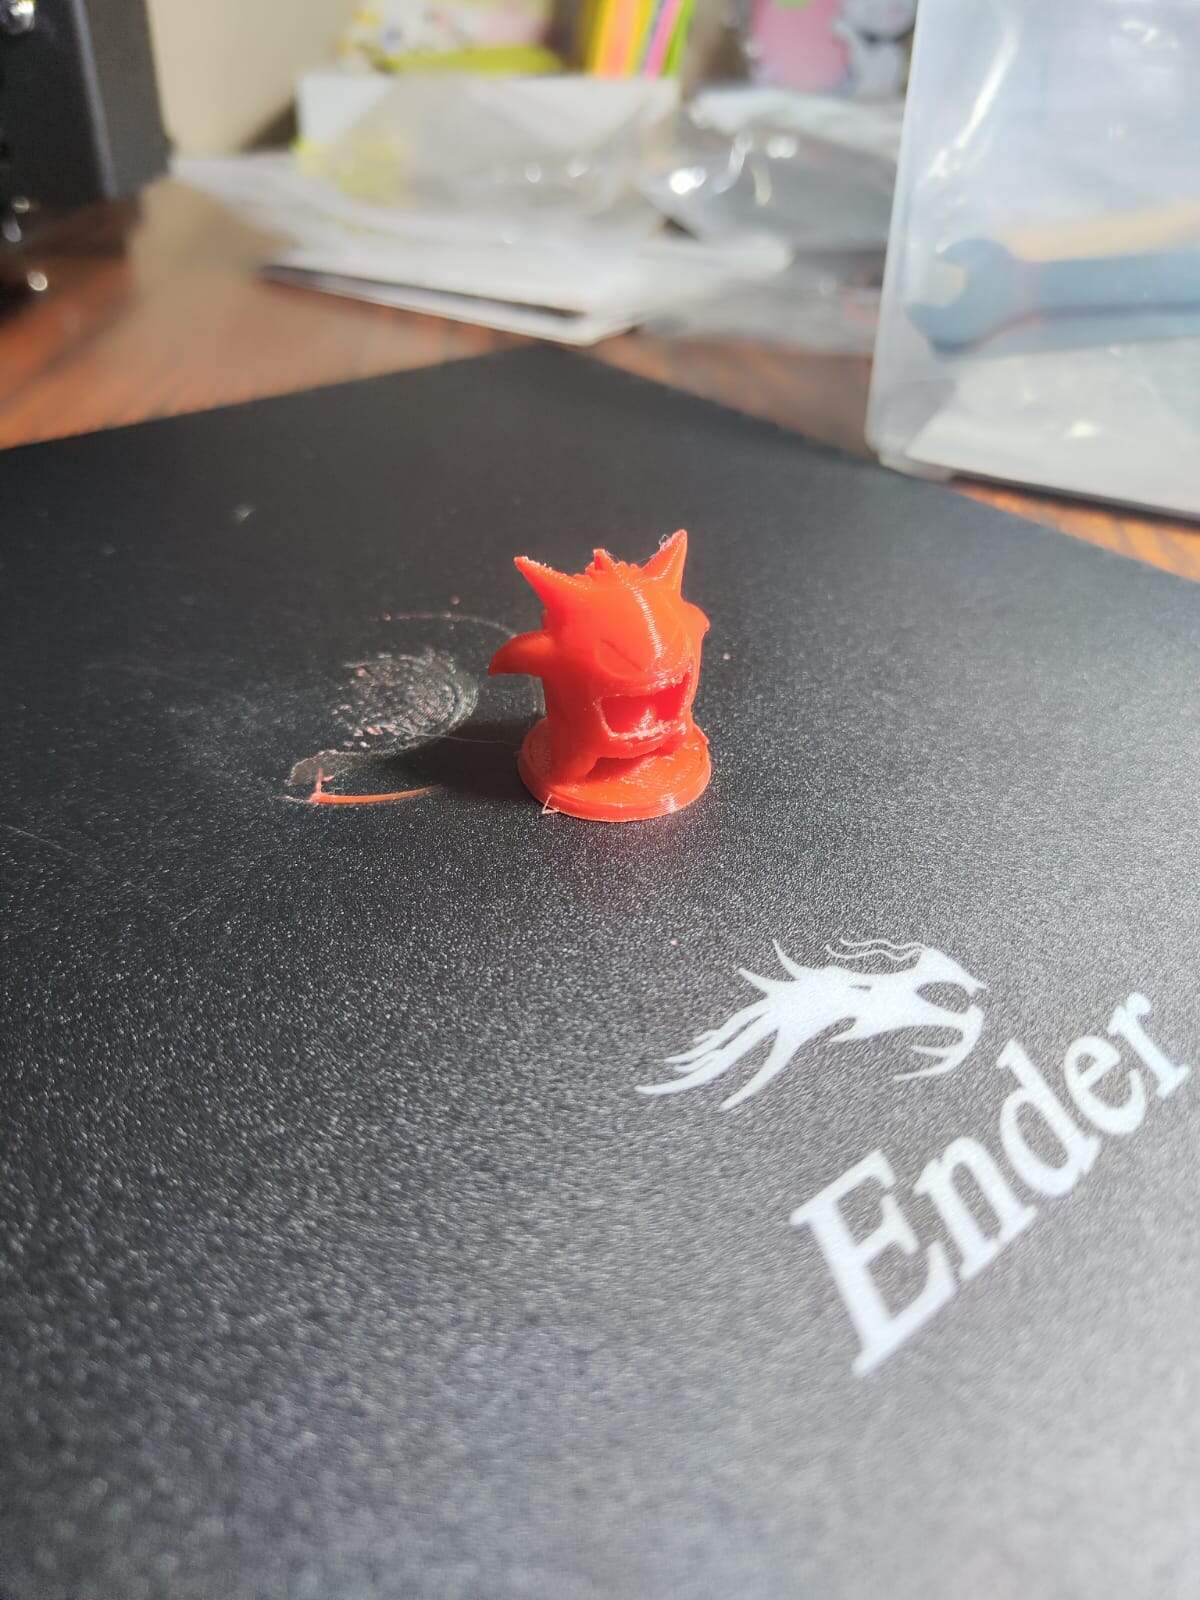
But everything else looked so much better in this print. The blotch part was gone, so that honestly just served me as a lesson that I needed to use supports in my curved area in the FlashForge as well.
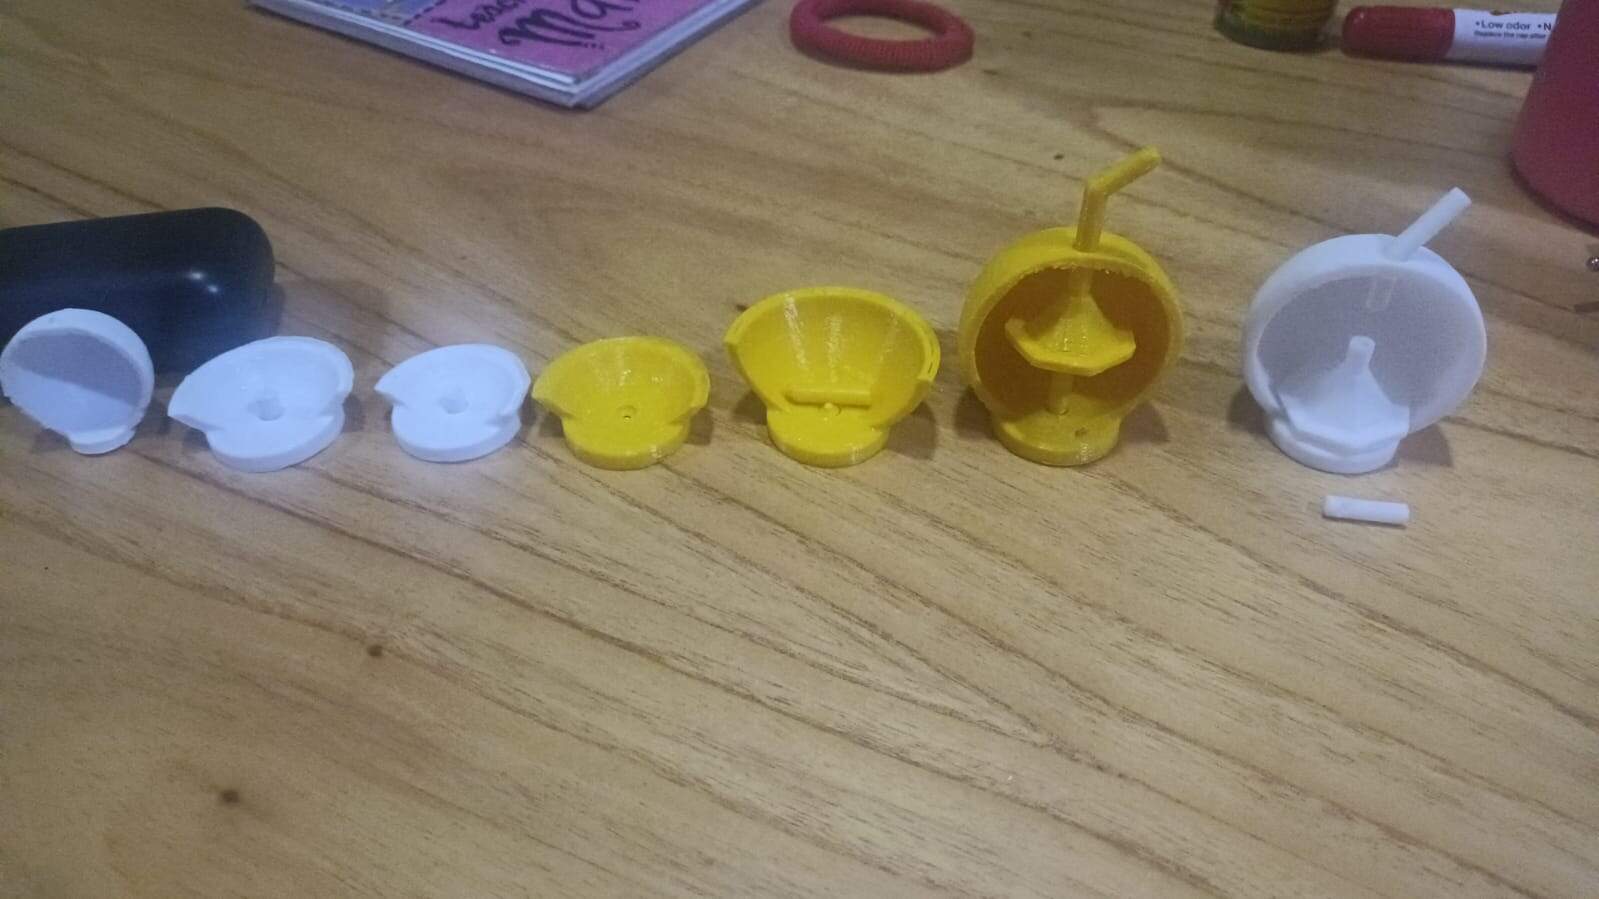
I truly didn't want to make any other attempts with this design cause I have deemed it cursed. Here are all my attempts in order xddd
Still, I did print other more fun designs along the week before I finished documenting this with my own printer. We are pretty obsessed with the Ender with my boyfriend if I'm honest. I feel I will keep on learning this as a hobby for a while.

Scan 3D:
So for this part I just wanted to test the available softwares because right now I don't really have a need for scanning things to print. I'm happy designing them on my own.
Here are some of the things I tried.
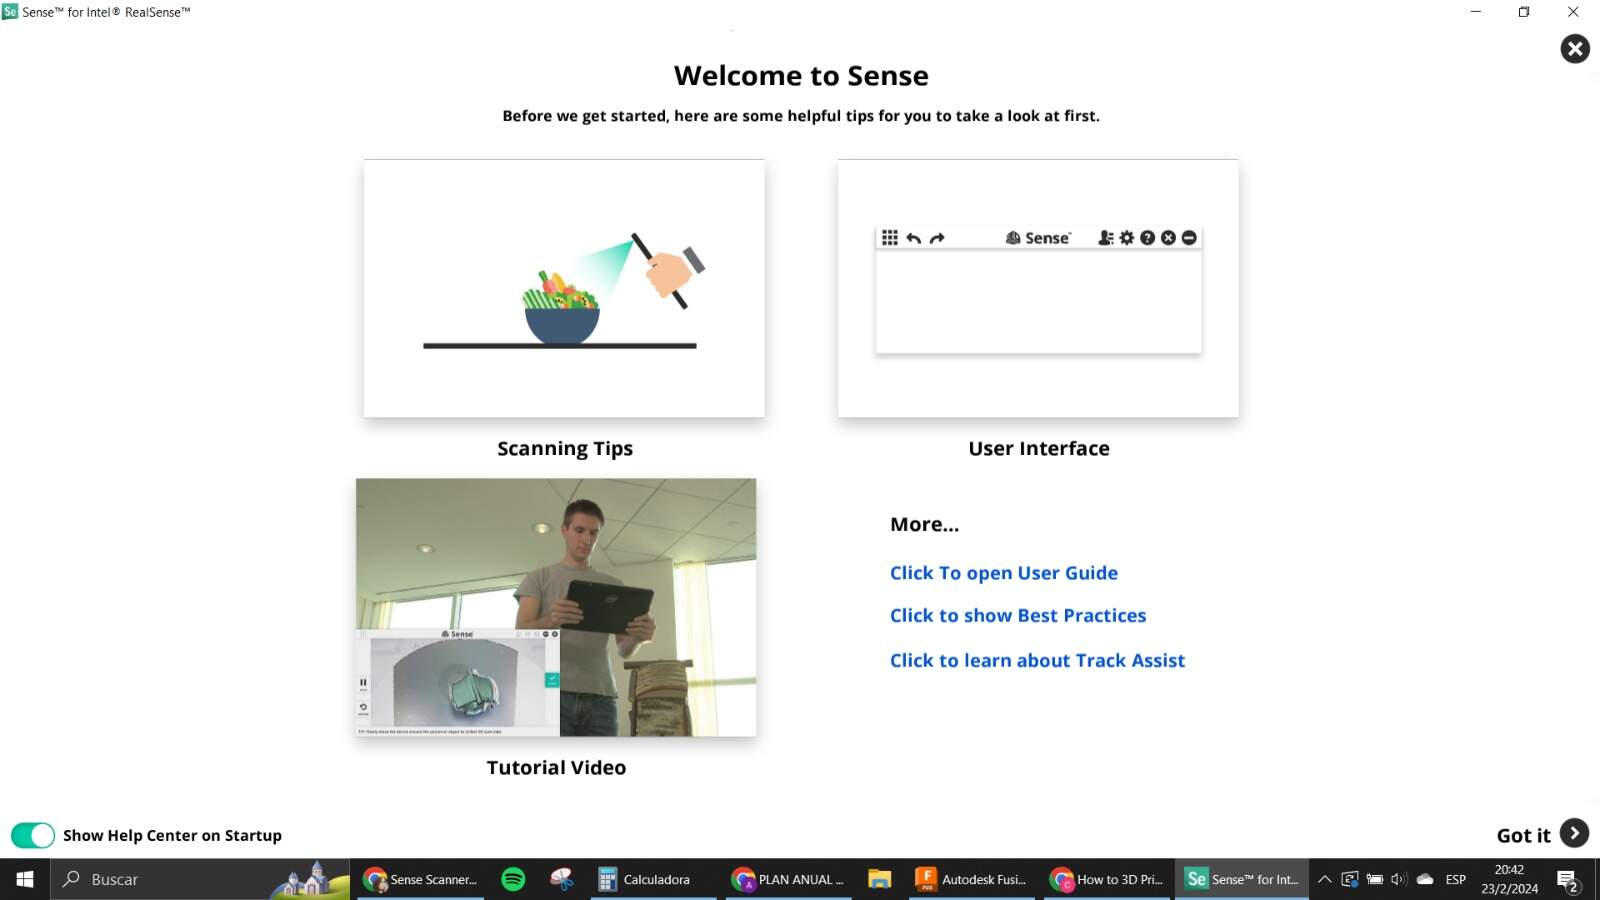
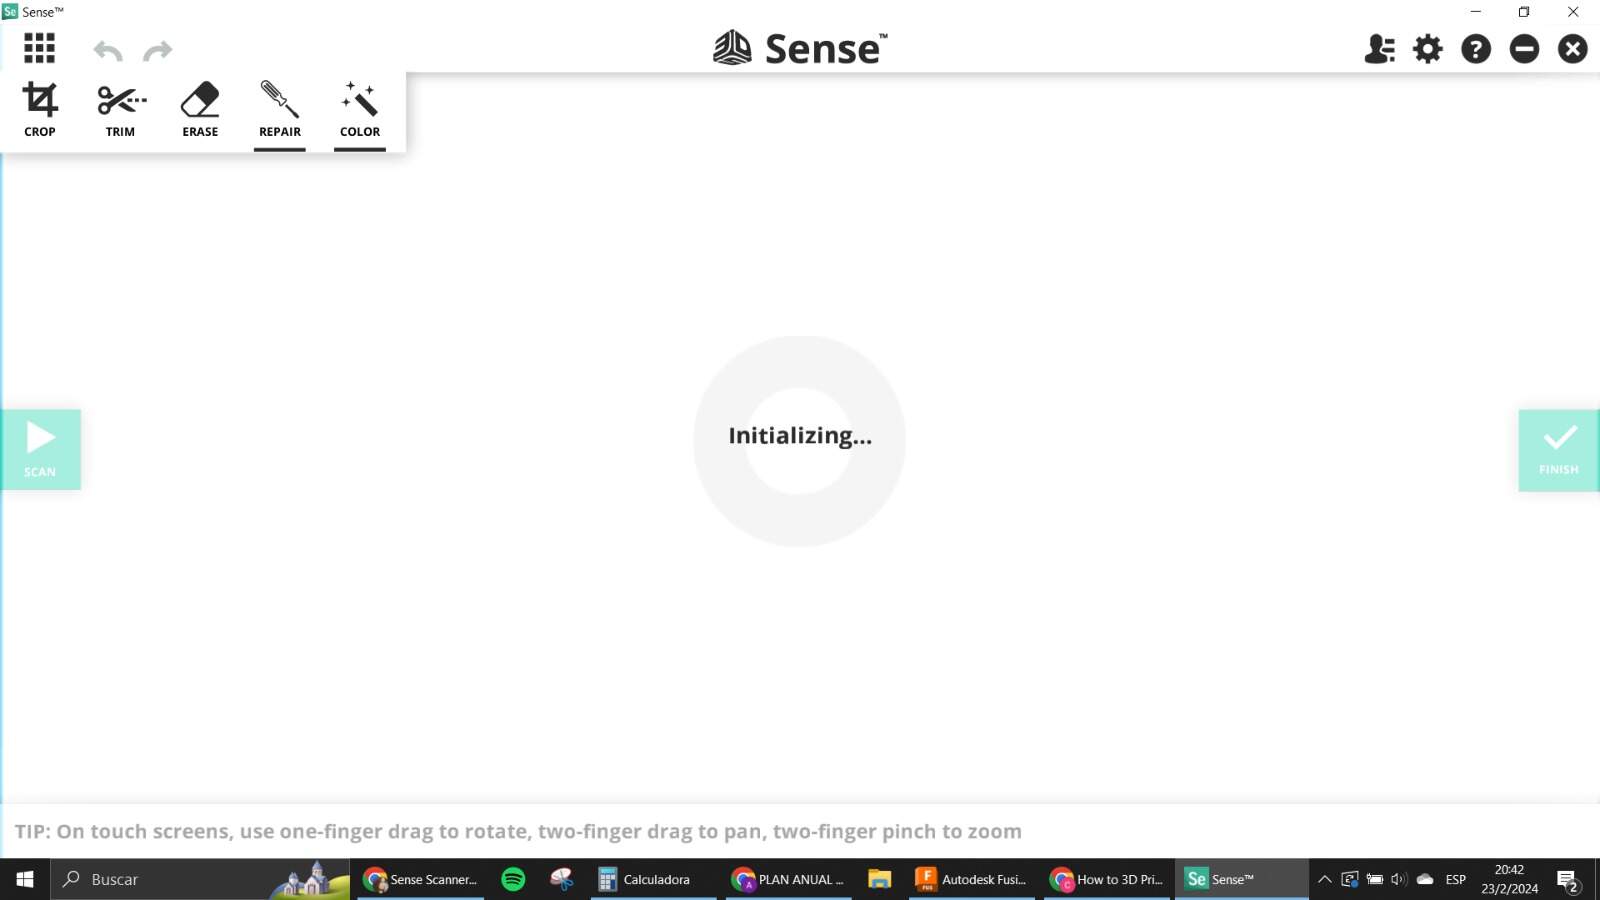
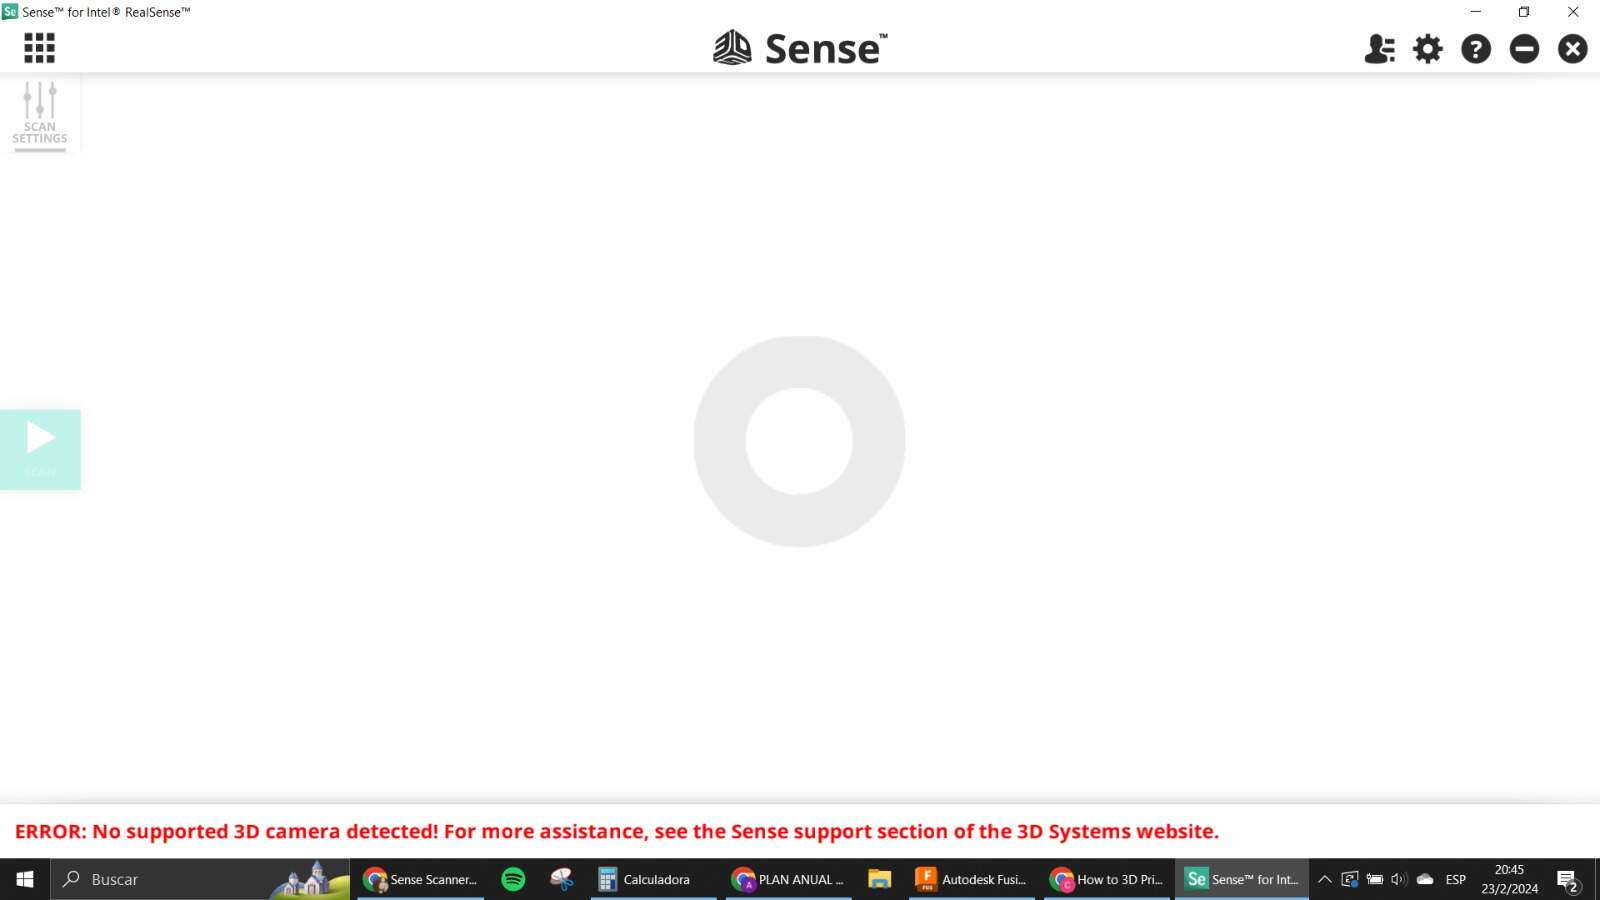
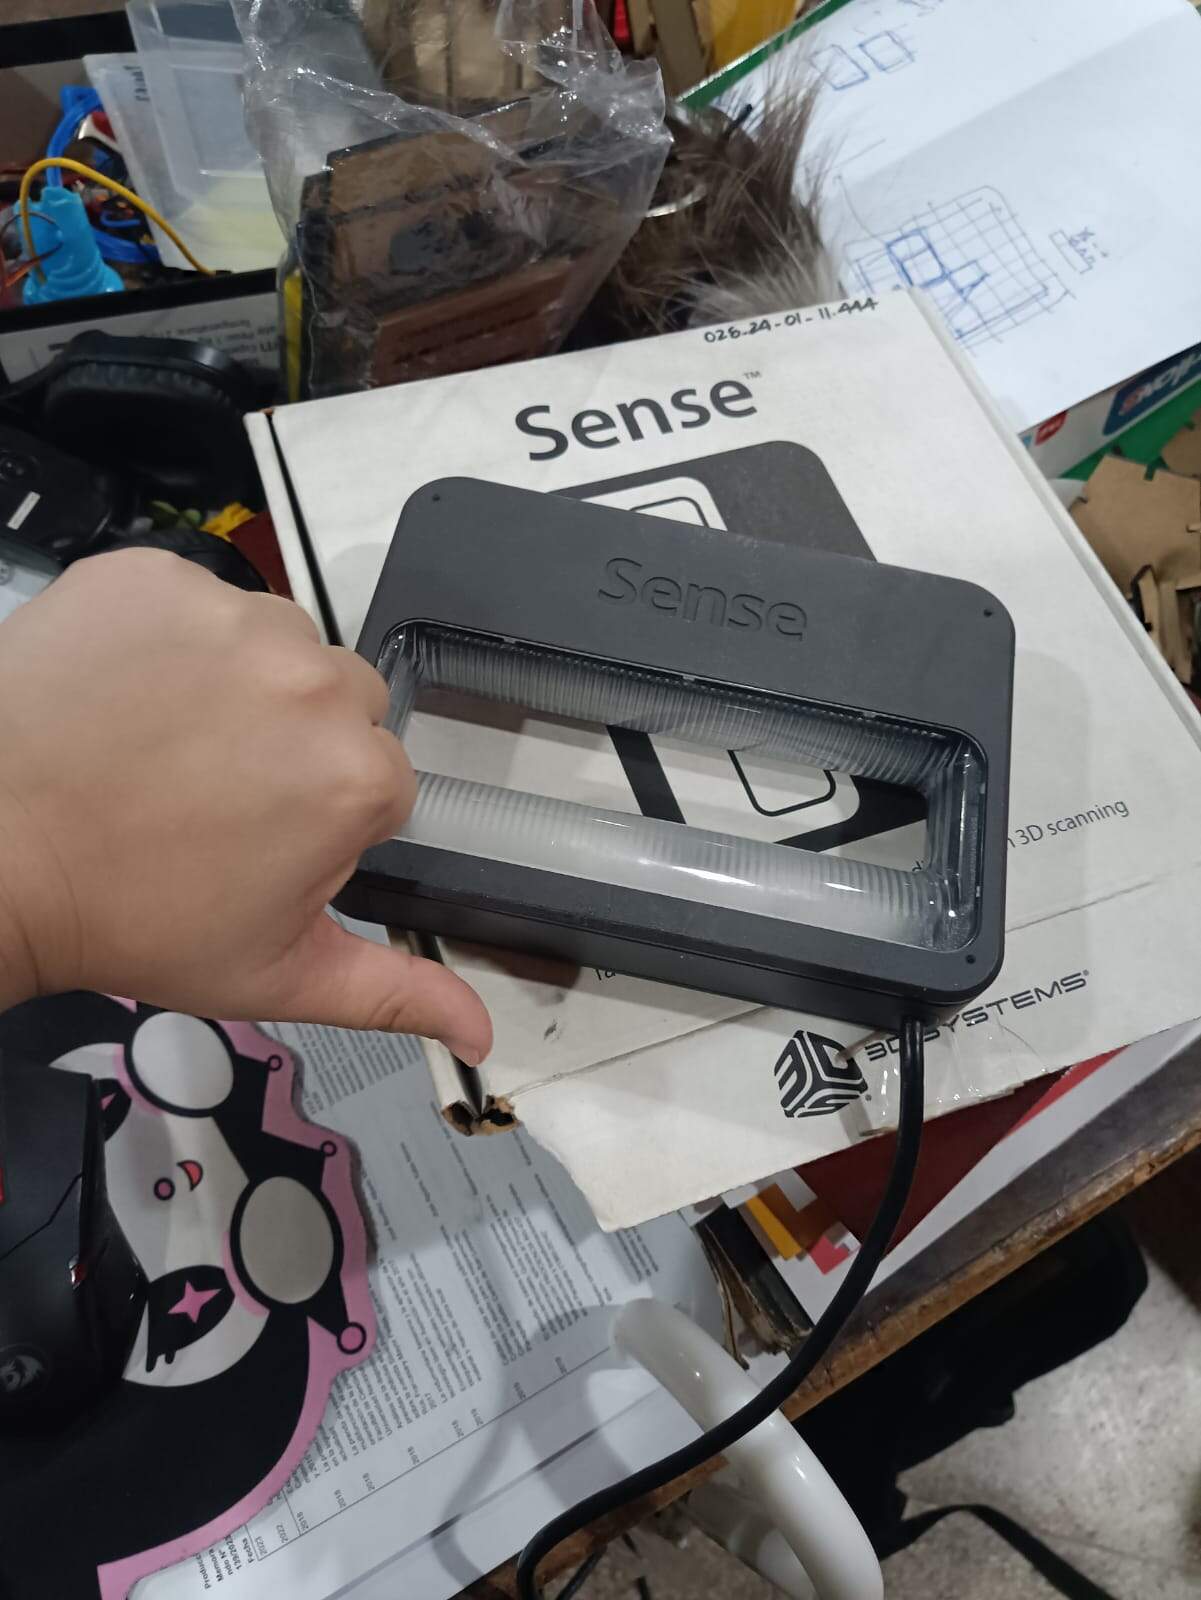
Sense:
There was this Scanner available in the Lab. Well, I tried to install the software and test it to see how it did but sadly, even by installing 2 different versions of the software, the device connected and apparently turned on, the software could not recognize the device. So I couldn't truly test this method sadly. . Apparently it is a discontinued product and also was tested in previous cycles with similar results.
Mobile Apps:
I started to look for android scanners that could work with my very humble phone. I have a Xiaomi POCO M4 Pro. It's a little on the older side regarding specs. But still, I felt it could give me some cool results with photogrammetry. I wanted preferably an app that was completely free and that didn't offer any type of premium paywalls. Looked in the store for “3D Scanners” and started to peek in there.
-
I found one that was free, but required an external device, so that was a fail.
-
I saw reviews for one that used AI that said that it was pretty expensive and that the free trial was not too great so I just avoided it.
-
Finally I went with the highest rated one, which was PolyCam. This one worked pretty nicely, the problem was the paywall it has because it only lets you export in one format.
PolyCam:
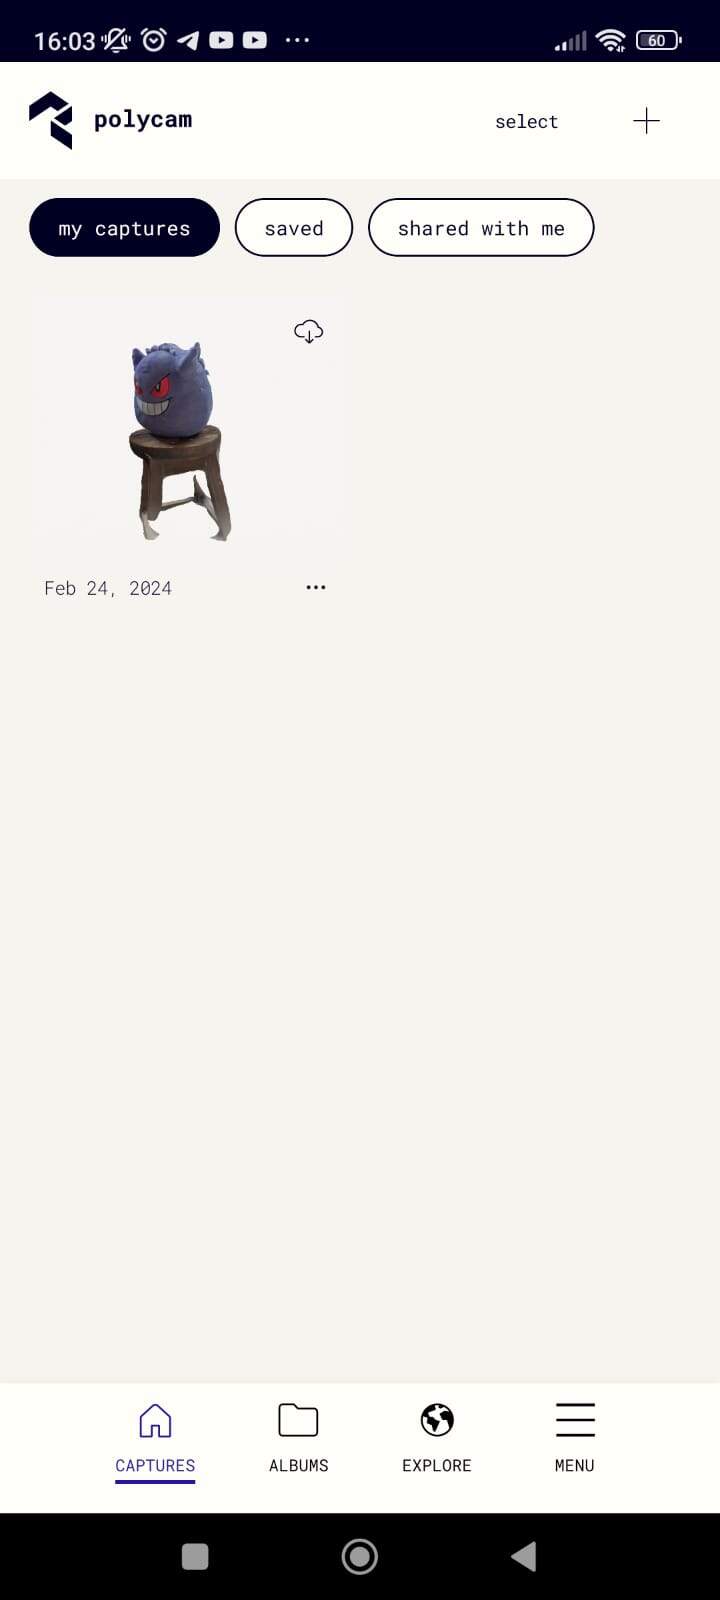
When I used this software I was already pretty tired from the research I have been doing. My subject was a plushie that I really like. It is a Gengar of the Squishmallow line.
I left the plushie on top of a chair, and started to scan by taking as many pictures of the subject going in a circle around it. After that, the app processes the whole batch of images and created the 3D object.
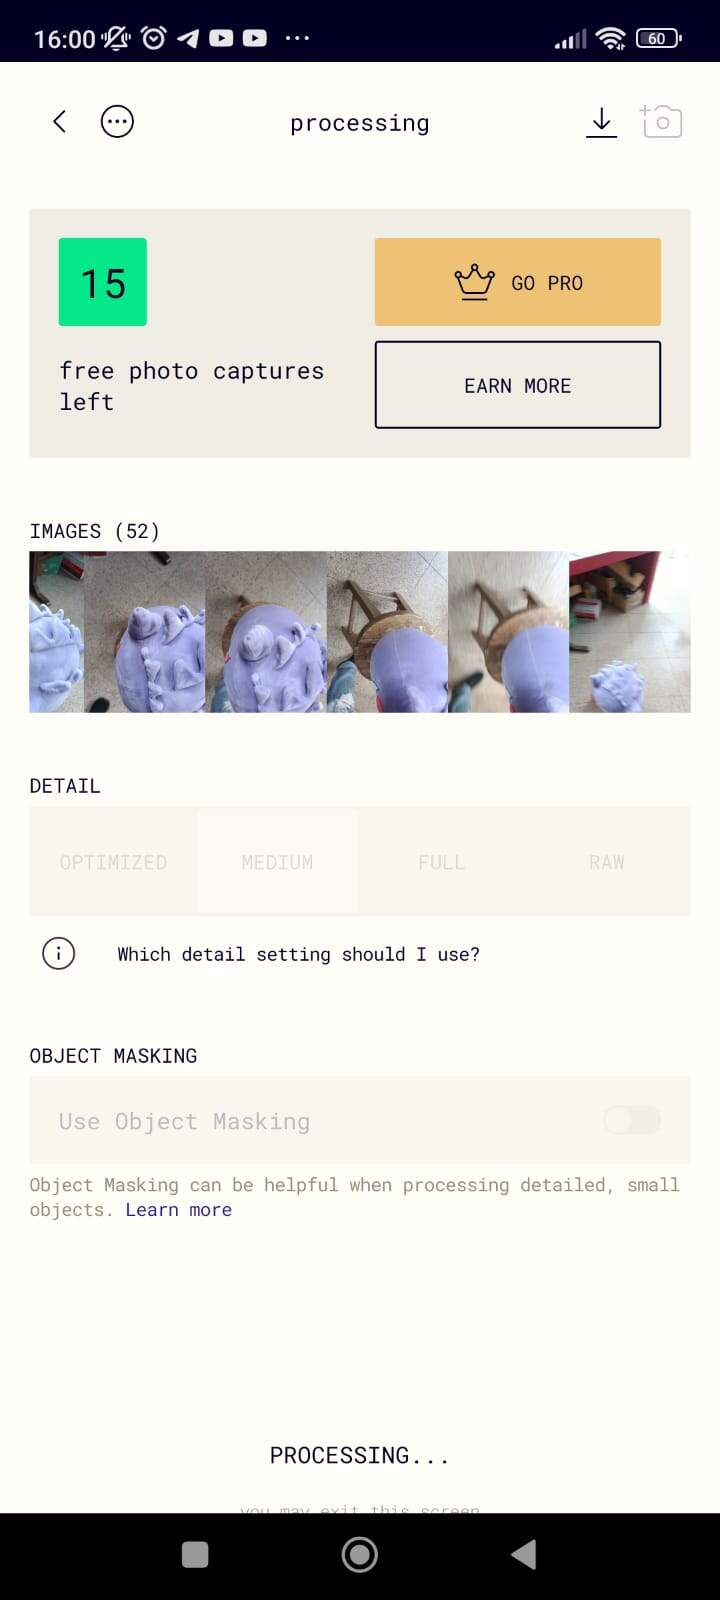
The result was quite interesting. Pretty nice I would dare to say. I used the editor of the phone to get rid of the chair that also appeared in the scan and tried to save it. Problem is the type of file that was available in the free version wasn't something usable to edit.
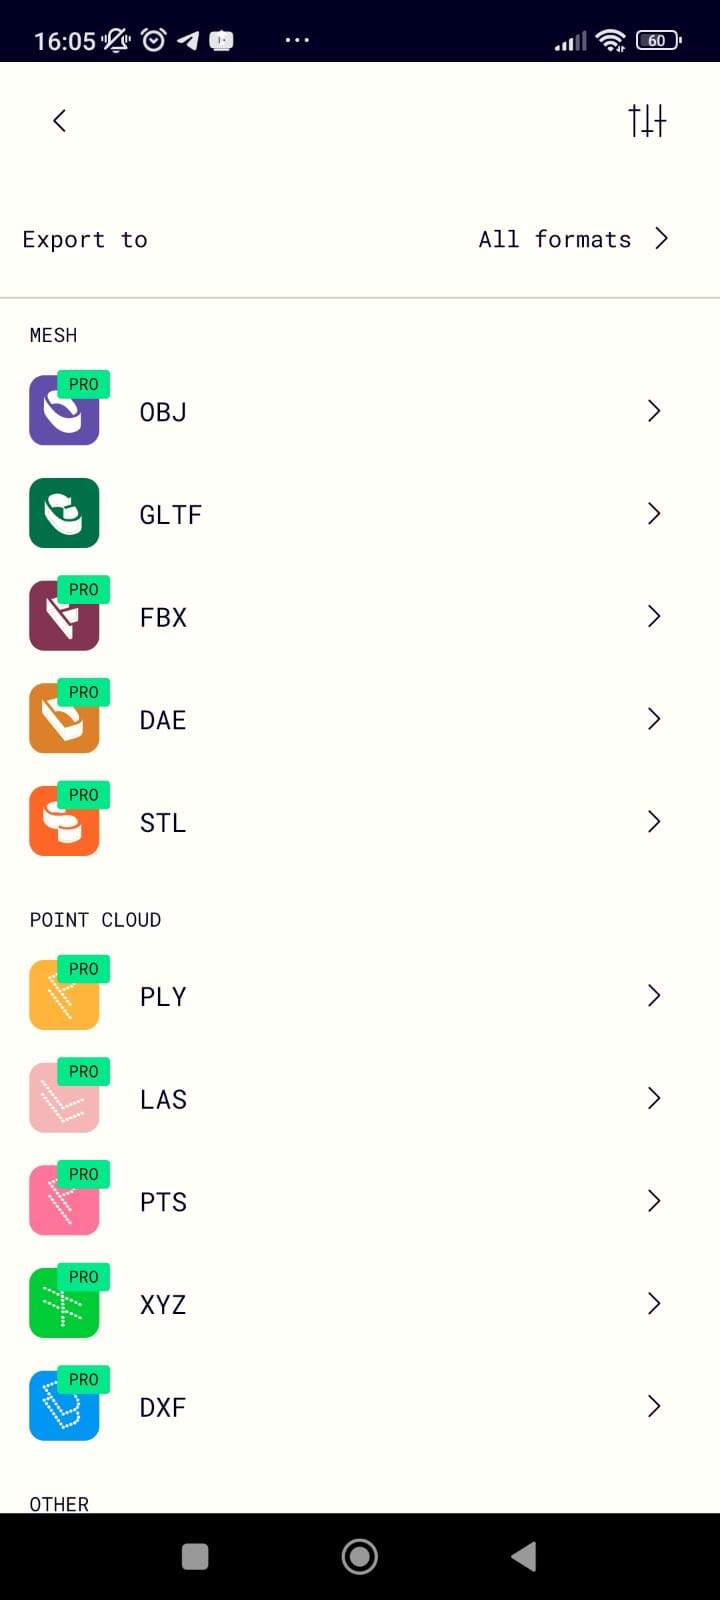
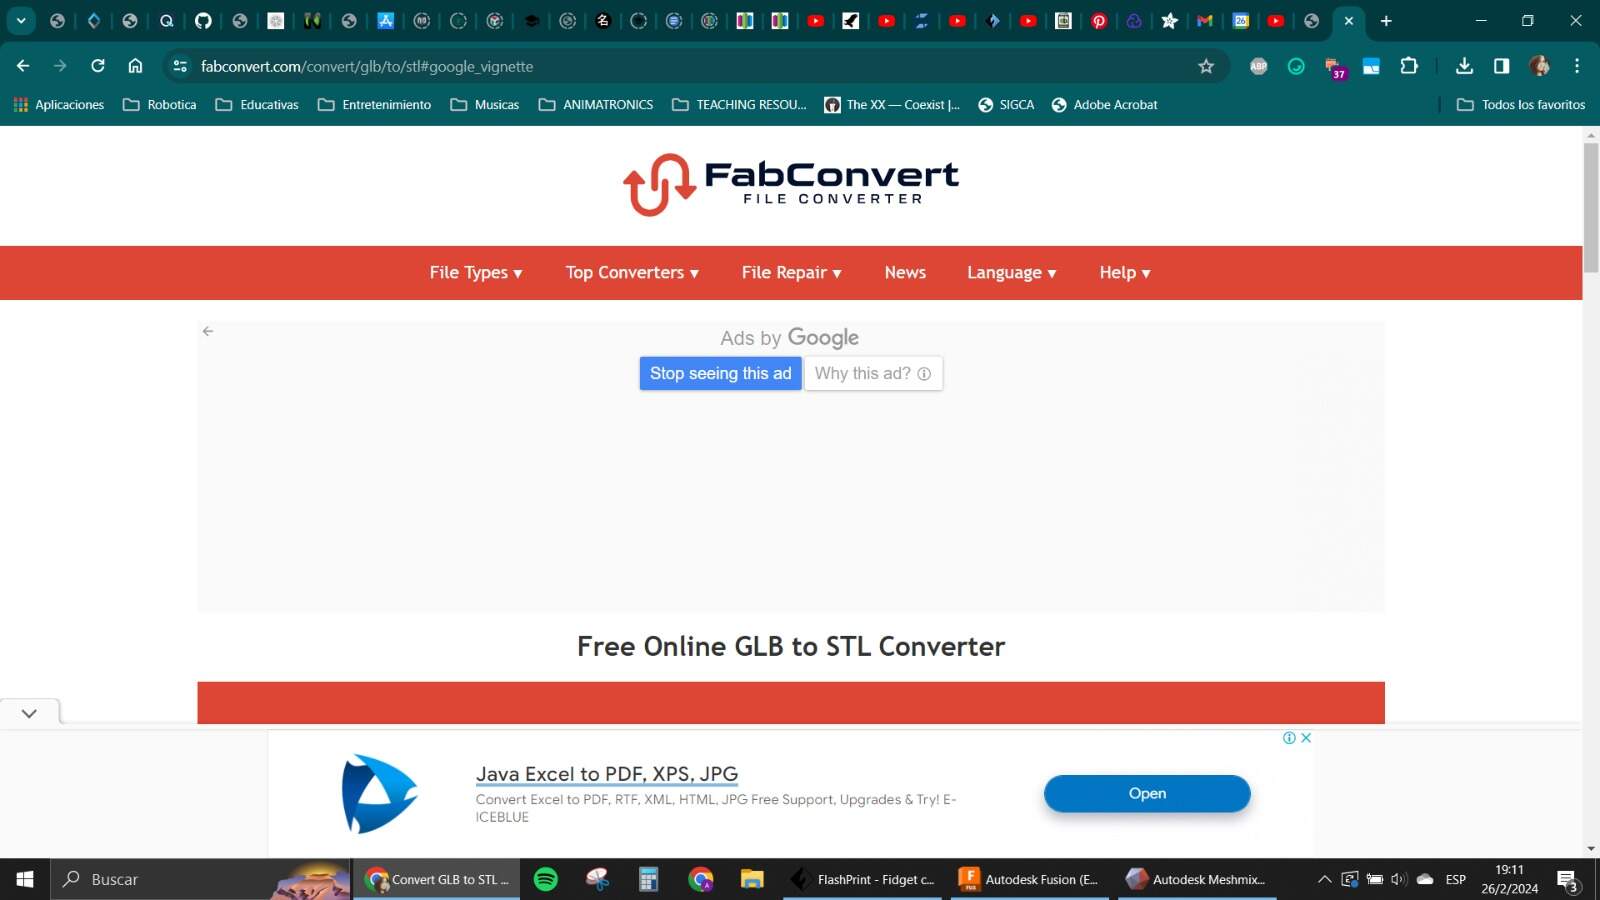
I downloaded it anyway and converted the file to stl with an online converter:
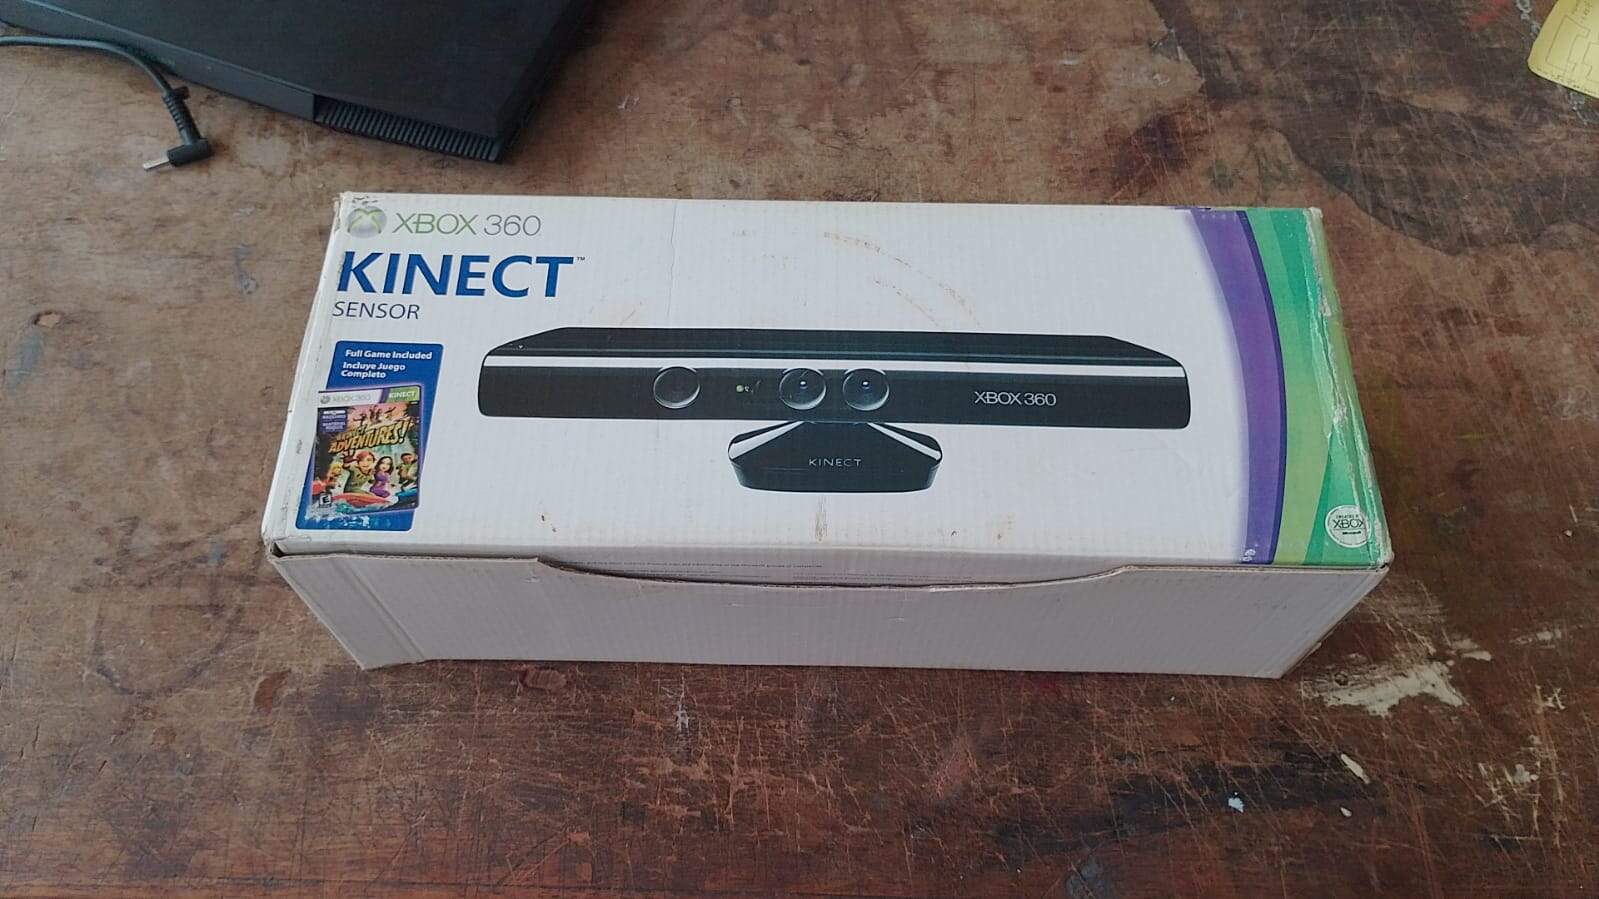
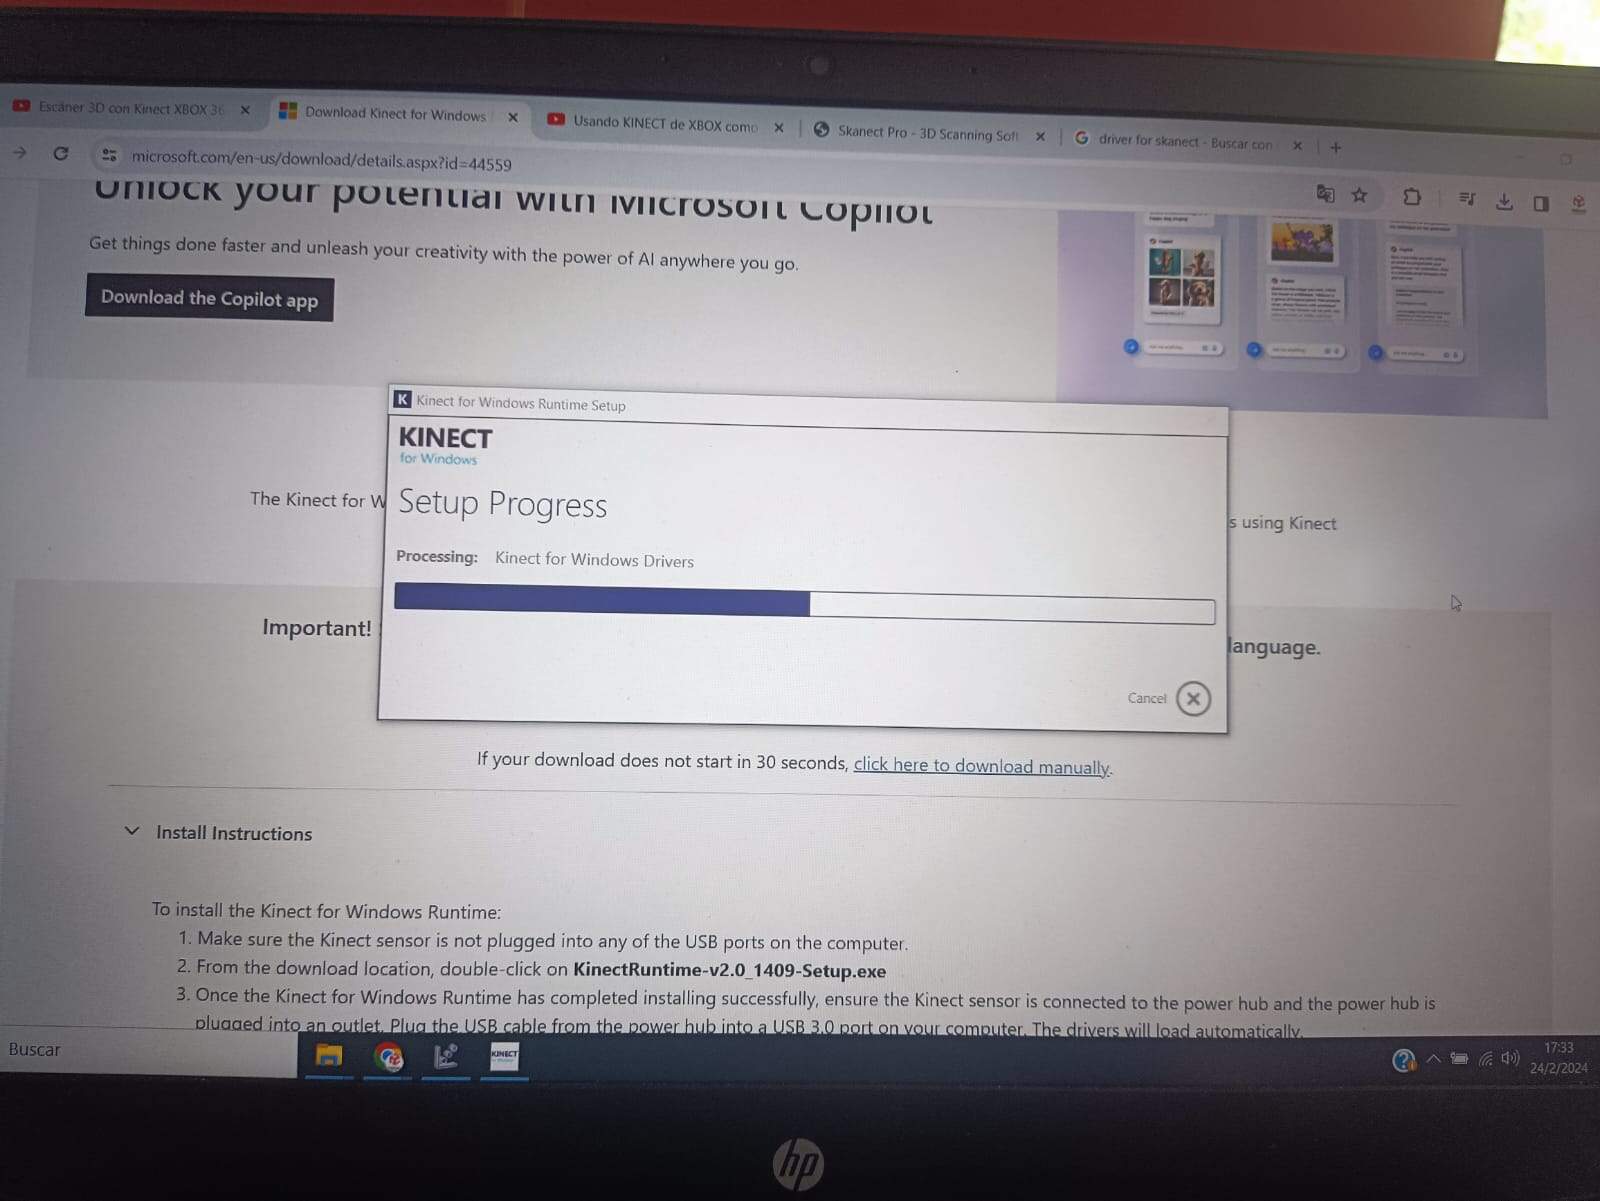
Kinect testing
I have a Kinect from an old Xbox 360 that I wanted to test because I saw you can also use it to scan. So i took it to the lab to start to test it and see how it went.
I downloaded the driver for windows and also the programs most commonly used.
Skanect:
I didn't have any luck with this software, it wasn't recognizing my kinect at all. So I had to ultimately scrap this method.
KScan3D
This program was very easy to use, it did recognize the kinect easily and showed it on the side. The nice thing about this is that the kinect focuses on what is in the range that you set it to and the program basically creates the mesh from that.
My first attempt with the Gengar wasn't successful, I tried to turn the Gengar around with my hands on top of a stool, but apparently the texture of the plushie was a bit of a problem.
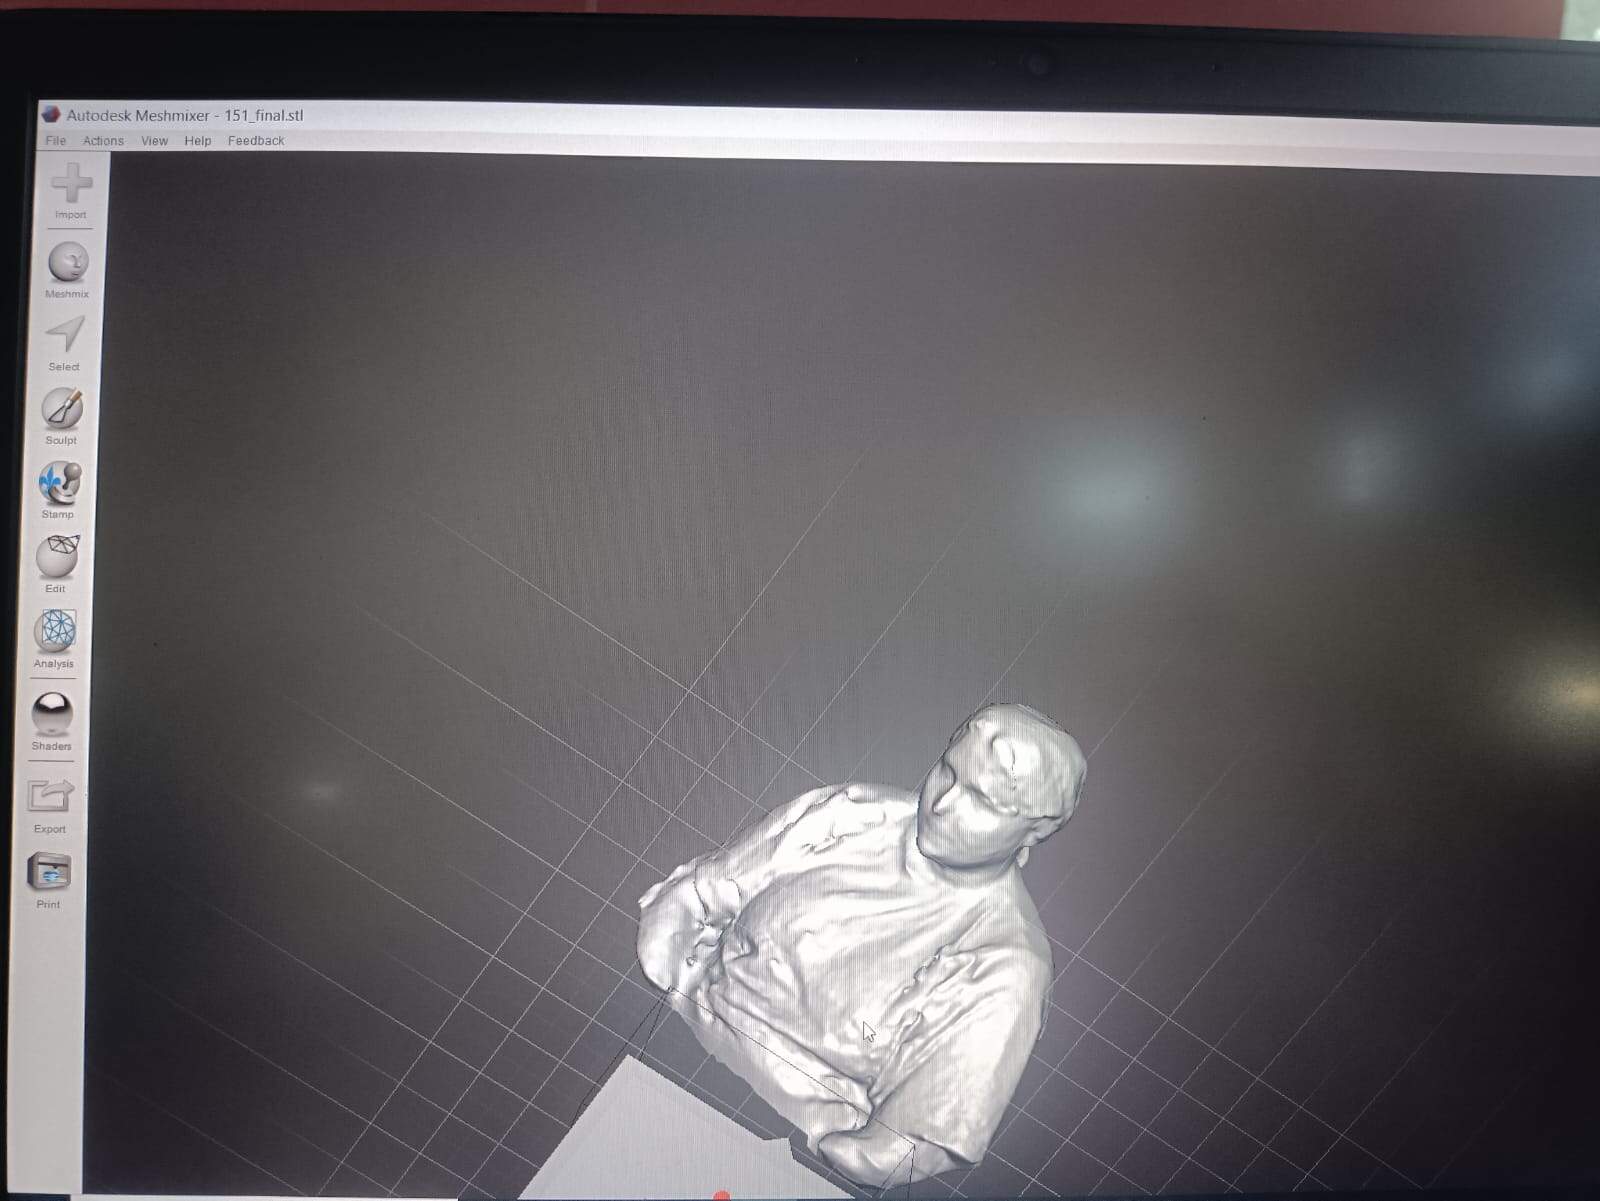
I then decided to try and scan myself, since that would be easier as I can rotate on my own.
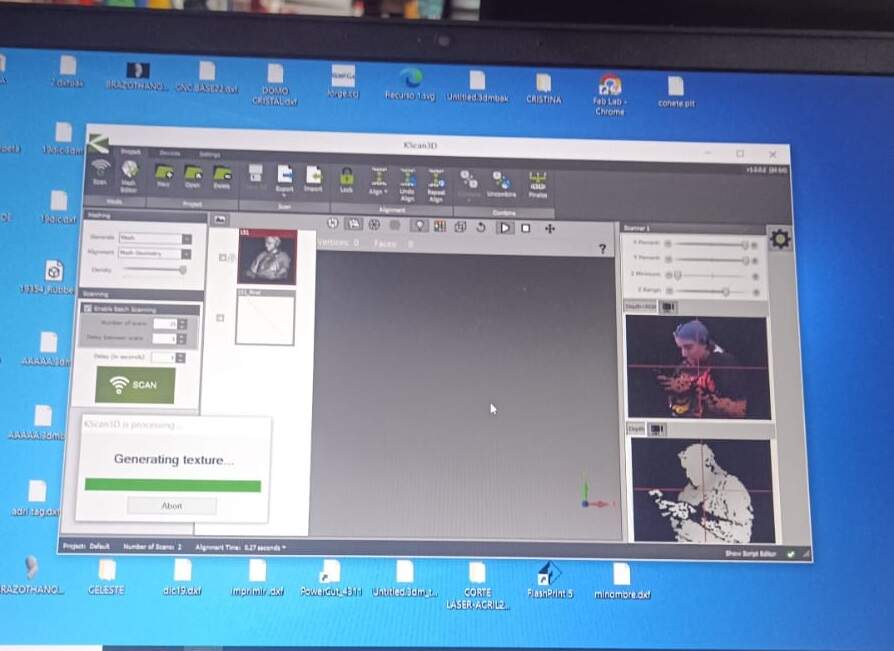
That scan came out better. The mesh is created by combining the pictures you desire by selecting between all the ones you take (usually you just select them all) and using the “combine mesh” feature. It's important to take the pictures as meshes.
After having the mesh, I downloaded the result as an editable file.
MeshMixer
My last stop in the scanning journey was to try and touch up my designs using MeshMixer. I downloaded it and tested it with my scan.

Here I tried to turn the mesh of myself into a solid to close the gaps that the scan left off. I also tried to smooth it up a little bit because it was looking a bit rough as a scan.
I also tried to clean up the gengar scan by making it into a solid and smoothing out some places where the stool was.
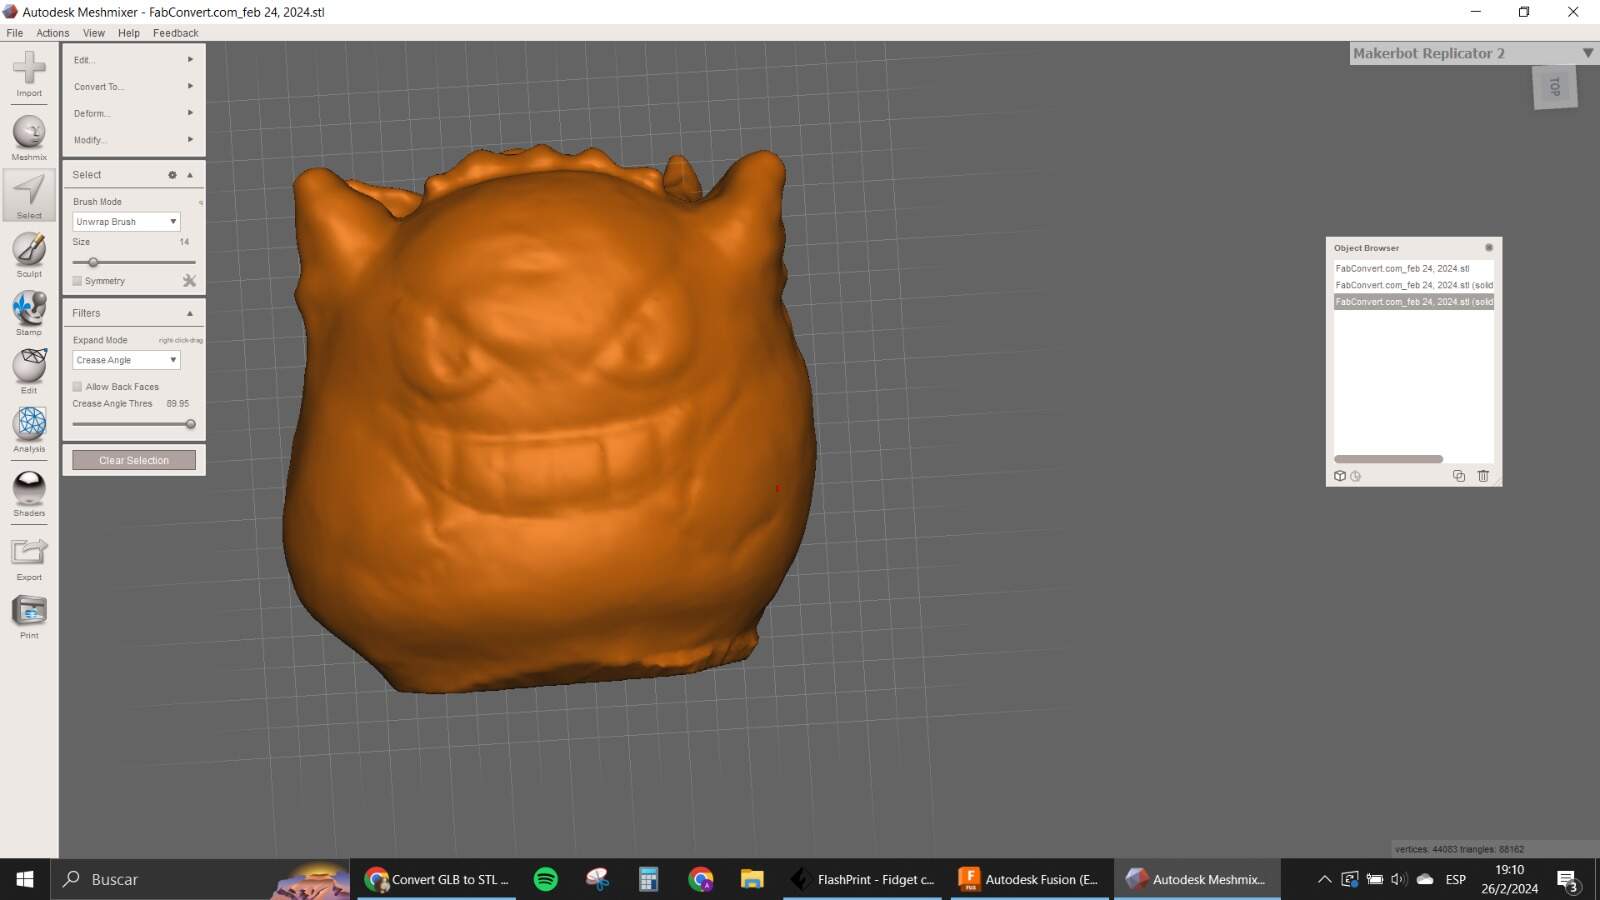
The software is pretty intuitive but I didn't really go that into detail into the uses it can have. I did test the brushes but wasn't too successful with them.
I decided not to print my scans cause I don't want a bust of myself, and the Gengar is not really worth it in this case.
And that is finally it. This took me way too long. Uploading it a week later and I'm sorry. Had a distraction (printer) and also a rough week at work 😖