2. Computer aided deisgn
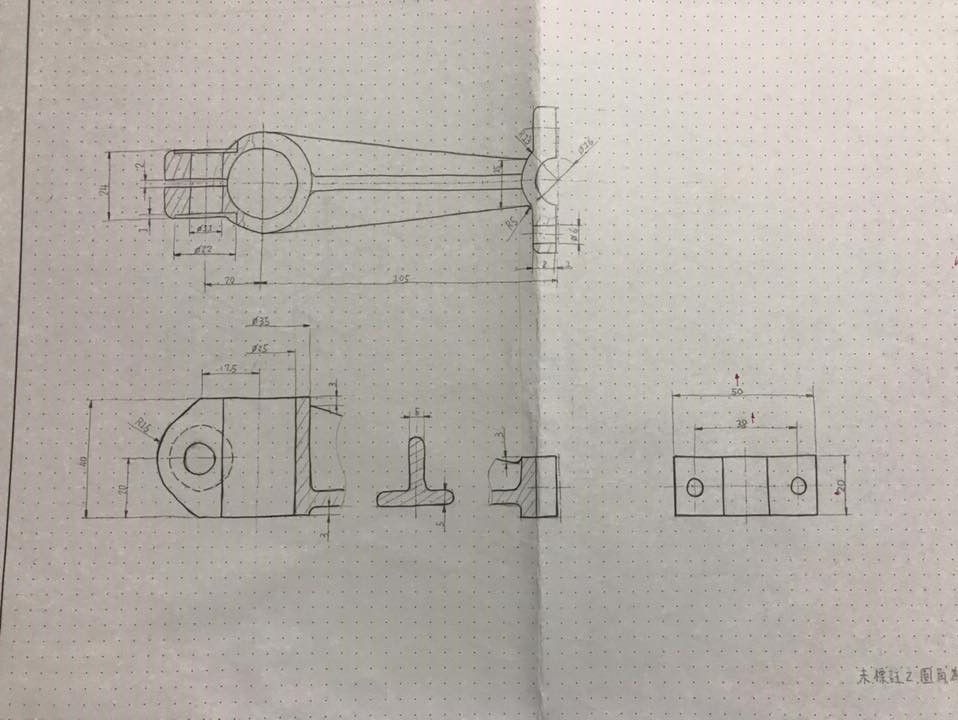
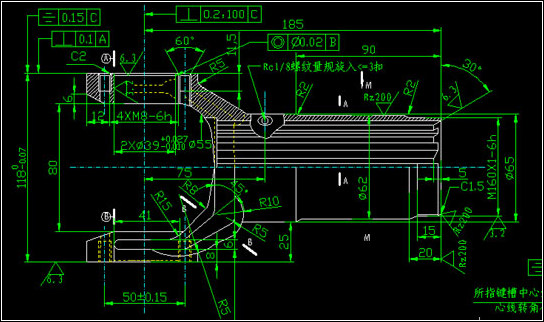
This week I mainly learned some computer graphics software. As an embedded engineer and maker, I previously learned to use Auto CAD and Solid works to model two-dimensional and three-dimensional images when I was in college. But the main drawings at that time were some mechanical engineering parts. After graduating from school, I also used Solidworks to draw some small creative works in my subsequent work, but I rarely used some designer-specific drawing software. This time I had the opportunity to learn some open source software. I decided to try some software that I have never used before, hoping to master it and apply it in actual project production in subsequent courses.
Assignments in this week
- [x] model (raster, vector, 2D, 3D, render, animate, simulate, …) a possible final project,
- [x] compress your images and videos,
- [x] and post a description with your design files on your class page
Tools used in this week
- GIMP
- Inkscape
- Onshape
- FreeCAD
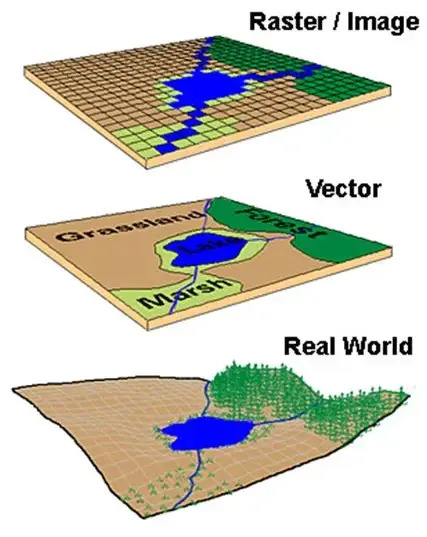
1. Data format in 2D design:Vector or Raster
When I was in college, our teacher once said that in the days before computers, all engineering drawings were done with pencils and hand drawings. Nowadays, with the application of computers, digital drawing software has also replaced the previous manual drawing process.
However, all types of map data fall into one of two categories: vector data or raster data.
-
Vector data is made up of points, lines, and polygons; all of which are used to represent real-world features in maps. All geometry types store information in x/y coordinates
-
Raster data is made of pixels that are compiled into rows and columns. Primarily you will see raster data used in digital aerial photographs, satellite imagery, or even digital pictures. However, raster data can be organized into two separate categories, discrete data & continuous data
2. Tools in 2D design
- GIMP for raster
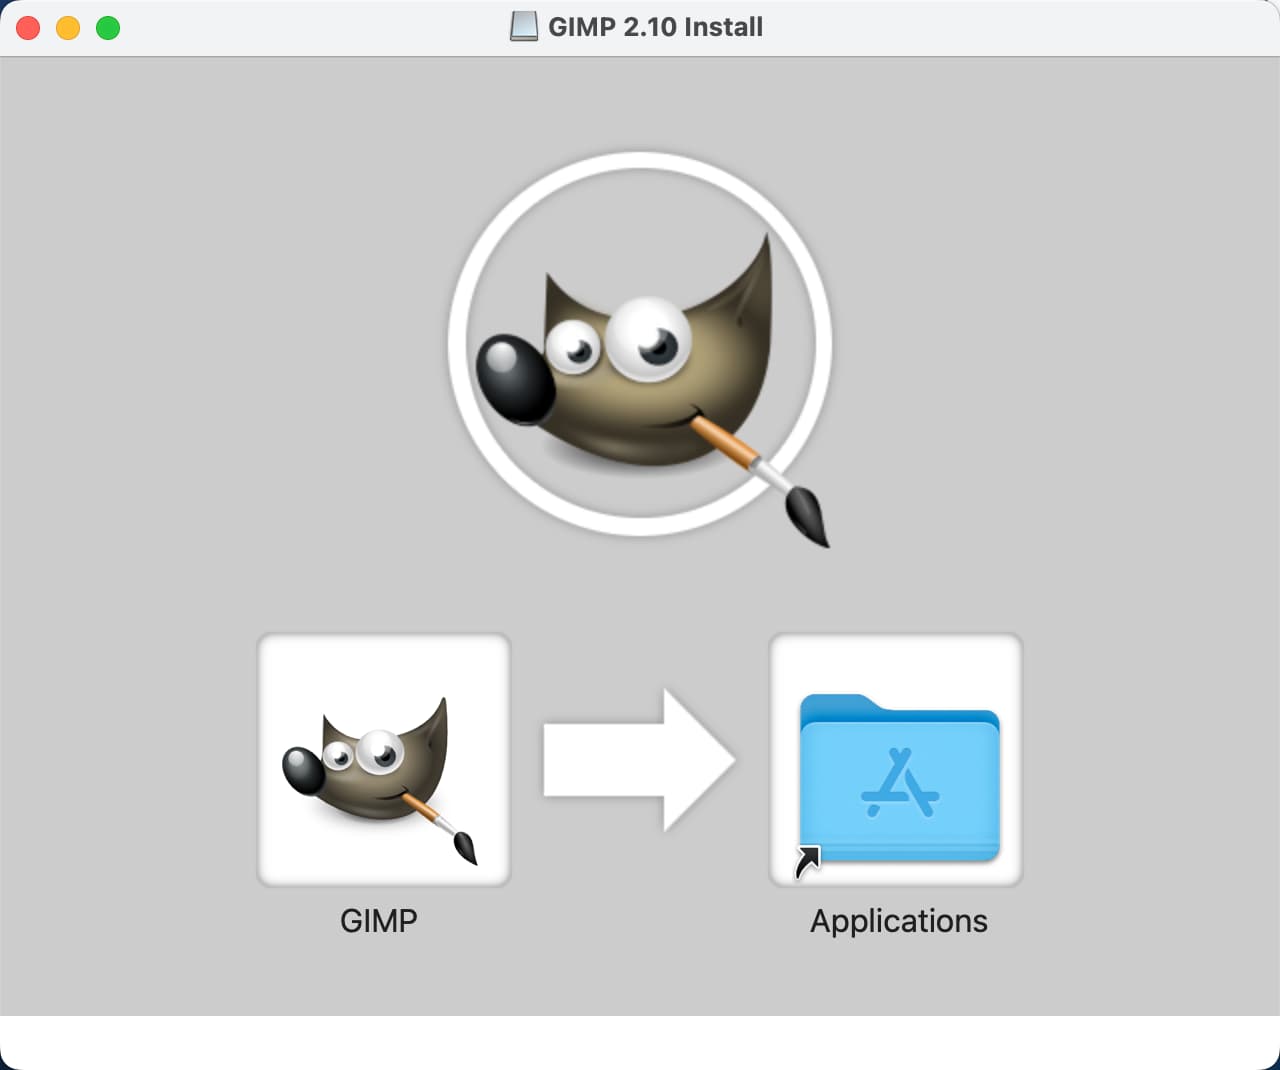
- a. Download the sofwatre from website.
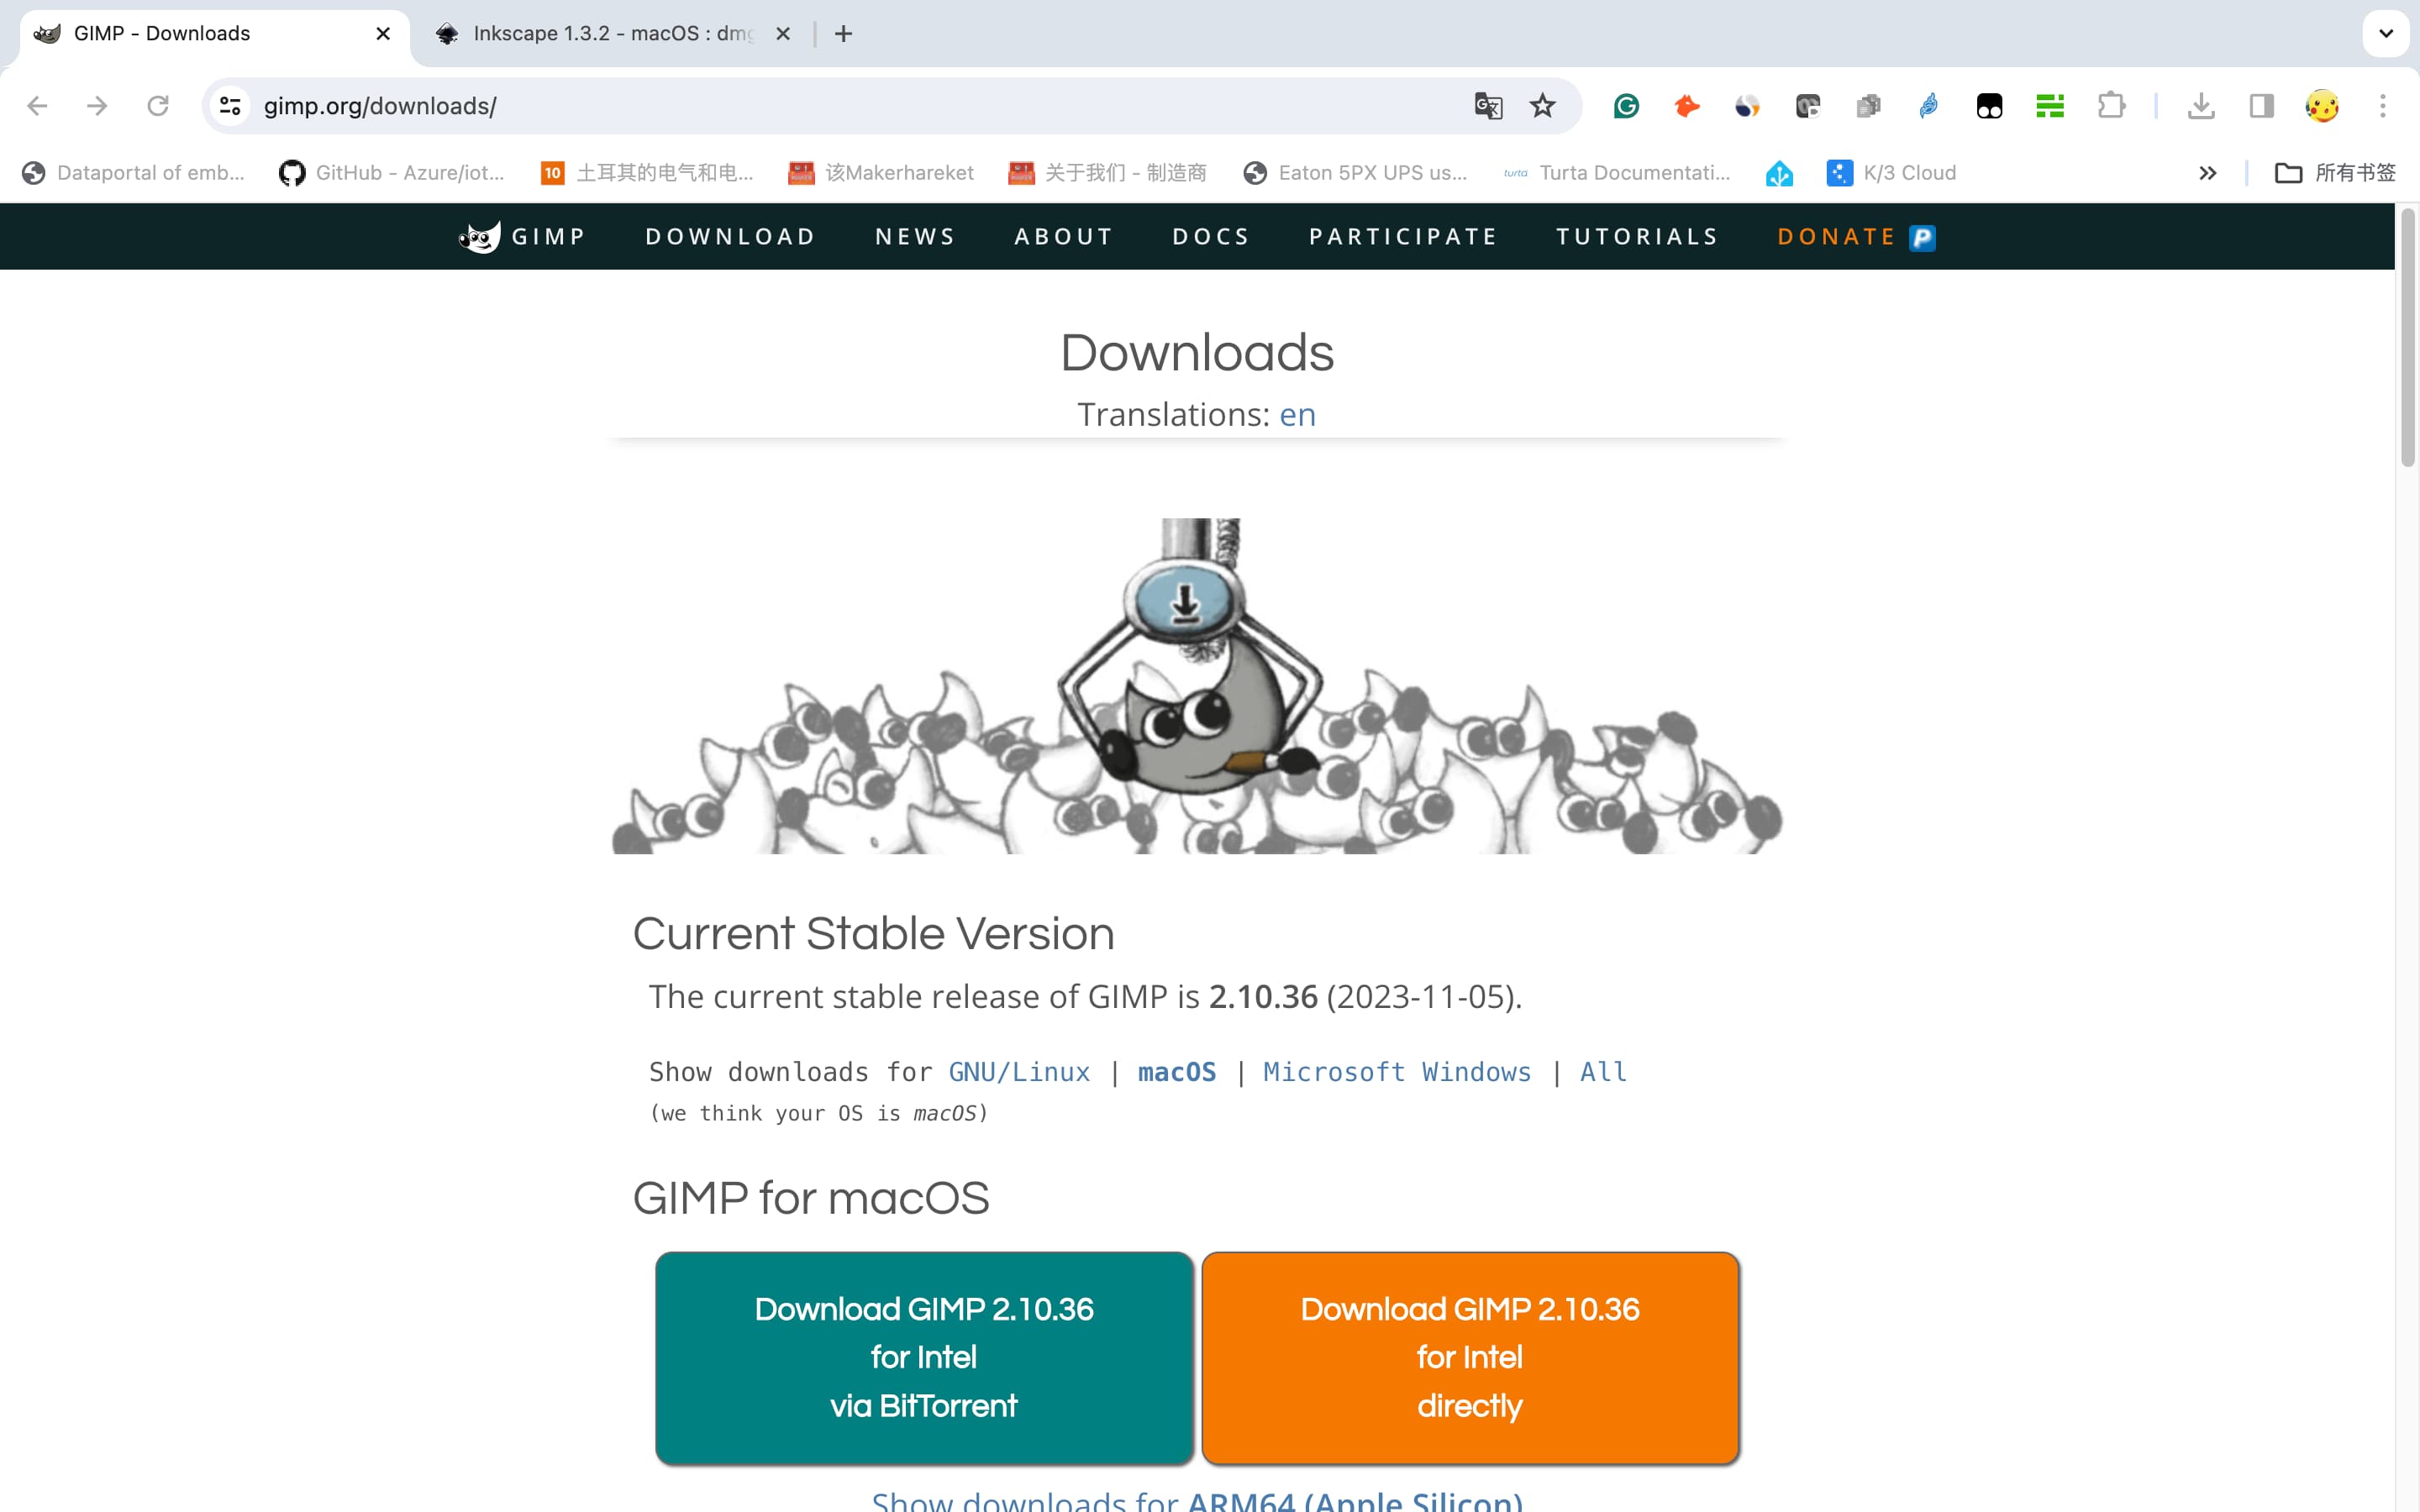
- b. Installiation of GMIP.
- c. Create a new GIMP file in A4 map size.
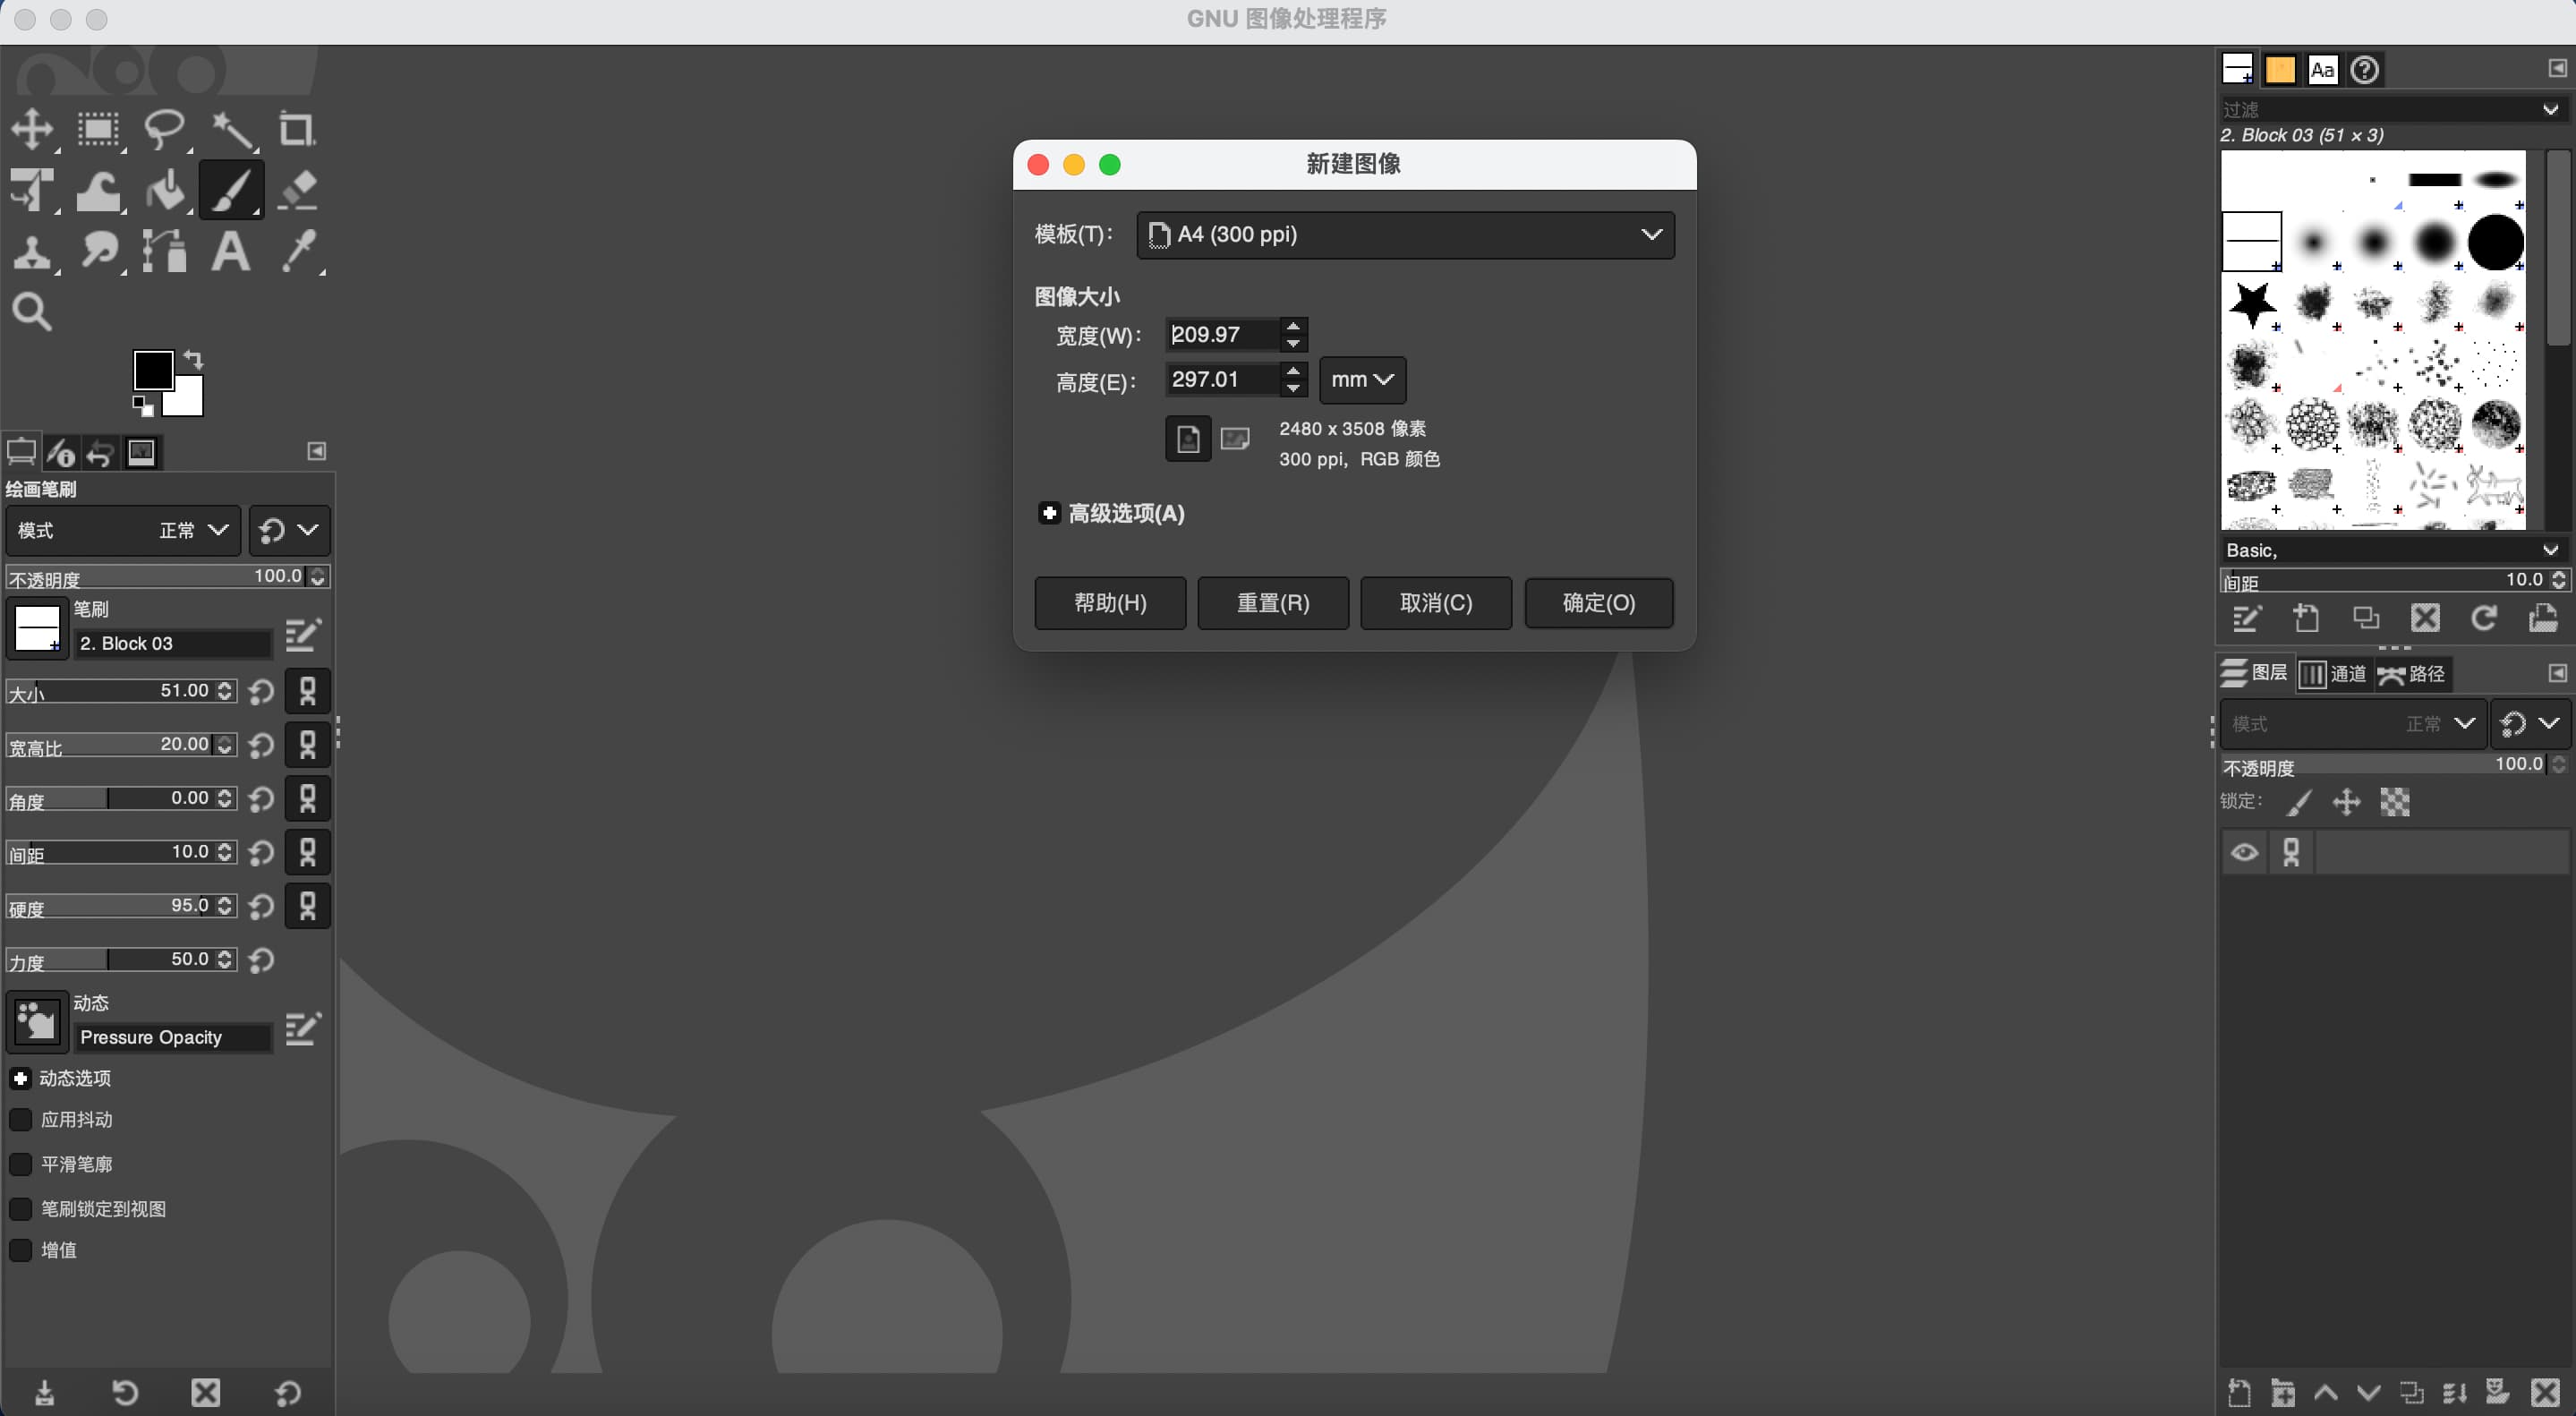
-
d. Draw “Crail Lyu” then save as “xcf” format file.
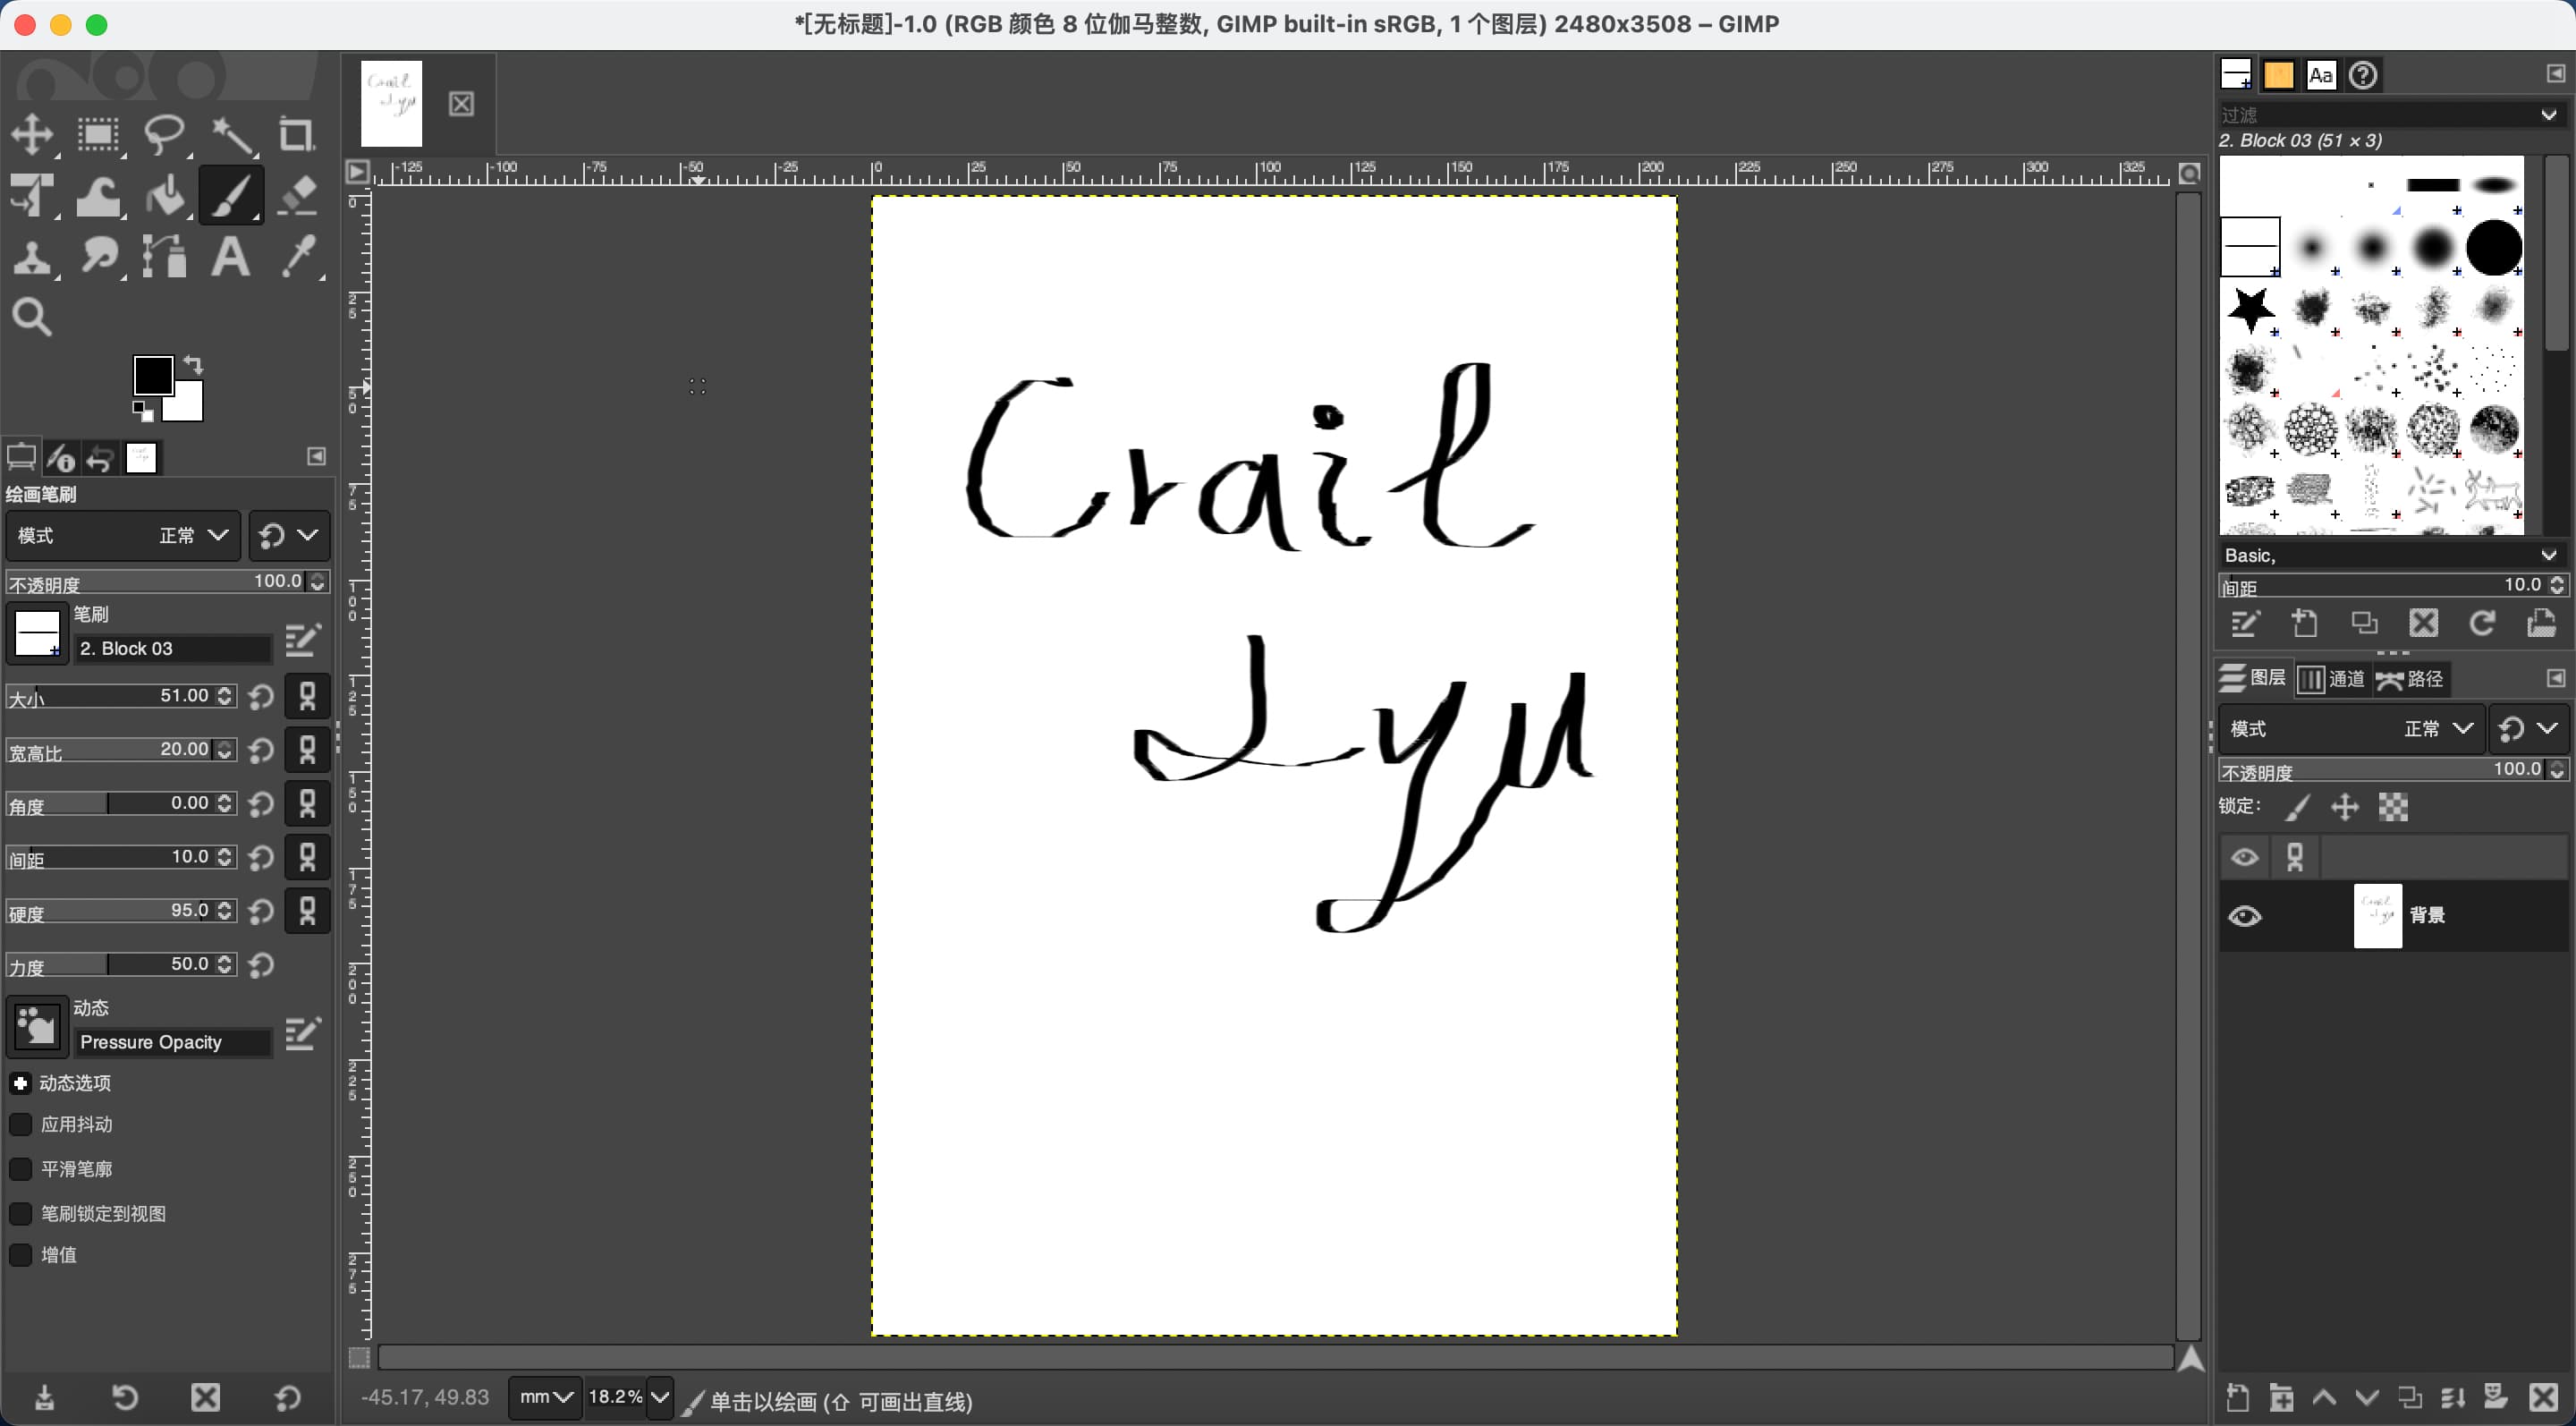
-
Inkscape for vector
-
a. Download the sofwatre from website.
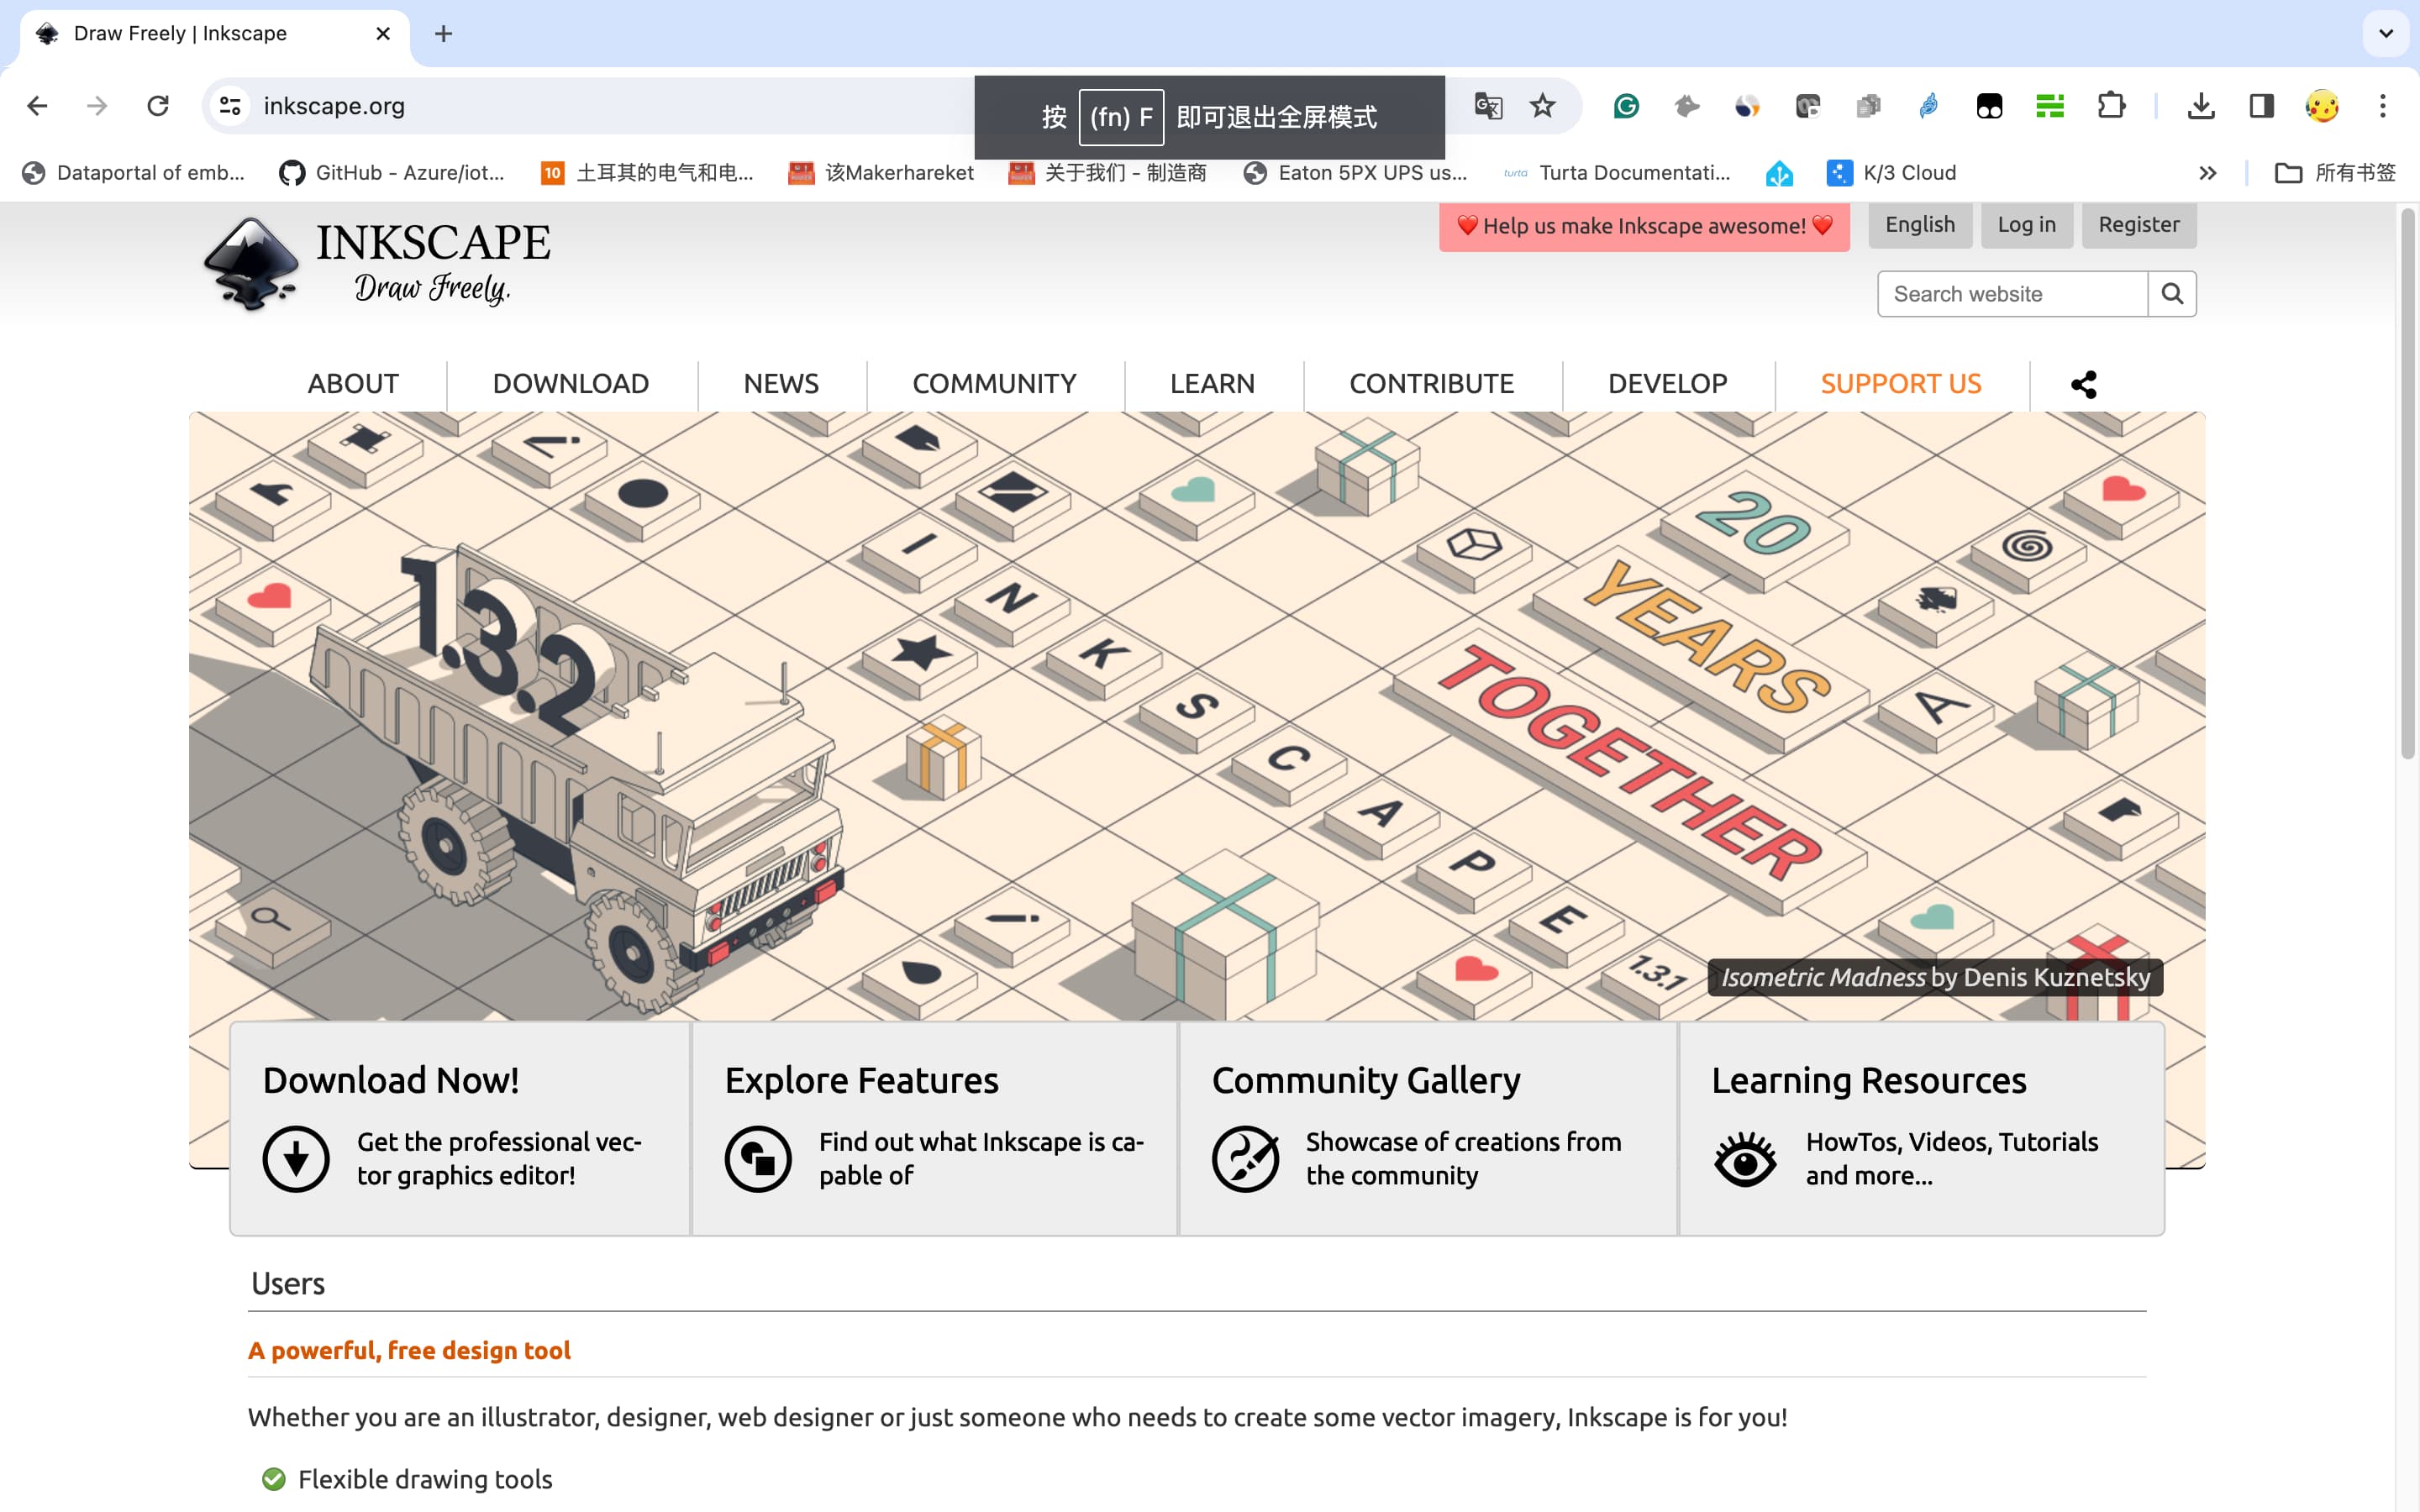
-
b. Installiation of Inkscape.
-
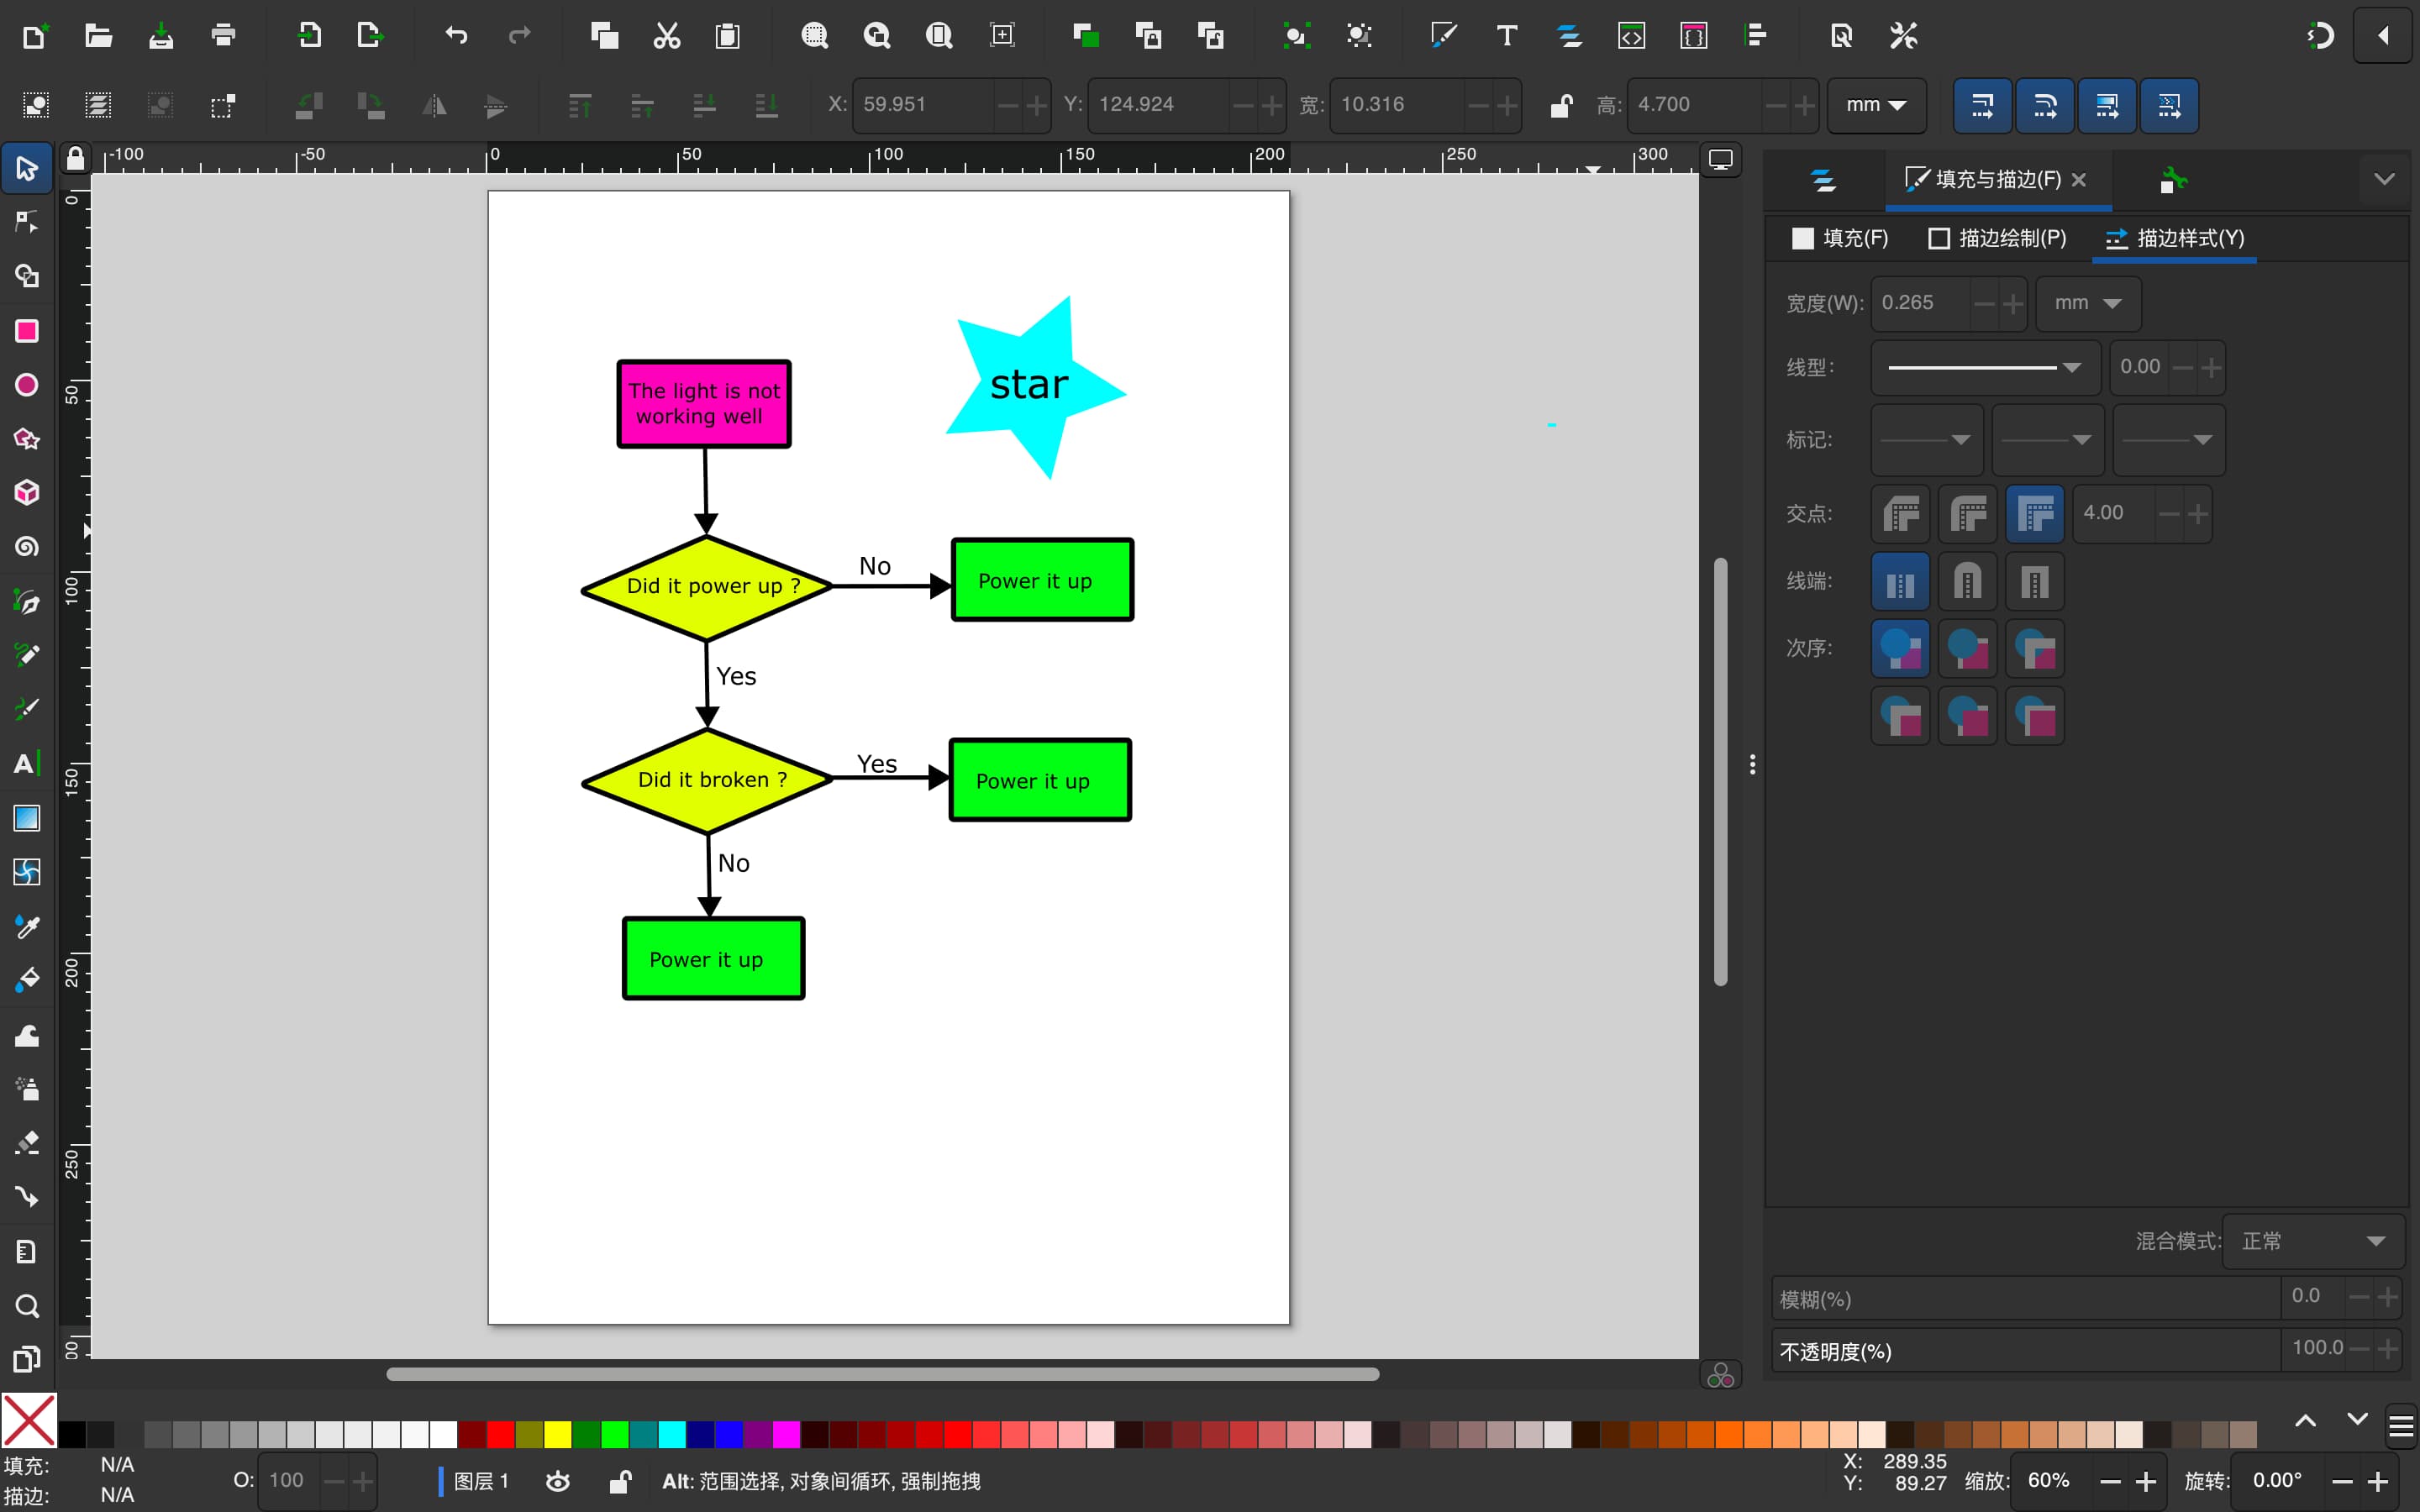
c. Create a new Inkscape file and draw a picture of diagram then save it as “svg” file.
Summary & Experience on 2D Design
GMIP is a software that is relatively simple to use. You only need to use different brush modes to perform basic operations, but it feels more suitable for some painting creations and then used to produce some painting and other materials.
The operation of Inkscape is easier and simpler. I prefer the drag-and-drop frame of Inkspace. This feature is more friendly for us to draw flow charts and some regular geometric figures.
Comparing the user experience (UX) between GIMP (GNU Image Manipulation Program) and Inkscape involves looking at several aspects, including interface design, ease of use, learning curve, features, performance, and community support. Both are popular open-source tools but serve different primary purposes—GIMP for raster graphics editing and Inkscape for vector graphics editing.
GIMP:
Purpose: Raster graphics editing (photo retouching, painting).
Interface: Multi-window by default, can switch to single-window mode; highly customizable but can be cluttered.
Ease of Use: Powerful with a steep learning curve; complex tool organization.
Features:Extensive tools and plugin support; supports numerous file formats.
Performance: Variable speed with large files; generally stable but occasional crashes.
Community Support: Strong community with abundant resources; regular updates.
Inkscape:
Purpose: Vector graphics editing (illustrations, logos, diagrams).
Interface: Clean, single-window layout; less customizable but well-organized.
Ease of Use: More intuitive and easier for beginners; focused toolset for specific tasks.
Features:Powerful vector editing capabilities; primarily supports SVG format, with extensions and scripting.
Performance: Generally good performance; can slow down with complex graphics.
Community Support: Active community with plenty of tutorials; regular updates.
GIMP is better suited for tasks involving raster graphics like photo editing and painting. It offers a vast range of features and customization options but has a steeper learning curve and can be overwhelming for beginners. Its interface, while highly customizable, can be complex and less intuitive.
Inkscape is ideal for vector graphics, providing a more intuitive interface for creating illustrations, logos, and designs. It is generally easier for beginners to pick up and use effectively, with a cleaner and more straightforward layout. While it has fewer customization options compared to GIMP, its focus on vector graphics makes it more streamlined for such tasks.
Both programs benefit from strong community support and regular updates, ensuring they remain powerful tools in their respective domains. The choice between them largely depends on whether you need advanced photo editing (GIMP) or vector graphic creation (Inkscape).
3. Tools in 3D design
- Onshape in 3D design
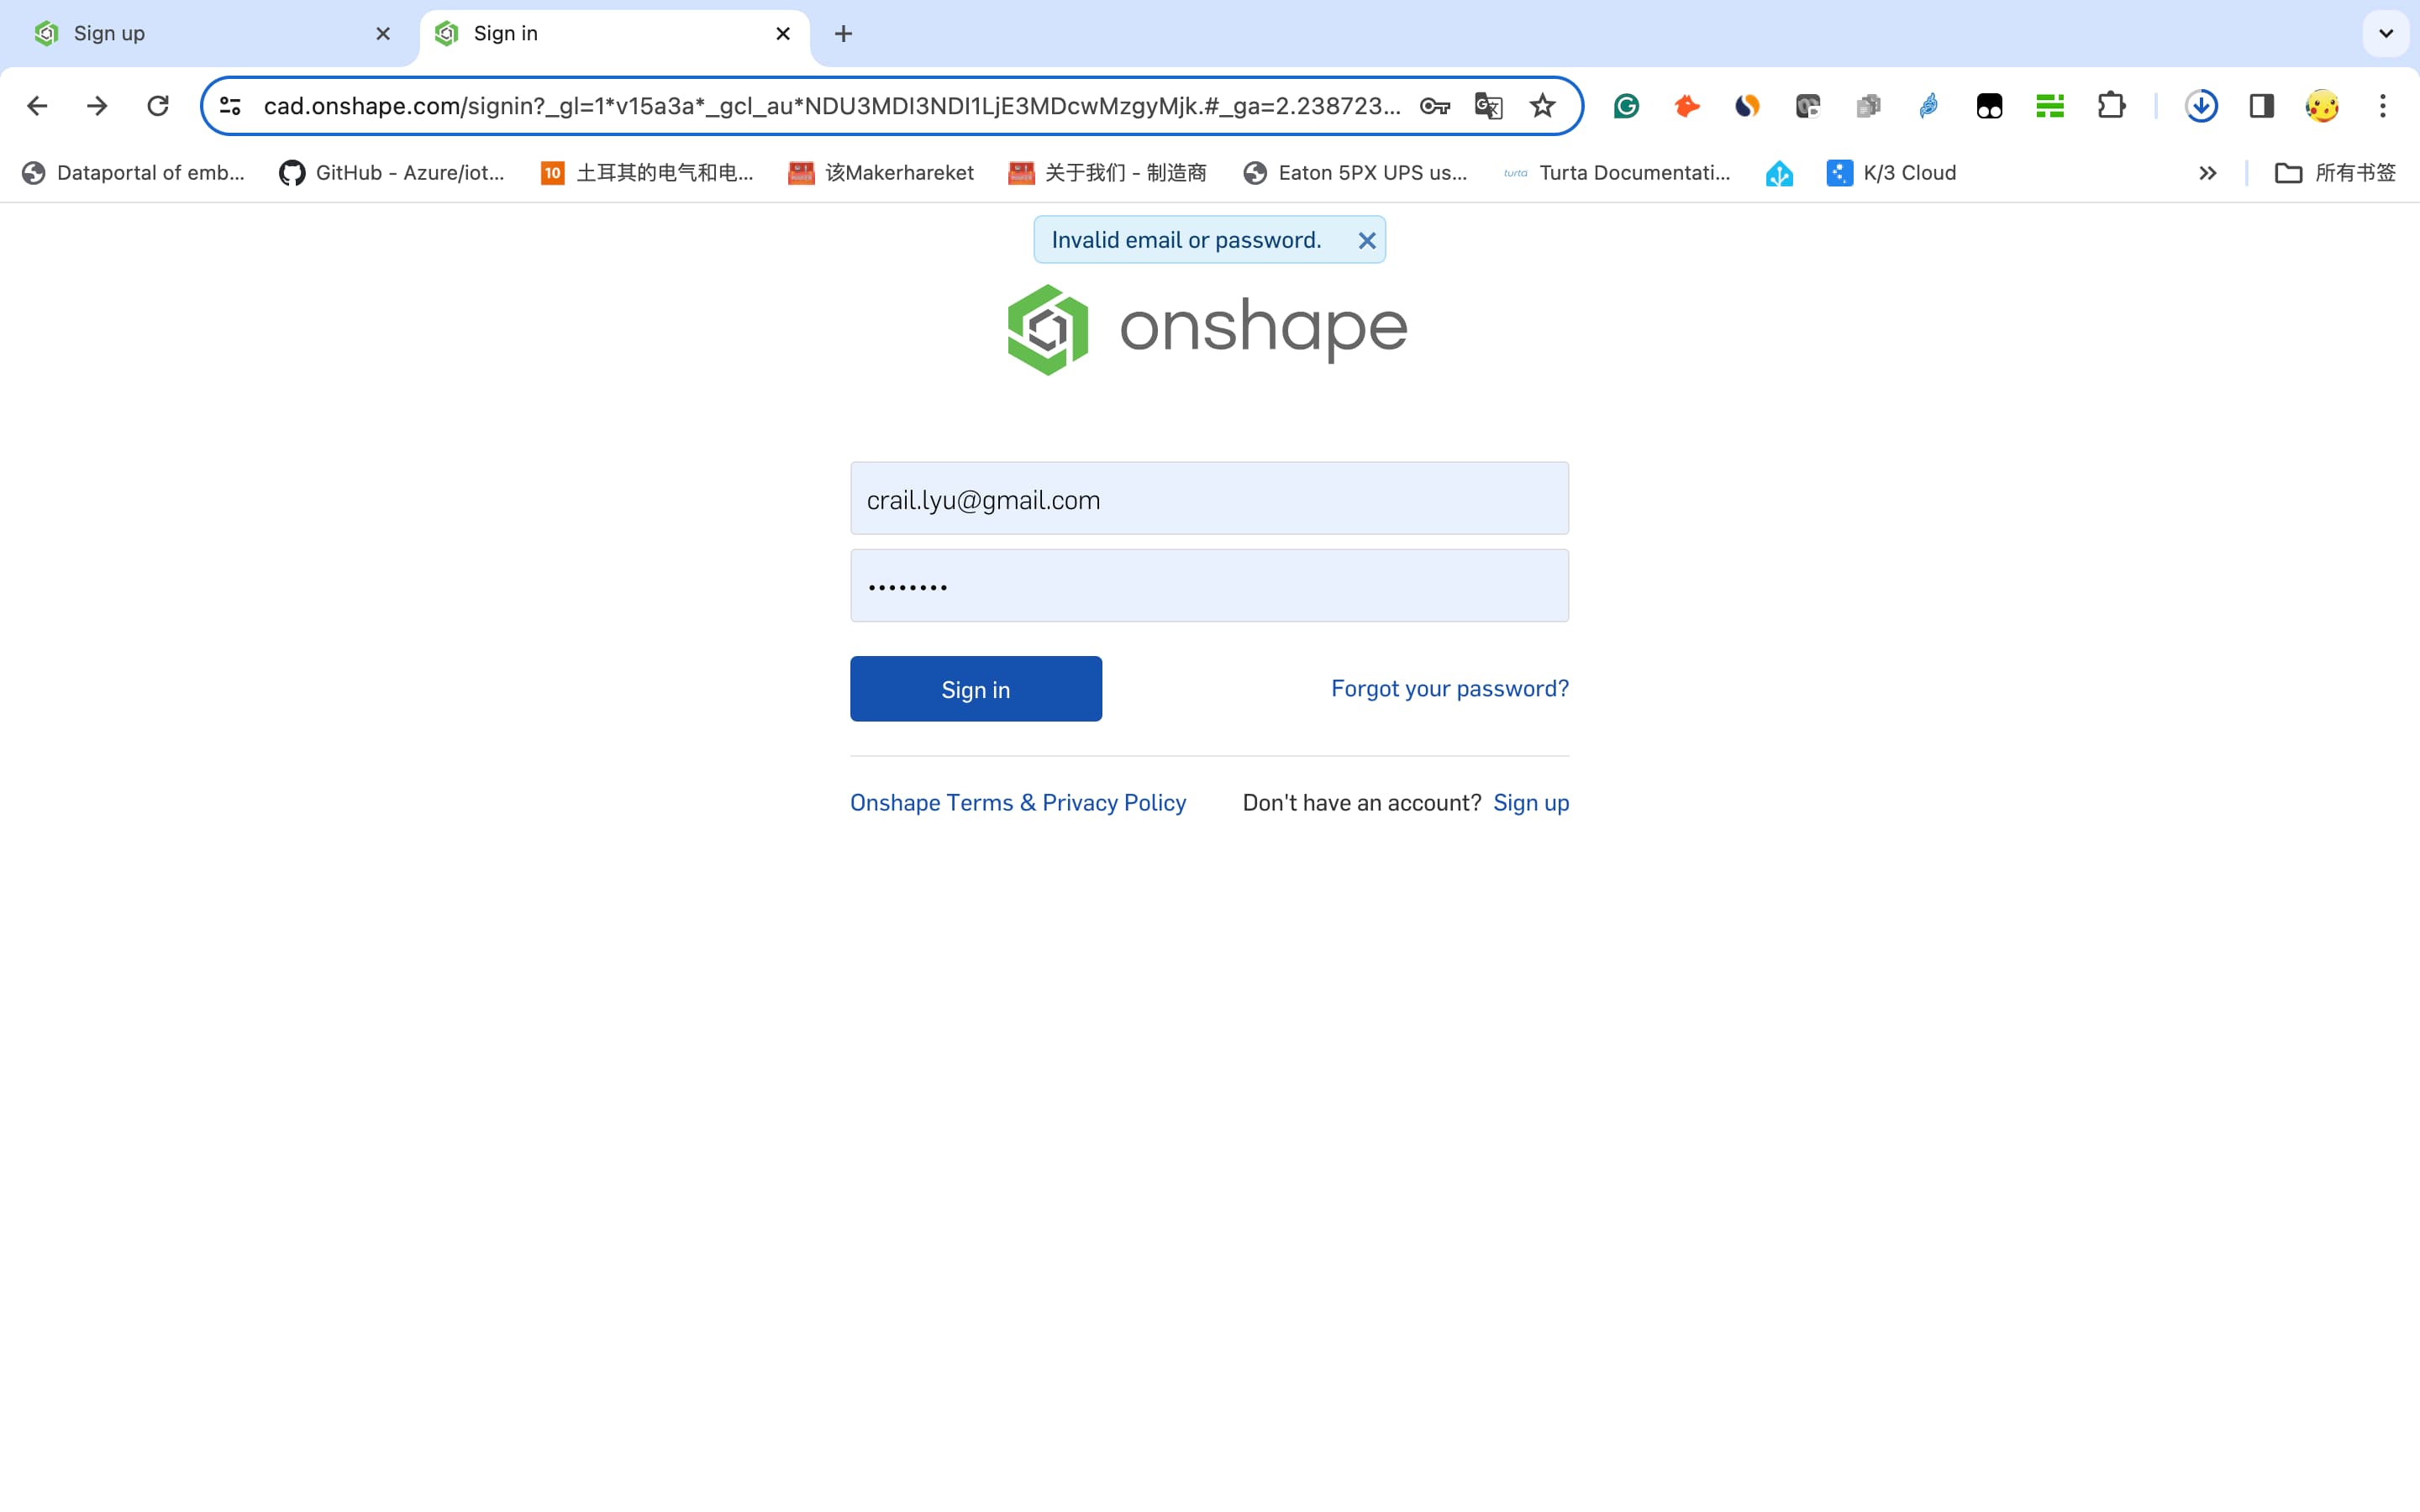
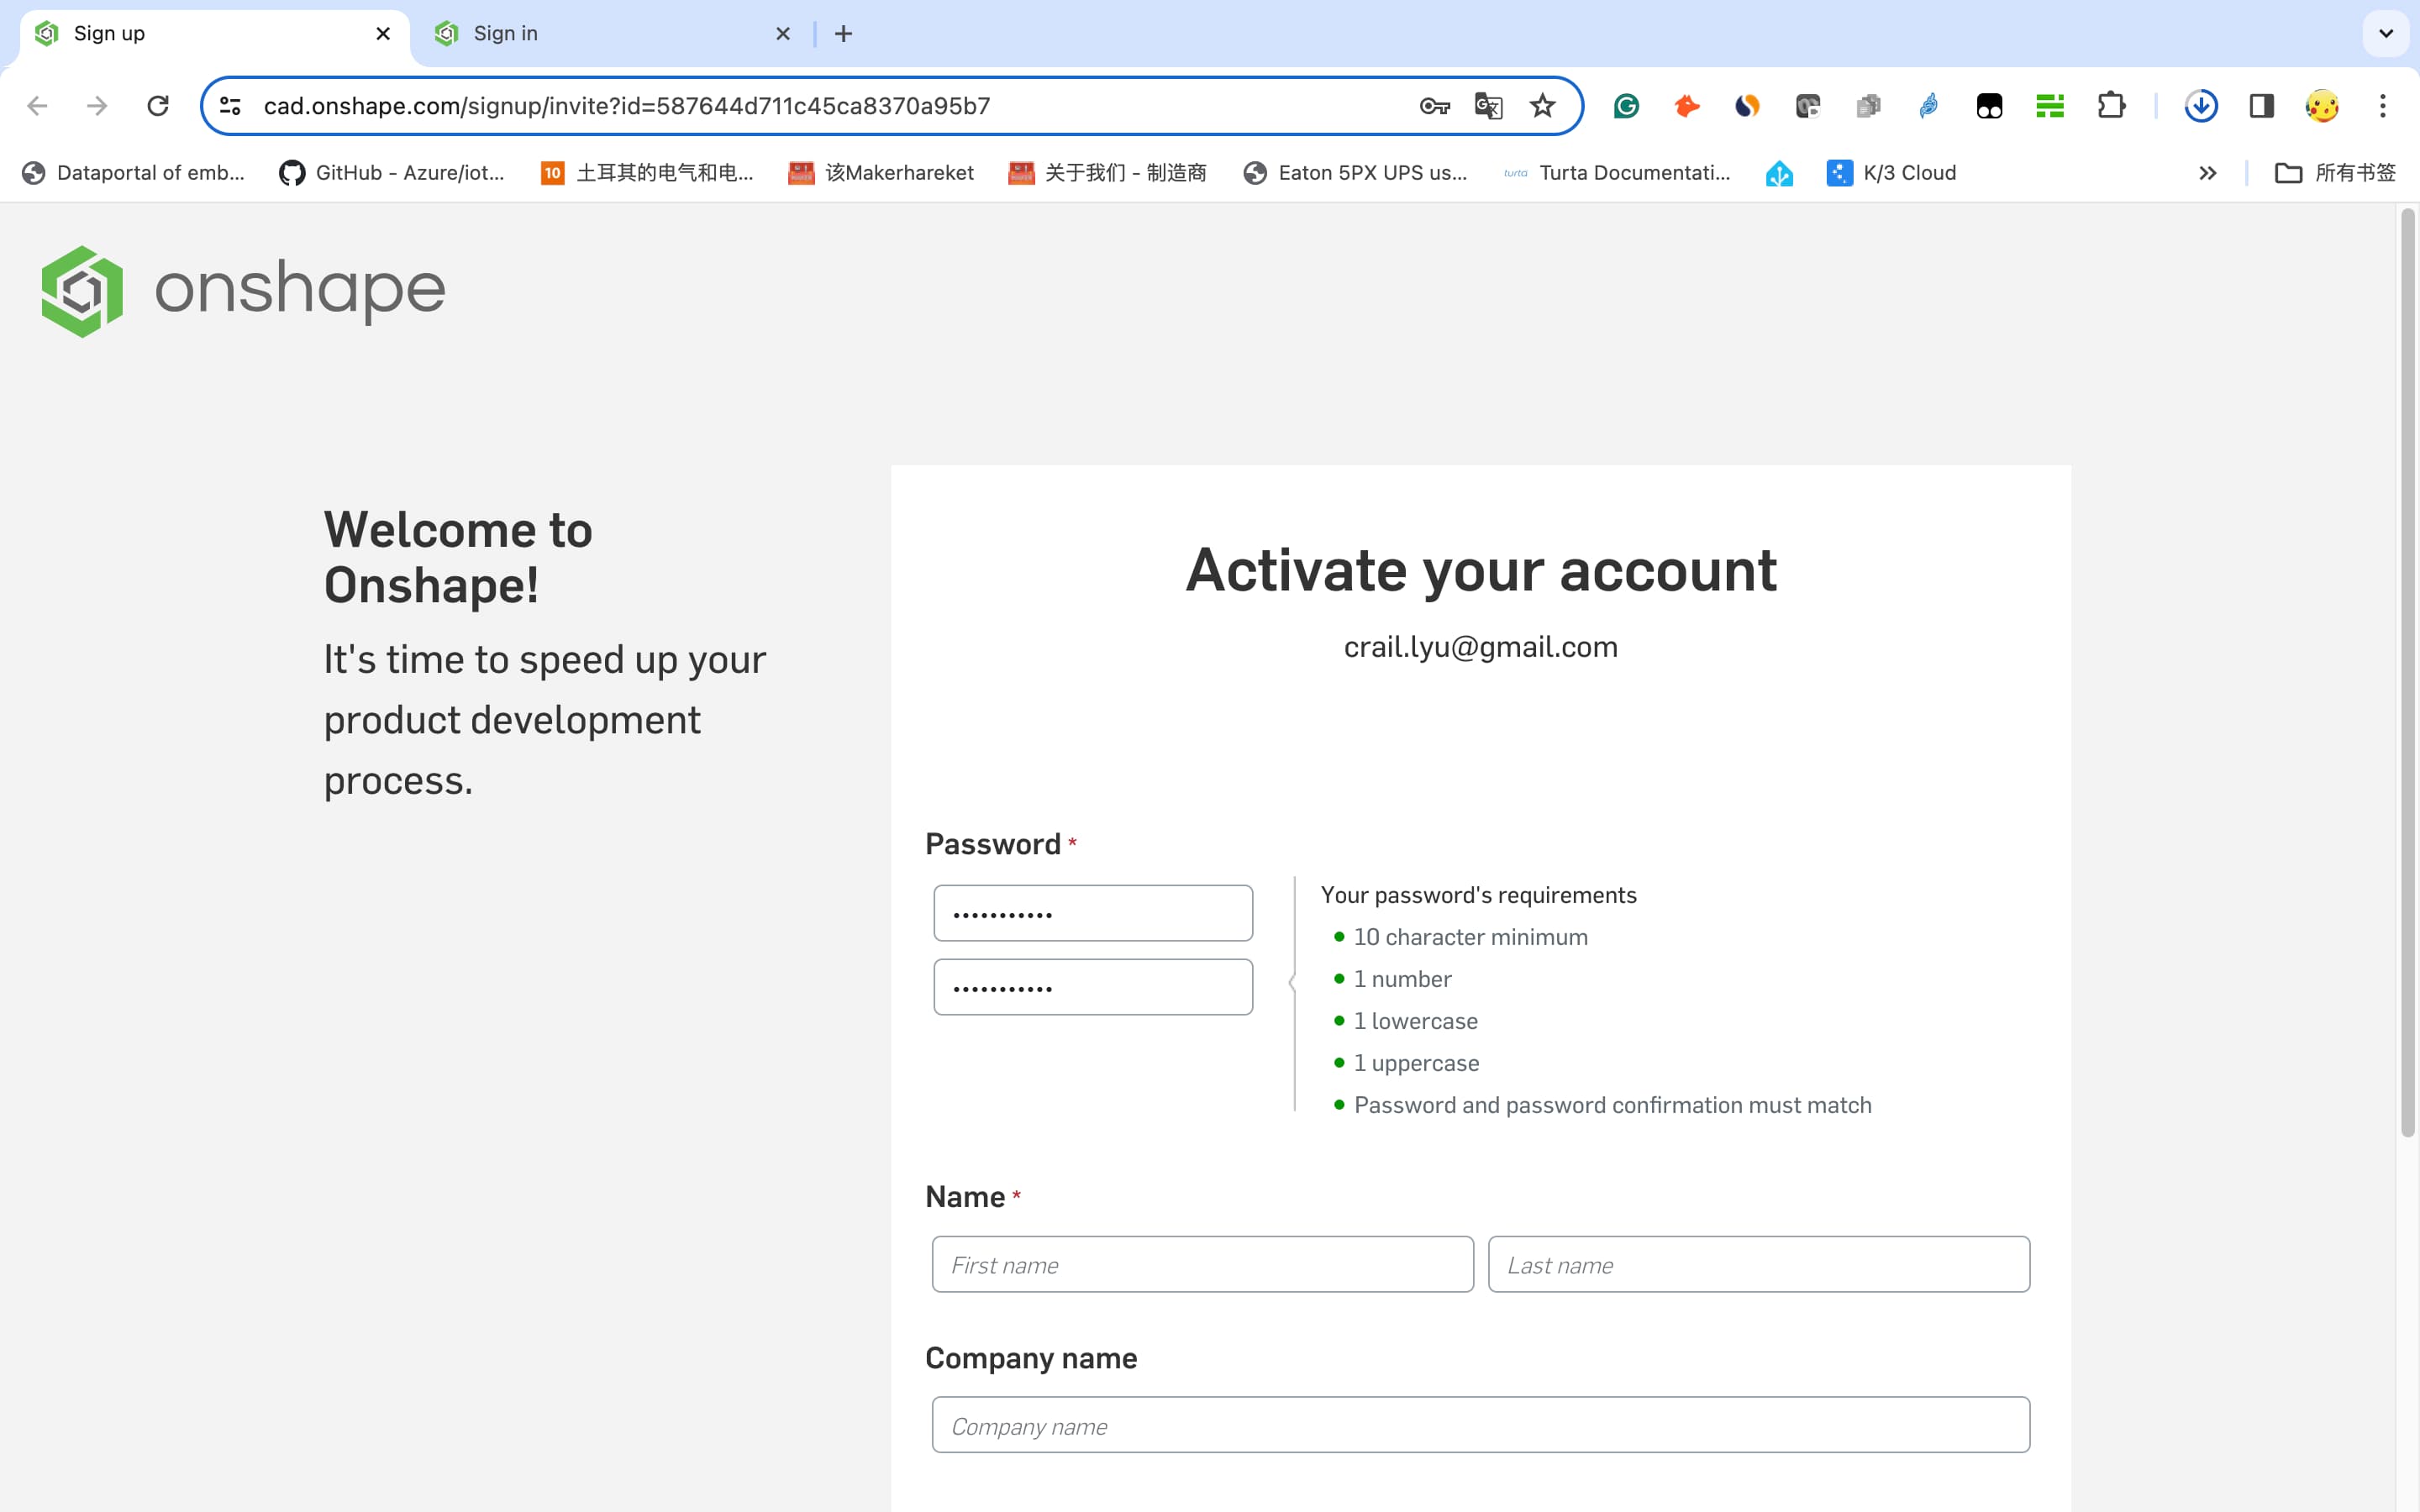
Its my first time to learn this free tool for 3D design. It is using smmothly as solidworks. The biggest adavantage is we do not need install this tool in our compnay and save our storage especially for macbook. - a. Registration and Account Setup:Register for an account on the Onshape website. If using a Fab Academy account, ensure the correct password is used for validation.
- b. Account Setup: Reset the account with newpassword and select the sortware setting. As we are using the mm not inch, i made all changes into mm.
- c. Creating a New Project: Create a new project then select your view to create your first ssketch like solidworks.
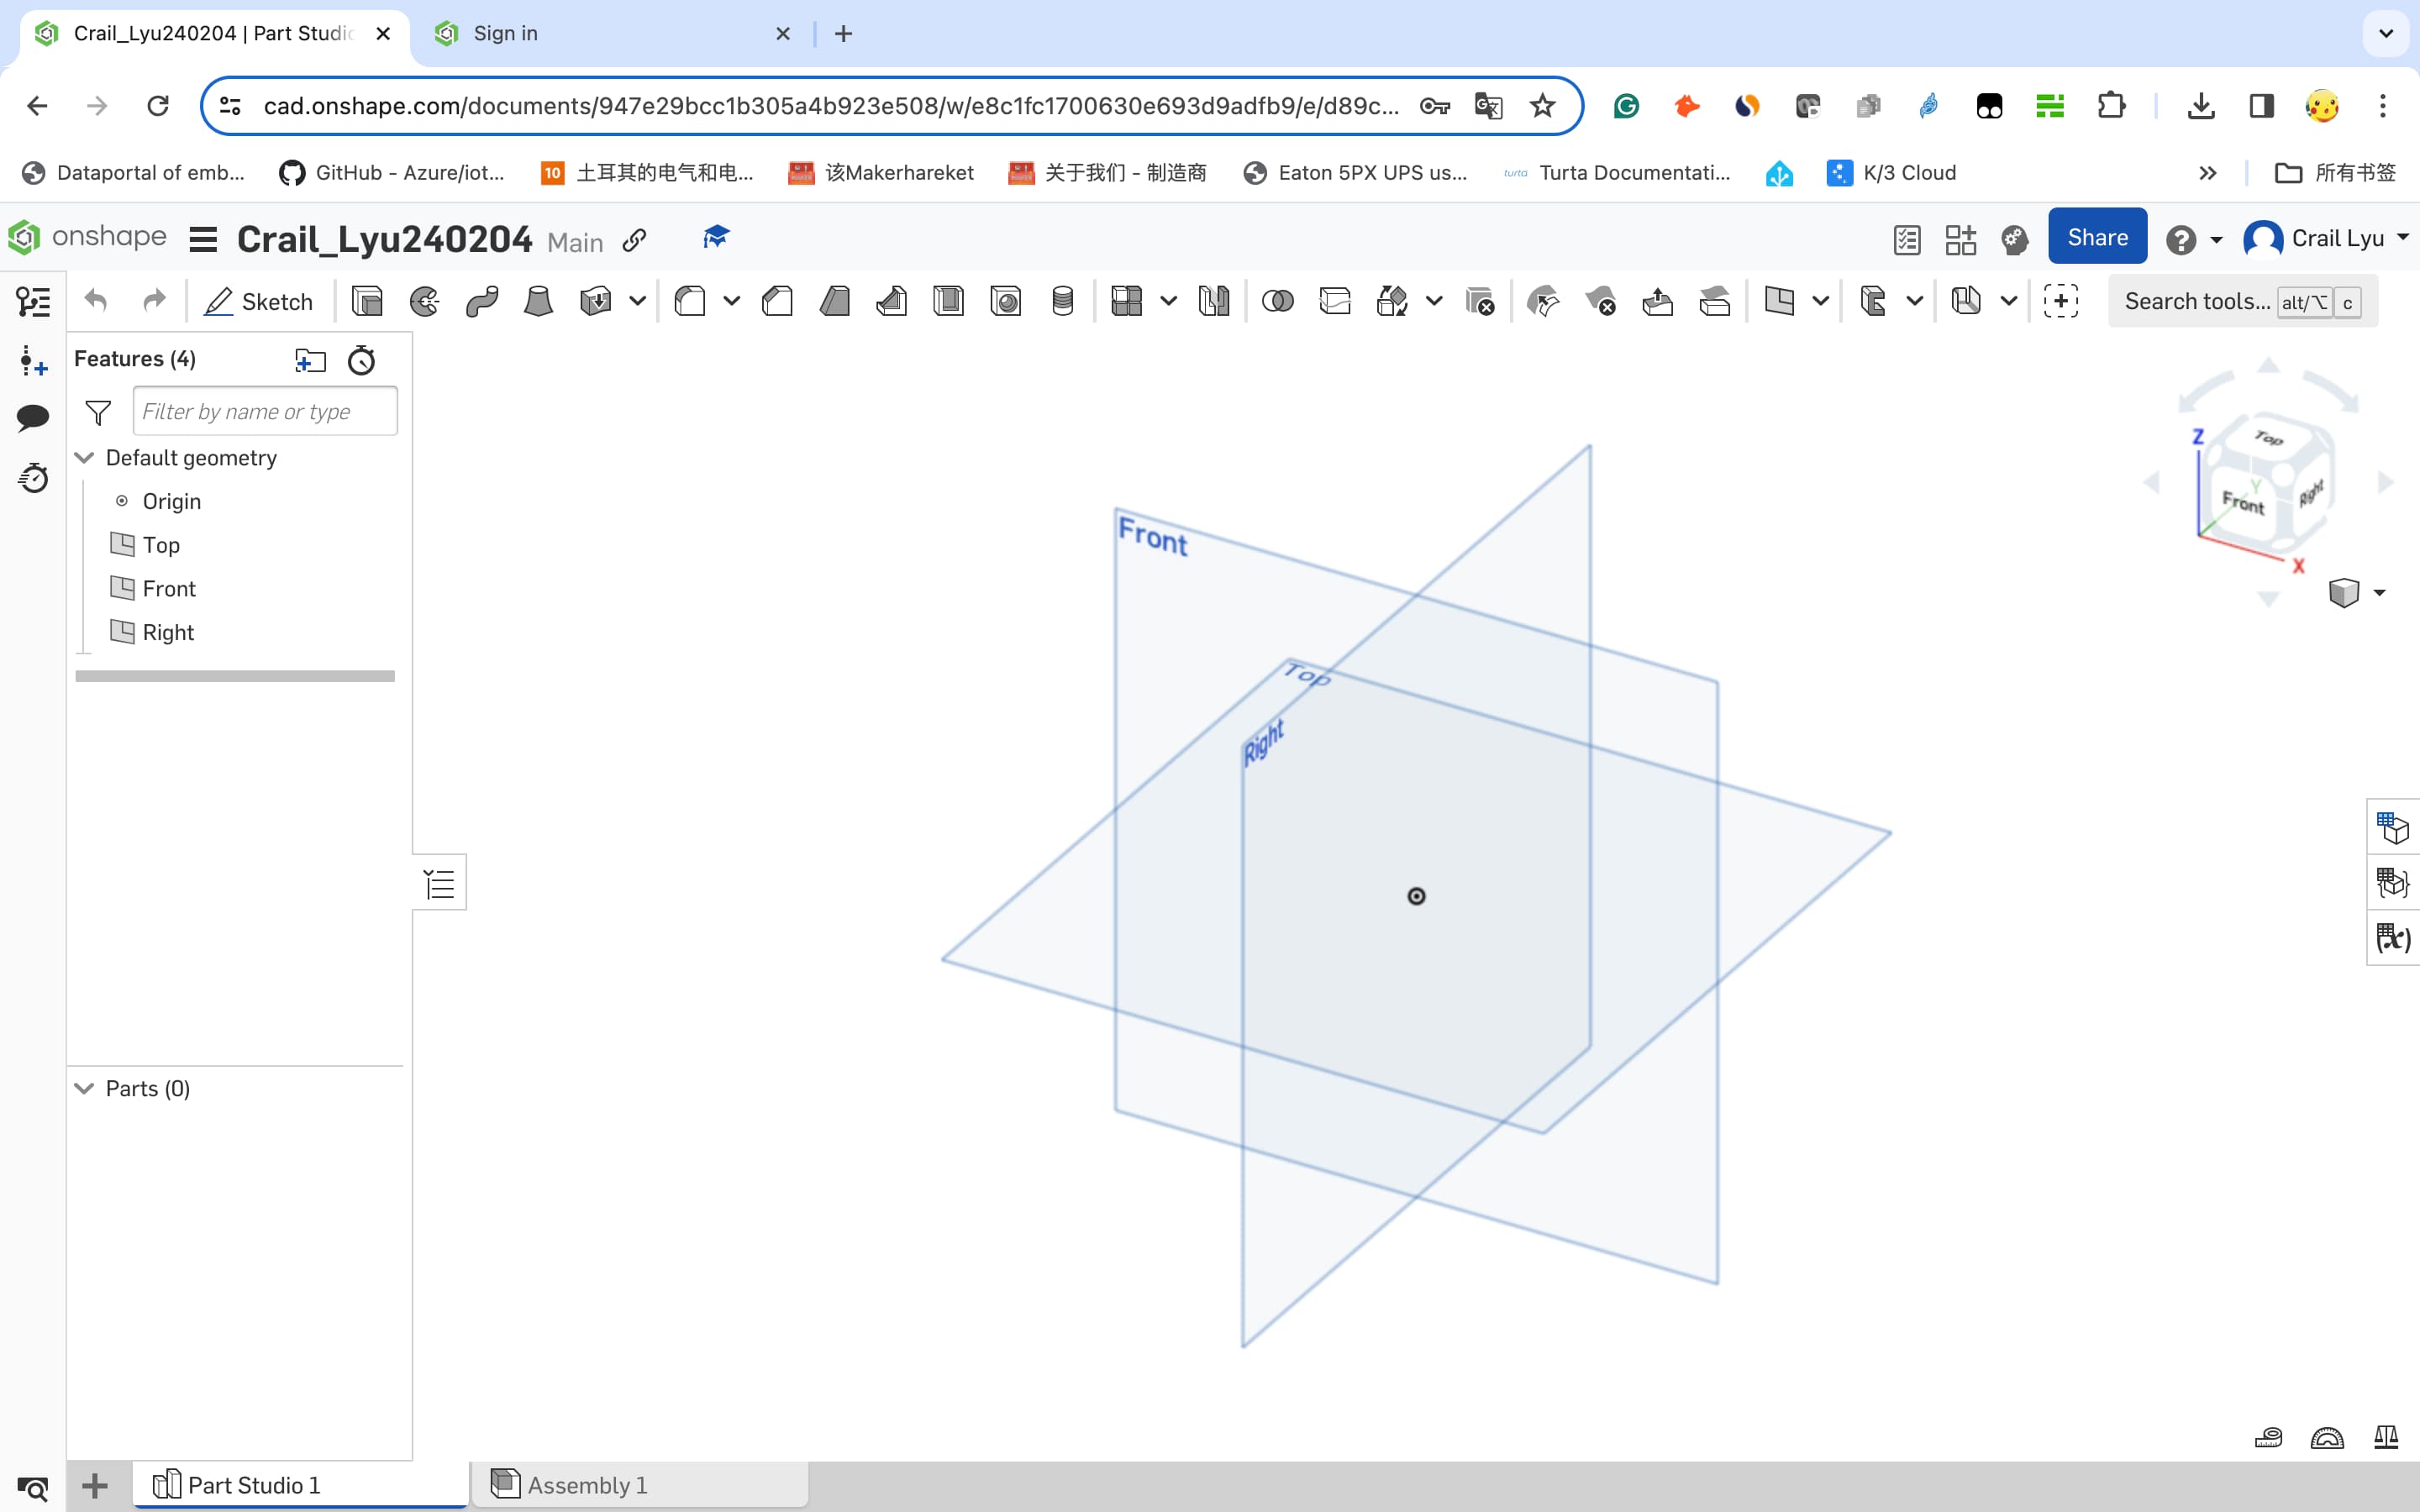
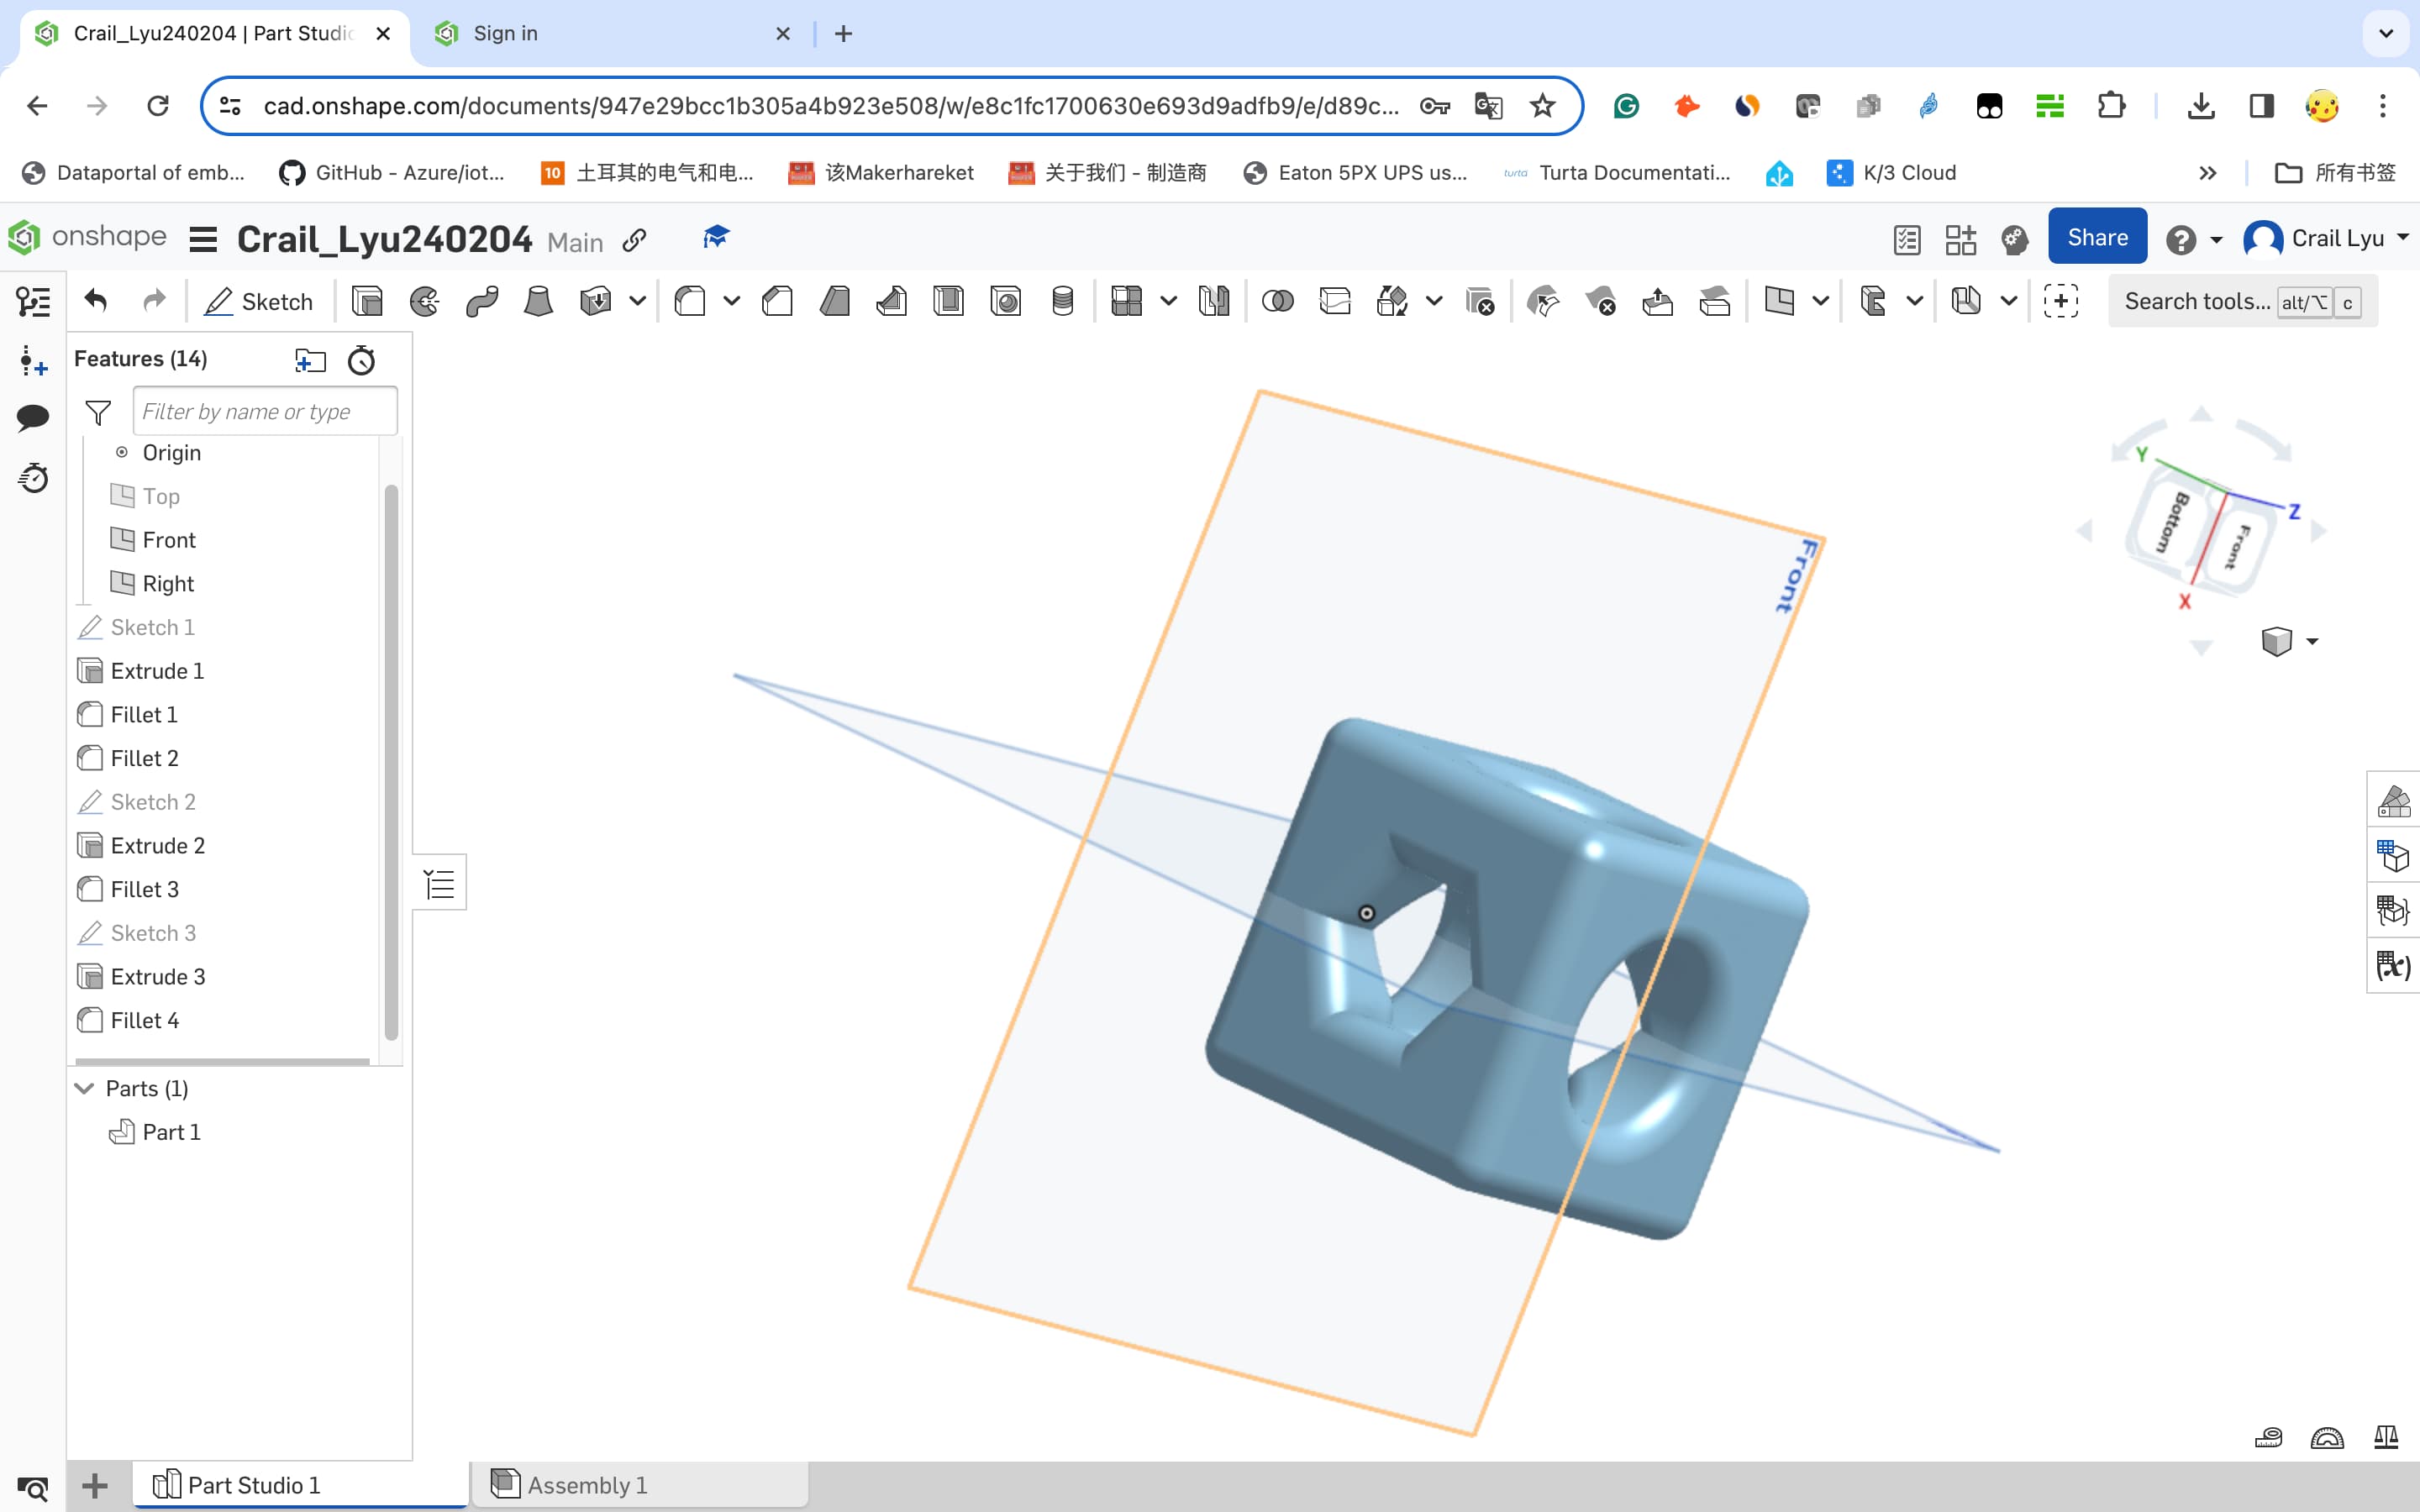
- d.Sketching and Modeling: Draw a simple cube then make different throuhgt holes with fillet. The whole progress is very silimar with solidworks and I love it.
-
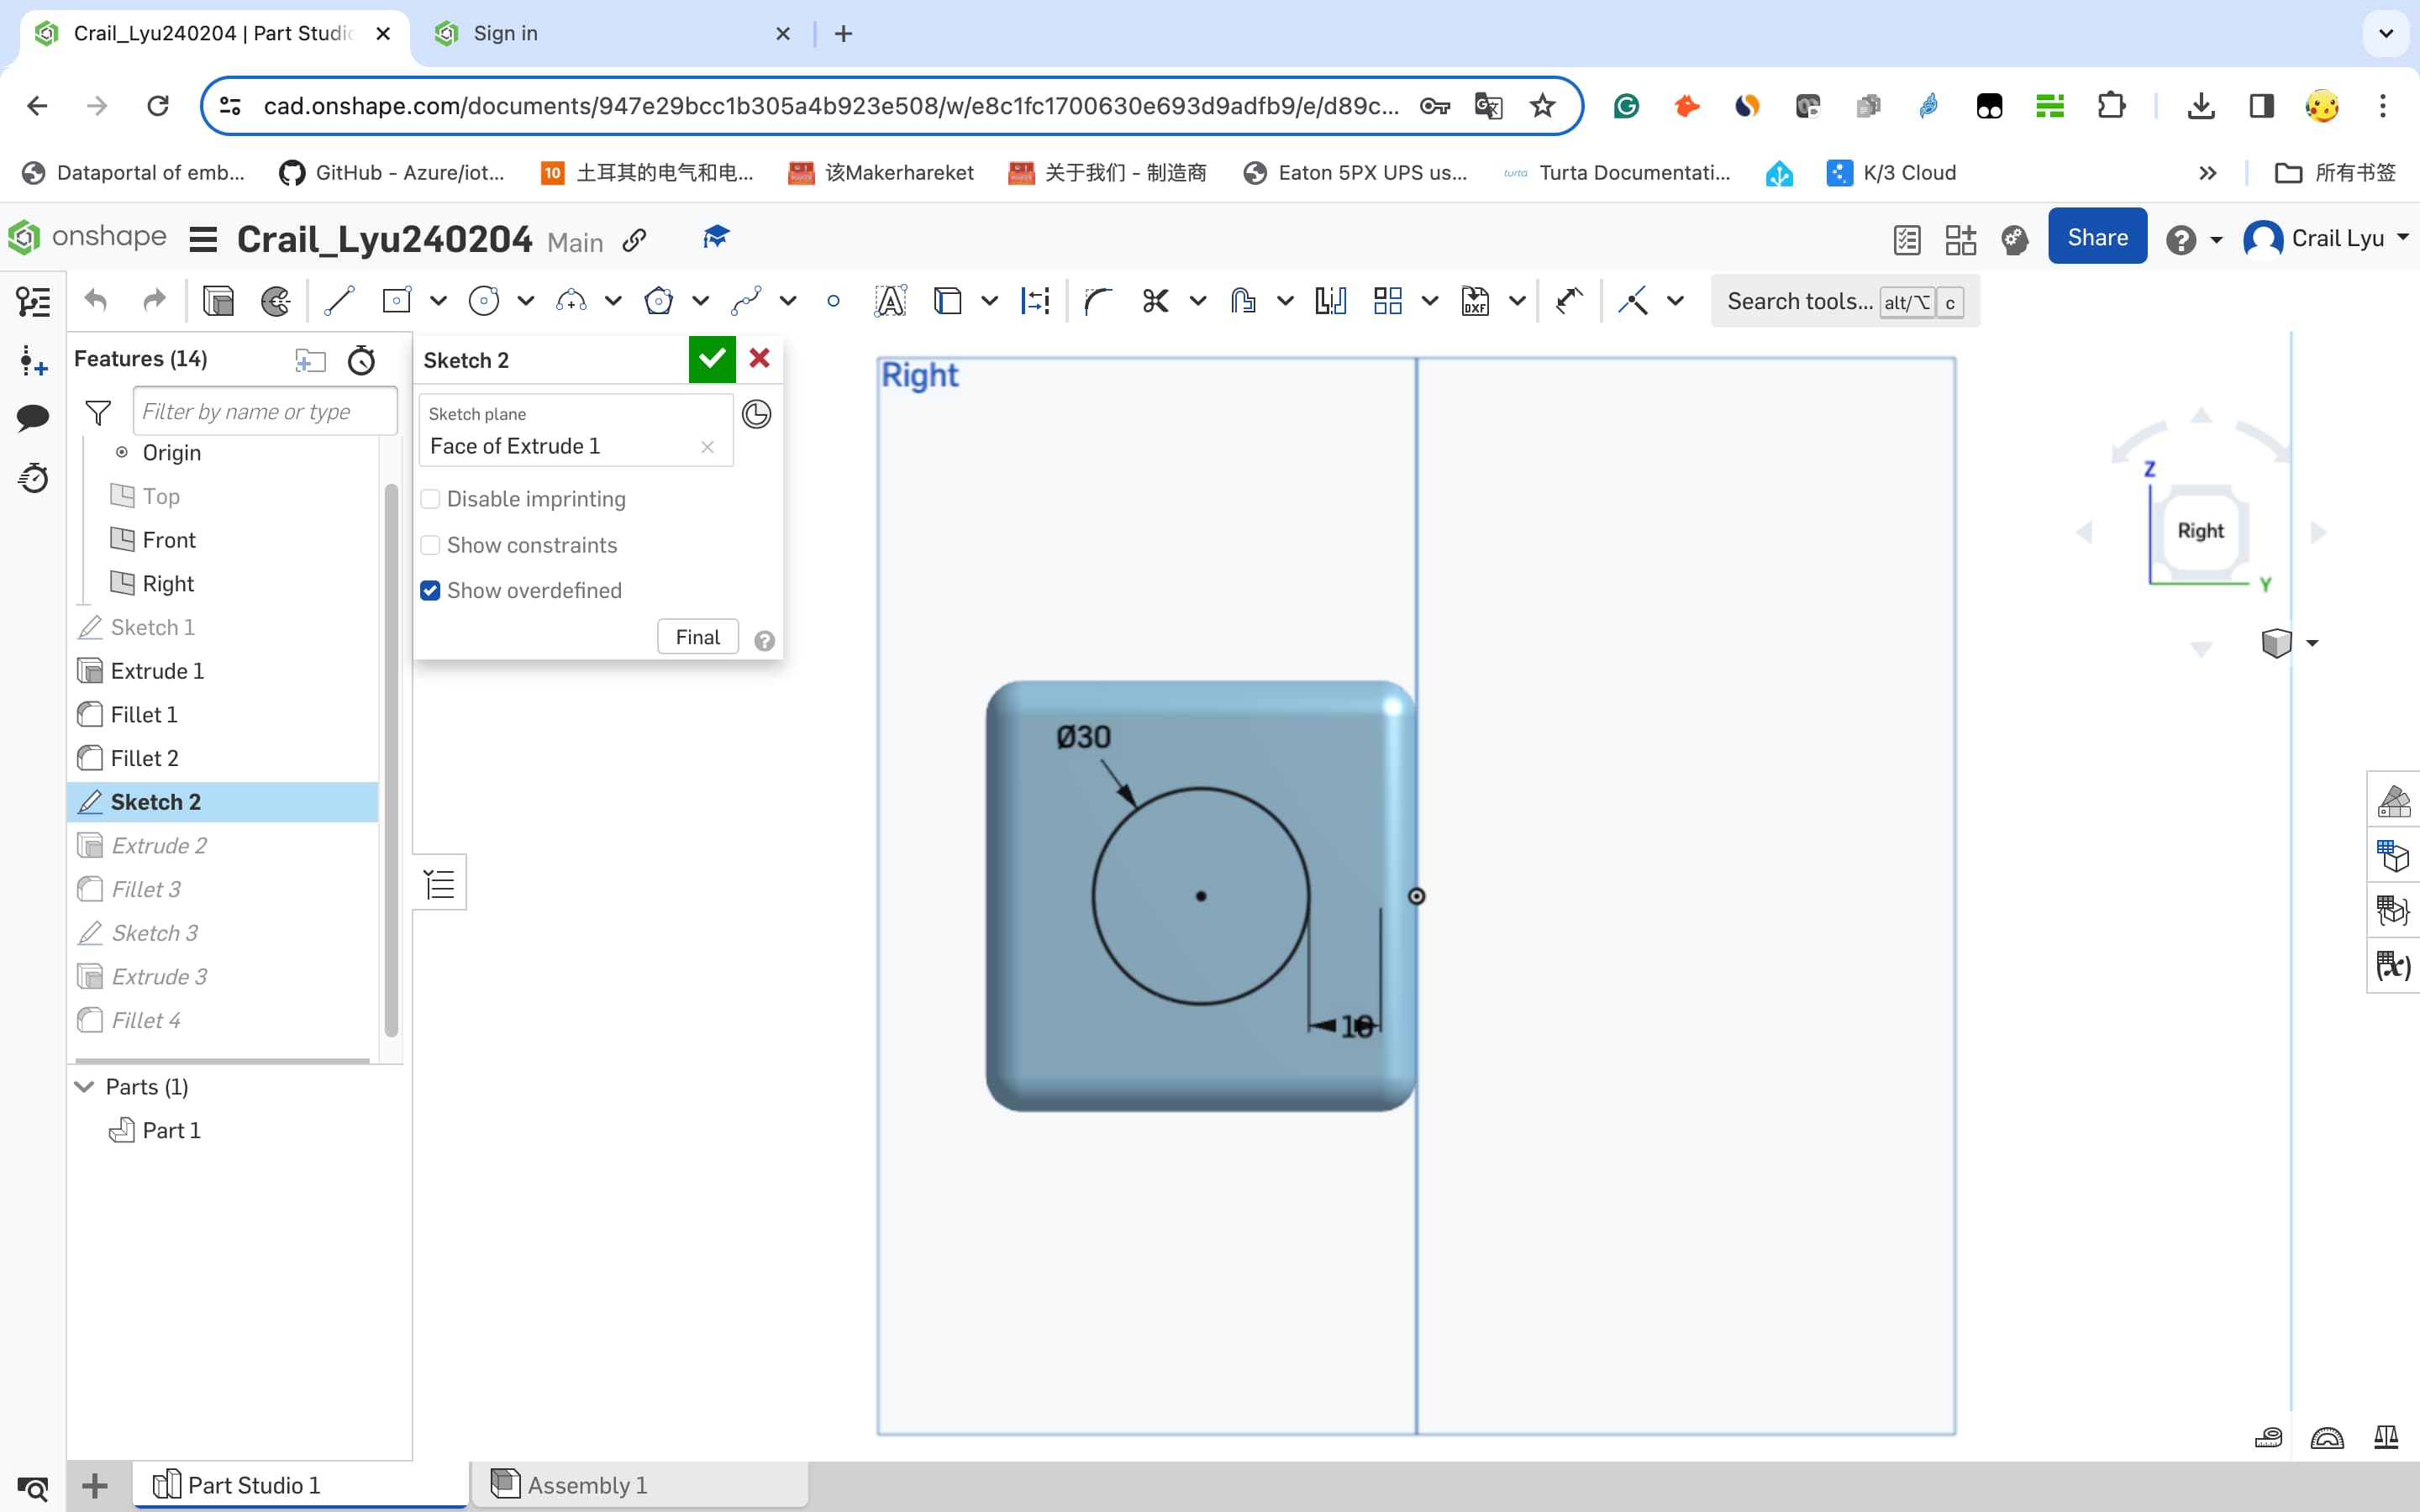
e.Adjusting Sketch Dimensions: One more thing is the skech location. when I want to change the charactor of the skech, I didnt find the charactor blanket. So i use the measurement tool to change the charators.
-
FreeCAD in 3D design
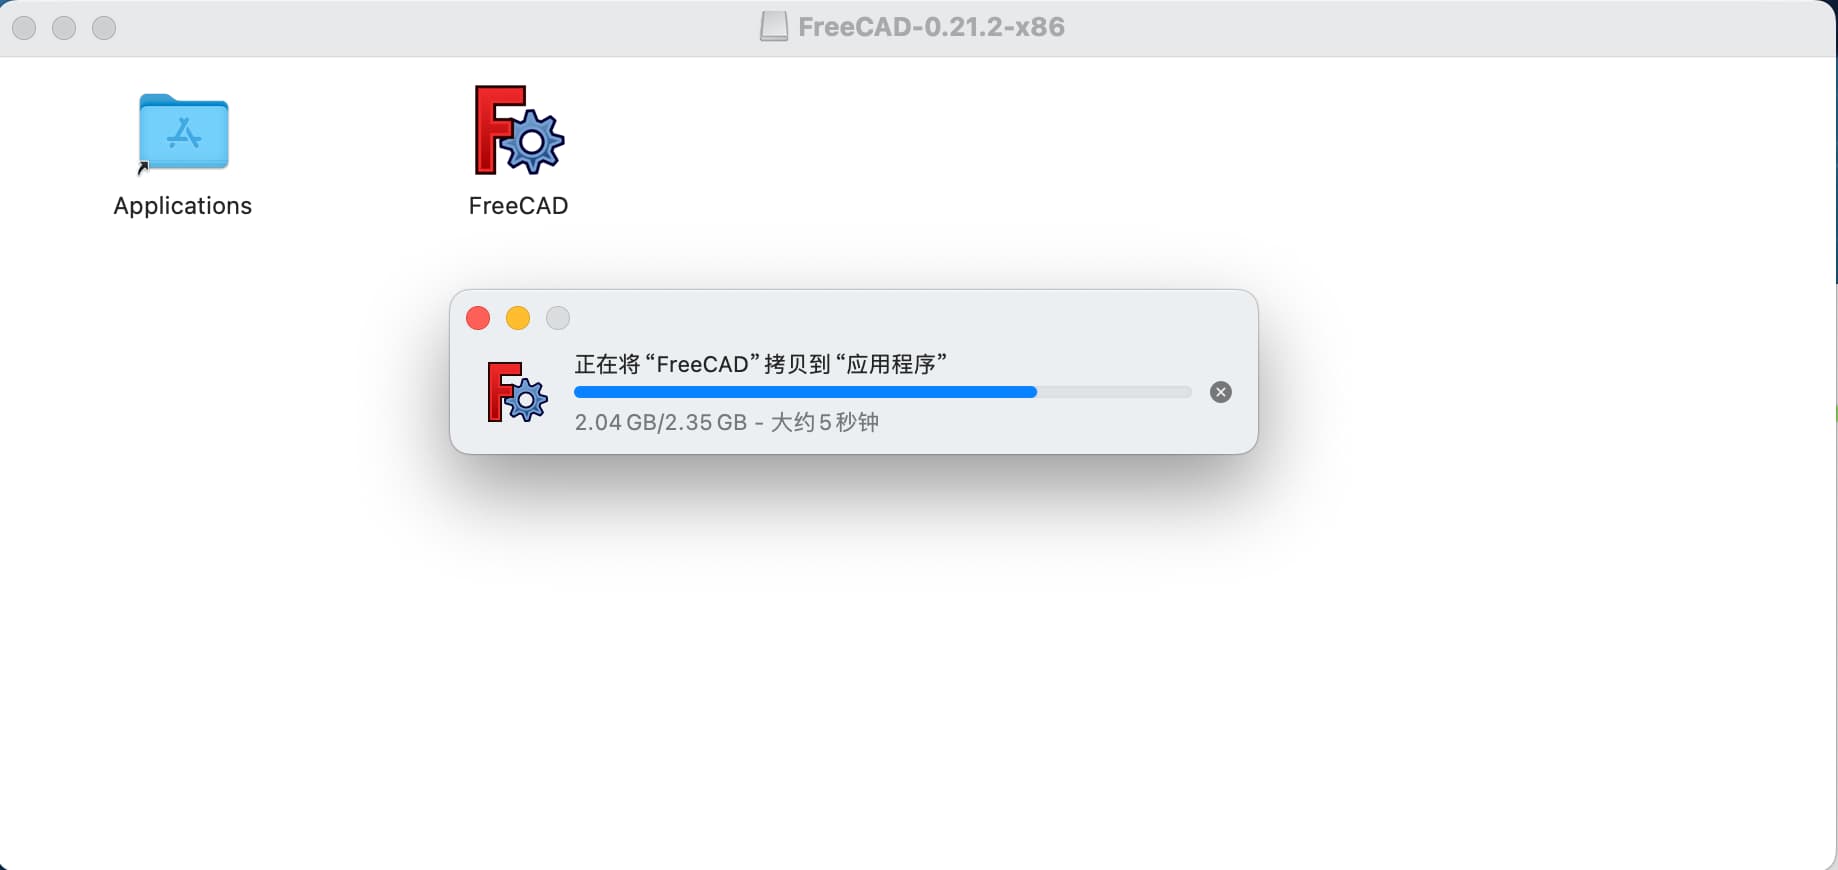
- a.Downloading FreeCAD: Download the software from website.
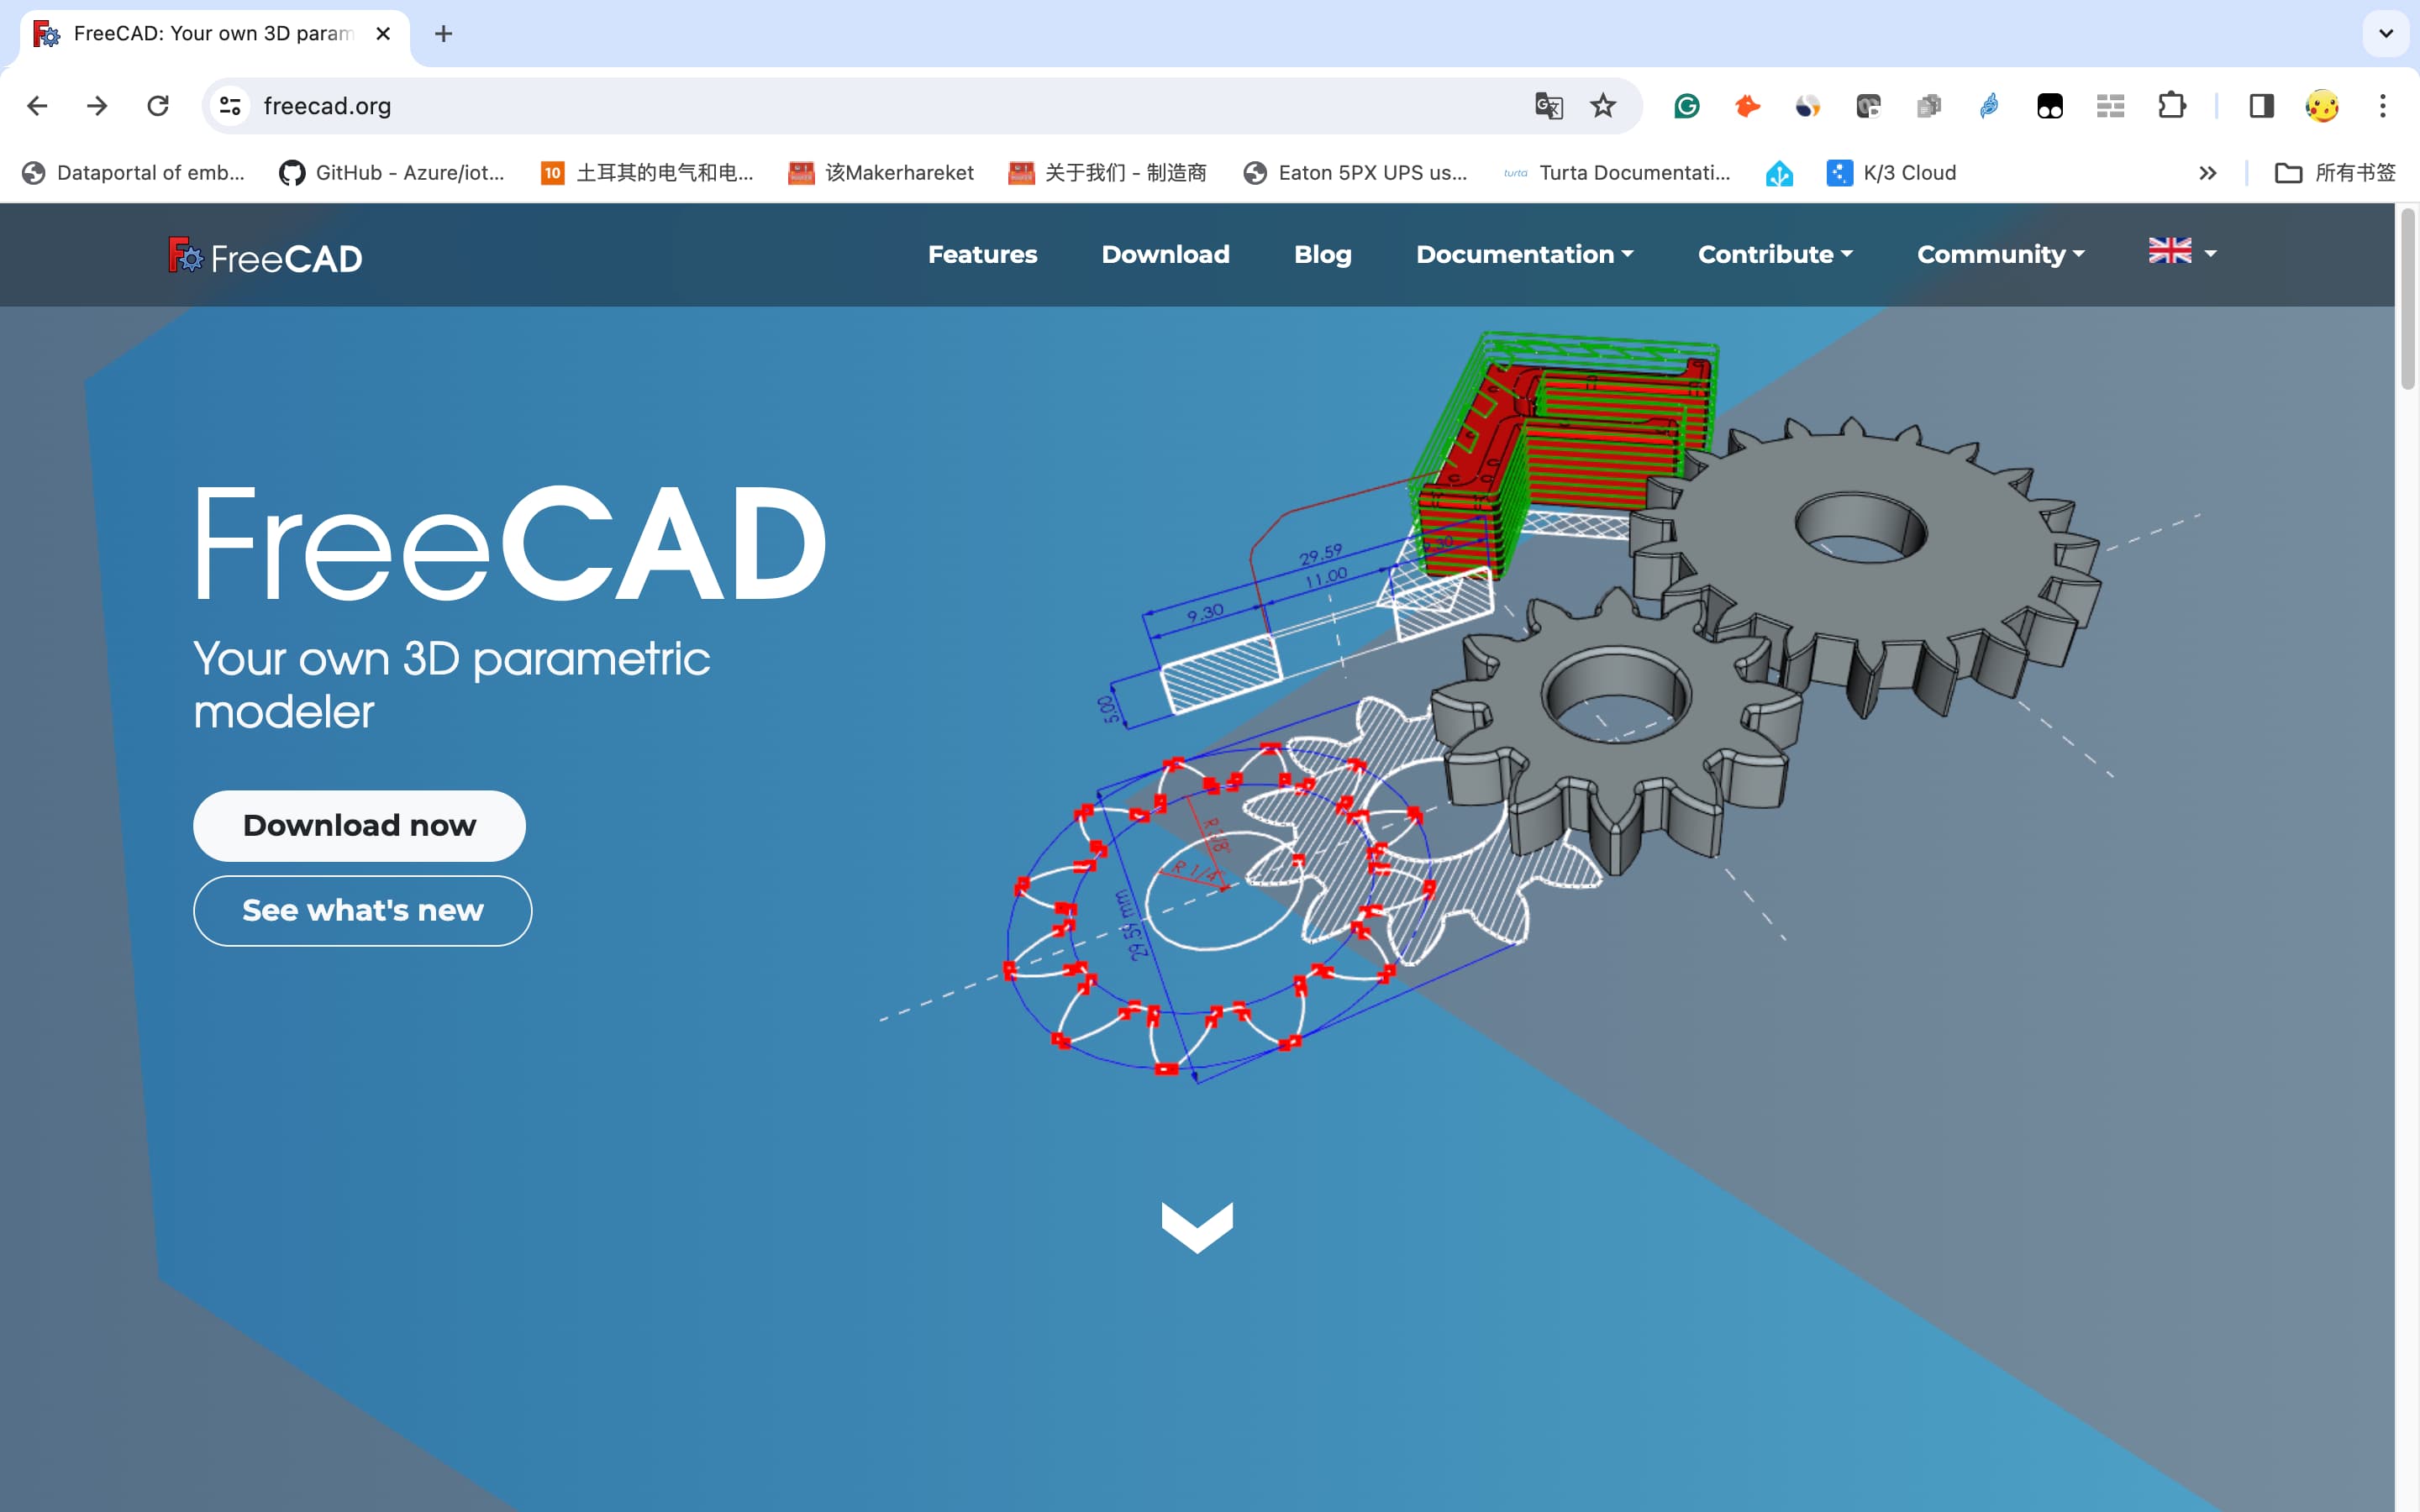
- b.Installing FreeCAD: Install the FreeCAD in my computer.
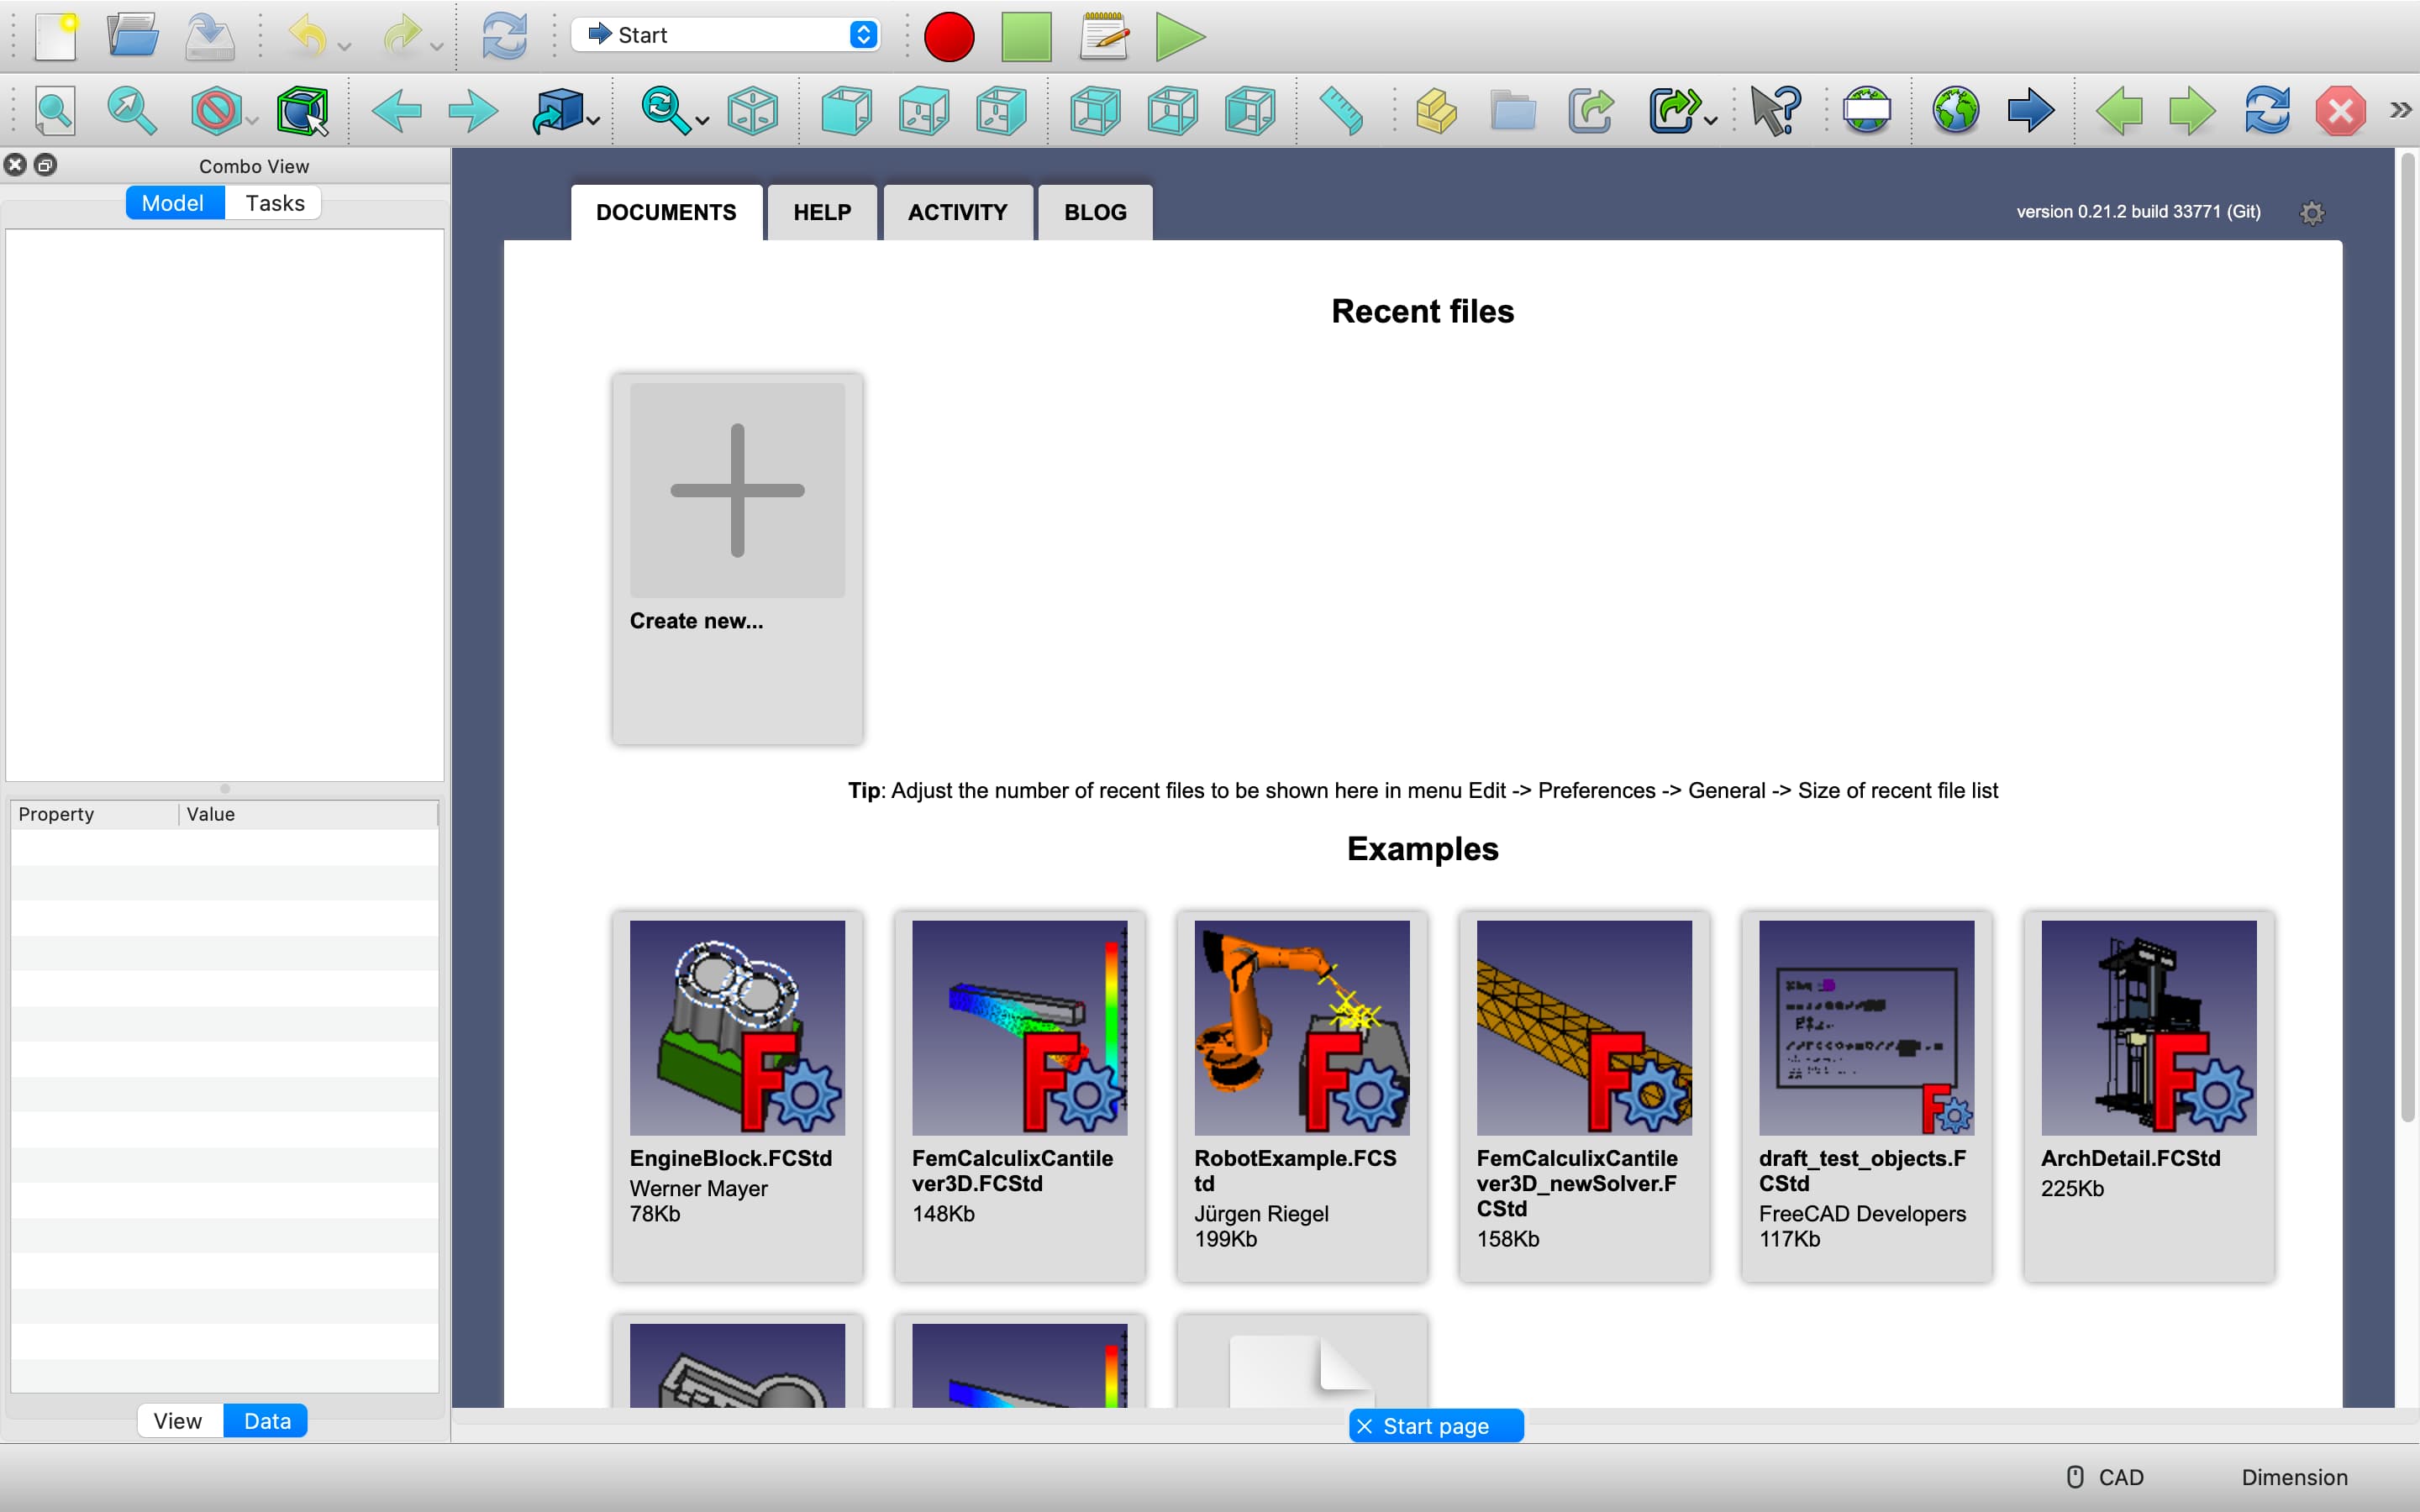
- c.Opening FreeCAD and Starting a Project: Open the FreeCAD and get start. To be honest, this is a brand new tool to me. I even didnt know how can i start. Unlike the Solidworks and Onshape, I even can not find the skech setting after created an project. So I just find a tutorial on youtube as followed. https://www.youtube.com/watch?v=sxnij3CkkdU
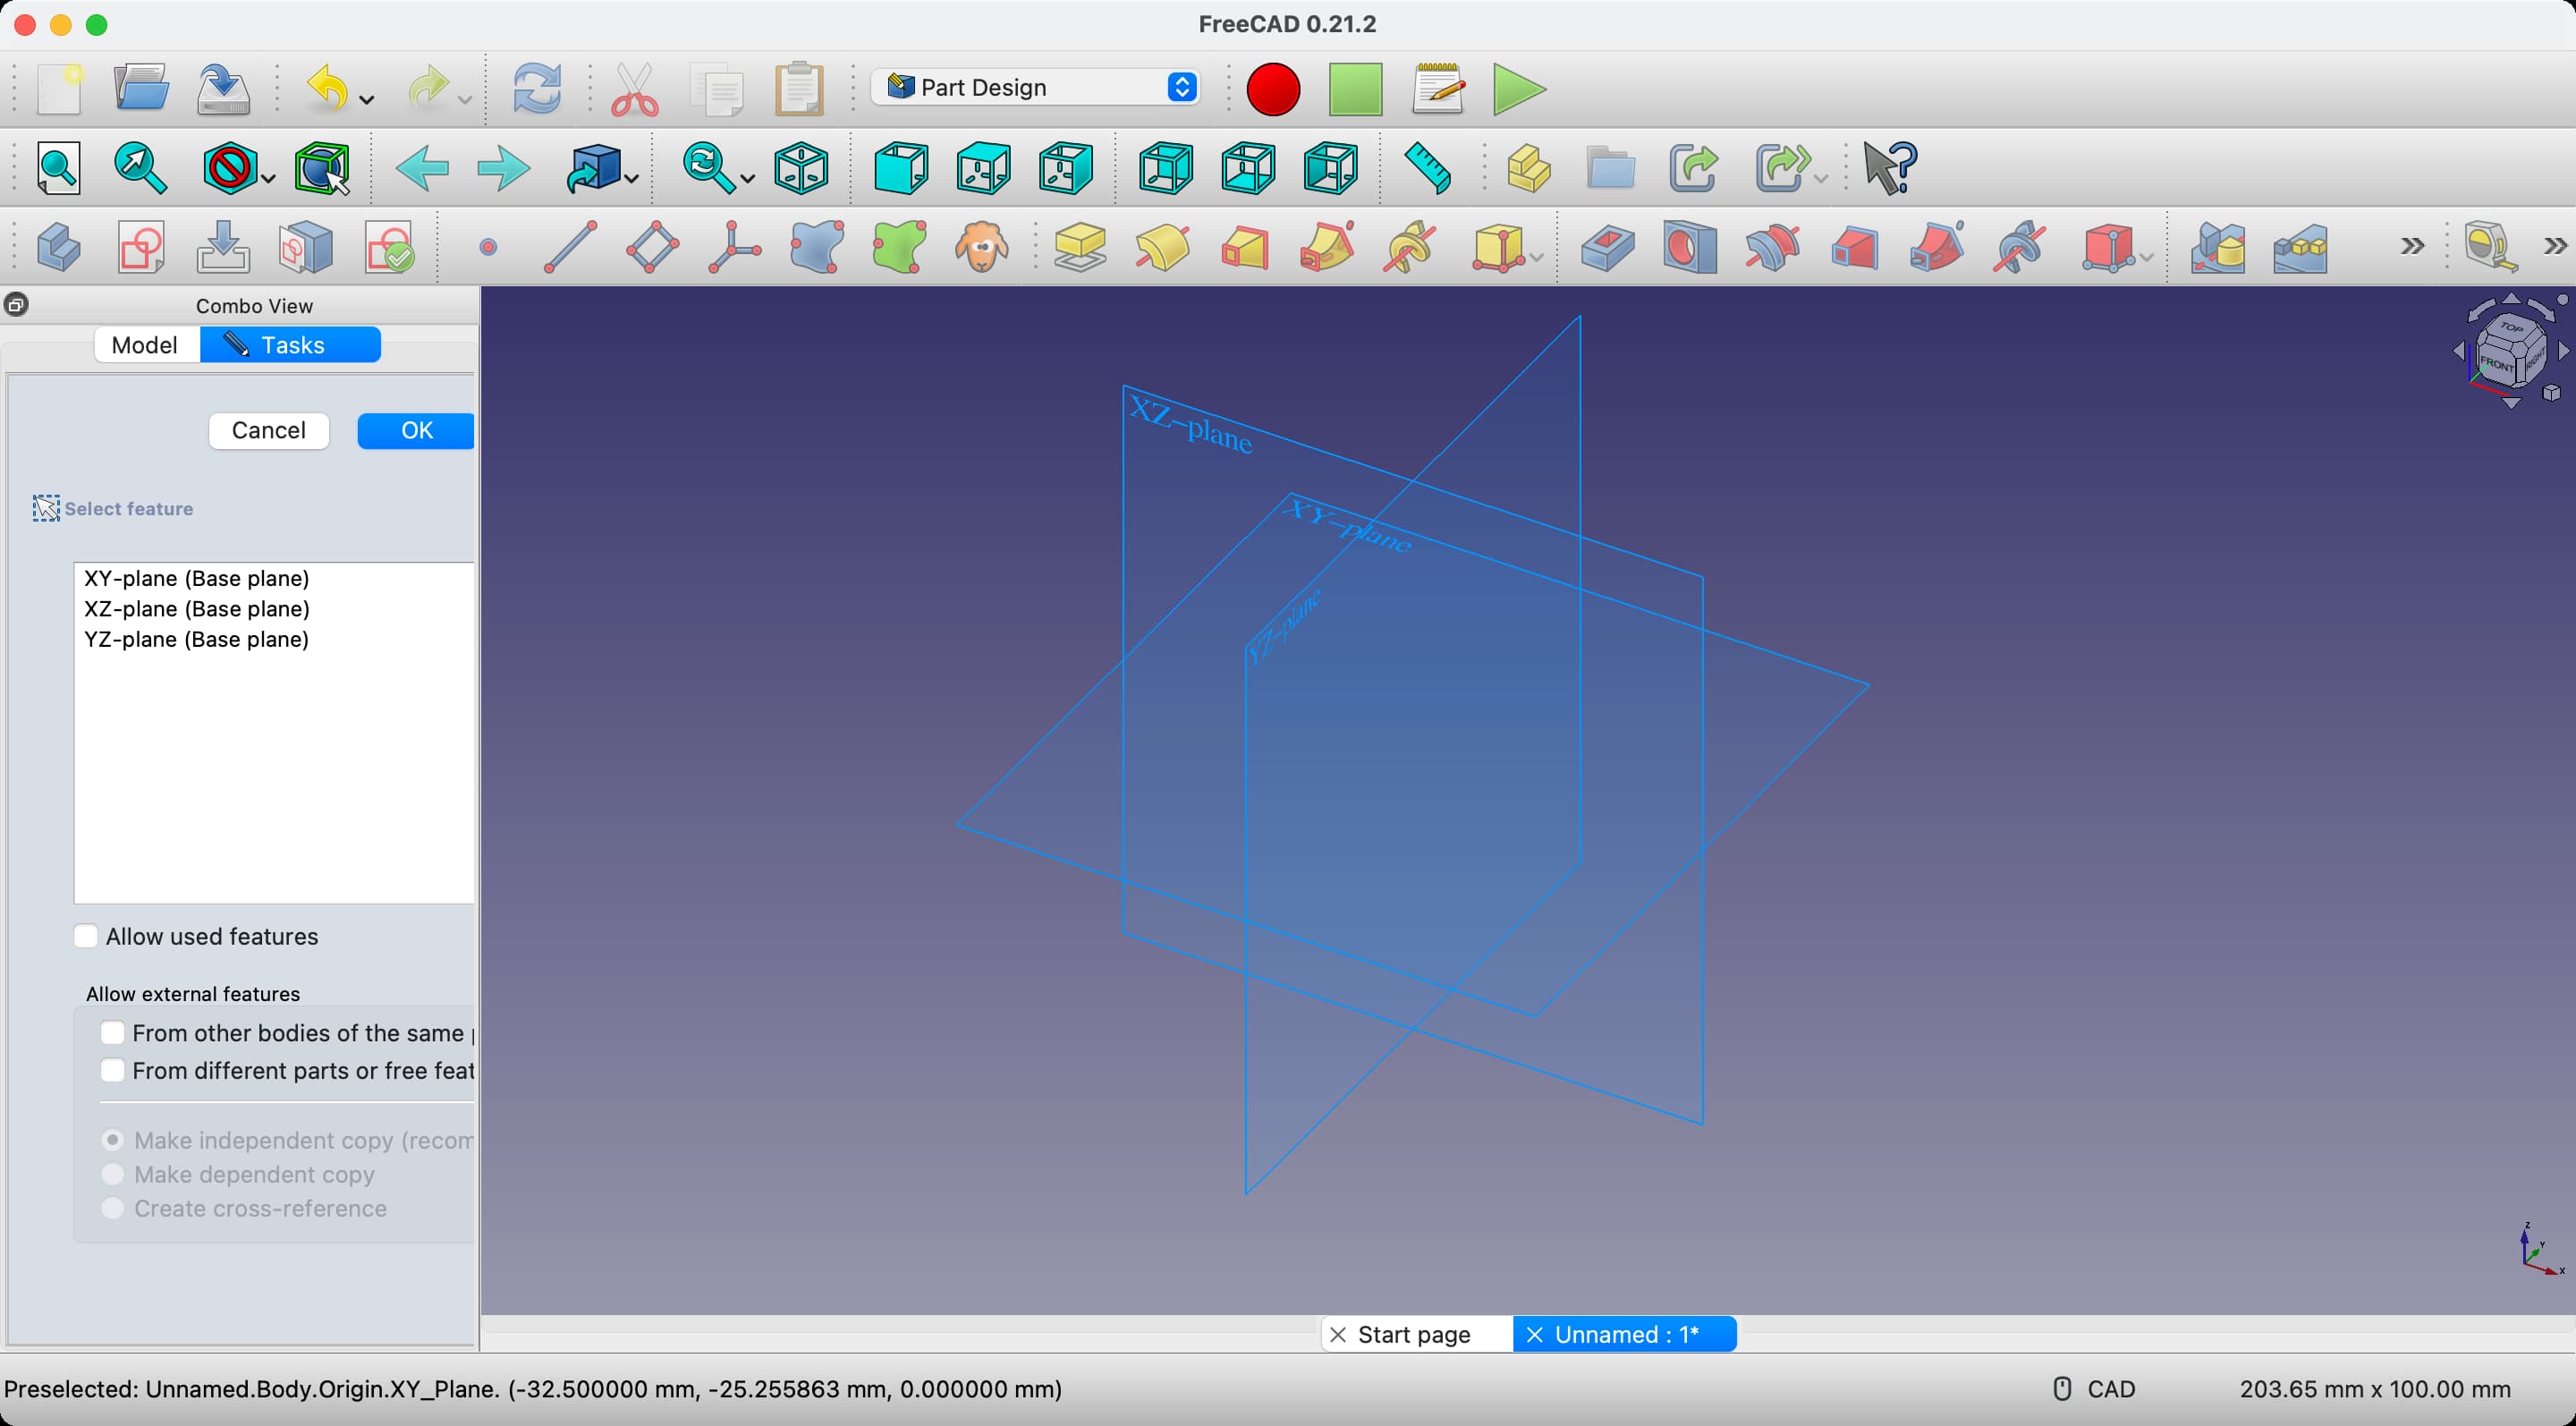
- d.Creating a Project:Create a new project, select “Part Design,” and then choose the XY-plane to start a sketch. Follow the process to draw a sketch and create a pad.
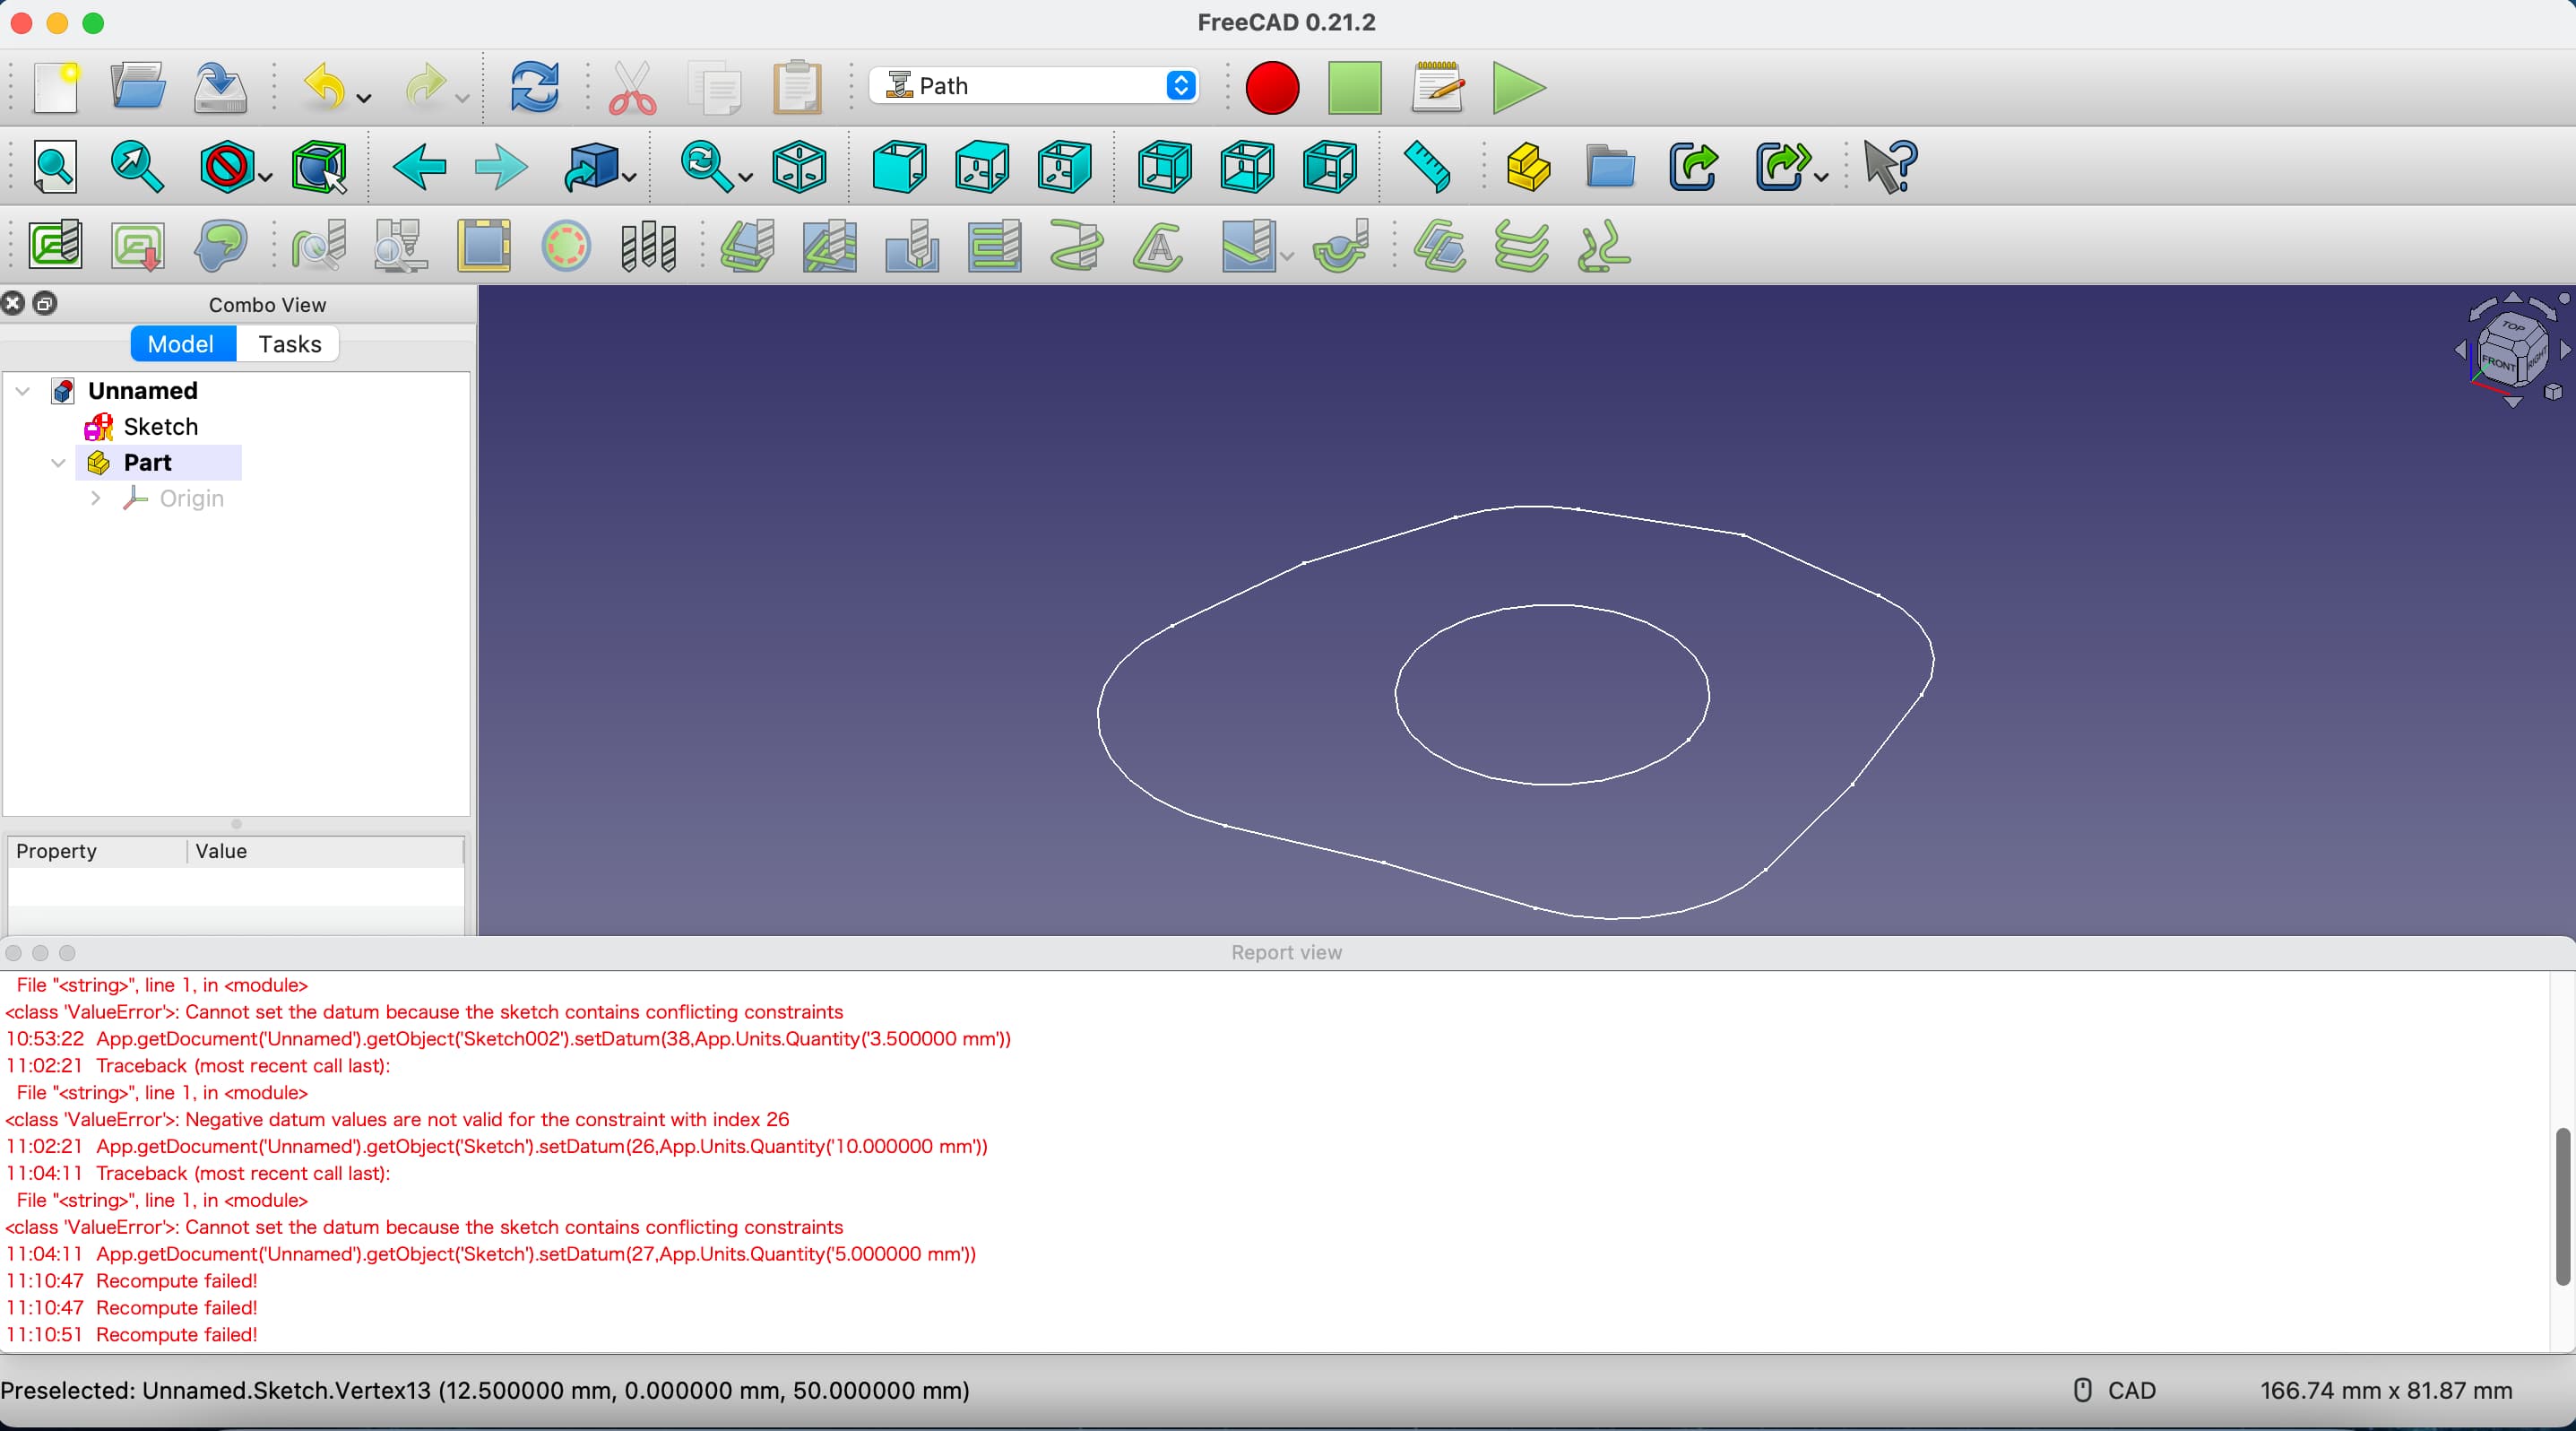
- e.Sketch and Pad Creation:Unlike Solidworks or Onshape, set parameters within the sketch before creating a pad. This differs from the workflow in other CAD tools.

- f. Continuing with FreeCAD:Continue learning and exploring FreeCAD’s features, adjusting to its unique workflow and tools.
Summary & Experience on 3D Design
Onshape
1. Interface Design:
- Layout:I use Onshape directly in a web browser, so I don’t need to install anything. The interface looks modern and is easy for me to navigate.
- Customization: While I can’t customize it a lot, it’s designed to be simple and efficient, which helps reduce the learning curve.
2.Ease of Use:
- Tool Accessibility: Tools are logically organized and easy for me to find. The design is friendly, so I can start working quickly.
- Complexity: Onshape is straightforward and doesn’t require much setup, making it accessible for me as a beginner.
3.Learning Curve:
- Resources: There are extensive online resources, including tutorials and webinars, that help me learn. Interactive help and tooltips within the software guide me through the learning process.
- Documentation: The documentation is clear and well-organized, making it easy for me to find information and learn quickly.
4.Features:
- Functionality: Onshape offers many features for creating 3D models, like version control and simulation. I can work with others on the same project in real-time, which enhances team productivity.
- Flexibility: It’s great for teamwork, but I need an internet connection to use all features.
FreeCAD
1.Interface Design:
- Layout: I need to install FreeCAD on my computer. The interface is organized into multiple workbenches for different tasks, which can be confusing at first.
- Customization: FreeCAD offers extensive customization options, allowing me to tailor the interface to my needs. I can create custom toolbars, macros, and add plugins to enhance functionality.
2.Ease of Use:
- Tool Accessibility: While powerful, the vast number of features can be overwhelming for me. Tools are grouped into workbenches, so I need to switch between them for different tasks.
- Complexity: FreeCAD has a steeper learning curve, especially for someone new to CAD software like me.
3.Learning Curve:
- Resources: There are many tutorials available, though the quality and comprehensiveness vary.The community-driven nature means that I can find diverse resources, including forums and user blogs.
- Documentation: The documentation is detailed but can be hard to follow because it’s contributed by many users.
4.Features:
- Functionality: FreeCAD offers extensive features for creating detailed 3D models and drawings. It supports many different file types and has strong scripting capabilities.
- Flexibility: It’s very flexible and can work without an internet connection.
Choosing Between Onshape and FreeCAD
Onshape:
Best for: Users seeking a modern, cloud-based CAD solution with strong collaboration features and ease of use.
Pros: Intuitive interface, real-time collaboration, no installation needed, reliable performance, and strong professional support.
Cons: Limited offline capabilities, dependent on internet connection.
FreeCAD:
Best for: Experienced users looking for a free, open-source CAD solution with extensive customization and offline use.
Pros: Highly flexible, extensive feature set, customizable, strong offline capabilities, and supports many file formats.
Cons: Steeper learning curve, less intuitive interface, performance dependent on hardware, and varying stability.
- Onshape is ideal if I want an easy start and collaboration features, especially if I work with others and have a reliable internet connection.
- FreeCAD is better if I need powerful tools and don’t mind investing time to learn a more complex system that I can use offline.
Both tools are strong in their respective areas, and my choice will depend on my specific needs, preferences, and experience level.
Attachment and Raw files
Inkscape in 2D design
Onshape in 3D design
FreeCAD in 3D design