3D Printing and Scanning
Assignment 5 - Fab Academy Barcelona

This week I:
Design and 3D Print a Voronoi Sphere
Intro to 3D Printing
In class we were introduced to 3D printing with 4 of the lab's printers - two extrusion printers using PLA (polyactic acid), one extrusion printer using Ultrat (sturdier material, but creates fumes so you need a closed printer), and one using resin and stereolithography (SLA). We also covered 3D printing with clay though I didn't test this myself. See group section below for more info.
Designing Voronoi Sphere & "Rattle"
I had the idea to design a sphere with something "trapped" inside to meet the requirement that the design not be easily created subtractively. I also wanted to create an object that would have intricate, curved 3D shapes which would also be difficult to make subratively. I decided to apply a Voronoi lattice to the outside of the sphere - this was inspired by earlier work from my Barcelona classmate Max.
- I used youtube tutorials to help make the vornoi lattice and apply it to a sphere: see here and here.
- I used Rhino & Grasshopper to create a "Sphere" with radius as input, and "PopGeo" to populate the surface of the sphere with a variable number of points.
- I created a bounding box "Bbox" and used the points and the box to create a Voronoi geometry.
- I then used the "Brep" module to create a representation of the intersection of the sphere and the Voronoi geometry.
- To make this geometry three dimensional, I used the multipipe module.
- I then needed to join and smooth the pipes I created - I tried to do this in grasshopper but with no luck. The commands didn't fail, but they didn't work either.
- Instead I baked the pipe feature and created a new file.
- I used the ShrinkWrap command to create a mesh around the pipes and also to smooth the joints, playing around with settings until I got something I liked.
- I then drew freehand a simple sphere inside the Voronoi sphere as the "Rattle" - this couldn't be encapsulated easily within the sphere using subtractive methods. Moreover, the Voronoi sphere itself would be difficult to make subtractively.
Printer Decision & Slicing
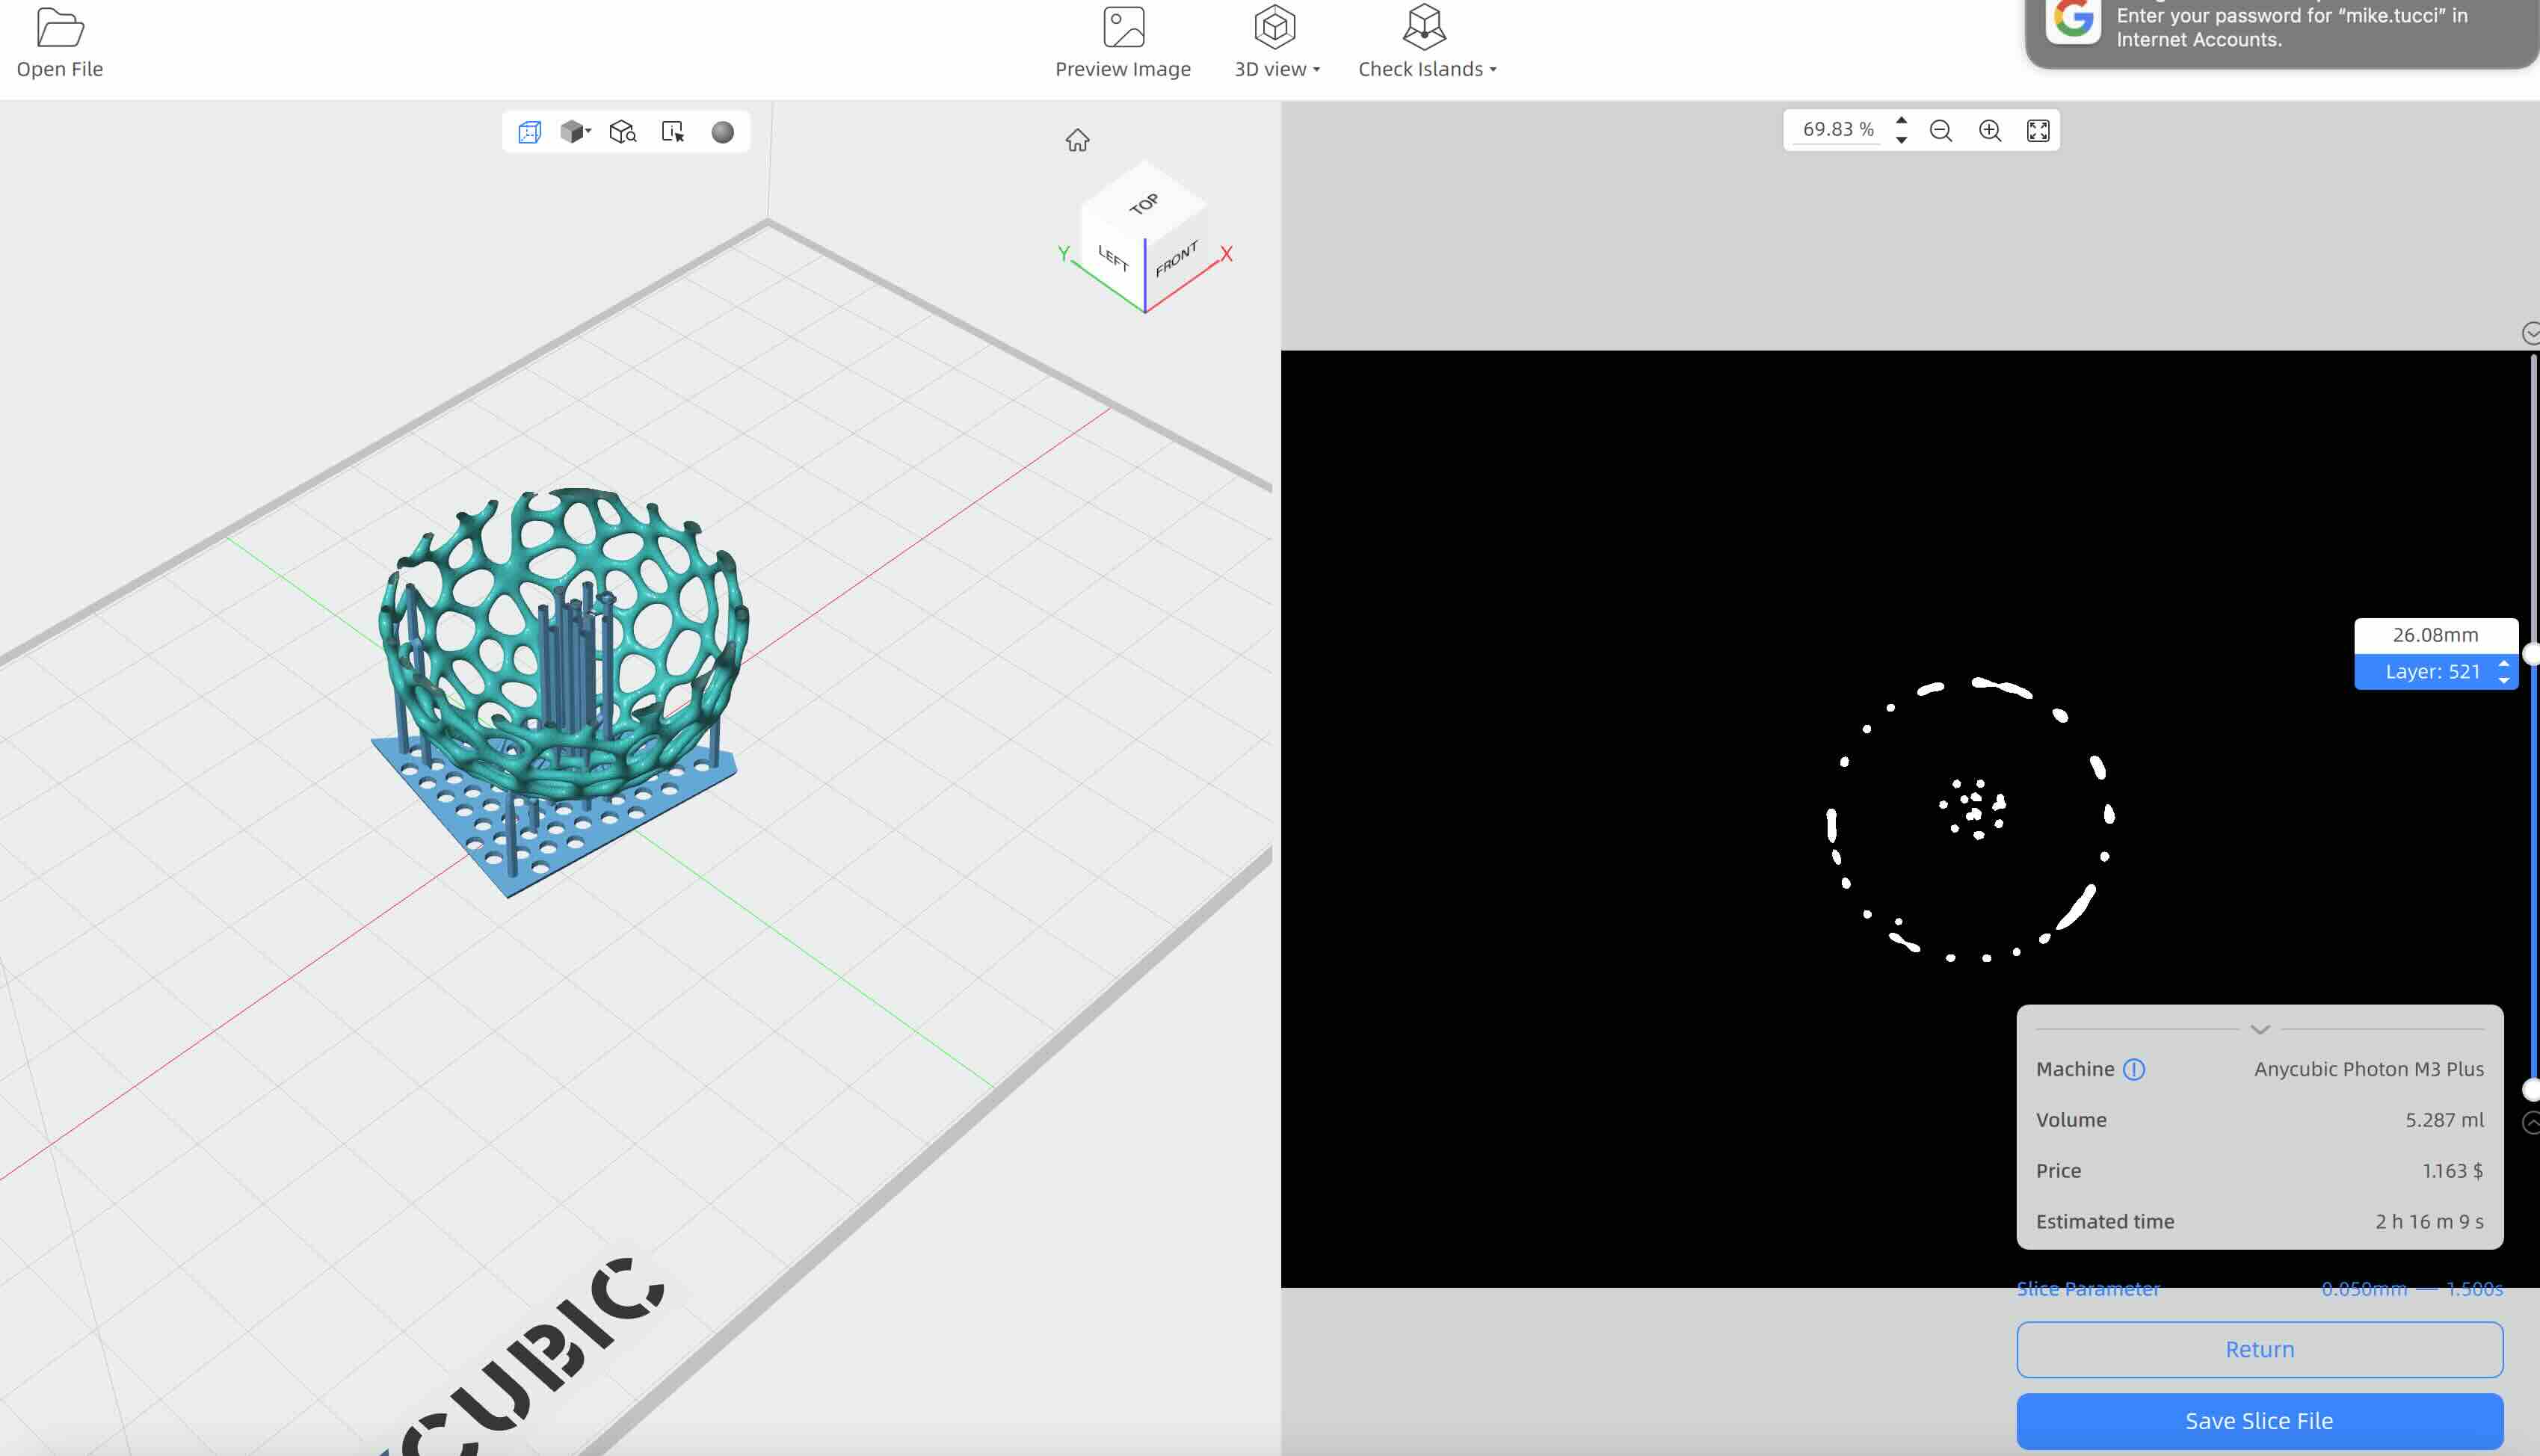
I liked the output of the SLA Anycubic Photon M3+ printer the most - the matte finish with theresin was sleek and I liked the thiness / invisibility of the layers. I decided to go with this printer.
- I downloaded the Anycubic Photon Workshop.
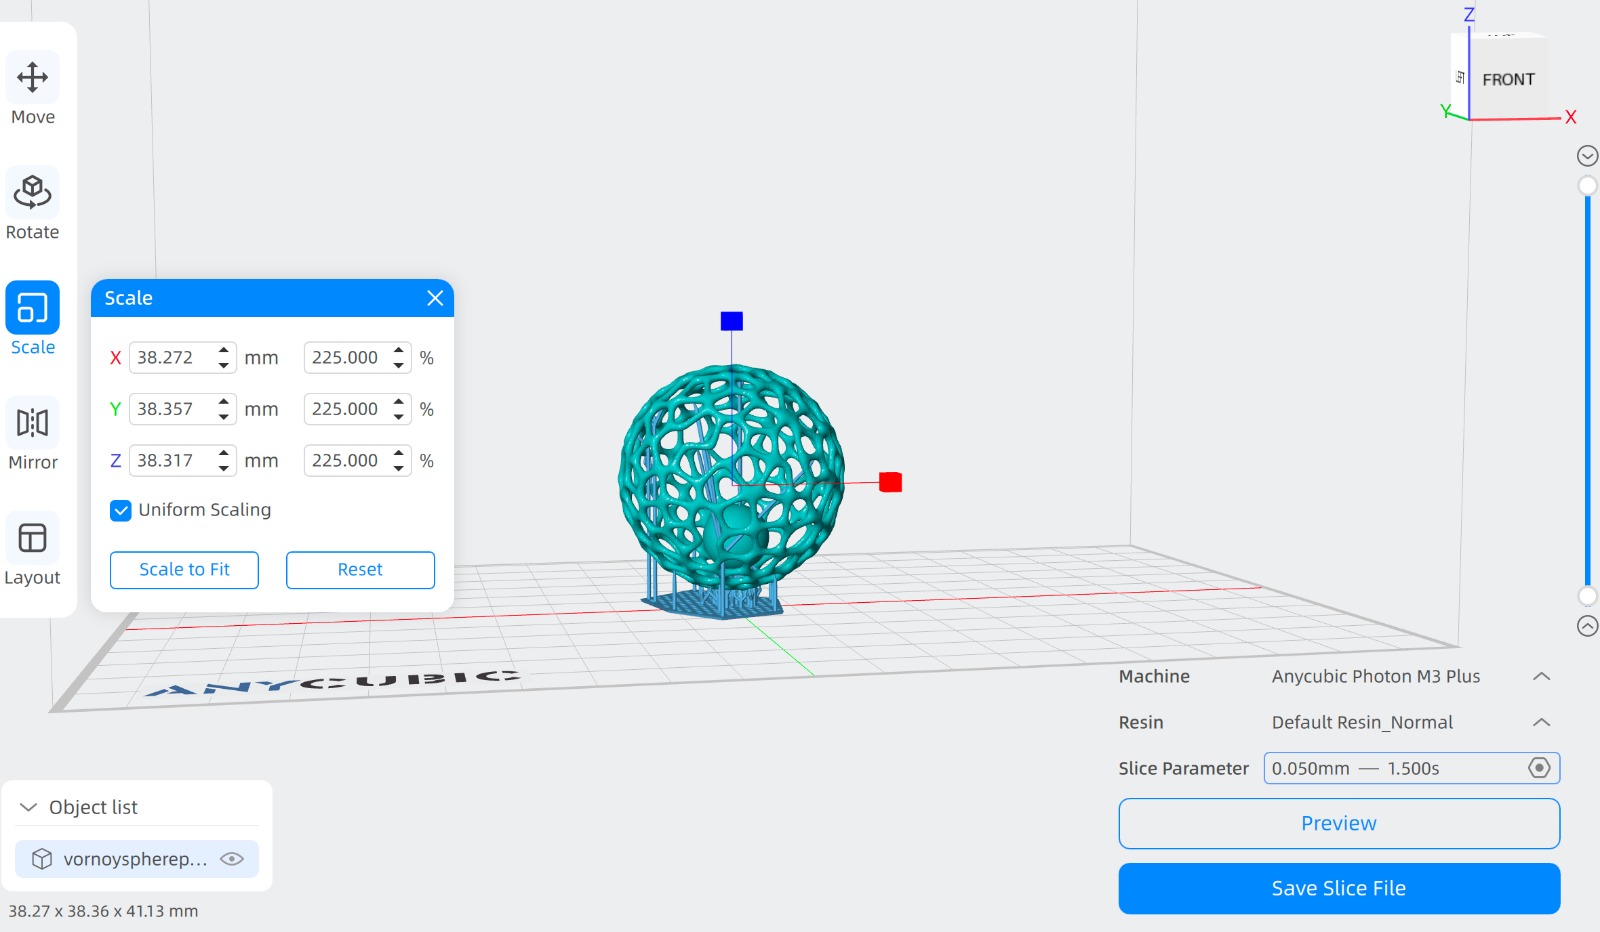
- I originally wanted to print big - around 10cm but this was going to take 8 hours to print.
- Instead I scaled down to about 4cm in diameter, which got the printing down to 2 hours.
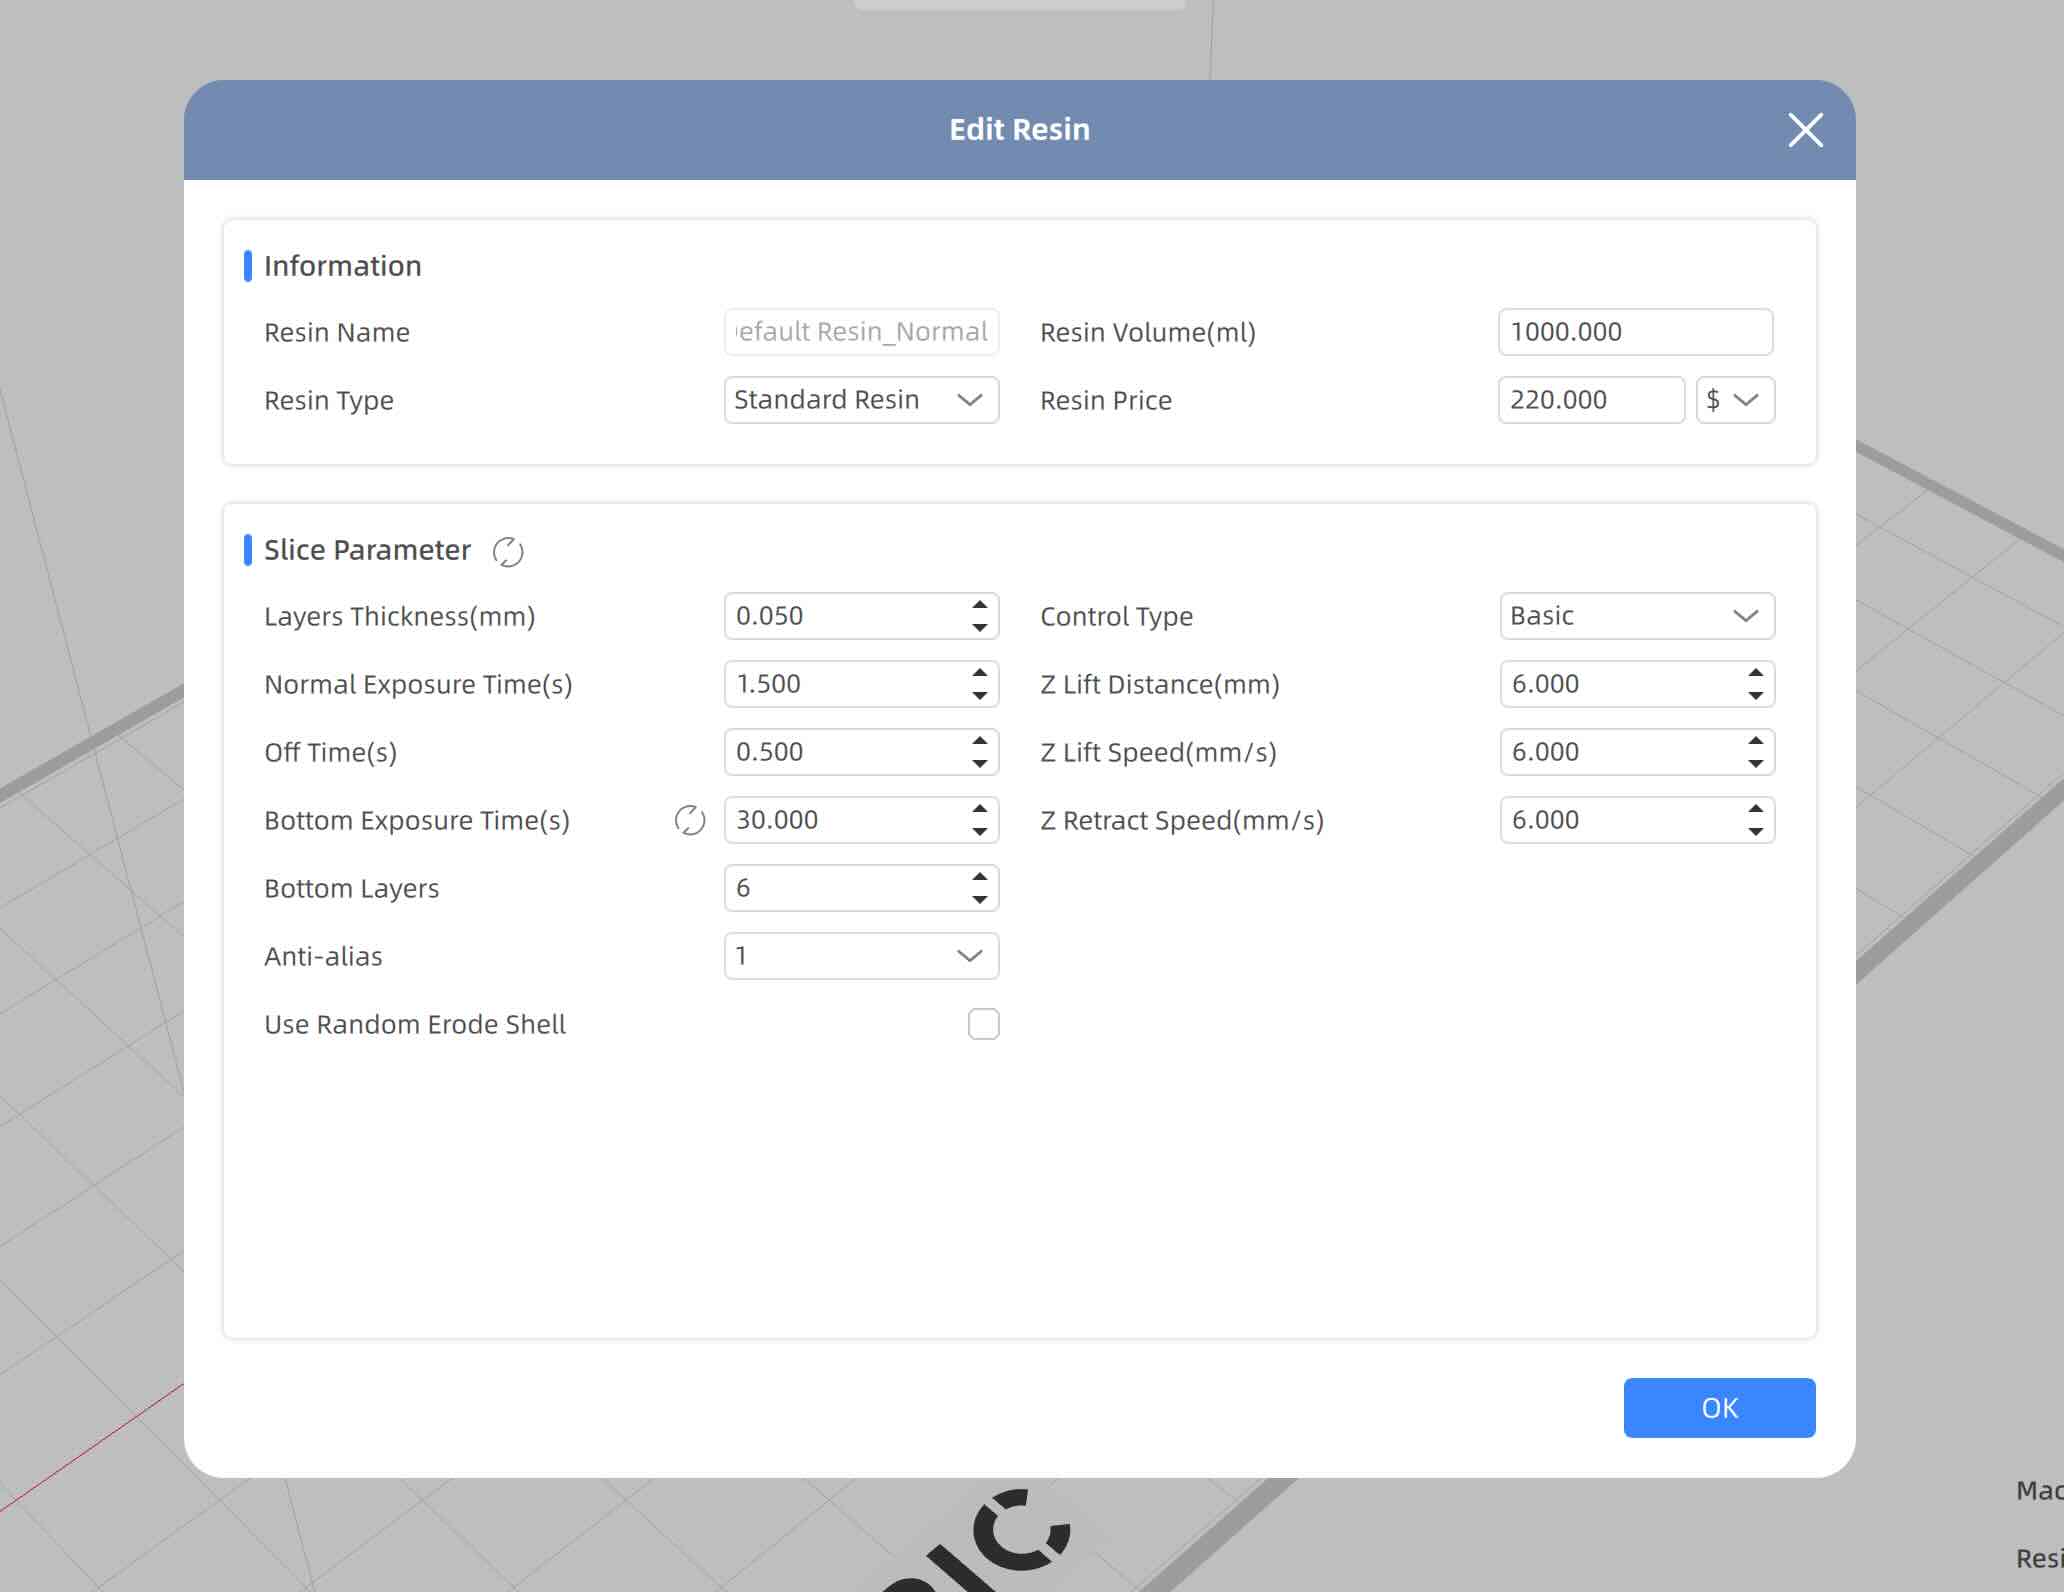
- I also made slight updates to the default parameters, increasing the bottom layer exposure time to 30 seconds to ensure the object stuck well to the base plate.
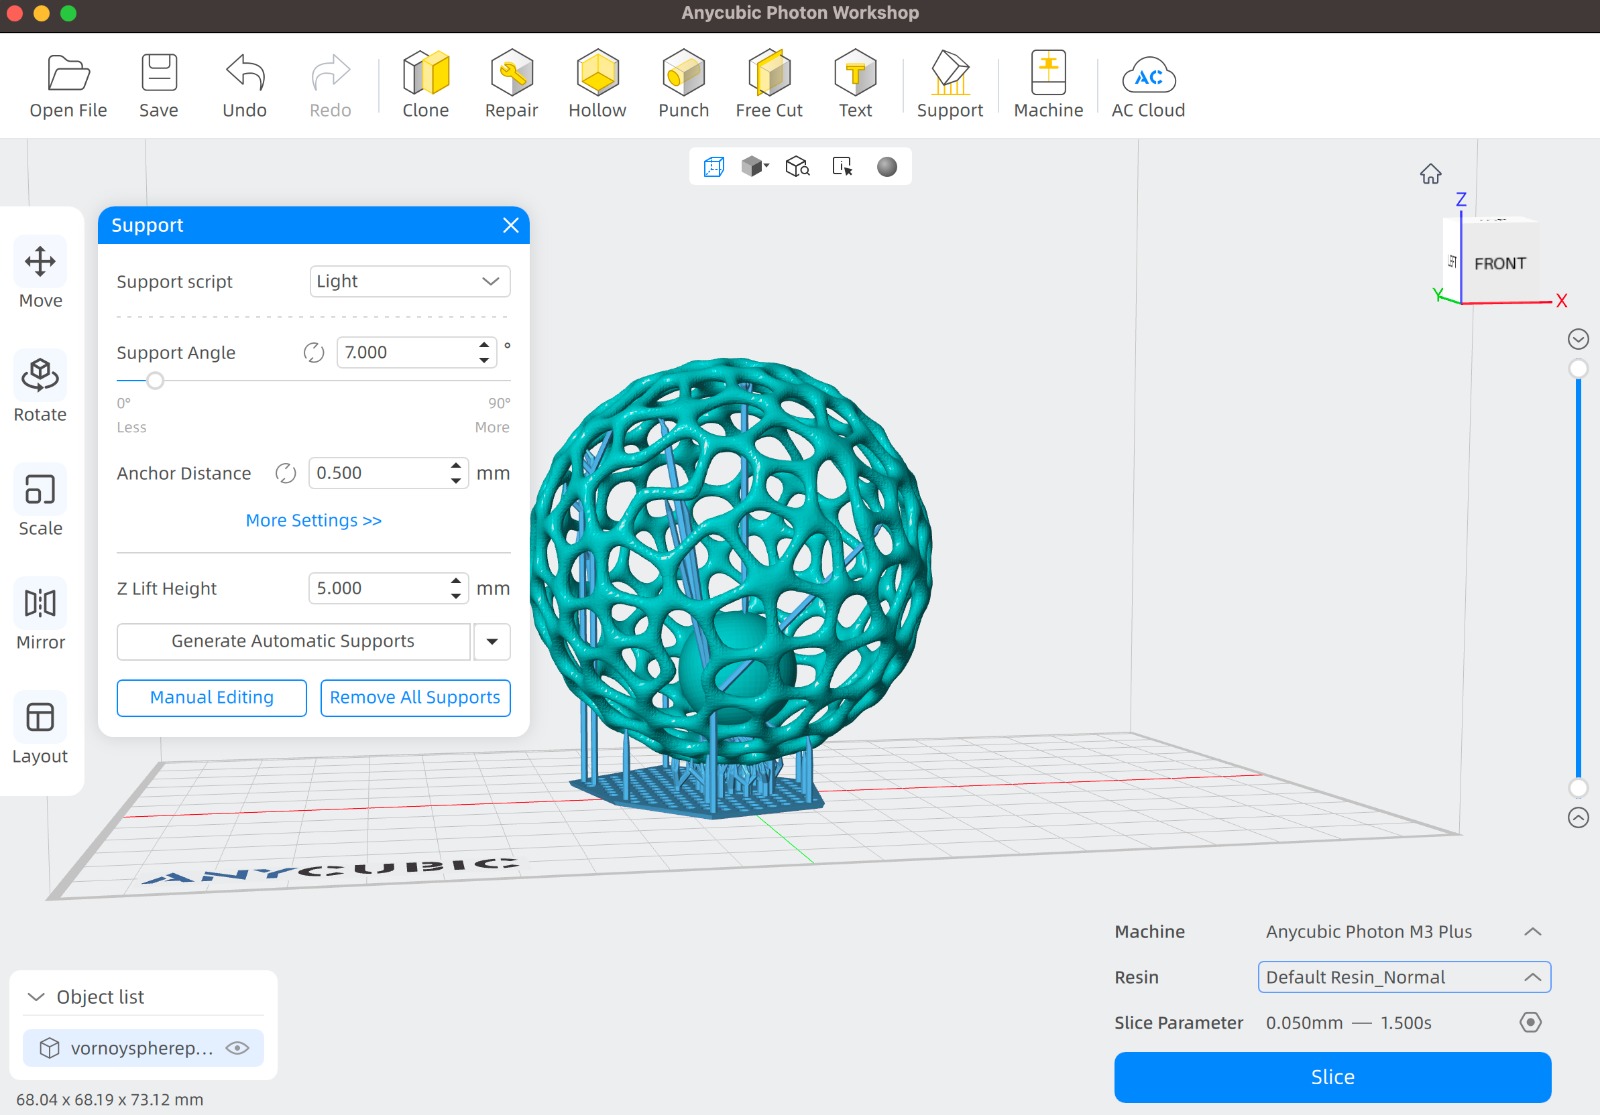
- I edited the supports to be light and the angle to be 7 degrees - this ensured a small number of supports. I believed this was critical because it would be difficult to remove supports from inside the sphere. Also since the ange change was gradual and supported from all sides, I thought it was likely the design & machine could handle it.
- I then implemented slicing and generated the gcode - I checked the graphic slice file to ensure it looks structurally sound.
- At 2 hours to print, I could afford a failure, so I dove in.
Printing
- I saved the sliced file to a thumb drive and brought it over to the printer, which was already loaded with resin.
- The Anycubic is fairly easy to operate, I just loaded the file and pressed print/play... and then I waited.
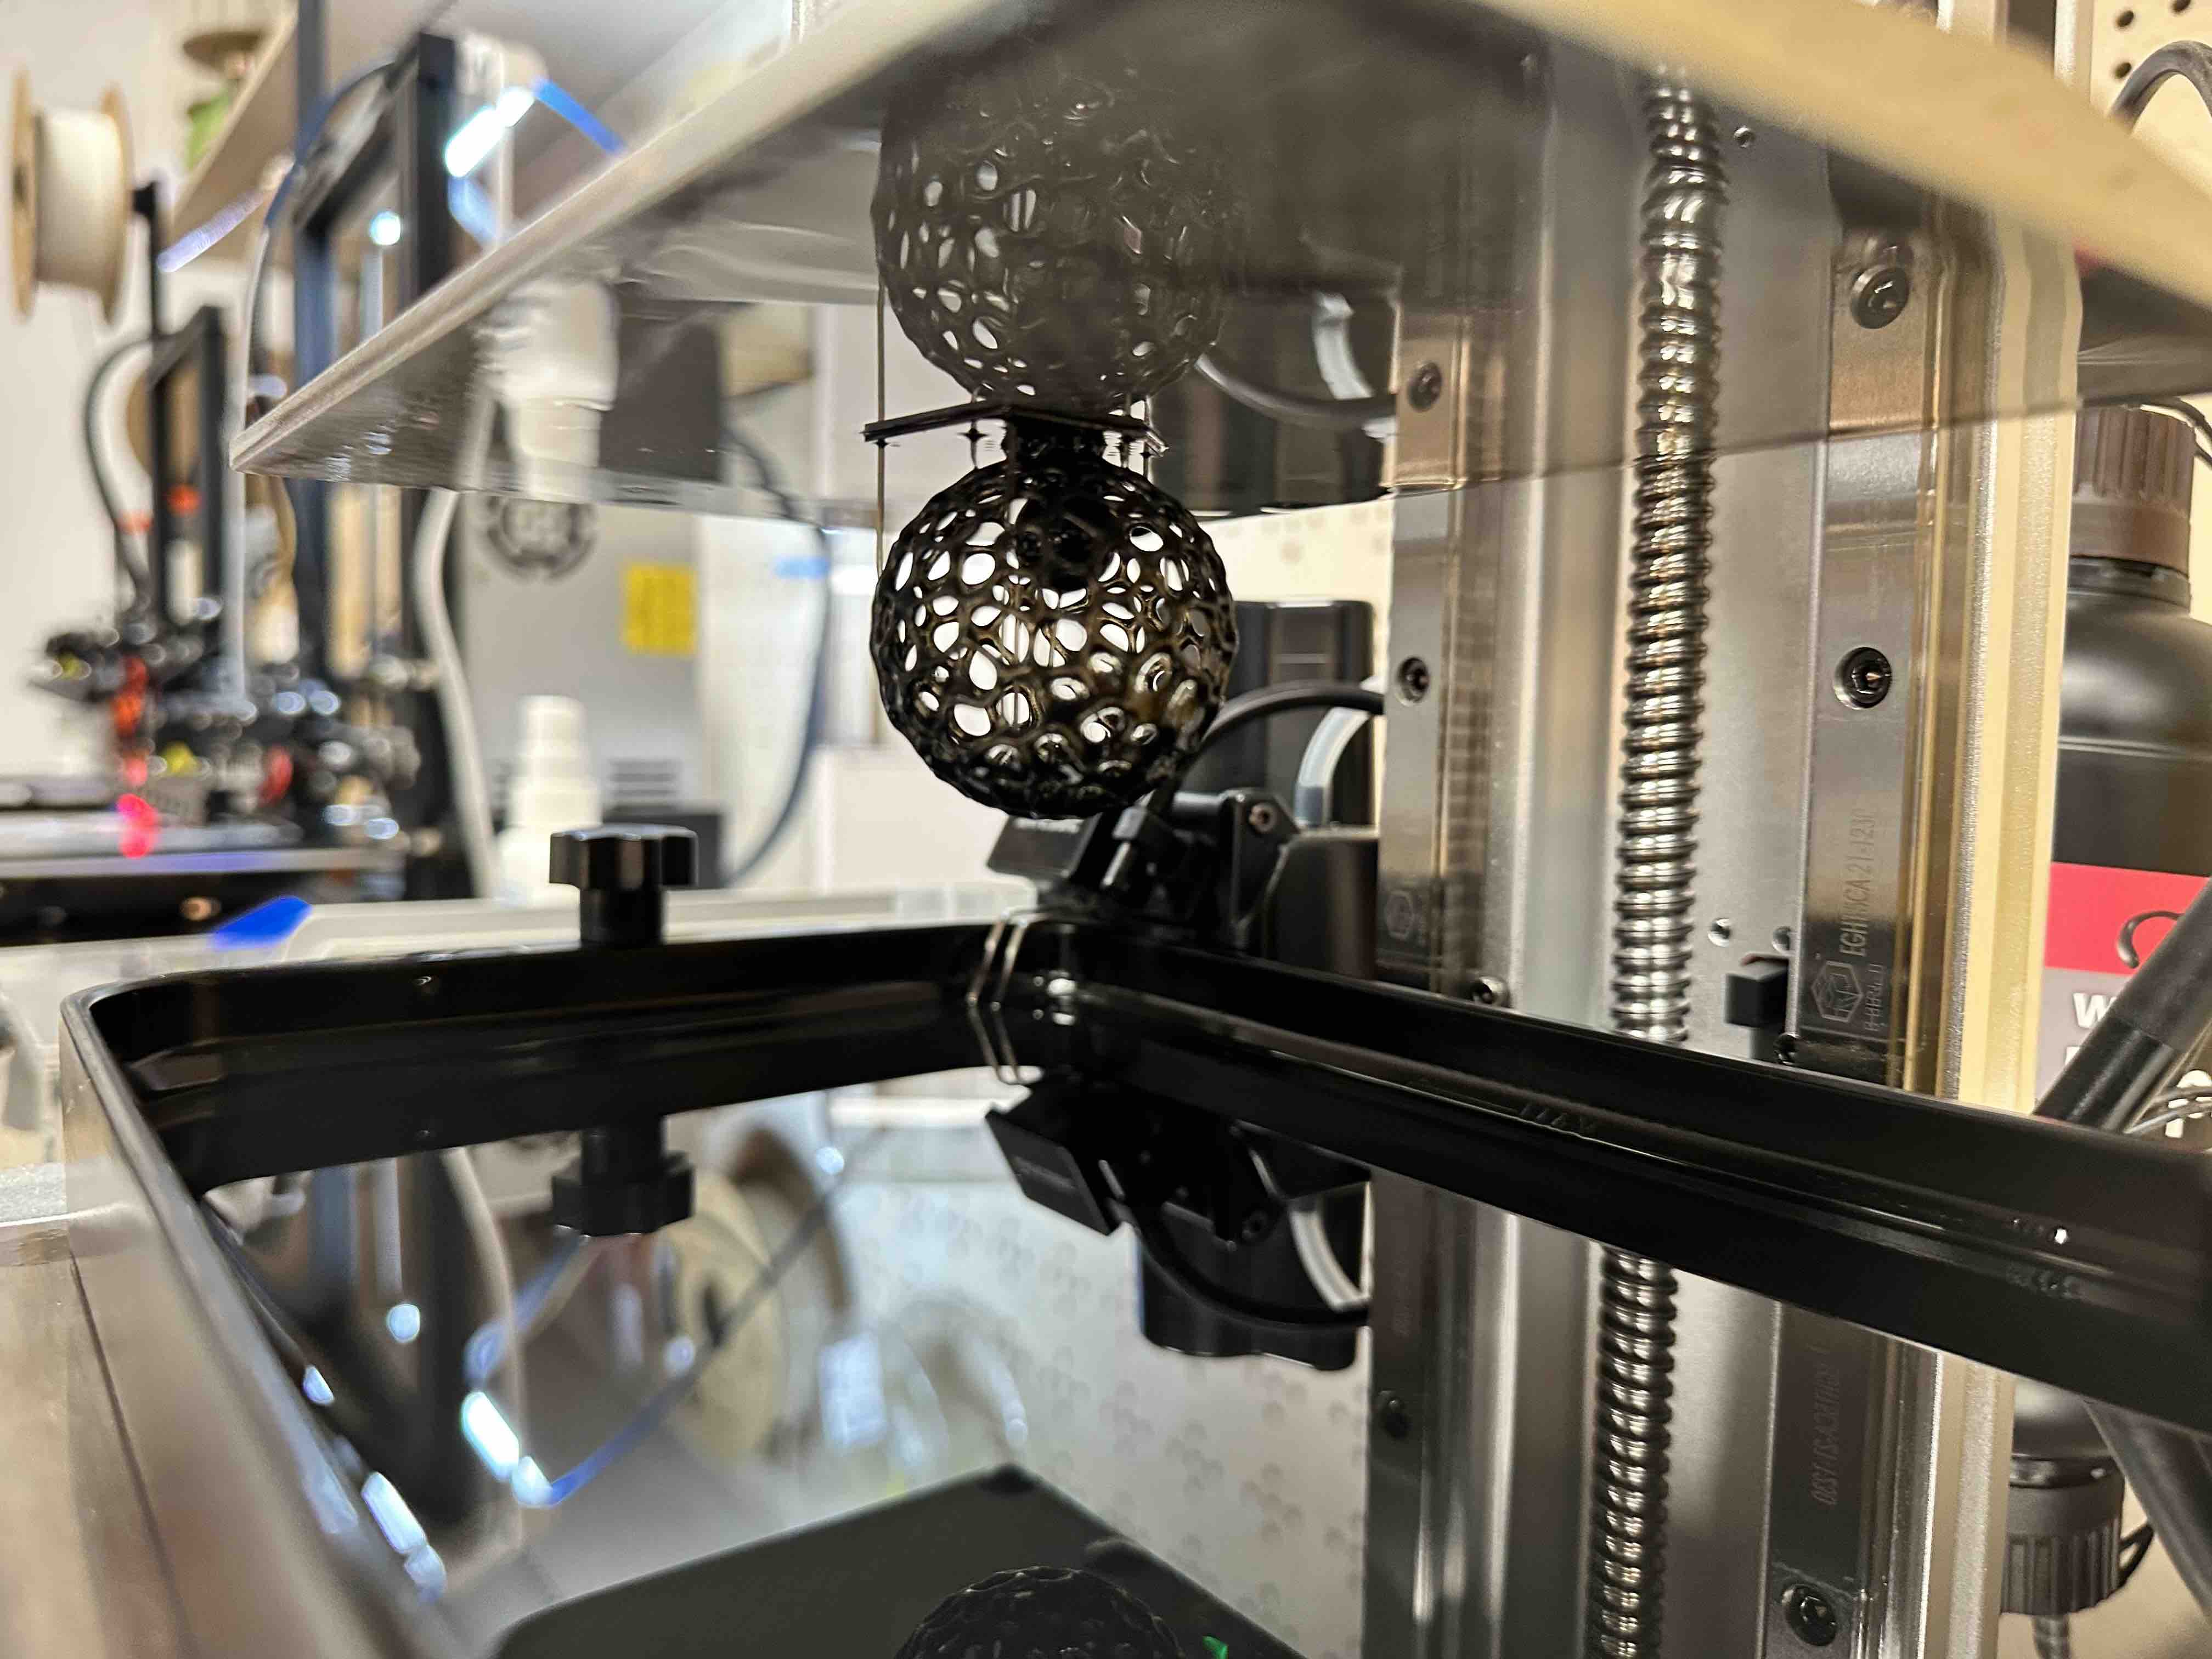
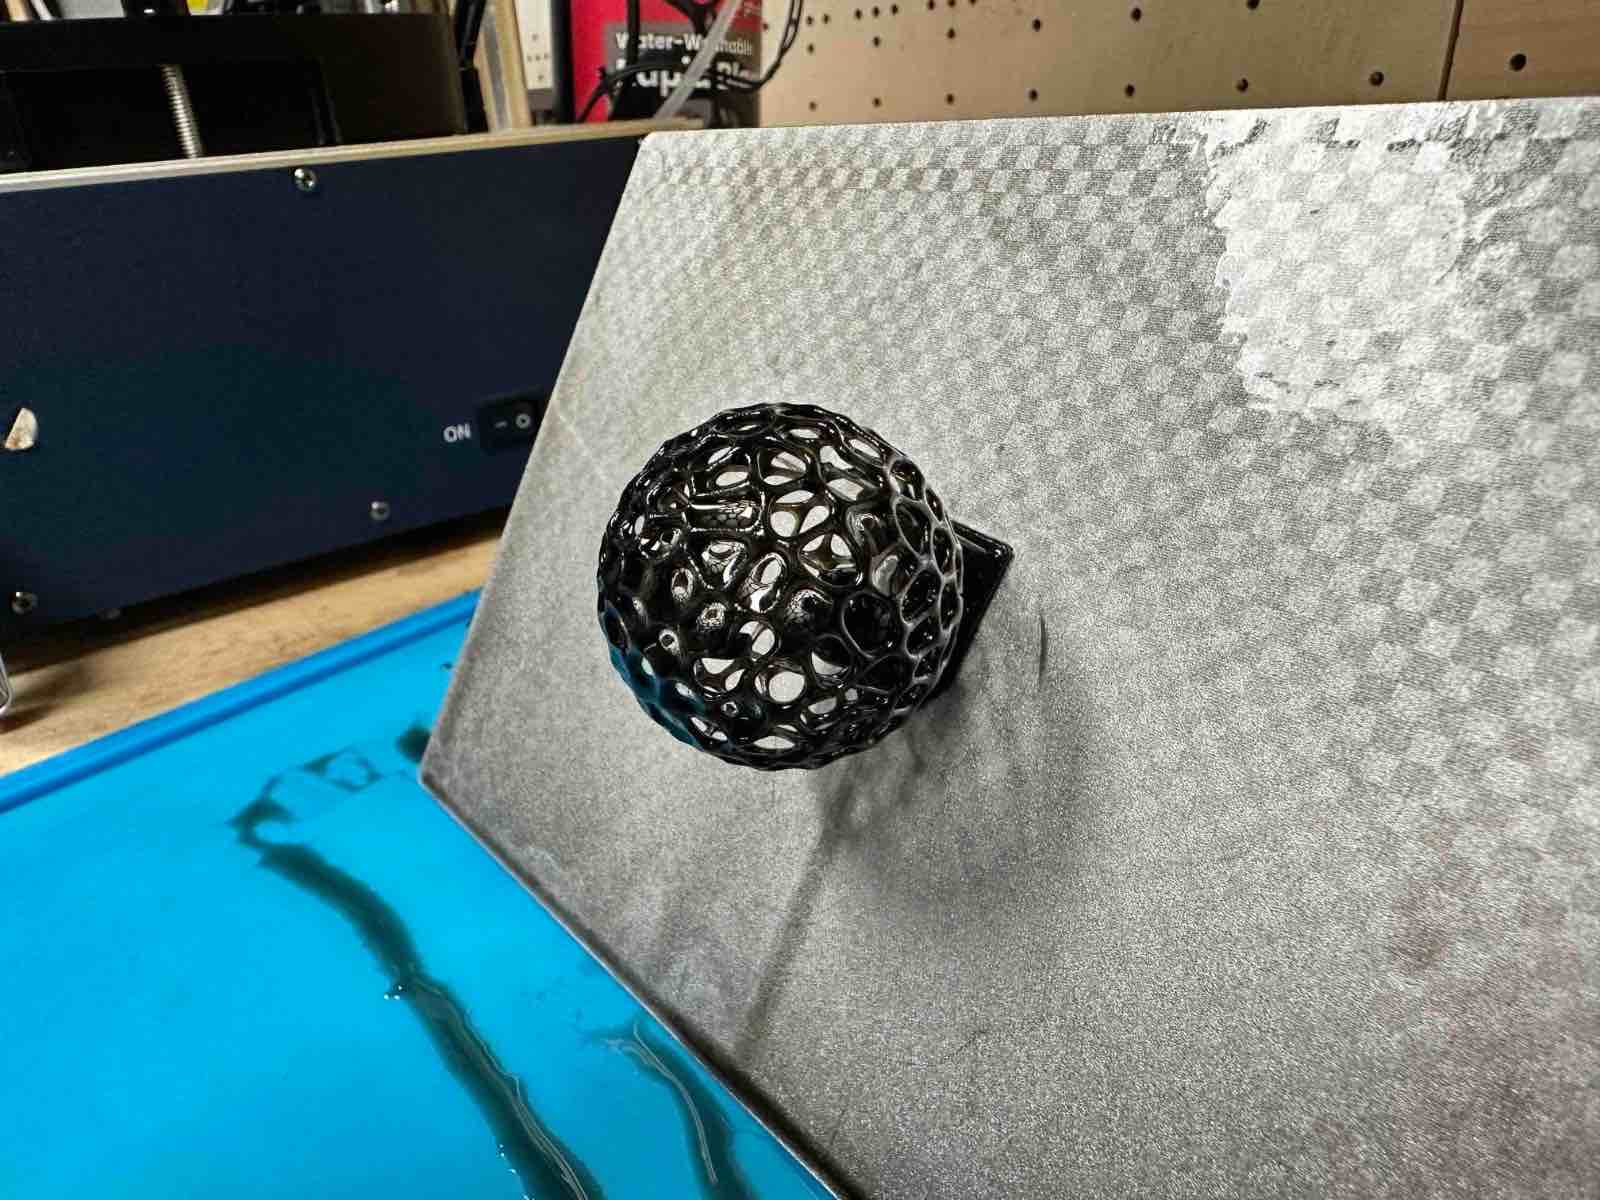
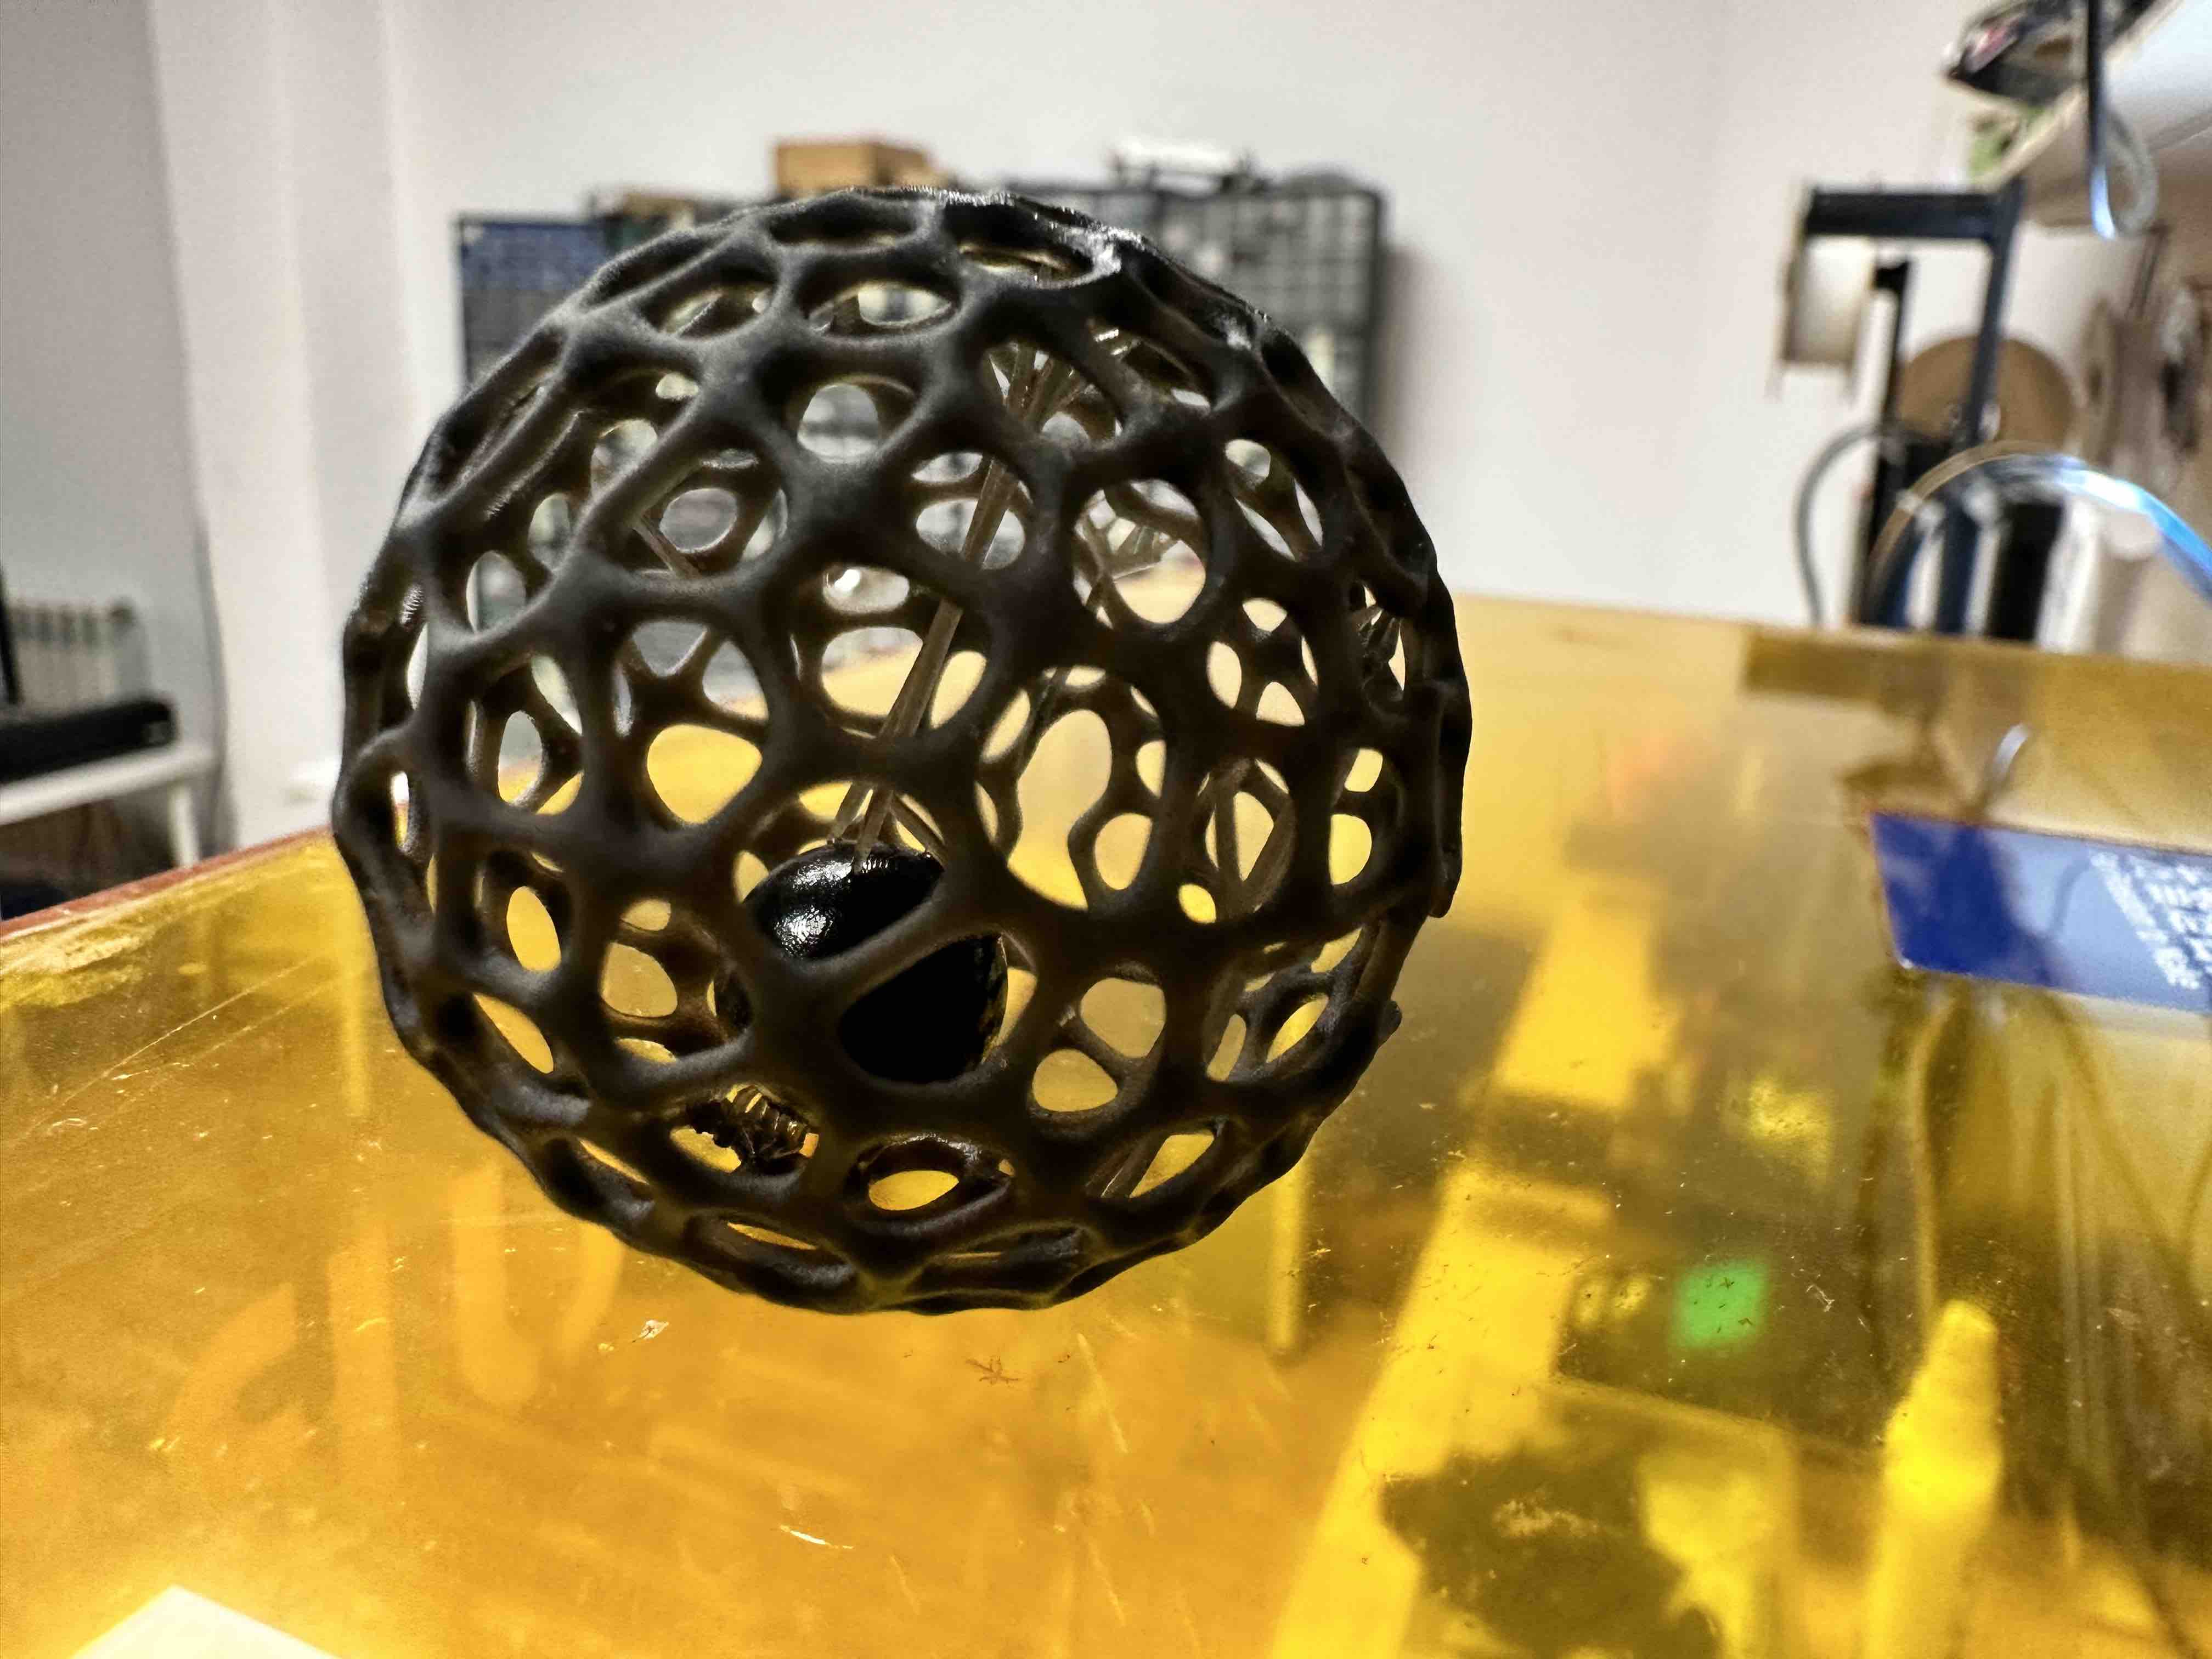
- Two hours later it was complete, and looked good! I was a bit nervous about the struts and that I didn't set any internal supports, especially for the interior sphere, but it looked like it came out ok :)
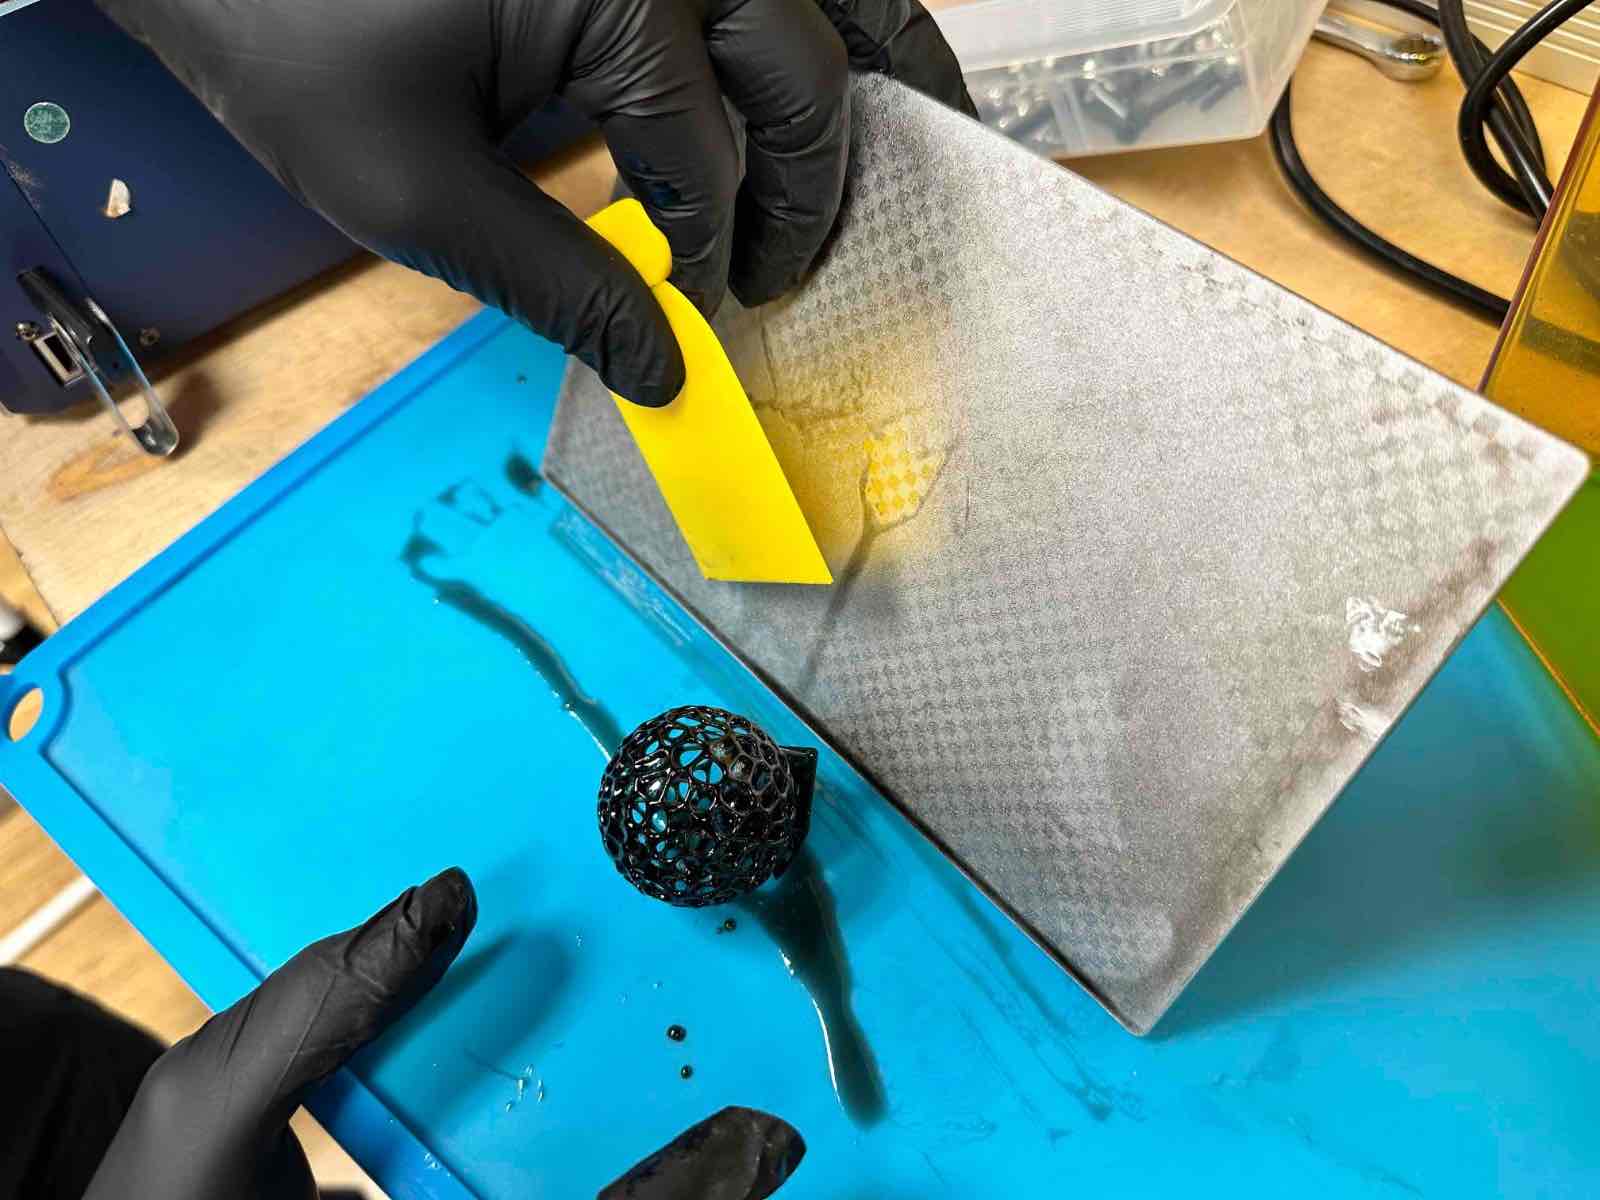
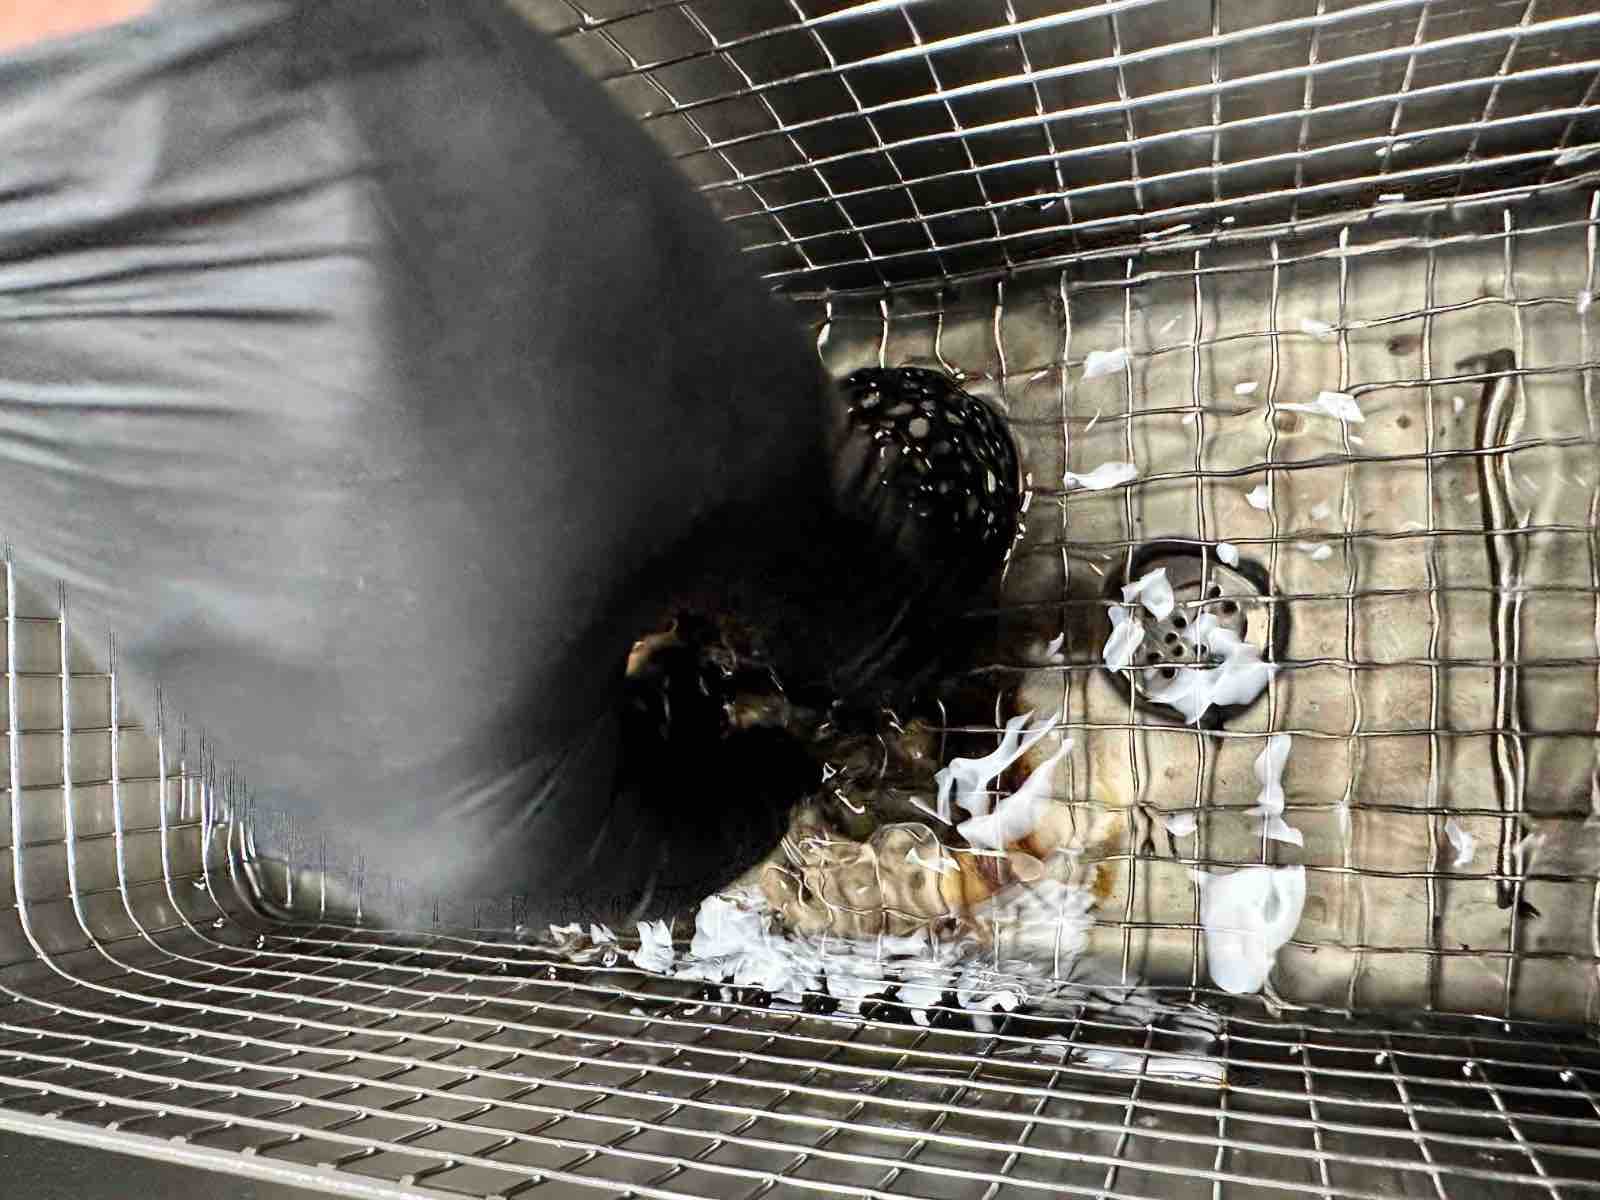
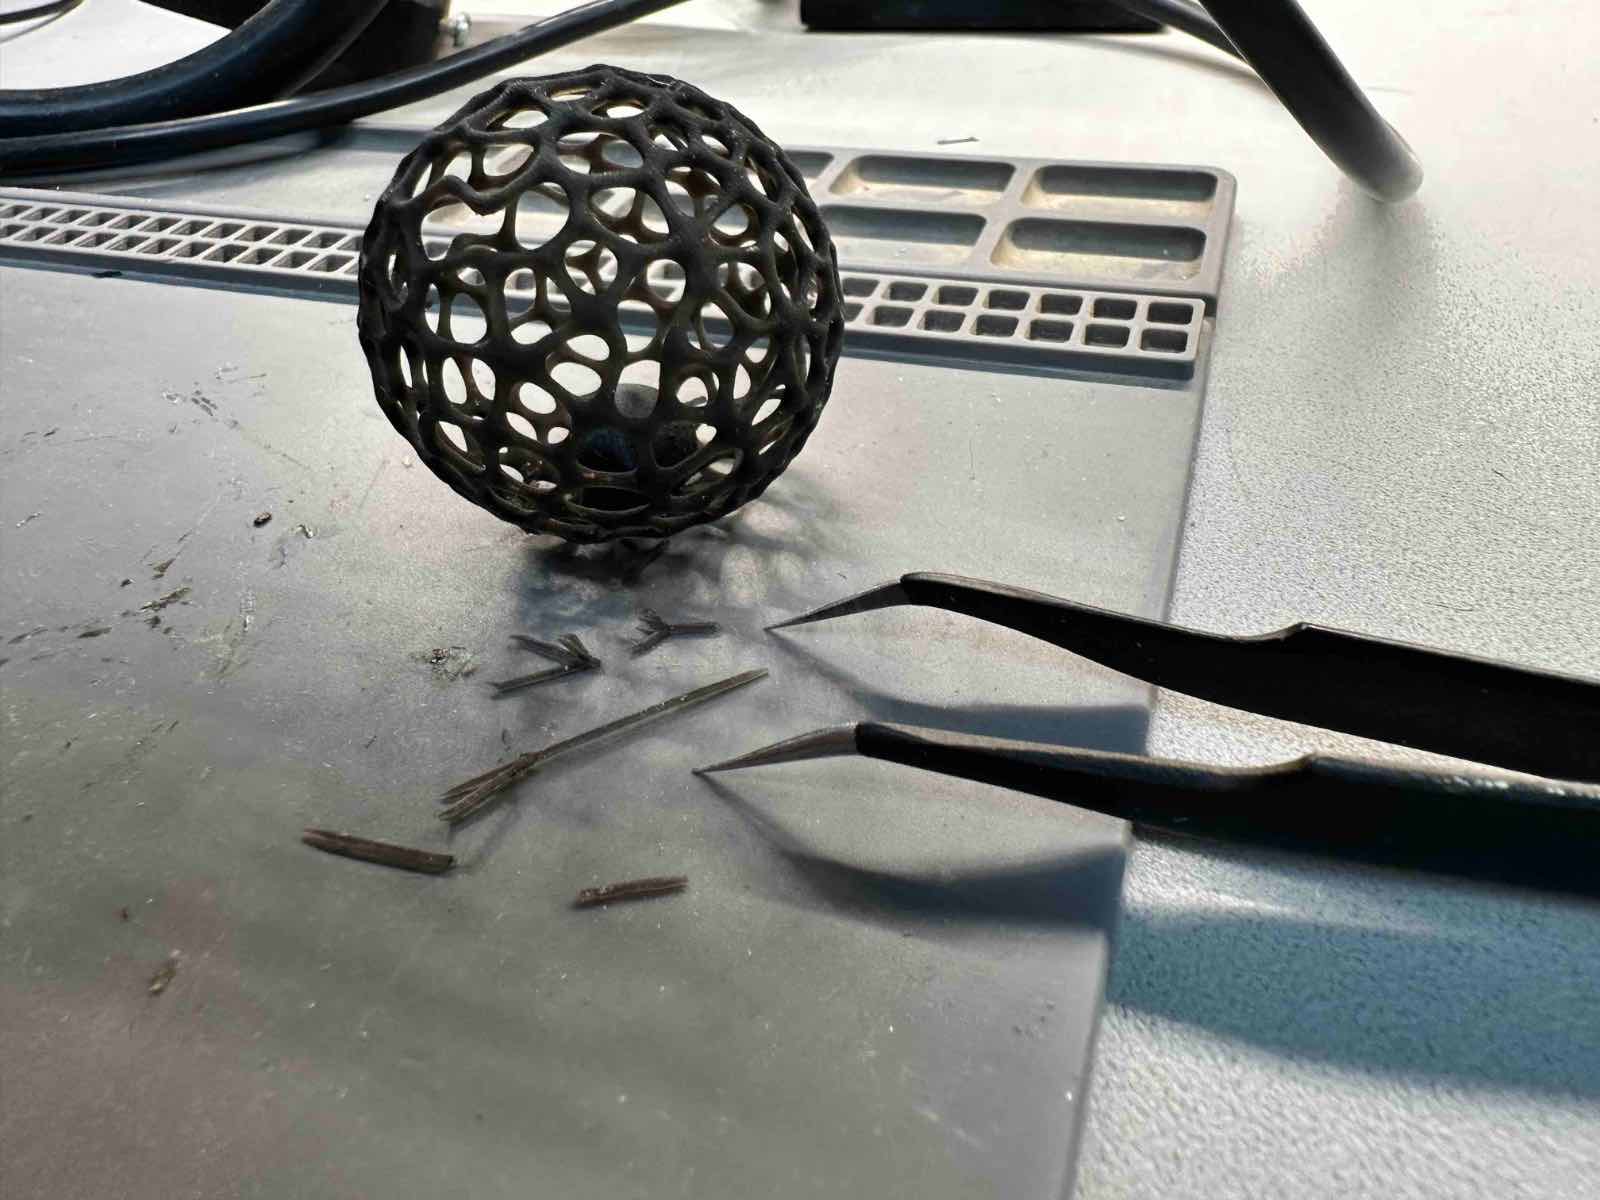
- I removed it from the resin, washed in alcohol, brushed excess resin off, and washed in water.
- I then removed the supports with the help of a tweezer - they came off surpsingly easily.
- The sphere already felt pretty solid and sturdy, but I still cured for 30 minutes with UV light.
Final Product
Design Files
Design files for this project can be found here.
3D scanning
As my final project relates to wearables, I decided to scan hands.
Scanning with Scaniverse
I first tried scanning with Scaniverse Lidar scanner. I scanned my classmate Susanna :) THe results were not great - the hand was deformed. We made a note (based on teache feedback) to perhaps try to scane each side of the hand separately and then stitch together in Rhino or Blender.
Scanning with Revopoint Pop 3 Scanner
I then tried scanning with the Revopoint scanner we have in class. I thought this would be difficult given feedback that objects need to stay very still. I decided to leave the camera in place on the tripod and to slowly rotate my hand. While it was clear that my hand was shaky, the results were better than Scaniverse. I exported a mesh to Rhino.
Design Rules for Barcelona's 3D Printers (Group Work)
The Fab Academy is using the following 3D printers in the FabLab in Barcelona:
- Prusa i3 MK2 - extrusion printing with PLA
- Creality Ender-3PRO - extursion printing with PLA
- Zortrax M200 - printing with ultrat (more sturdy, but creates fumes)
- Anycubic Photon M3+ - resin, SLA
The full results and design rules for each machine can be found on the group assignment page here. In general each machine/material had its strengths and weaknesses.
- Prusa i3 MK2 - the best of the extrusion machines - its more exact than the others on details, especially holes. Layers least visible of extrusion machines.
- Creality Ender-3PRO - middle of the road on nearly all design components vs. other extrusion machines (including on layer visibility), this is a good generalist machine but with poor retraction.
- Zortrax M200 - prints sturdy walls but less good for engravings and small details. Layers most visible of extrusion
- Anycubic Photon M3+ - more exact printing of details, layers not clearly visible, more messy to print.