Wild Card & Digital Embroidery
Assignment 15 - Fab Academy Barcelona

This week I:
Digital Embroidery
Overview
In class we were introduced to a range of digital fabrication techniques not reviewed in other weeks. I decided to work with embroidery because it seemed simpler and I wanted time to focus on my final project. The below workflow is adapted based on one introduced in class and another I found online on the Ink/Stitch website (disclosure: I used ChatGPT to help with some of the summarizing).
Create Vector Designs with Inkscape
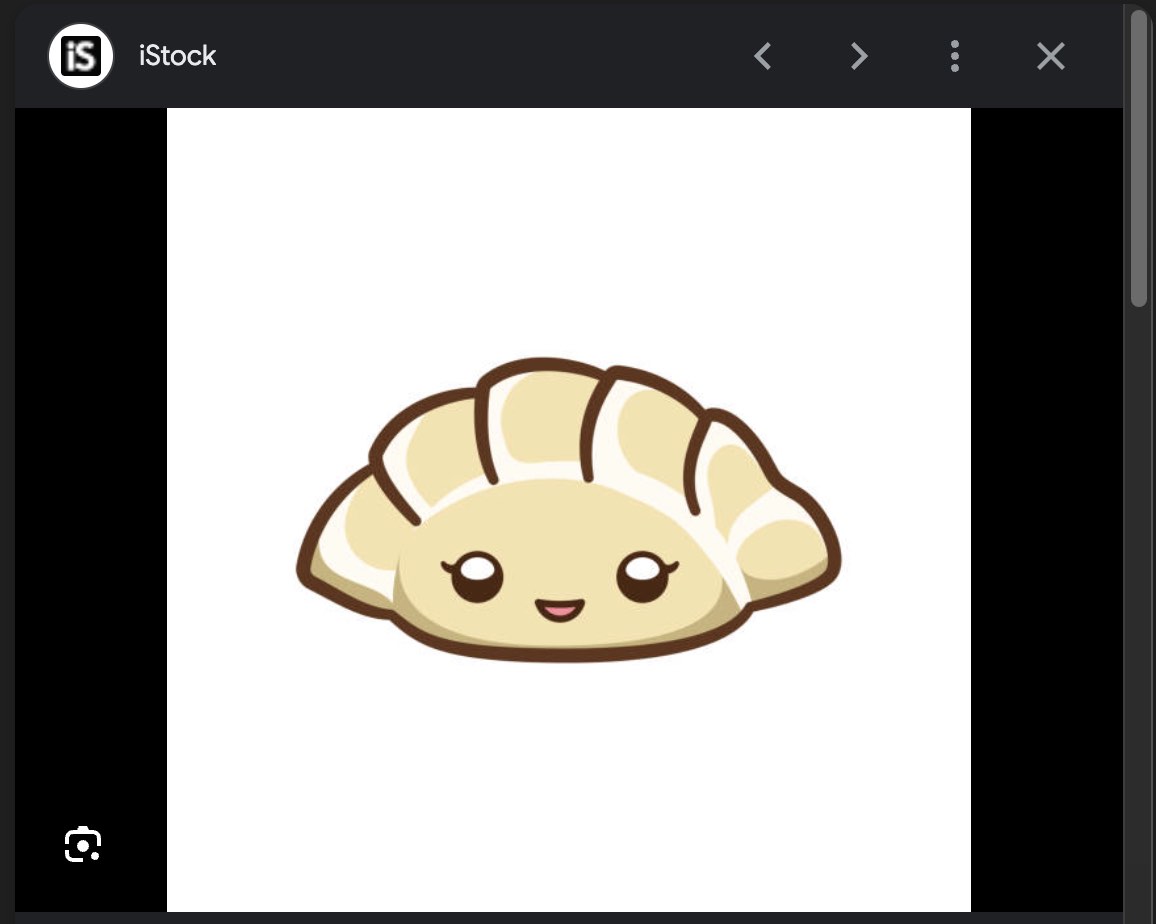
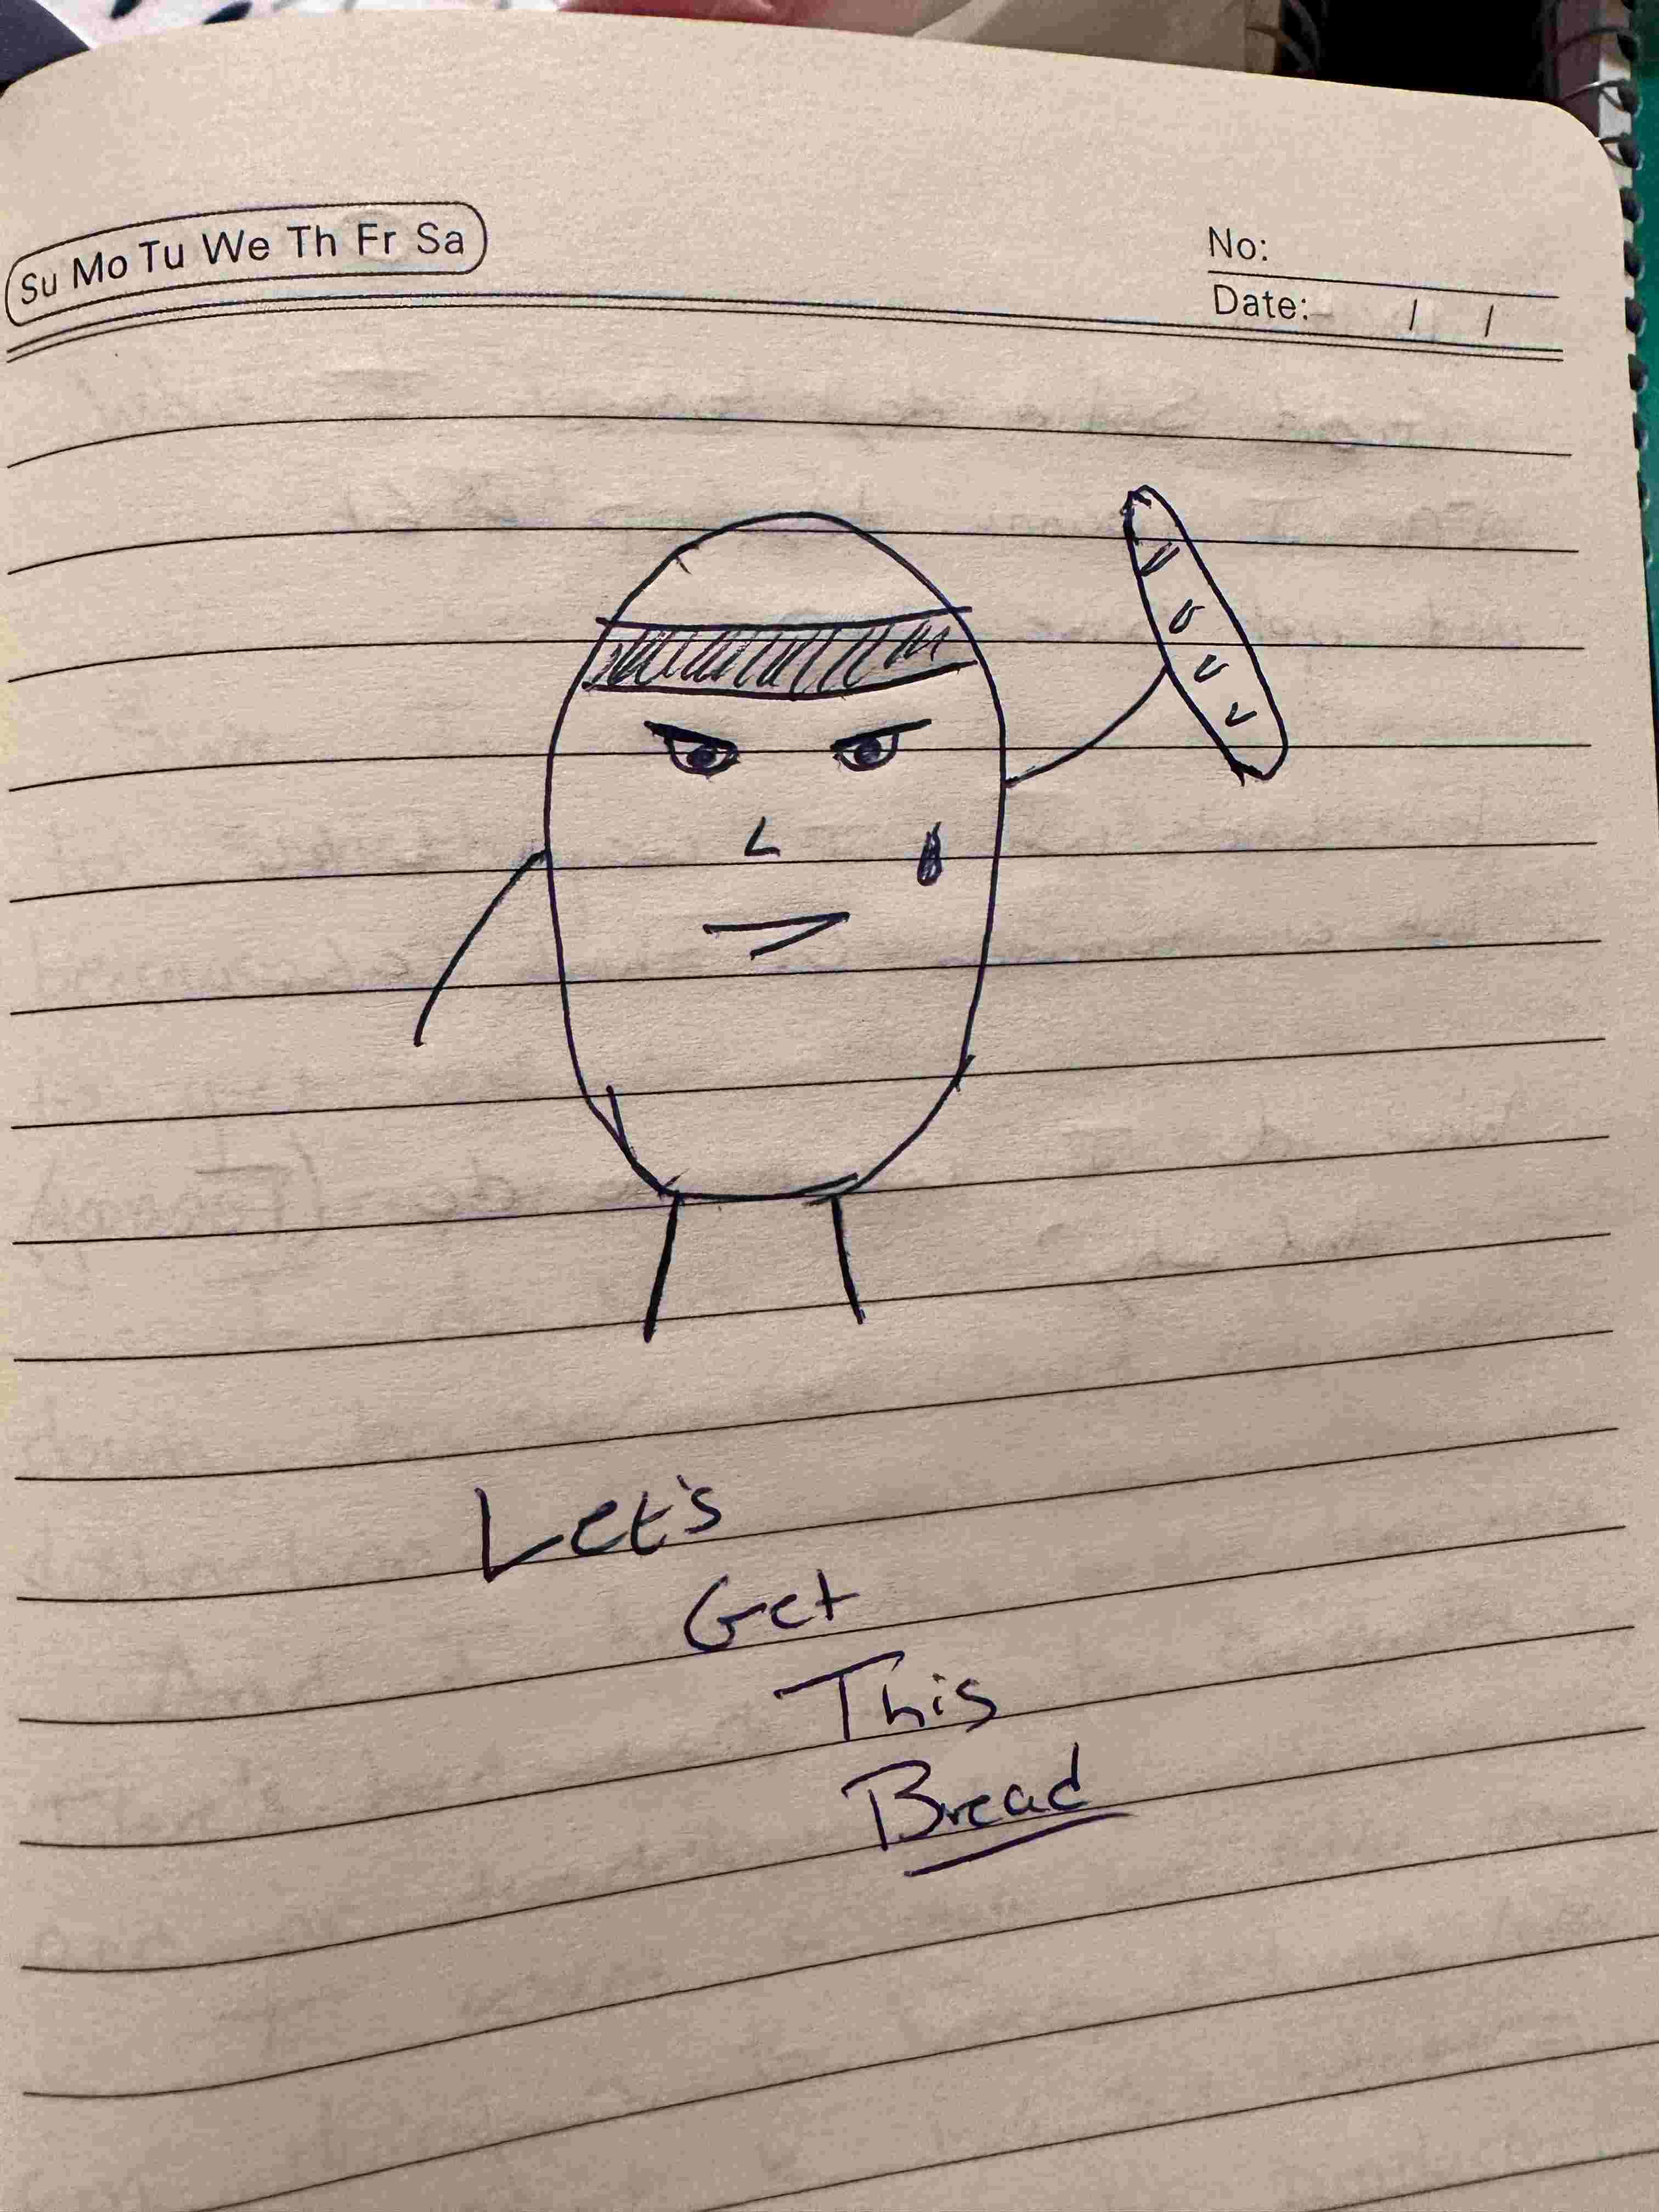
The Ink/Stitch workflow involves transforming a vector image created in Inkscape into a digital embroidery file. Generally, we begin by designing or importing an image, using Inkscape's tools to create and edit paths - I created two design files, one based on a dumpling cartoon I found on the internet, and another from a drawing my brother made that we found in his journal (super sad story but my brother died suddenly a few months ago and this felt like a lighthearted way to remember him).
DUMPLING CARTOON
BROTHER'S DOODLE
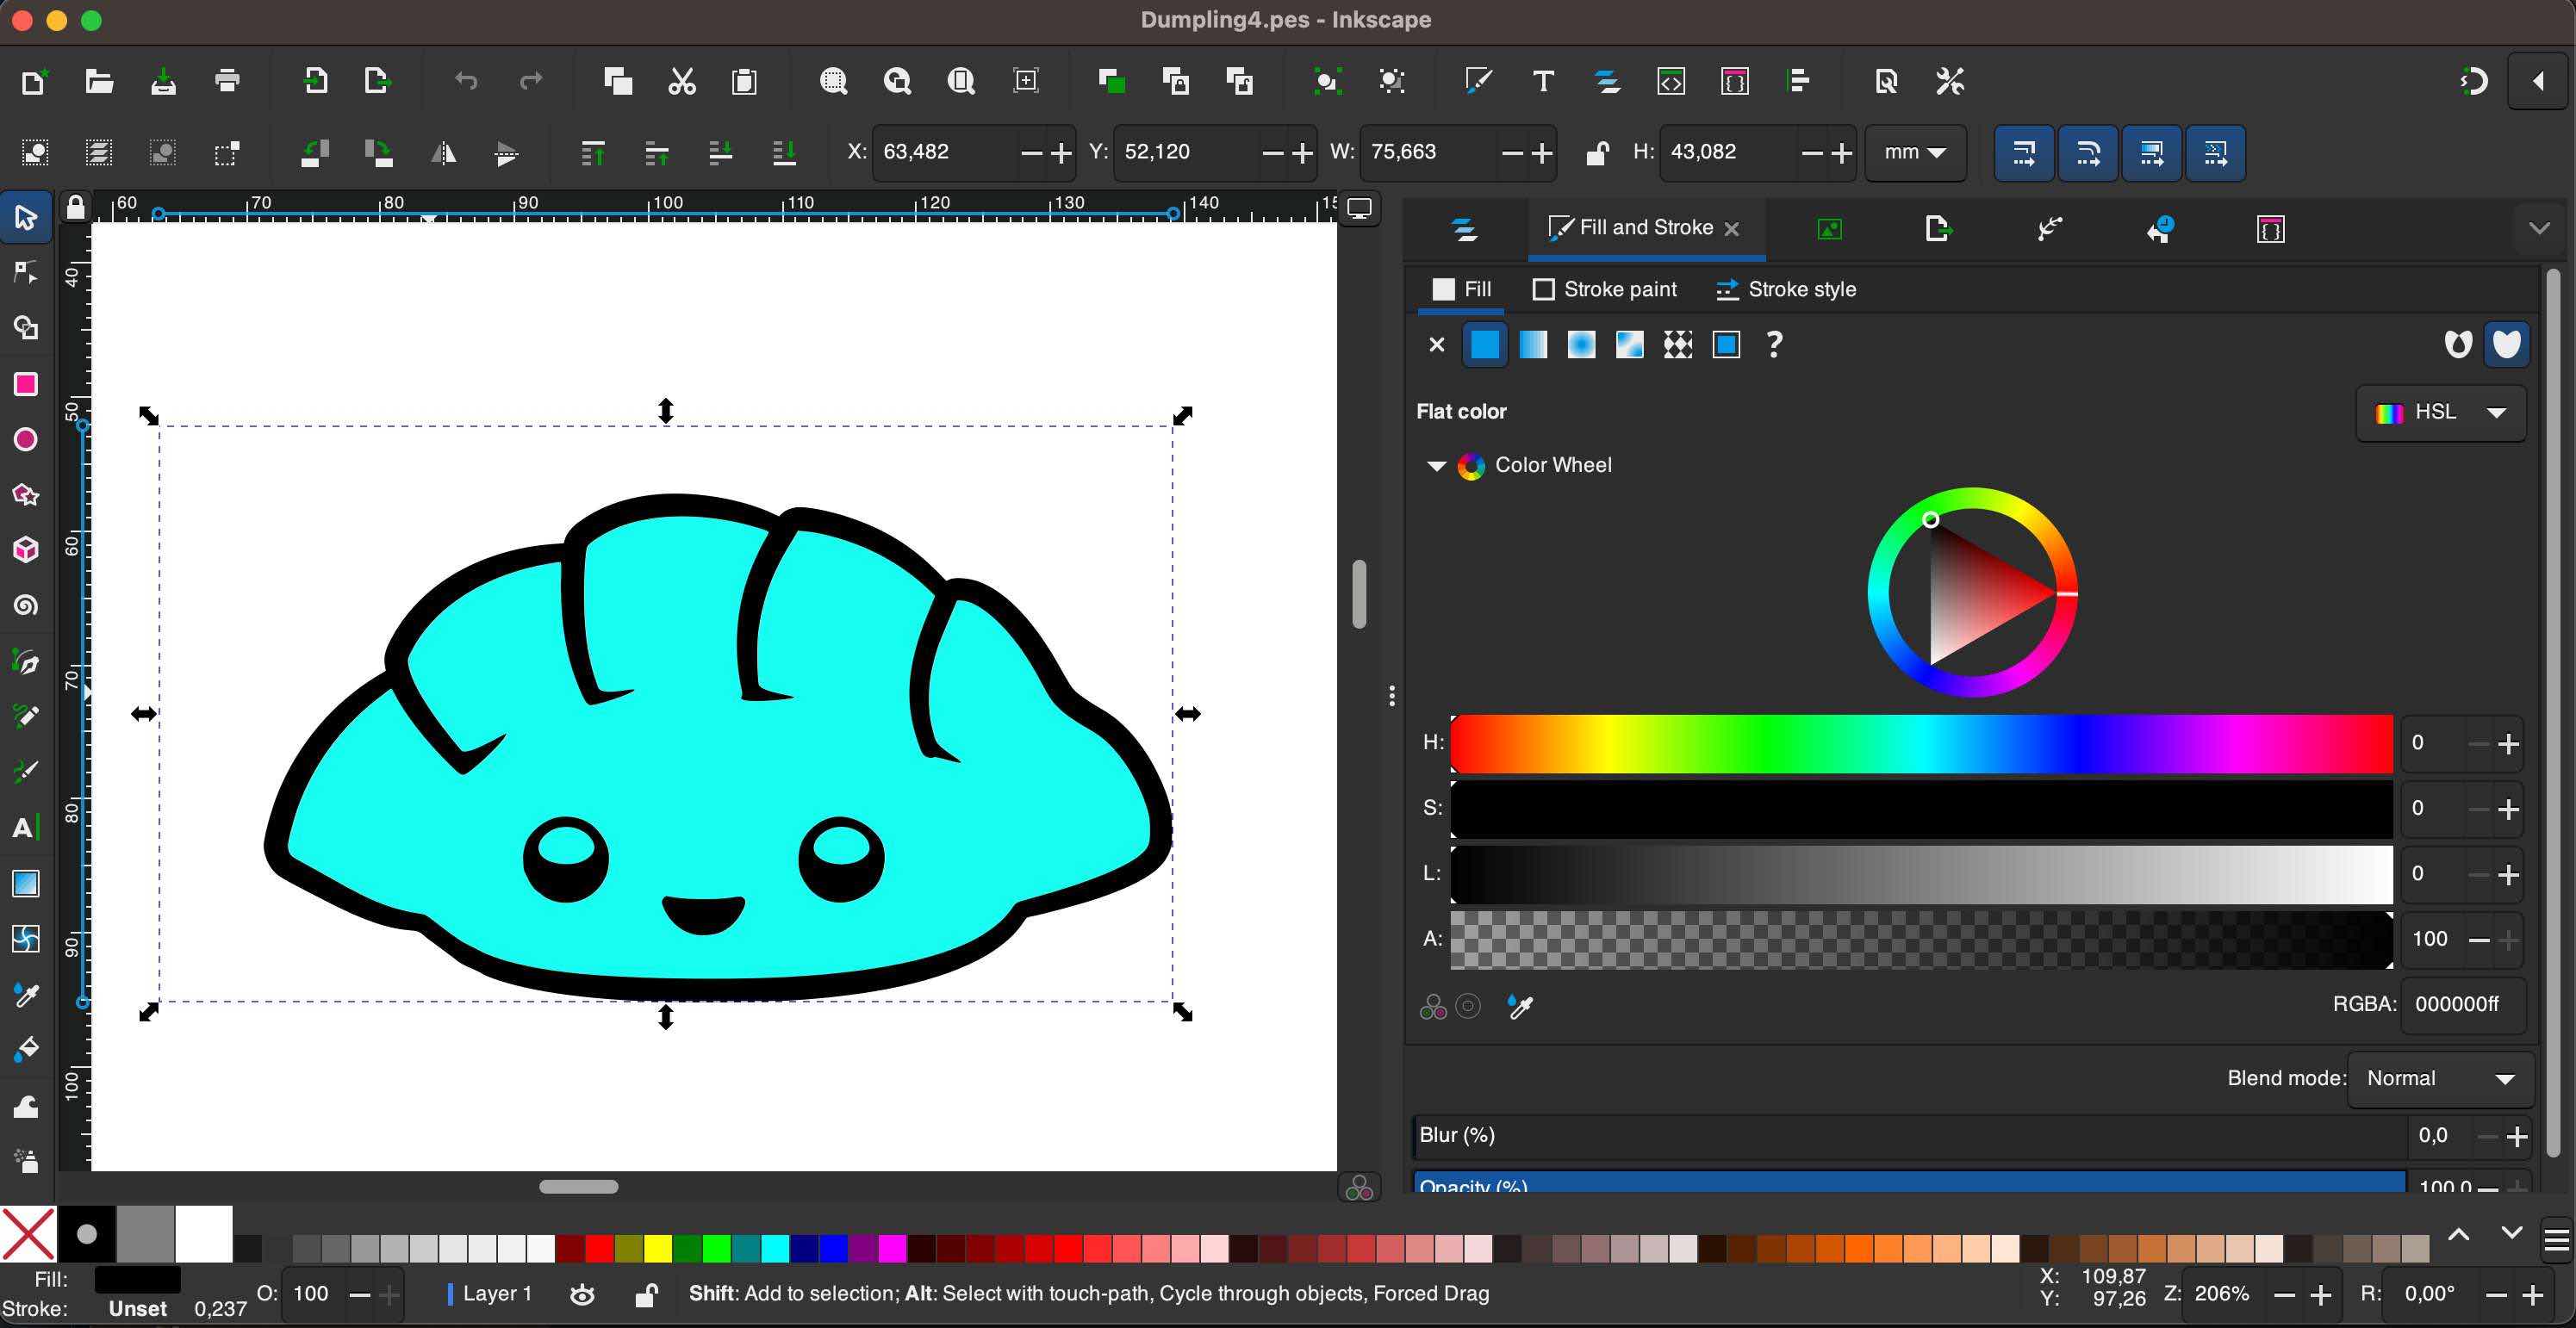
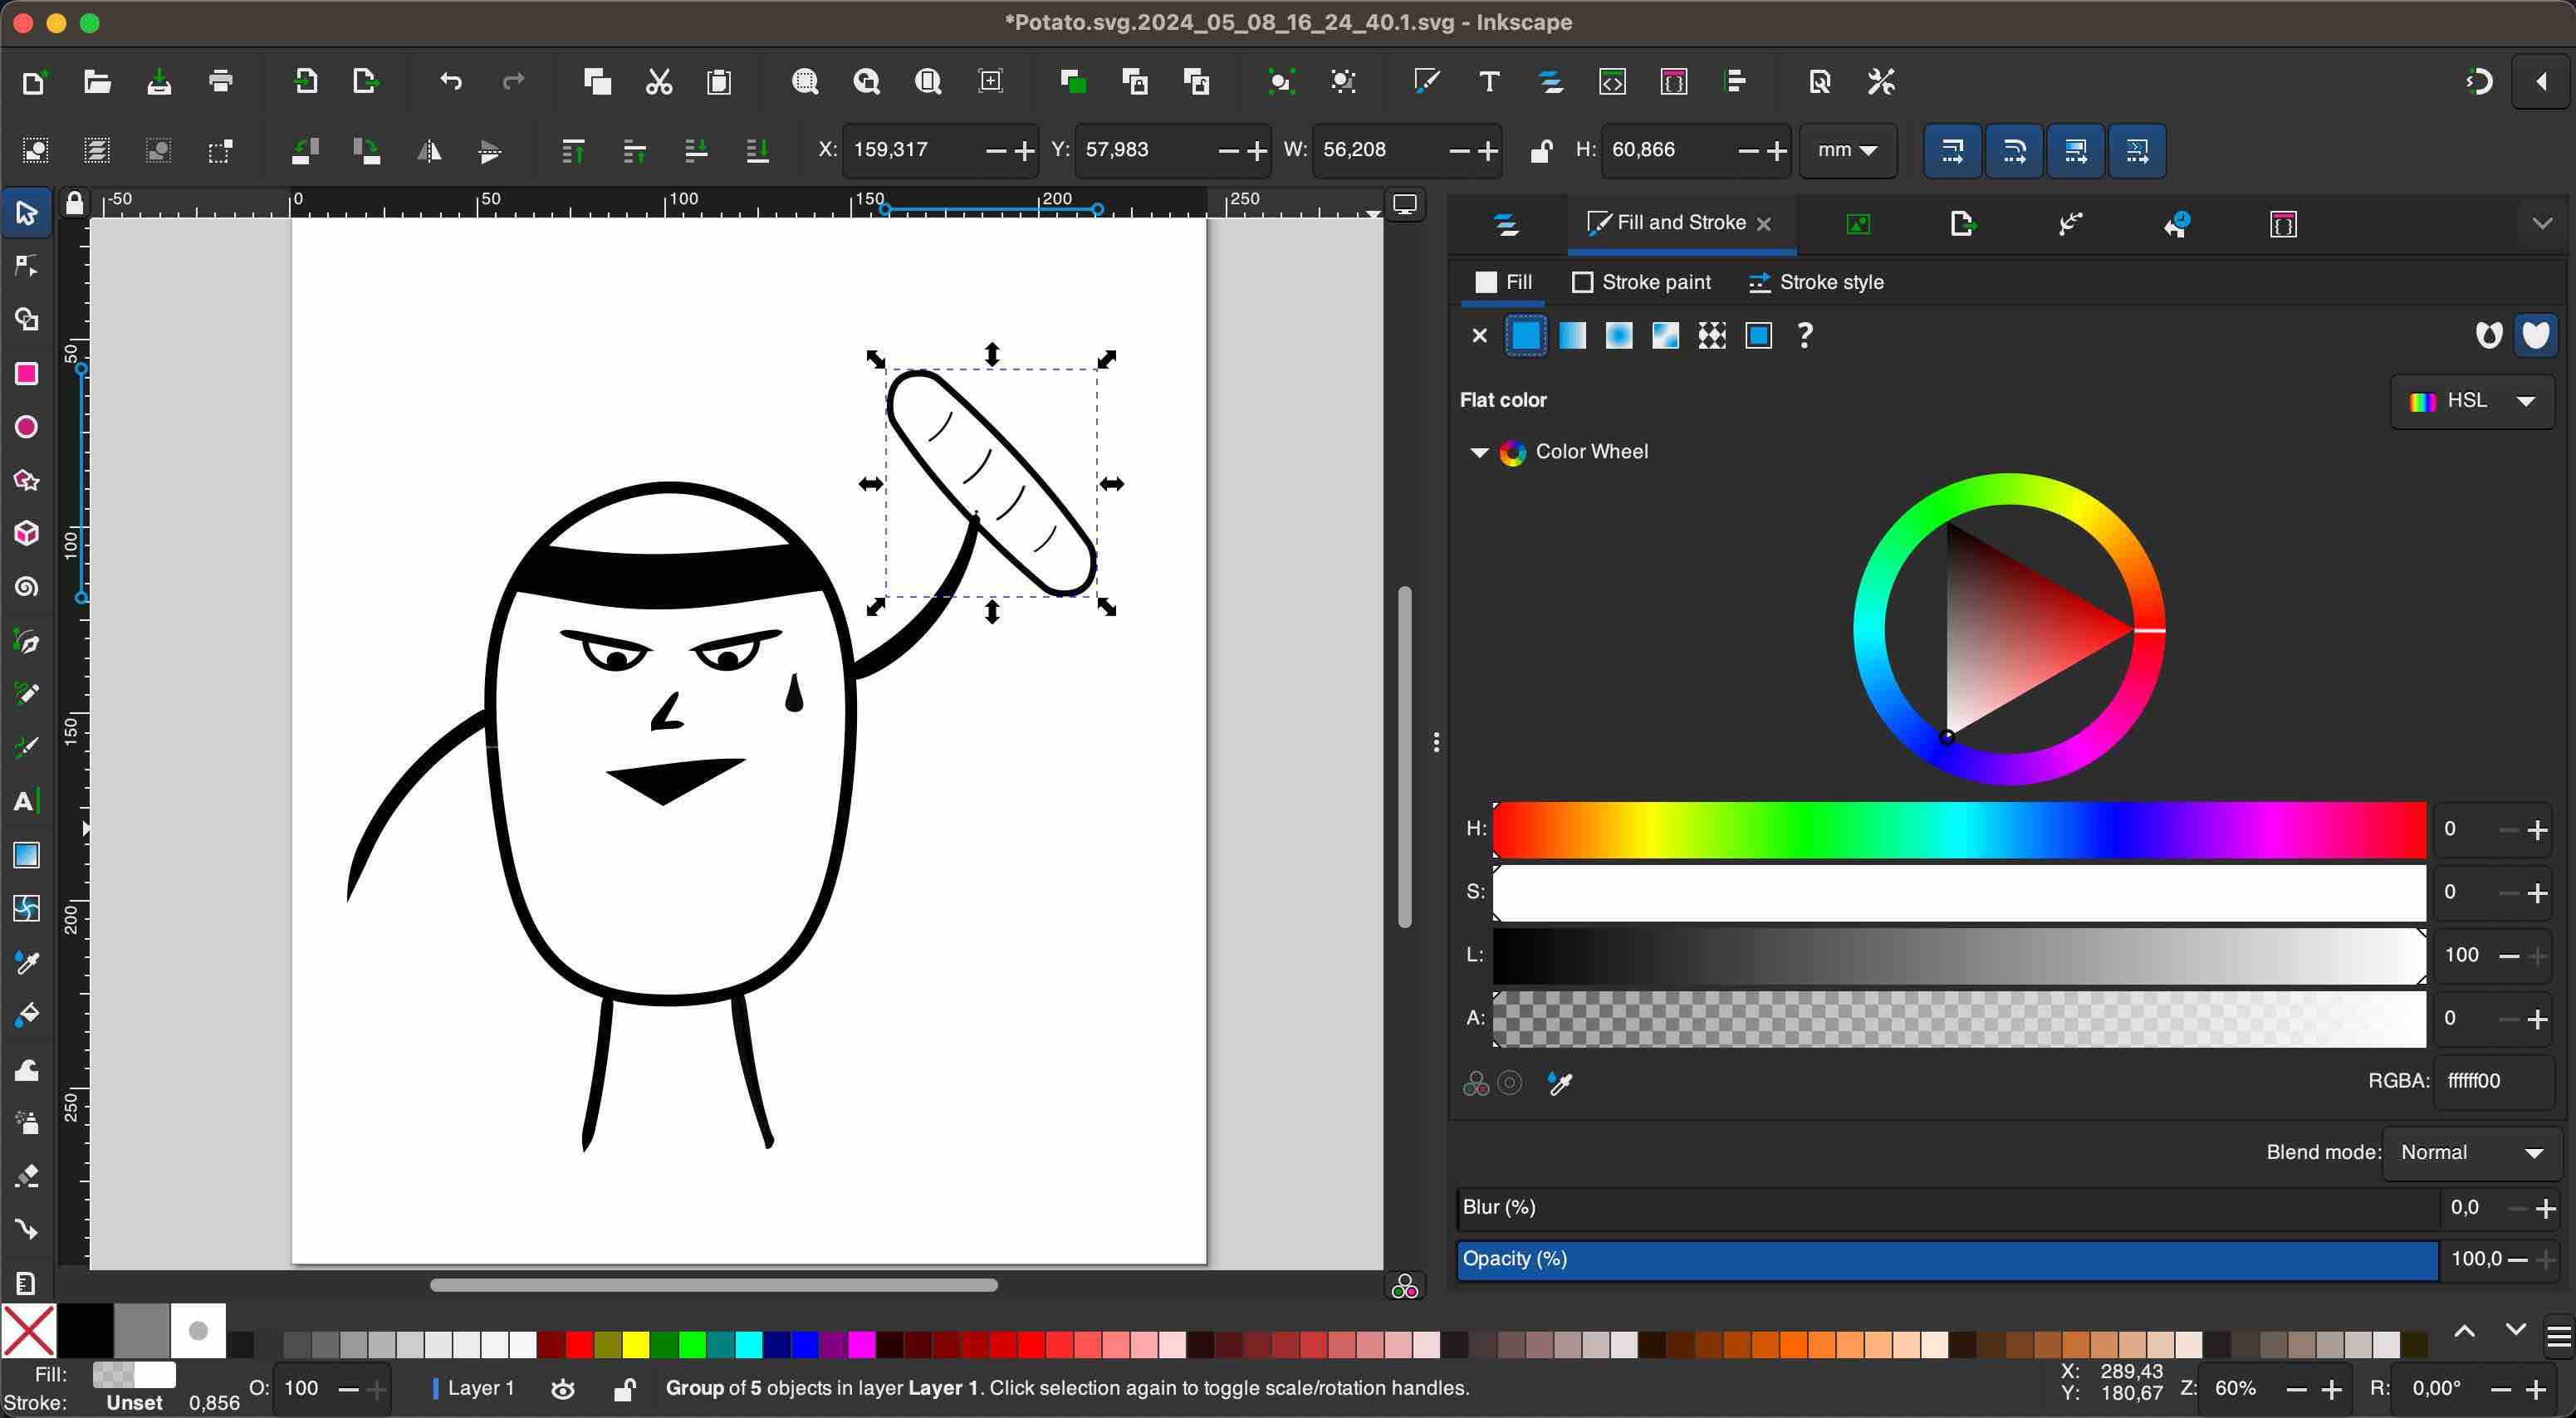
Then simplify and clean up these paths to make them suitable for embroidery. For the dumpling, I used the "Object to Path" tool - this created an outline that I modified and then duplicated and deleted the outer path to create a "fill" layer (colored blue below). Organize your work using layers and groups, and duplicate the original layer as a backup. Understand different stitch types offered by Ink/Stitch and set the necessary embroidery parameters. Save the file in SVG format to preserve the design for future modifications.
DUMPLING INKSCAPE
BROTHER'S DOODLE IN INKSCAPE
Prepare Embroidery Machine Code with Ink/Stitch
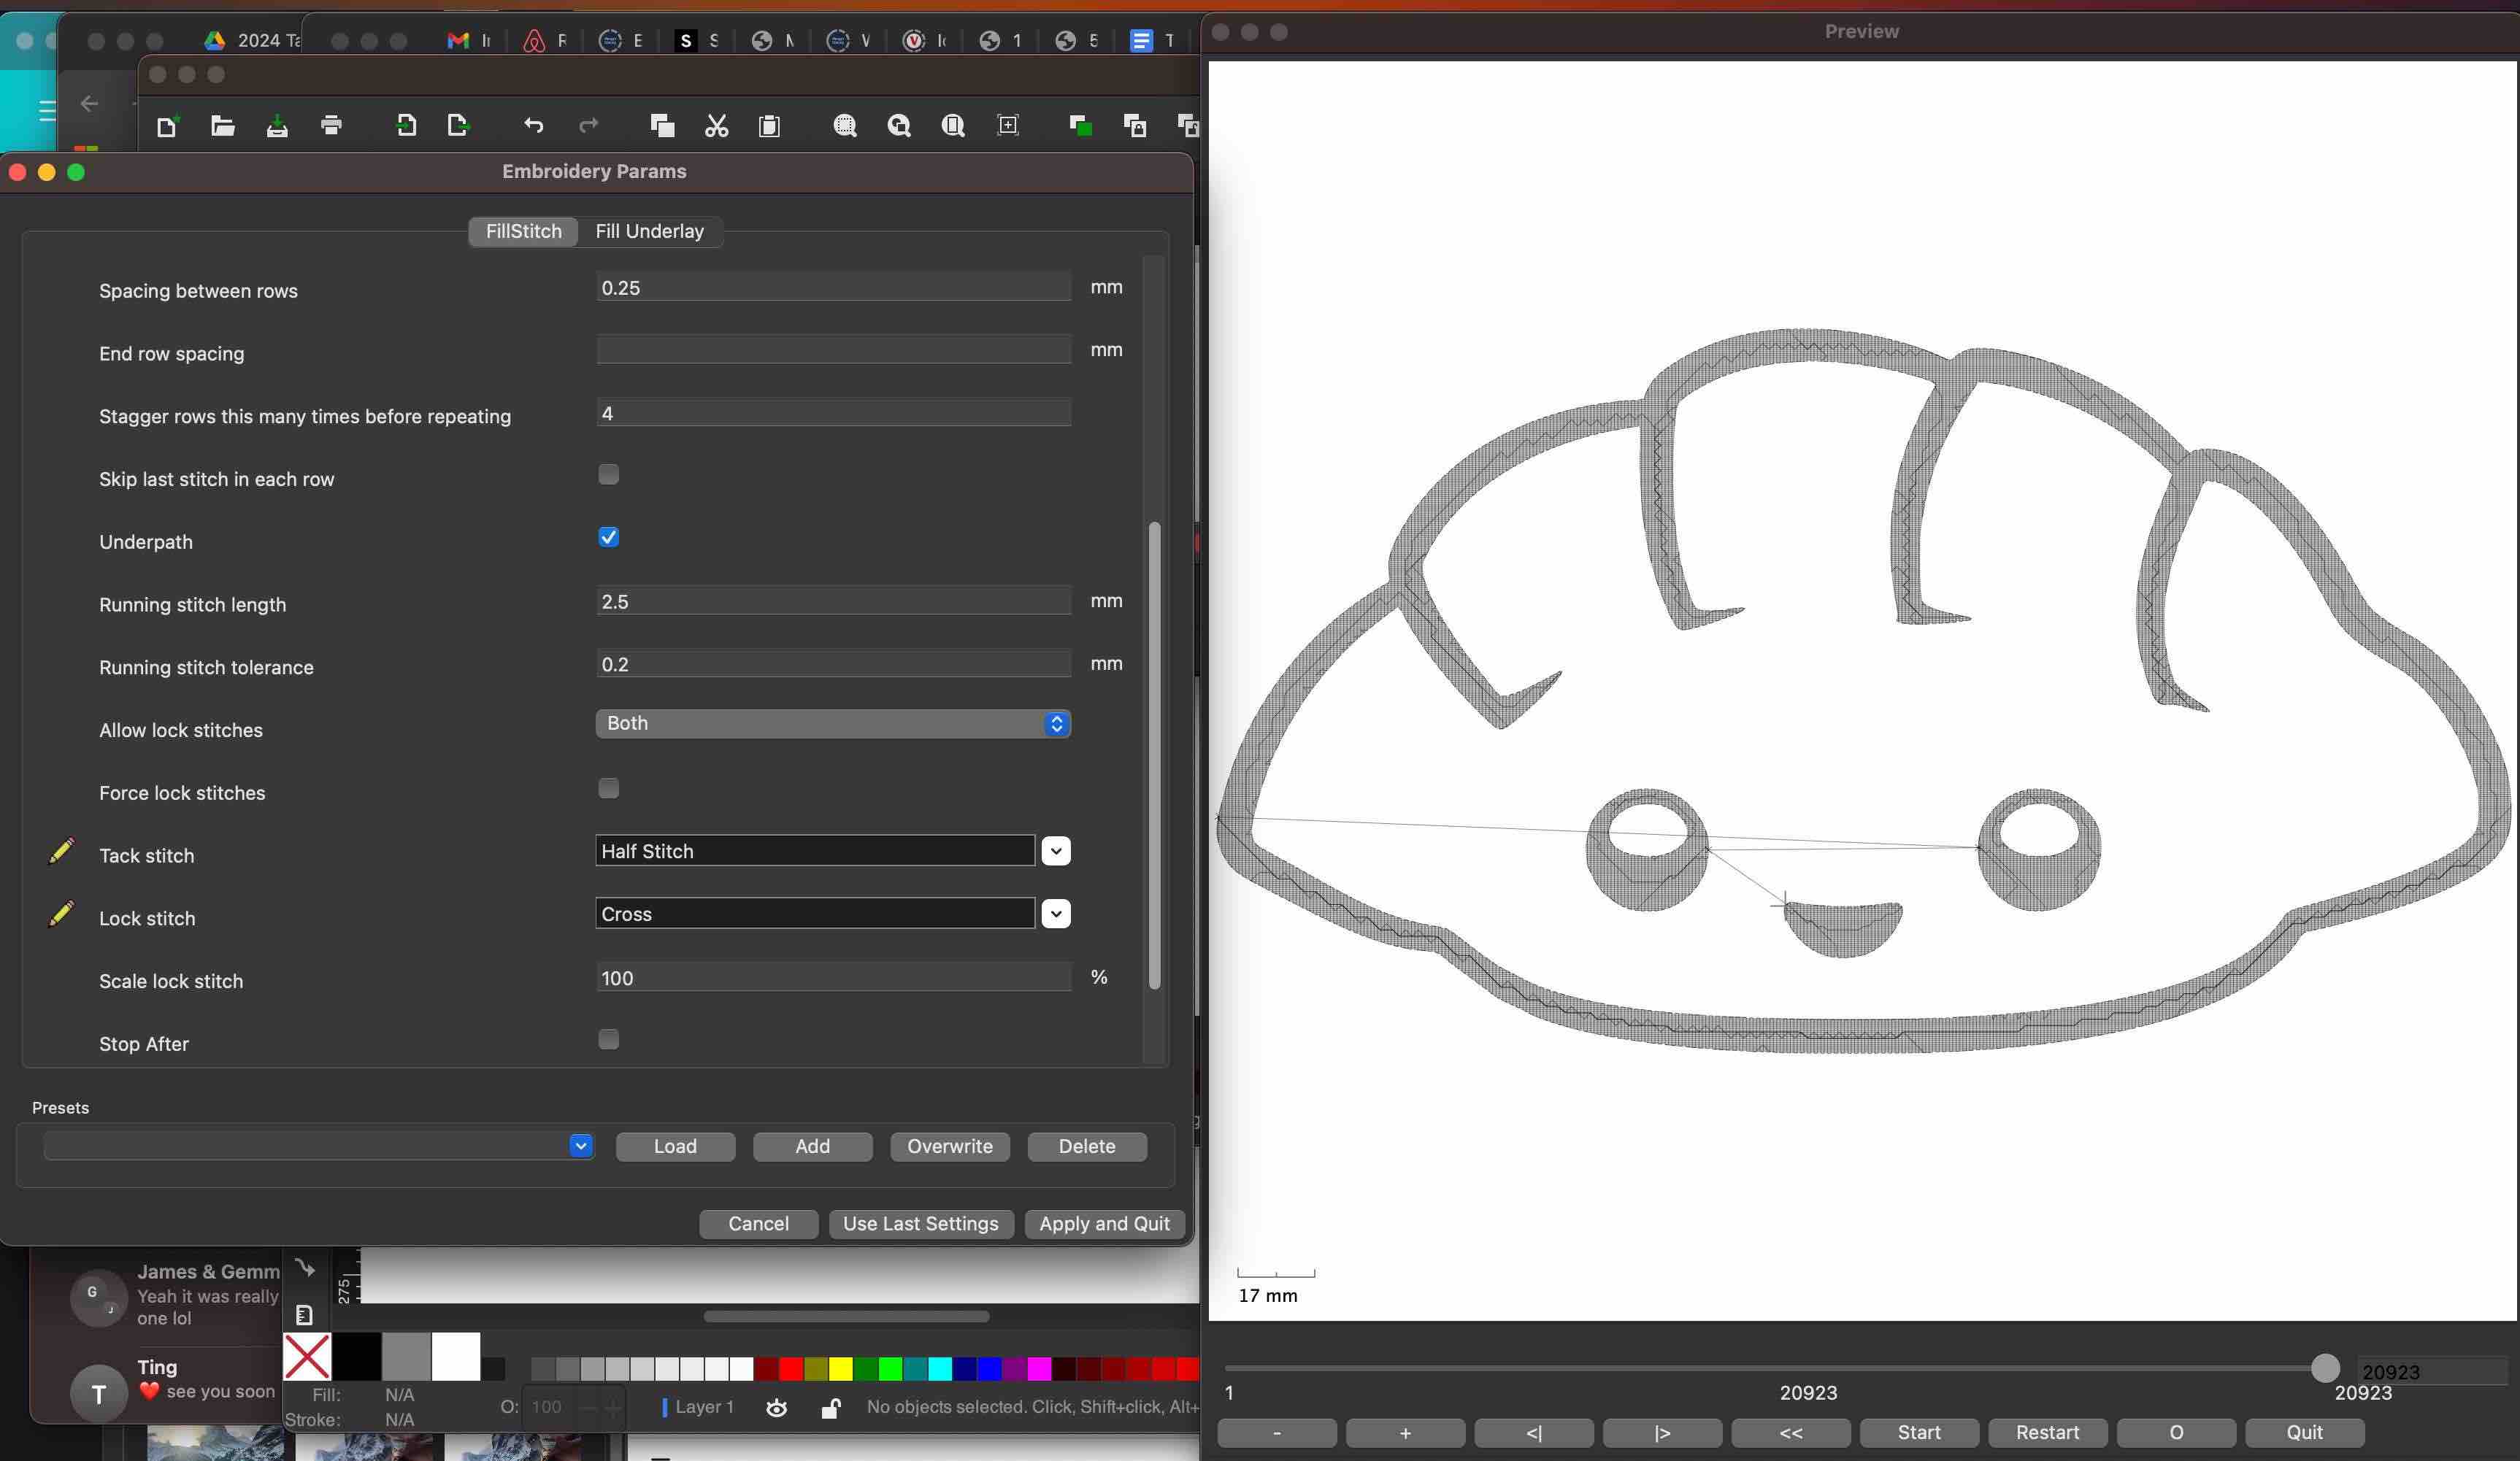
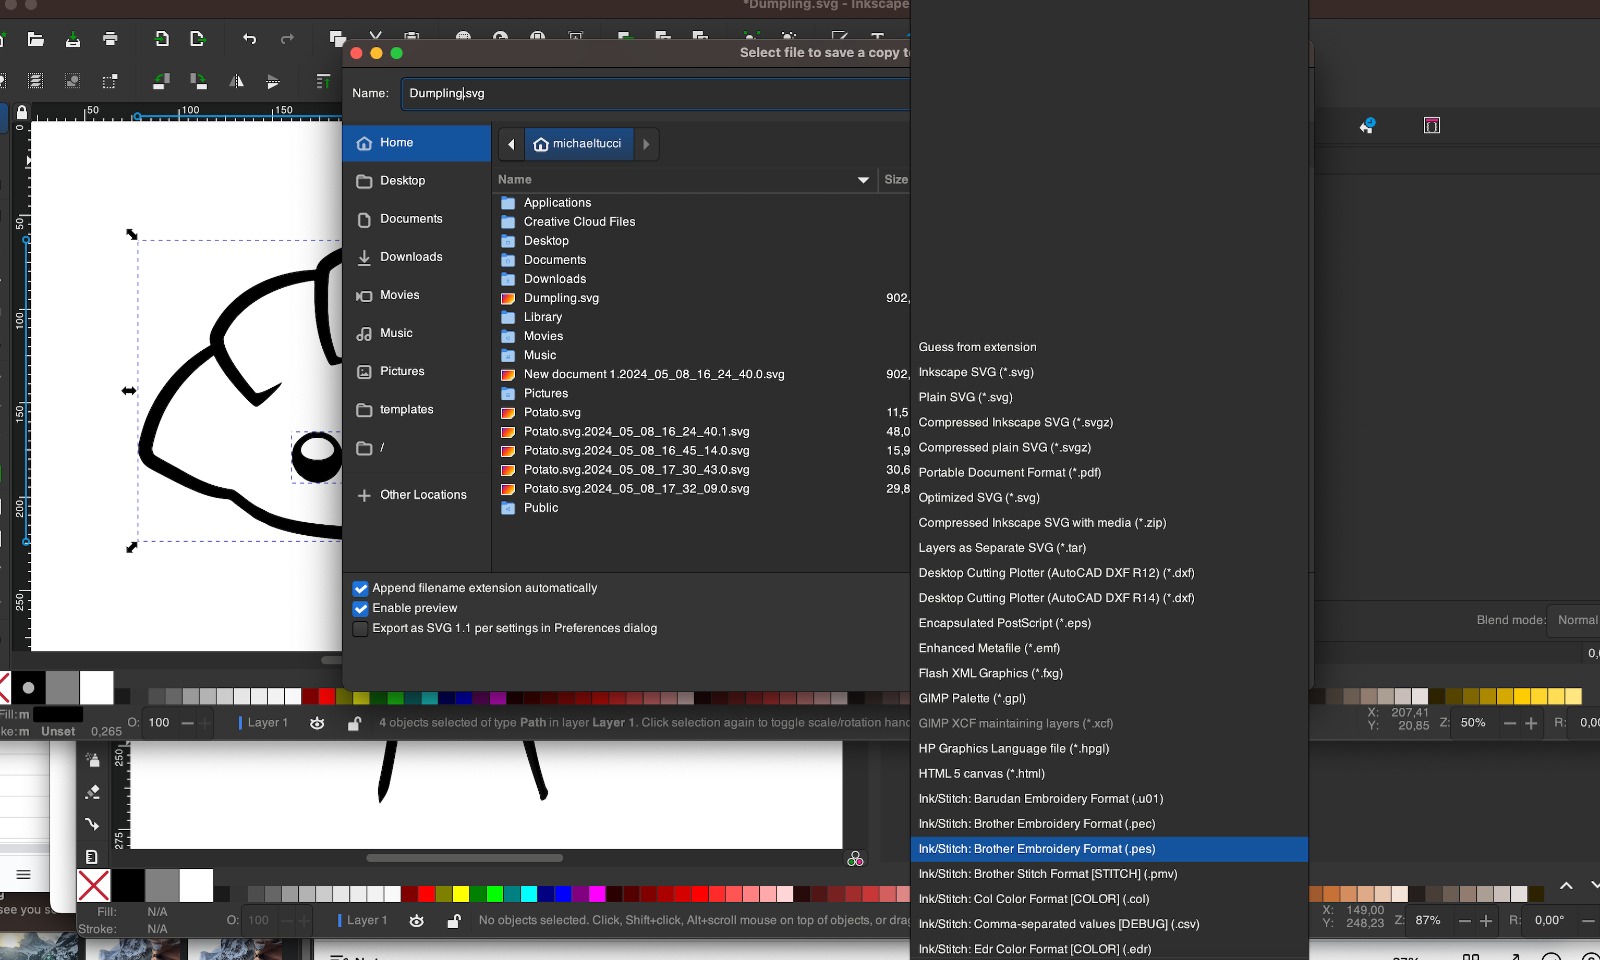
Next, we use Ink/Stitch, a free plugin available to convert designs in Inkscape to embroidery machine code (.pes or .pec files). Inkstitch offers different stitch patterns and design options and provides a useful preview of how your design will print. It's necessary to select layers in the right order and create different colors in your file to optimize the stitch order to minimize jump stitches and color changes. Once I was happy with the preview I save the final design in both SVG and a machine-supported format - in my case .pes.
DUMPLING INK/STITCH PREVIEW
SAVING PES FILE
Embroidery
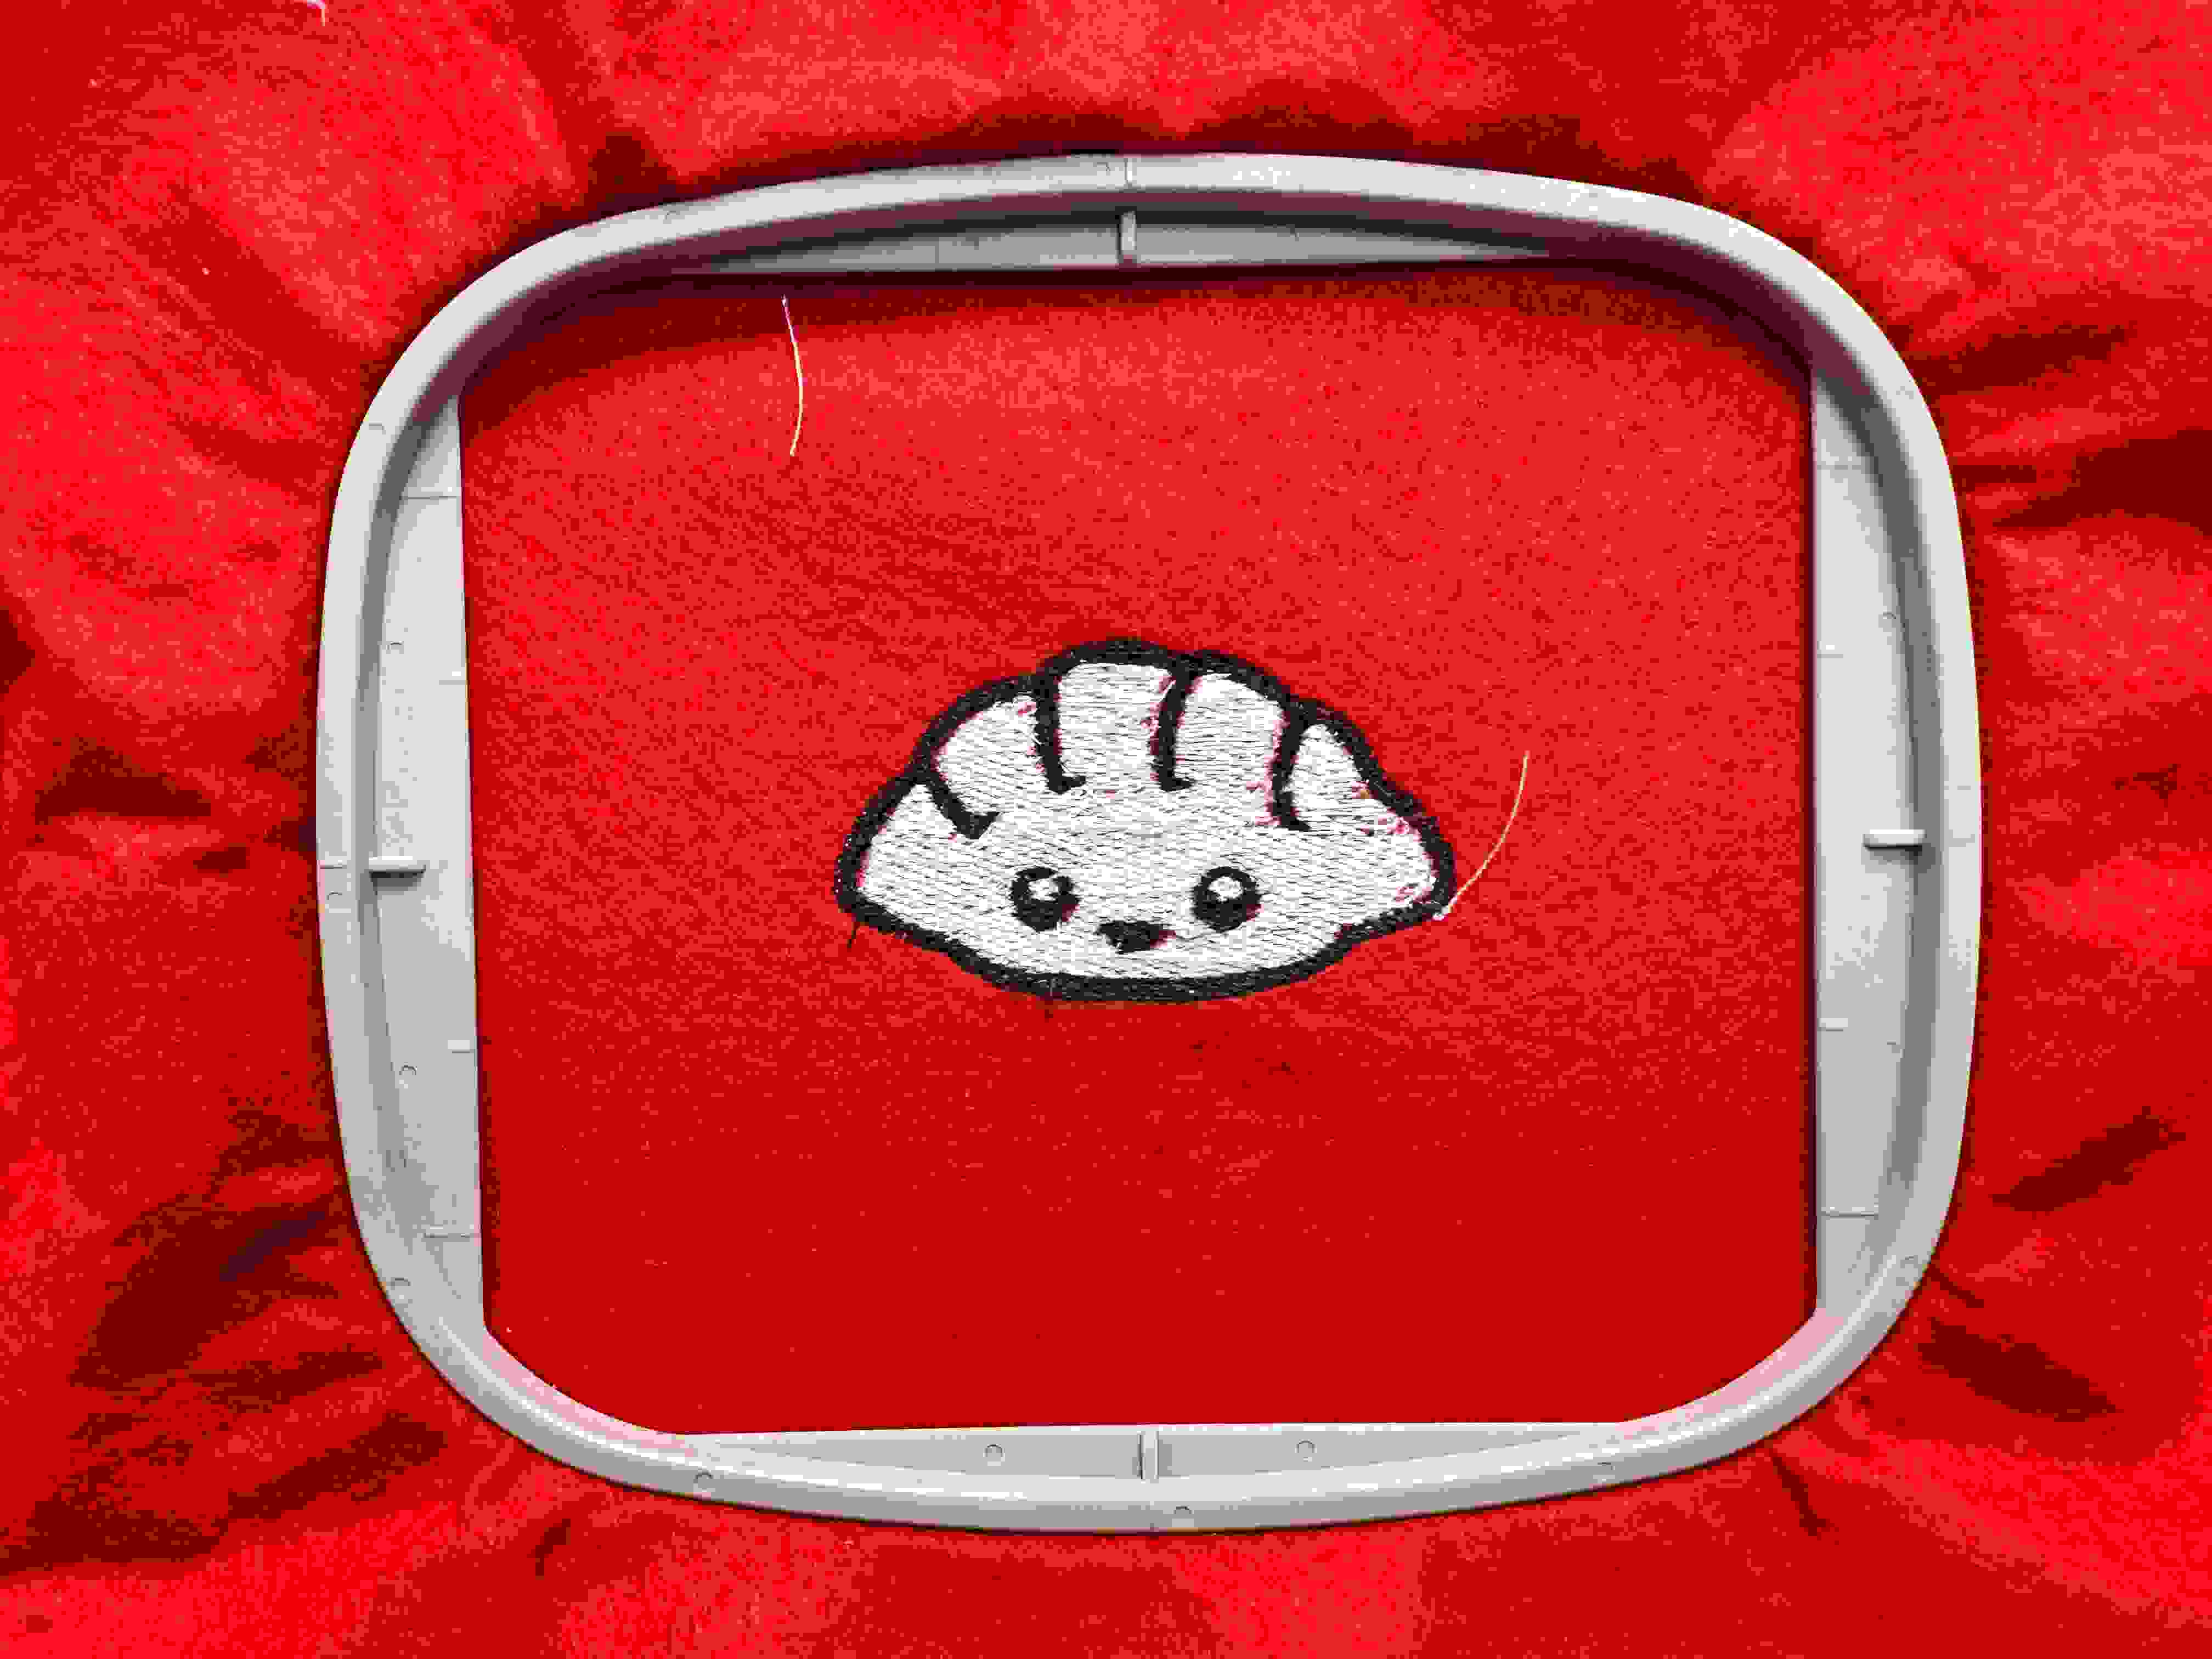
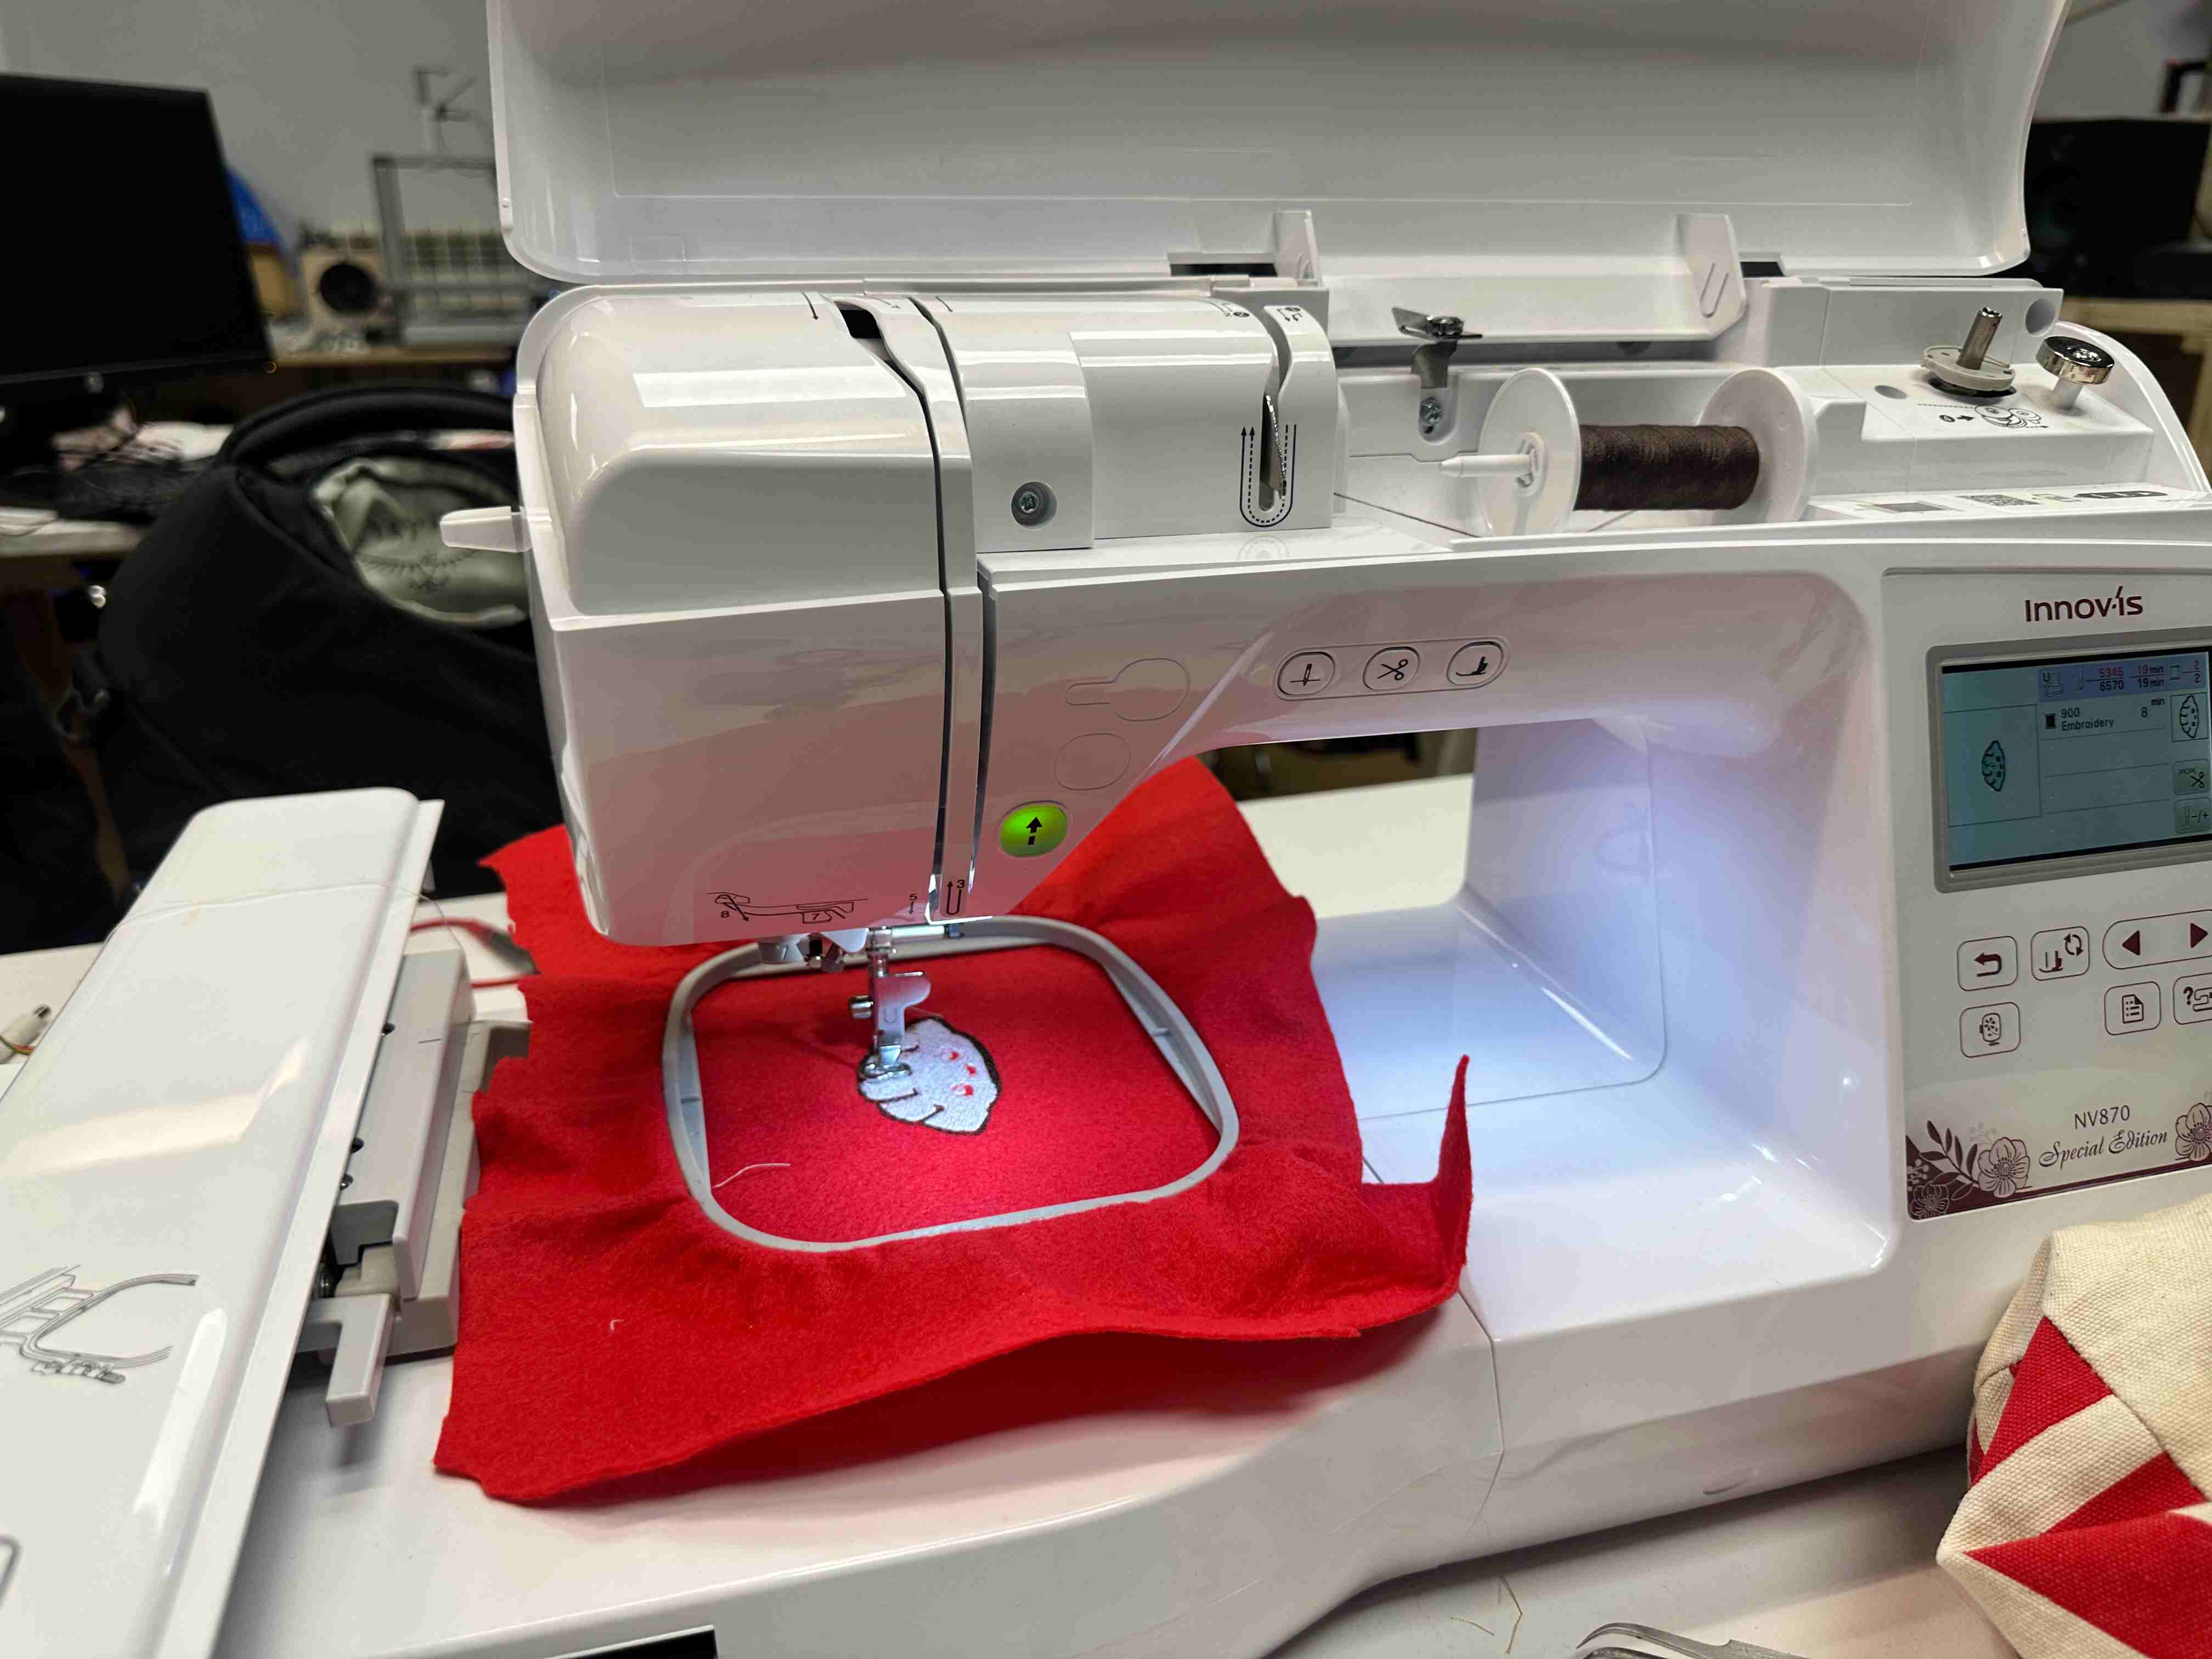
We have a Brother Innov-is NV 870 Special Addition embroidery machine in our lab. First I test-sewed the design on felt, observing for issues like fabric distortion or high stitch density. I had A LOT of issues with getting the thread to stay in the machine. I also broke a needle. I resolved these imperfectly by adjusting the thread tension, tho my test embroidery came out with imperfect stitching.
FIRST TEST
SECOND TEST
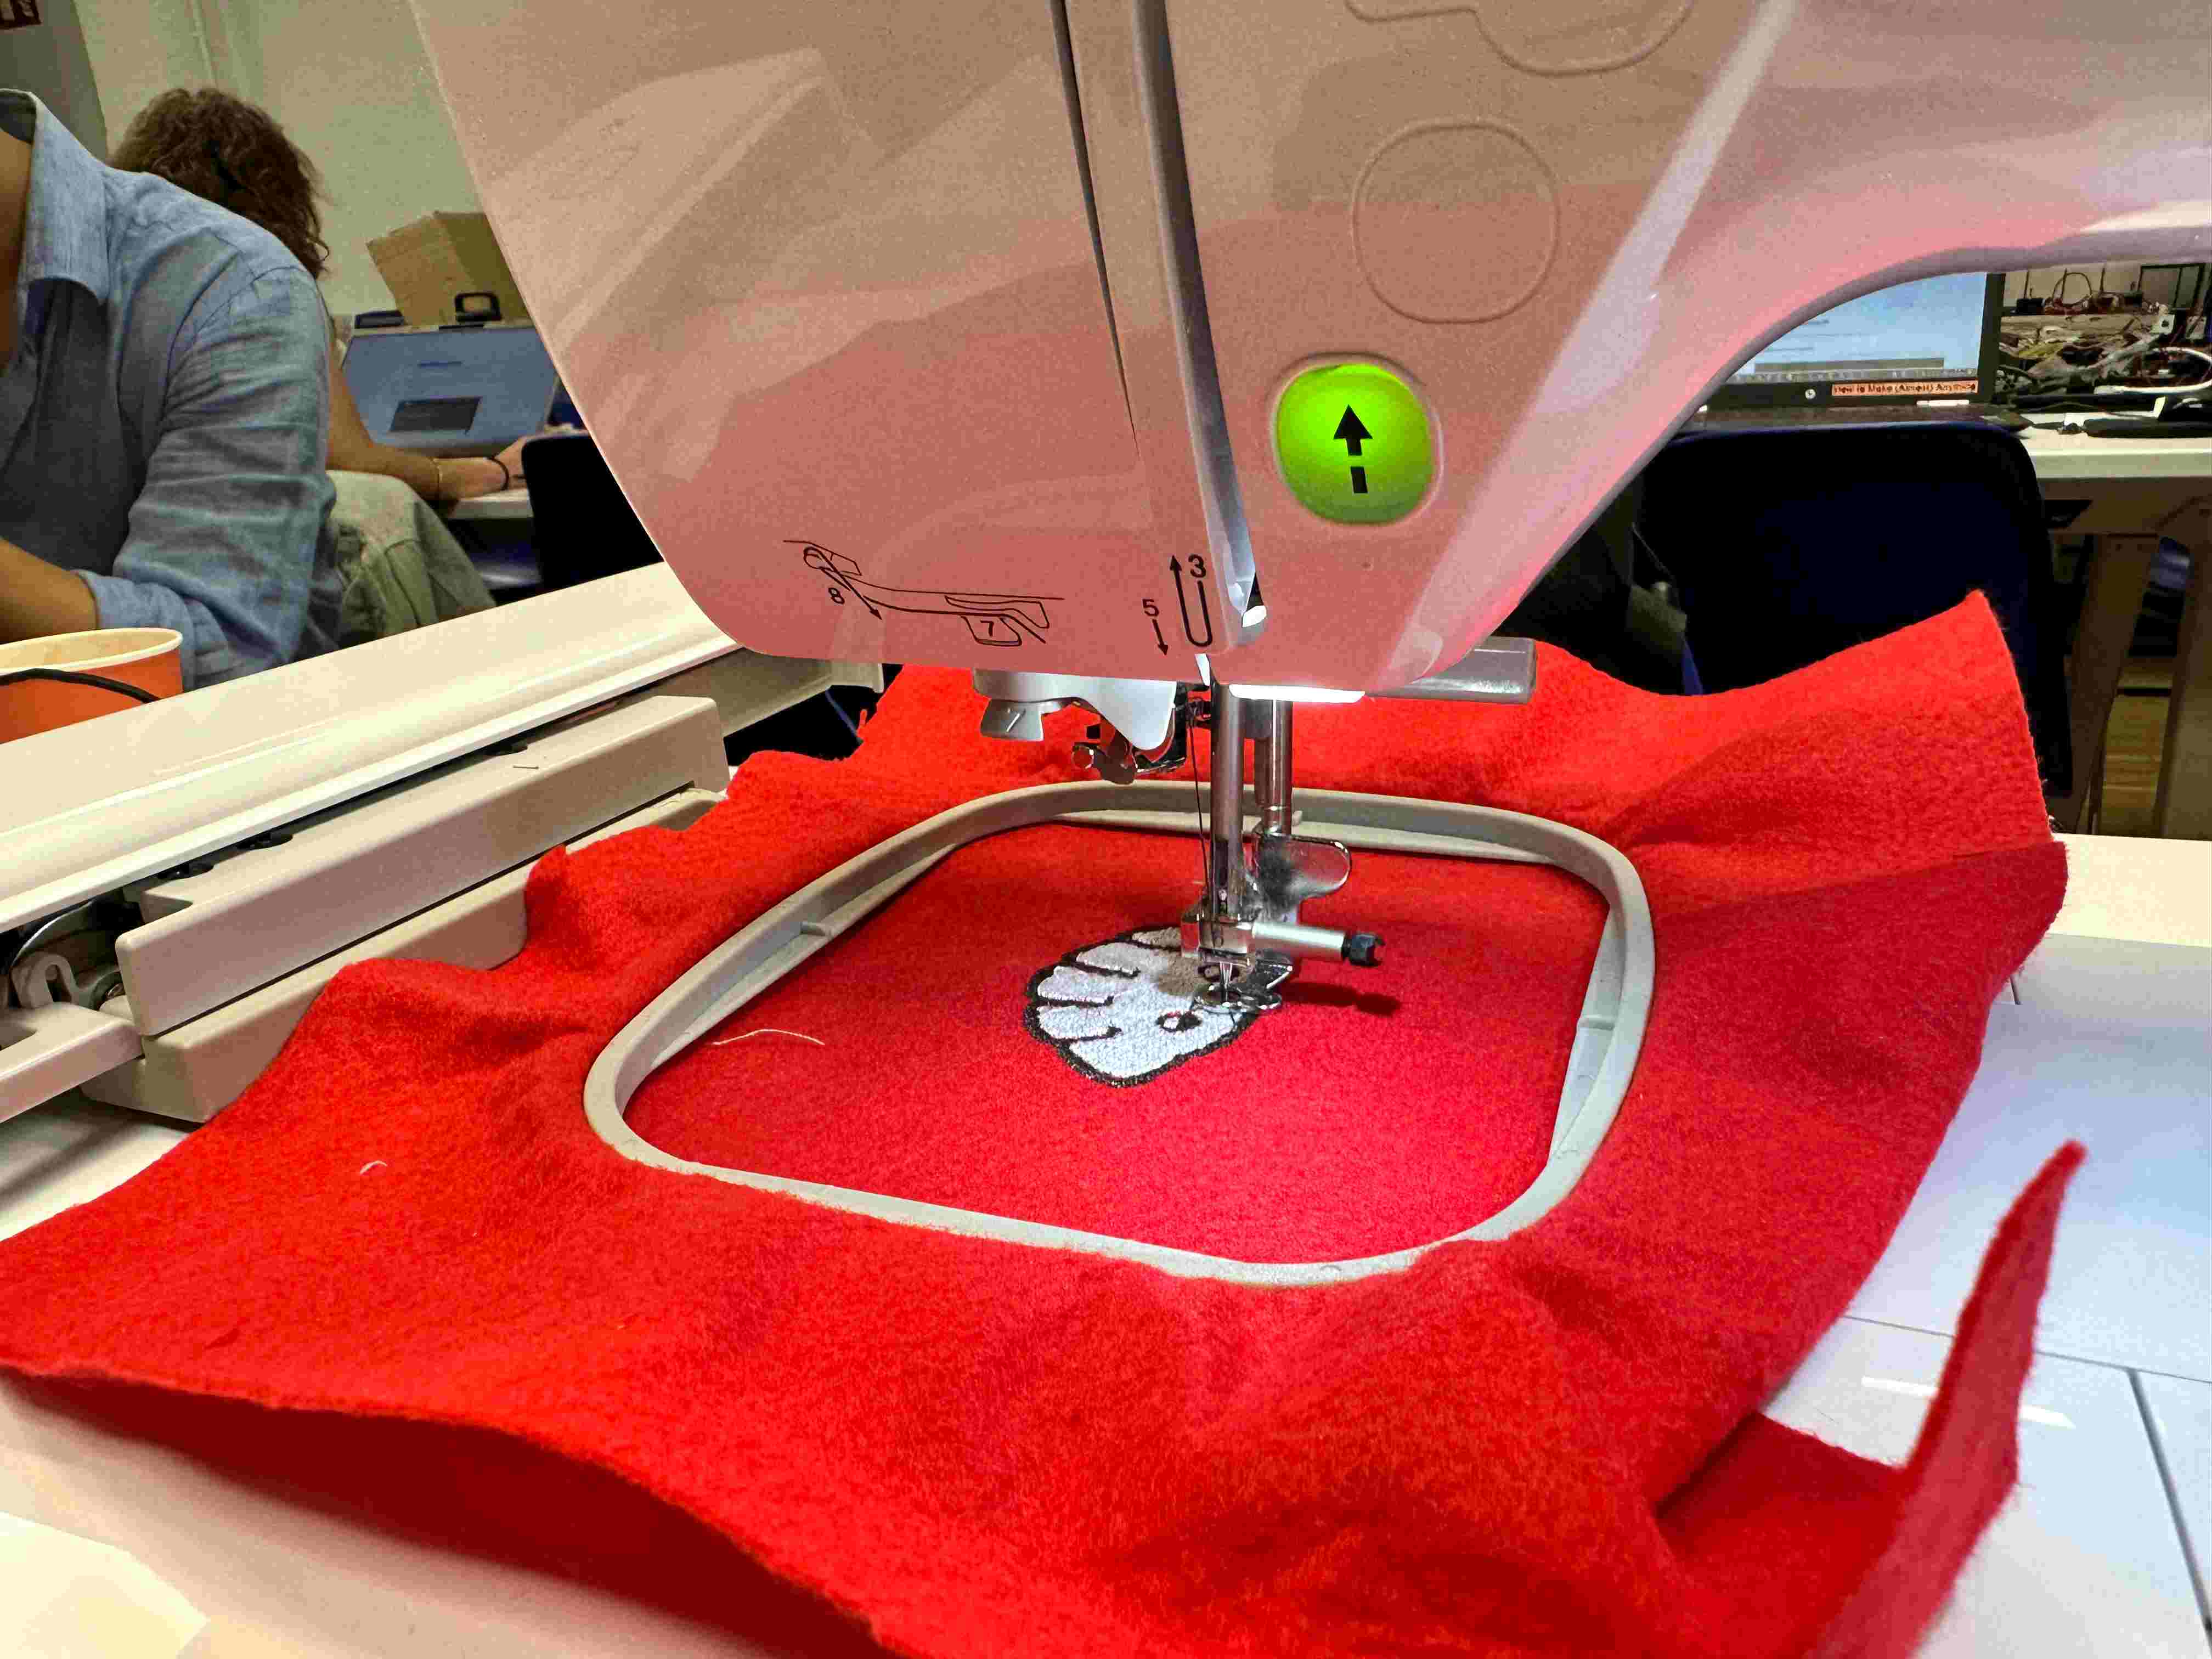
TEST RESULTS
Design Files
This week's design files can be found here.
Other Techniques
In class we also reviewed robotic arms, 3D milling (which I did in the molding and casting week), composites, vacuum & thermo forming, and precious plastics. I also did a little self exploration into TinyML and Computer Vision.