Interface and Application Programming
Individual Assignment
This week we are tasked with writing an application that interfaces a user with an input &/or output device that you made.
Group Assignment
Our group task this week is to compare as many tool options as possible. Link to our PAST Innovation Lab Group Page.
This week, for individual assignments, we ended up using the same tool, Processing. I decided to pick a few tools that I have seen used by other students to research and compare. I chose Processing, Unity, and Meteor to discuss. I first started by researching on the individual webstes themselves and also utilizing various Fab Academy student websites for inspiration on what to try and what to look for, and then I stumbled across a student who used ChatGPT to gather information about the platforms.
At work, we recently got an account with Perplexity, a newer AI chat tool that is designed to act as a powerful search engine. It uses advanced NLP (natural language processing) to offer accurate and informative answers to users' questions theough real-time internet searches. It is a continuously learning AI system, improving its outputs overtime across a wide range of topics and inquires. I find Perplexity to be more reliable than ChatGPT, proving sources and other resources you can use about a topic. Overall, it a great engine for compiling a number of internet searches into one question. You can make your questions as specific or as generic as you wish, and Perplexity will quickly respond with a robust answer.
The information you see below is a combination of my research and the outputs of my perplexity inquiry.
Processing
Processing is a sketchbook and language for learning how to code. It promotes software literacy within the visual arts and visual literacy within technology. Processing is often used for creating interactive art installations, visualizations, and other creative projects similar. Processing has gotten reviews for being easy to use and user-friendly, which makes me think it is pretty good for beginners like myself. I have also seen scattered across the internet little comments about how it is more difficult to use for very complex networking projects or complex 3D graphics. On their website, they have tutorials and videos for free that will help if you get stuck or don't know where to start!
Pro: Simple, easy to use, strong focus on visual output.
Con: Cannot handle complex networking.
Unity
Unity is a 3D development platform used to create multiplatform 3D and 2D games and other interactive experiences. Within it, it has a lot of various tool options for creating aspects of games and simulations, including a built-in physics engine, animation tools (which is pretty cool), and a powerful scripting API (application programming interface). It is typically used for creating games, virtual reality and augmented reality experiences, and interactive 3D visualizations. One of the key advantages of Unity is its cross-platform support - this allows users to create a single project that can be utilized by a range of different devices. But, if you do not need to include a lot of 3D graphics and designs into your interface, then you may not need Unity and could go for an easier platform such as Processing, which is geared towards beginners and simple projects. Unity does have a "Unity Learn" platform that has tutorials and over 750 hours of on-demand and live learning resources to help you get started.
Pro: Provides a wide range of tools for game development, including a built in physics engine, animation tools, and a powerful scriptng API. Cross-platform support for various devices gives a range of versatility as well.
Con: May be overly complex for simple projects that do not require advanced 3D graphics or physics simulations.
Meteor
Meteor is a full-stack JavaScript platform for developing modern web and mobile applications. Using only JavaScript, it provides a simple way to build real-time web applications in a relatively simple and efficient way. It is often used for web and mobile applications that require real-time updates, such as chat applications, collaborative tools, and social networks. One of its major advantages is that it is user-friendly, being simple and easy to use even for beginners. It is also a quicker development tool, allowing developers to build and deploy applications quickly. Meteor has a guide available on their website that is helpful in getting started and understanding more about the tool.
Pro: It offers simplicity and ease of use, allowing for quick application development and deployment. It is efficient for building real-time applications using JavaScript.
Cons: May not be best suited for projects that require low-level hardware access or real-time contol of embedded devices.
Overview
The platform that you choose for your project depends on a multitude of things, most important being: project requirements (communication protocols, required sensors, processing speed, etc.), reliability of the platform, existing code bases (does your platform have code for what you need), and scalability (how much room do you need for your project to grow?). There are more factors you may want to consider when choosing the software, and it is an important decision to make.
Out of the three tools I discussed above, I would likely use Processing again, because I am still very, VERY new to all of this. Processing was easy to follow, easy to find help and support for, and was just a good, non-frustrating experience which I was surprised about! I am excited to try different things with it in the future, when time allows.
Useful Sources
- Getting Started with Processing - Casey Reas & Ben Fry
- Adrian Glasser - Topic 08: Arduino Control with Processing
- Instructables - "@engineerkid1": Servo Motor Control Using Arduino and Processing
- Meteor Guide
- Unity Learn
- Processing Tutorials
Individual Assignment
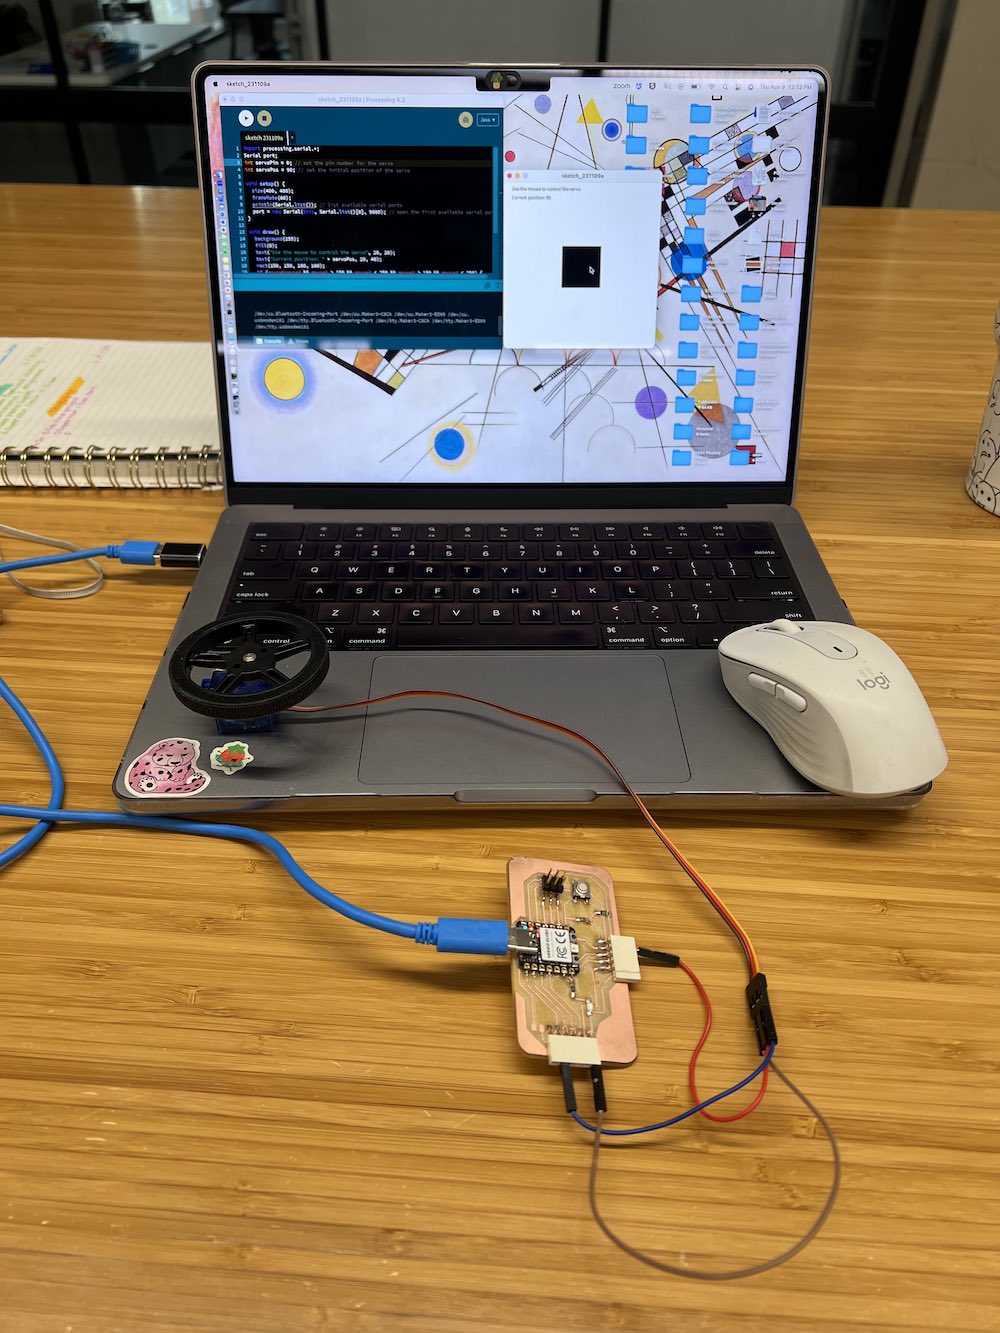
I began my assignment this week by thinking of what inputs and outputs I would be using in my final project. For The Kitten Mitten, I will be using two servos, to control the X and Y movements of my kitten paw that holds the laser. Therefore, I wanted to try to control a servo from my computer. I first started with finding examples I could try. It was pretty difficult to find projects that are simple and explain enough of the code that I could understand it. I am still not great at writing code, and I'm SUPER slow at it. So I started with the third link above, from Instructables. An account going by "engineerkid1" had posted their work they did with two servos and the Processing application. I have modified code before that directly involved multiple servos so I had the confidence to try it. Safe to say it did not work. I will explain more about this first failure below.
Trial (& Failure) #1
To begin, I downloaded Processing through their website. Once I had Processing downloaded, I opened Arduino IDE. I made the connection from my board to the computer, and made sure the correct port and board were displayed on Arduino IDE. Next, I found some example code that looked promising. I found mine here, from engineerkid1. In his project, he is connecting a servo to another servo, so they can have full ranges of motion in both the X and Y directions. His goal with the Processing code was to control the servo's direction with the keyboard on his computer, specifically the "U" and "D" keys on the keyboard, which you can change in the code if you want. Essentially, the user will press a key on their keyboard, either of the keys that are set in the code, and the processing app will send a signal through the Serial port indicated and to the Arduino IDE app and therefore the microcontroller to receive the signal. Once the signal is received from the Processing App, Arduino IDE tells the board what to the desired action is, in this case it is telling the servo to move in the indicated direction. I will include the code below, before I go deep into the process that DID work.
CODE: DID NOT WORK FOR XIAORP2040 & PROCESSING..
 //Processing code:
          //engineerkid1 - Instructables */
          import processing.serial.*;
          int xpos=90; // set x servo's value to mid point (0-180);
          int ypos=90; // and the same here
          Serial port; // The serial port we will be using
          void setup()
          {
            size(360, 360);
            frameRate(100);
            println(Serial.list()); // List COM-ports
            // You will want to change the [1] to select the correct device
            // Remember the list starts at [0] for the first option.
            port = new Serial(this, Serial.list()[0], 57600);
          }
          void draw()
          {
            fill(175);
            rect(0,0,360,360);
            fill(255,0,0); //rgb value so RED
            rect(180, 175, mouseX-180, 10); //xpos, ypos, width, height
            fill(0,255,0); // and GREEN
            rect(175, 180, 10, mouseY-180);
            update(mouseX, mouseY);
          }
          void update(int x, int y)
          {
            //Calculate servo postion from mouseX
            xpos= x/2;
            ypos = y/2;
            //Output the servo position ( from 0 to 180)
            port.write(xpos+"x");
            port.write(ypos+"y");
          }
The Arduino IDE Code - DID NOT WORK
#includeAfter running my Arduino IDE code, then going to Processing and running its code, I had not succeeded. The window from Processing opened, and the proper display was up, but the mouse movement did not control the servo as it was intended. Or even at all. After trying this code and modifications of it for an hour, I gave up and moved on to try to find a more helpful example.char tiltChannel=0, panChannel=1; Servo servoTilt, servoPan; char serialChar=0; void setup() { servoTilt.attach(9); //The Tilt servo is attached to pin 9. servoPan.attach(10); //The Pan servo is attached to pin 10. servoTilt.write(90); //Initially put the servos both servoPan.write(90); //at 90 degress. Serial.begin(57600); //Set up a serial connection for 57600 bps. } void loop(){ while(Serial.available() <=0); //Wait for a character on the serial port. serialChar = Serial.read(); //Copy the character from the serial port to the variable if(serialChar == tiltChannel){ //Check to see if the character is the servo ID for the tilt servo while(Serial.available() <=0); //Wait for the second command byte from the serial port. servoTilt.write(Serial.read()); //Set the tilt servo position to the value of the second command byte received on the serial port } else if(serialChar == panChannel){ //Check to see if the initial serial character was the servo ID for the pan servo. while(Serial.available() <= 0); //Wait for the second command byte from the serial port. servoPan.write(Serial.read()); //Set the pan servo position to the value of the second command byte received from the serial port. } //If the character is not the pan or tilt servo ID, it is ignored. }
Trial #2 & Success
Modified Processing Code
With the processing app, you need to run a simple code first to display which ports you have available, and the number that is associated with each. This will make the communication between Processing and Arduino IDE possible. I was struggling a lot at first and wondering WHY IS MY CODE NOT WORKING???!?!? But really, I didn't know I had to do this to start! Nothing I read online told me to do this, so thankfully my colleague Andy saw me struggling and asked if I had done this, I said no... what do you mean?? He told me to go to his page Week 14 and look at his code, so I copied that and ran a new sketch with it.
// Example by Tom Igoe

          import processing.serial.*;

          // The serial port
          Serial myPort;

          // List all the available serial ports
          printArray(Serial.list());
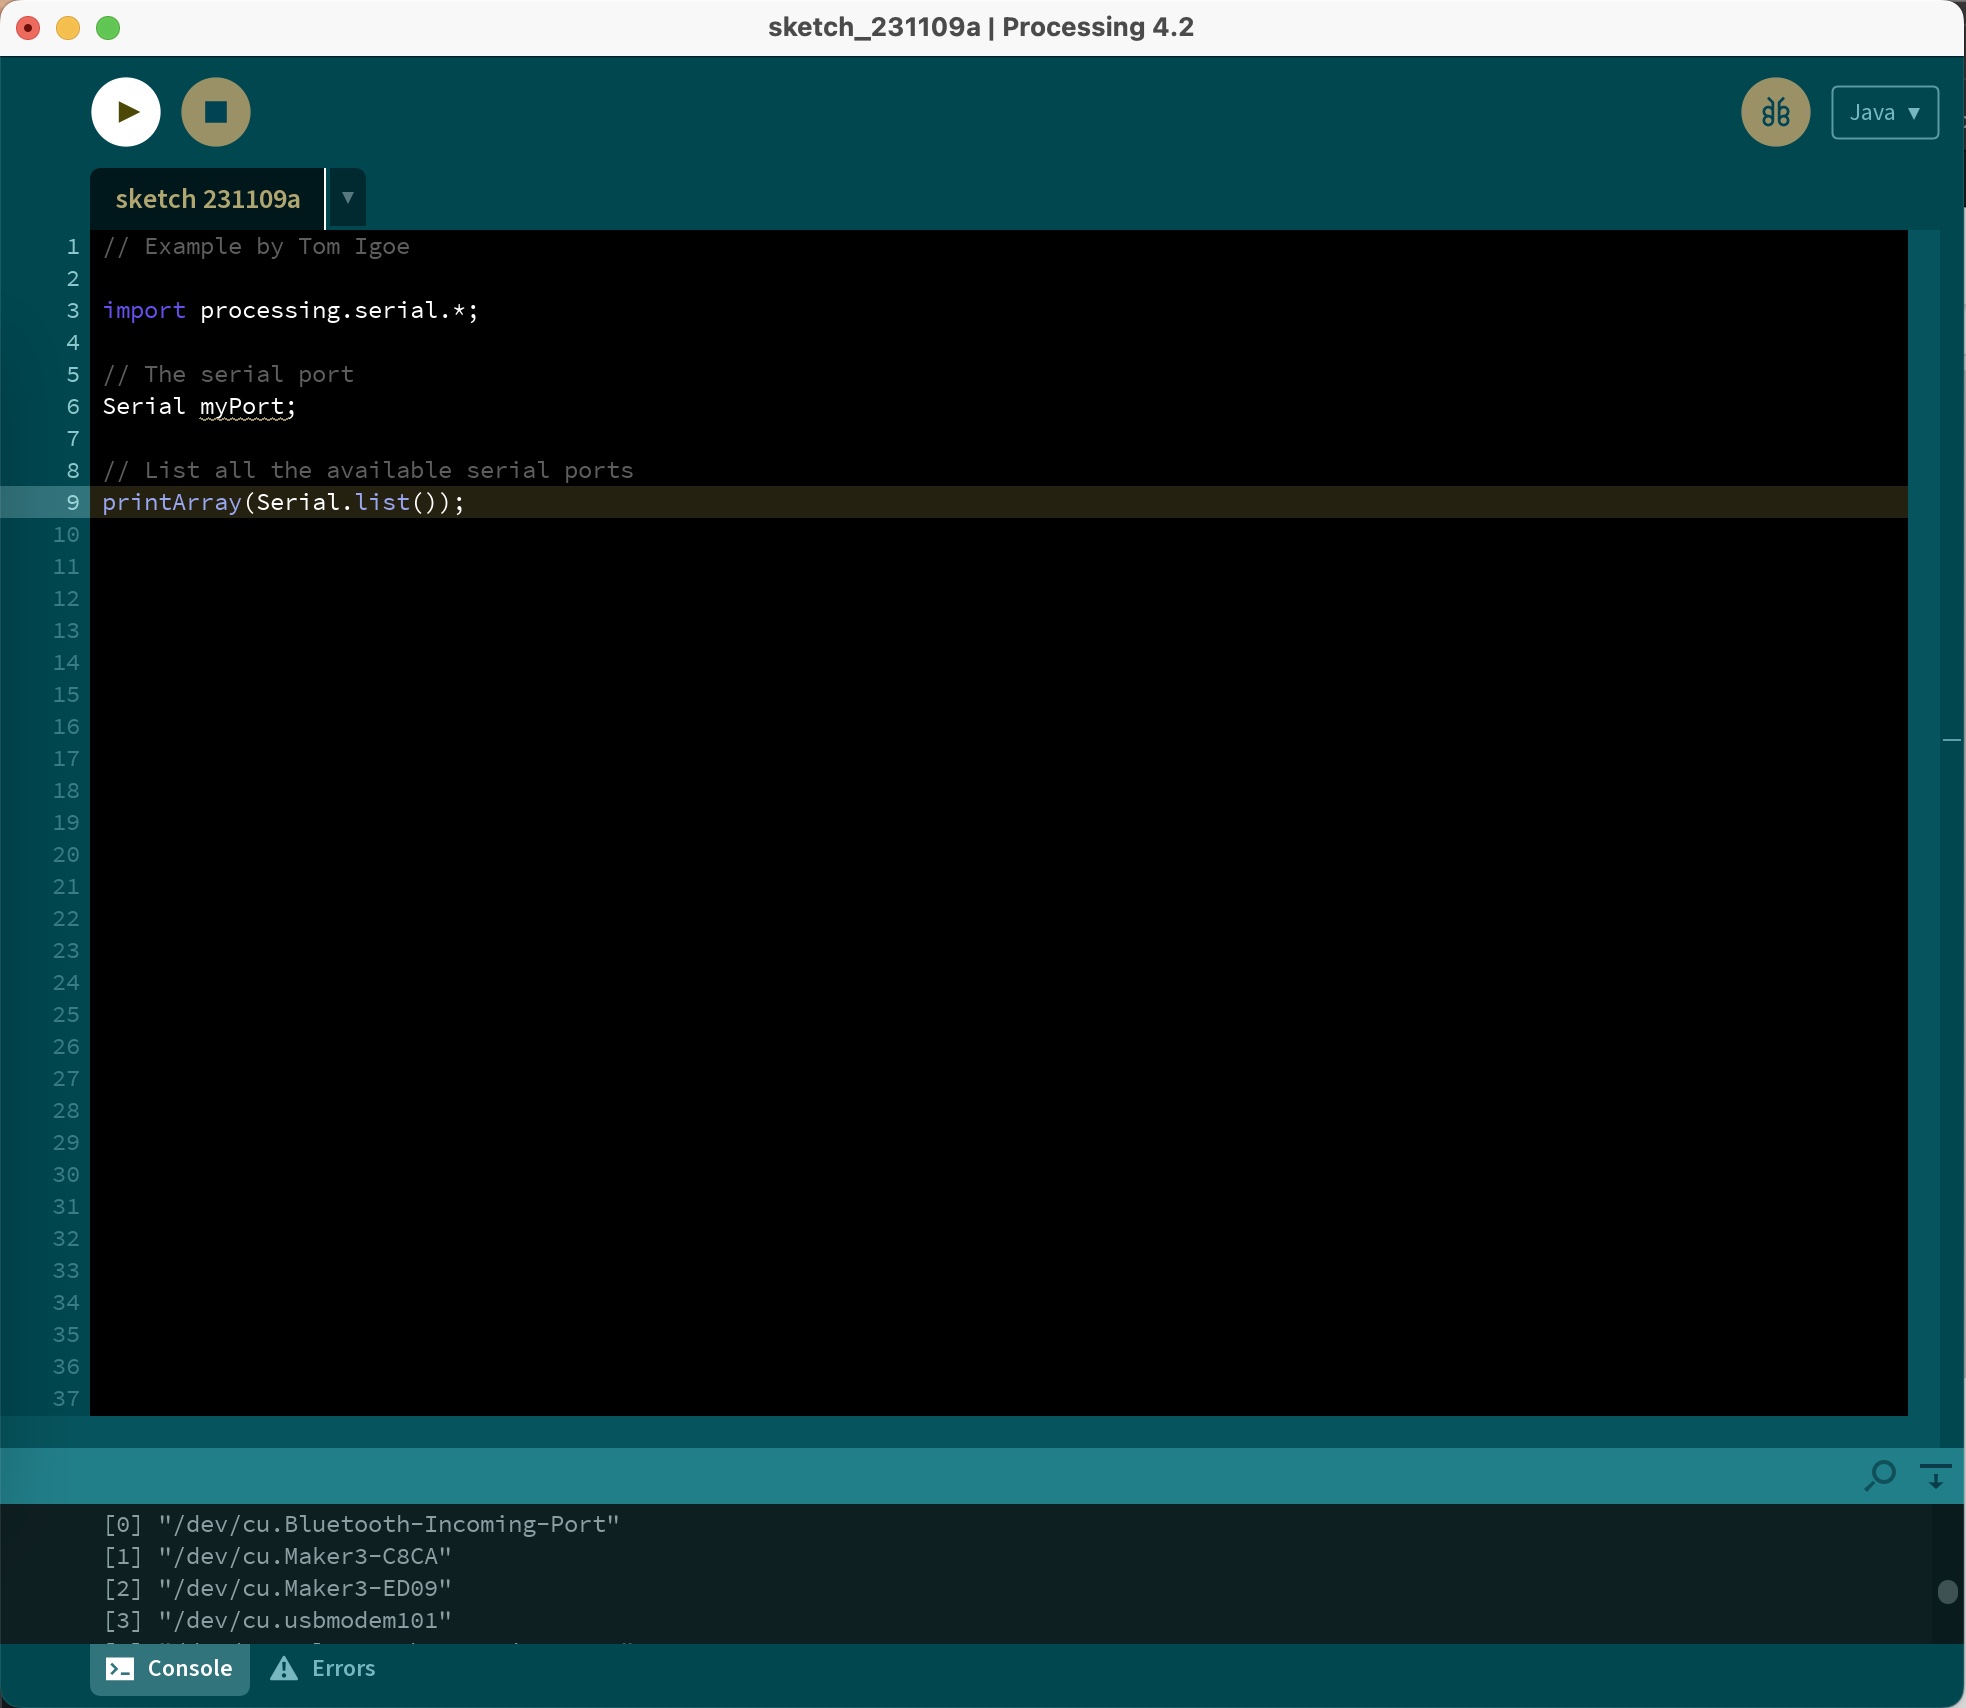
Once I ran the above code by itself, it gave me a list of all of my available ports. I am still not sure why I have so many, 4 of these are the Cricuts in the back... which are off so that's always weird. But, using the correct port (the port that Arduino IDE will be using to communicate) in my code did the trick. In the follownig code, in "void setup" it asks which port you will use. "port = new Serial(this, "/dev/cu.usbmodem101" ...)". This is the name of the port I am using. MAKE SURE TO CHECK YOU HAVE DONE THIS. It will save you hours of wondering why code won't work when the code is supposed to work!
After my first step of running my port code in Processing, I re-pasted my modified code. This code will do nothing until Arduino IDE is involved.
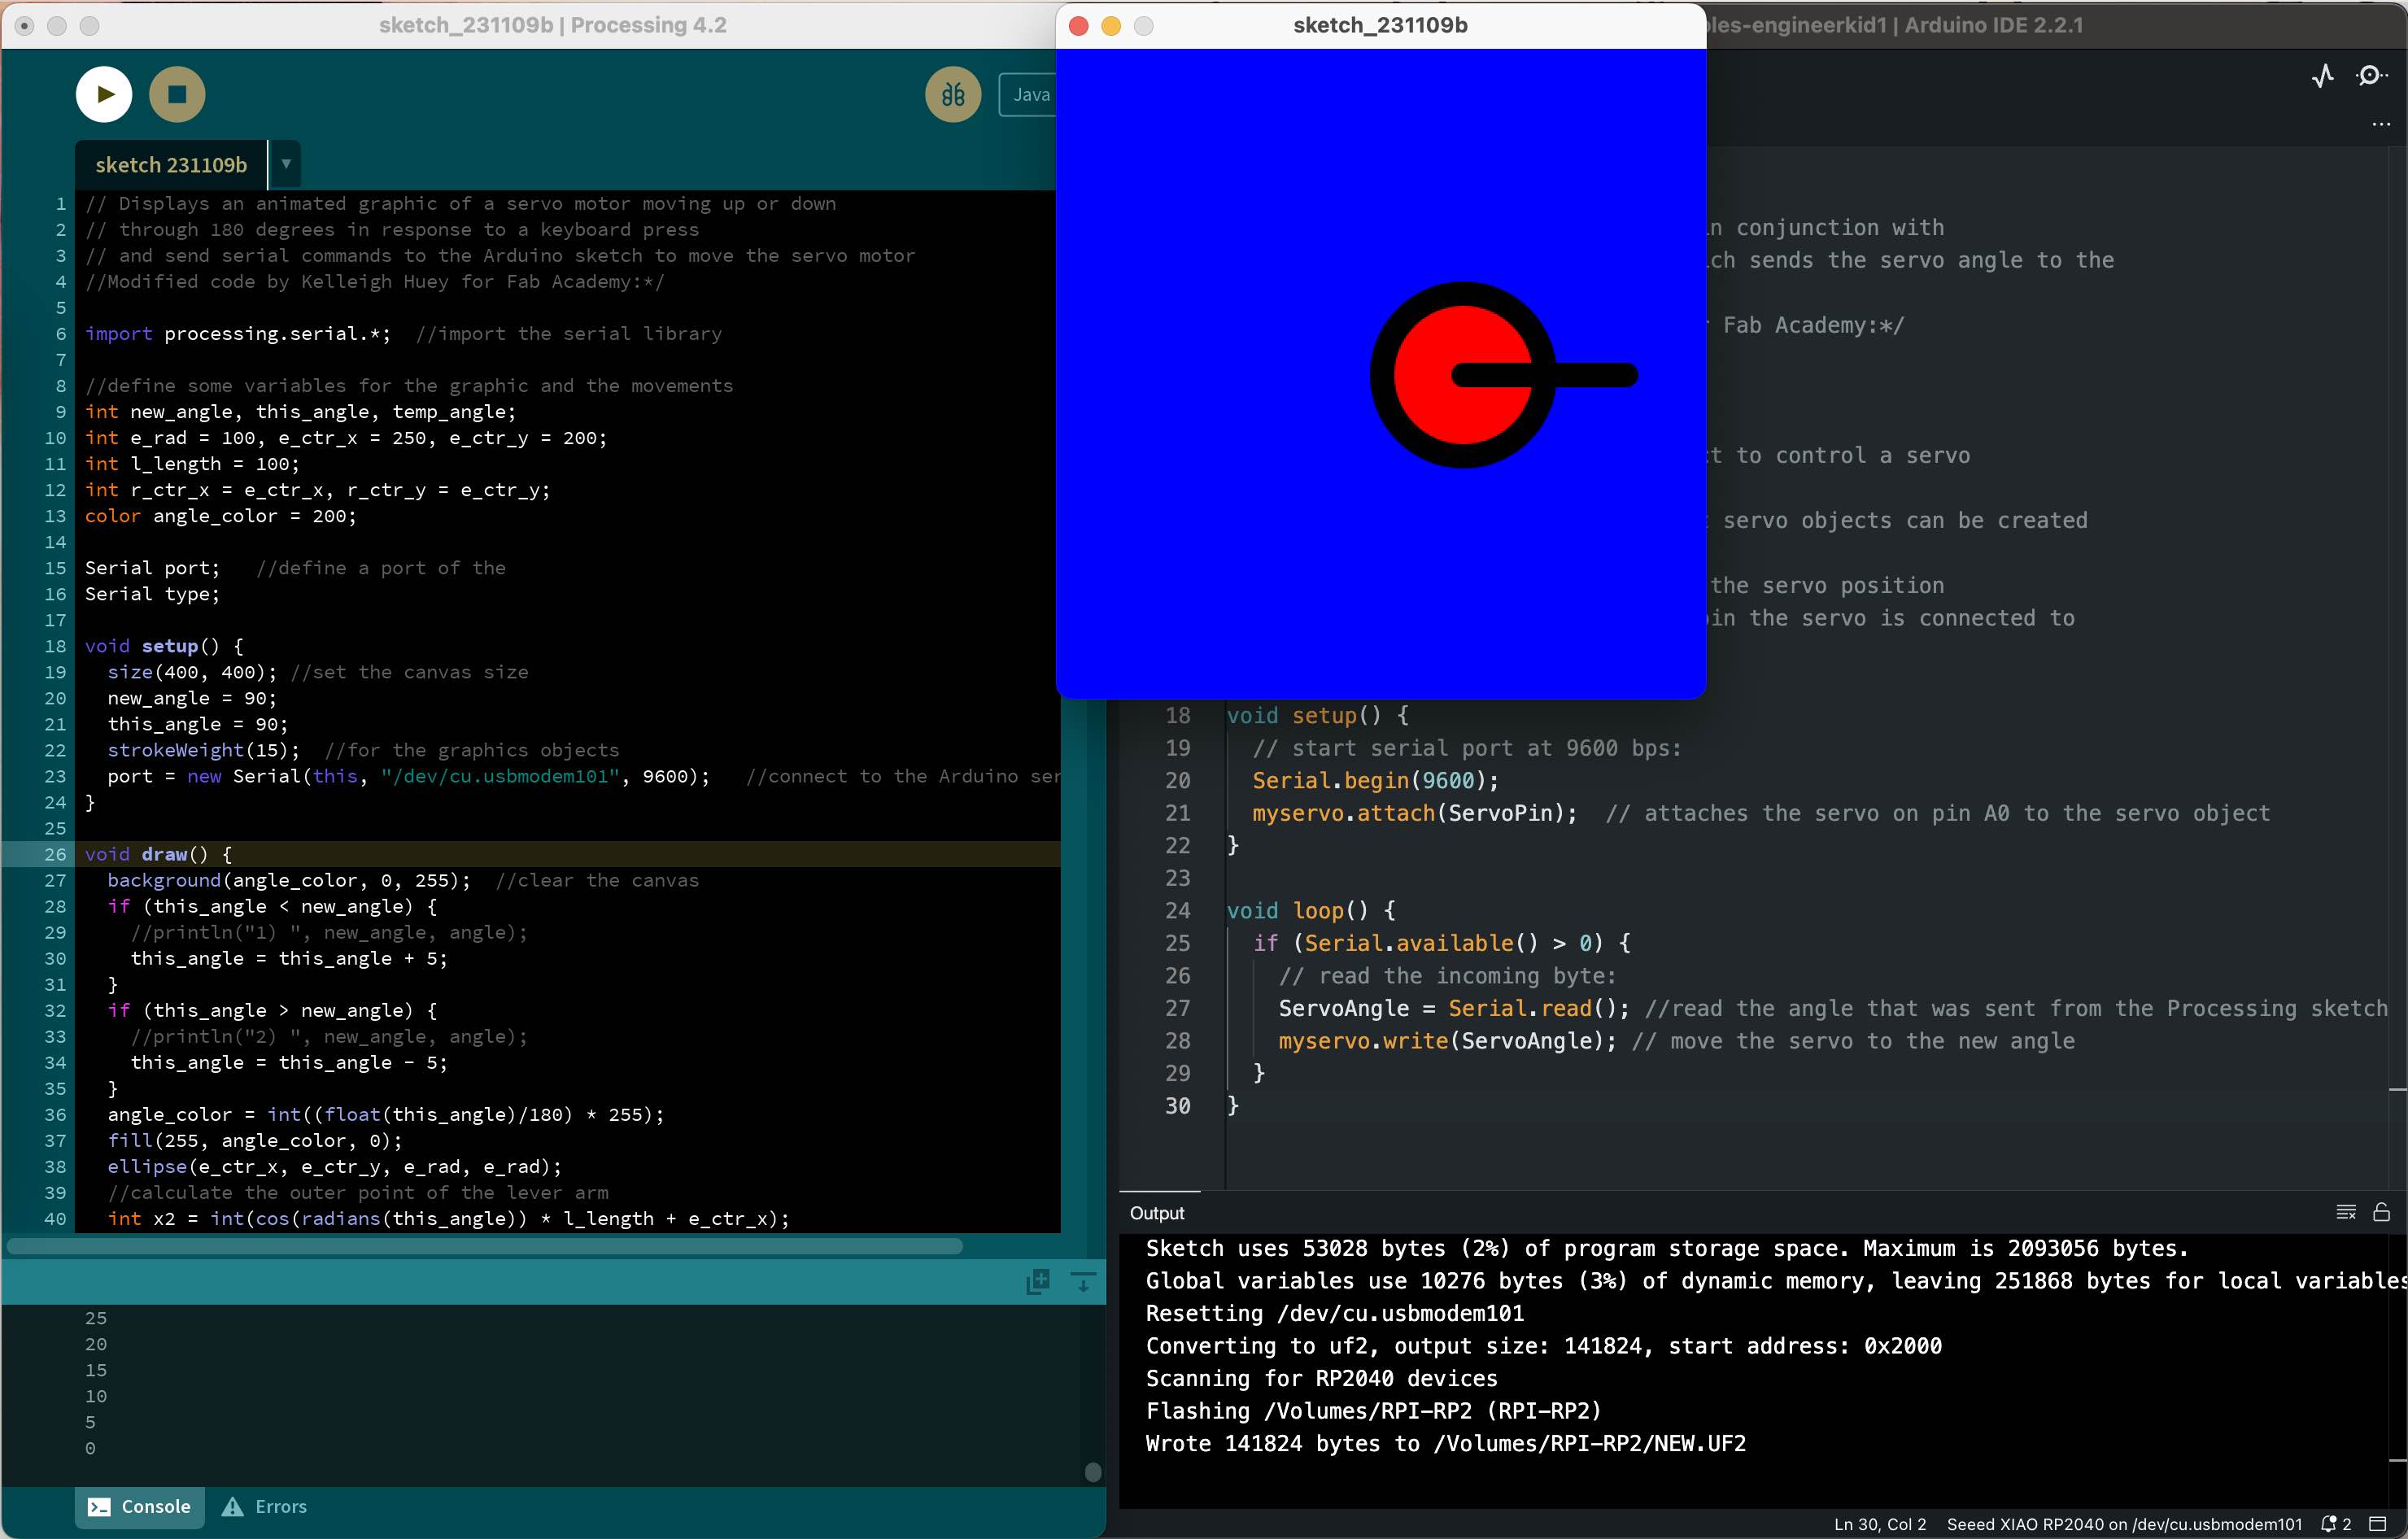
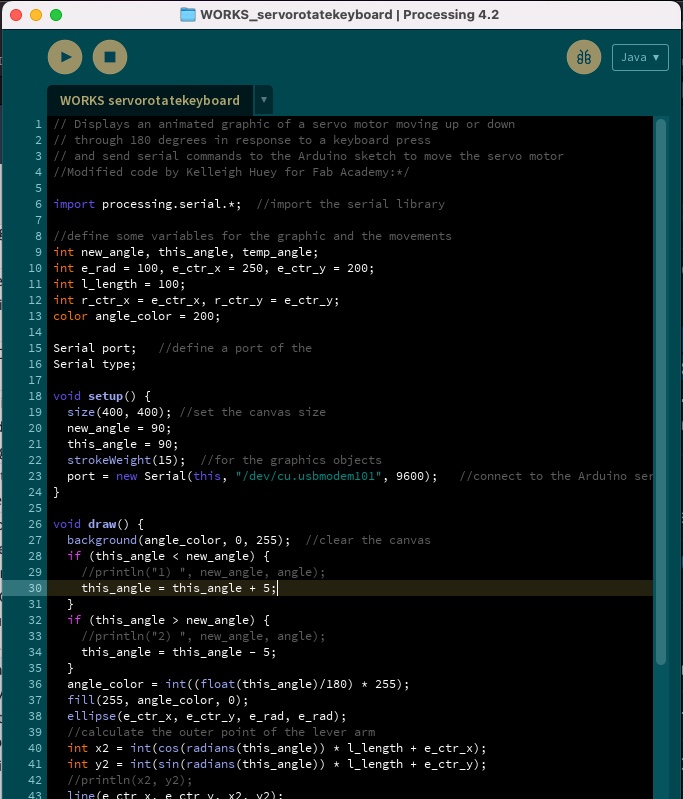
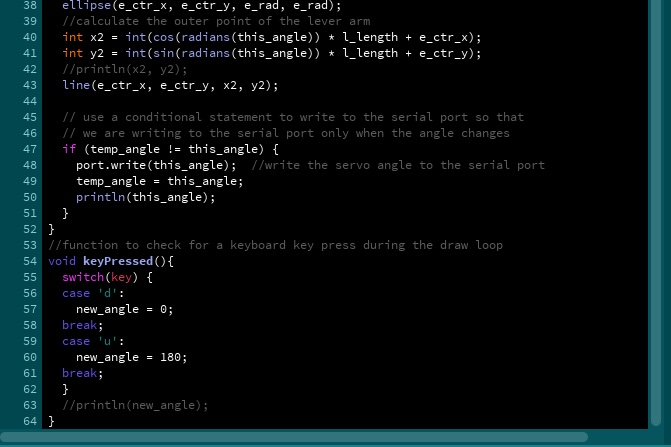
Processing Code
 // Displays an animated graphic of a servo motor moving up or down
          // through 180 degrees in response to a keyboard press
          // and send serial commands to the Arduino sketch to move the servo motor
          //Modified code by Kelleigh Huey for Fab Academy:*/

          import processing.serial.*;  //import the serial library

          //define some variables for the graphic and the movements
          int new_angle, this_angle, temp_angle;
          int e_rad = 100, e_ctr_x = 250, e_ctr_y = 200;
          int l_length = 100;
          int r_ctr_x = e_ctr_x, r_ctr_y = e_ctr_y;
          color angle_color = 200;

          Serial port;   //define a port of the
          Serial type;

          void setup() {
            size(400, 400); //set the canvas size
            new_angle = 90;
            this_angle = 90;
            strokeWeight(15);  //for the graphics objects
            port = new Serial(this, "/dev/cu.usbmodem101", 9600);   //connect to the Arduino serial port
          }

          void draw() {
            background(angle_color, 0, 255);  //clear the canvas
            if (this_angle < new_angle) {
              //println("1) ", new_angle, angle);
              this_angle = this_angle + 5;
            }
            if (this_angle > new_angle) {
              //println("2) ", new_angle, angle);
              this_angle = this_angle - 5;
            }
            angle_color = int((float(this_angle)/180) * 255);
            fill(255, angle_color, 0);
            ellipse(e_ctr_x, e_ctr_y, e_rad, e_rad);
            //calculate the outer point of the lever arm
            int x2 = int(cos(radians(this_angle)) * l_length + e_ctr_x);
            int y2 = int(sin(radians(this_angle)) * l_length + e_ctr_y);
            //println(x2, y2);
            line(e_ctr_x, e_ctr_y, x2, y2);

            // use a conditional statement to write to the serial port so that
            // we are writing to the serial port only when the angle changes
            if (temp_angle != this_angle) {
              port.write(this_angle);  //write the servo angle to the serial port
              temp_angle = this_angle;
              println(this_angle);
            }
          }
          //function to check for a keyboard key press during the draw loop
          void keyPressed(){
            switch(key) {
            case 'd':
              new_angle = 0;
            break;
            case 'u':
              new_angle = 180;
            break;
            }
            //println(new_angle);
          }
To reiterate, after pasting the Processing code into the sketck, I opened Arduino IDE. Now, I can paste my Arduino IDE code into this sketch and made some adjustments. In the example I am using, he is using an Arduino UNO to control his servo, and I am using the XIAO RP2040. I didn't need to change much, mainly focused on my ports and pins. From here, I will be able to modify the code even more if I desire to.
Arduino IDE Code
 // serial_servo
       // by Adrian Glasser
       // This code is intended to be used in conjunction with
       // the Processing code servo_move which sends the servo angle to the
       // serial port
       //Code modified by Kelleigh Huey for Fab Academy:*/

       #include

       Servo myservo;  // create servo object to control a servo

                       // a maximum of eight servo objects can be created

       int pos = 0;    // variable to store the servo position
       int ServoPin = A0; //identify which pin the servo is connected to
       int ServoAngle;  //create a variable

       void setup() {
           // start serial port at 9600 bps:
           Serial.begin(9600);
           myservo.attach(ServoPin);  // attaches the servo on pin A0 to the servo object
       }

       void loop() {
           if (Serial.available() > 0) {
               // read the incoming byte:
               ServoAngle = Serial.read(); //read the angle that was sent from the Processing sketch
               myservo.write(ServoAngle); // move the servo to the new angle
           }
       }
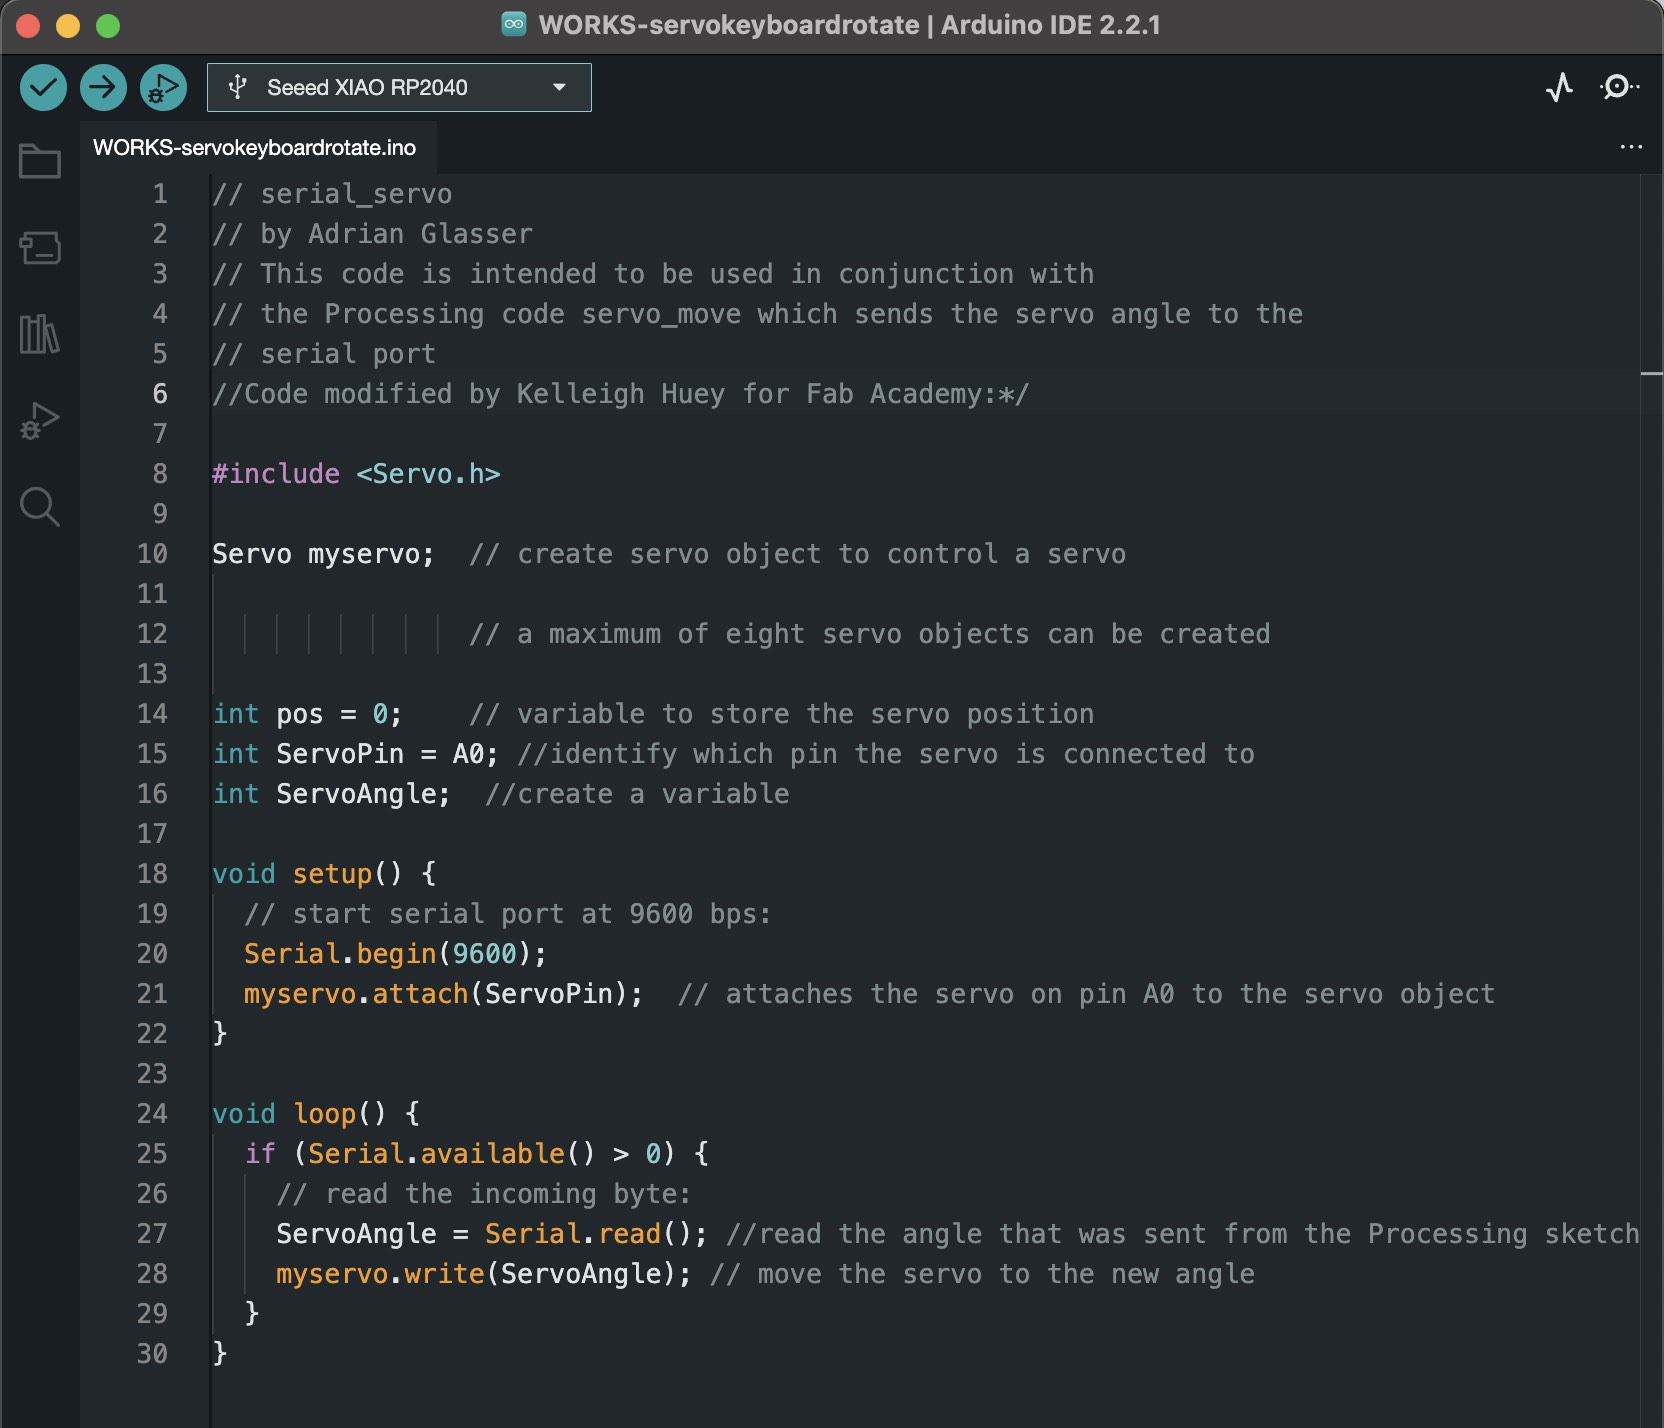
As stated before, I did not have to change too much to make this code work for me. In the Arduino IDE code, I really only needed to change the pin number that my servo is attached to. If I desired, I could change the speed of the servo, rotation limit, etc. But I do not at the moment. As it was coded, when you pressed on the "D" or "U" keys on the keyboard, the servo changed directions. Yay!
The Graphical User Interface (GUI) was a simple display screen that indicated the current direction of the servo. The keyboard keys "D" and "U" were the buttons that triggered the response from the servos.