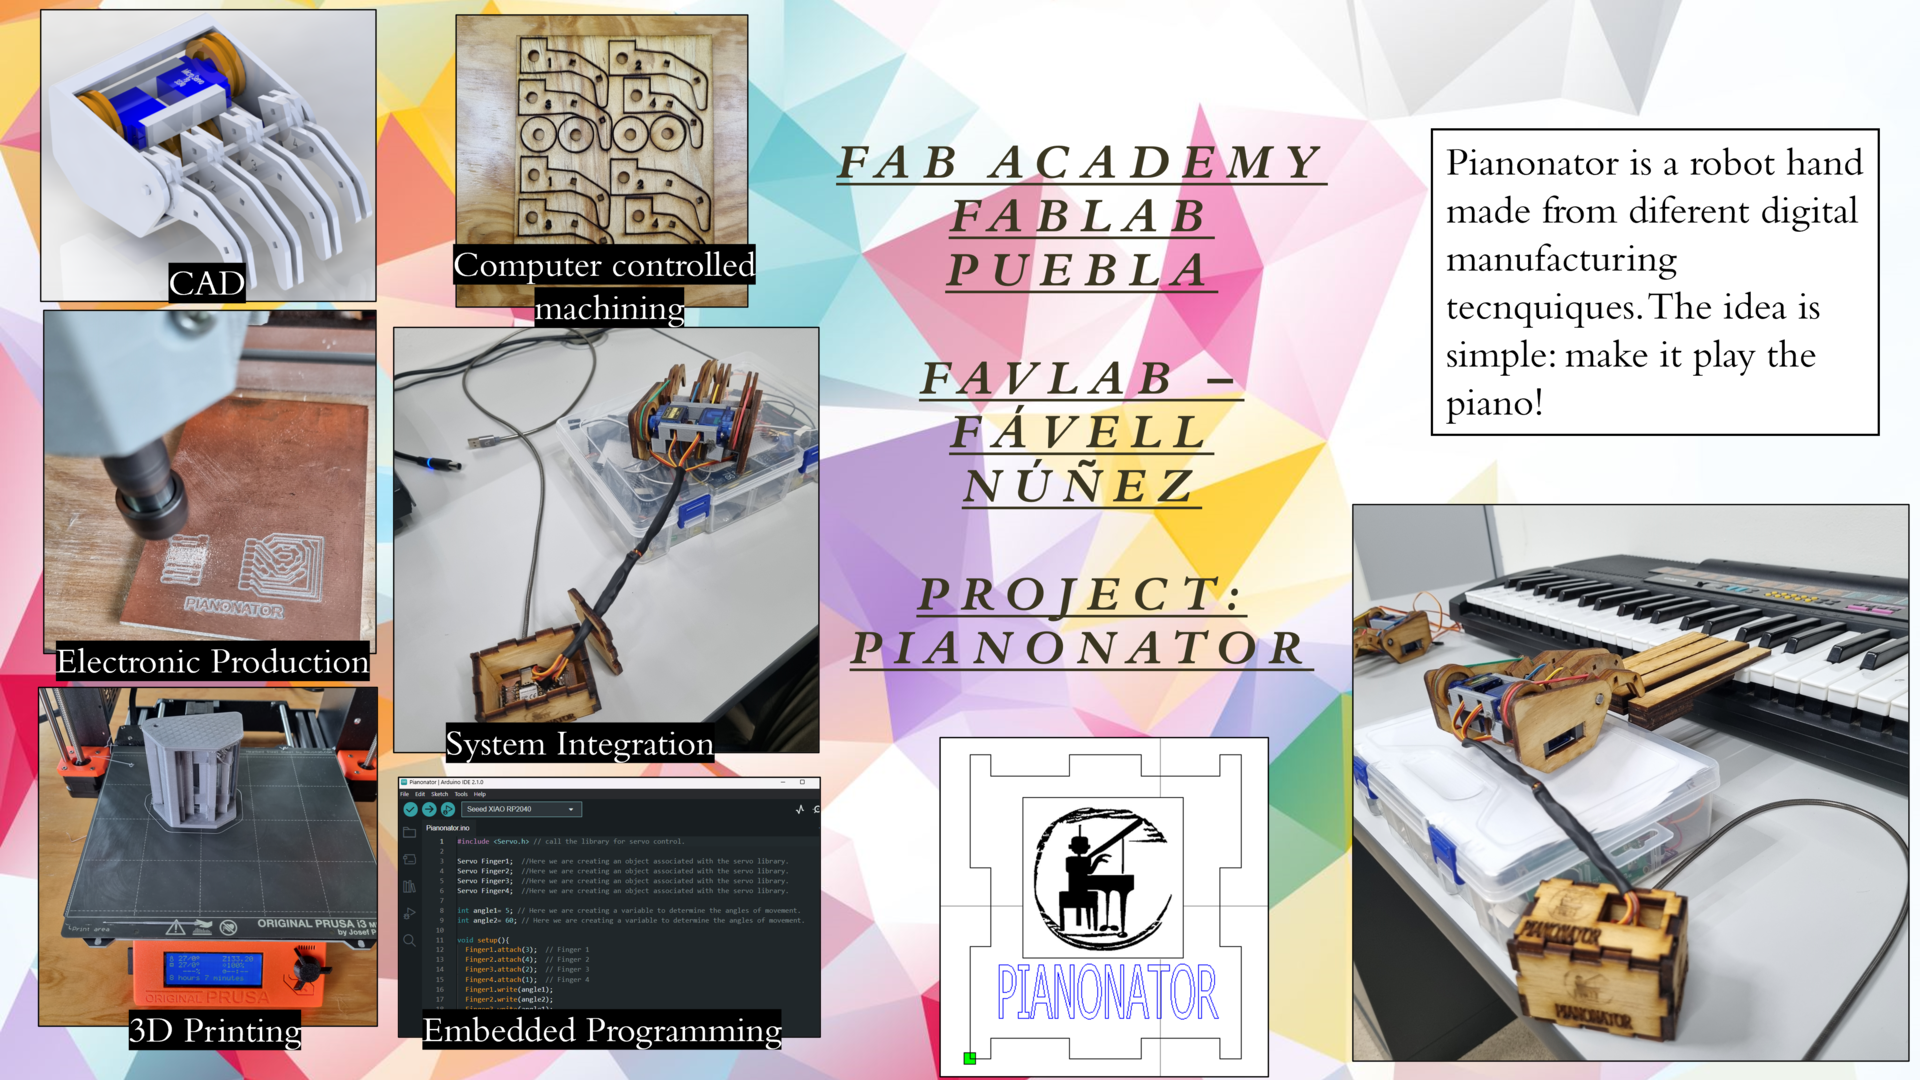
My Final Project
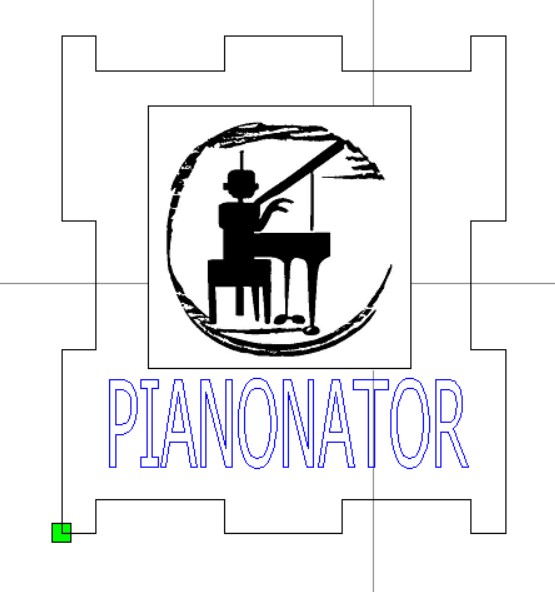
Pianonator
A few months ago I started learning piano, but it hasn't gone so well. I'm going blame the lack
of determination. So I'm going to use this opportunity to build some motivation. I'm a very competitive
man, so I'll create some competition.
So what about a piano playing robot?
Oh yeah, the one on the right is me.
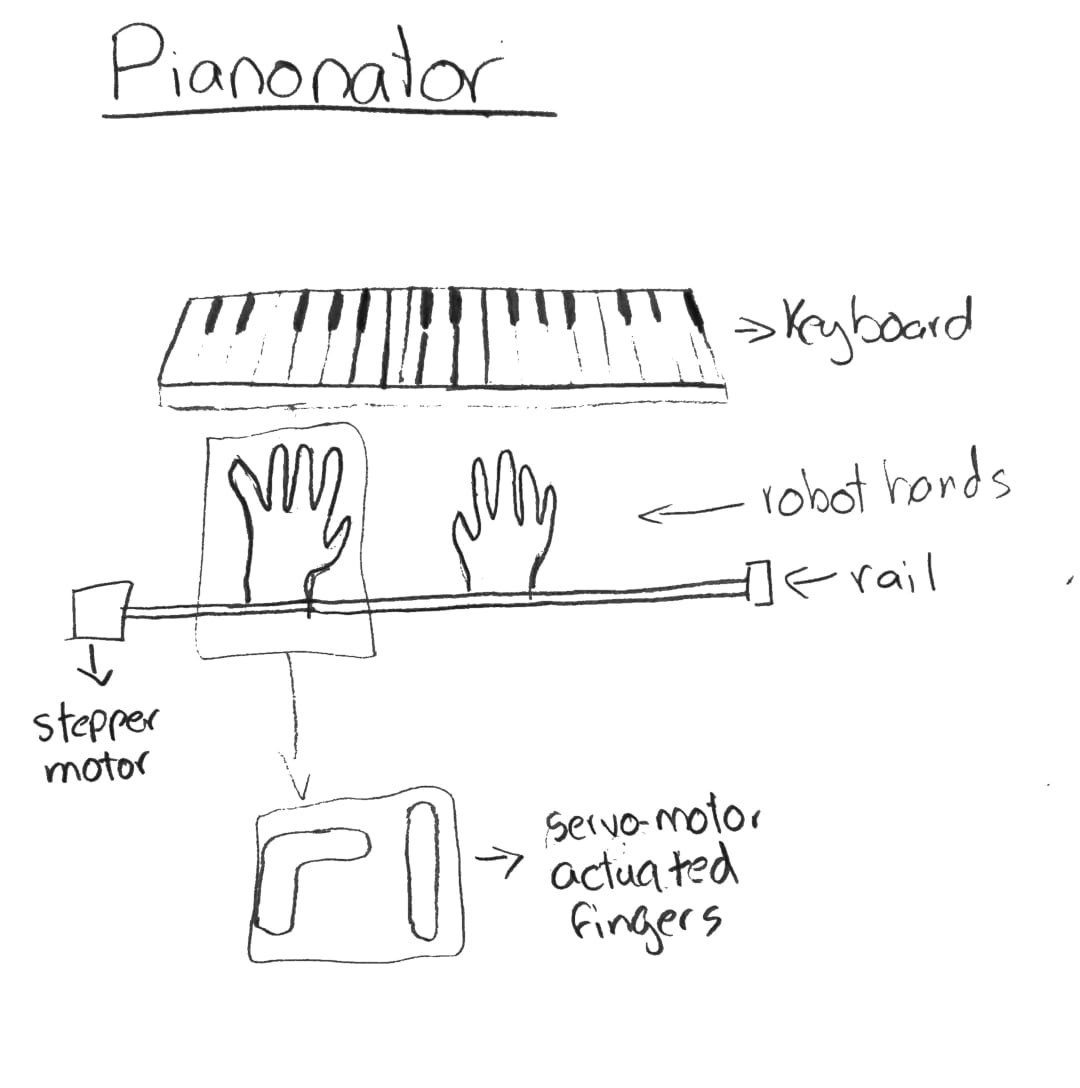
First sketch
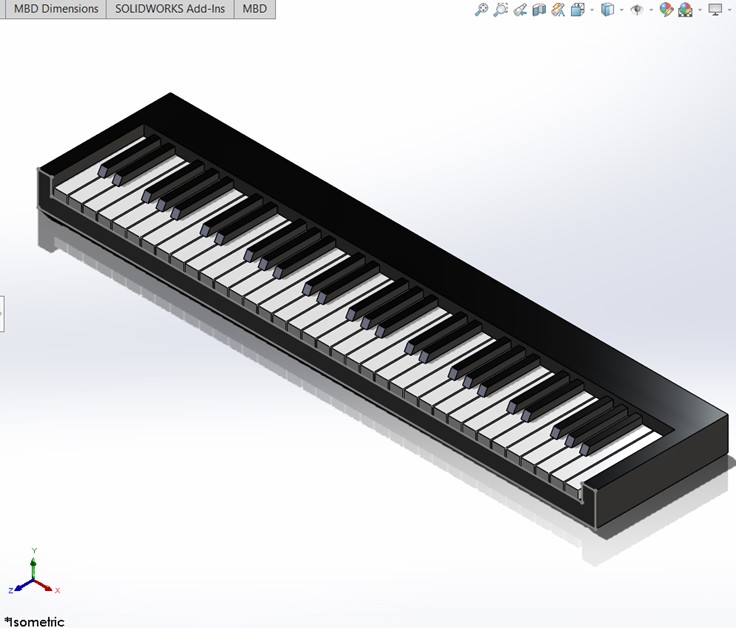
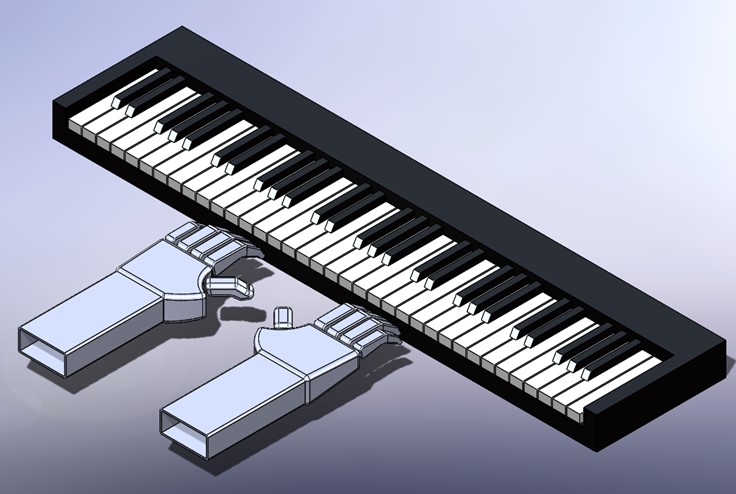
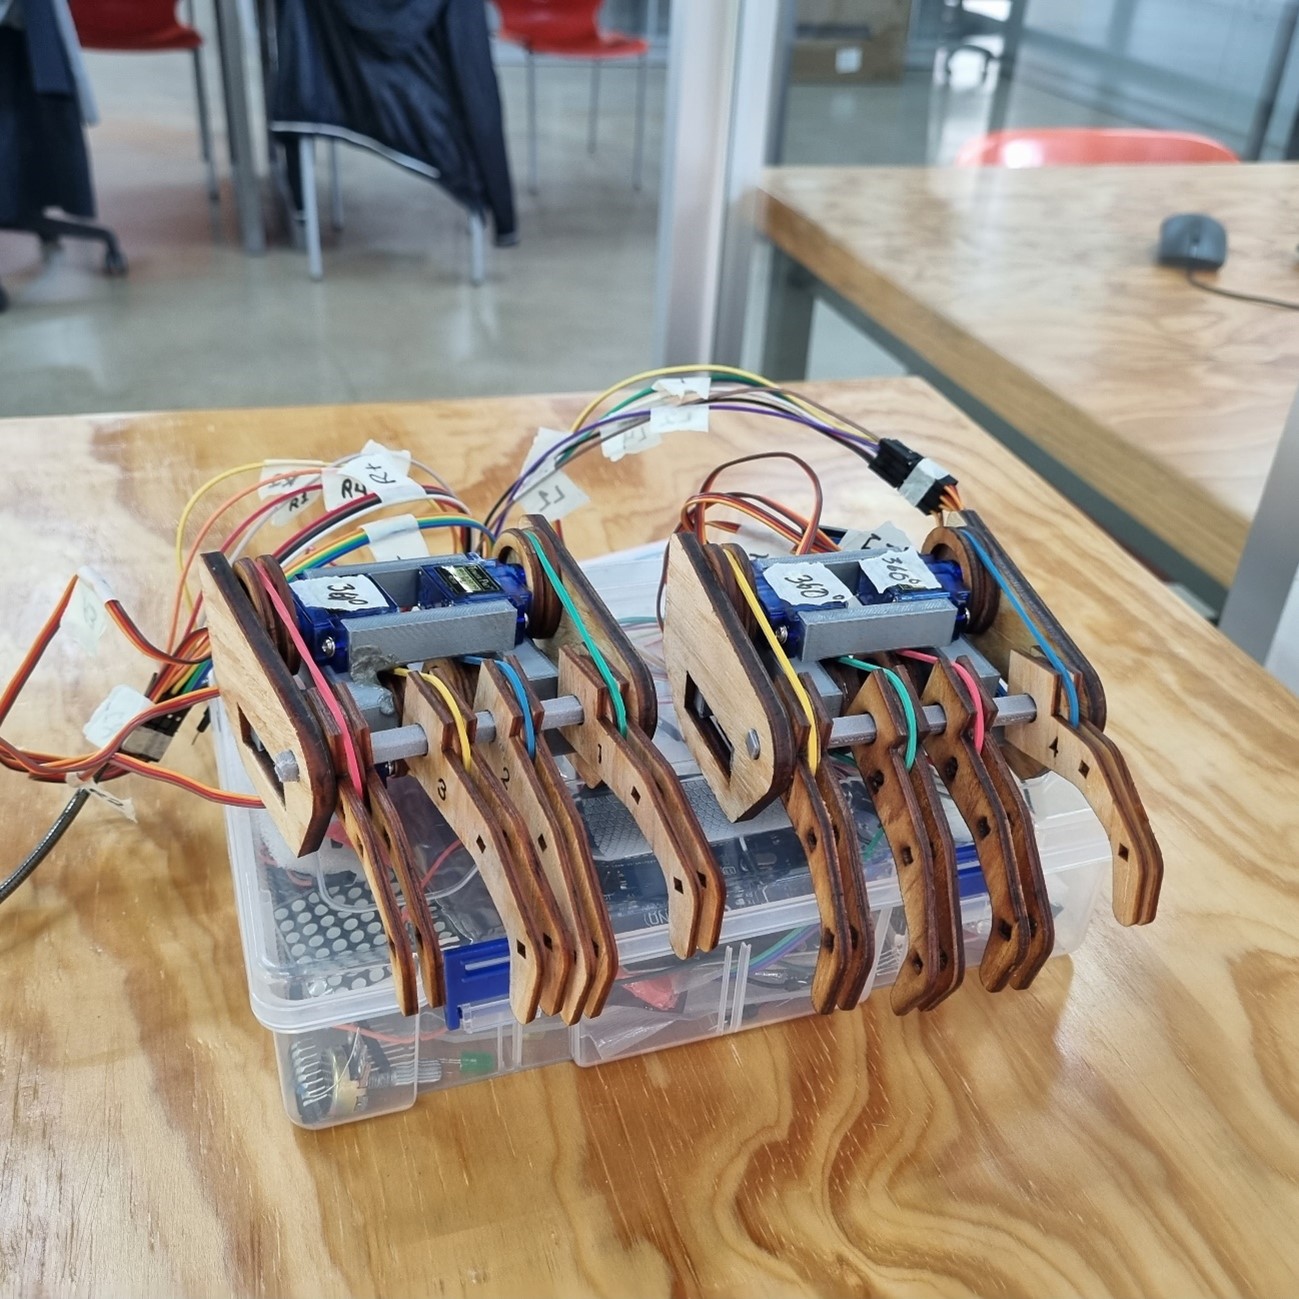
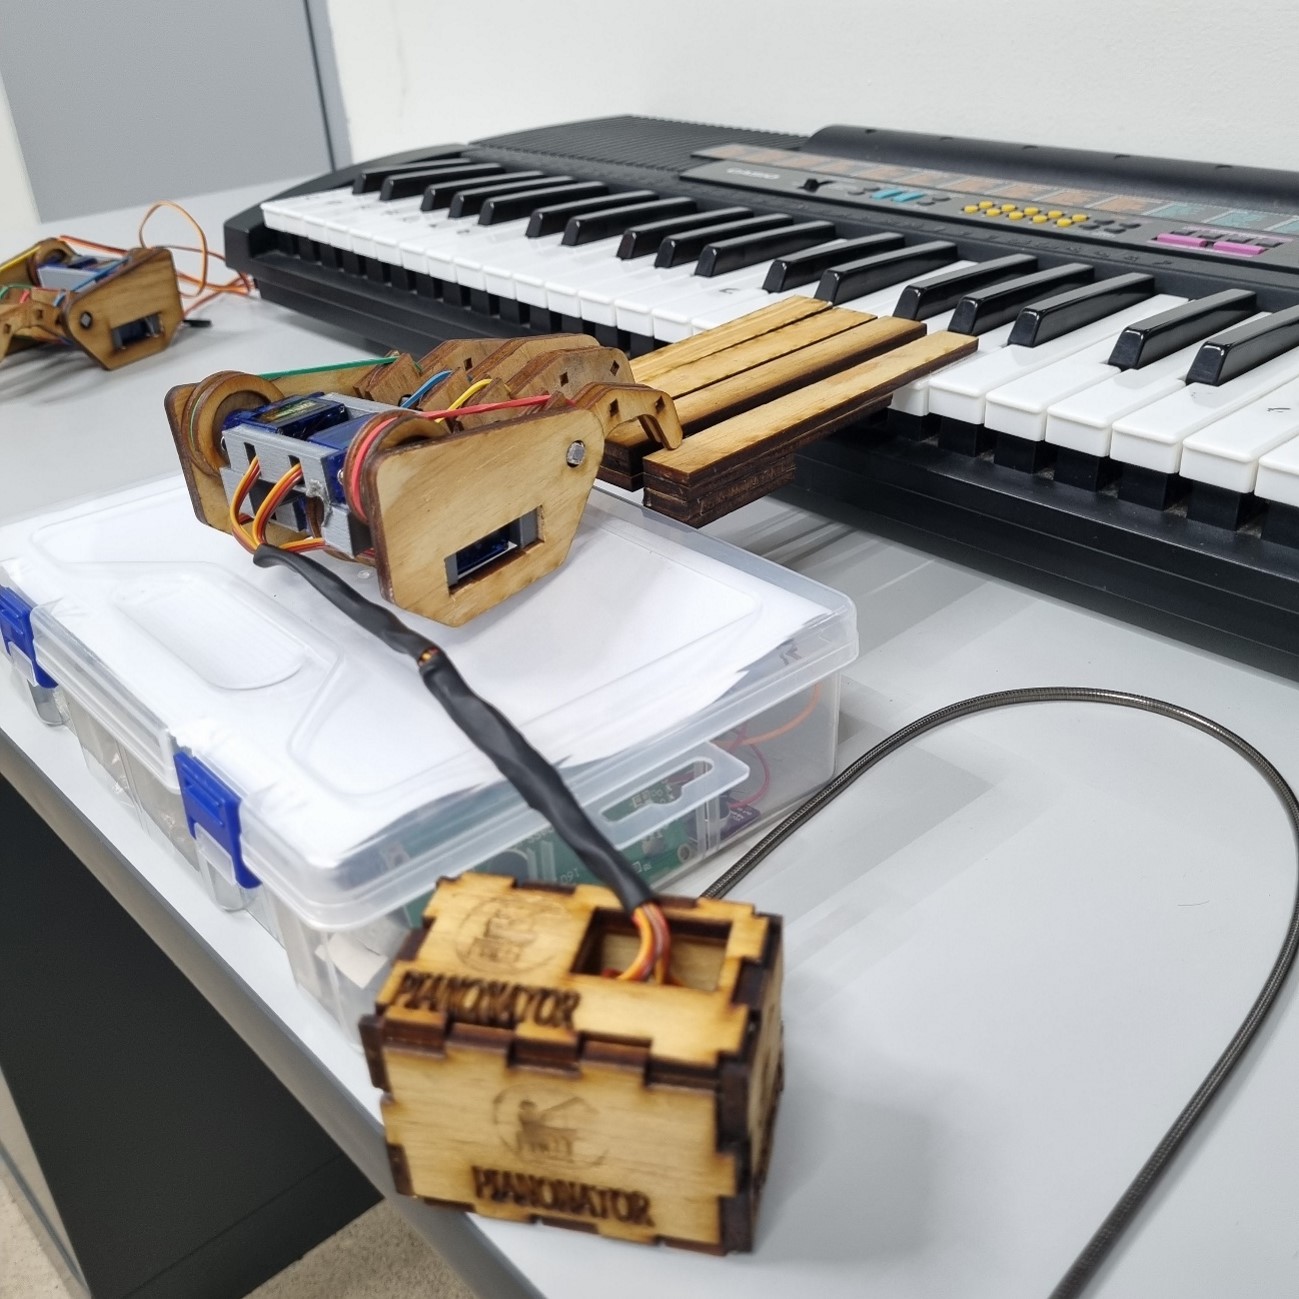
The pianonator will consist of a pair of robotic hands with 10 servo-controlled fingers. The robot hands will be a model of a human hand. They will move along the keybord through a rail controlled by a stepper motor.
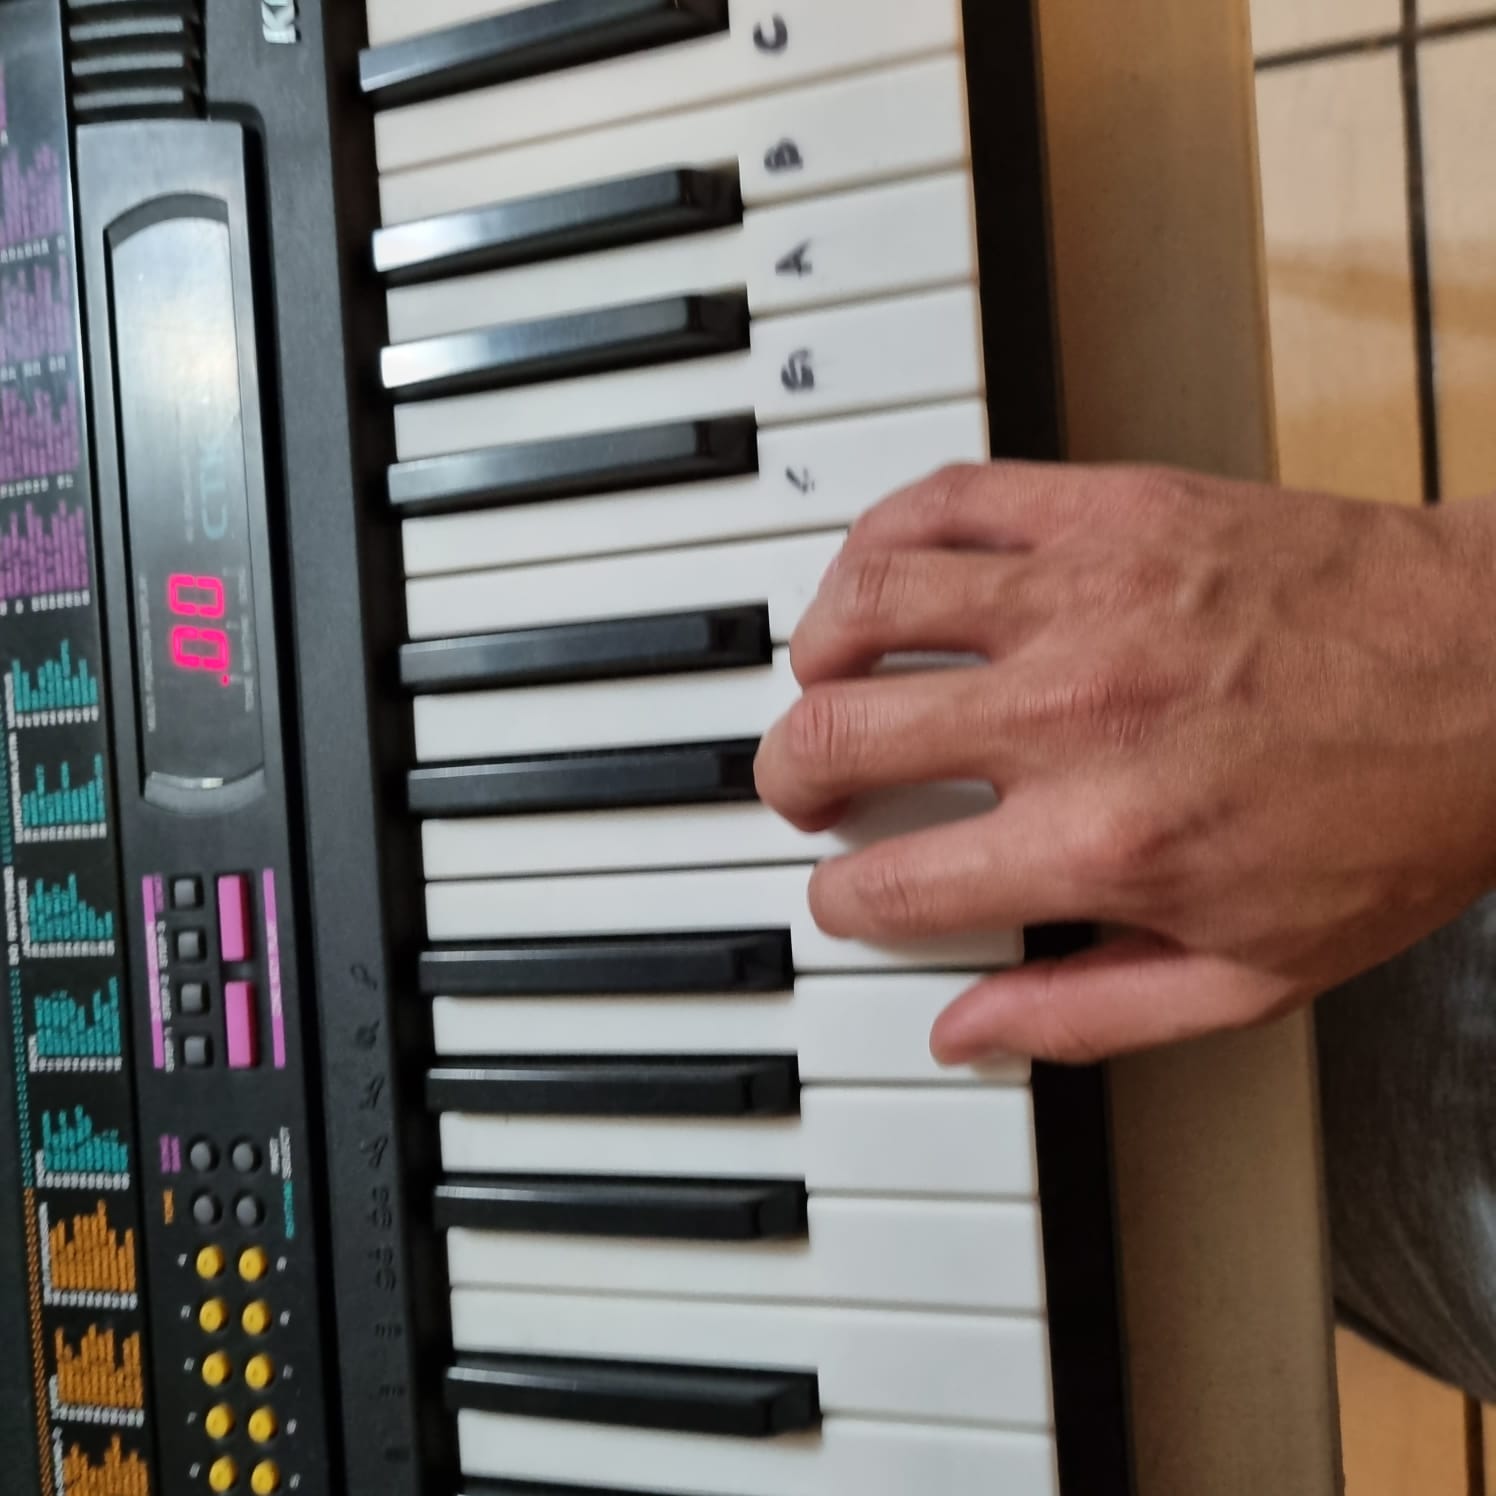
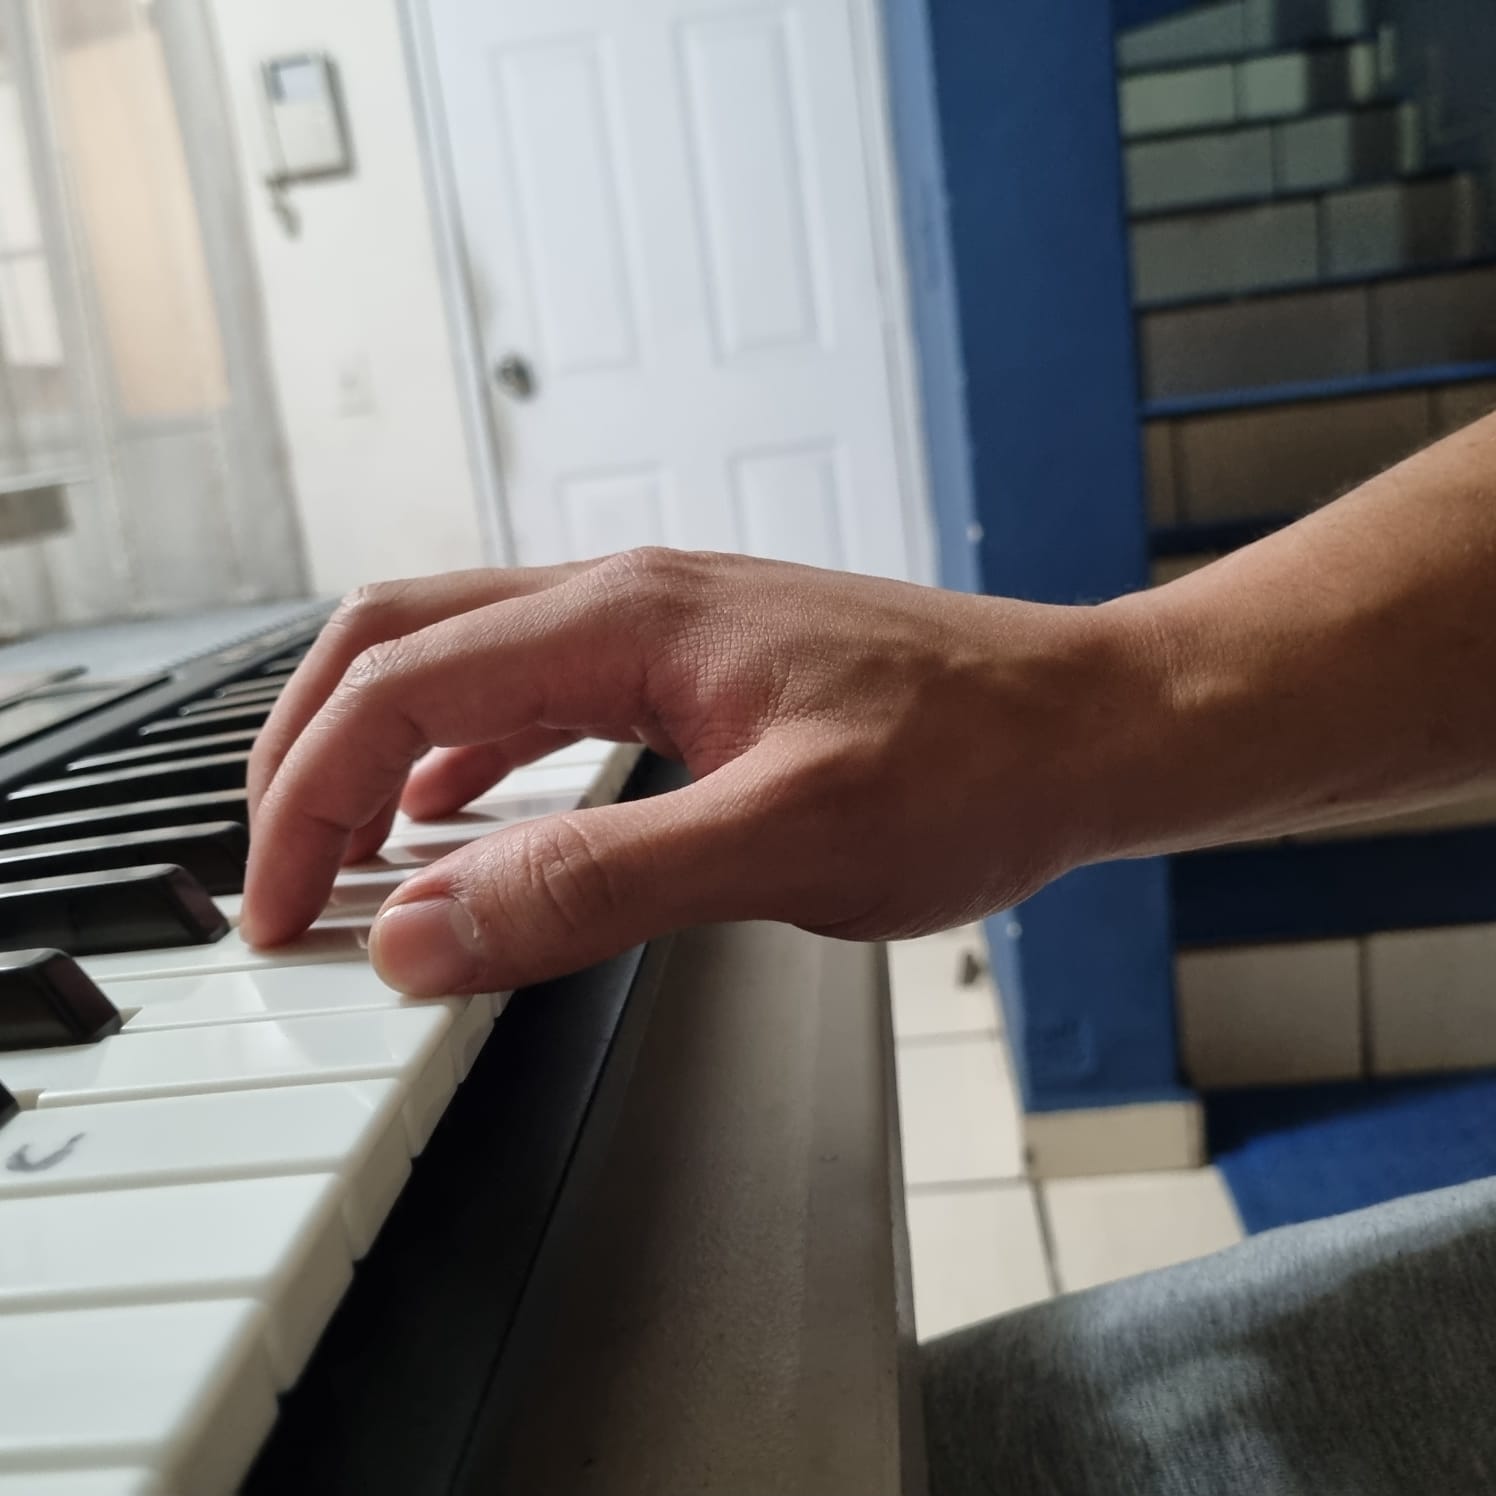
Motion and Pose Analisis
Week 2 - Update
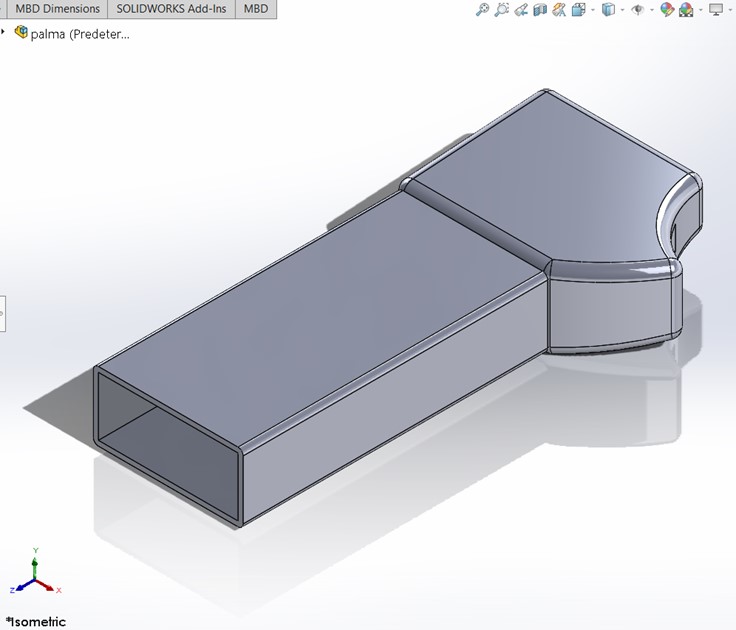
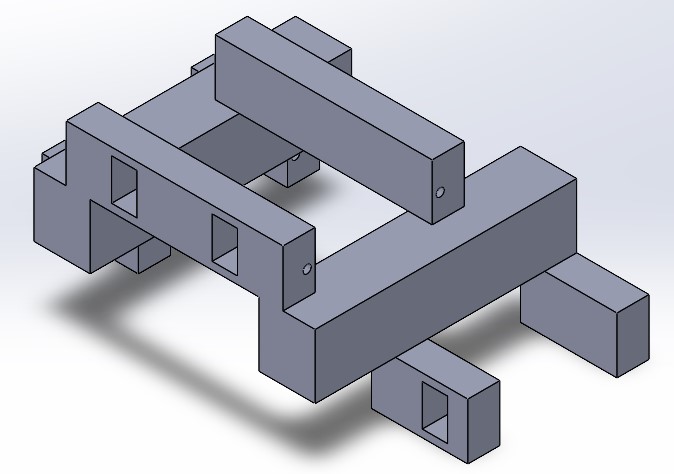
First 3D models
Week 3 - Update
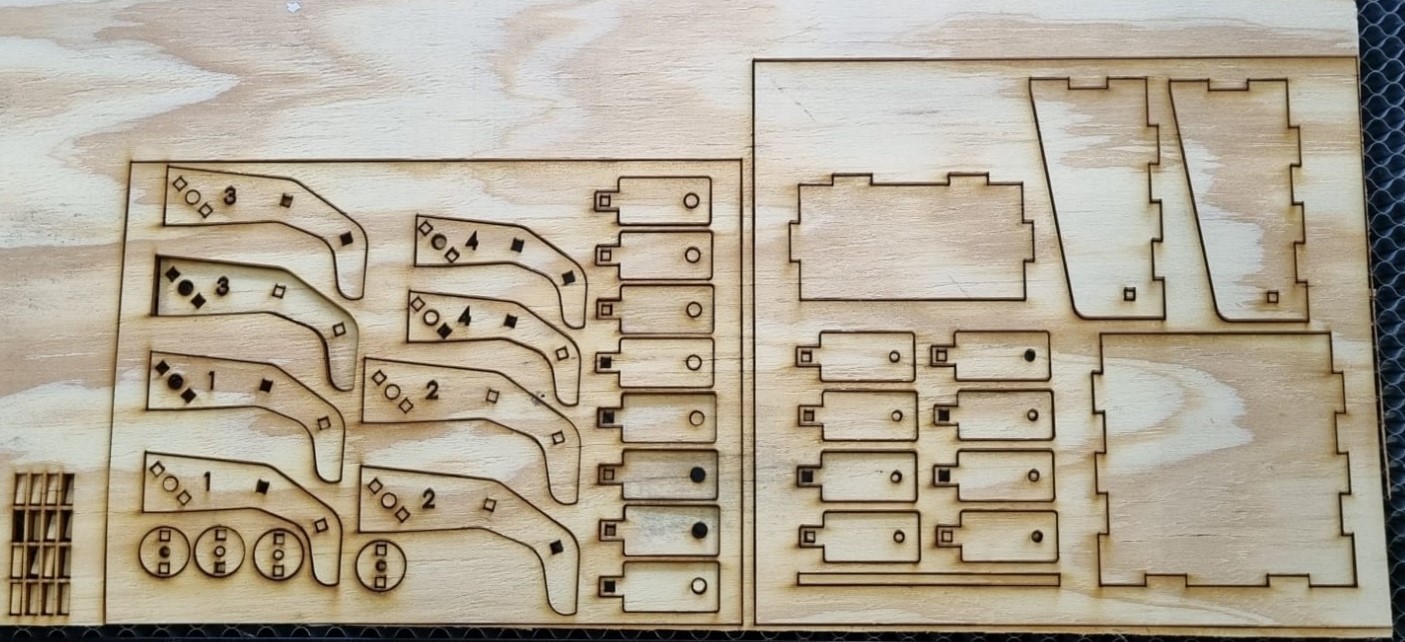
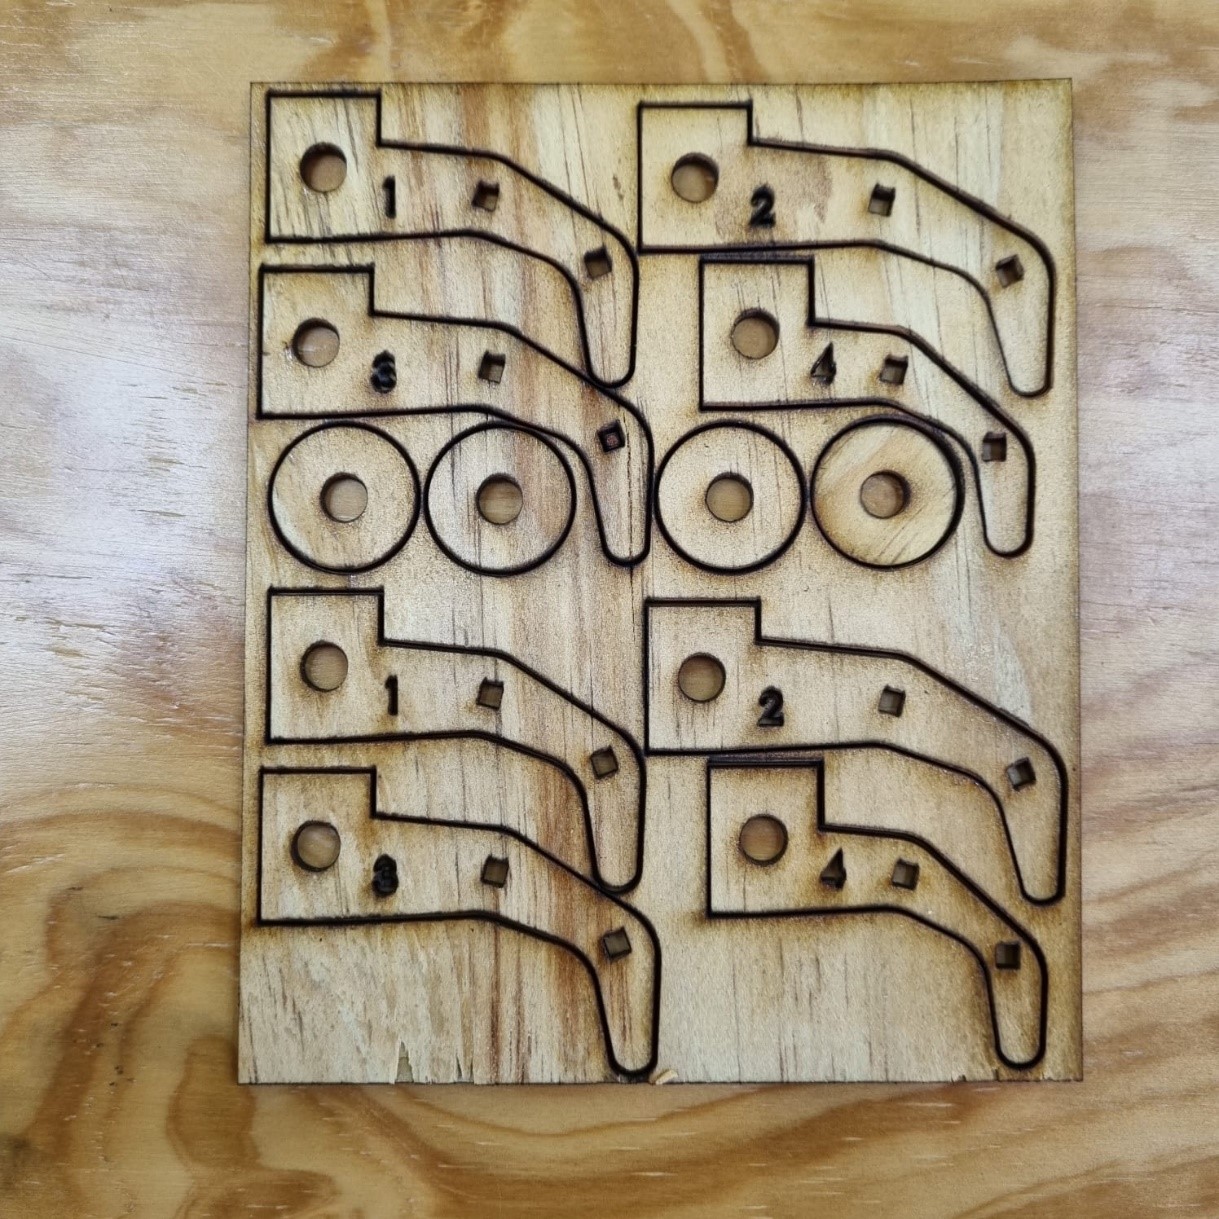
Laser cutter version
Week 4 - Update
First prototype
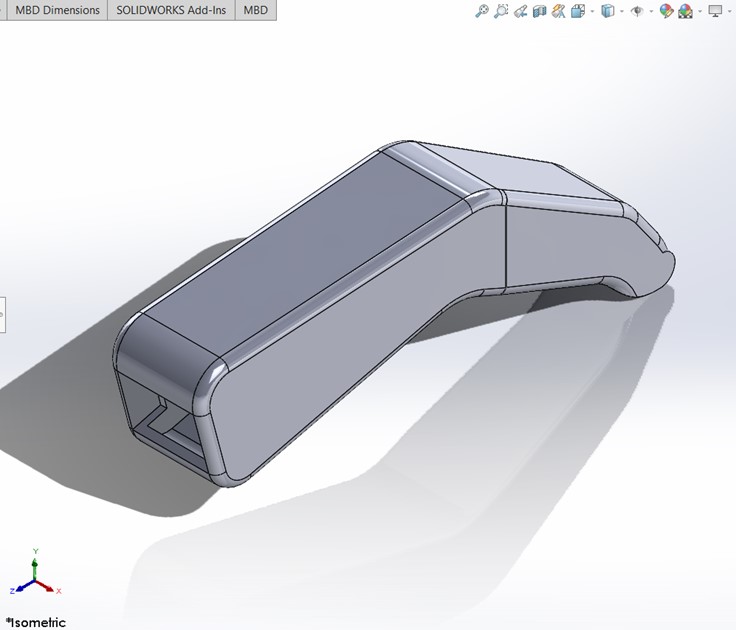
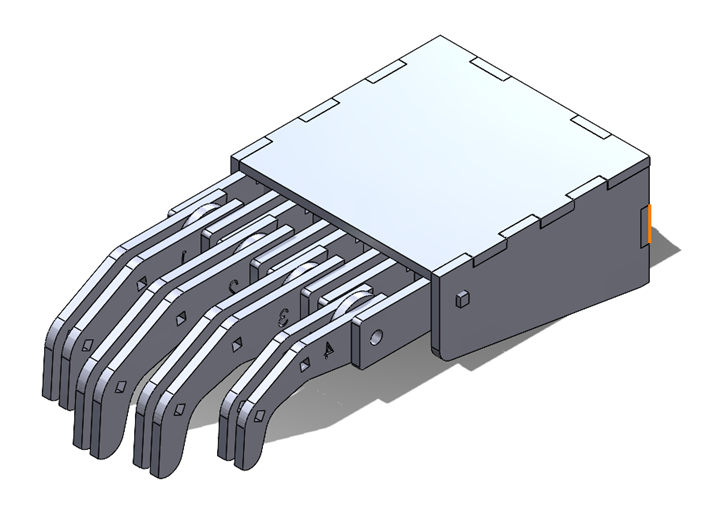
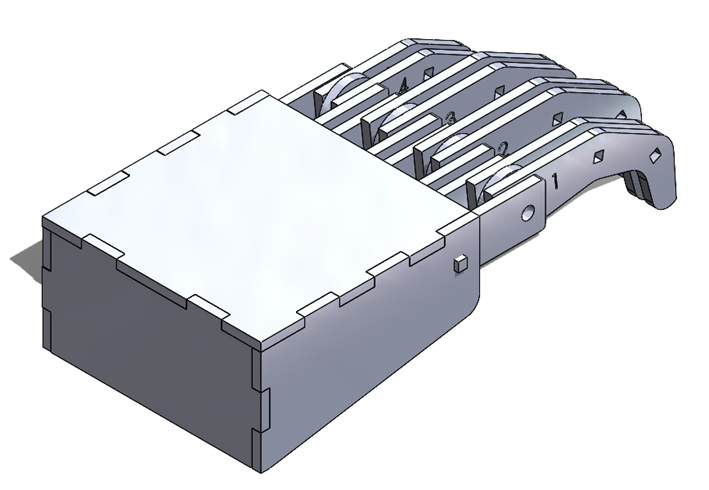
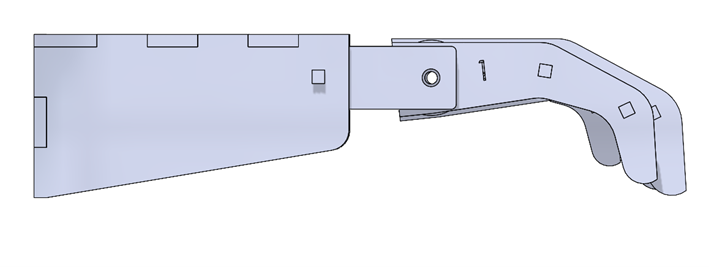
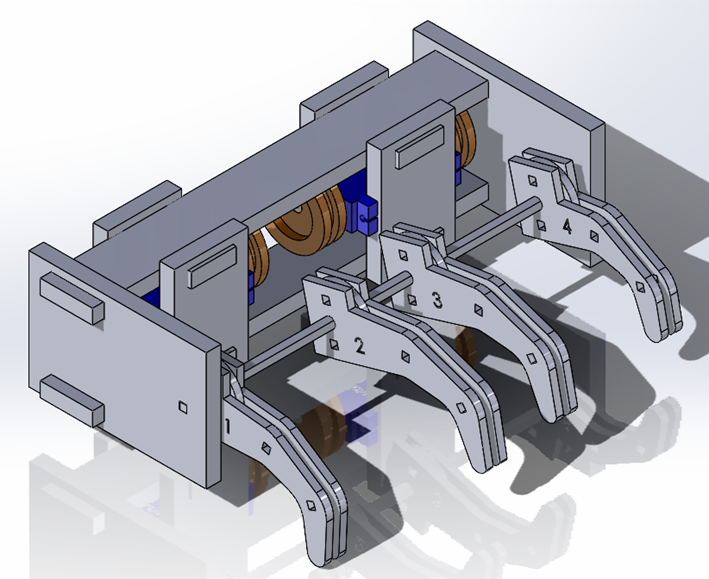
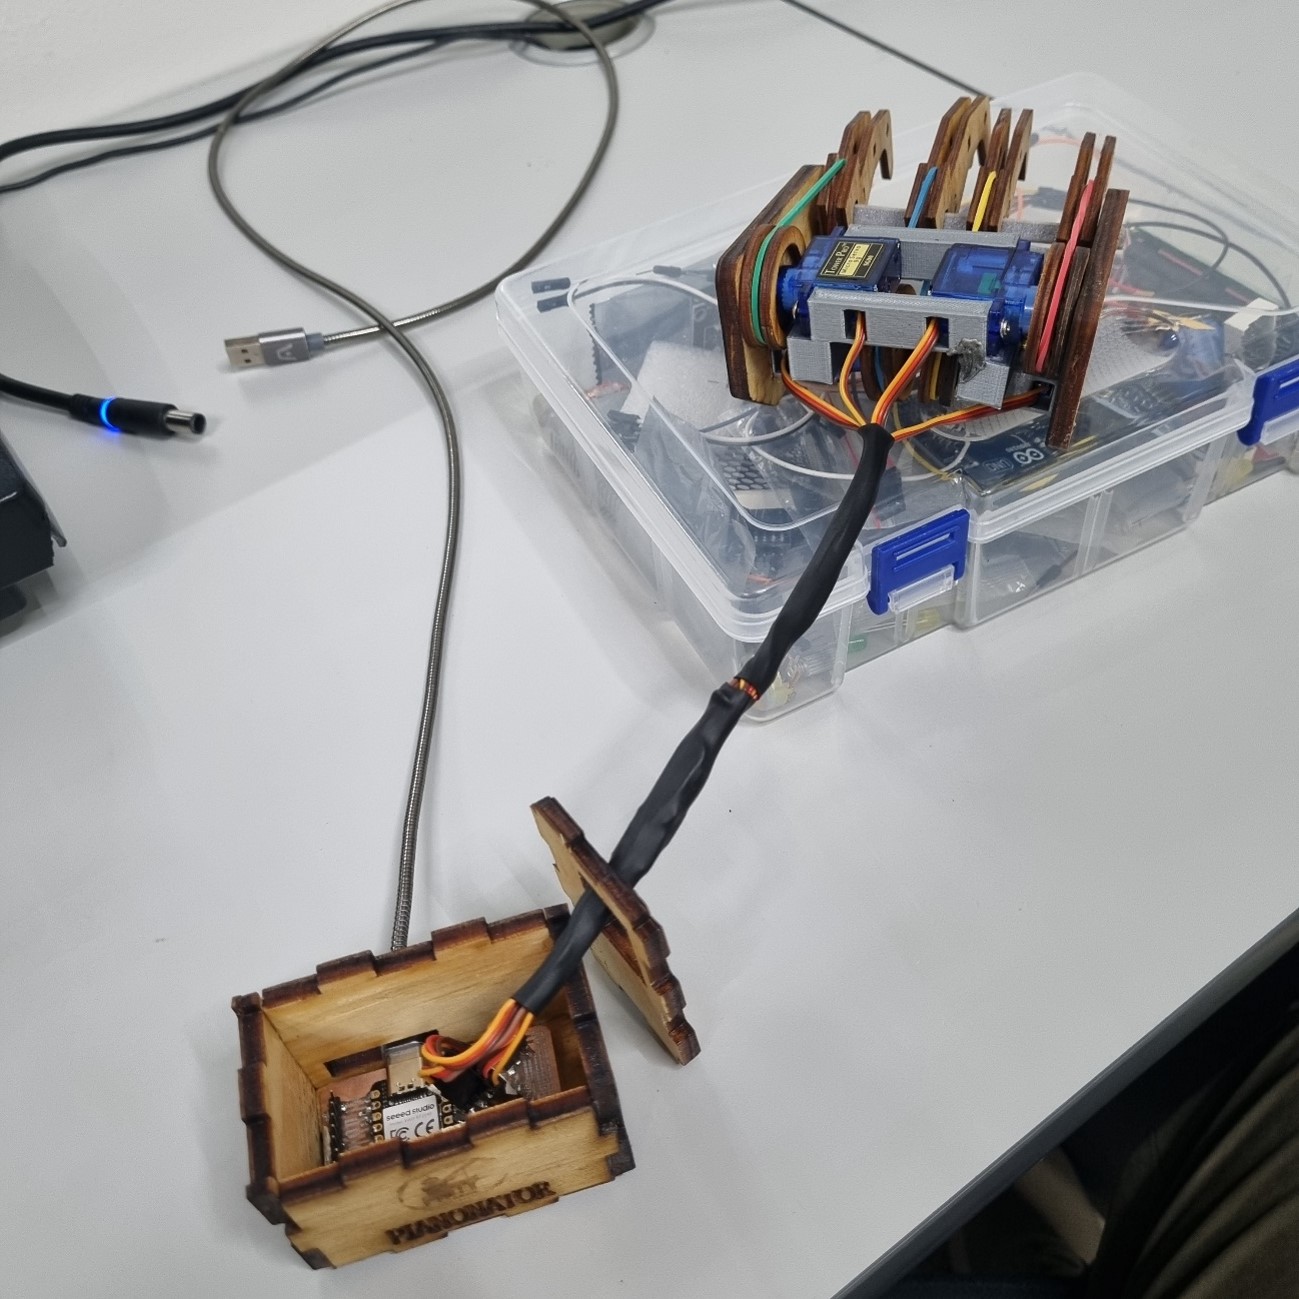
This is the current configuration for one of the hands of the pianonator:
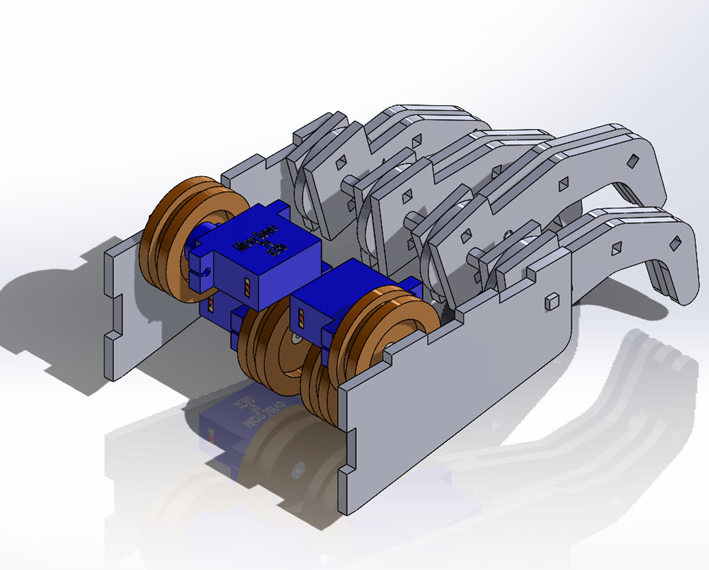
This configuration uses servomotors to move the fingers. I decided to use a belt and puller mechanism to transfer the movement. For the first prototype I'm going to try the movement, with a simpler design, as you can see in the following image:
First, I'm going to try to control a servo motor with a simple program:
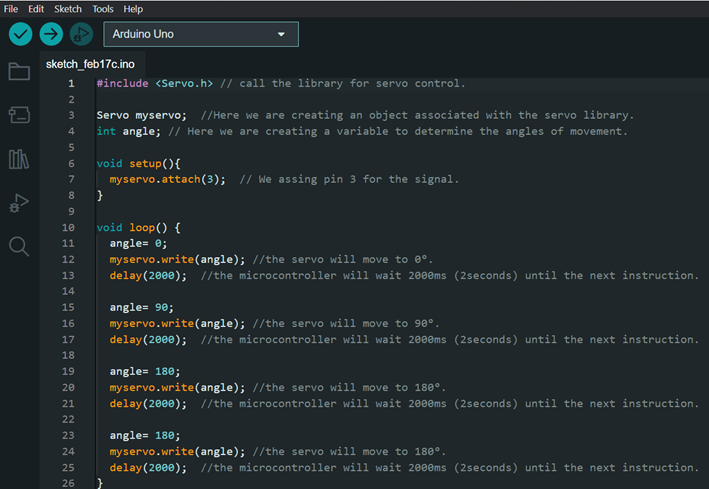
Now, that with a single motor works, I'm going to try a four-servo configuration:
Now, I will arrange the servos with finger and make different tests. First moving the fingers from 0 to 90°.
Then, using serial communication to move all the servos at once with a specific angle that I will provide by typing the number to the computer. This will allow me to know which set of angles are the most appropriate for my finger movements.
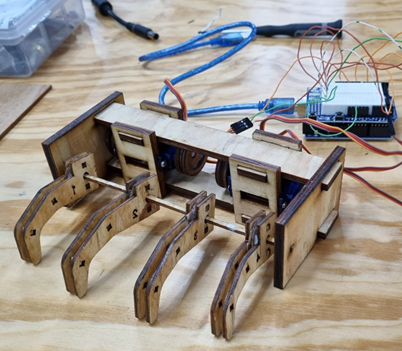
Finally, I have the first working prototype of the Pianonator!
Week 13 - Update
I used Wi-Fi to control the pianonator fingers.
Week 17 & 18 - Update
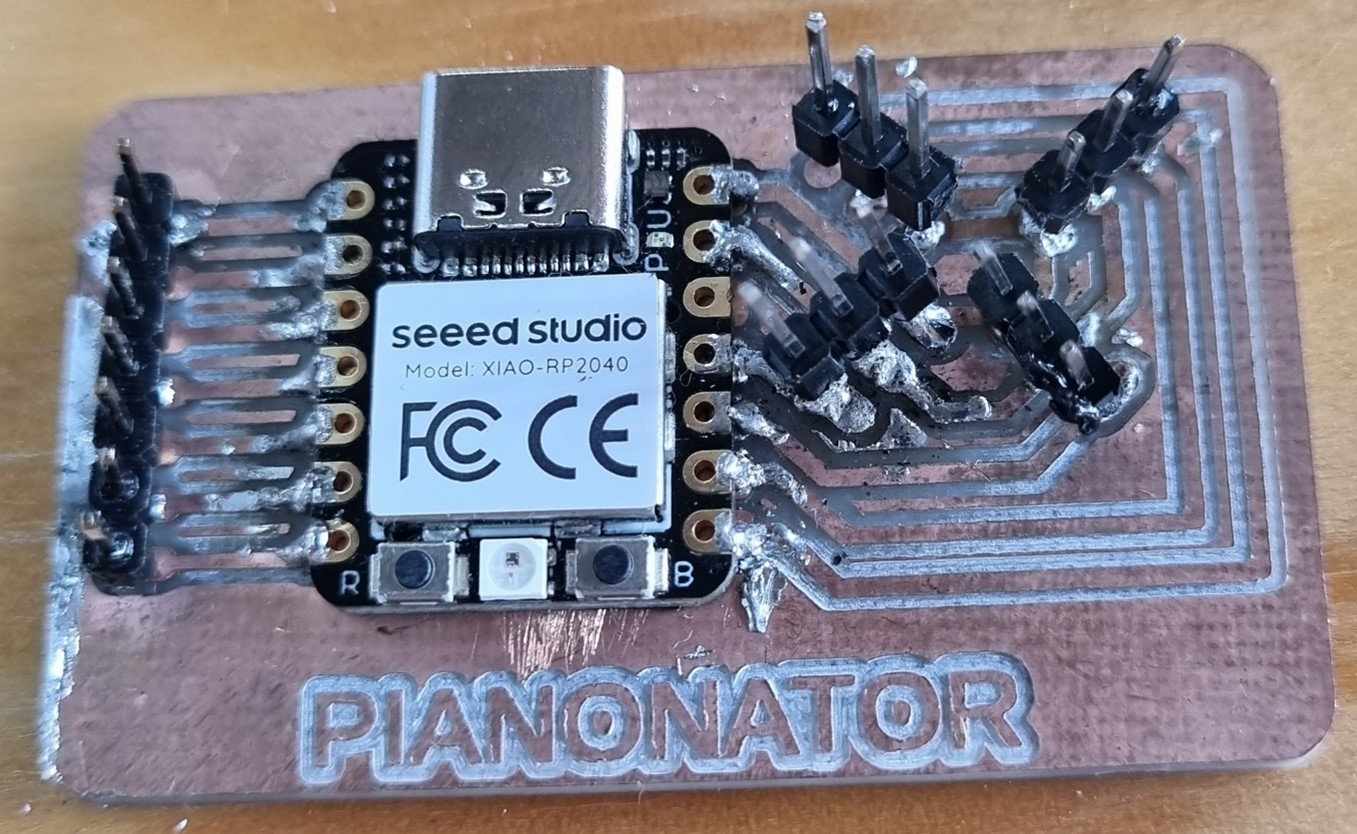
Electronic Design
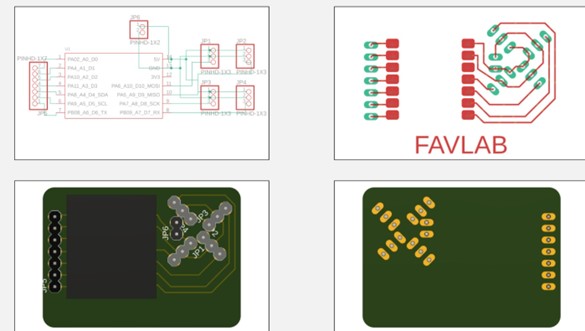
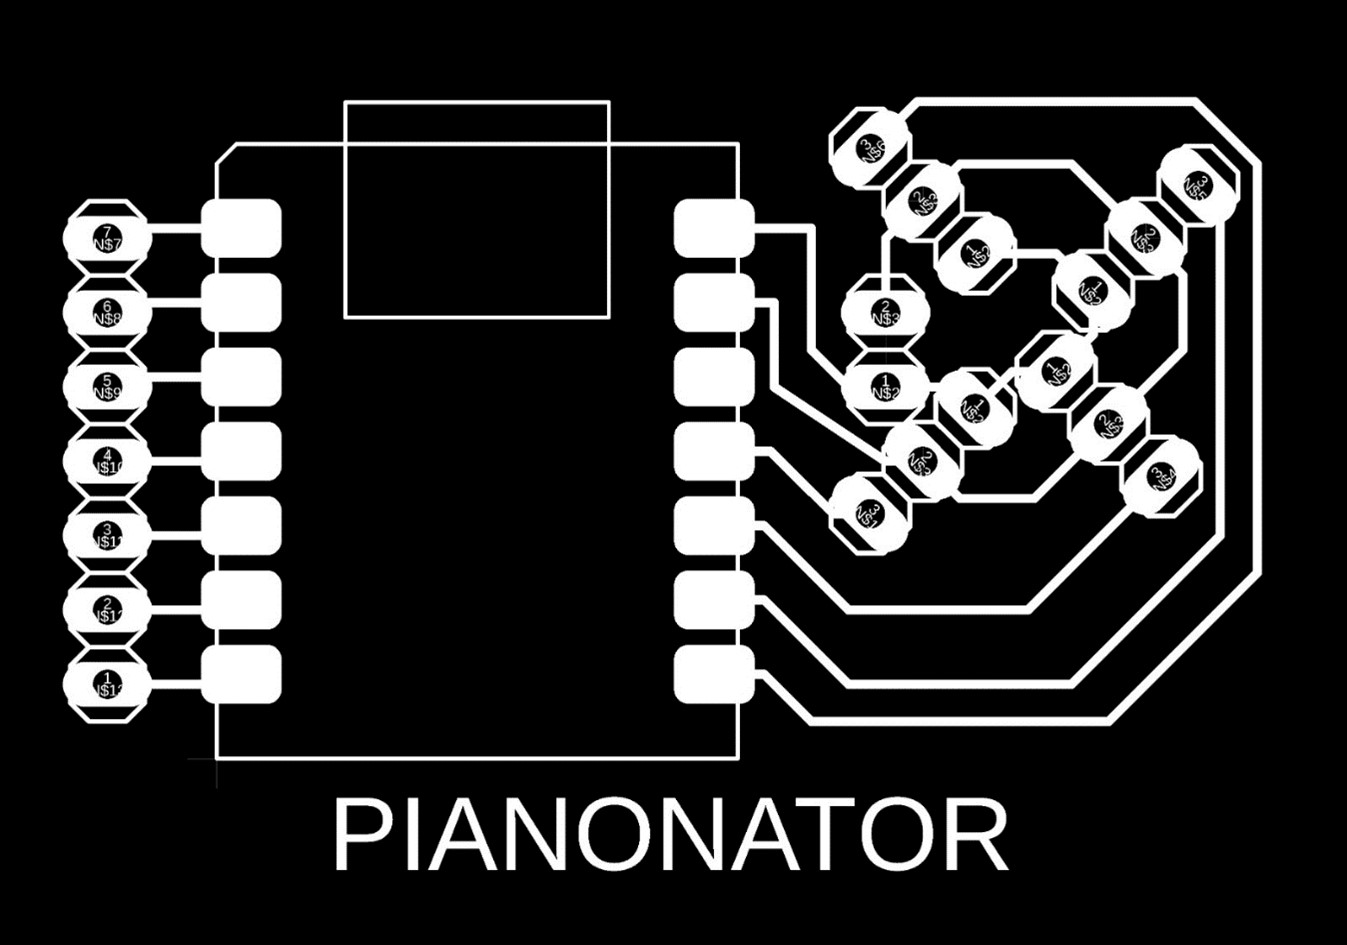
Electronic Production
2D Structure Design
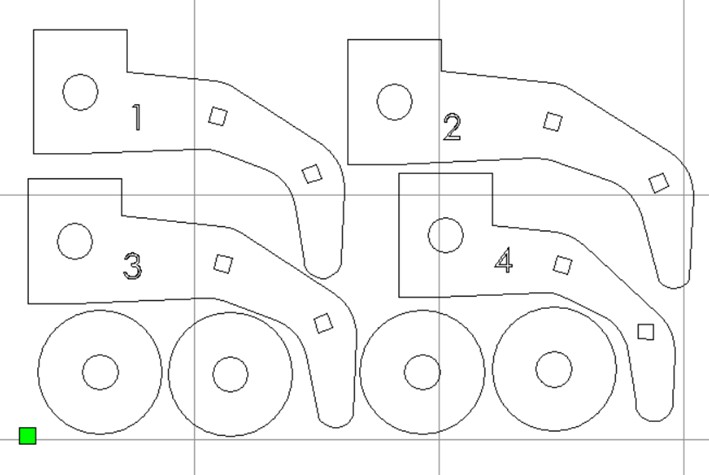
Laser Cut
3D Design
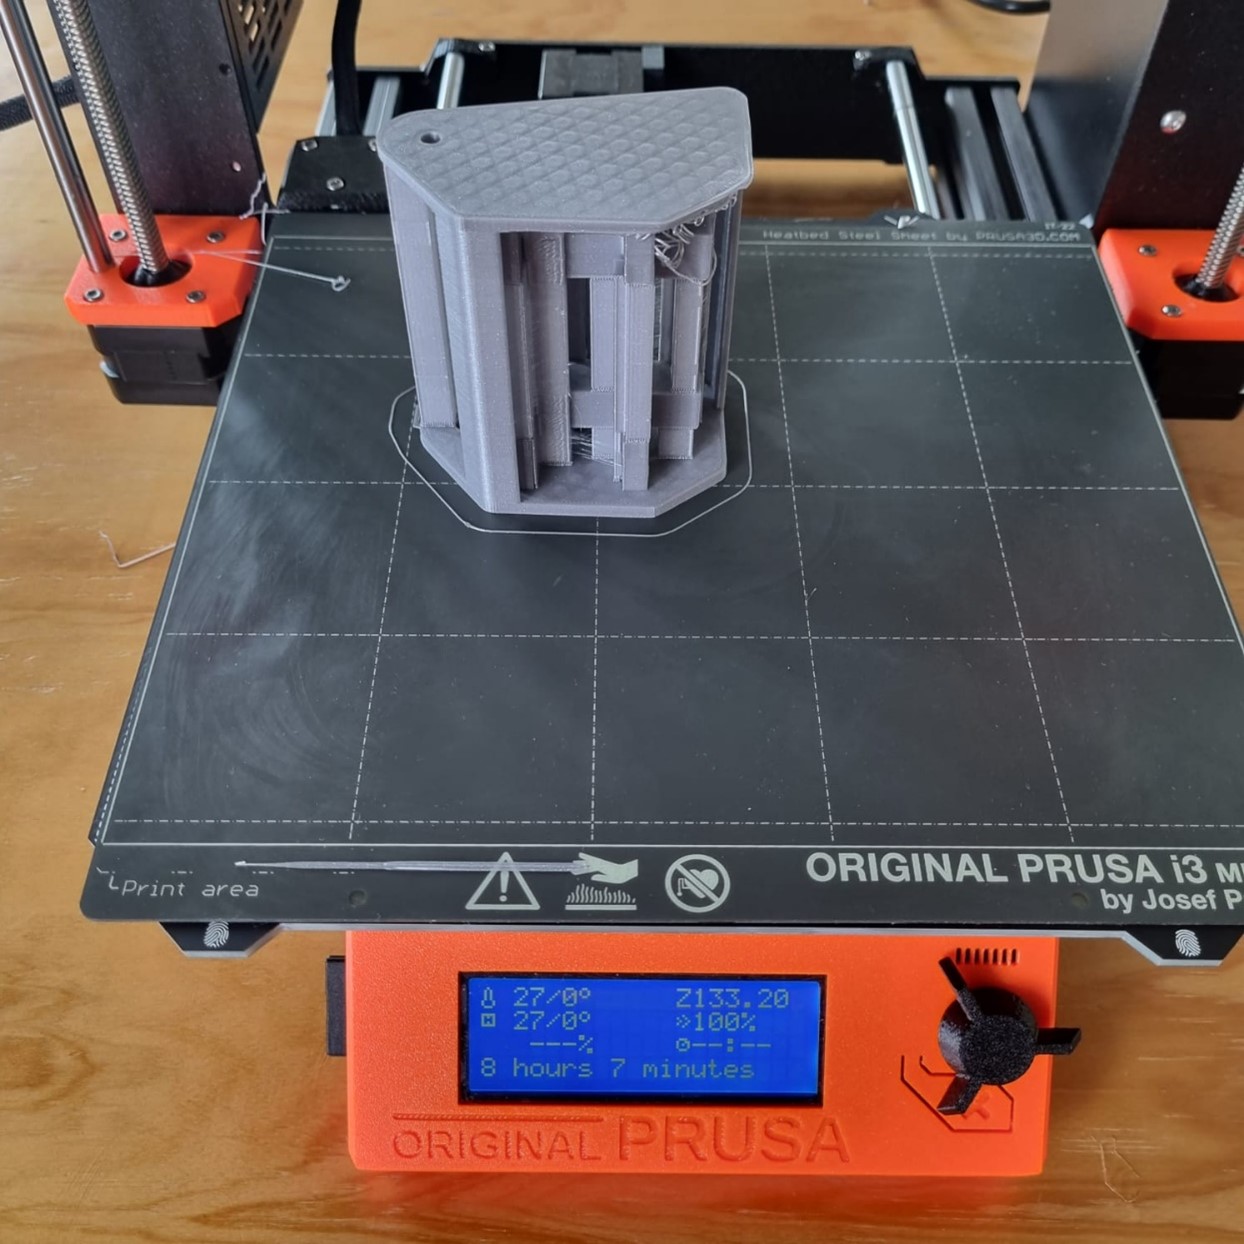
3D Printing
System Integration
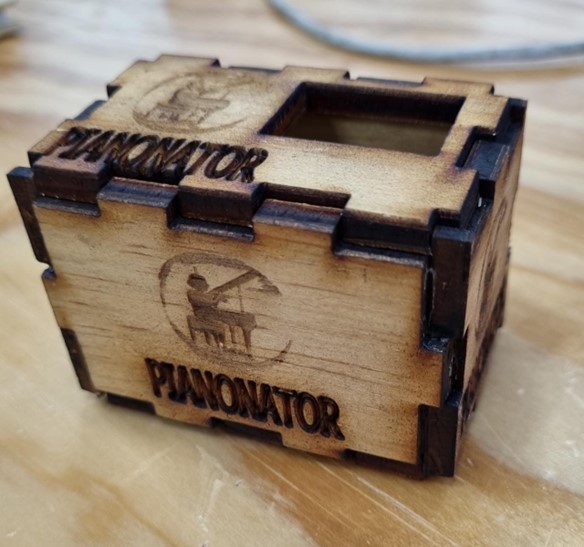
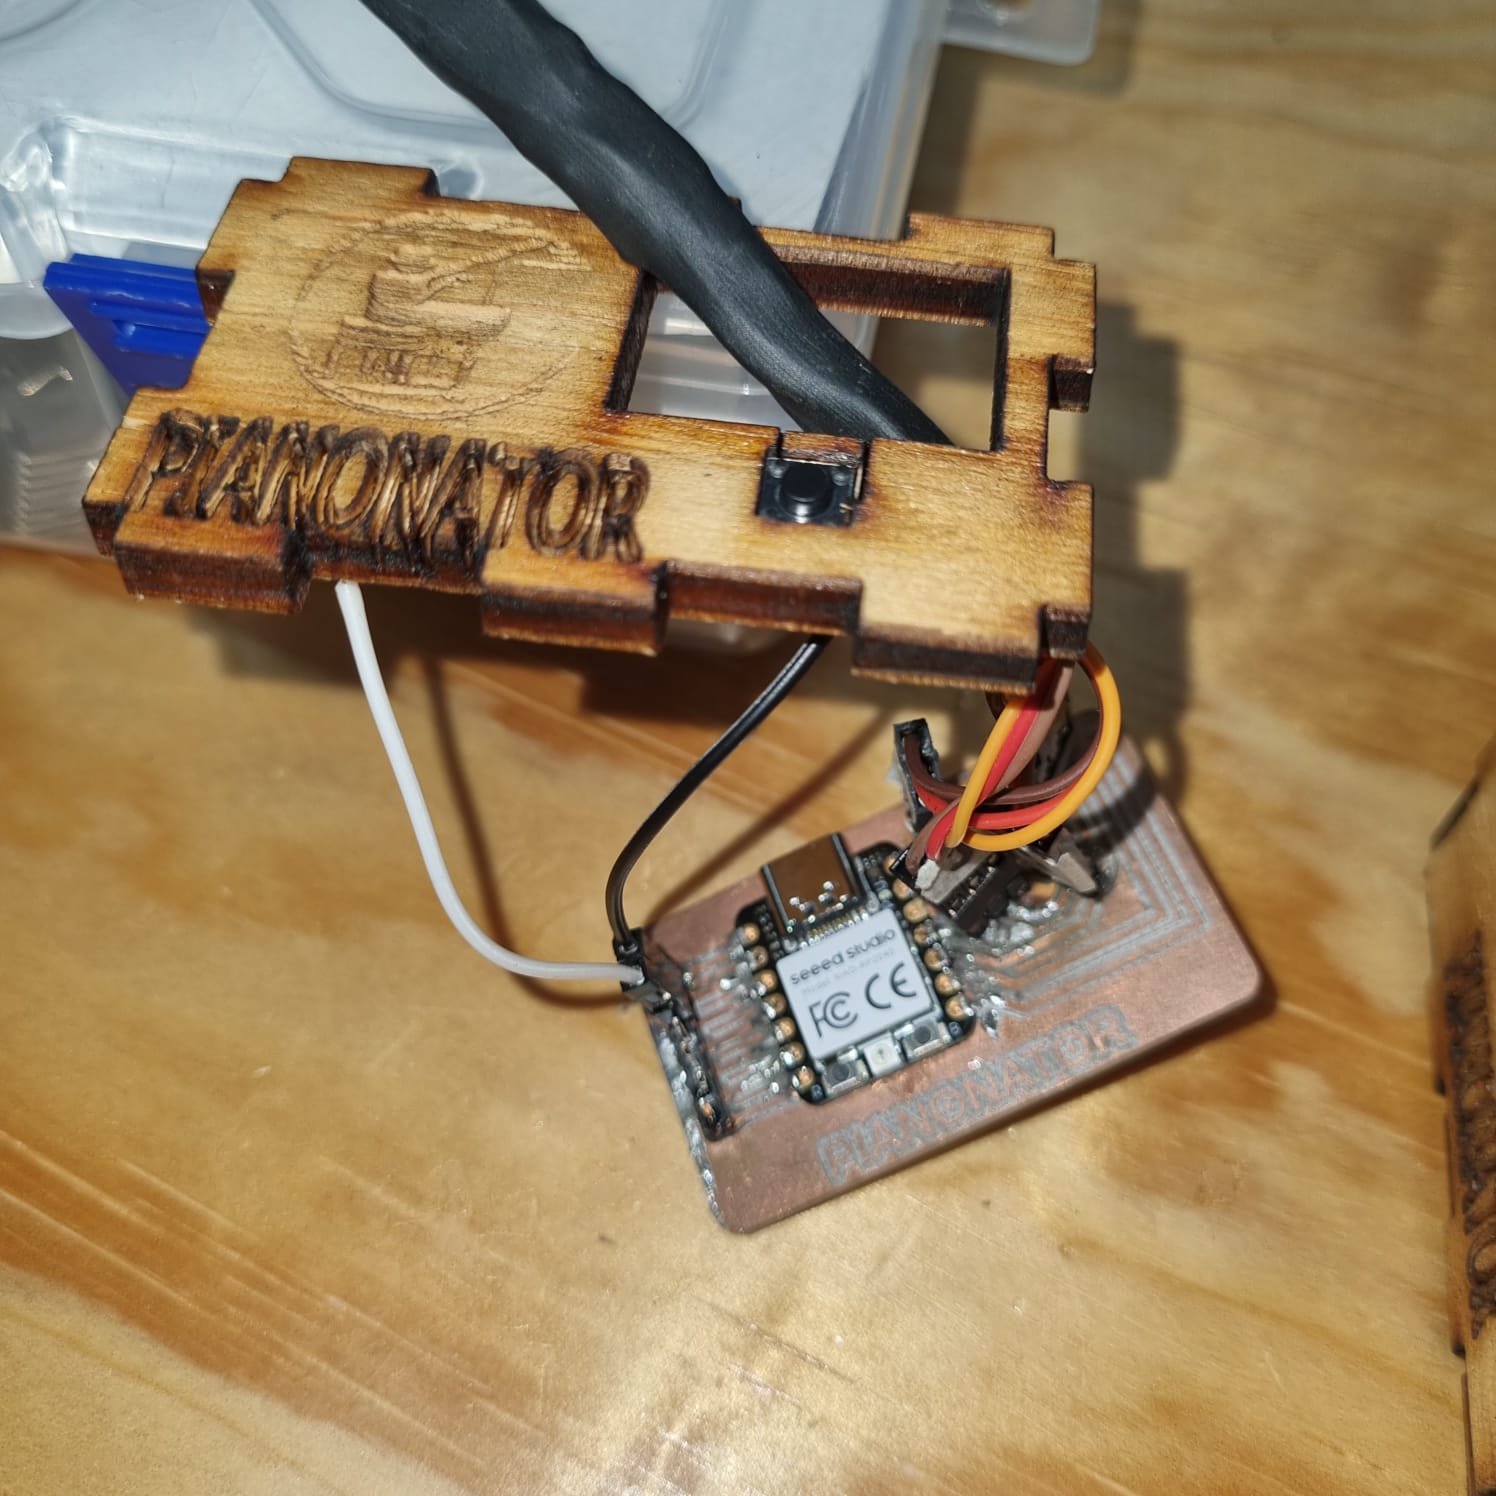
A boton starts the pianonator
Test
Final Project - Pianonator
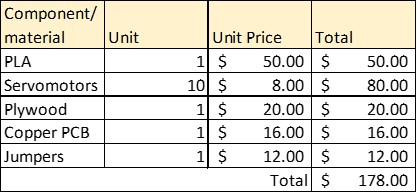
Bill of Materials
Slide
video

This work is under Licencia Creative Commons Atribución-NoComercial 4.0 Internacional.
Here, you can download the :