Week_13: Networking and Communications
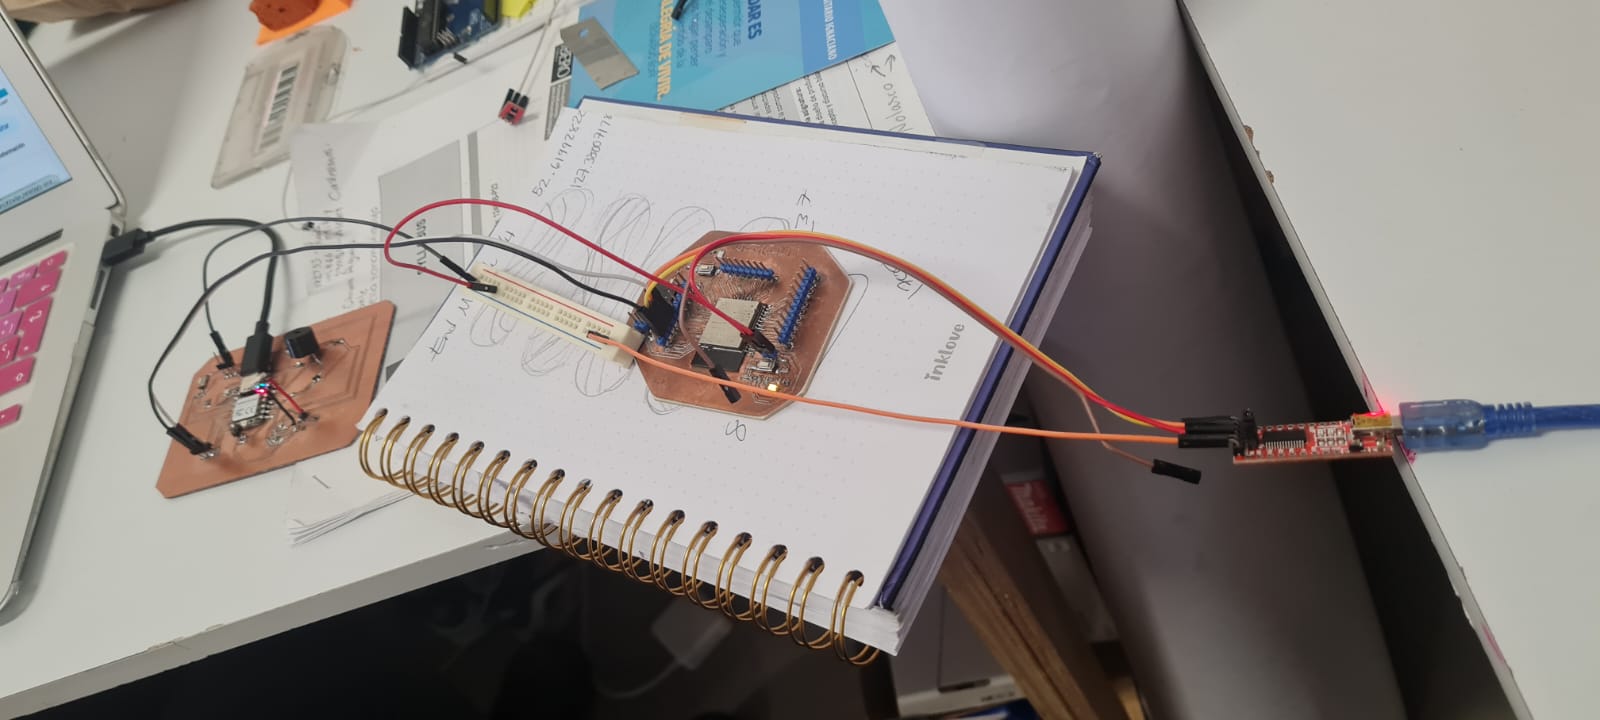
For this week's assignment we are using the SCL and SDA interfaces on our boards, using the I²C communication protocol, to send data from one board to another; in this case a Xiao RP2040 from Maricruz Chávez to the
ESP32 i built on Week_08.
First thing first, What is I²C? It is a serial communication protocol that allows several "master" devices to be connected to several "slave" devices (not a fan of the word). A "master" device sends a request for data/information and the "slave" (still not a fan) collects said data and sends it back to the "master" for interpretation.
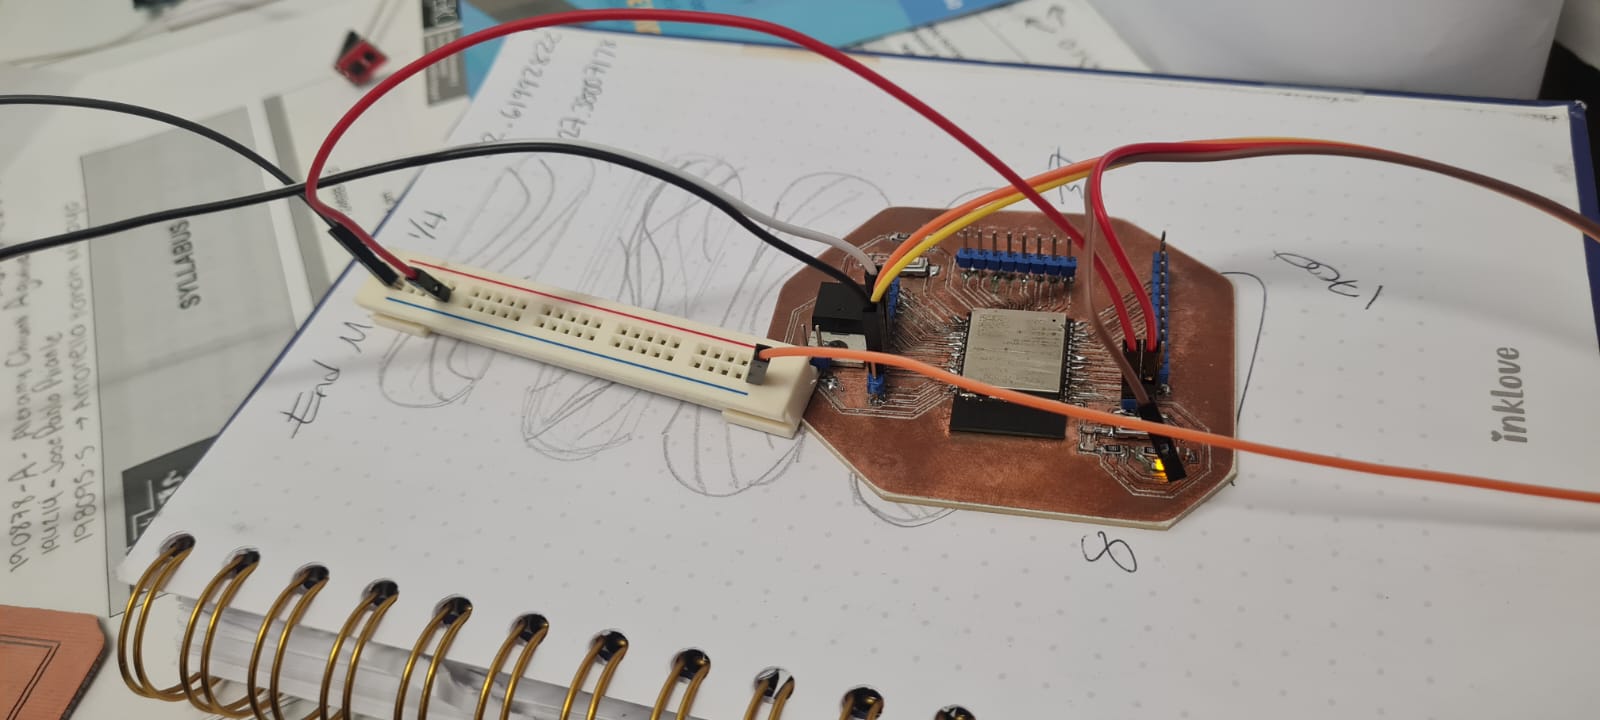
In this excercise the RP2040 works as a master device, requesting data from the ESP32, collecting the data and sending it back through the SDA and SCL pins on both boards. It is necessary to say that both devices must be connected not only with the SDA-SDA and SCL-SCL, but also must share the ground pin.
The code uses the
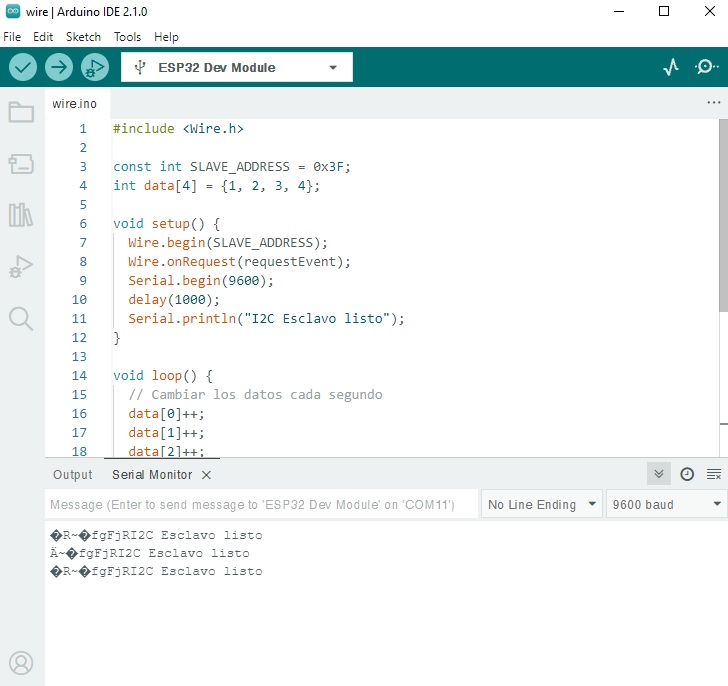
Wire.h library on both devices, which is the I²C protocol library. The program uploaded on the ESP32 board is the next:
#include "Wire.h"

const int SLAVE_ADDRESS = 0x3F;  //This address is unique for this device
int data[4] = {1, 2, 3, 4};      //This line indicates the data packages that will be sent
								 //to the other device.
void setup() {
 Wire.begin(SLAVE_ADDRESS);     //This line starts the wire process.
 Wire.onRequest(requestEvent);
 Serial.begin(9600);
 delay(1000);
  Serial.println("I2C Esclavo listo"); //This part shows the message
}                                      //in the serial monitor.

void loop() {
  data[0]++; //This part of the code writes consecutive numbers and sends them
  data[1]++; //until you stop it.
  data[2]++;
  data[3]++;
  delay(1000);
}

void requestEvent() {
 // This sends data over to the "master"
  uint8_t byteData[4];
  for (int i = 0; i < 4; i++) {
	byteData[i] = (uint8_t)data[i];
  }
  Wire.write(byteData, 4);
}
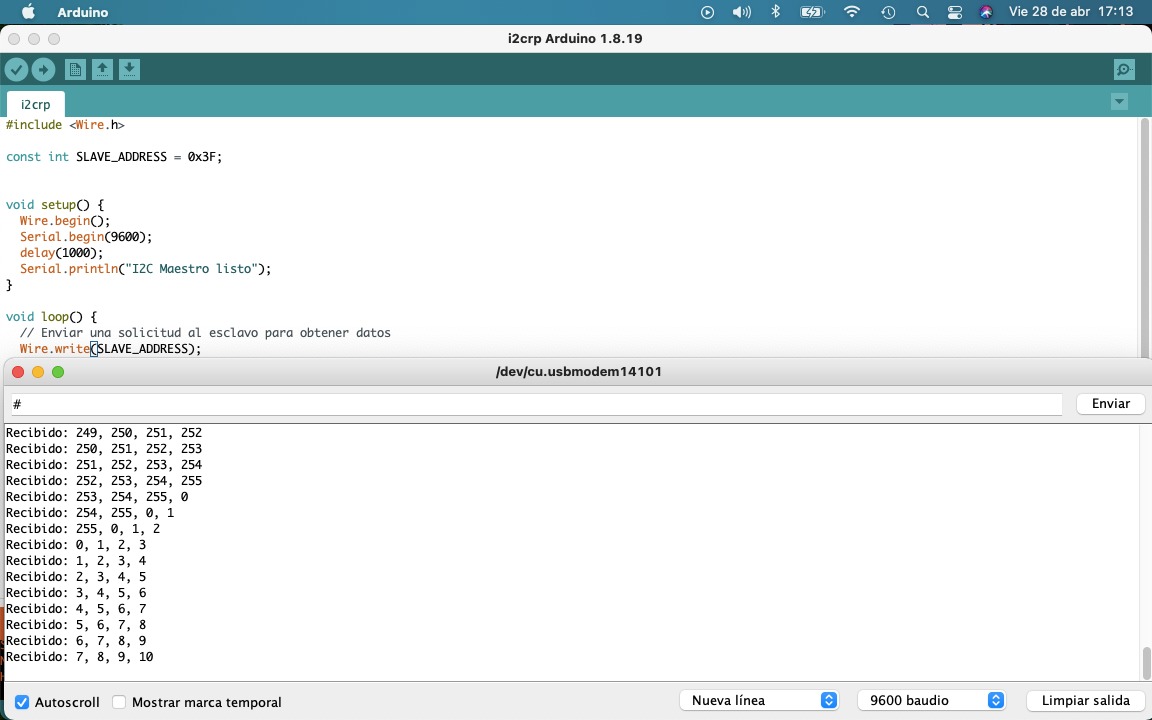
The serial monitor on the Xiao RP2040 shows the numbers sent by the controlled device.
Bluetooth utilities
Since the ESP32 Microcontroller has both Bluetooth and WiFi capabilities, this week's assignment might as well include either of those. I chose Bluetooth as I want to connect to the final project via my cellphone and configure the city from which the air quality information must be downloaded. First of all, we must tell the Board to activate the Bluetooth signal, to send and recieve data, and the print it via the serial console.
#include "BluetoothSerial.h" //This library has the Bluetooth Capabilities for the program

#if !defined(CONFIG_BT_ENABLED) || !defined(CONFIG_BLUEDROID_ENABLED) //This three lines make sure that the bluetooth is enabled
#error Bluetooth is not enabled! Please run `make menuconfig` to and enable it // and ready to connect, if not, it starts again
#endif                                                                        // until it is propperly enabled.

BluetoothSerial SerialBT; //This creates and instance called SerialBT.

void setup() {
  Serial.begin(115200); //We begin the Serial communication at a baud rate of 115200
  SerialBT.begin("Bbto32"); //This defines the device's name as "Bbto32"
  Serial.println("The device started, now you can pair it with bluetooth!"); //This promt will be printed as soon as the BT is
																			//initialized.
}

void loop() {     //This part of the code will send and recieve data, and print it on the serial monitor.
  if (Serial.available()) {   //Here we are checking if there are any bytes of information recieved in the
	SerialBT.write(Serial.read()); //serial port, if there are any, it sends it via Bluetooth to the other device.
  }                               //SerialBT.write sends the data via Bluetooth.
  if (SerialBT.available()) {     //This part checks if there are any bytes available to read on the serial
	Serial.write(SerialBT.read()); //port, if there are any, they will be printed on the serial monitor.
  }
  delay(20);
}
How are we supposed to connect and interact with the ESP32 board? There is an app called Serial Bluetooth Terminal which can communicate using the same kind of serial monitor that Arduino IDE has. So first we connect to the bluetooth device called "Bbto32" on the phone.
 Both devices get connected, and the I open the Serial Bluetooth Terminal app, and send a friendly
 Hello World! which then is printed on the Arduino IDE. Afterwards I sent Hola Mundo! from the Arduino IDE serial monitor and
it gets printed on the screen in my phone.
Having connected both devices I can now design a code that can change values on the interface for the real-time air quality data API, and configure any city in the world that has this information available, so then it can be interpreted by my device and act accordingly. I have included the arduino program for the "slave" and "master" communication between devices, and the Bluetooth experiment for the ESP32, in the Downloadables Website. Thank you and see you next week!