15. Interface and Application programming
Group assignment:
Individual assignment:
Write an application that interfaces a user with input and/or output device(s) on a board that you made.
Go to:
Groupwork
For the groupwork we worked as one group this week. We assigned a tool for each to research into, and studied individually what others had learned. The group assignment is documented in the group work page here on our Fablab Oulu pages. Check out our results!
Input device
The assignment
The individual assignment was: Write an application that interfaces a user with input and/or output device(s) on a board that you made.
First of all I have to say, that the previous week and this one have been really hard to me. With almost no experience of programming, I feel I often fell off the wagon during lessons and basically any time anyone is speaking about the subject. I would first need to start with googling interface and application to even understand what we might be talking about.
It took me time to understand what is our aim this week. As I was set to use processing as my tool, slowly but surely I made an image about it in my mind. In this case, I will be using a sensor to get some readings of something. Those readings are then taken off the serial port, and read and displayed in a simple graphical user interface program.
The Input device
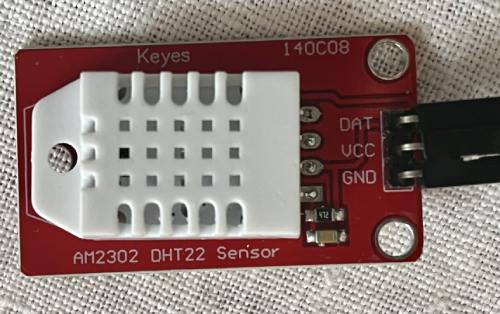
The sensor I will be using is DHT22, which is a basic, low-cost digital temperature and humidity sensor. It uses a capacitive humidity sensor and a thermistor to measure the surrounding air and uses the data pin to give out a digital signal.
There are 3 pins; Power, Data and Ground. I got some technical details from Adafruit.
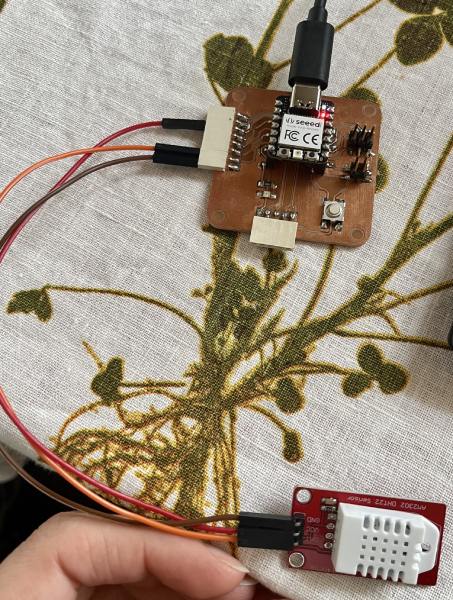
To start, I made the connections to my board I have been using all these weeks. We designed it on week 6.
I found one tutorial that was using DHT22 with Arduino Uno, and decided to check that out. It is in the instructables.com.
I opened the code in Arduino. It looked pretty clear so I thought I might have to only change the digital pin number accordingly. I chose to use D3. After that I pressed Compile. It didn't go through because of a missing library. I could've sworn I had it already, but I didn't. So I downloaded the DHT sensor library.
Now everything worked! I am so grateful for people making these examples and tutorials. That's how people like me can begin experimenting things and start to have more courage and understanding of the code.
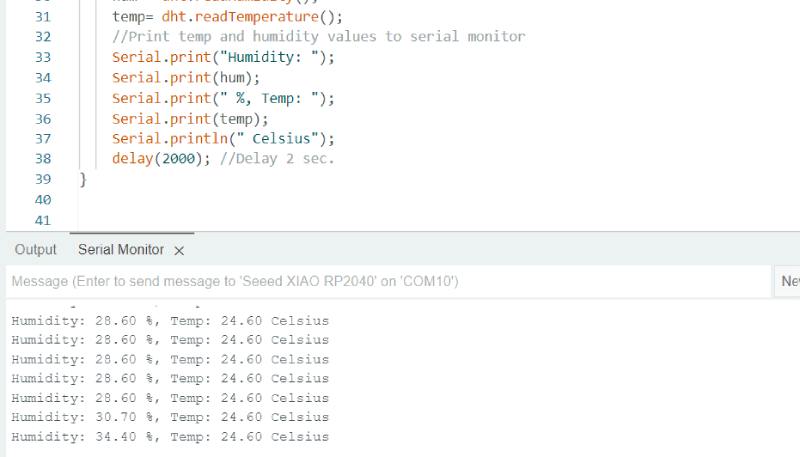
The sensor was showing the temperature and the humidity in Serial Monitor. It updates every 2 seconds.

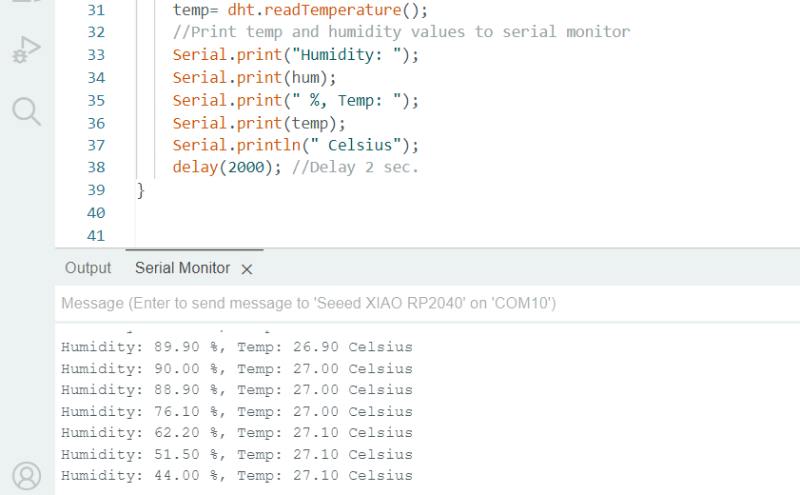
I wanted to test the sensor, so I held it closer to myself and I breathed into it. The humidity changed right away!
Then I closed it inside my hand gently. The temperature started rising.
I was so happy to get the sensor working! Small step for mankind, a huge step for Petra.
Now that the sensor was working, I had to start tackling the graphic user interface part. OMG..
Processing
In my assignment I decided to use Processing. Processing is a flexible software sketchbook and a language for learning how to code. Contributors share programs, contribute code, and build libraries, tools, and modes to extend the possibilities of the software. In the overview here it is said: "With its focus on creating visual, interactive media, students new to programming find it satisfying to make something appear on their screen within moments of using the software."
Starting
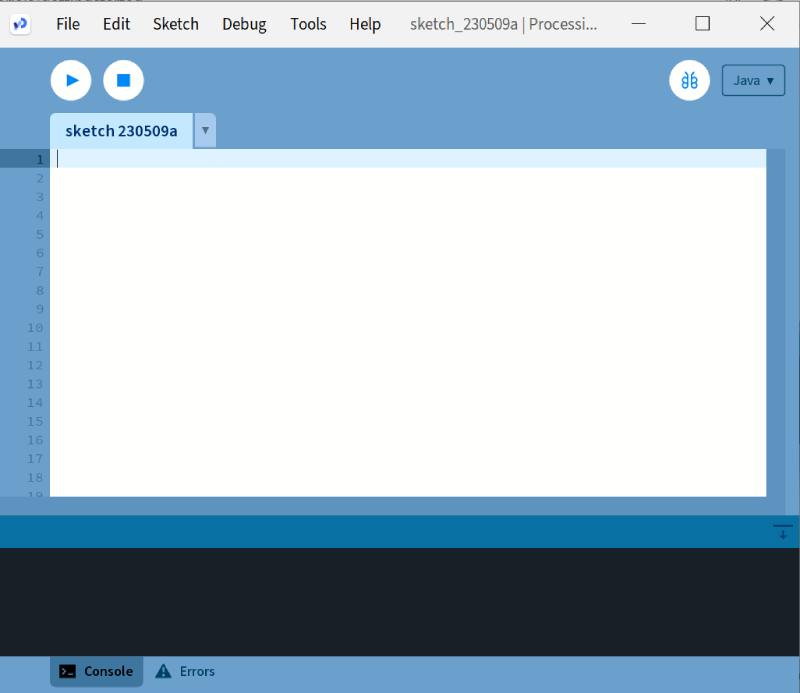
I downloaded the program, and the main processing window opened up. This is the Processing Development Environment (or PDE). The large area is the Text Editor, and there are buttons across the top; this is the toolbar. Below the editor is the Message Area, and below that is the Console. The Message Area is used for one line messages, and the Console is used for more technical details.
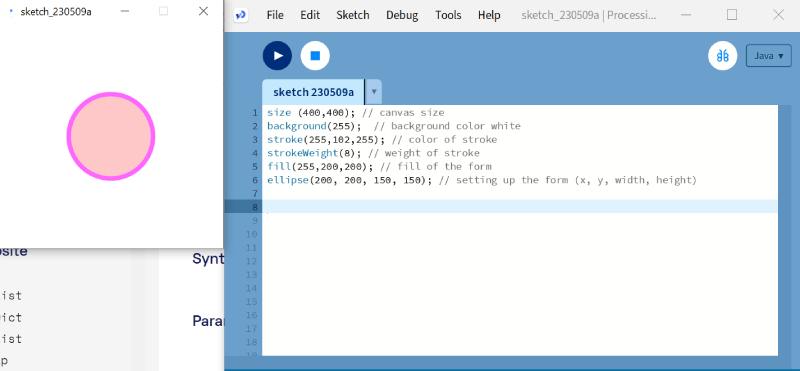
I started my first try to do anything with the program. With the Getting started page I drew an ellipse. I also wanted to change the coordinates, the colors and add a stroke. When you press Run (triangle button in the Toolbar), this screen opens up and shows the result.
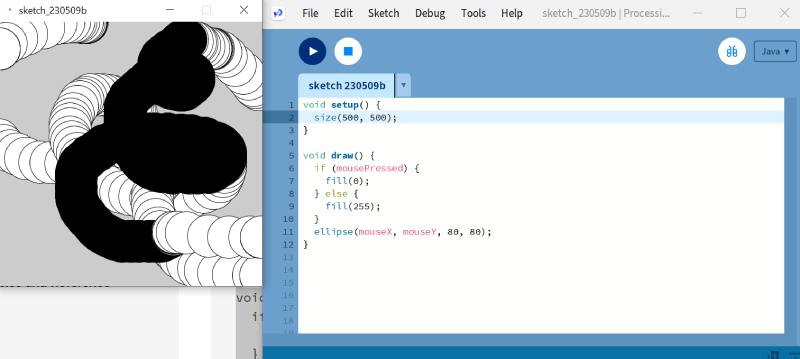
Then I did the next thing on the getting started tutorial. It was about drawing with your mouse. The program creates a window, and then starts drawing white circles at the position of the mouse. When a mouse button is pressed, the circle color changes to black.
In our local class, our instructor showed us also these versions.
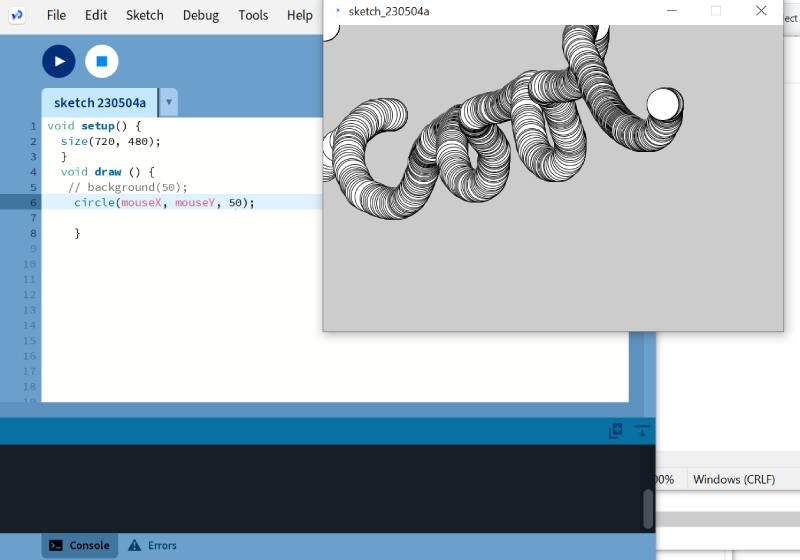
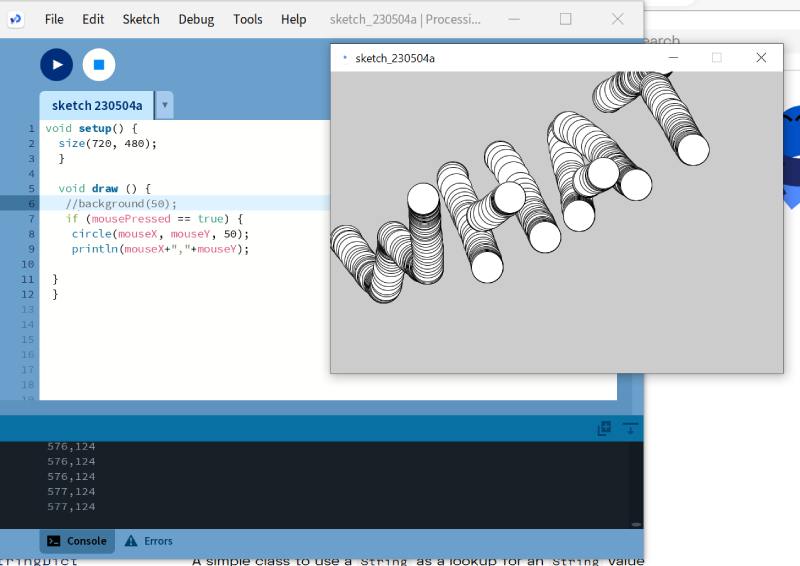
Without pressing the mouse, draw according to the movements of the mouse:
Only when mouse is pressed, draw:
The meter
In our local class, we talked about what would be a sensible choice to try out this week. Guys with more experience were about to do wonderful things with user interfaces and appications..but me, I thought it would be good to stick with Processing and trying to make a meter! That is already quite a challenge for me.
Oh by the way, long lasting stress is not a joke. It can make you cry in the middle of local class. My sincere apologies to my instructor. I am tired, very tired. Thank you so much for your understanding :)
Ok so to the meter. Because I have my input device, the sensor for temperature and humidity, I thought it would be possible to show the results in a meter. The first thing was to add a library for the thing.
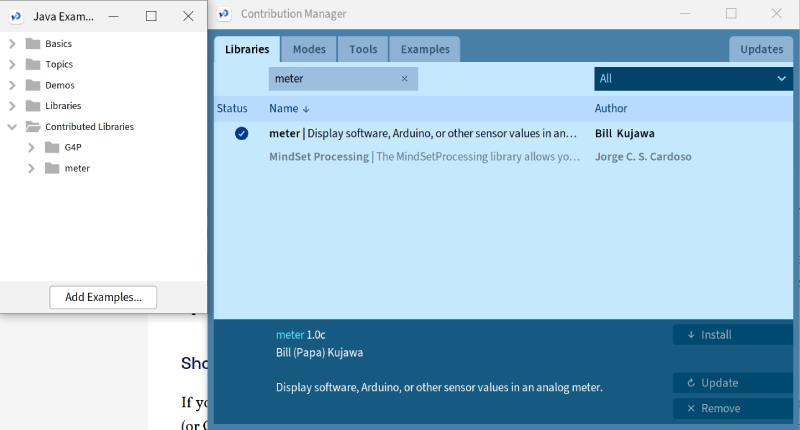
Sketch -> Import library -> Manage libraries. Type in 'Meter' and install the found library.
Now when you open File -> Examples -> It shows on the contriuted libraries tab.
I checked the example for full circle meter.It looked like this:
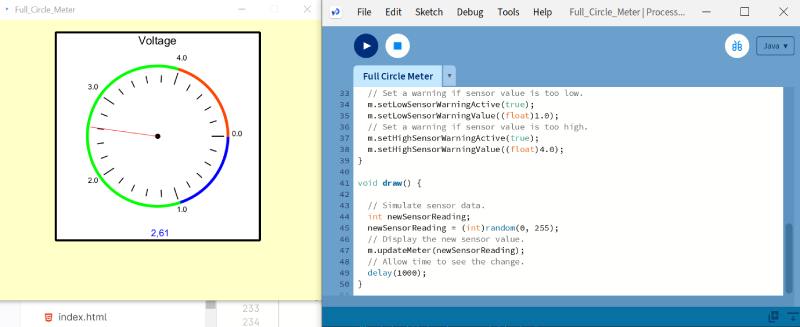
In this example you import the library, set up the screen, display a full circle meter, define the scale and labels, then simulate sensor data.
In our local class, our instructor also showed us about building a simple meter.
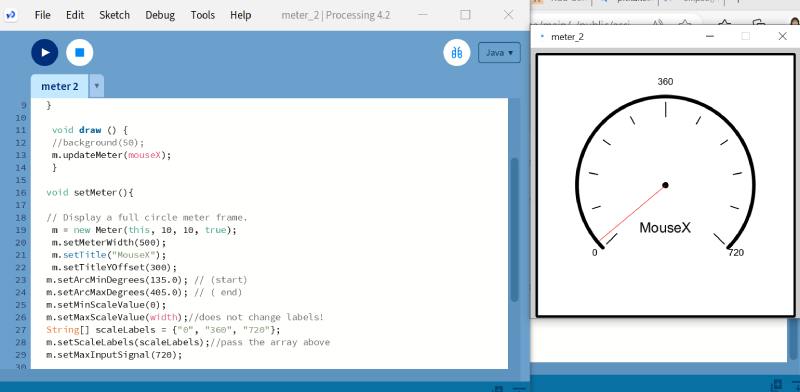
On void draw() you update your meter with the mouse movement: m.updateMeter(mouseX);
On void setMeter() you setup the meter frame, width, title, title offset, arc, scale values, and scale labels. You also define maximum input signal.
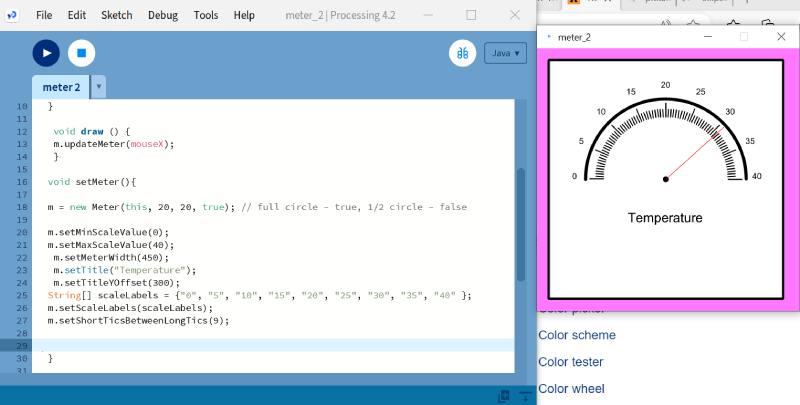
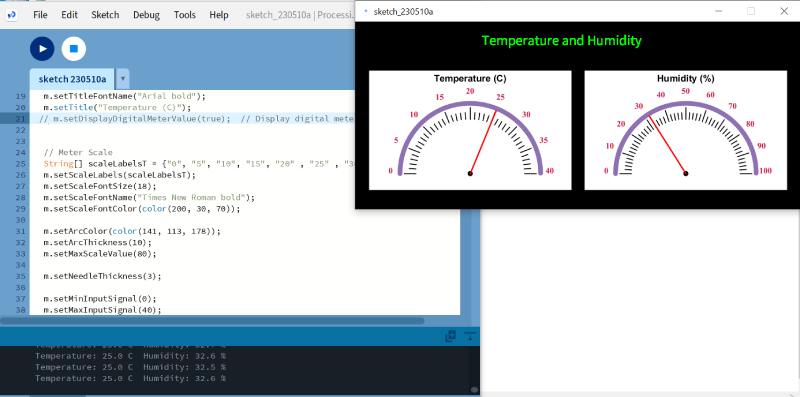
At this point I started to modify the looks of the meter to fit my purposes. I didn't yet think about the functioning. So I set some new values to the dimensions, scales and scale labels. First my meter looked awkward since the 0 point was by default at 3.00 o'clock. I searched the internet for guidance, and I found a way to set my scales with String here. Funnily enough, nothing else had to be changed but the scale from 0-40.
Communication with Arduino IDE and Processing
The sensor was giving readings of the temperature and the humidity. How would I get them now to Processing? I knew that somehow I had to open the serial port in GUI, and get the data from my board. Also, my sensor was giving out 2 different information. How to devide those? I decided to start with just one, the temperature.
I used an example called SimpleRead from File -> Examples -> Serial -> SimpleRead. It guides you on how to read data from Serial port.
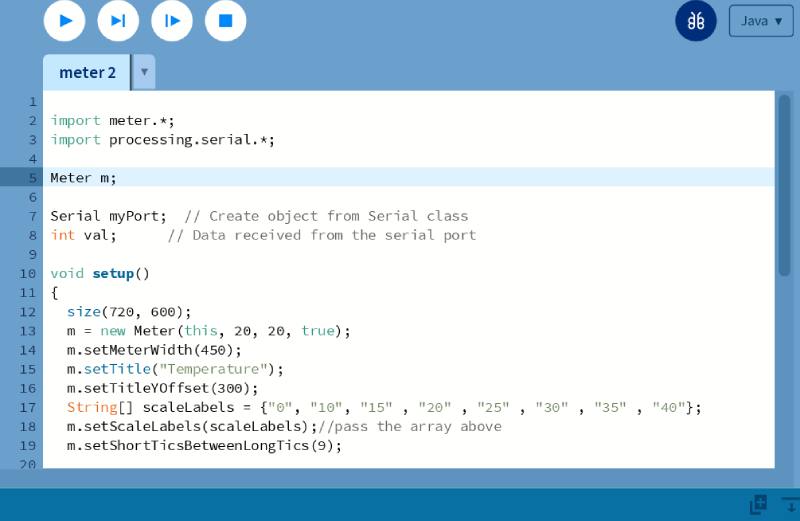
.At first, I had to add the library for serial with import processing.serial.*;.
Then I created an object 'myPort' and integer 'val' receving data from serial port.
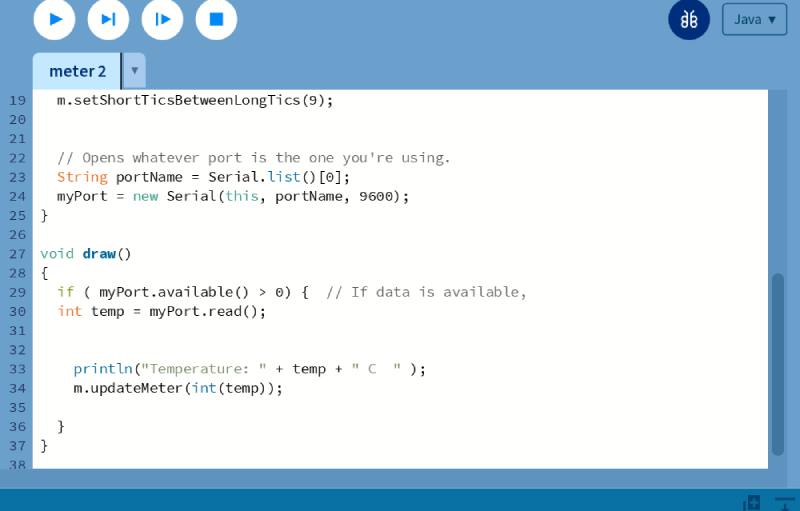
In void setup I had to open the port. This code opens the port you are using:
String portName = Serial.list()[0];
myPort = new Serial(this, portName, 9600);
I named my port COM10, since I knew Arduino IDE was using that.
On void draw I said; if there is data available on the port, print a line and update the meter.
When I pressed Run, the debugger said that my port is busy. I wasn't sure what to do..of course the Arduino was using the port but isn't it supposed to?
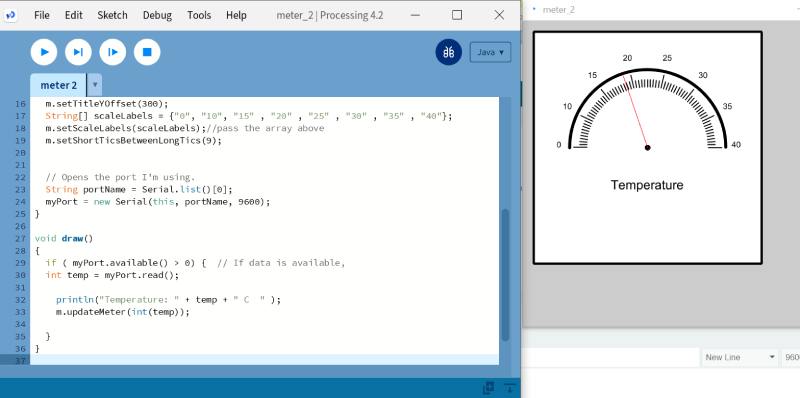
The only thing that came into my mind was to close the Serial Monitor in Arduino. I don't know if that was the trick, but now it started to work! This is what I got:
I was very happy that I got something out. But then there was the problem of having two different values. I wanted to also represent the humidity. It made sense that it would have to be in a second meter. I first tried just adding a second meter, setting it up, and then adding data int for humidity, and updating the second meter. It didn't work..so I knew it had to e more complex then that.
I checked out some projects from google, and slowly understood that I was on the right track but I needed to make bigger changes in the void draw. And in the beginning I needed to add String[] list;. A string is a sequence of characters, and StringList is a Helper class for a list of String objects.
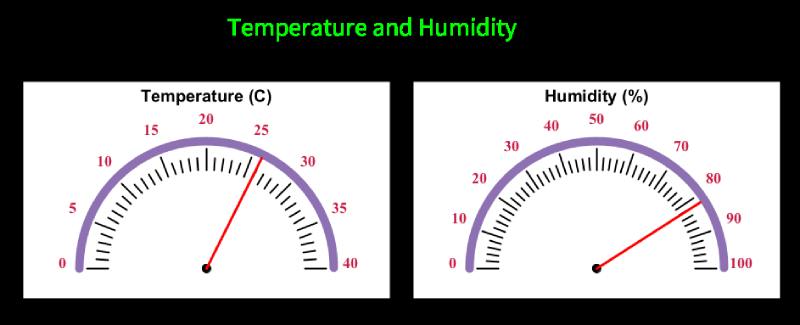
To make the needed changes in void draw, I had to search for an exact tutorial. I actually had the right elements, but some details were either missing or in a wrong order. I think that is just understandable at this point. When I searched for guidance I came up with this tutorial that actually was made for this. Funny that I didn't come across to this earlier. Now I had my things in order! I also changed the max value and scale for the temperature meter to fit better the Finnish weather.

The tutorial had also some Arduino Code there, so I thought I might as well use that too to make things really clear. In case something wasn't compatible with my old code and the Processing code.These past couple of weeks have felt hard for me, so I let myself have this help. I just modified the code to fit my pin, took some excess away and voilà.
I also tested the operation; I breathed into the sensor. The humidity started to rise instantly, and the meter also showed the right numbers. Very nice!
I am happy with my results. Now I understand more about the subject, and how to also start with Processing. If I had had time, I wish I would've done all this before this week, so that I could've better understood the subject in local class. But time is something that you don't have these days. I think the most important thing is to tackle these weeks, and when I have time, I always know from where to start learning more.