Fab Academy
Arthur DEFRAIN

Week 5 
​3D Scanning and Printing  

Goal

​Group assignment:
​​Test the design rules for your 3D printer(s)
Document your work and explain what are the limits of your printer(s) (in a group or individually)
Document your work to the group work page and reflect on your individual page what you learned

Individual assignments:
​Design and 3D print an object (small, few cm3, limited by printer time) that could not be easily made subtractively
3D scan an object, try to prepare it for printing (and optionally print it)

​Learning outcomes

​Identify the advantages and limitations of 3D printing
Apply design methods and production processes to show your understanding of 3D printing.
Demonstrate how scanning technology can be used to digitize object(s)

Sample Headline

​Linked to the group assignment page
Explained what you learned from testing the 3D printers
Documented how you designed and made your object and explained why it could not be easily made subtractively
Documented how you scanned and prepared an object (for 3D printing)
Included your original design files for 3D printing (both CAD and common format for 3D printing)
Included your hero shots

​Groupe Assignment

​Comparer les performances

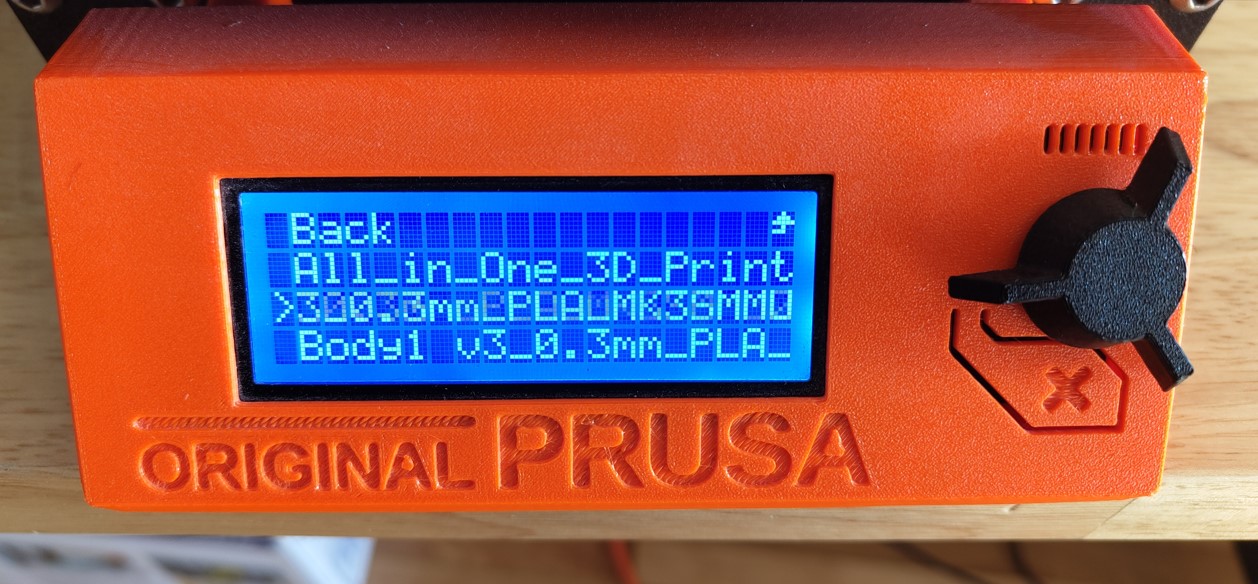
​Original Prusa i3 MK3S+ 3D printer

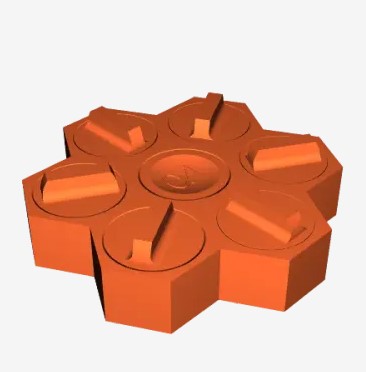
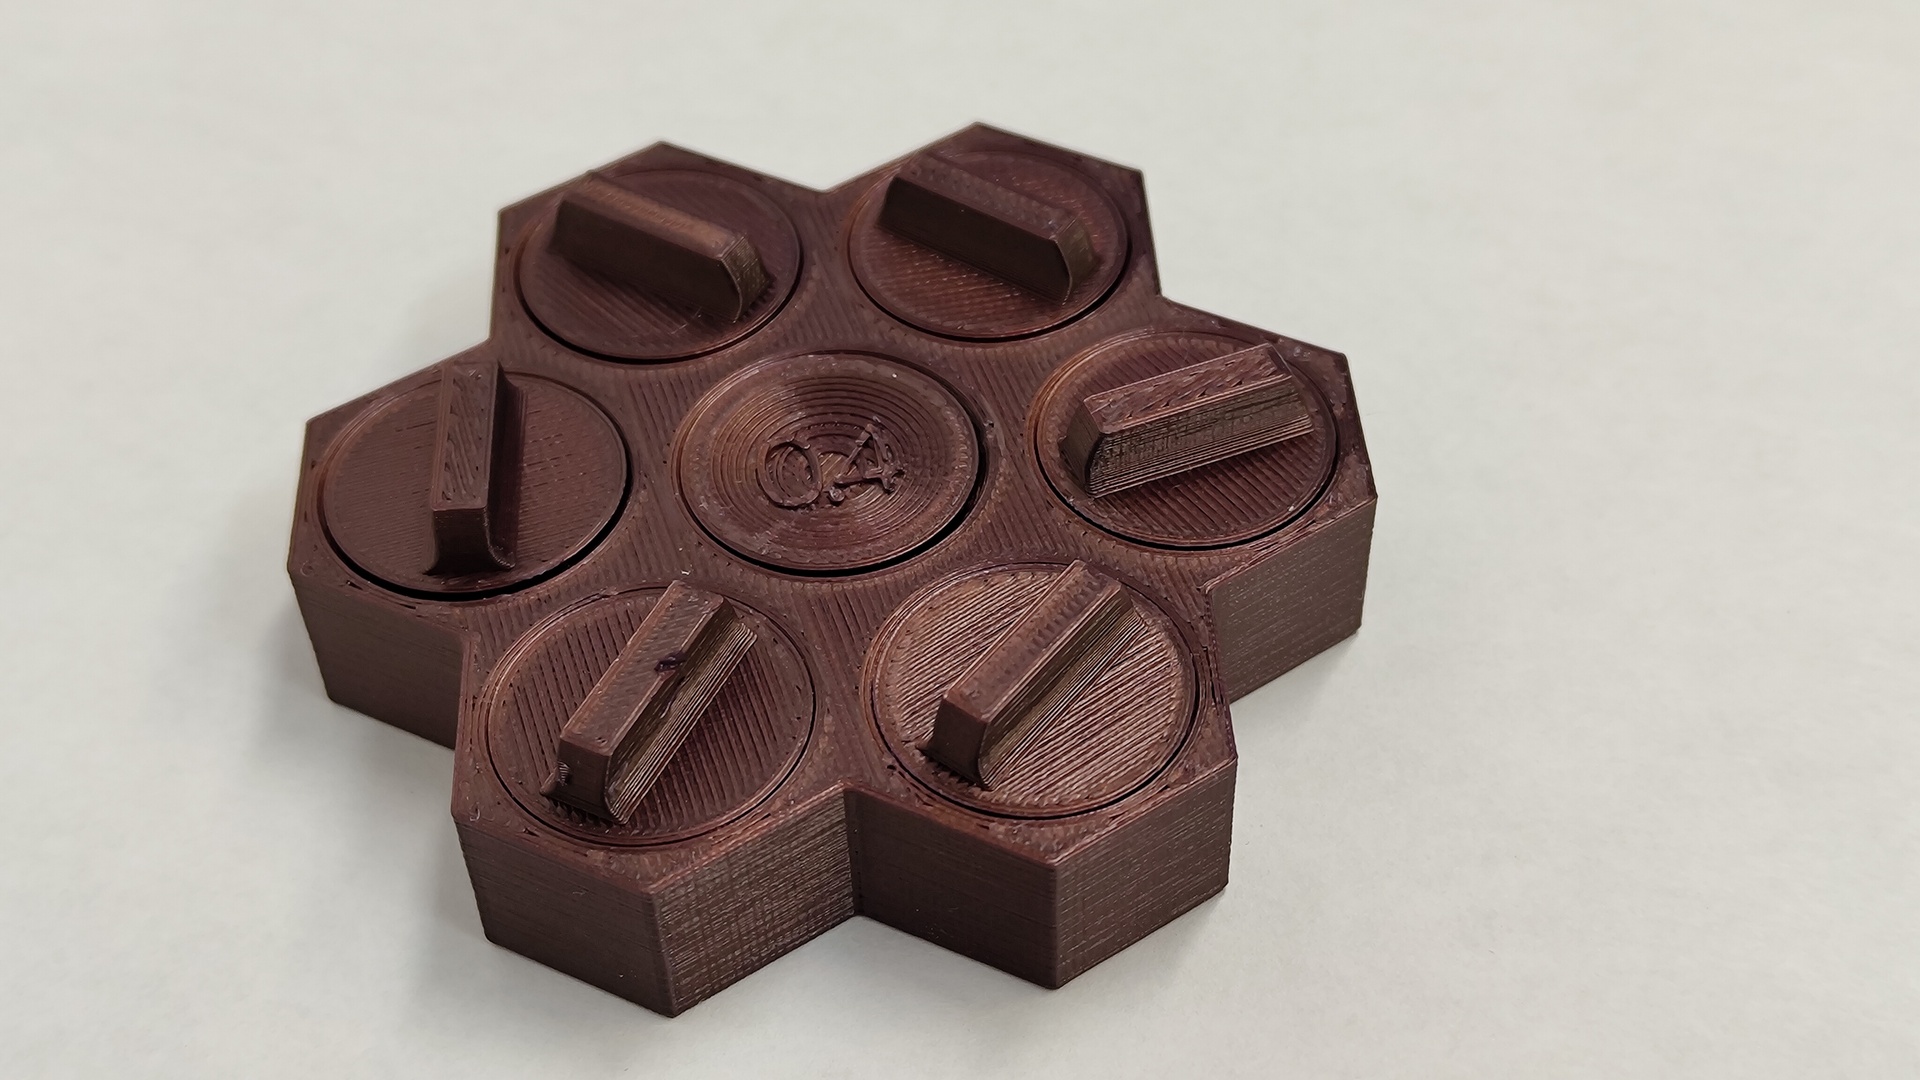
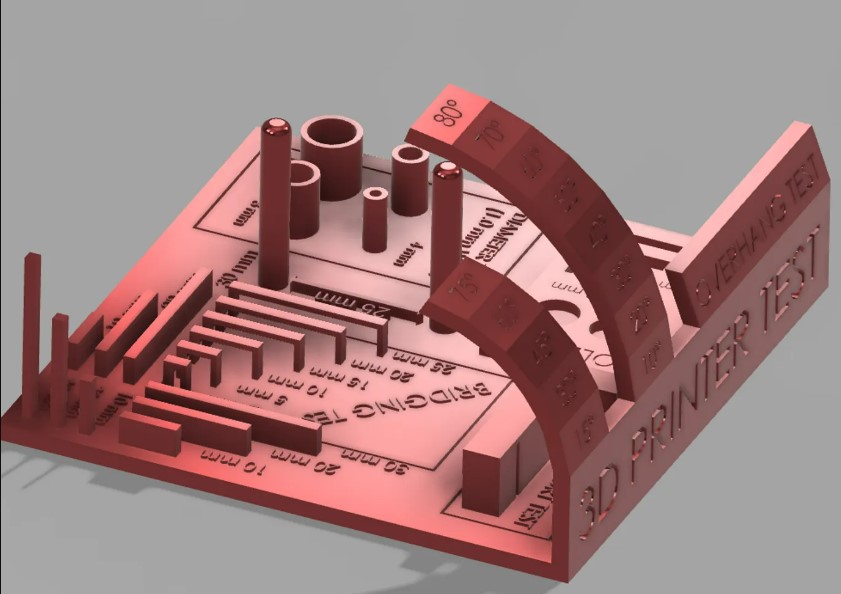
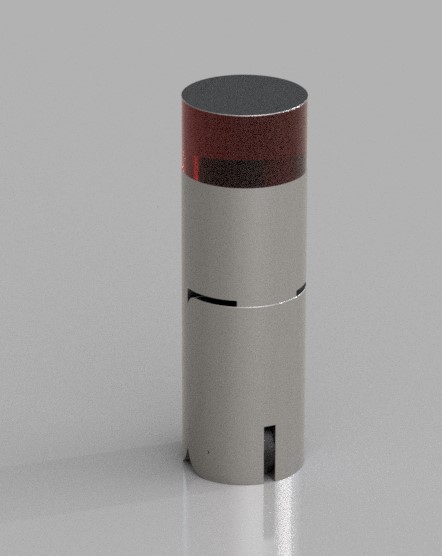
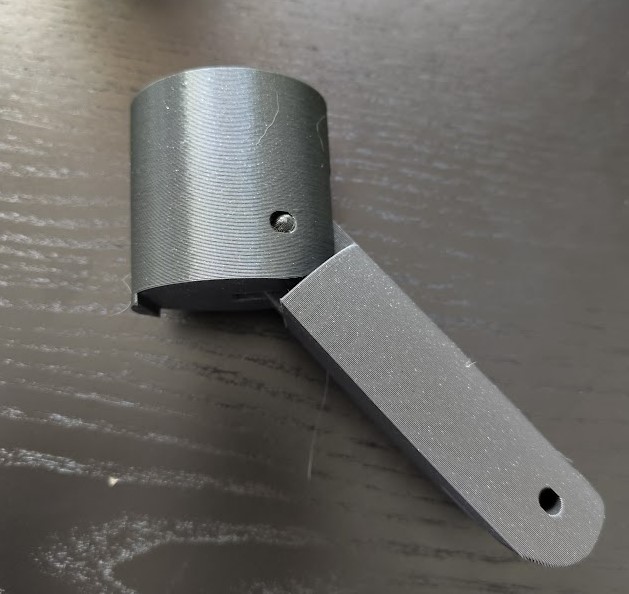
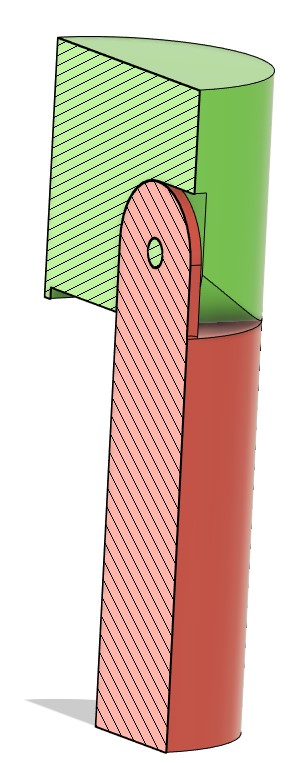
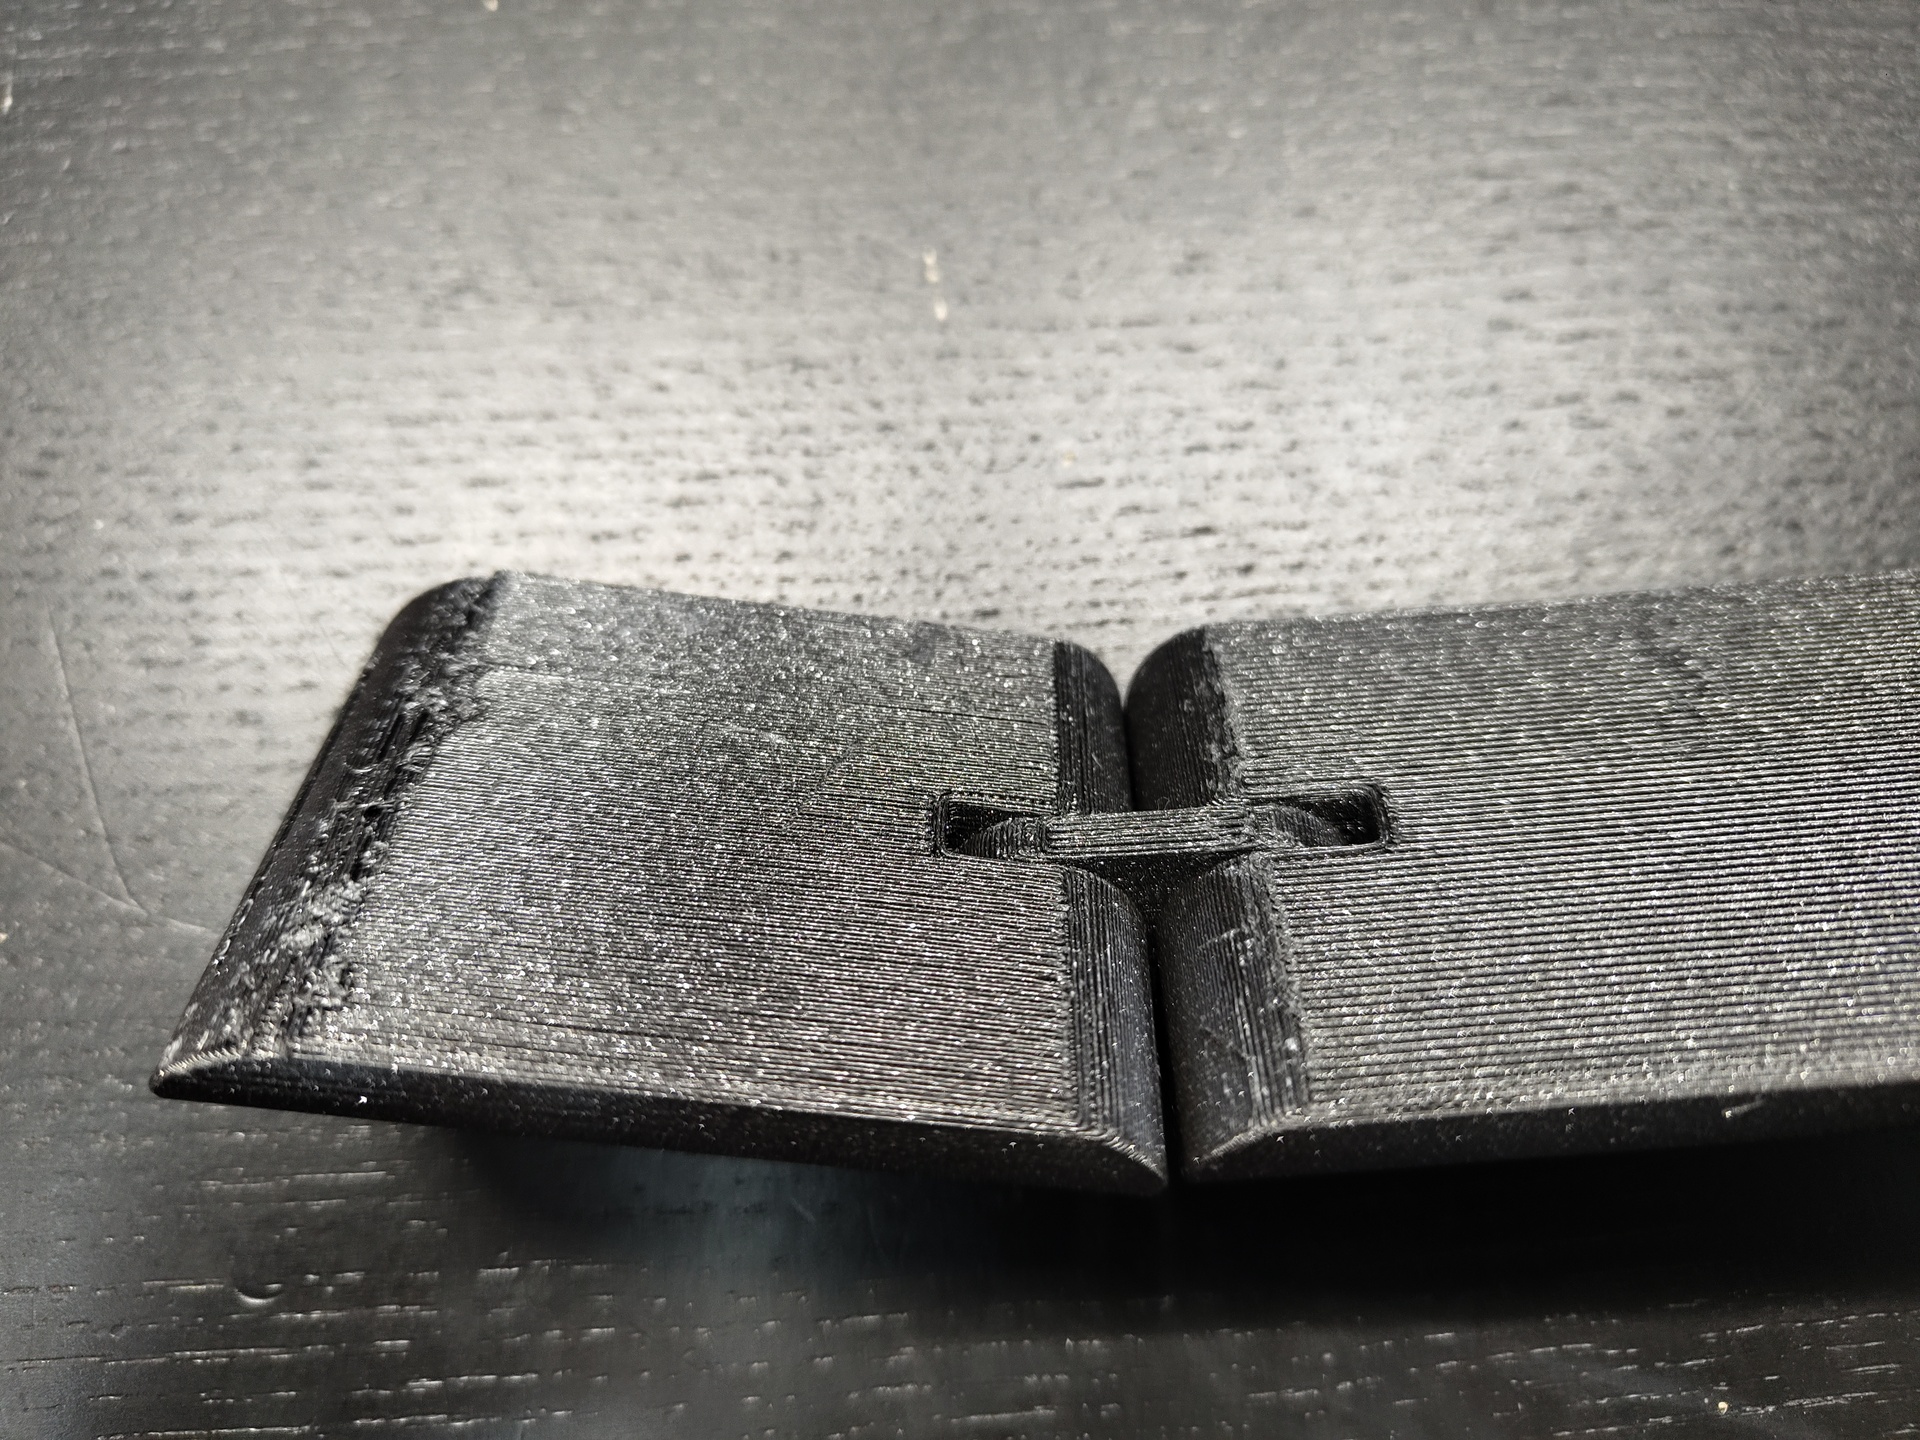
I will use the Prusa MK3 to make some test on it, to find the limit of it. To do that i will use two different files.

​Mais d'abord, qu'est-ce que l'impression 3D ?

3D printing or additive manufacturing is the construction of a three-dimensional object from a CAD model or a digital 3D model.It can be done in a variety of processes in which material is deposited, joined or solidified under computer control, with material being added together (such as plastics, liquids or powder grains being fused), typically layer by layer.In the 1980s, 3D printing techniques were considered suitable only for the production of functional or aesthetic prototypes, and a more appropriate term for it at the time was rapid prototyping. As of 2019, the precision, repeatability, and material range of 3D printing have increased to the point that some 3D printing processes are considered viable as an industrial-production technology, whereby the term additive manufacturing can be used synonymously with 3D printing. One of the key advantages of 3D printing is the ability to produce very complex shapes or geometries that would be otherwise infeasible to construct by hand, including hollow parts or parts with internal truss structures to reduce weight. Fused deposition modeling (FDM), which uses a continuous filament of a thermoplastic material, is the most common 3D printing process in use as of 2020. source wikipedia 

​Test de tolérance

I will use this files to find how close i can prind to different part and don't fuse them. This piece is 7 knob with different spacing between the knob and the main body. Starting at 0.4 mm to finish at 0.1 mm .

3MF Files

So I print it with those setting.

After the print i can try to turn the different knob. In my case i can turn every knob except the 0.1mm . So the last i can turn is 0.15 mm tolerance, it's what i should use in the design when i print somthing with thsi printer.

General Test 

For the second test i will use this files, with a lot of different test like :
Bridge
Overhang
Calibration of axis 
Text 
Pilars

STL Files

All of those give informations give infos to wich setting we should used. 
If i take the Overhang, if we look under after the print we can see when the print start do look bad

Here we see on the photo than the print start to look bad on the last 2 sections. that correspond at 70° and 80° overhang. so with that I know i need to put support when i print with a piece with those angle.

​Travail individuel

Here i don't need to redesign somthing, i will use the CAD files of my final project i used week 2.
I will just change some dimension with the result of the test print I just make previously 

​Re-conception avec le bon ajustement

The first thing i can do it to adapte the size of the pin I have in my design to be printable. At the begening it was at 1 mm but its to small to be strong enought for the final project.
I change to 5 mm of diametre for the pin .

I Also add parametric design for those value, this way i can change it very easly on every place i need a pin.  I add the ajustement value, this value is the result of the test i make with the tolerance print. The result was 0.15 mm, is the clearance i need to have a good fit between to pieces.

So my pin will be 5 mm + (- 0.15) mm to have a good fit 

Print it 

In Fusion 360, the software that i use here, we can export direcly our dsign or just a part of it.
This tool can export  with the format you need the part that you choose.


After that any slicer can open it and use it to print .

What is a slicer ?

​Once completed, the STL file needs to be processed by a piece of software called a "slicer", which converts the model into a series of thin layers and produces a G-code file containing instructions tailored to a specific type of 3D printer (FDM printers). This G-code file can then be printed with 3D printing client software (which loads the G-code, and uses it to instruct the 3D printer during the 3D printing process). source Wikipedia

To print we need to open the file with a Slicer, here we will use Prusa Slicer 
Its a free and open source software design by Prusa to use 3D printer 

The software look like this, to print you need to follow this path.

​1, Importer les fichiers

You need to open the file or files you want to print, to du that you can click on this icon 
to open the files explorer and select wich files you wanr.

2,Modify It 

Move it 

When you files, STL or 3MF, is placed you can move it and place it where you want or modify it with those tools

Scale it 

Rotate it 

Put  it flat 

Cut it 

Put the support 

Advanced feature

​3, Mise en place de la machine

After the files, you need to set up the machine, cause every 3D printer have deferent specification, like the size of the bed, the nozzle, the filament that we use.

In this you need to set: 

The print setting, which quality you want for your print, Lower the value is, more detail it is but longer is the print 

The filament, it similar to the laser cutter, each material have different property and need tu be used ​differently.

The printer, to know wich size is the volume of print, and other carateristic 

​4, Tranchez-le !

After you finish to set the defferent setting, you can slice, you lunch the program that will transfort the STL file into G-code
You can visualise the gcode into the slicer to make sure its ok .

You can also check the time of the print after the slicing, and the amont of filament you need.
When is good you can export the G code and lunch a print. 

​Sur l'imprimante

After saving the G-Code on a SD card I can insert it in the printer 

I can rotate the knob and press on it to select the file

Because i have a Multi Material Unit ( MMU), a device that can change the filament during a print, I need to select wich filament i want. 

After that the print will heat up at 60°C for the bed and 230°C for the nozzel and start the print when reach. 

Happy printing.

More Help here

The result 

After the print i can assenble every part, specialy the pin fit inside the hole, and the joint can rotate freely.
I consider this a succes so i can print other part and assemble the all thing

Additive Manufacturing Potential

The previous design could be make by some traditionnal manufacturing machine, here we need to use the possibility of the additive manufacturing. So a change the design to have the joint hide inside the piece and printe the all thing in one. I will try this first one 2 part, in case i fail i dont wast a lot of material.

In the design, the body (in green) pass trought the leg (in red). You can't do that with a CNC or by hand with powertools. Only the additive construction can do it. 

​So I'm going to print this piece flat to have a solid and stable base, I've put a bit of support because there's a small detachment that I need to fill, otherwise the print won't come out right.

​After printing, I remove the supports and the magic happens, the pieces move as desired. all without assembly.