Fab Academy
Arthur DEFRAIN

Week 2
​Computer-Aided Design  

Goal

  • ​Model (raster, vector, 2D, 3D, render, animate, simulate, ...) a possible final project
  • Compress your images and videos
  • Post a description with your design files on your class page

​Learning outcomes

  • Evaluate and select 2D and 3D software
  • Demonstrate and describe processes used in modelling with 2D and 3D software

Sample Headline

  • ​Modelled experimental objects/part of a possible project in 2D and 3D software
  • Shown how you did it with words/images/screenshots
    Included your original design files

​​Step #1: Research the idea

For the rest of this week we will use my final project

1 Draw it by hands 

 It's a personal tip, I always draw a little bit by hand to have to visualise my idea and have a support for my CAD design. Here is the sketch of my final project, more detail here

Befor starting our CAD design we need to choise wich software we will used, cause if we start on one, that will be the same for the rest of the program.

In the past , at school or due to my past experiance i used 3 differents software, all from Autodesk 

Thinkercad : is a a CAD software but form school and kids, you use a bank of form and add them to creat the design you need. Complexe to use for details design 

Inventor : make for engineer in the industry. very good to make big machine

Fusion 360 : make for Fab lab, makerspace or maker. This software have some feature to send design to a CNC machine or a 3d printer.

So i will use Fusion 360, its also a software i teach in my lab to the participant, so i'm use to the interface and i will be quicker on this, but i will learn some advance feature that i never used.

​2 Dessiner sur Fusion 360

​J'utiliserai Fusion 360 en raison de mon expérience sur ce logiciel, j'enseigne sur ce logiciel dans mon travail. Mais j'essaierai de nouveaux outils et options.
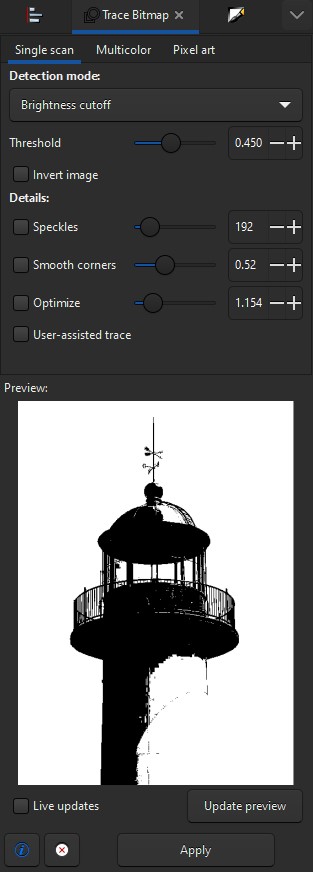
Fusion fonctionne en 2 étapes principales :

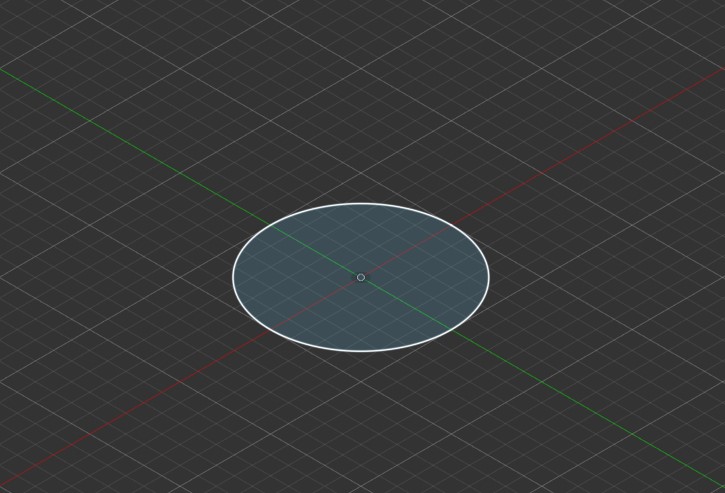
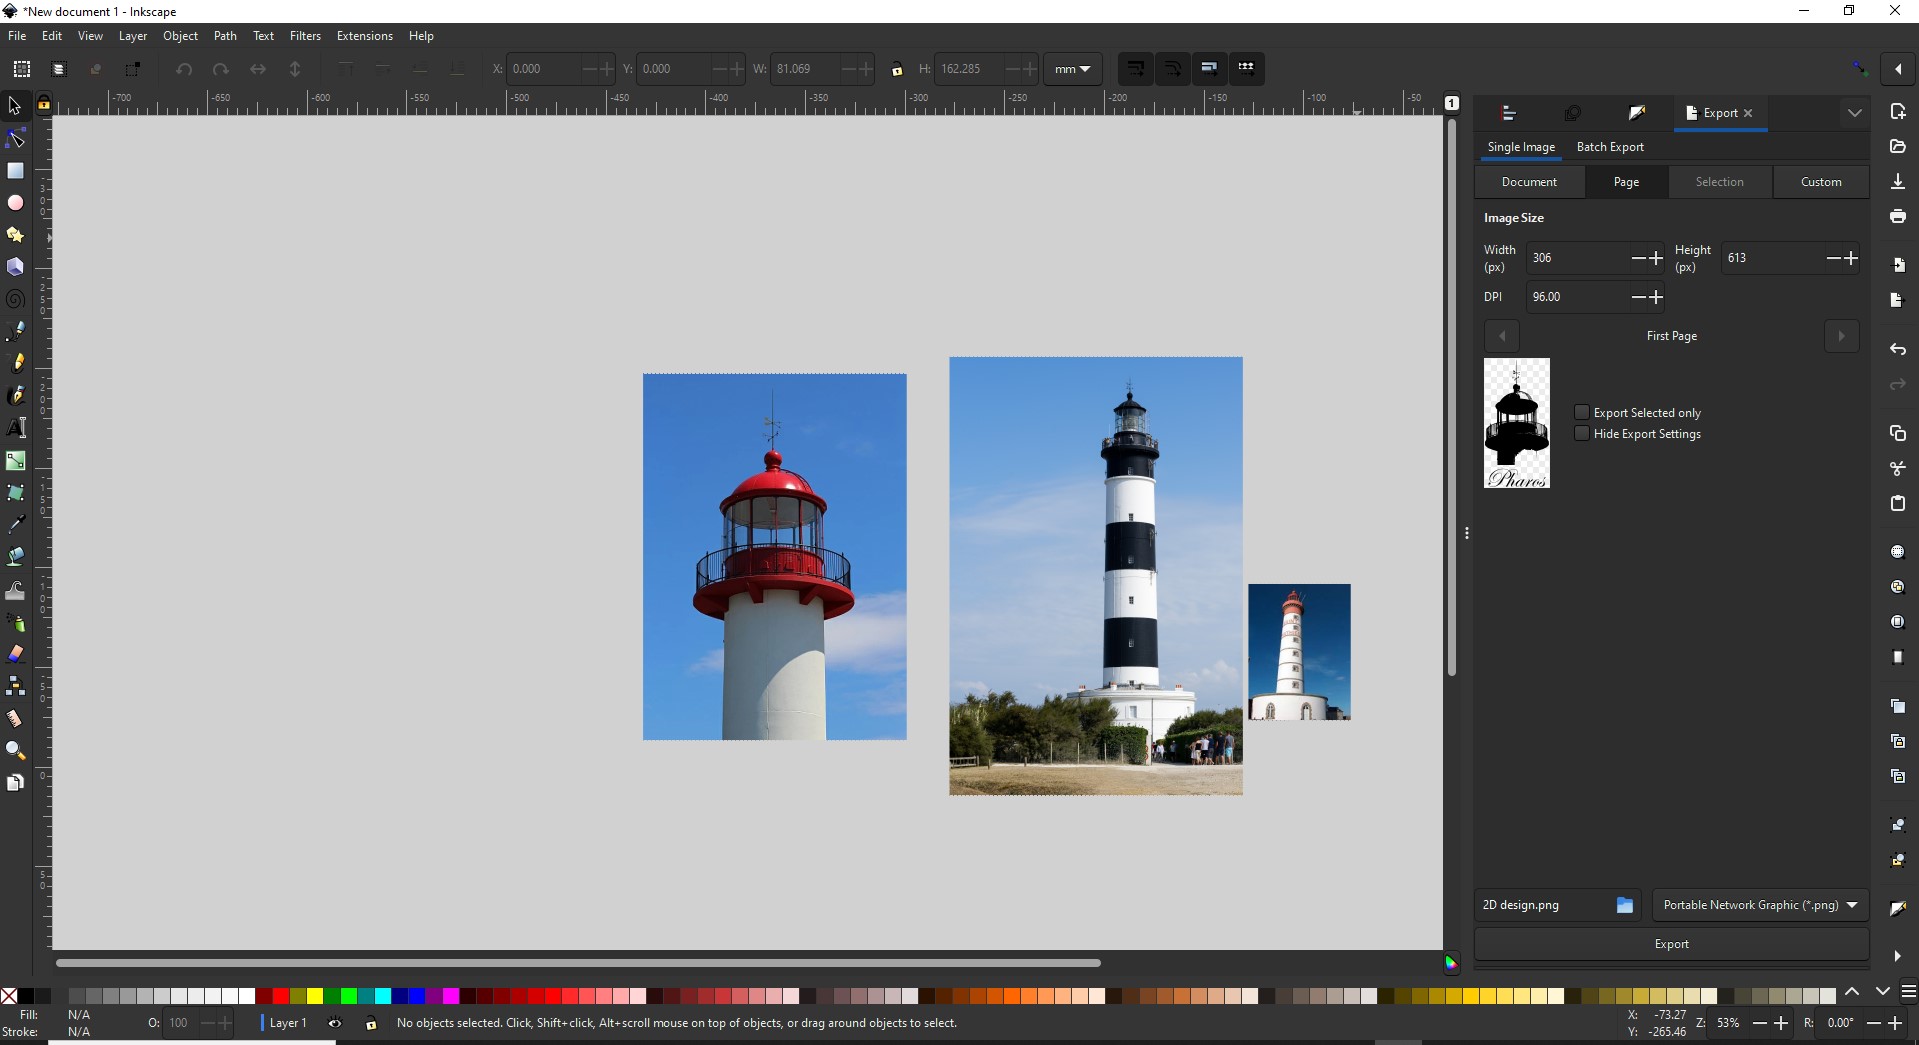
​La première étape consiste à créer un croquis, c'est-à-dire un simple dessin en 2D.
Il peut s'agir d'une simple forme comme ici pour mon dessin. Mais il peut être plus complexe, avec des motifs, des courbes, etc.

​Après l'esquisse, nous pouvons effectuer différentes actions.
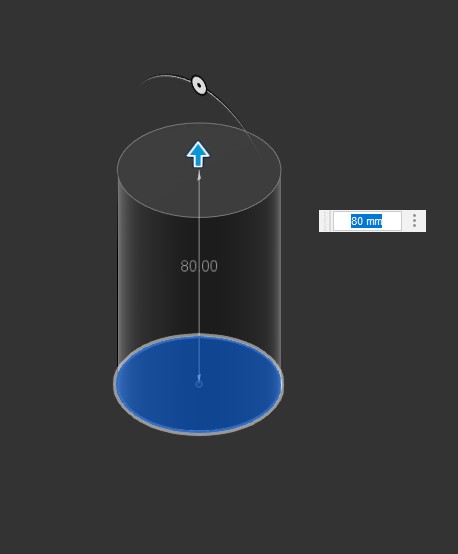
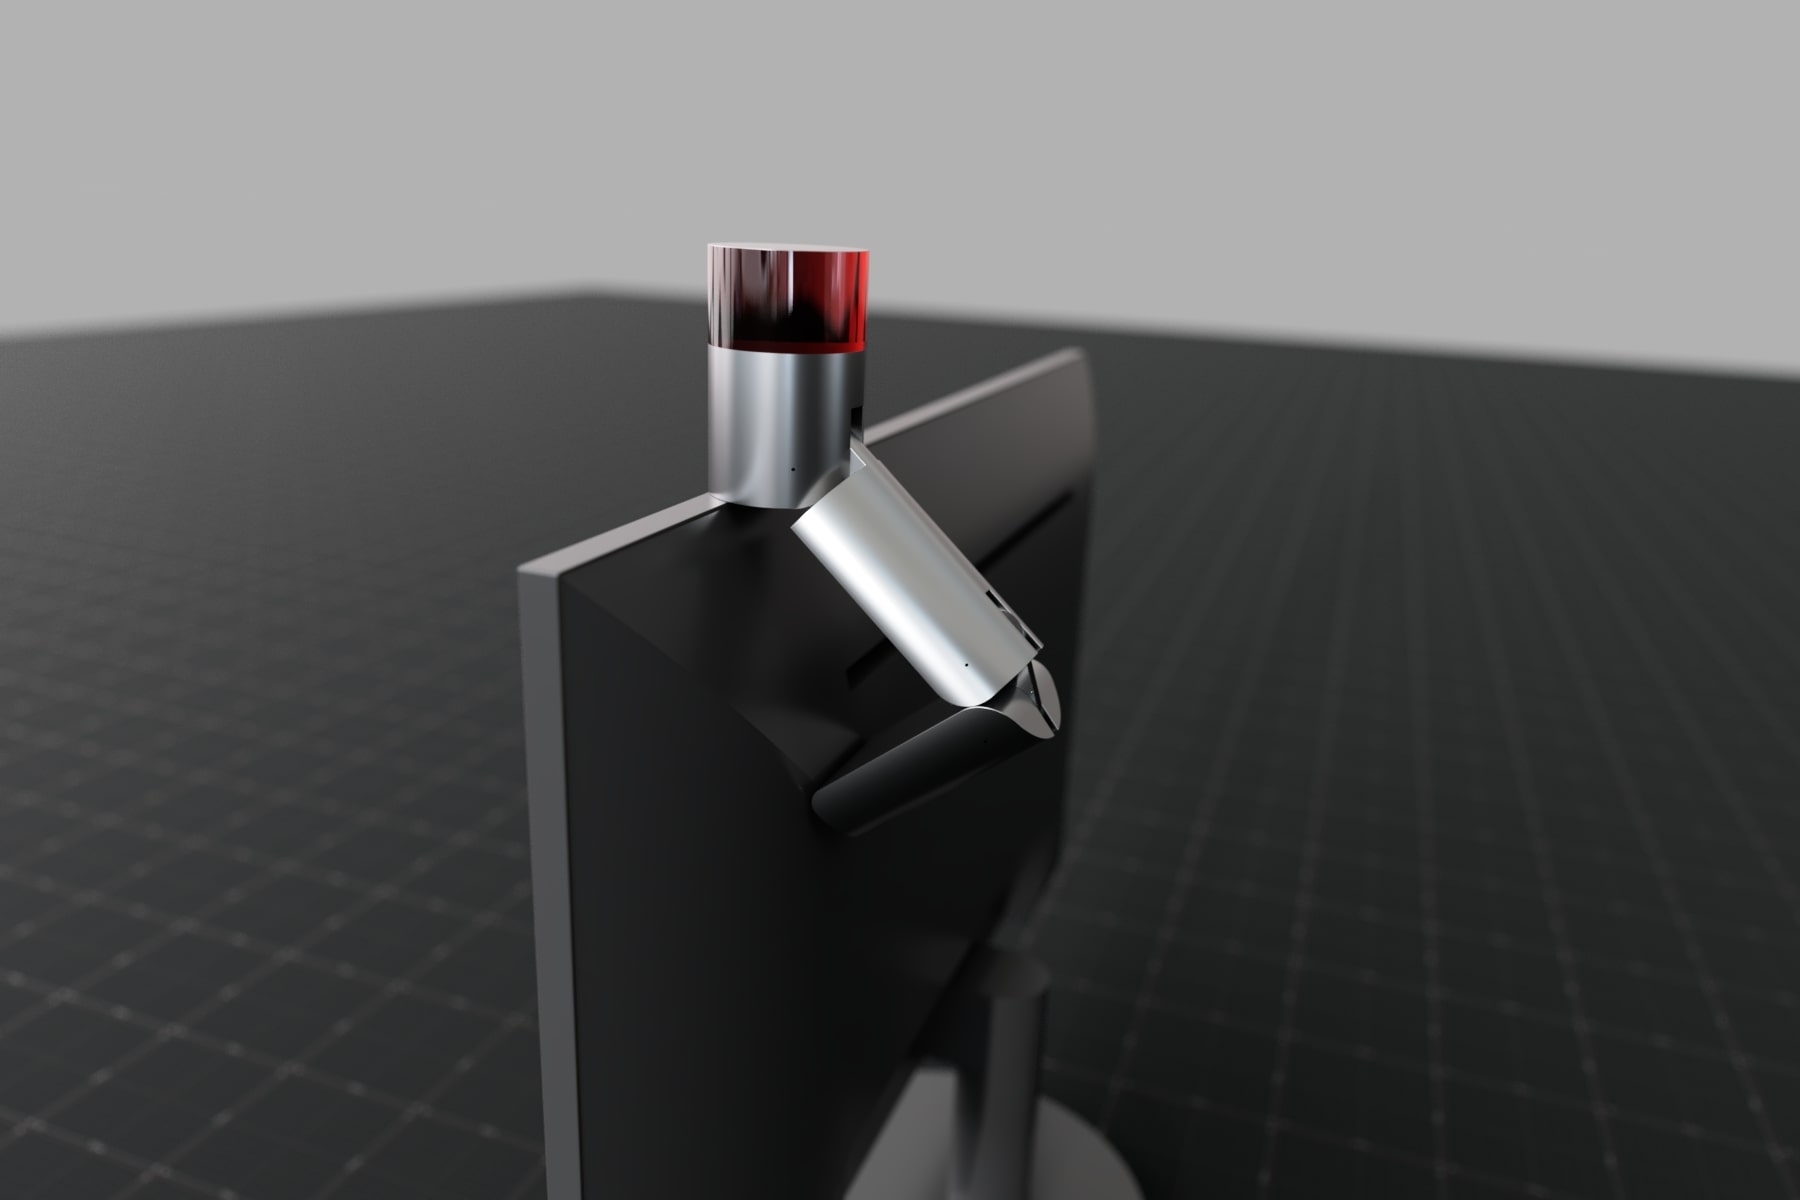
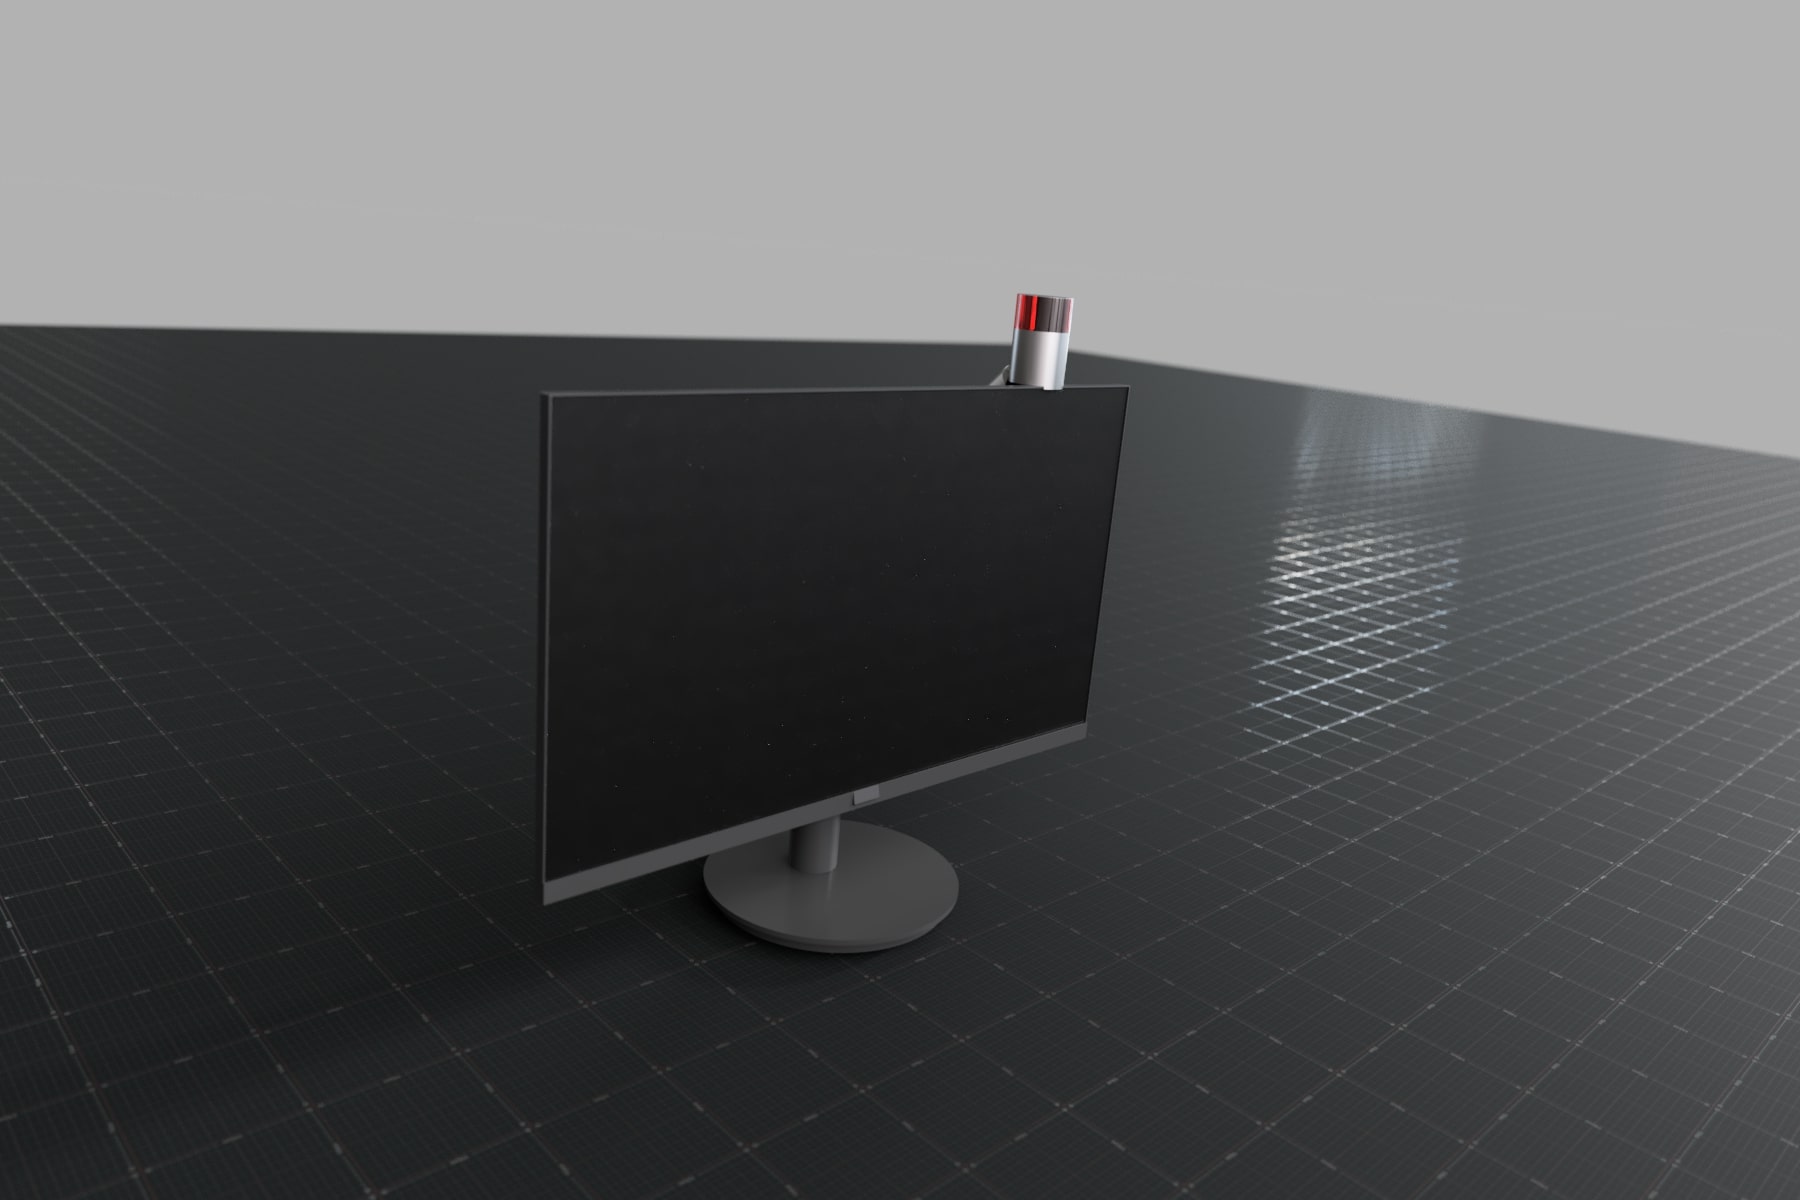
Ici, je vais utiliser l'extrusion. Cela permet de créer un volume à partir d'une esquisse, le volume est appelé corps.

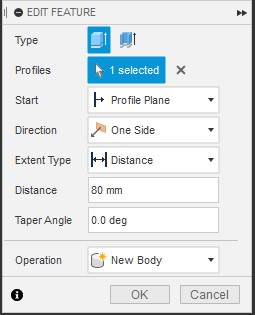
​Bien sûr, vous pouvez avoir plusieurs paramètres, mais ici nous faisons une extrusion de base.

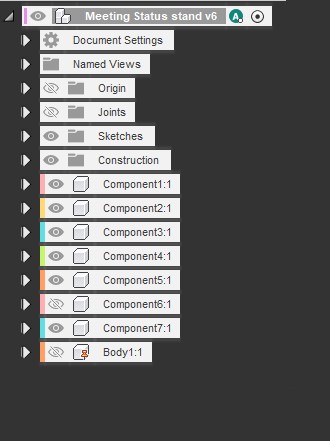
​Une fois cela fait, on peut voir en bas de l'écran la ligne historique, chaque action (esquisse, extrusion et tout) de cette façon on peut voir l'évolution du dessin, mais aussi revenir en arrière et modifier une action que l'on a faite et le dessin sera mis à jour sur chaque action suivante.

Some Exemple of tool you can use 

​New Component

​Creates an internal or external component in the assembly.

​Create Form

​Enters Form mode. Create and modify history-free bodies by pushing and pulling vertices, edges, and faces, commonly called T-spline modeling.

​Create Sketch

​Enters Sketch mode to create geometric profiles. Then use Extrude, Revolve, Loft and other tools to create 3D bodies from sketches.

​Derive

​​Derive design elements such as components, bodies, sketches, work geometry, flat patterns, or parameters from this design to another design.

​​Rectangular Pattern

​​Creates duplicate faces, features, bodies, or components and arranges them in rows and columns.

​Extrude

​Adds depth to open or closed sketch profiles or faces.

​Revolve

​Revolves a sketch profile or planar face around a selected axis.

​Sweep

​Sweeps a sketch profile or planar face along a selected path.

More info here on Autodesk

On the left side the different body, sketch and all.

Fusion organize this way:
Sketch > Body > Component > Assembly 

Sketch : 2D shape, base of the design 

Body : 3D shape, creat from one or multiple sketch and action

Component : Part of a design, can have one or multiple body in one component.

Assembly : Groupe of Component, with joint between to show the ​behaviour of the parts.

Fusion is a very good software, with a lot of free lessons online on  Youtube​

Here is a small video that shows the evolution of my design, step after step to the final design.

Link to files

2 Set up the scene

After the appearance, we need to set the scene, like a photographer

Scene Settings

Like a photographer, we need to set up the scene, the light, the focal, the position of the light, and the exposure.

All these dialogue windows manage that. Changing the value change in the aspect of our scene, so we can play with that and find the best setting for what we want.

3 In canvas render

We can try if everything is ok and looks great with an "In Canvas Render" tools that make a quick render preview before launching the real render. 

The tool will compute every single pixel and calculate which color he should be, at the beginning we have our shape but some pixels missing

With the time, few seconds, the render will be better and that is the preview of the final render.

4 Lunch the render

The render takes time to proceed so we need to make sure the preview is good 

Render tool 

We have multiple choices, here I chose to make a picture.
We can also compute locally or with the cloud, I make it locally, but if your computer is older or not that powerful take the cloud one.

I also chose the max quality, but that means more calcule so more time.

The rendering is lunch, the average waiting time is 10 min for me. during that time you can make others setup  and repeat the process

Render

​Step #3 Create a Logo

Creat a logo for the product whit inskcape

The shape of this makes me think of a ​lighthouse so I researched such a picture of lighthouse and i add them on Inkscape.

​I'm going to use the image on the left as the basis for my 2D design. 
I'm going to transform it, from image to vector with the bitmap trace function. 
The problem with an image is that when you zoom in too far, we see pixels and we start to see a stare effect. 
With Bitmap we convert all the curves and lines we see into a mathematical formula, this way we can zoom in to infinity without degradation.

In that tool we have multiple option to modify the result.
Because we star from a color image and we finish with a black shape, we can change some input of the algorythm to be close to what we need.

But the procesus is not perfect , we need to rework the vector, to do that we can use the node editor.

With that tool, we can see every node of the design. and also edit it.

We can move every point to another position to modify the shape.

we can also remove it or change the link between the point with the " join" and "delete" segment tools.

Join segment tool

Delete segment tool

The final touch is the add some text, to do that I use the Text tool.

I choose to put "lighthouse" with a cursive style cause i like it.  

So in the end we have this