4. Computer controlled cutting
This week I worked on defining my final project idea and started to getting used to the documentation process.
Research
Vinyl Cutter
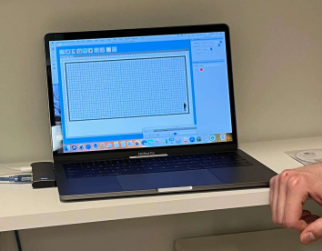
1) First send your Adobe Illustrator cut out/ Image to (Sure Cuts Alot) on the botton right
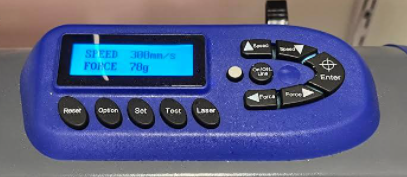
2) load in your vinyl and set it to the correct speed and force for that material (speed 300mm/s) (force 78g) on/off
3) Make sure the rollers are on the vinyl tightly and that the back handle is down, after that click scissors icon
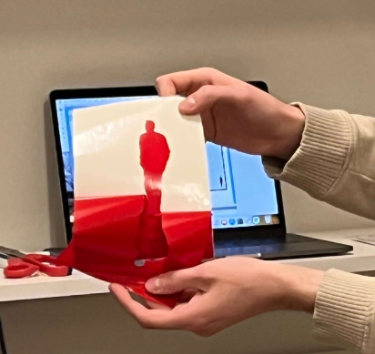
4) Cut the extra material off and peel away the part that you need and discard the rest or use it as a template
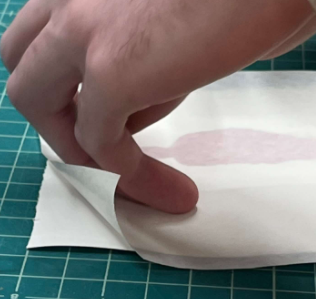
5) Cut a strip of transfer paper and stick it onto the front of the final product
6) Peel off transfer paper with the vinyl cut sticker and place on desired surface
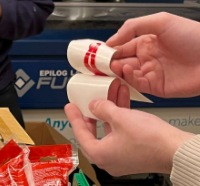
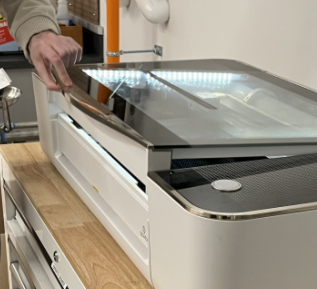
Laser Cutter
1) First open (https://app.glowforge.com)
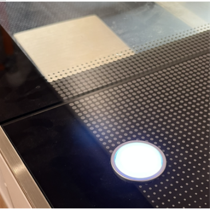
2) Place material into the laser cutter and adjust as needed, there is a camera inside the machine to see correctly
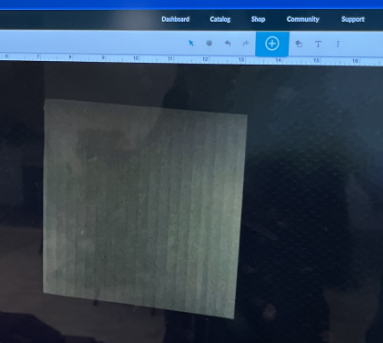
3) Send your Adobe Illustrator cut out/ Image to (Glow Forge) and add it to the column under the (Medium section)

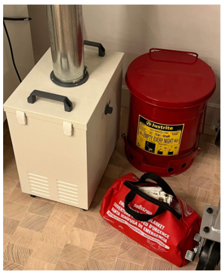
4) Turn on the fan/filter on the bottom right of the machine and then proceed with truing on the laser cutter
5) After everything is turned on correctly and you have your image all set, click on the big white flashing button
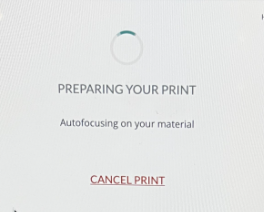
6) After the white button is pushed the computer will say (Preparing Your Print) and the time it takes to complete
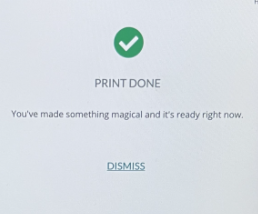
7) Finally turn off the fan and pull out the finished product
8) Put the extra scraps into the red trash can only, never any other trash can for safety and fire hazard reasons