Leen Nijim
Assignment 10
Molding and Casting
Task
Our task this week was to design, mold and cast a 3D shape of our liking using a rough cut and at least a 3-axis finish cut. And I must say, this week was one of the rather frustrating ones during the modelling phase, but also rewarding after arriving to the finished cast. My idea was to recreate the tiles of the tantrix game in black and then to paint them for the finished result.
What You Need
- Access to CNC machine.
- Machining wax block (not smaller than 142 x 92 x 27 mm).
- Silicone (or any soft alternative) for casting.
- Some resin to produce the final solid objects.
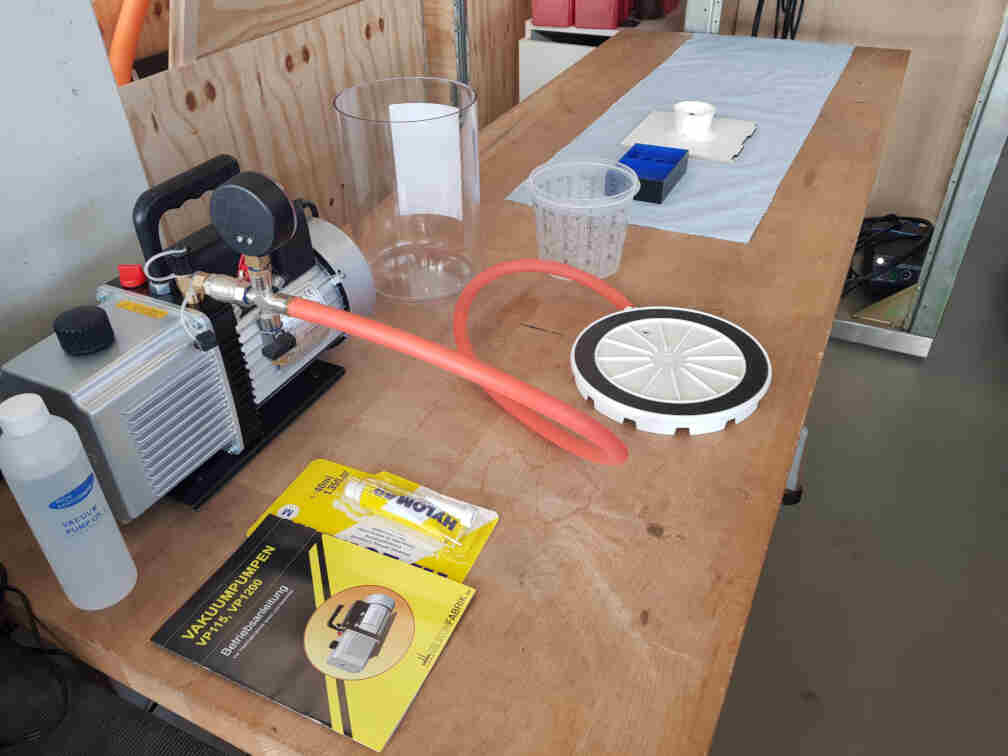
- Vacuum chamber.
Files to Download
Hero Shots
Group Assignment
For our group assignment, please click here. Since we were short on time to test our casting materials before we proceeded with casting our milled molds, we ended up doing the test run in the same mix batch we did for our final objects. We were, however, very prepared and organized and went through the safety procedure and casting preparation steps together before we actually did the casting itself. We also each read the datasheets of the components we were using before we started the preparation. That was especially useful for the polyurethane cast we used since it had only 5 minutes for its pot life, and so we had to make sure that we met that time limit during casting.
Designing CAD and CAM
To prepare for milling the mold out of the wax block, it was important to take the dimensions of the block as well as the milling bits to design the mold features around them, so that my mold is manufacturable.
Creating the Mold CAD
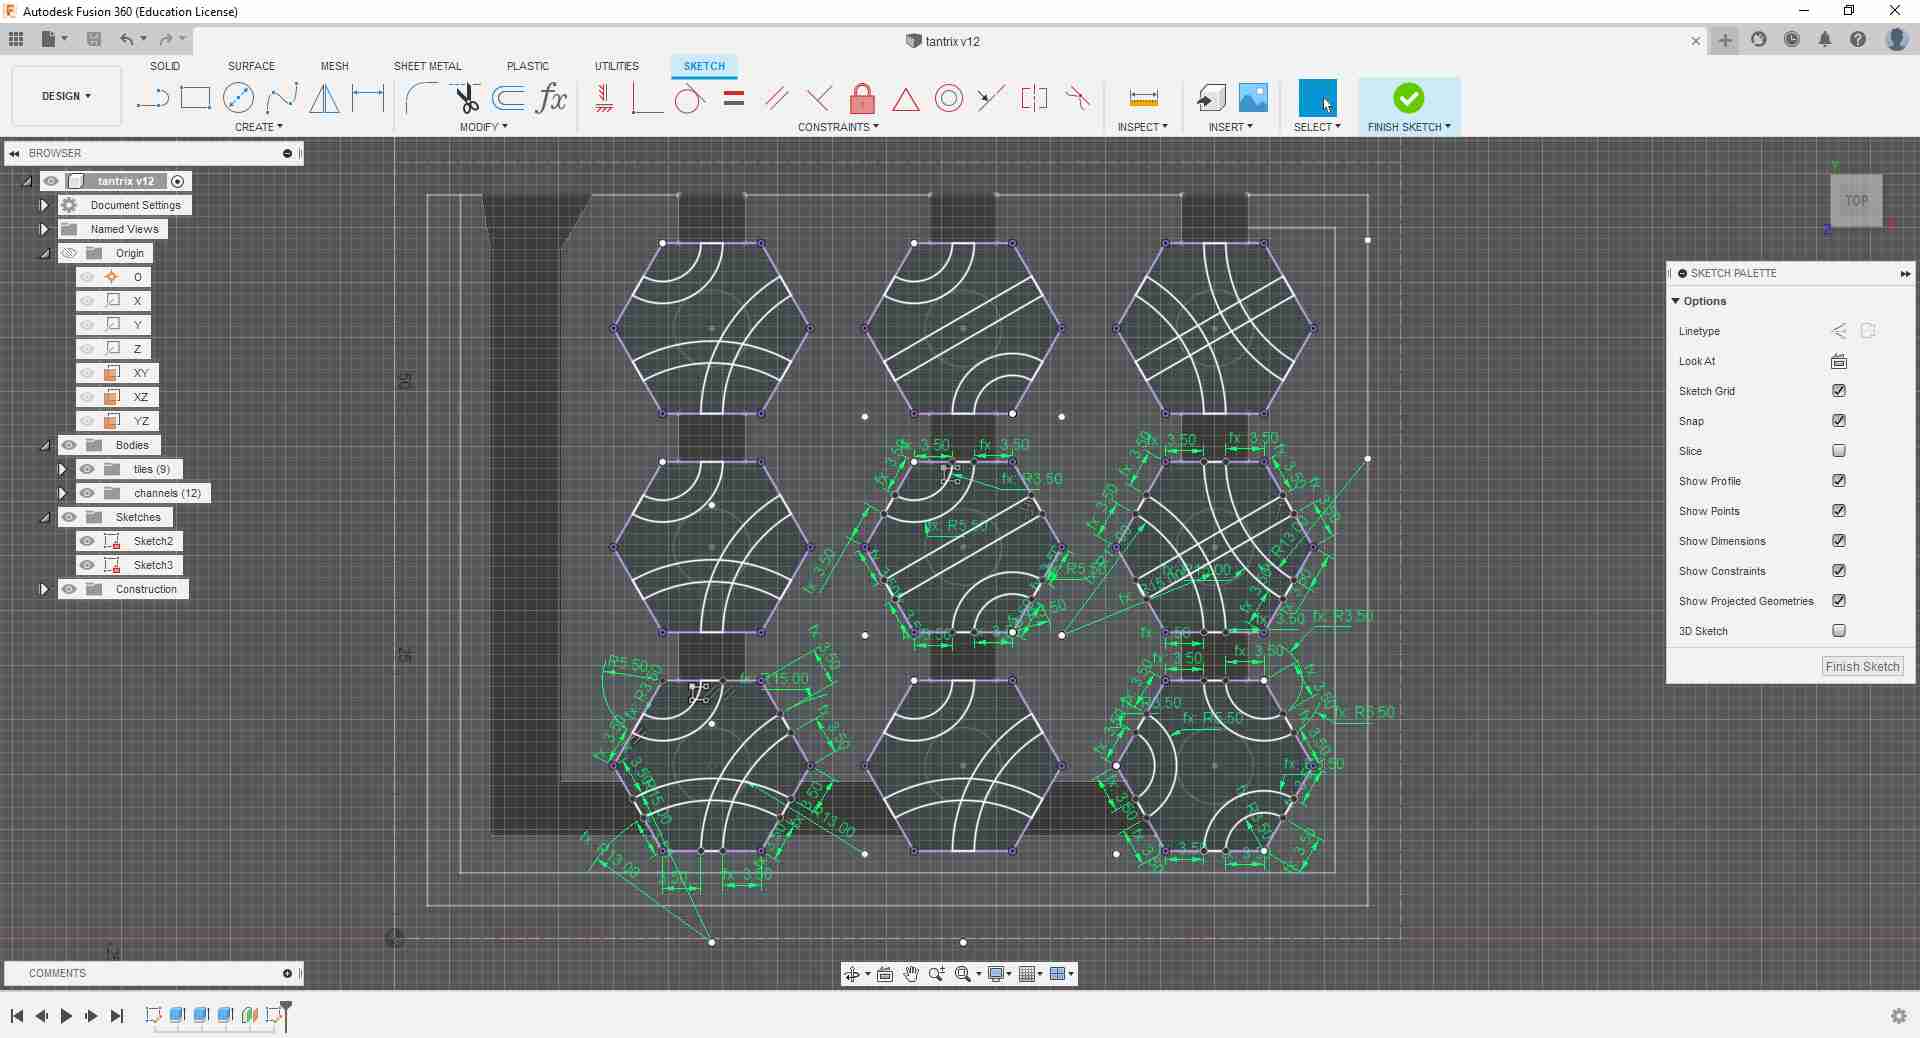
I started with drawing a sketch of the game tiles with the planned casting channels for the resin to flow into. I also made sure to design a funnel shape for the sprue for easier pouring.
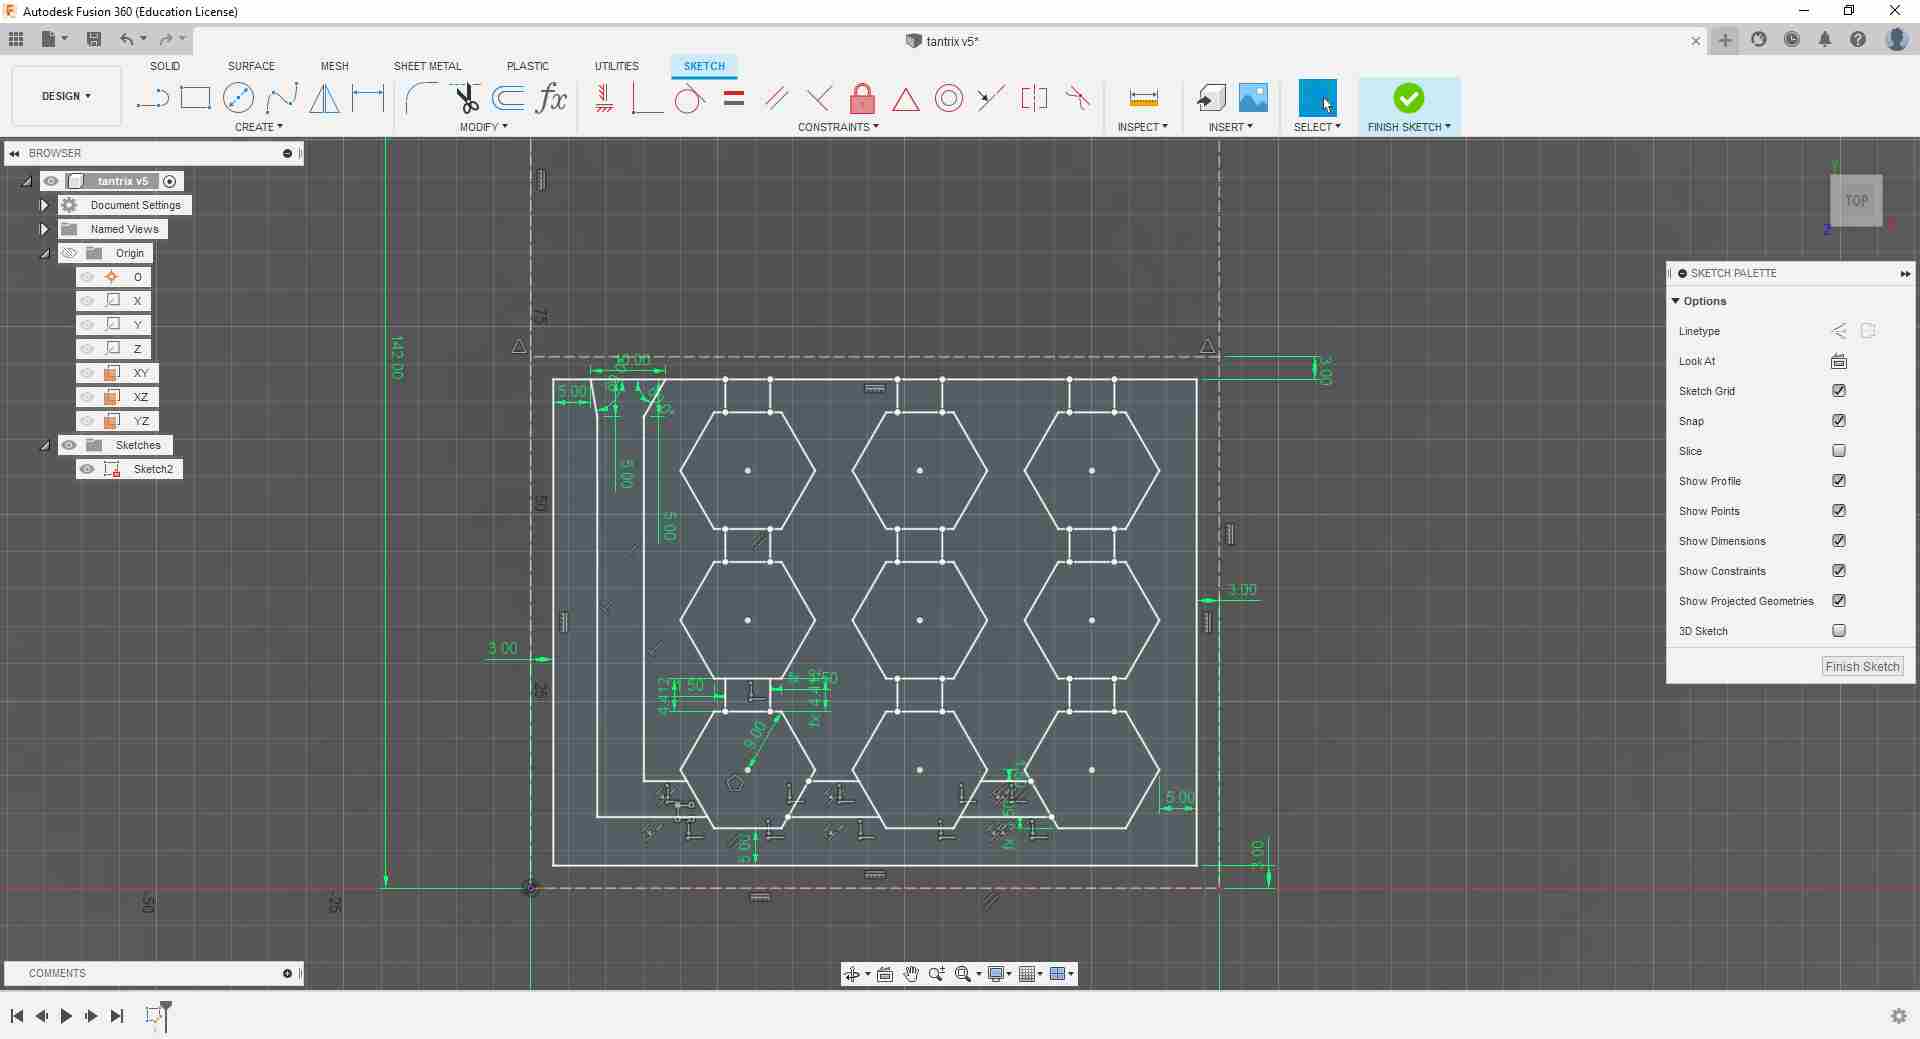
I then extruded the sketch and added another sketch on the topside of the extruded model to design the faces of the game tiles.
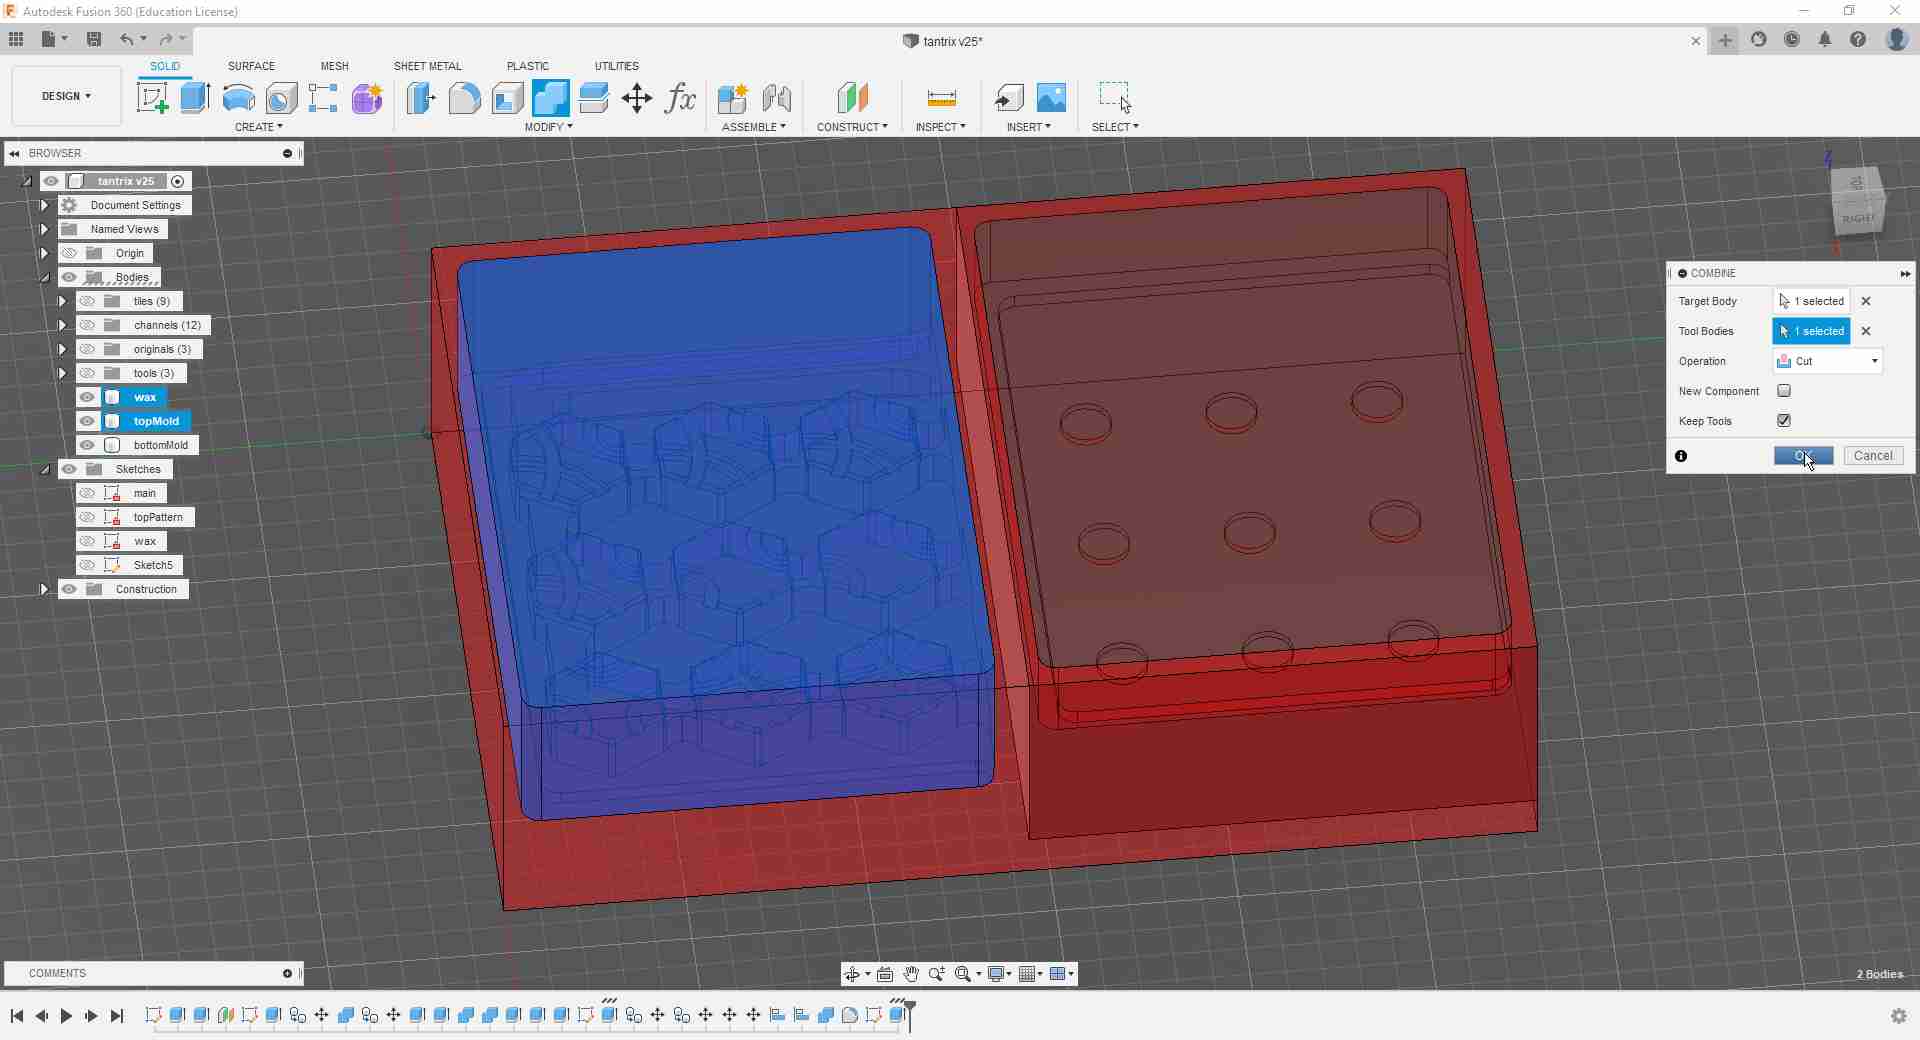
After I added another sketch for the underside design, I created the to-be silicone mold shapes and extracted the cast body from them

And then proceeded to make a wax block and extract the two silicone molds from it.
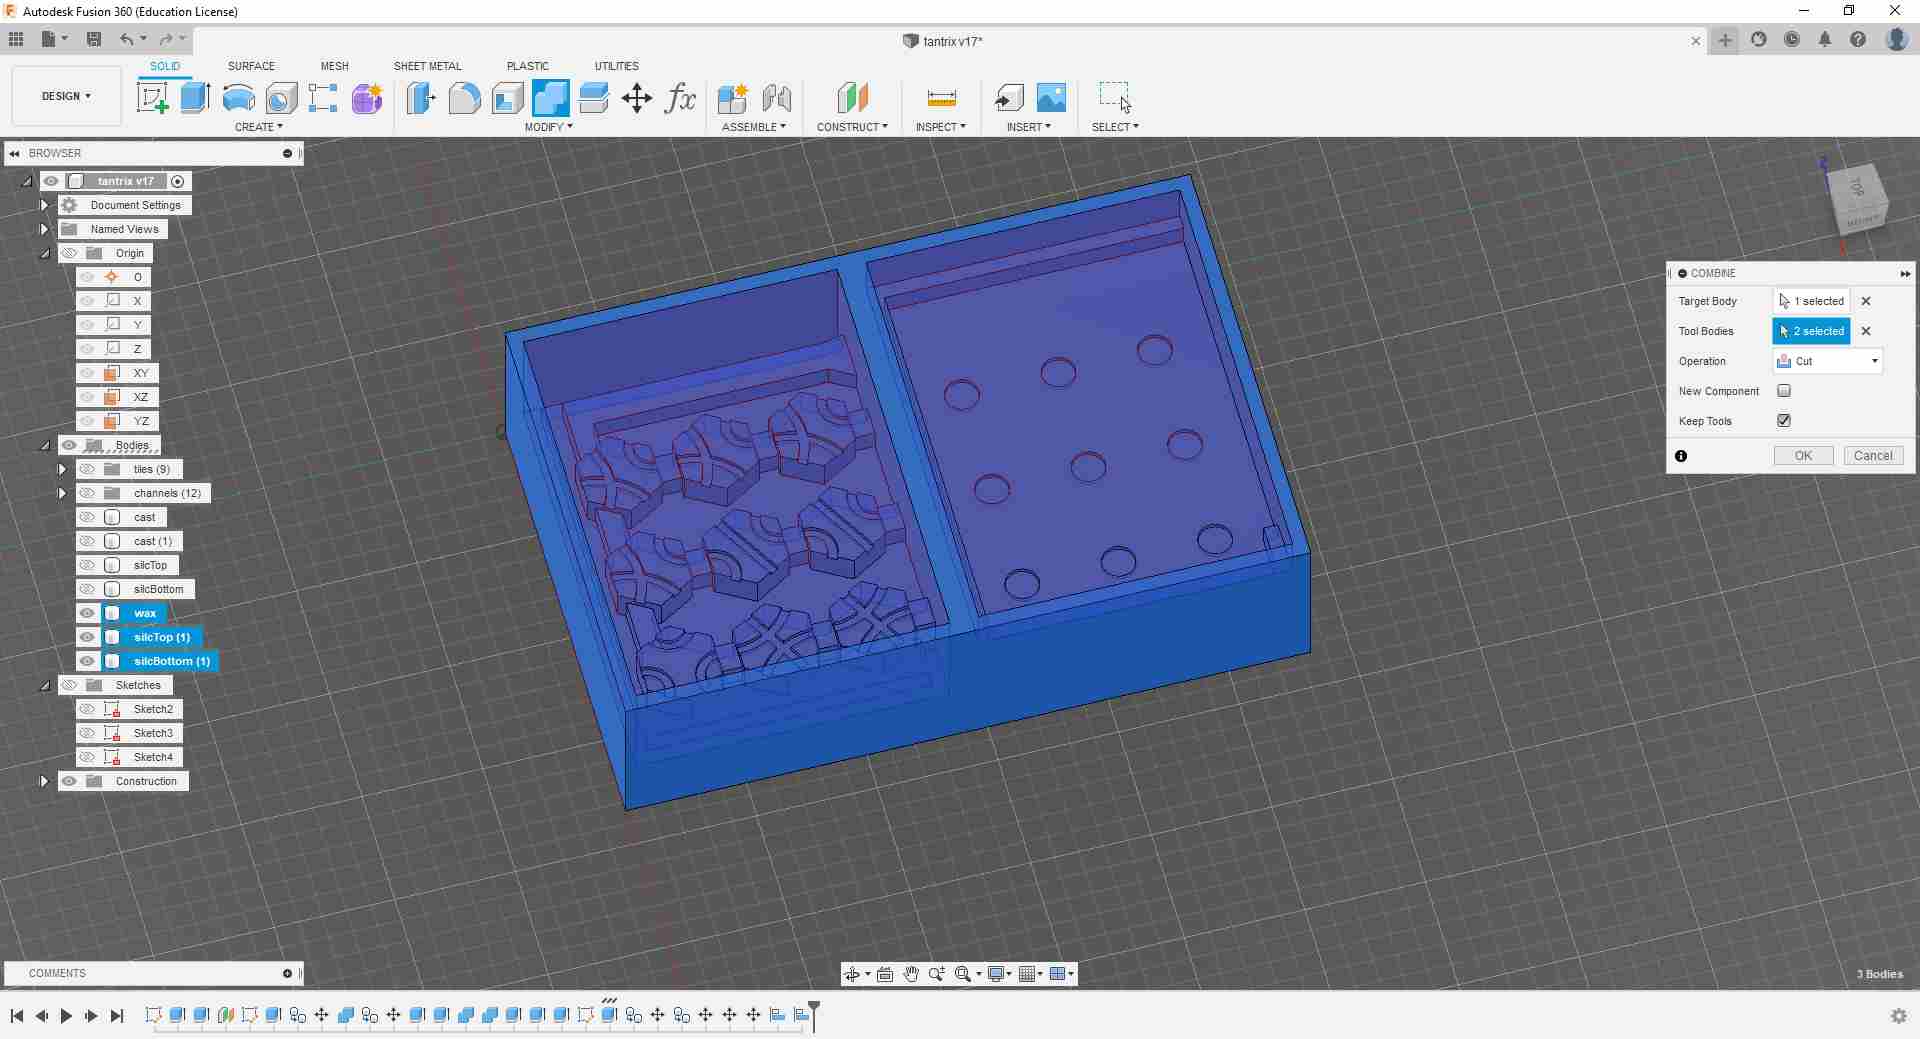
Only then to realize I made a logical mistake with my mold design. I did not mirror the top and bottom patterns correctly so that they line up once the two parts of the mold are mounted on top of each other. So I went back to my bottom silicone mold and flipped the features around the short side of the block.
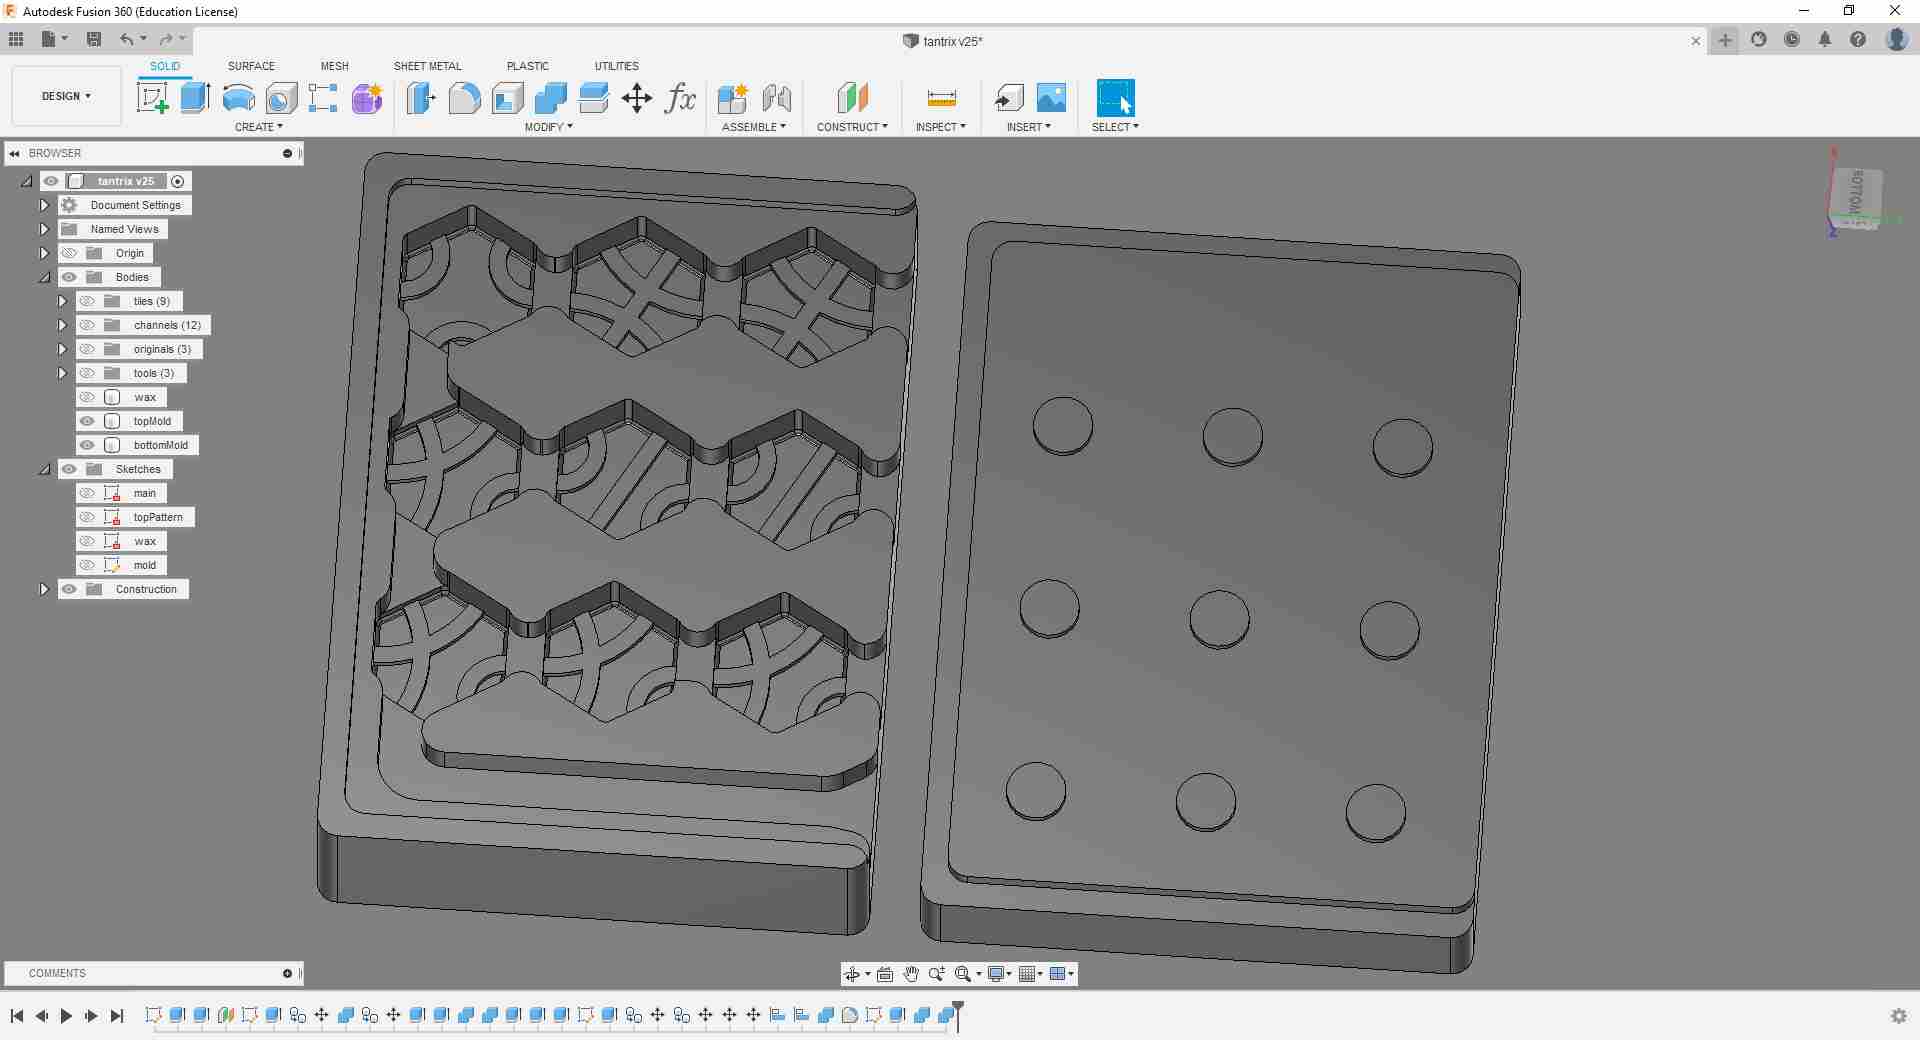
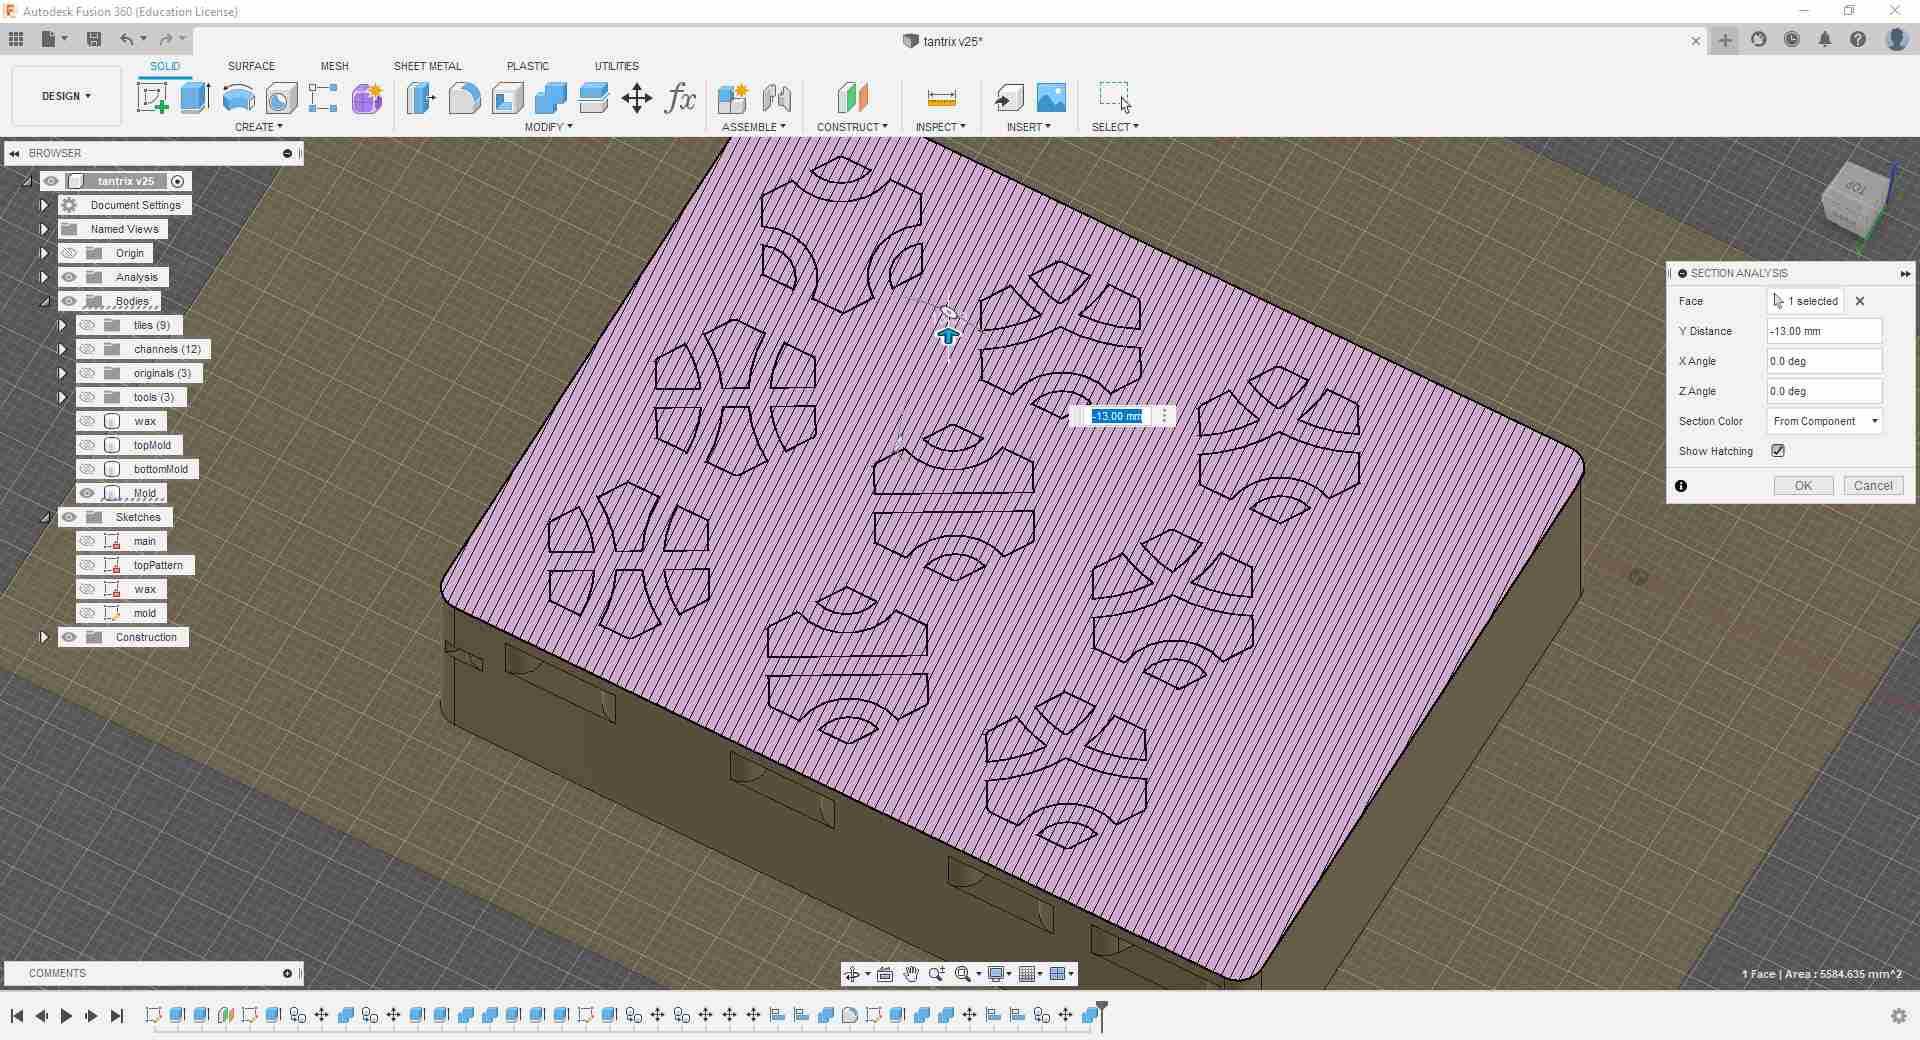
After I was done preparing the CAD model, I decided to do just one last check to make sure that my design makes sense and the game tiles will come out as I expect them to. So I moved the two-part mold and mounted it on top of each other and used the Inspect > Section Analysis and panned through the internals of the model.
Creating the CAM
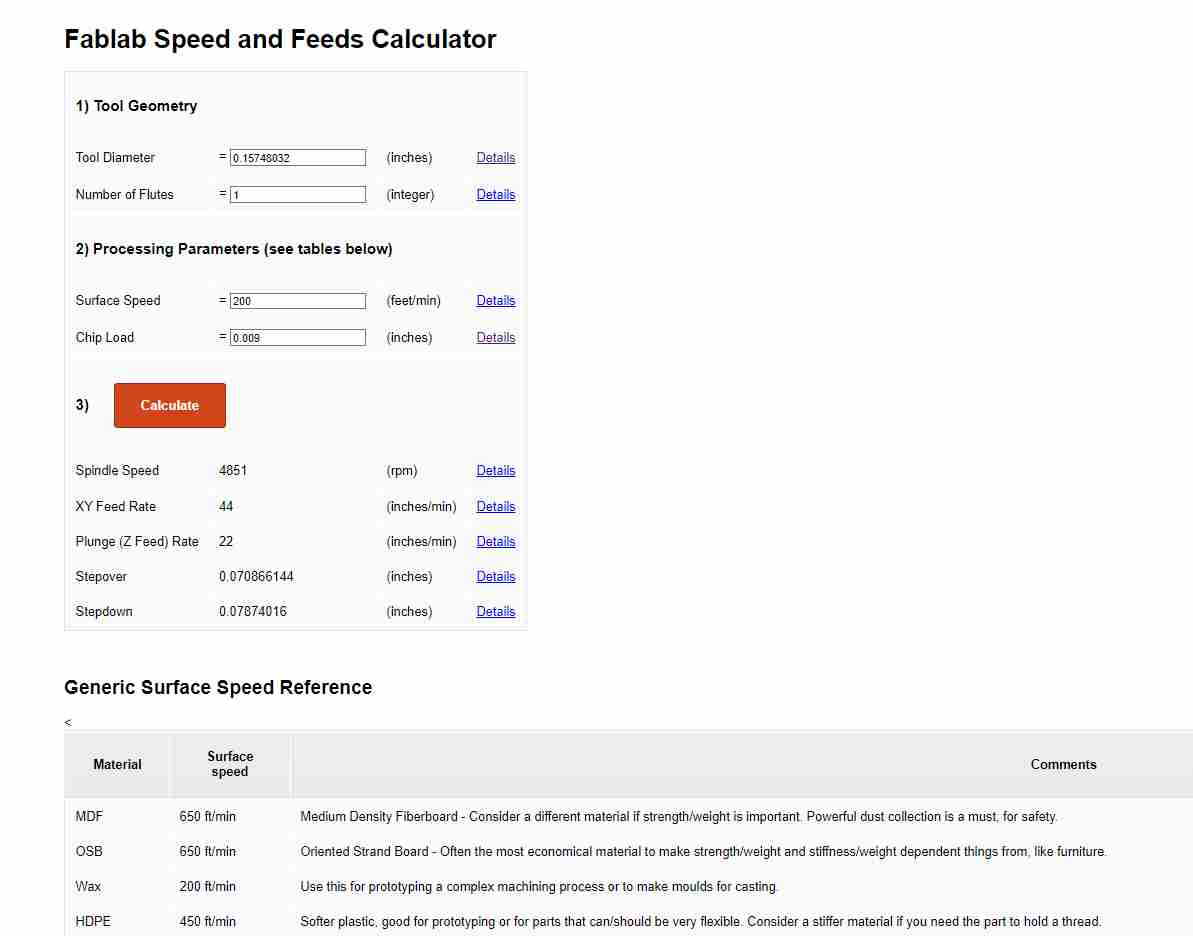
Before I could start preparing the milling jobs, I had to add 2 mm and 4 mm flat end mill bits to the tools library in Fusion 360. And to add the proper cutting parameters for machinable wax, I looked through the internet for plausible values since the manufacturer website of the mill bit did not include any relevant information. In the end I found the Fablab Speed and Feeds Calculator of MIT's Center of Bits and Atoms and used it to calculate cutting data for both end mills.

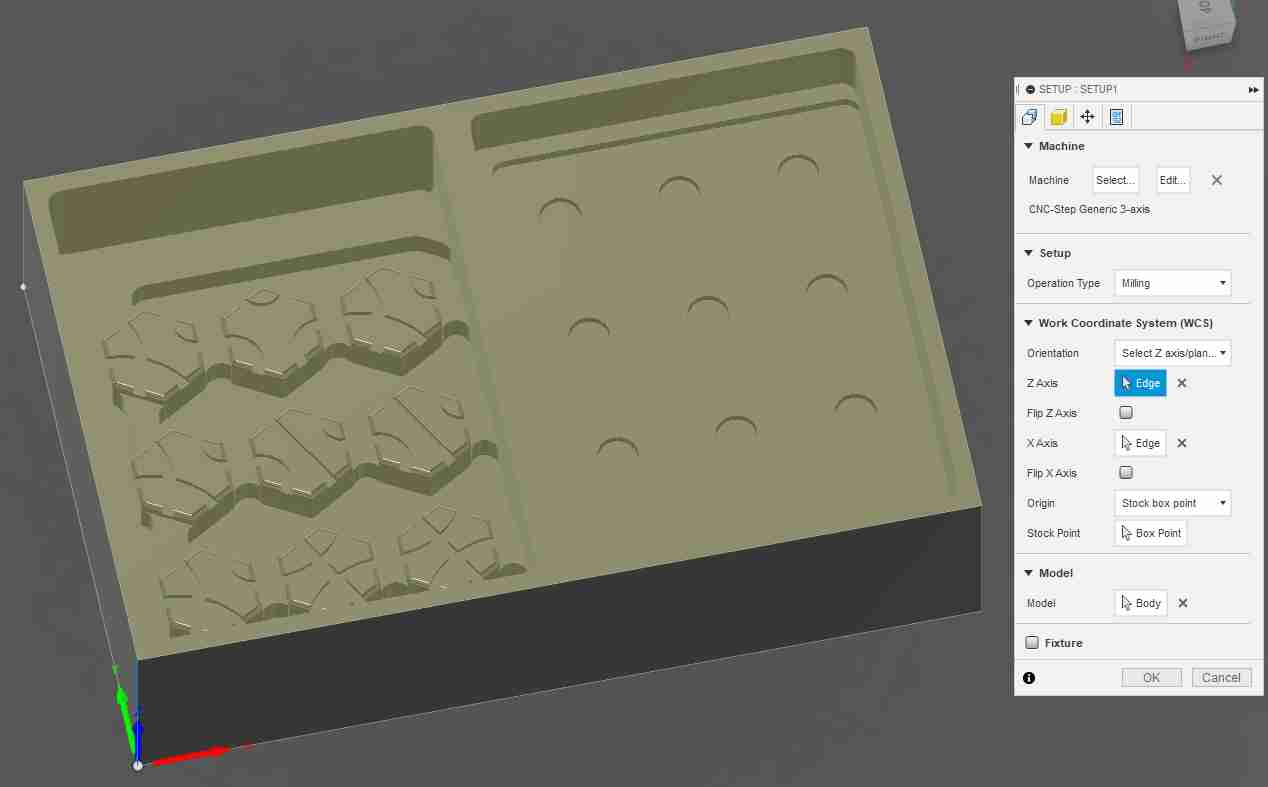
Now that I was ready to start, I created a setup for my workpiece and specified the stock size and the origin point. Regarding the latter I chose it to be the bottom of my stock because it is easier to find the Z-zero again after tool changes. Otherwise I would have had to choose a point on the top of my stock that will not get milled to re-find the Z-zero every time.

And so, I started by making a 2mm-stepdown rough cut to the stock right side where the bottom mold will be milled.
.jpg)
And then I did the same to the top mold side of the stock followed by another job for the final pocket on the bottom mold side. And to be honest, I decided to keep my operations short and specific because I was not particularly confident about preparing and running long and elaborate milling jobs.
.jpg)
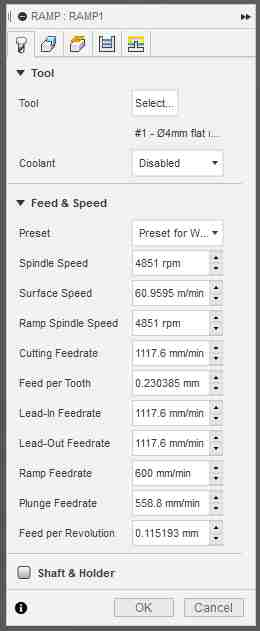
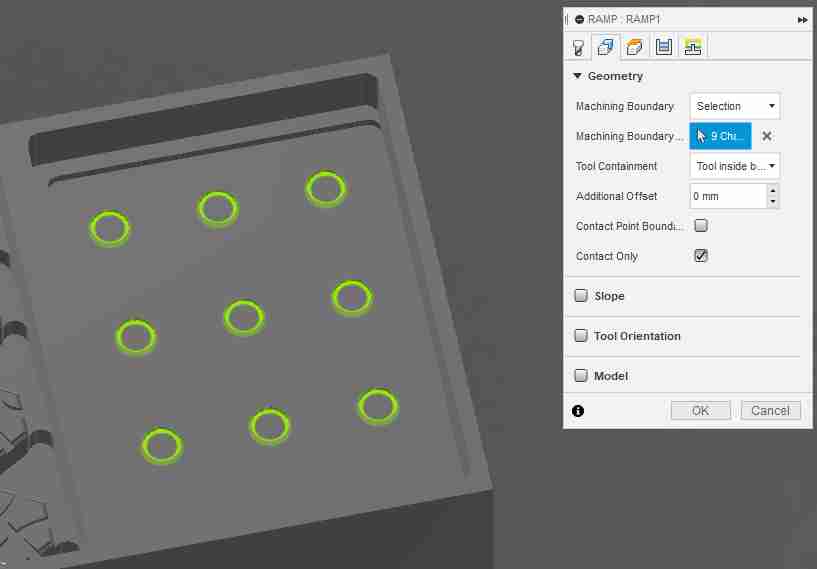
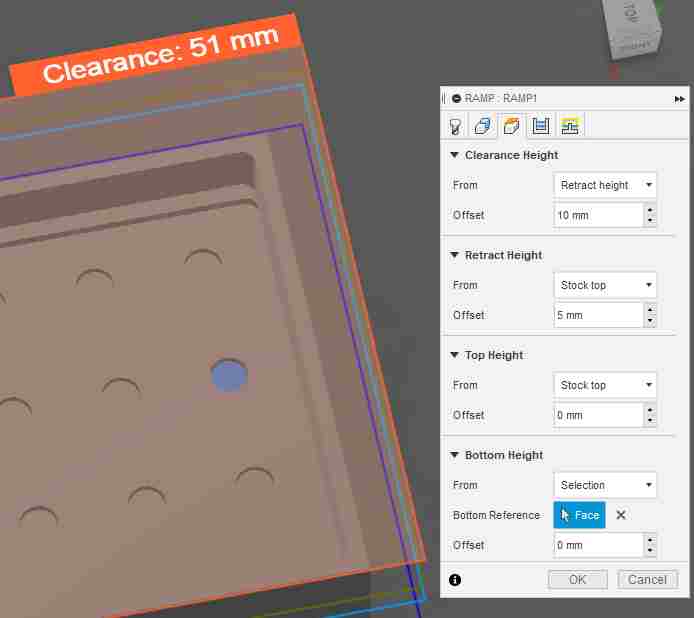
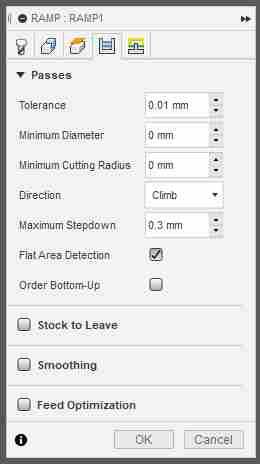
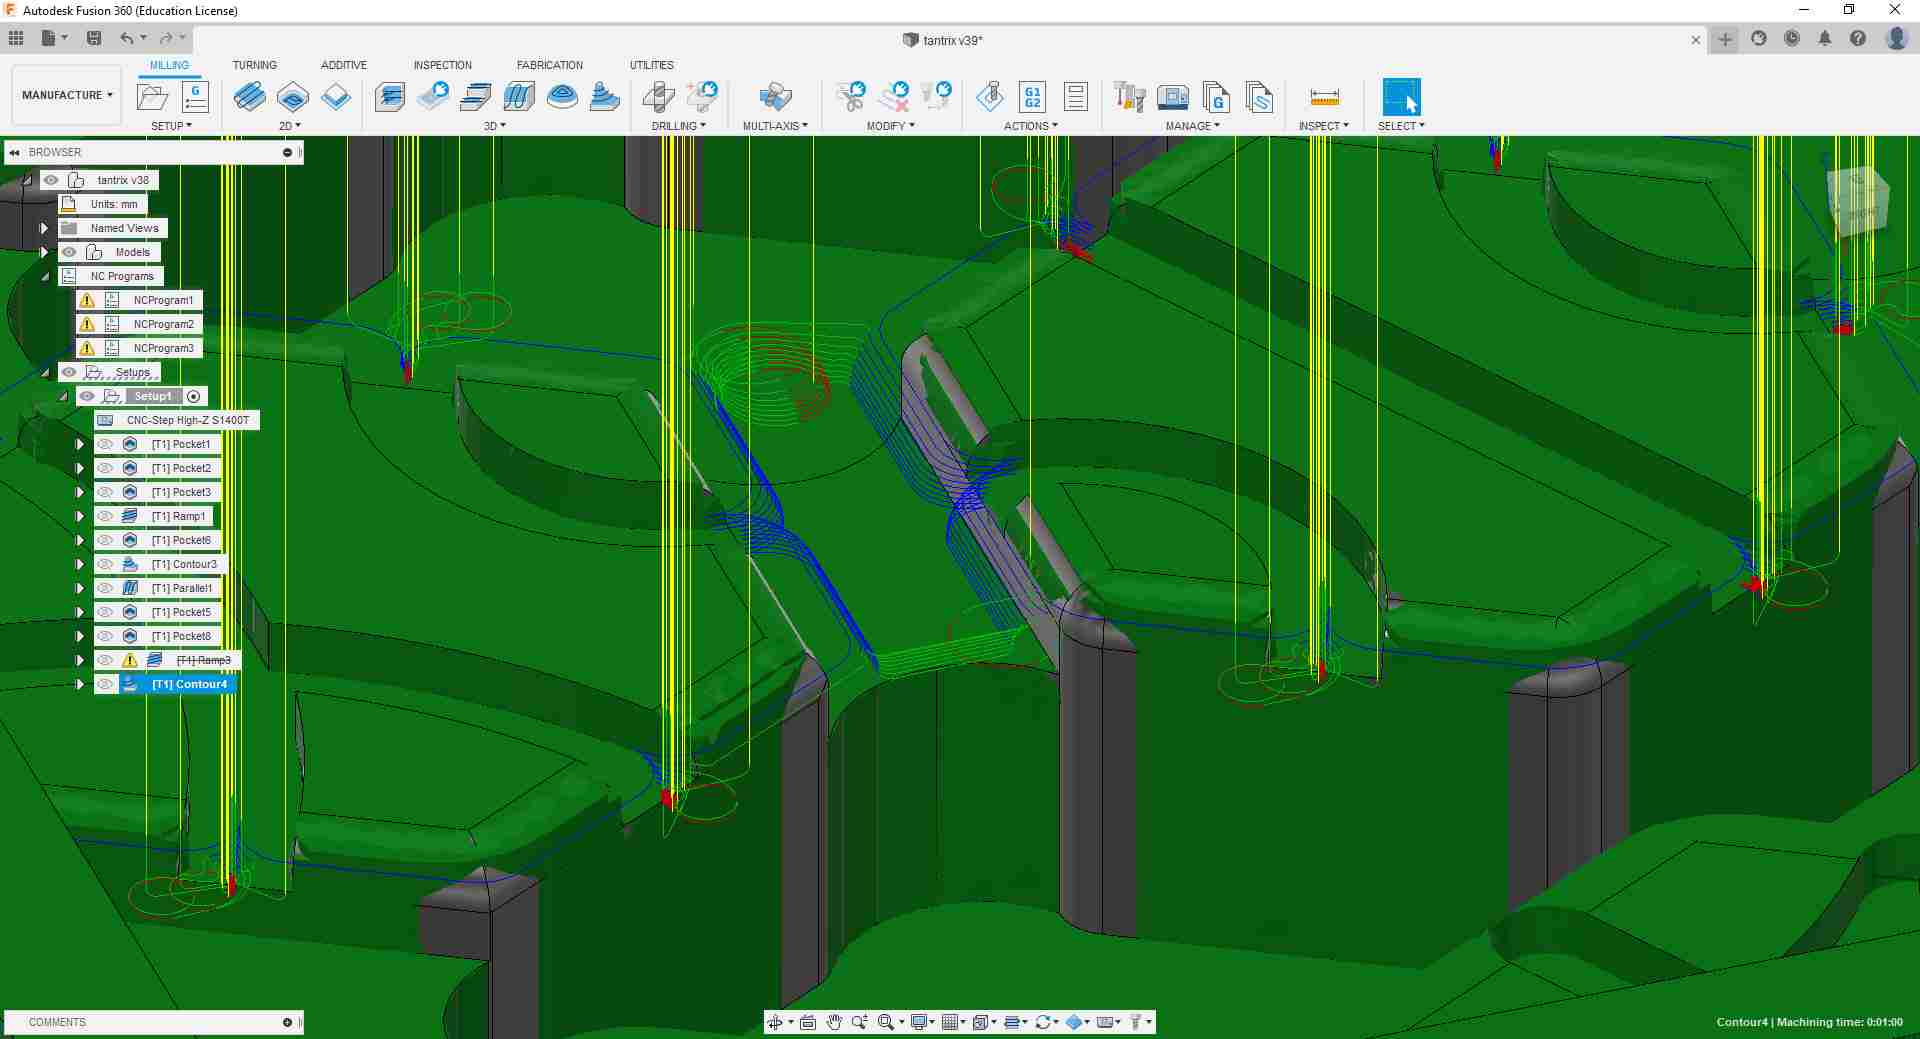
Then for the finish cut for the bottom mold side, I chose the Ramp> function. I wanted to go for a Parallel finish cut because it leaves nicer machining trails on the workpiece, but the nature of my design with the draft angle of the circular features meant that the Ramp was the best suited option.
.jpg)
Now that the right side of the wax block was done, I moved to the top mold side. I prepared the last 2mm/stepdown rough cut to clear up all the non-tiles regions. I also decided not to do a finish cut on the cast channels since I do not really need them to look pretty and finishing them nicely would add extra machining time that I do not necessarily need.
.jpg)
Then I went on and used the Parallel finish cut with 0.3 mm stepdown to clear up the stock material left on the tiles faces. But since I was still using the 4mm flat end mill it did not mill out the patterns on the tiles.
.jpg)
So I changed the mill bit size for the next Pocket operation and chose the 2 mm flat end mill that I also added to the tool library. For this finish cut I used 0.4 mm stepdown settings.
.jpg)
Then I used the same end mill to mill out the slot acting as a registration feature for the mold parts. Here I only used a 1 mm stepdown.
.jpg)
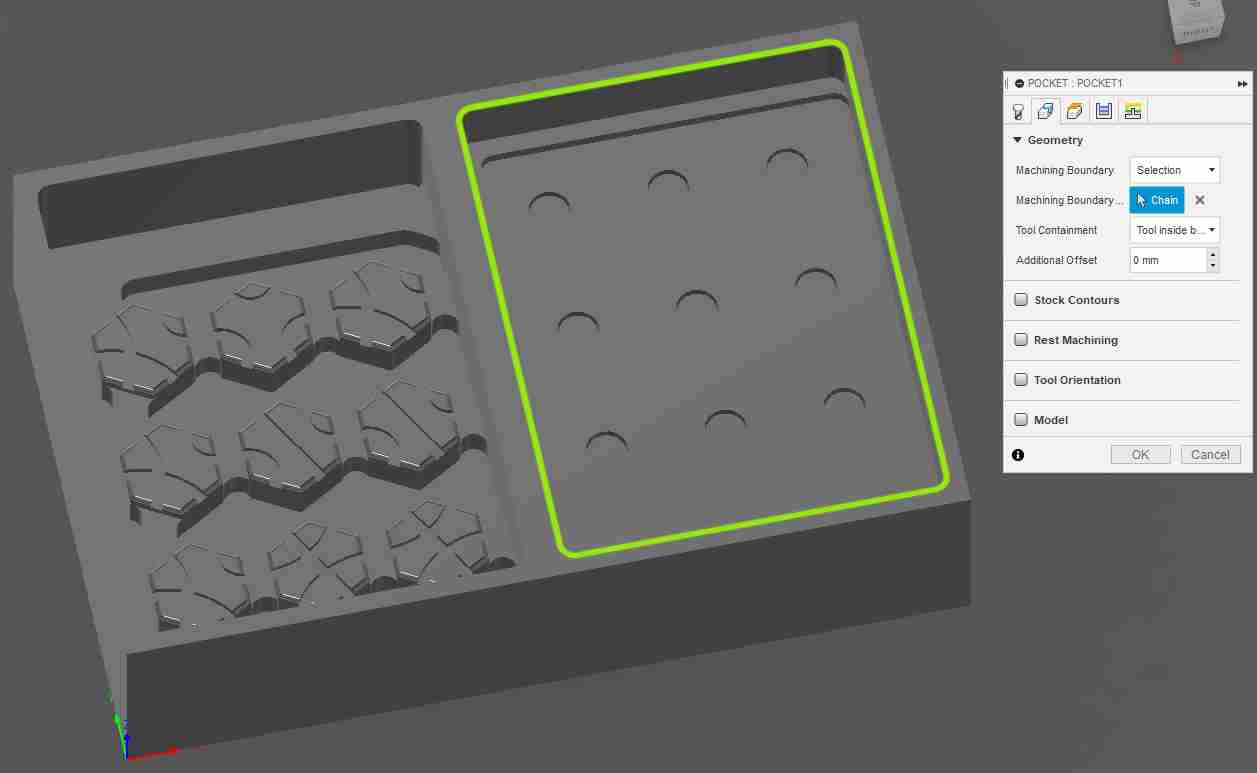
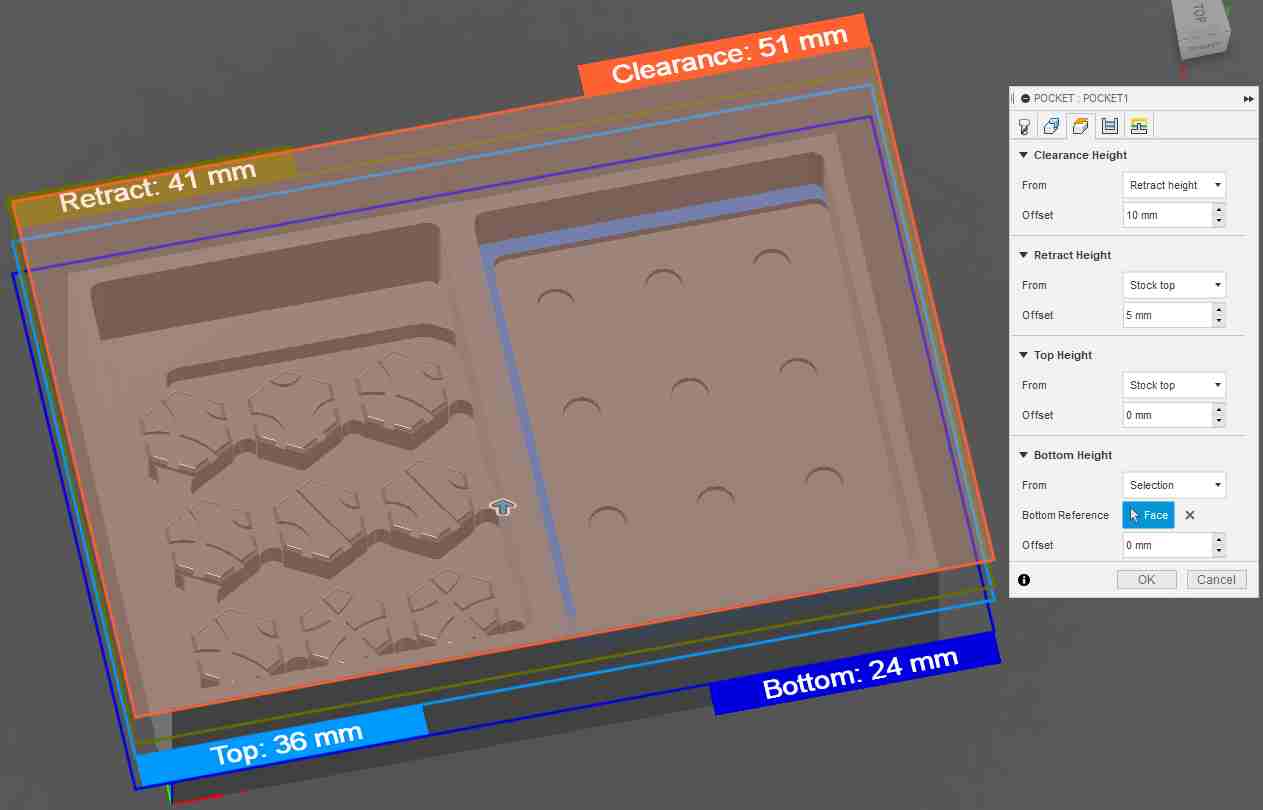
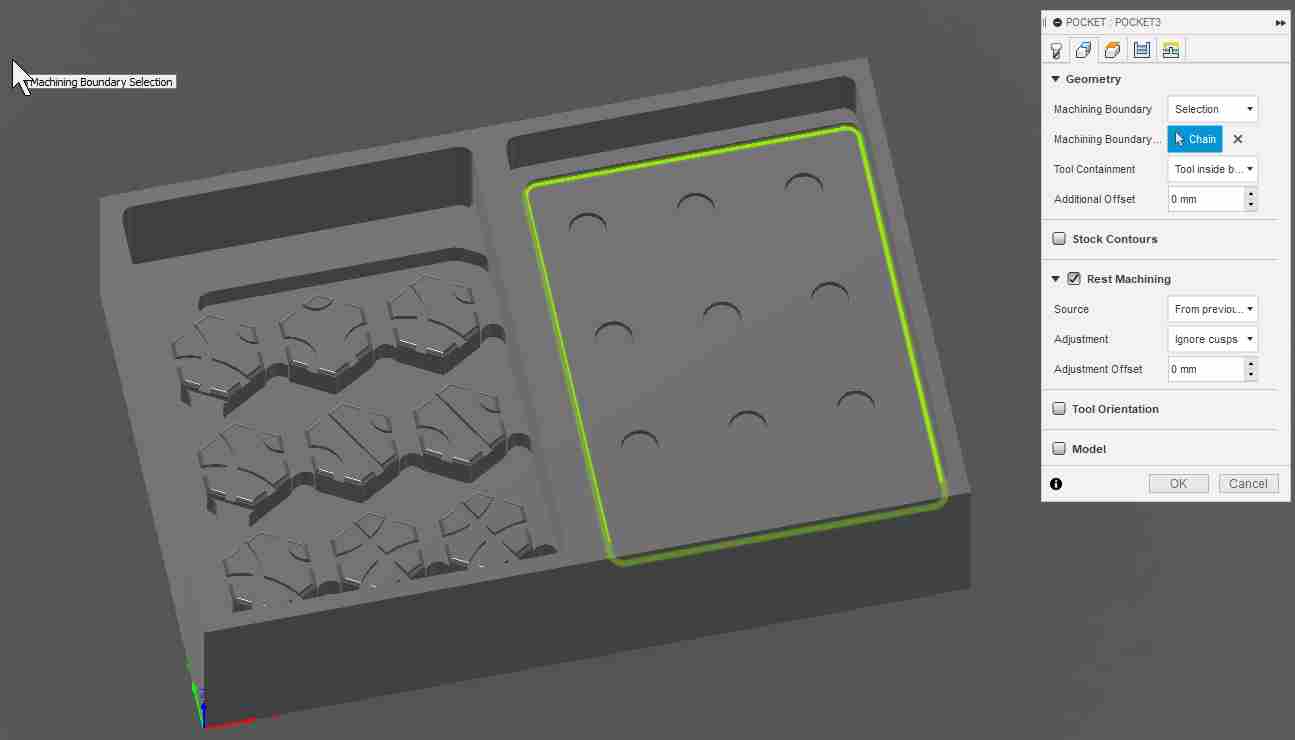
And for the final finish cut, I used the 3D Contour function to mill out the fillets on all of the tiles. However, I must admit here that I had very interesting results while I was experimenting with the function settings.
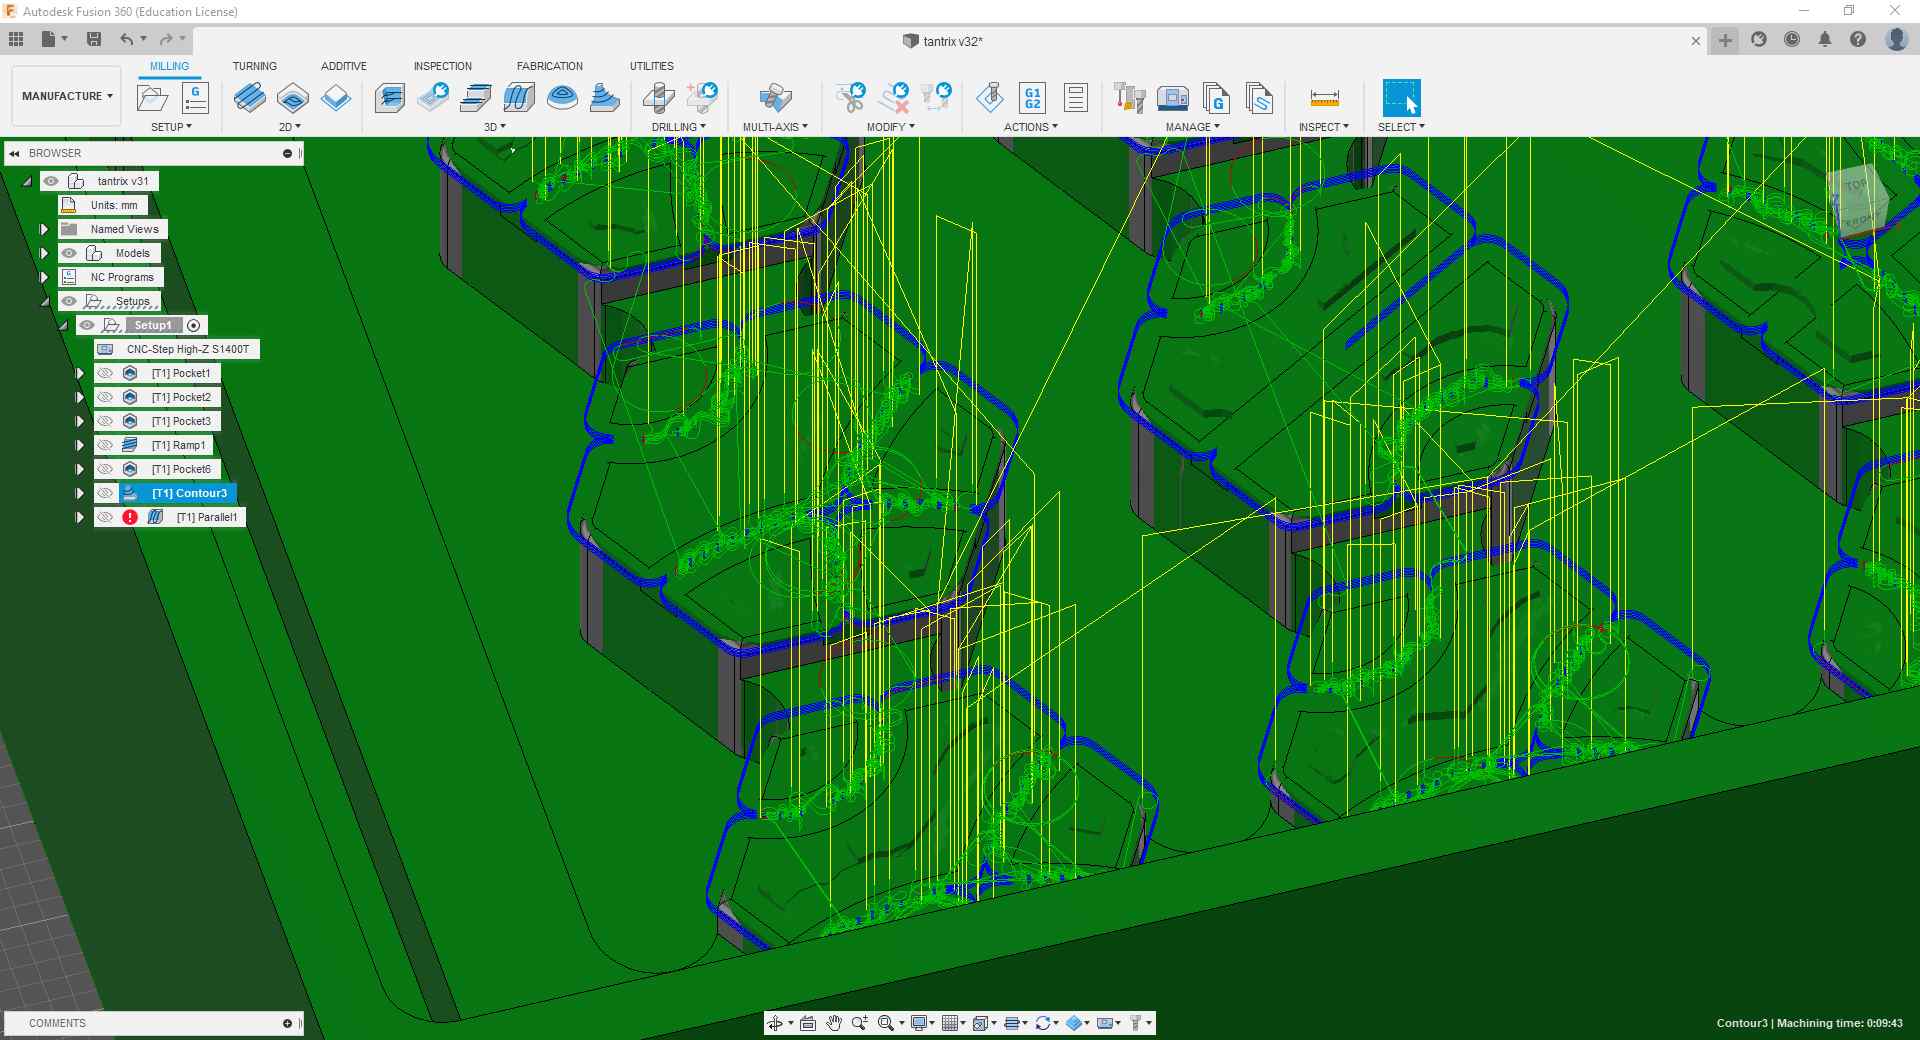
But then after playing around enough with the Chains settings I was able to make it produce decent results.
.jpg)
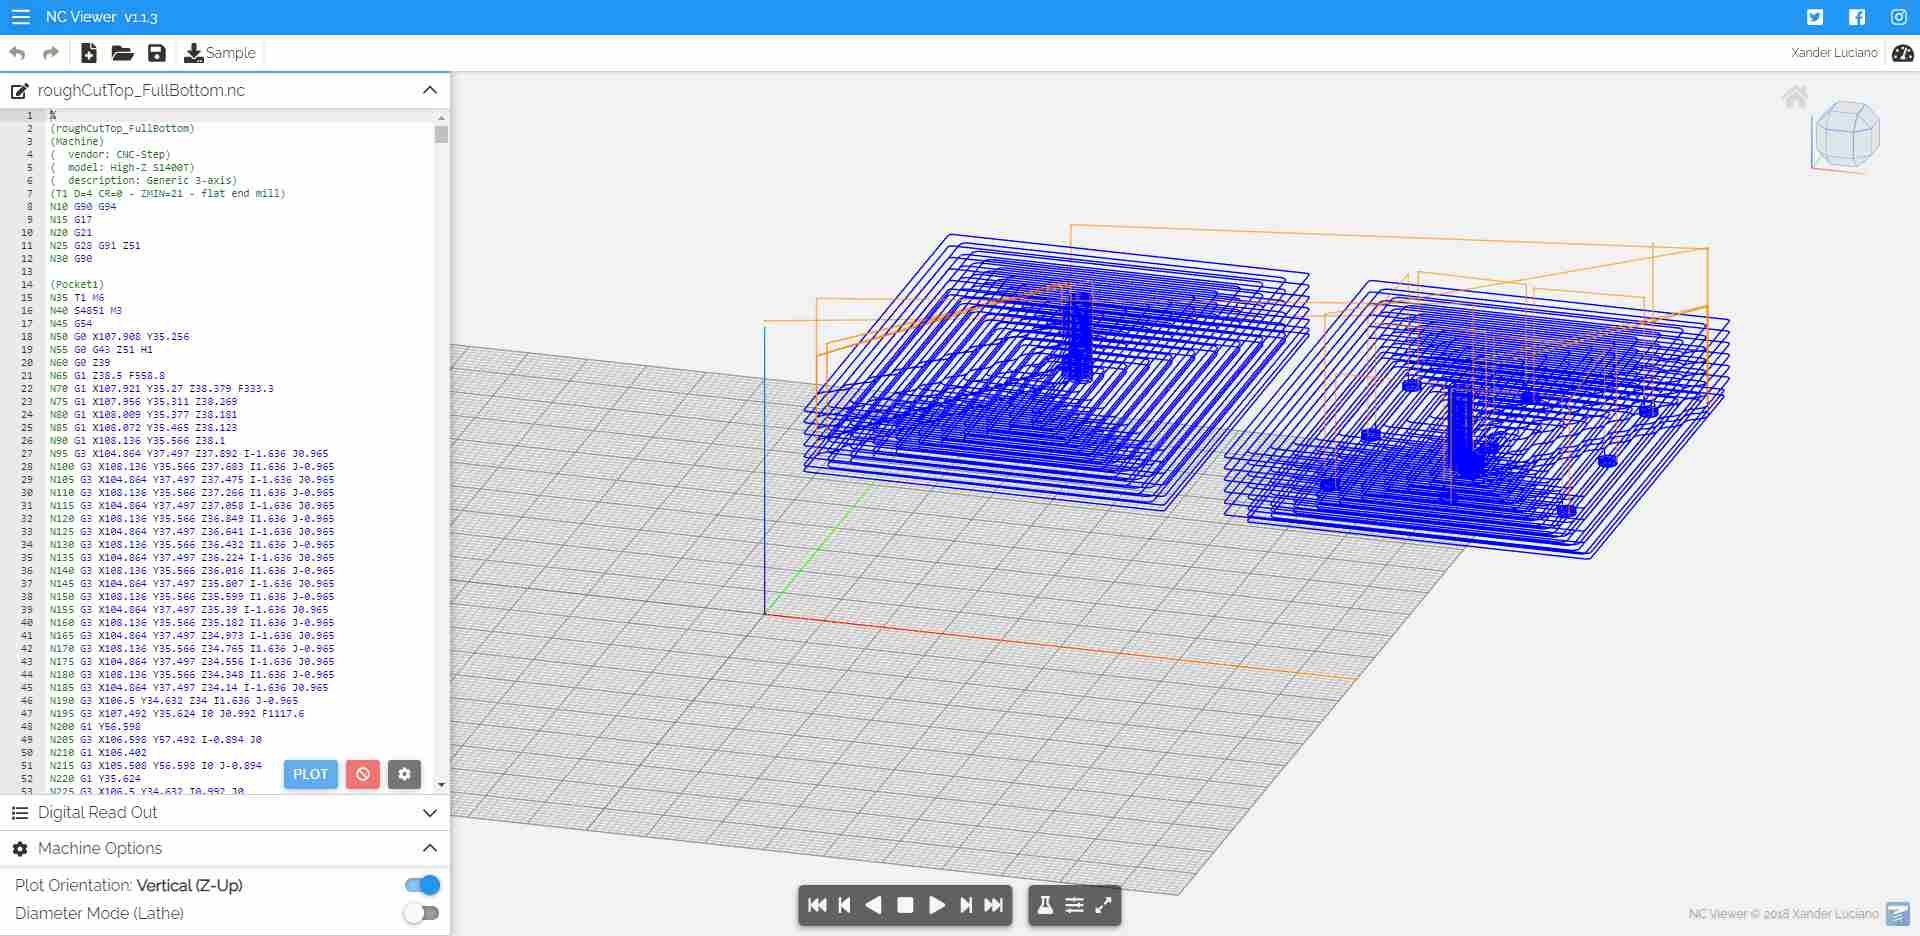
Now that the CAM is finally ready, I used Actions > Post Process to create the gcode for our CNC. And then went ahead and used NC Viewer to simulate the resulting gcode file, after making sure that the machine does not travel to Z0 at the beginning of the job (just like I explained in Topic 8).
Milling the Wax
After preparing all of my gcodes in batches to better control what is happening during each milling job, it was time to go to the CNC.
Preparing the Stock
Since I was lucky enough to mill after Aaron, I was able to use his very nicely milled out and fastened sacrificial piece with the x and y axes zeroed to the bottom left corner :). So all I had to do then was to fit my wax stock piece into place.
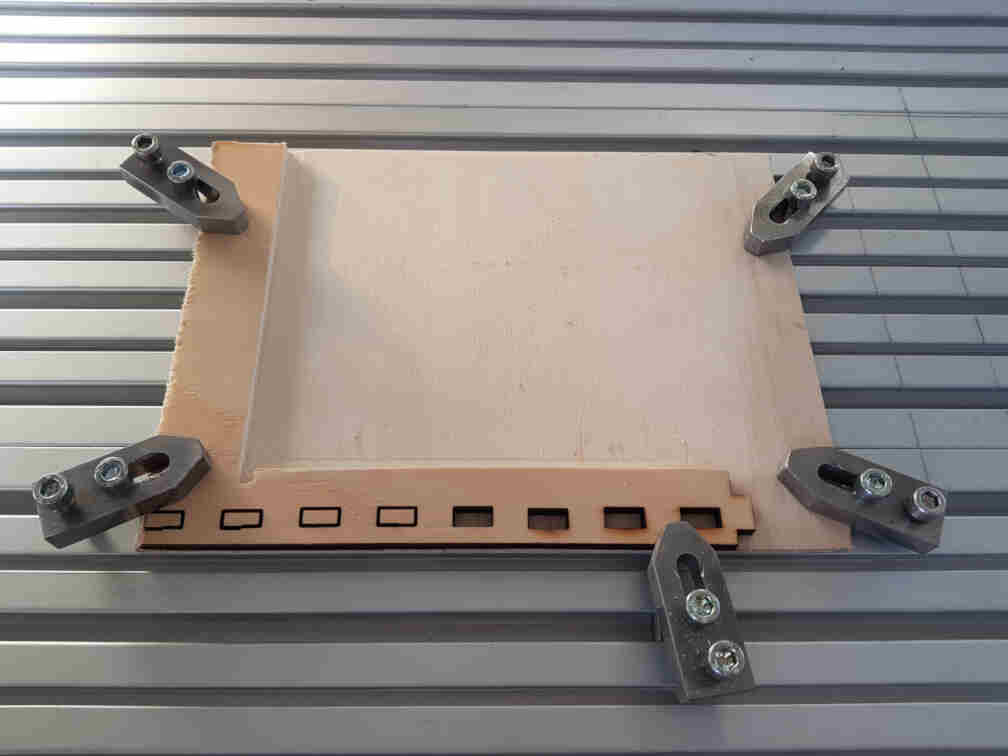
So I went ahead and applied double-sided tape to the bottom of the workpiece, making sure to leave some extra to the right and top sides to make it easier to remove the finished workpiece after all milling is done.
And then I made sure to tape it snugly into the zero-corner.
After putting the 4 mm flat end mill into a fitting collet and into the CNC spindle, it was time to commence milling :).

A couple of roughing operations, a finish cut to the right side of the stock, and collecting the wax shavings for recycling, this is how my workpiece was faring.
After a dumb mistake of trying to mill out the fillet contours of the tiles with the 4 mm end mill before changing the mill bit, I ended up damaging two of my tiles because the end mill did not go around them with a continuous 3-axis movement but rather removed the whole fillet area :/. So I decided to go back to my CAD and change the location of the pattern that was supposed to go on the damaged tile since it was designated to one tile mold only because it doesn't occur very often in the game like the patterns on the other tiles.
After doing that, exchanging the 4 mm end mill with the 2 mm one, and then running the finish cuts on the tile faces, the registration slot and the tile patterns, this is how the stock piece looked.
After all milling was done, it was time to remove my workpiece off of the CNC bed. I was very nervous since my walls were not very thick because I made a silly mistake in placing the mold CADs onto the stock where I made the wall between the mold sides too thick and the outer walls too thin. But for this part I was glad I had left out extra tape on the outsides because I was able to pull on it and slide a spatula between it and the sacrificial piece. However, right at the last slide-and-pull I broke off one side of the wall around the bottom mold. It was a heartbreaking moment right before I left the lab for the night...
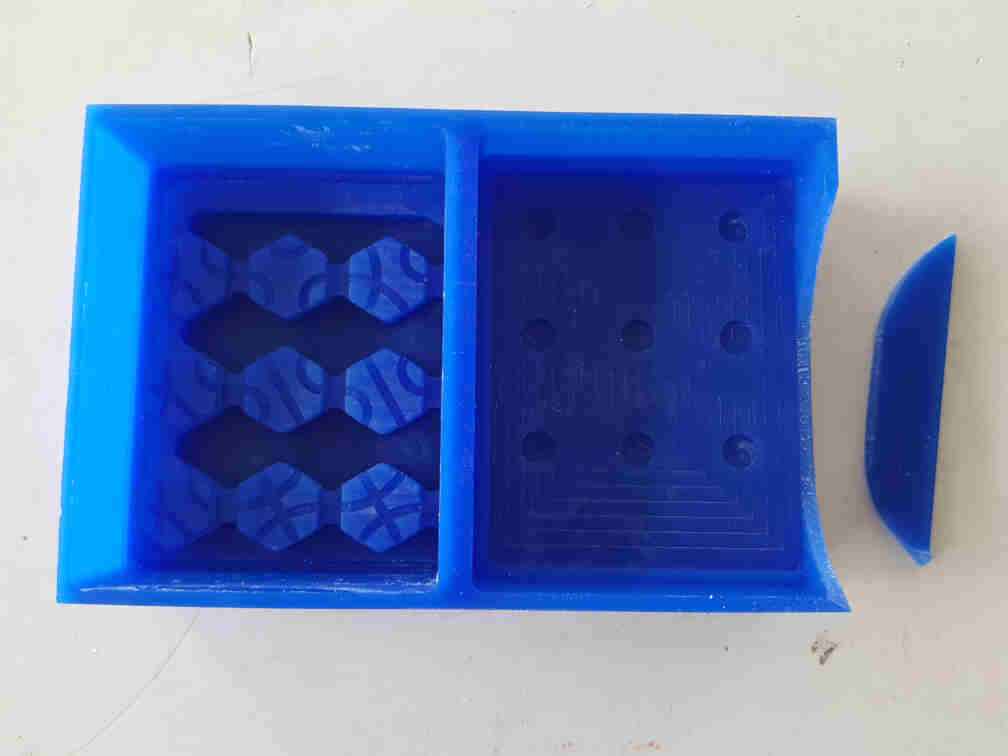
Wax First Aid
First thing I did the next morning is to locate the lab's glue cabinet. I thought the wax had enough plastic in its mix to be able to react nicely and heal by the power of the great superglue.
Like nothing ever happened.
Casting
Before I start with any details, I would like to say that I very much enjoyed the casting session we had. We were very well prepared and very organized in our individual roles and in our setup area. Most of the casting preparation is detailed in our group assignment page since we only had time for one silicone mixing session and one polyurethane resin session. So in here I will only describe the actual casting I did using these two materials.
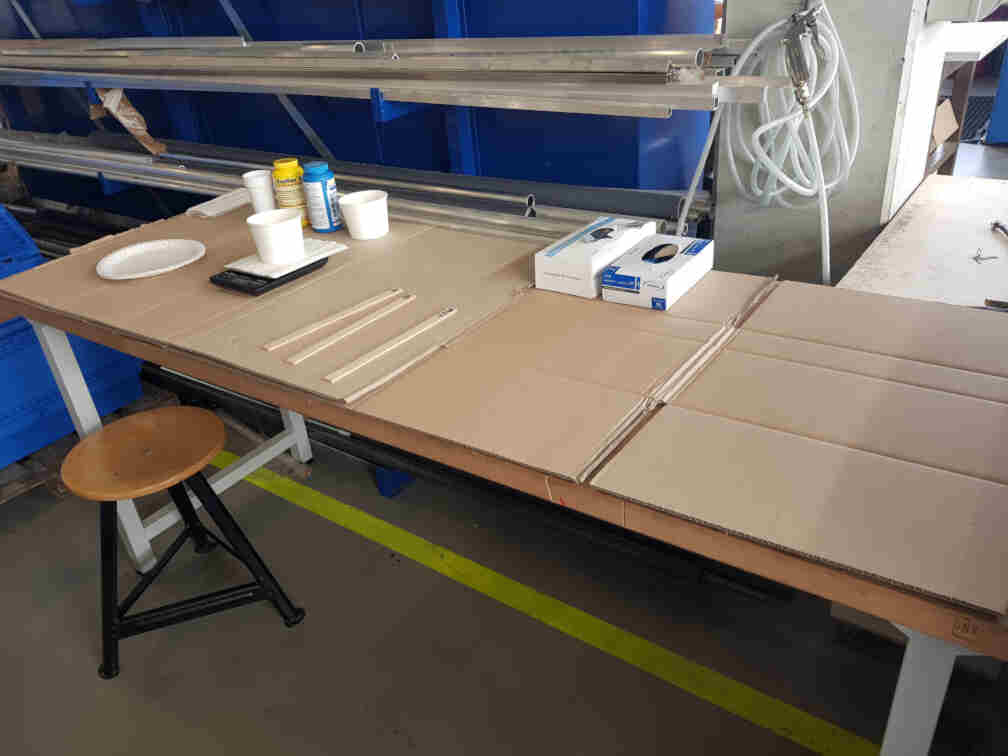
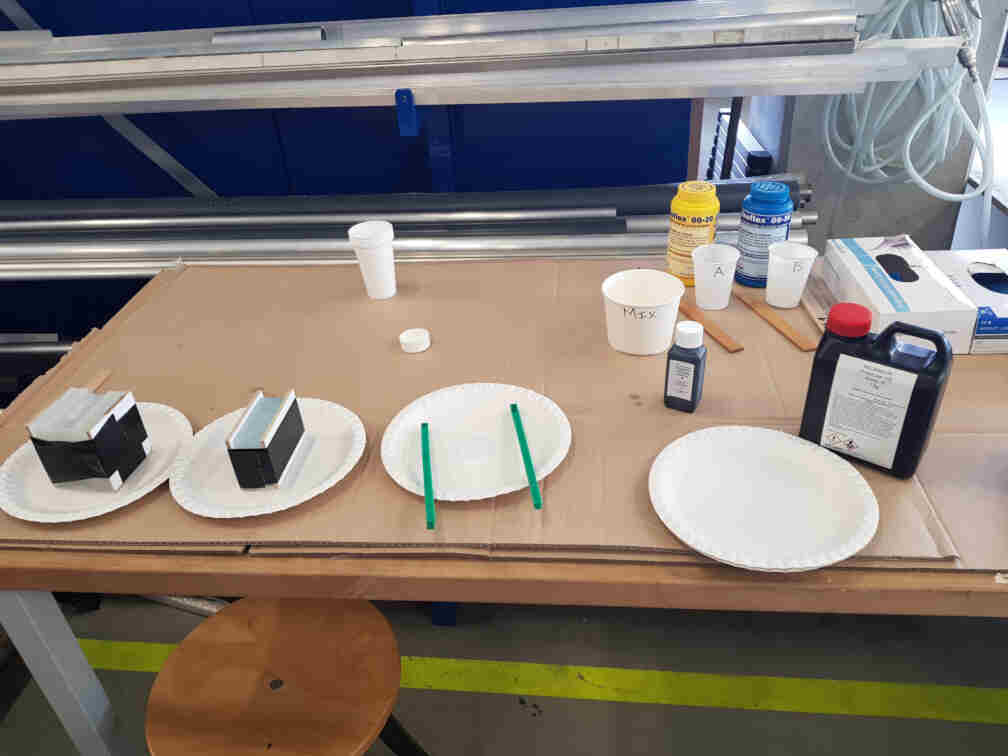
Casting Workstation
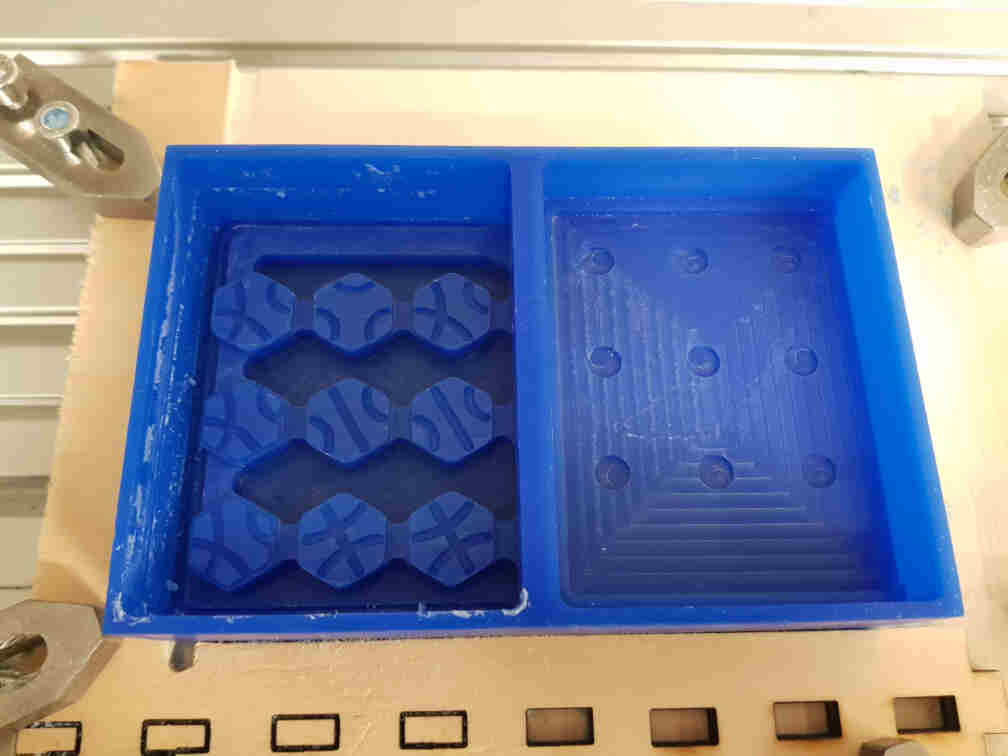
Here are our mixing station and degassing and casting station. I also added extra insurance to my broken mold piece by taping duct tape around the wax walls :).
Casting the Silicone
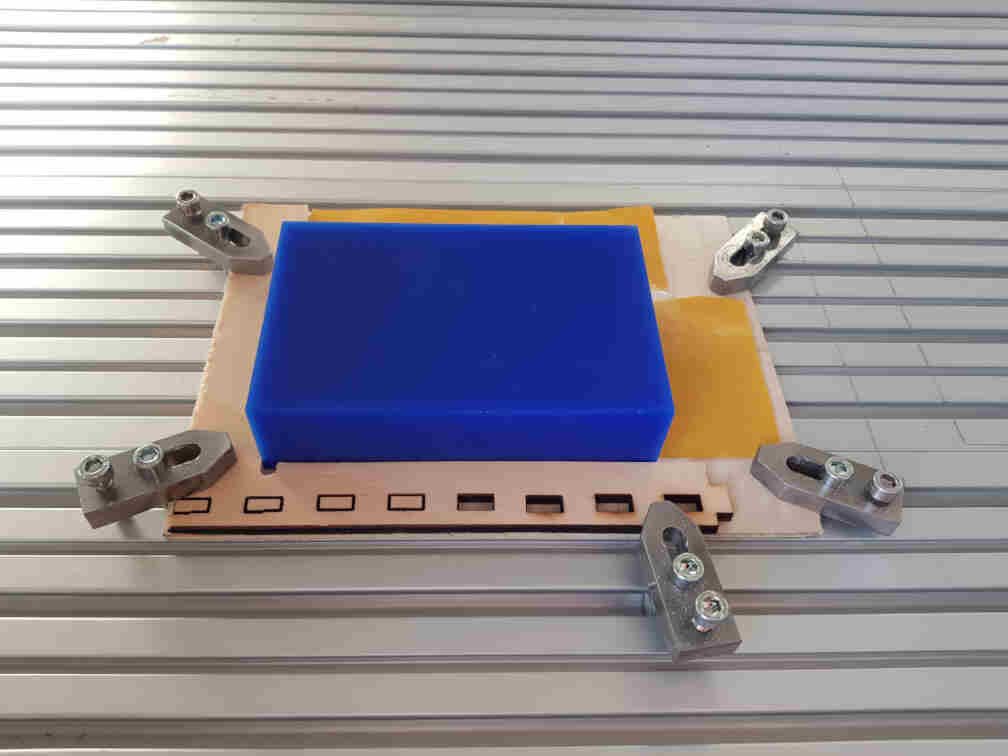
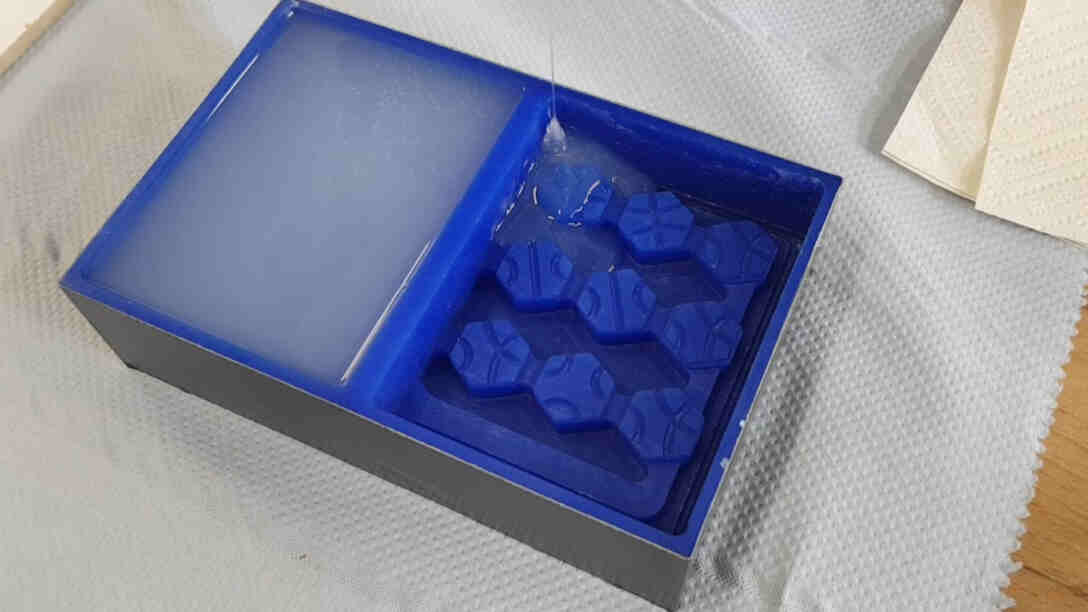
After the silicone mix had been prepared, degassed, and was ready to be poured, I went ahead and started pouring it into the bottom side of my mold first, since I can afford to have the bottom part look less than pretty if there was a learning curve for the pouring.
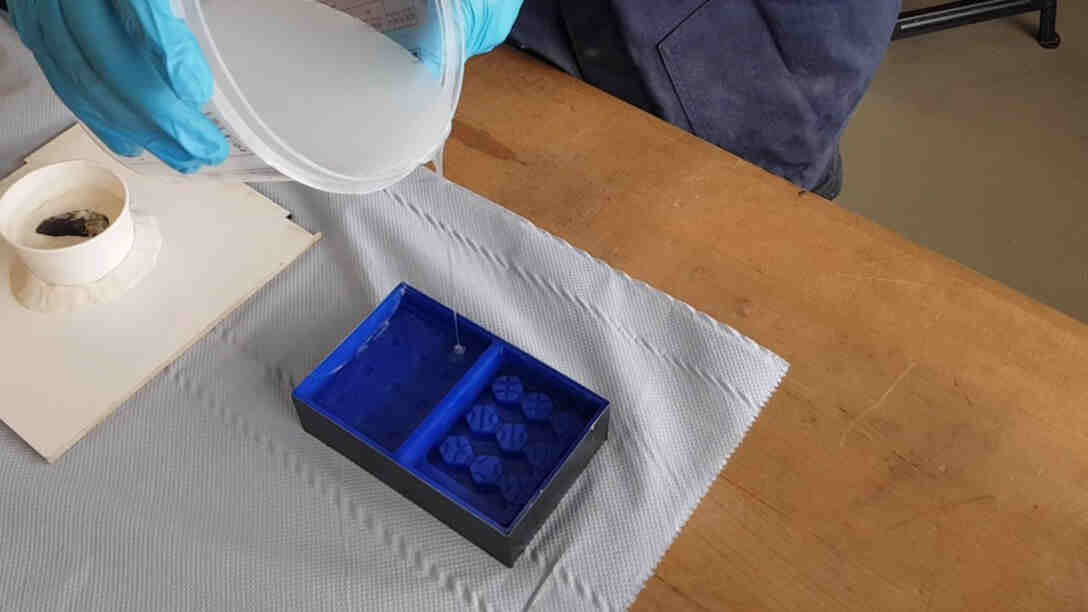
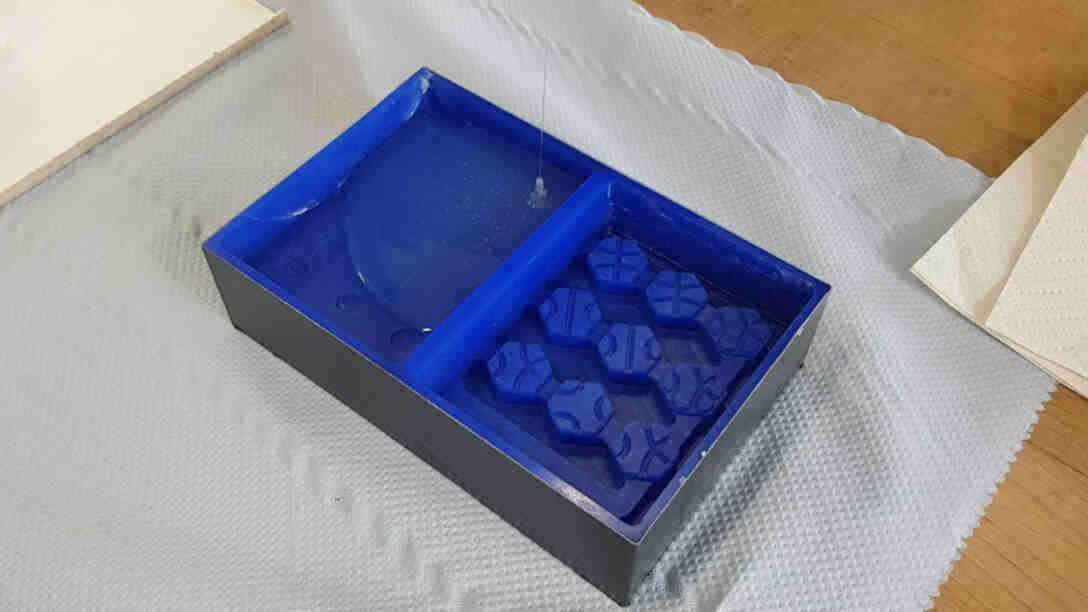
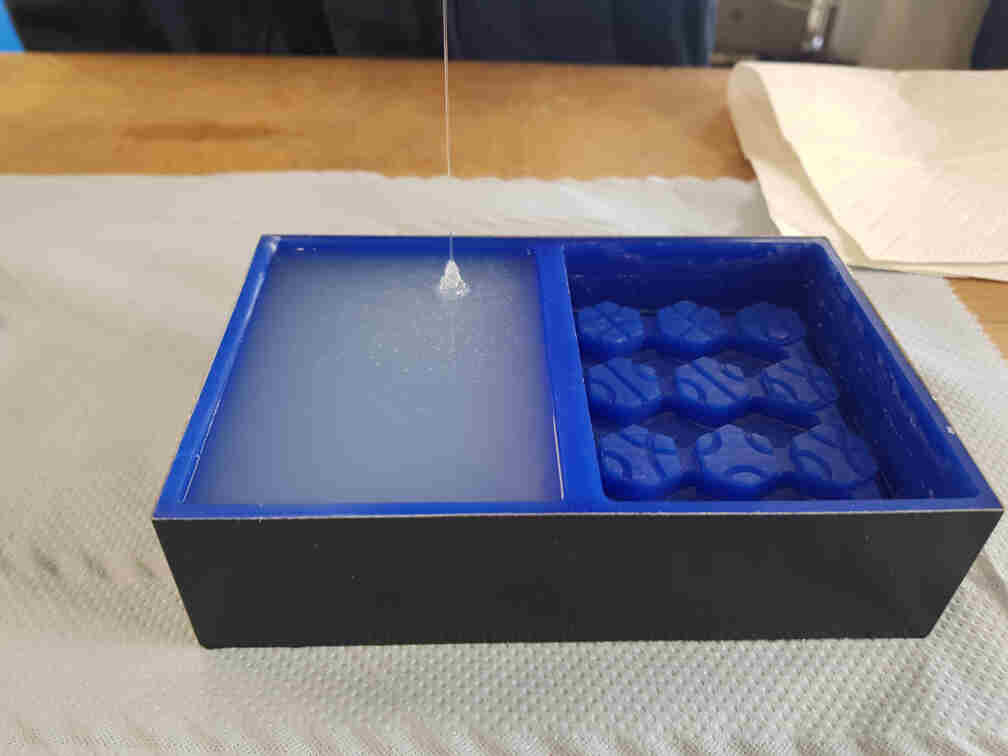
Since it was all going smoothly, I continued pouring until the bottom side was filled and then moved over to the top mold side, making sure I kept the bead steady and as thin as possible to avoid introducing air bubbles to the mix.

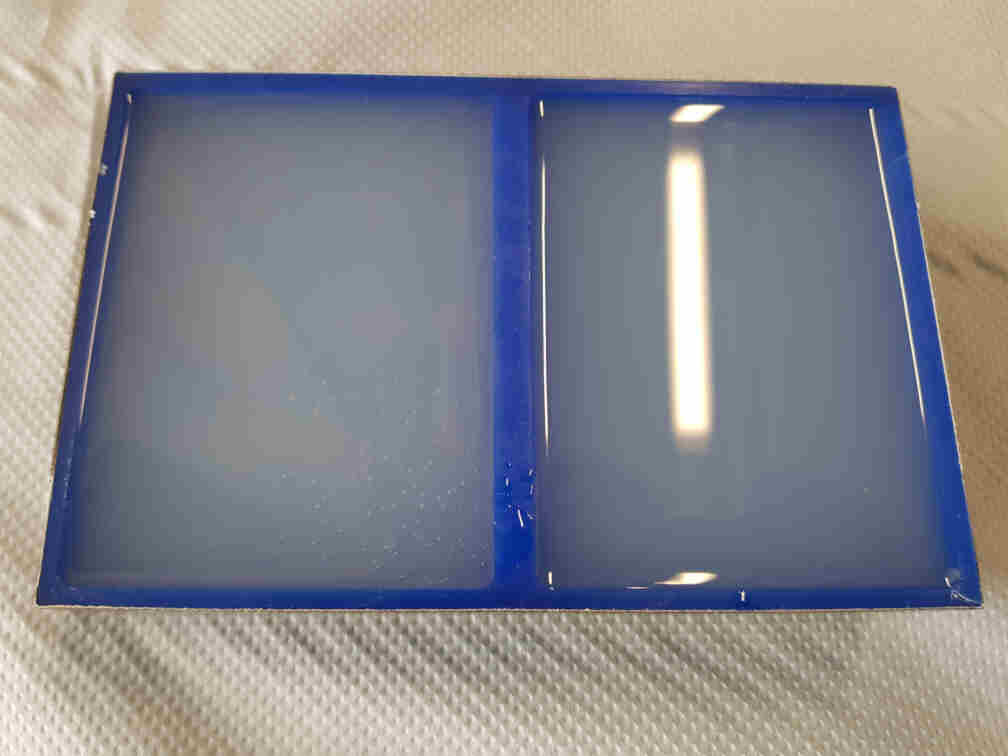
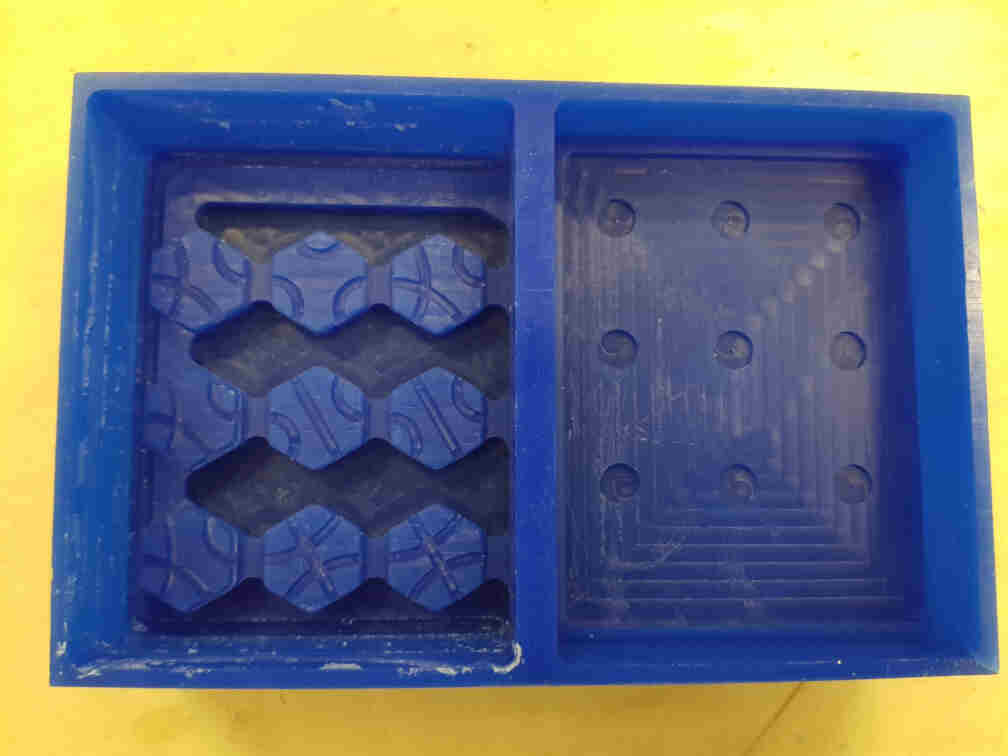
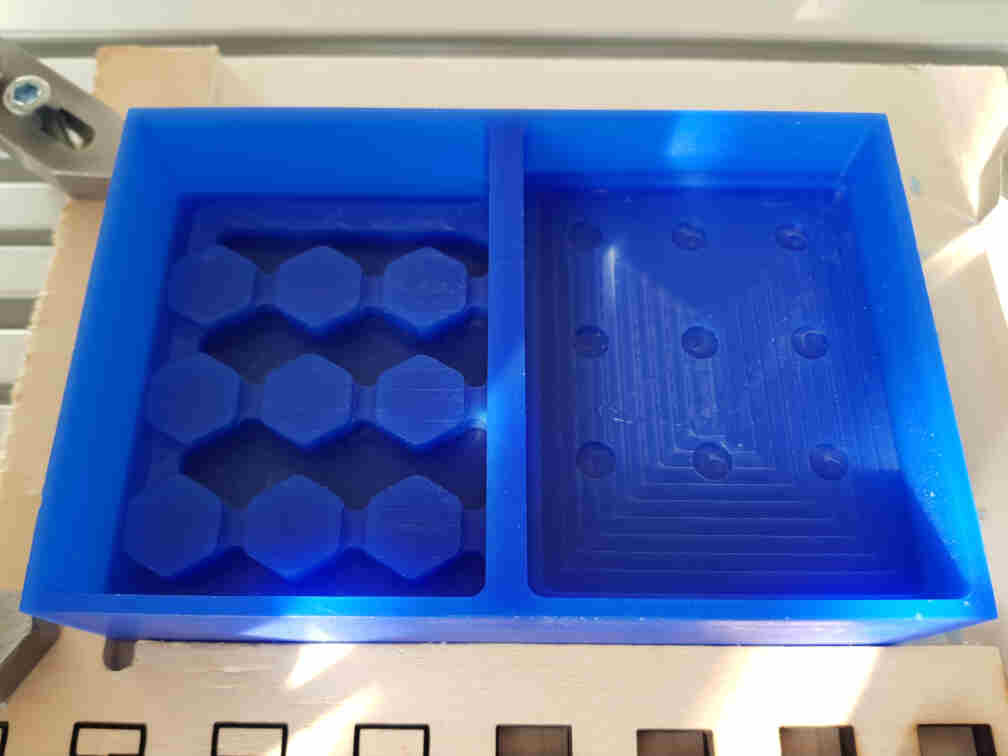
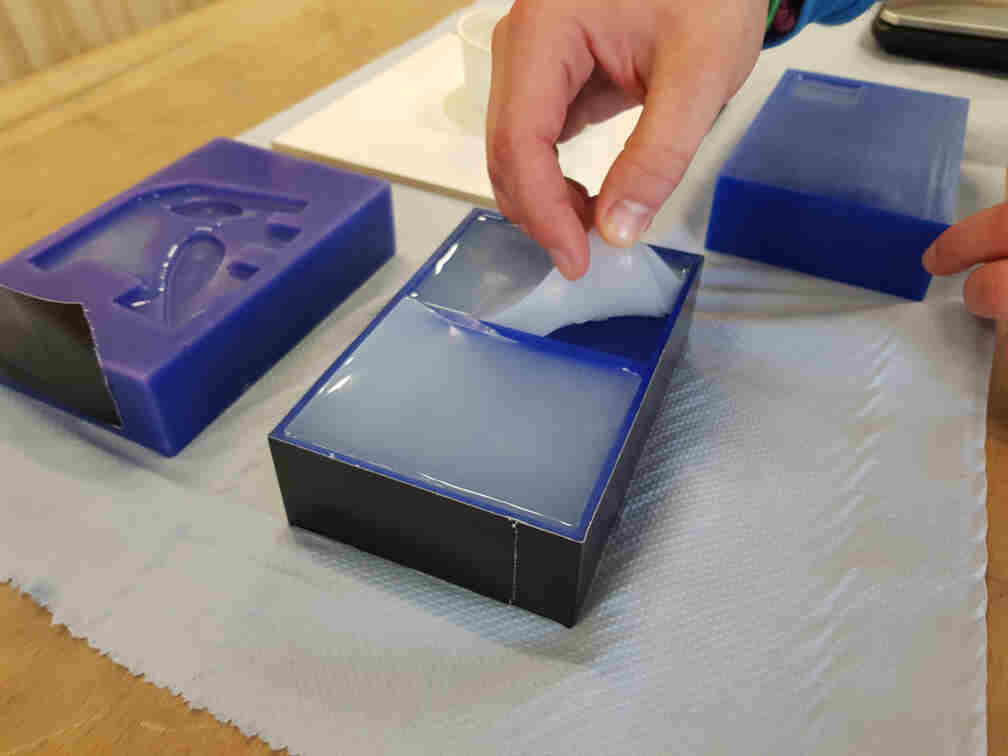
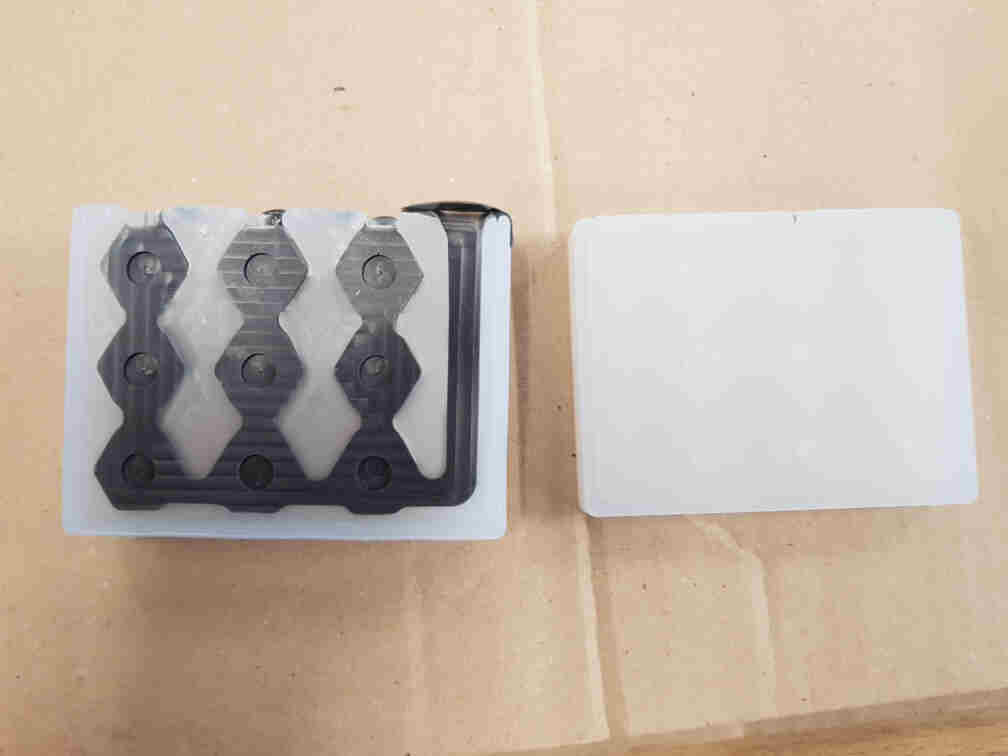
A bit more than four hours later my silicone parts were ready to be demolded. To do that, I carefully pulled at all the sides with my fingers to detach it from the wax mold, and was ever ready to use compressed air if demolding proved difficult.
In the end it was very easy to lift up the mold sides without the help of compressed air.
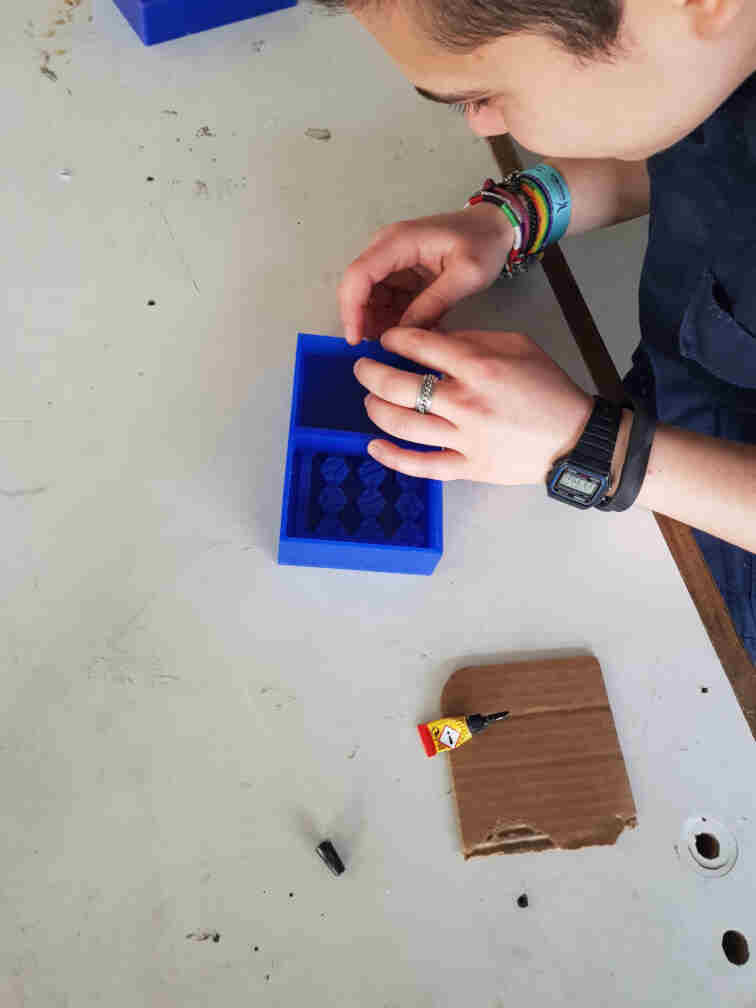
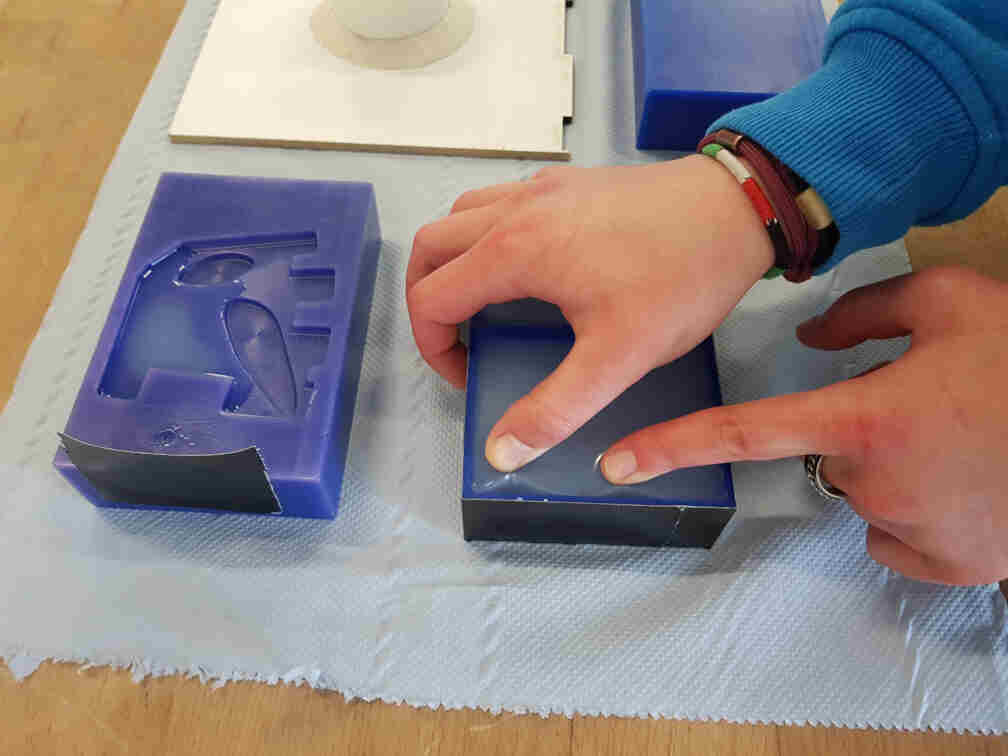
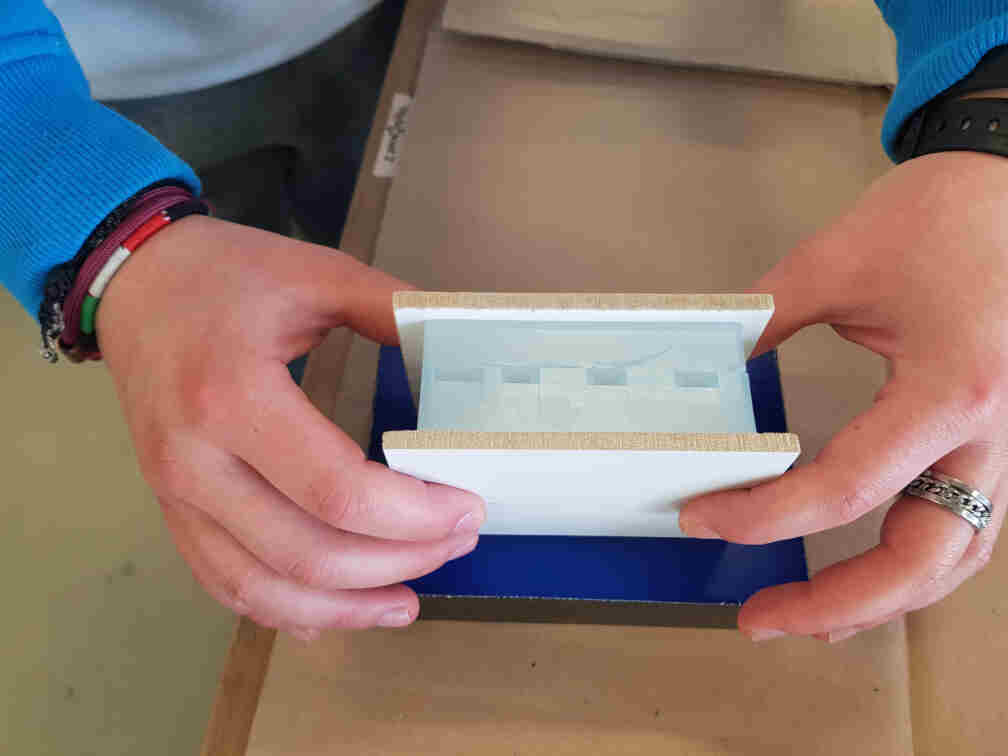
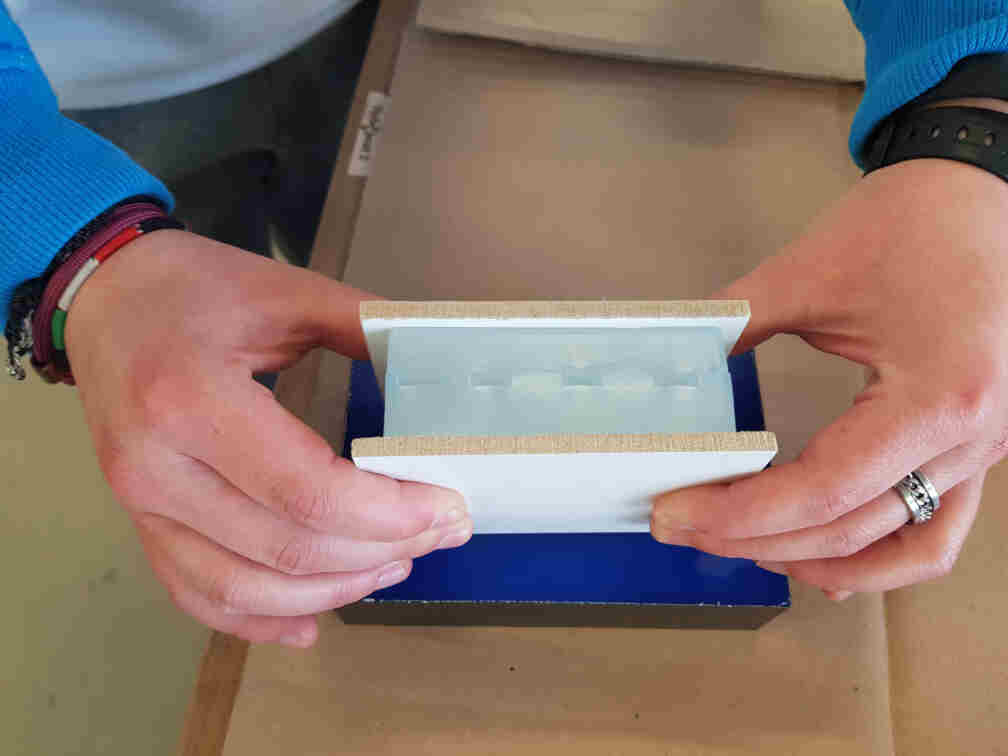
Just checking whether the molds fit together which, as expected, they do!
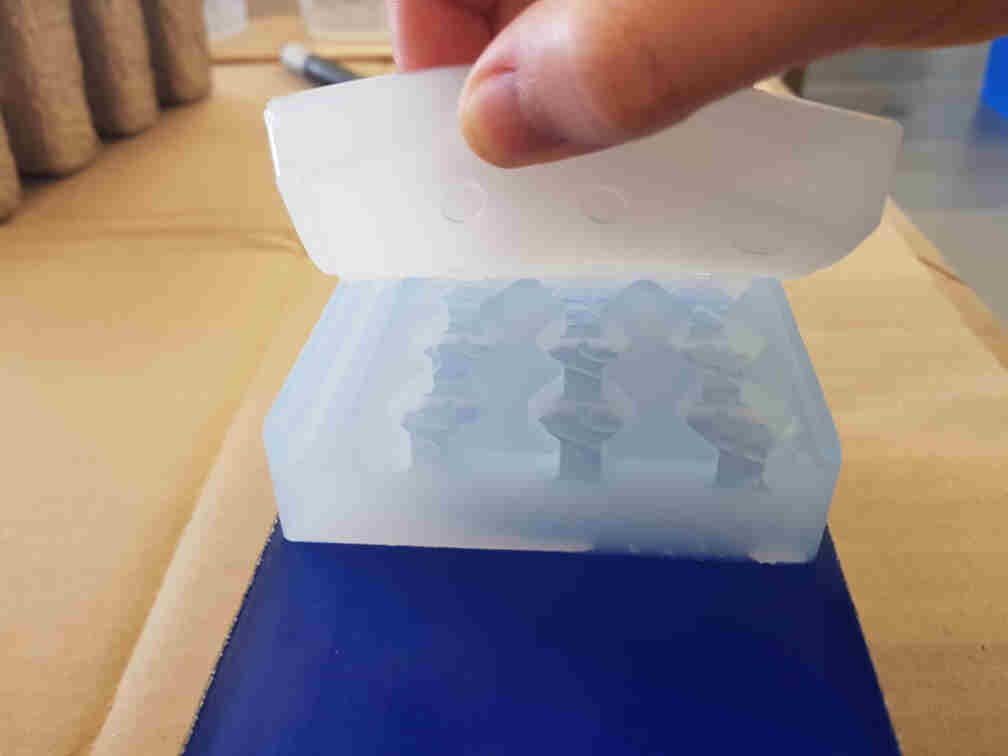
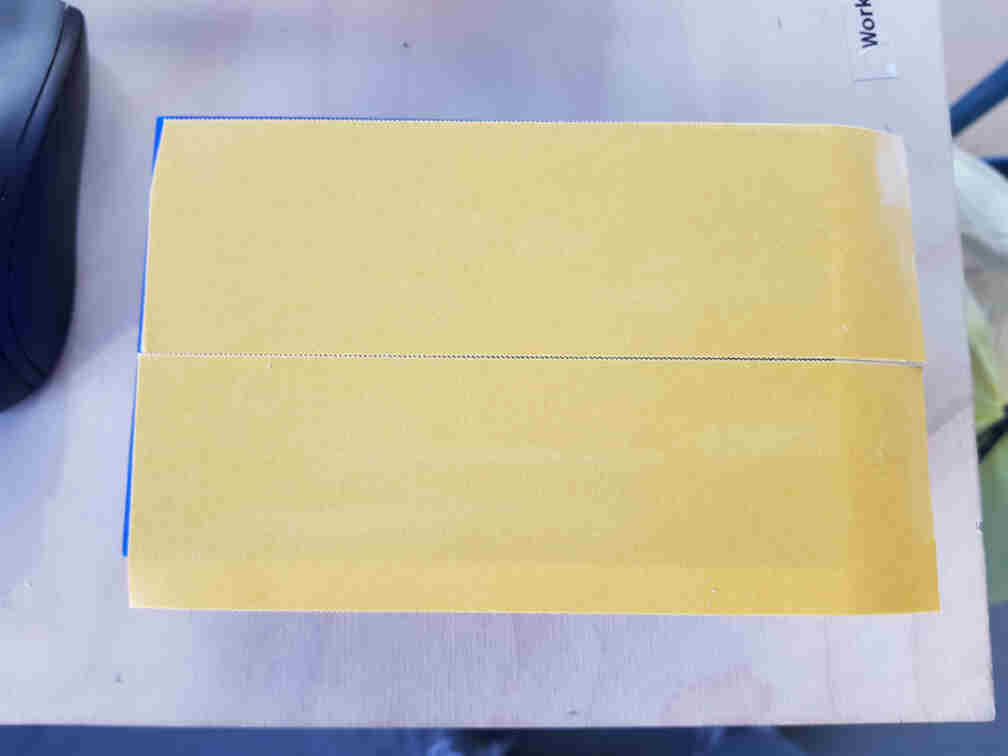
After that I cut two flat rectangular pieces of scrap wood on the bandsaw to use them to hold the silicone mold parts together during the polyurethane casting. Something worth noting though, is that the silicone we're using is very flexible, so that I had to be careful about how much force I apply on it while duct taping the wooden brackets around it. Here is me experimenting with pressing it together more than I should, which squished the internal geometry of the mold.
Casting the Polyurethane
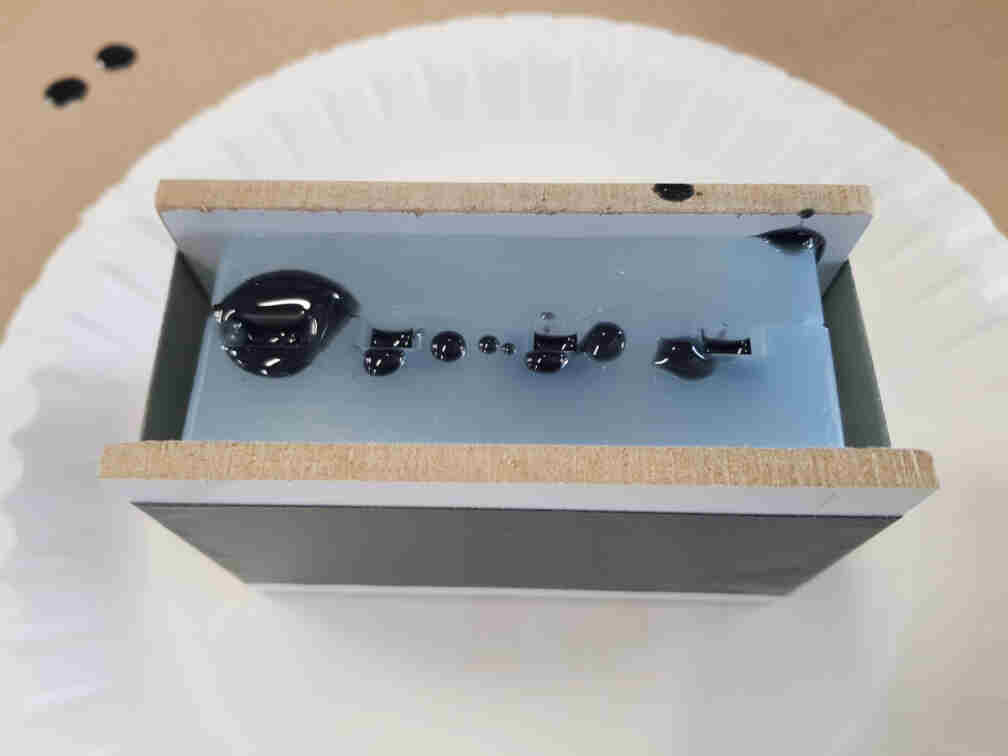
Since the mixed polyurethane has a pot life of a grand five minutes, we had to be very quick with this process so that none of us had time to take documentation photos. But here is how we lined up our molds for casting.
And here is my polyurethane-containing silicone mold after we all managed to cast our pieces with 10 seconds to spare!
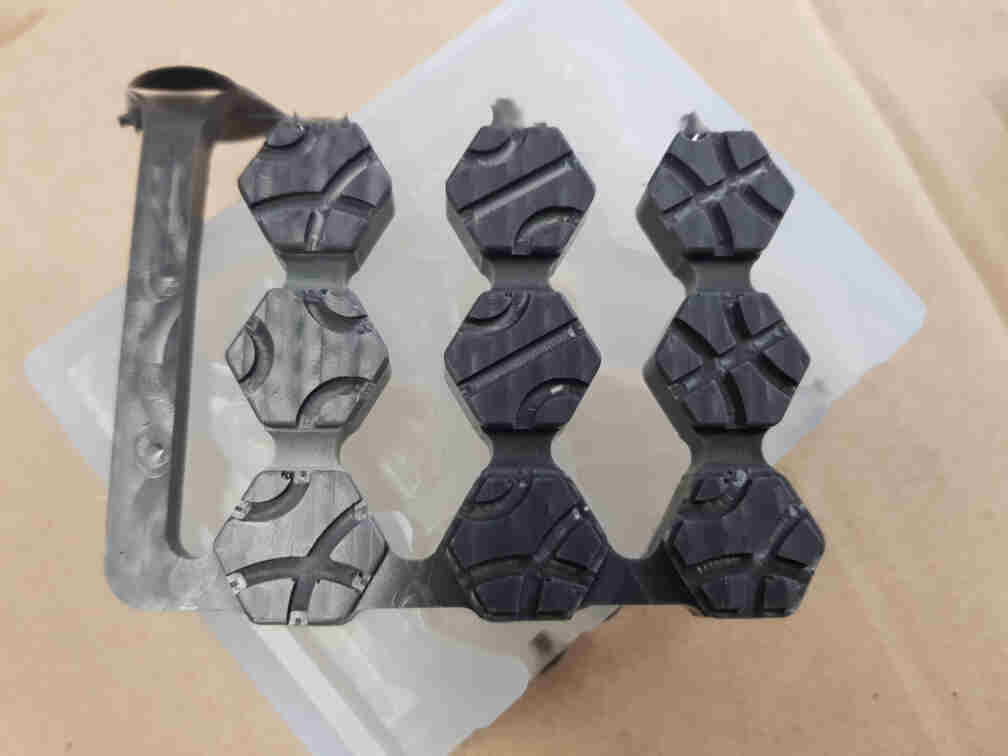
An hour and a bit later I was already demolding my final cast pieces. It looked like I could have added a bit more cast in there but now it doesn't matter anymore.
I was positively surprised by how little the cast had bubbles. I was certainly expecting much worse given the hassle during pouring the cast.
Making Things Pretty
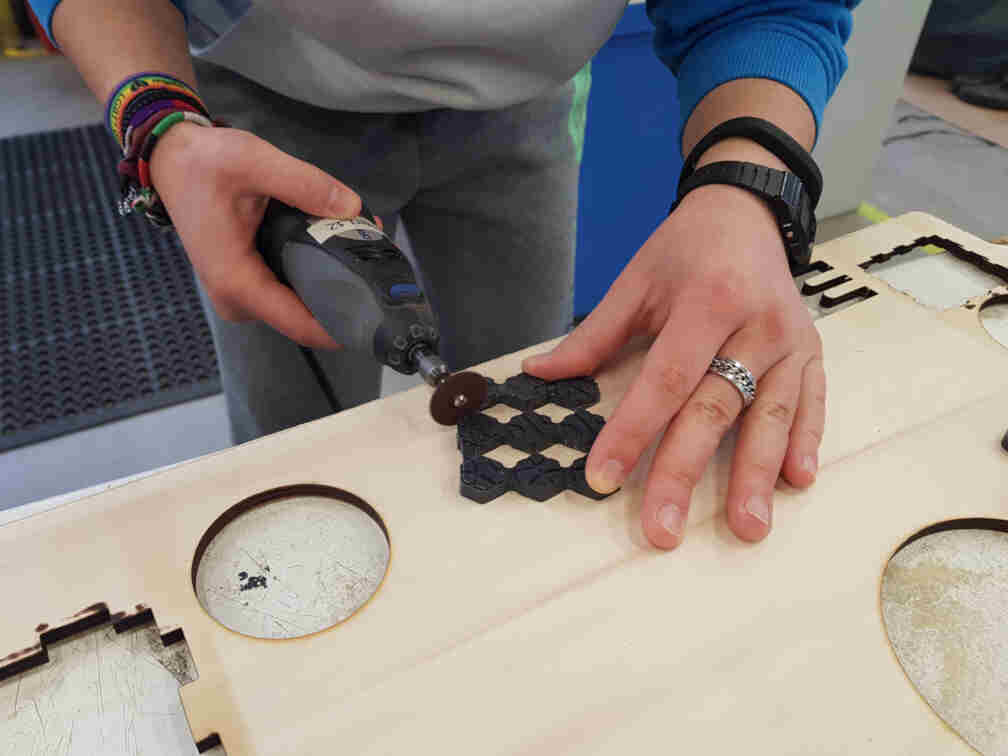
After a successful demolding, I still needed to separate the game tiles from the cast before I was able to call it a day. So I went and asked Aaron for the safety training and instructions on how to use a dremel, and started separating the tiles and disposing of the channel rests.
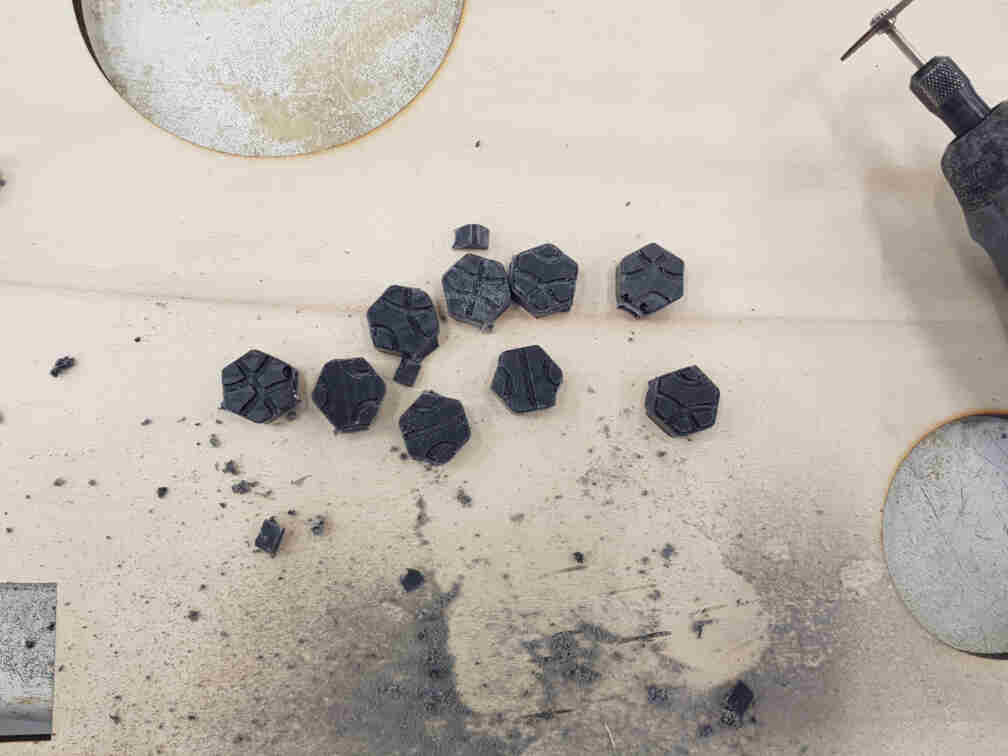
Some sandpaper and compressed air later and I was ready to call the polyurethane game tiles!
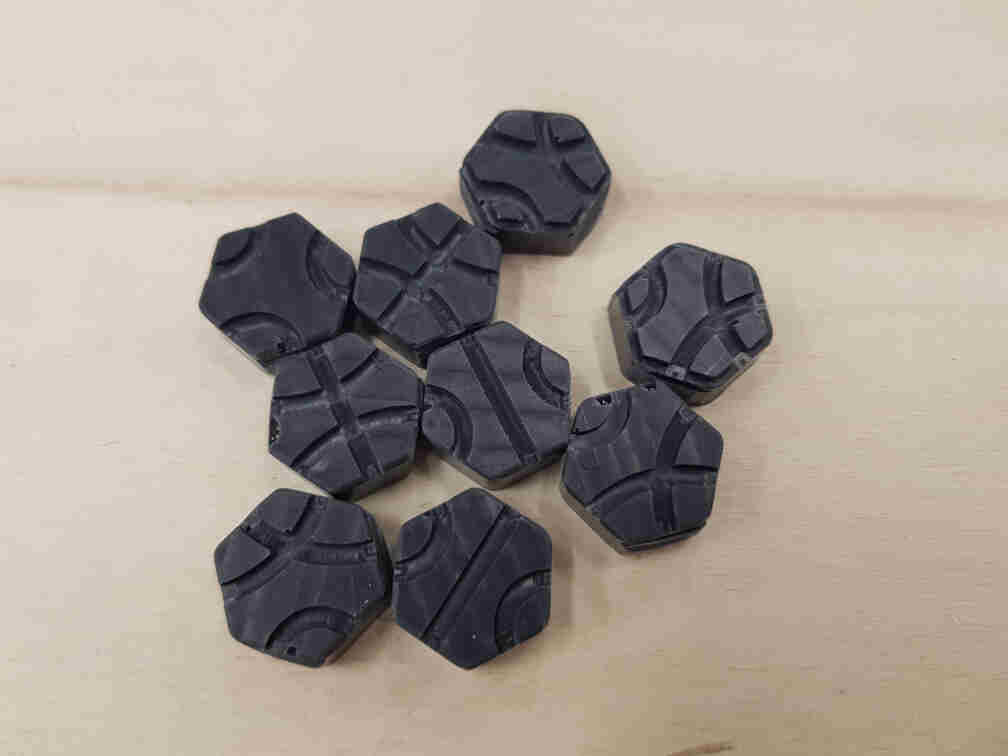
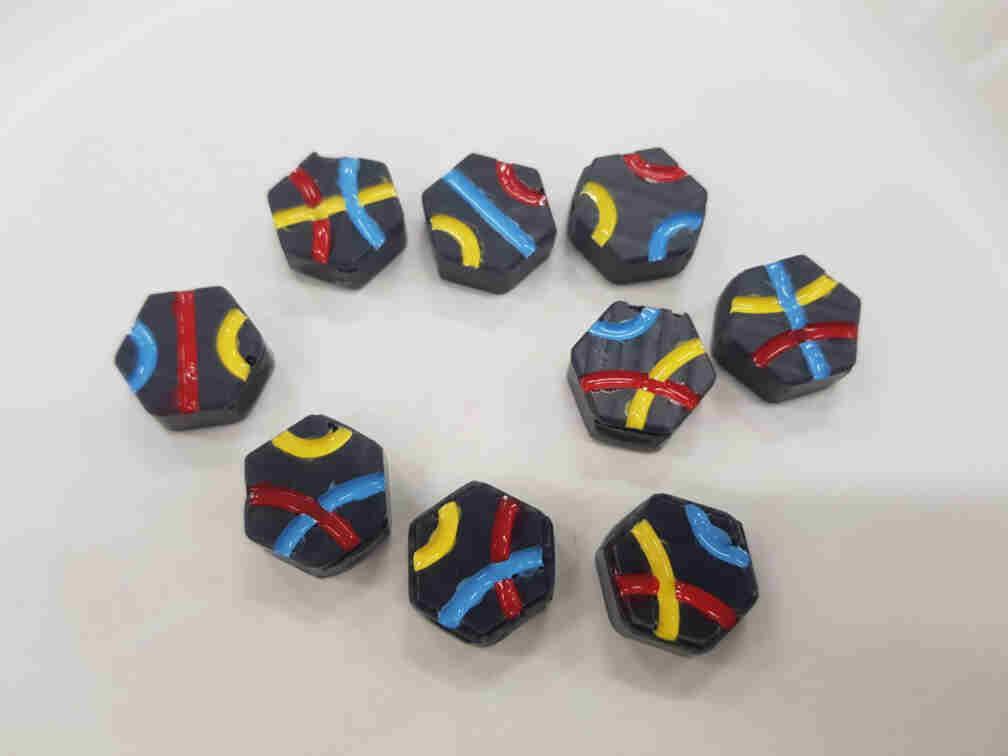
Now for the final touches, I brought out the collection of nail polish I had purchased for this occasion and started painting the well patterns according to the original tantrix game.
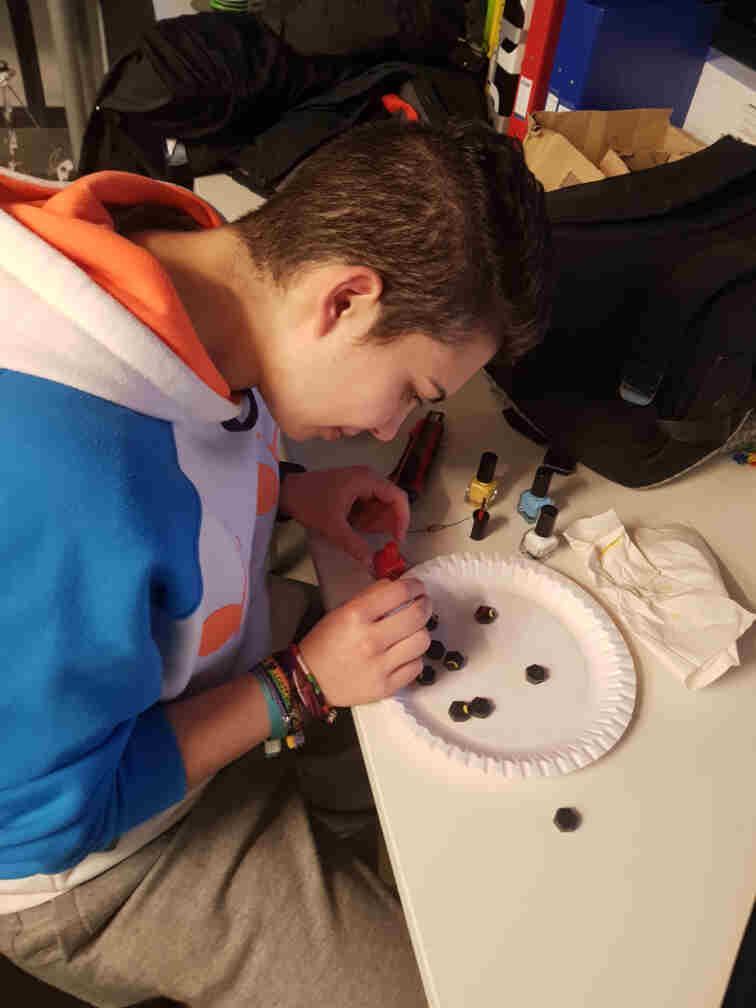

Tadaa!