Project Management
Activities to be done:
a) Entering FabLabs.iob) linking to GitLab
c) Customizing GitLab
d) Installing Git for Windows
e) Setup Git
f) Adding SSHkeys to GitLab
g) Copy your Academy Personal Pro
h) Upload your Repo OnLine
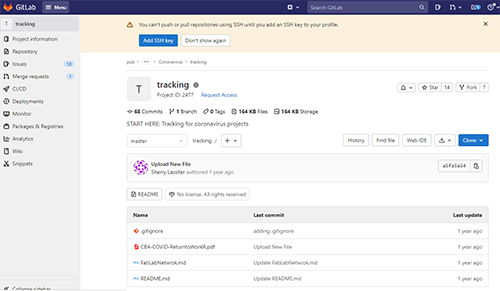
Entering FabLabs.io
Link: FabLabs.io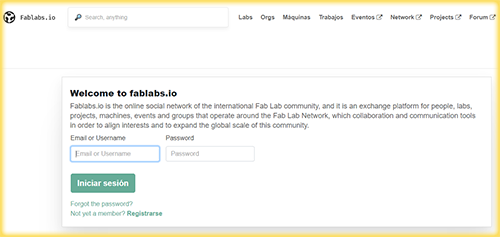
Once registered, we will obtain the link that directs us to our GitLab. Here we will begin to elaborate our Web page, in which we will describe our project step by step
linking to GitLab
Link: GitLab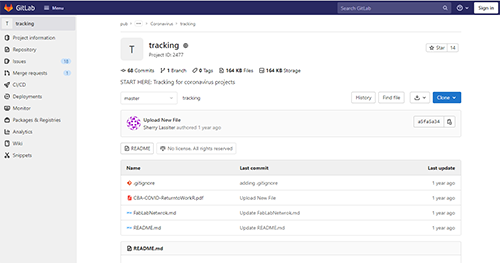


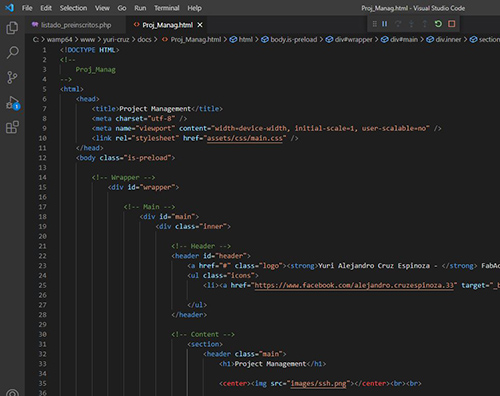
To achieve this I went to the following website : freehtml5

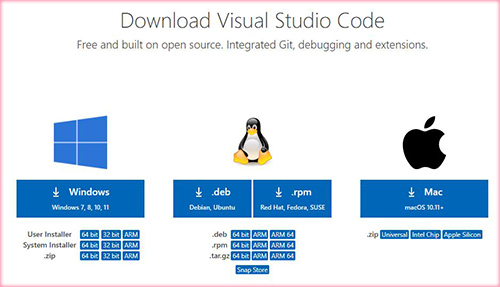
You can download this program from: Visual Studio Code
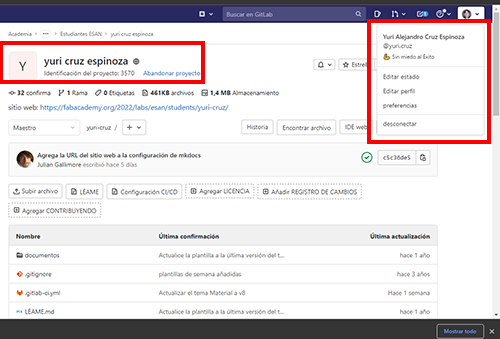
Customizing GitLab
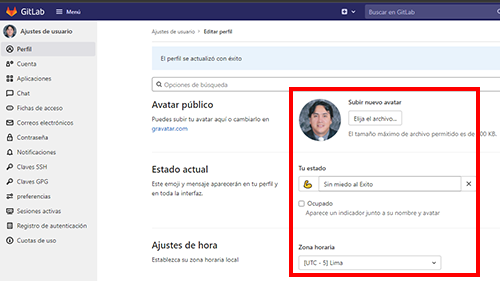
The first thing I did was place my user photo
Then put my current status, for this I decided to put a motivating phrase accompanied by an emoji
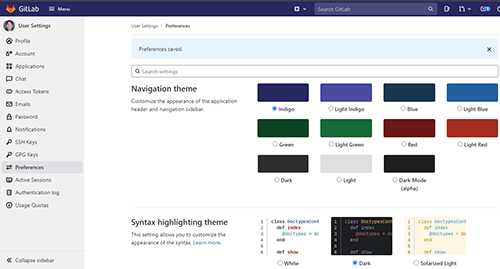
Then we choose the theme that we will use in the programming environment, in my case use the "Dark" option
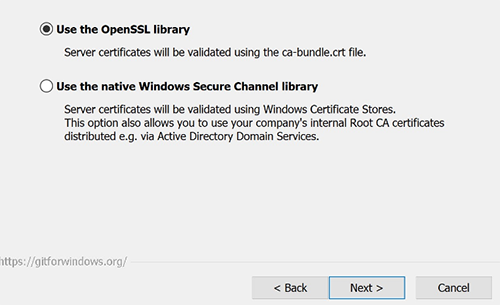
Installing Git for Windows
Link: download Git
In my case my computer has a 64 bit architecture.
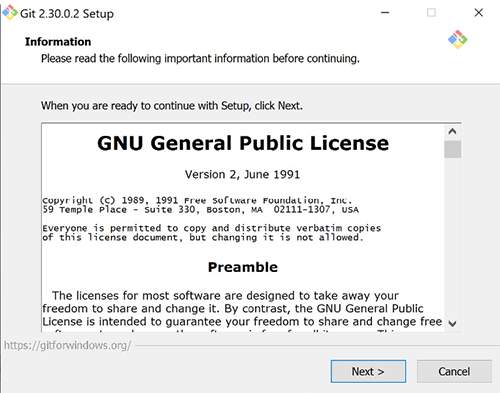
For this, the first thing we must do is accept the terms of the Installation.
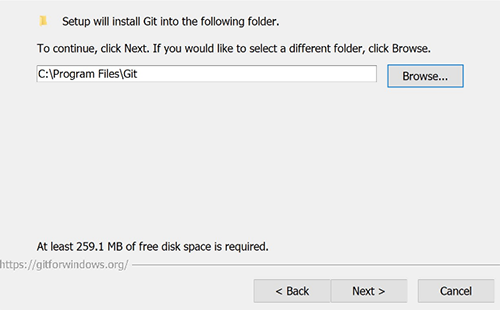
It is recommended to leave the default path.
It is recommended to leave the default path.
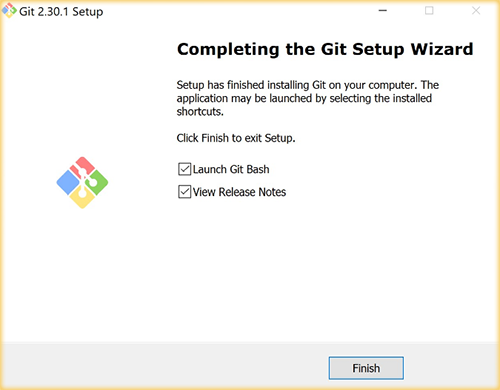
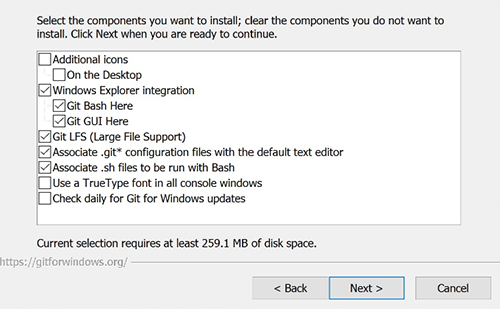
Finally we have our Git program installed.
Now we can link our project that is in our GitLab with our project that we will replicate on our local server.
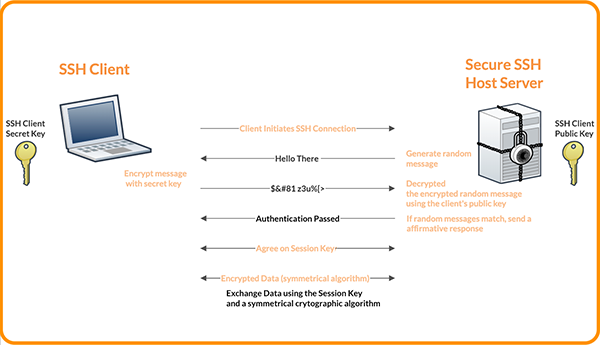
Setup Git
Link: Generate SSH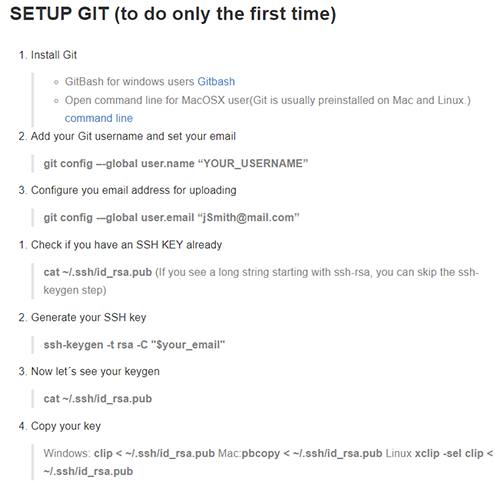
In the figure we can see the commands we use to create our SSH key
This key will allow the content to be encrypted when it is transferred from one server to another.
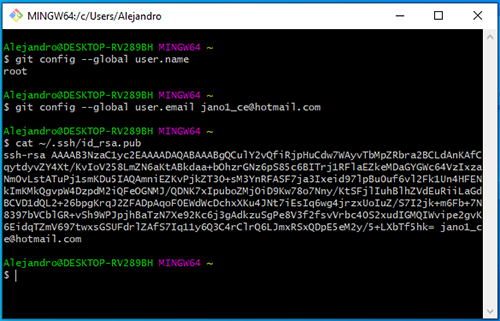
Now what we must do is copy this key to be able to enter it in our GitLab.
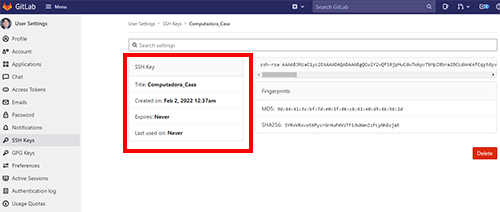
Adding SSHkeys to GitLab
Link: GitLab Key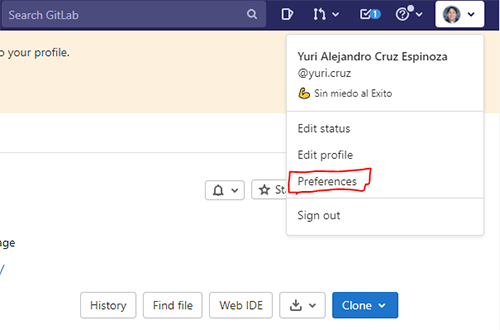
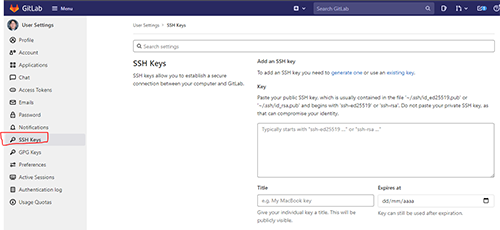
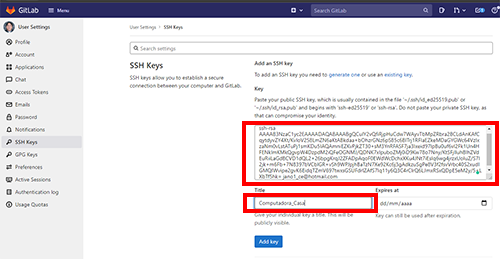
Then we put a name to the key that we have created, to differentiate it from future keys that we could create
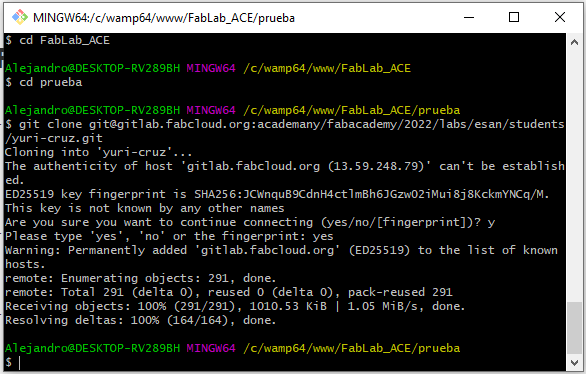
Copy your Academy Personal Pro
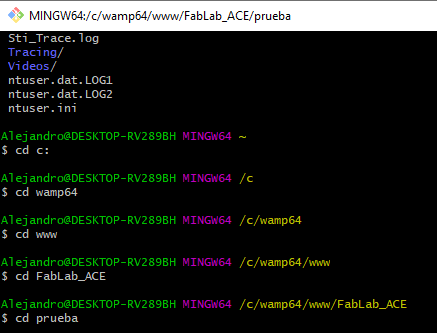
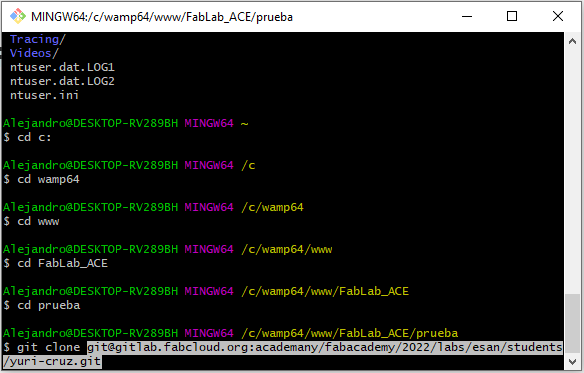
Link: Clone RepositoryWith the command "CD" we enter our local folder
We enter GitLab and click on CLONE
Select Clone With SSH
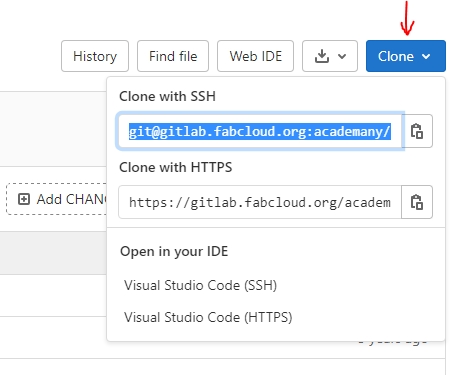
select the command Git Clone
Paste SSH
Now we already have a copy of our project that we are creating in our GitLab.
This will allow us to do all the modifications and tests on our local server, without risking the integrity of our project located in our GitLab.
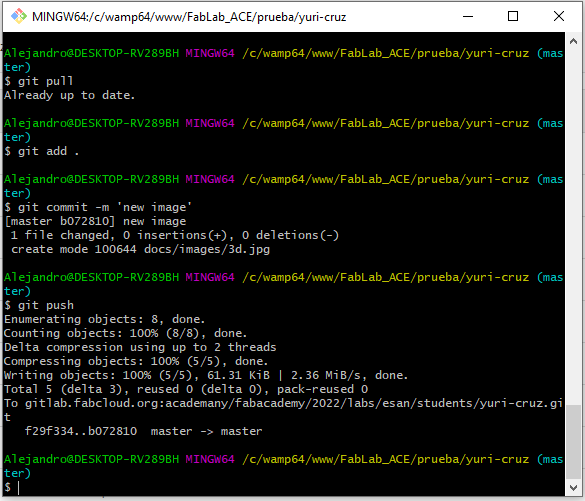
Upload your Repo OnLine
Link: Repo OnLineNext we will see the commands that we will use to update the data that has been modified in our local project and in our GitLab
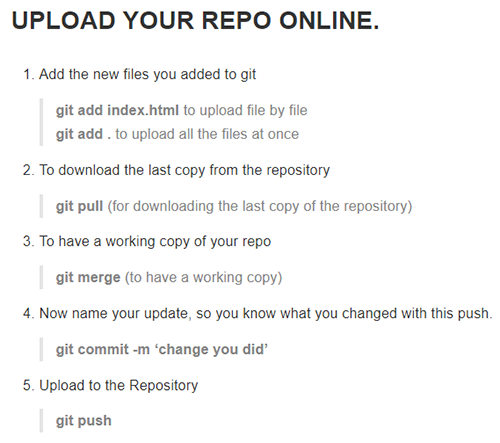
We enter the folder where our project is
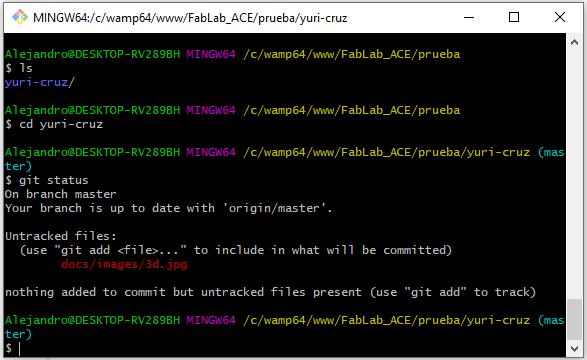
Then, with Git Status we visualize if there are changes
Finally we use the commands:
Git Pull
Git add .
Git Commit
Git Push