
Computer Controlled Cutting
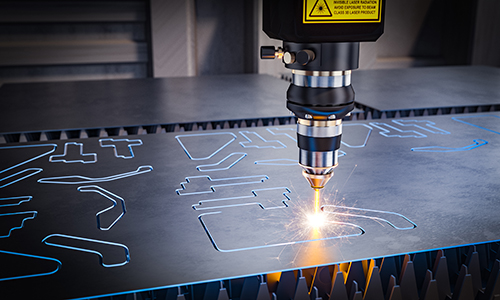
This week's goal is to do laser cutting tests.
As we know, this testing can be done on various materials such as plywood cardboard, MDF, Vinyl, etc.
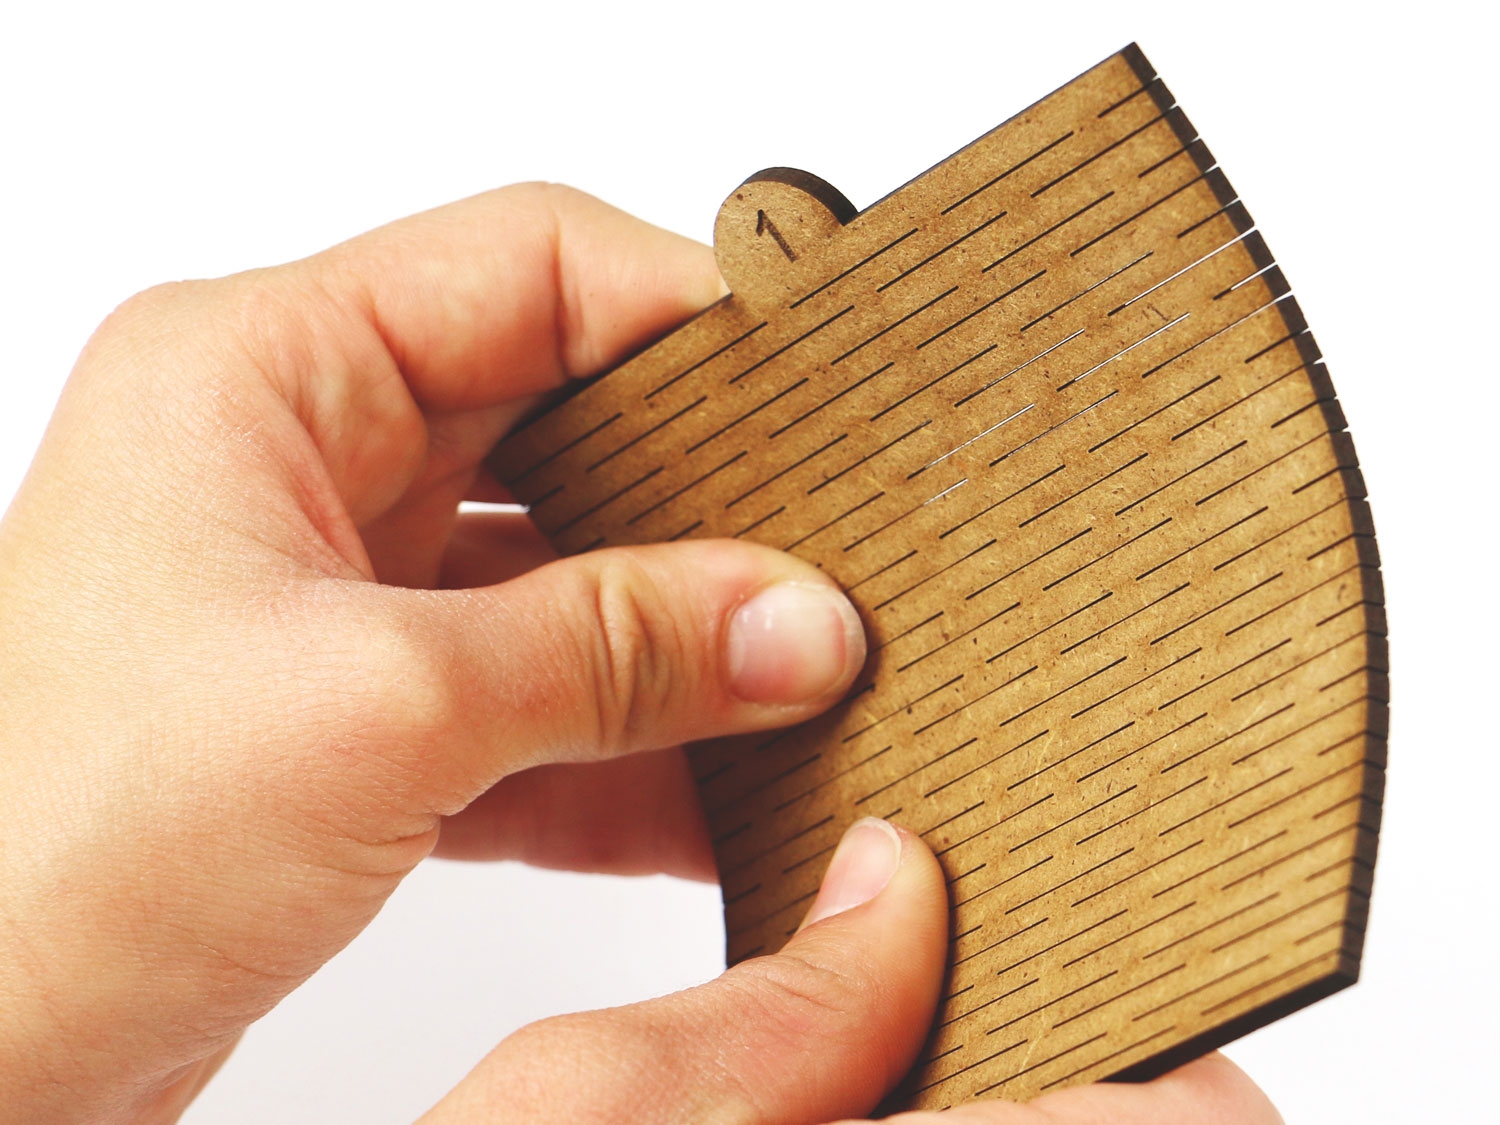
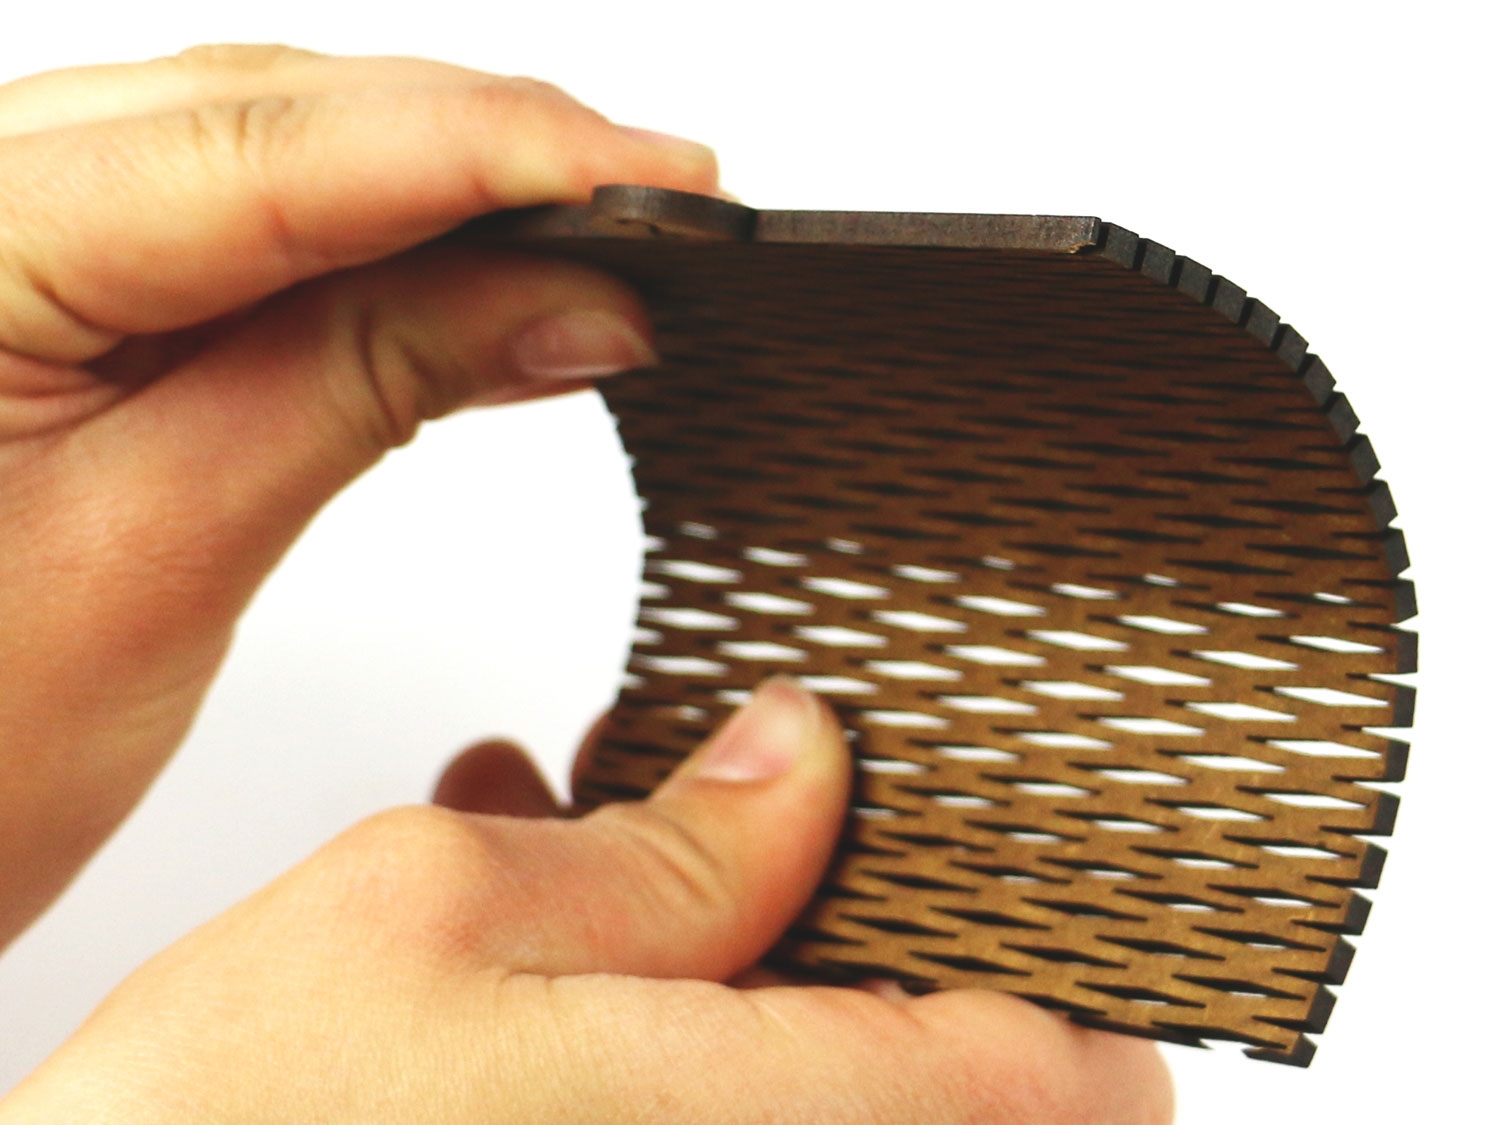
Finally we will use different patterns to be able to arch our materials.
GRUPAL ASSIGNMENT
KERF AND PATTERNS
To make the cuts of the different patterns we must take into account three parameters:
* Power
* Speed
* Frequency
This is defined by the provider but we can edit them
consultation linkPERFORMANCE TECHNICAL PARAMETERS
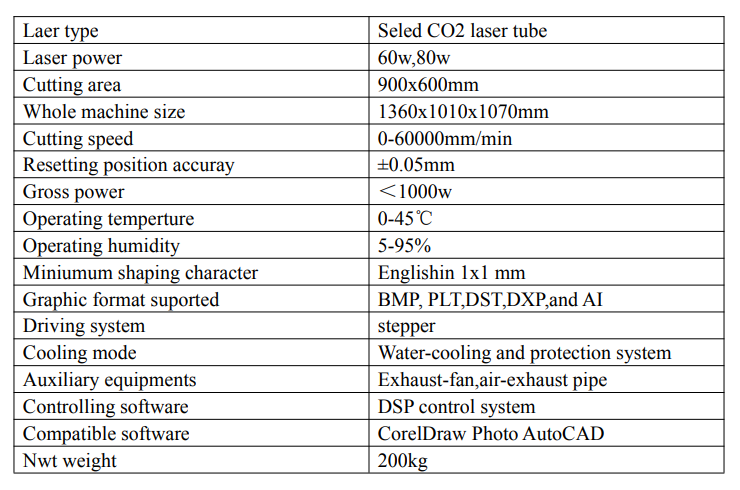
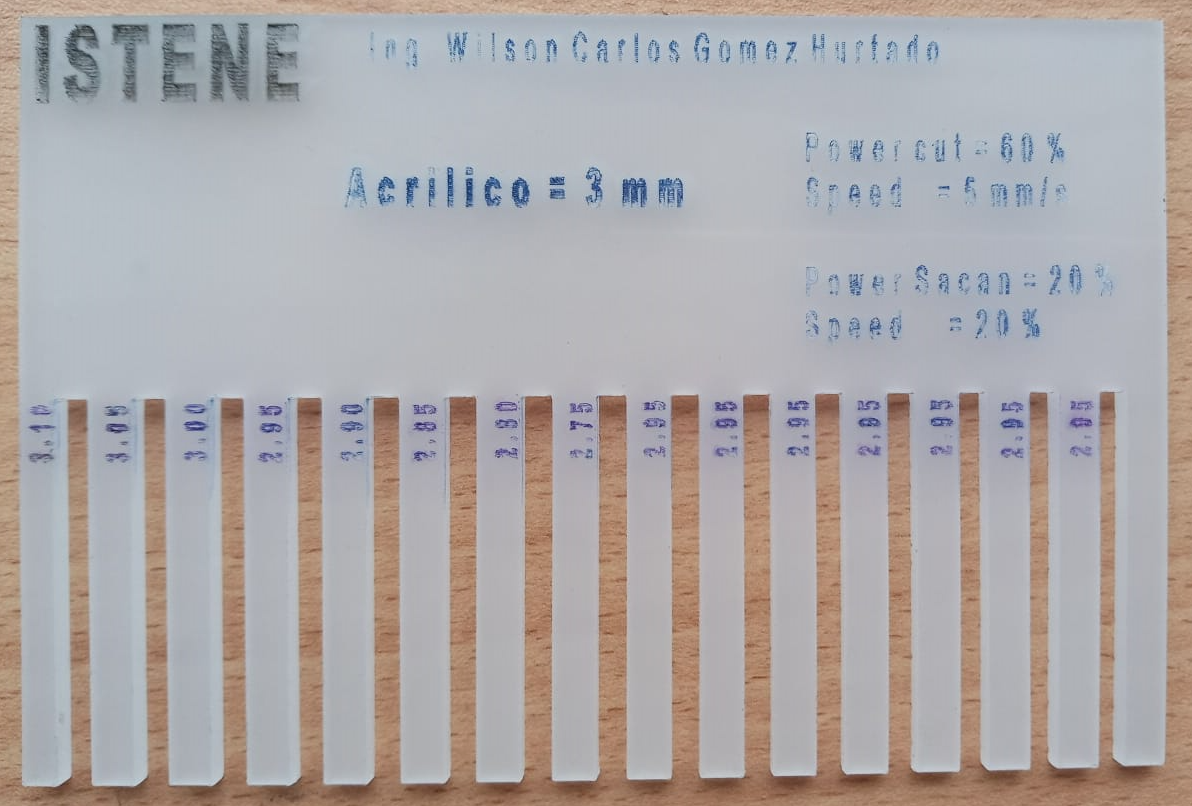
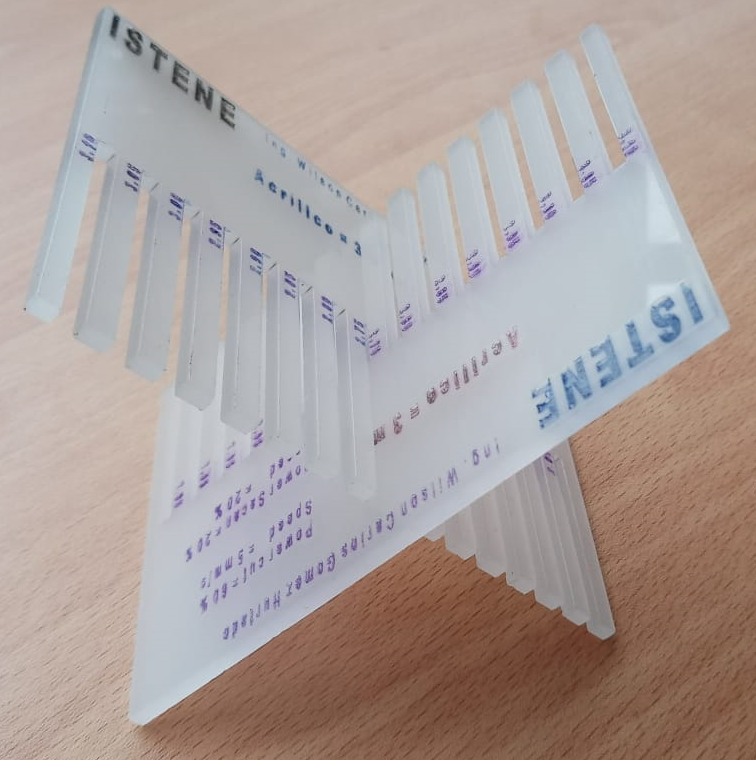
We used the available materials in the laboratory and we determined the following parameters:
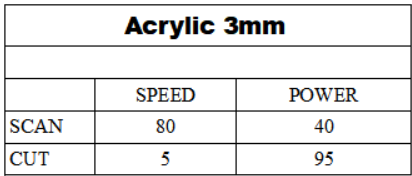
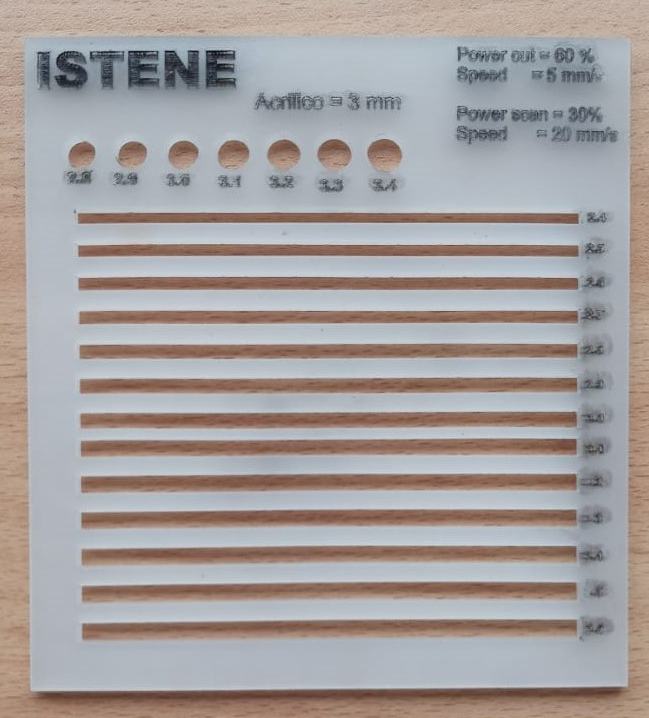
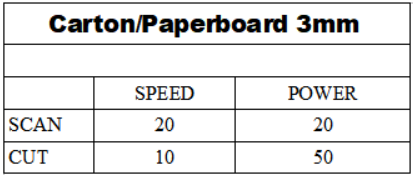
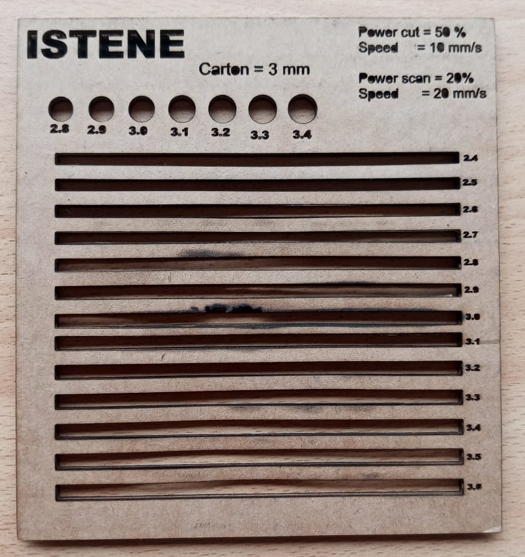
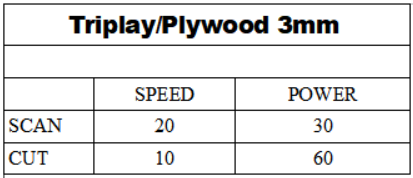
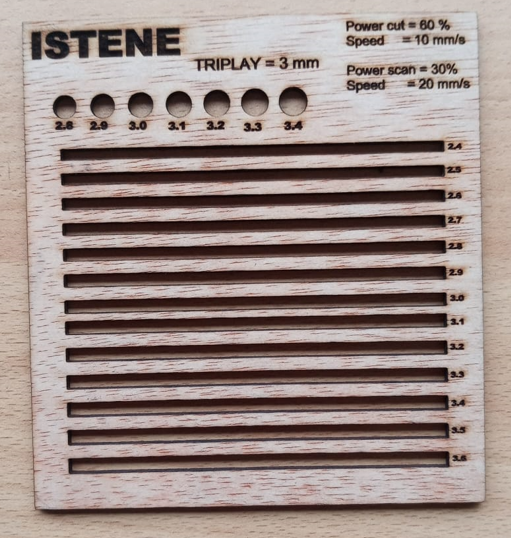
To determine the "Kerf" we made various patterns in acrylic, plywood and 3mm cardboard, where the Kerf could be determined in 0.25mm
INDIVIDUAL ASSIGNMENT
LASER CUTTER
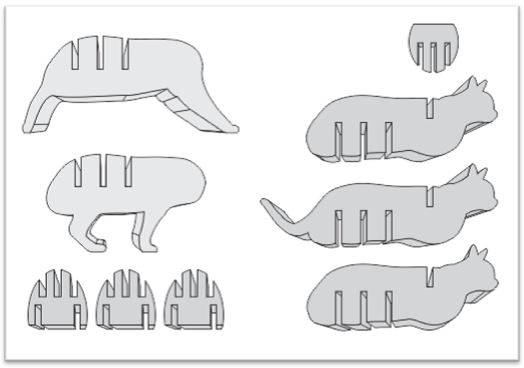
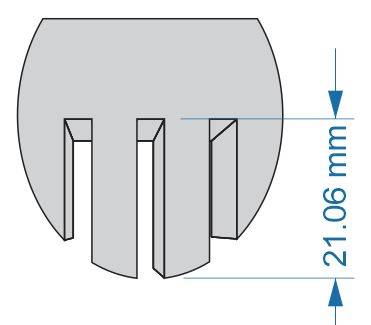
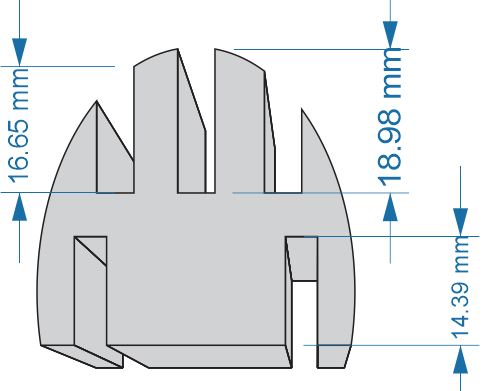
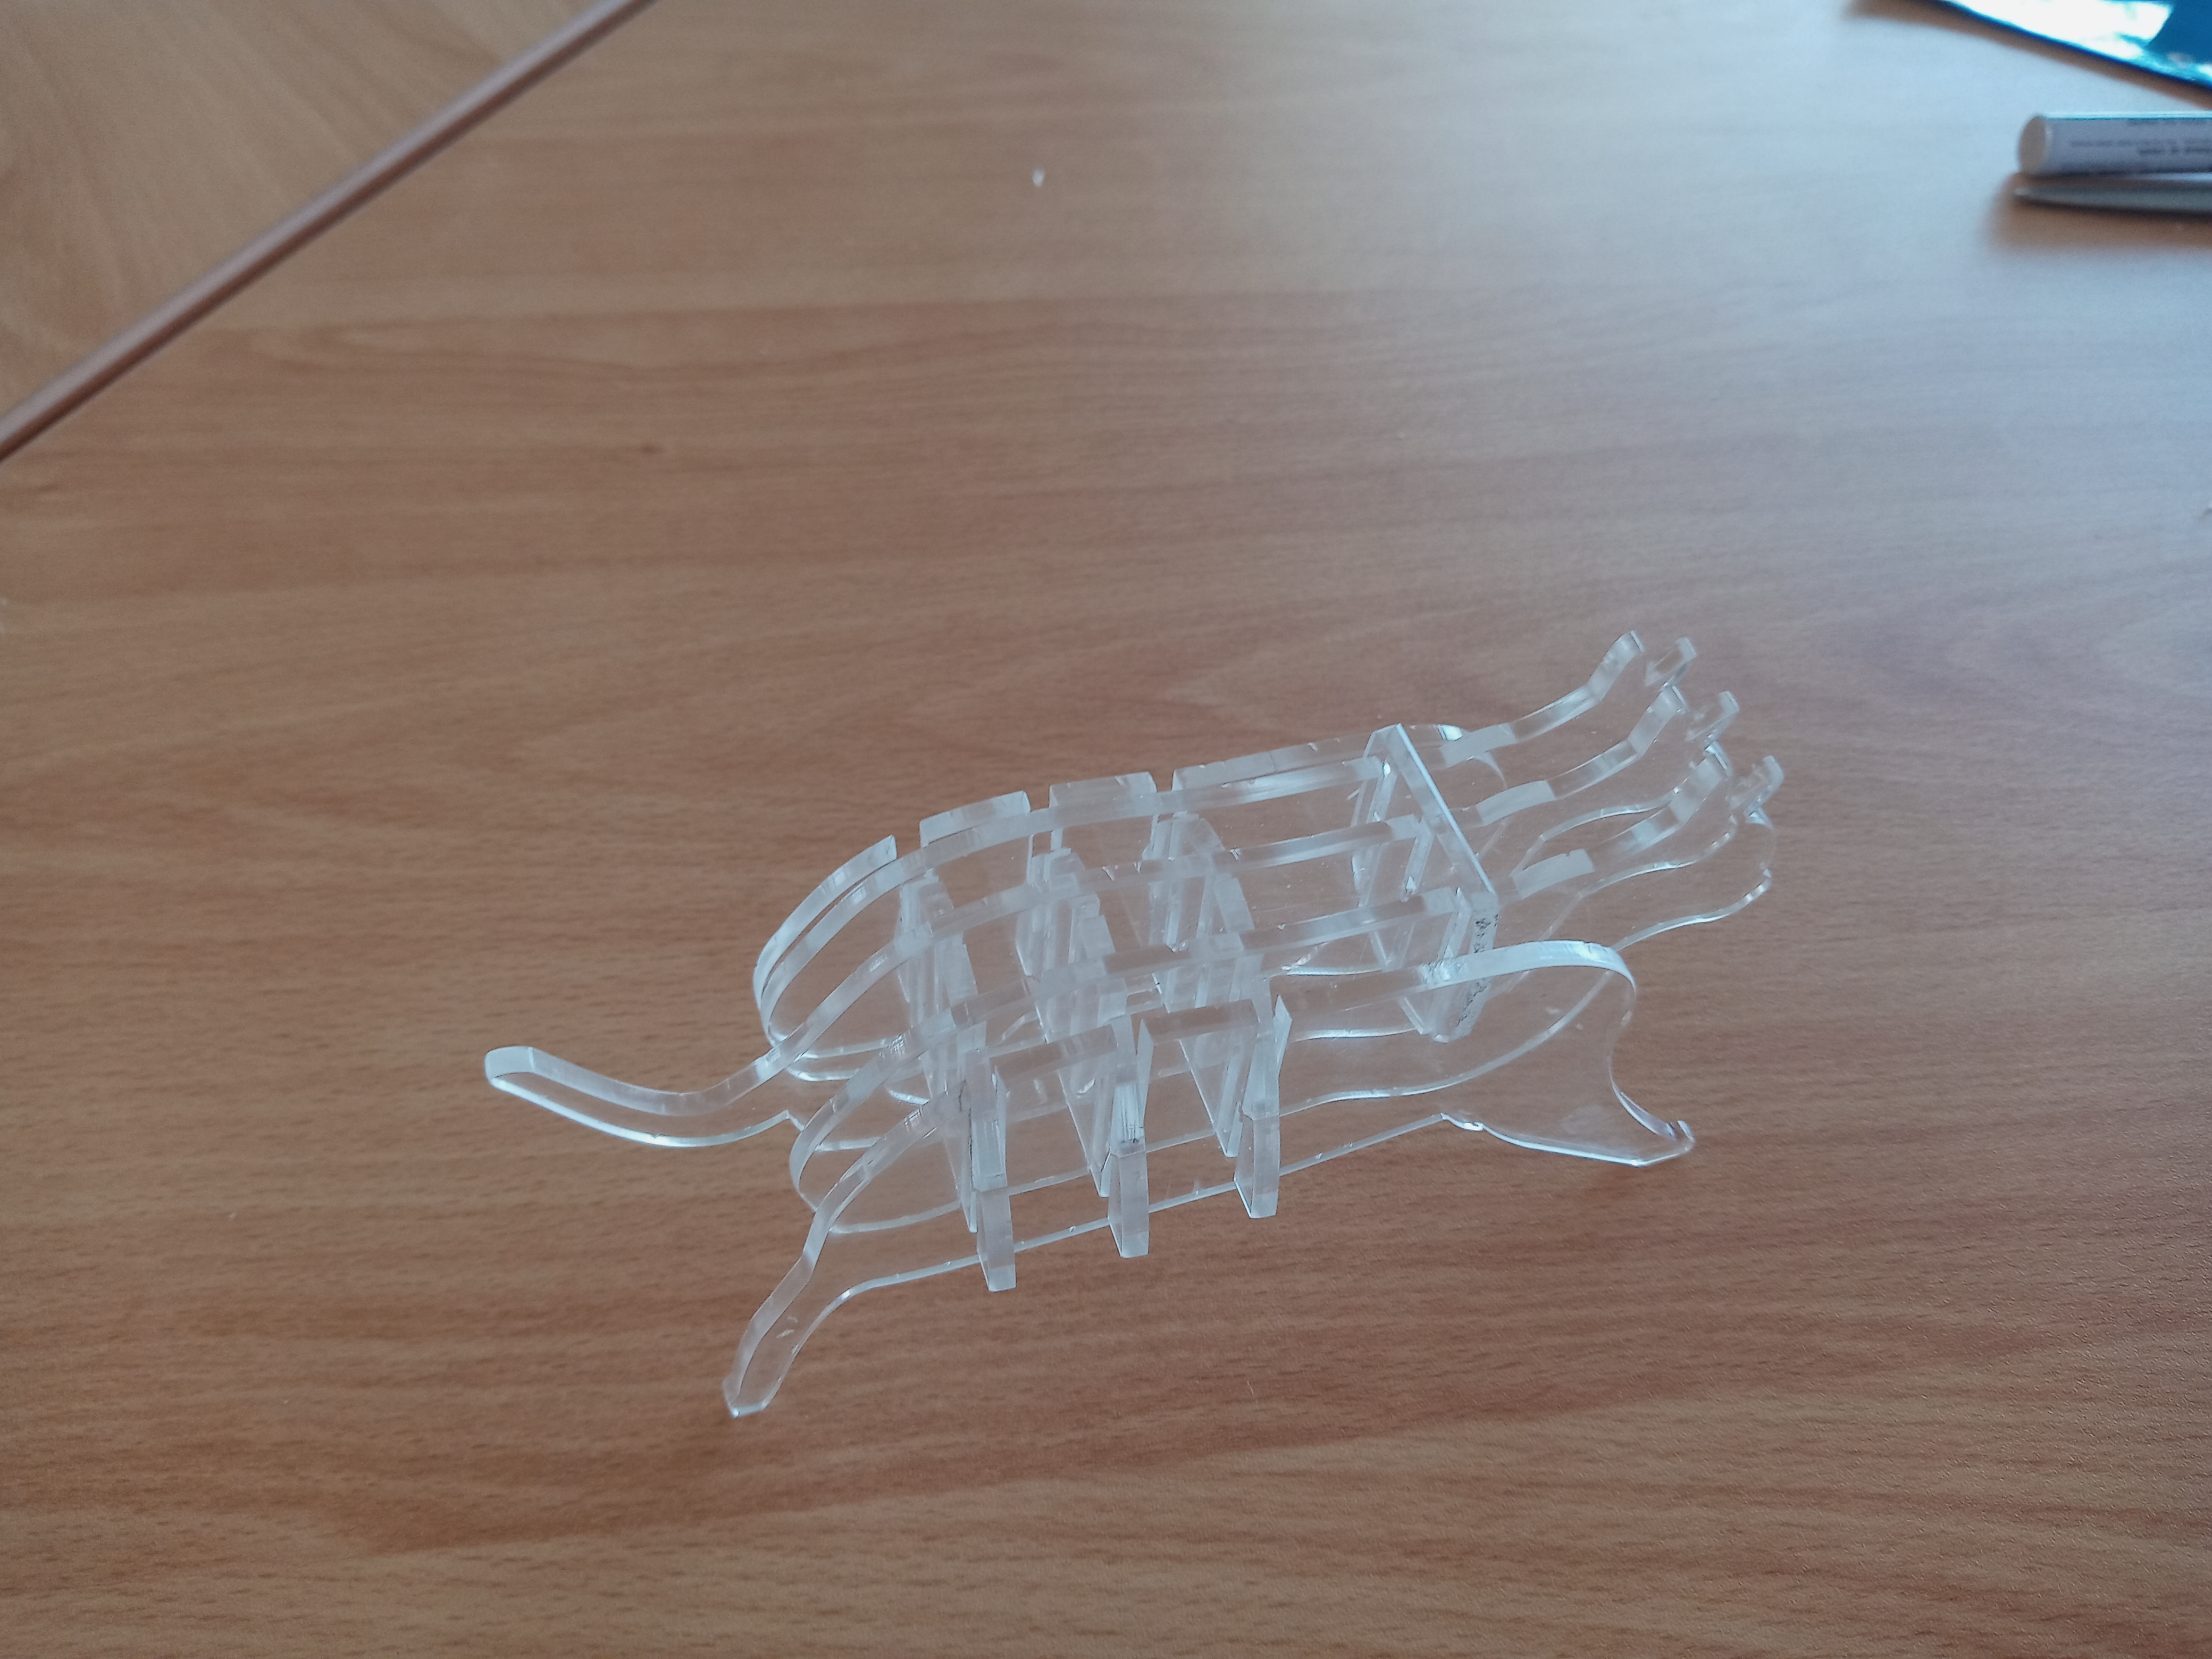
After having done the tests on the laser cutter, we are able to define the spaces of the Joints using the Inkscape program
We select an image, which we will use to vectorize it and later divide it into the segments that we will need
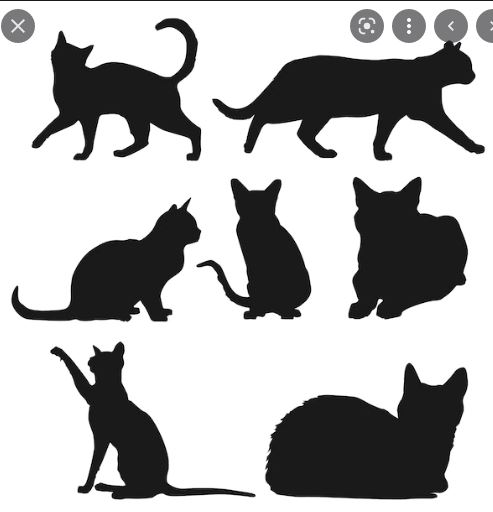
We cut and copy the image to be able to vectorize it in Inkscape
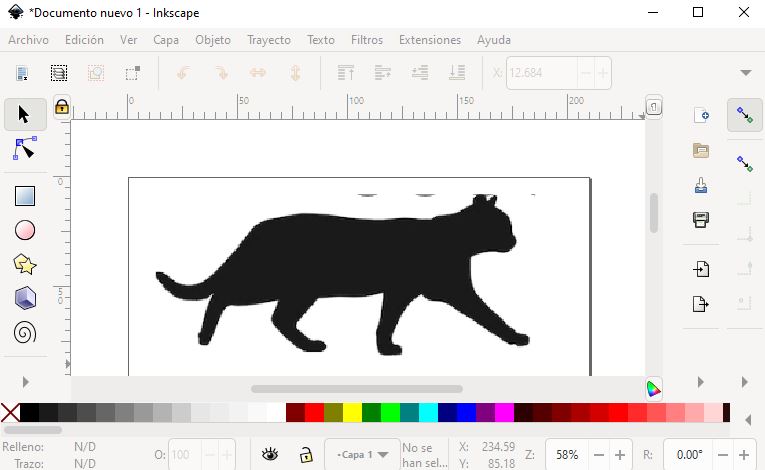
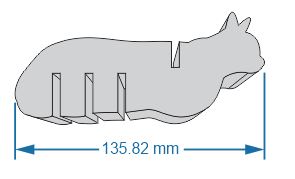
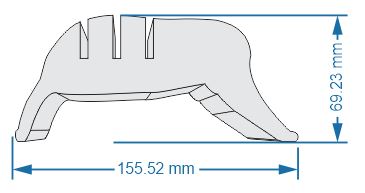
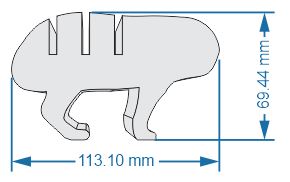
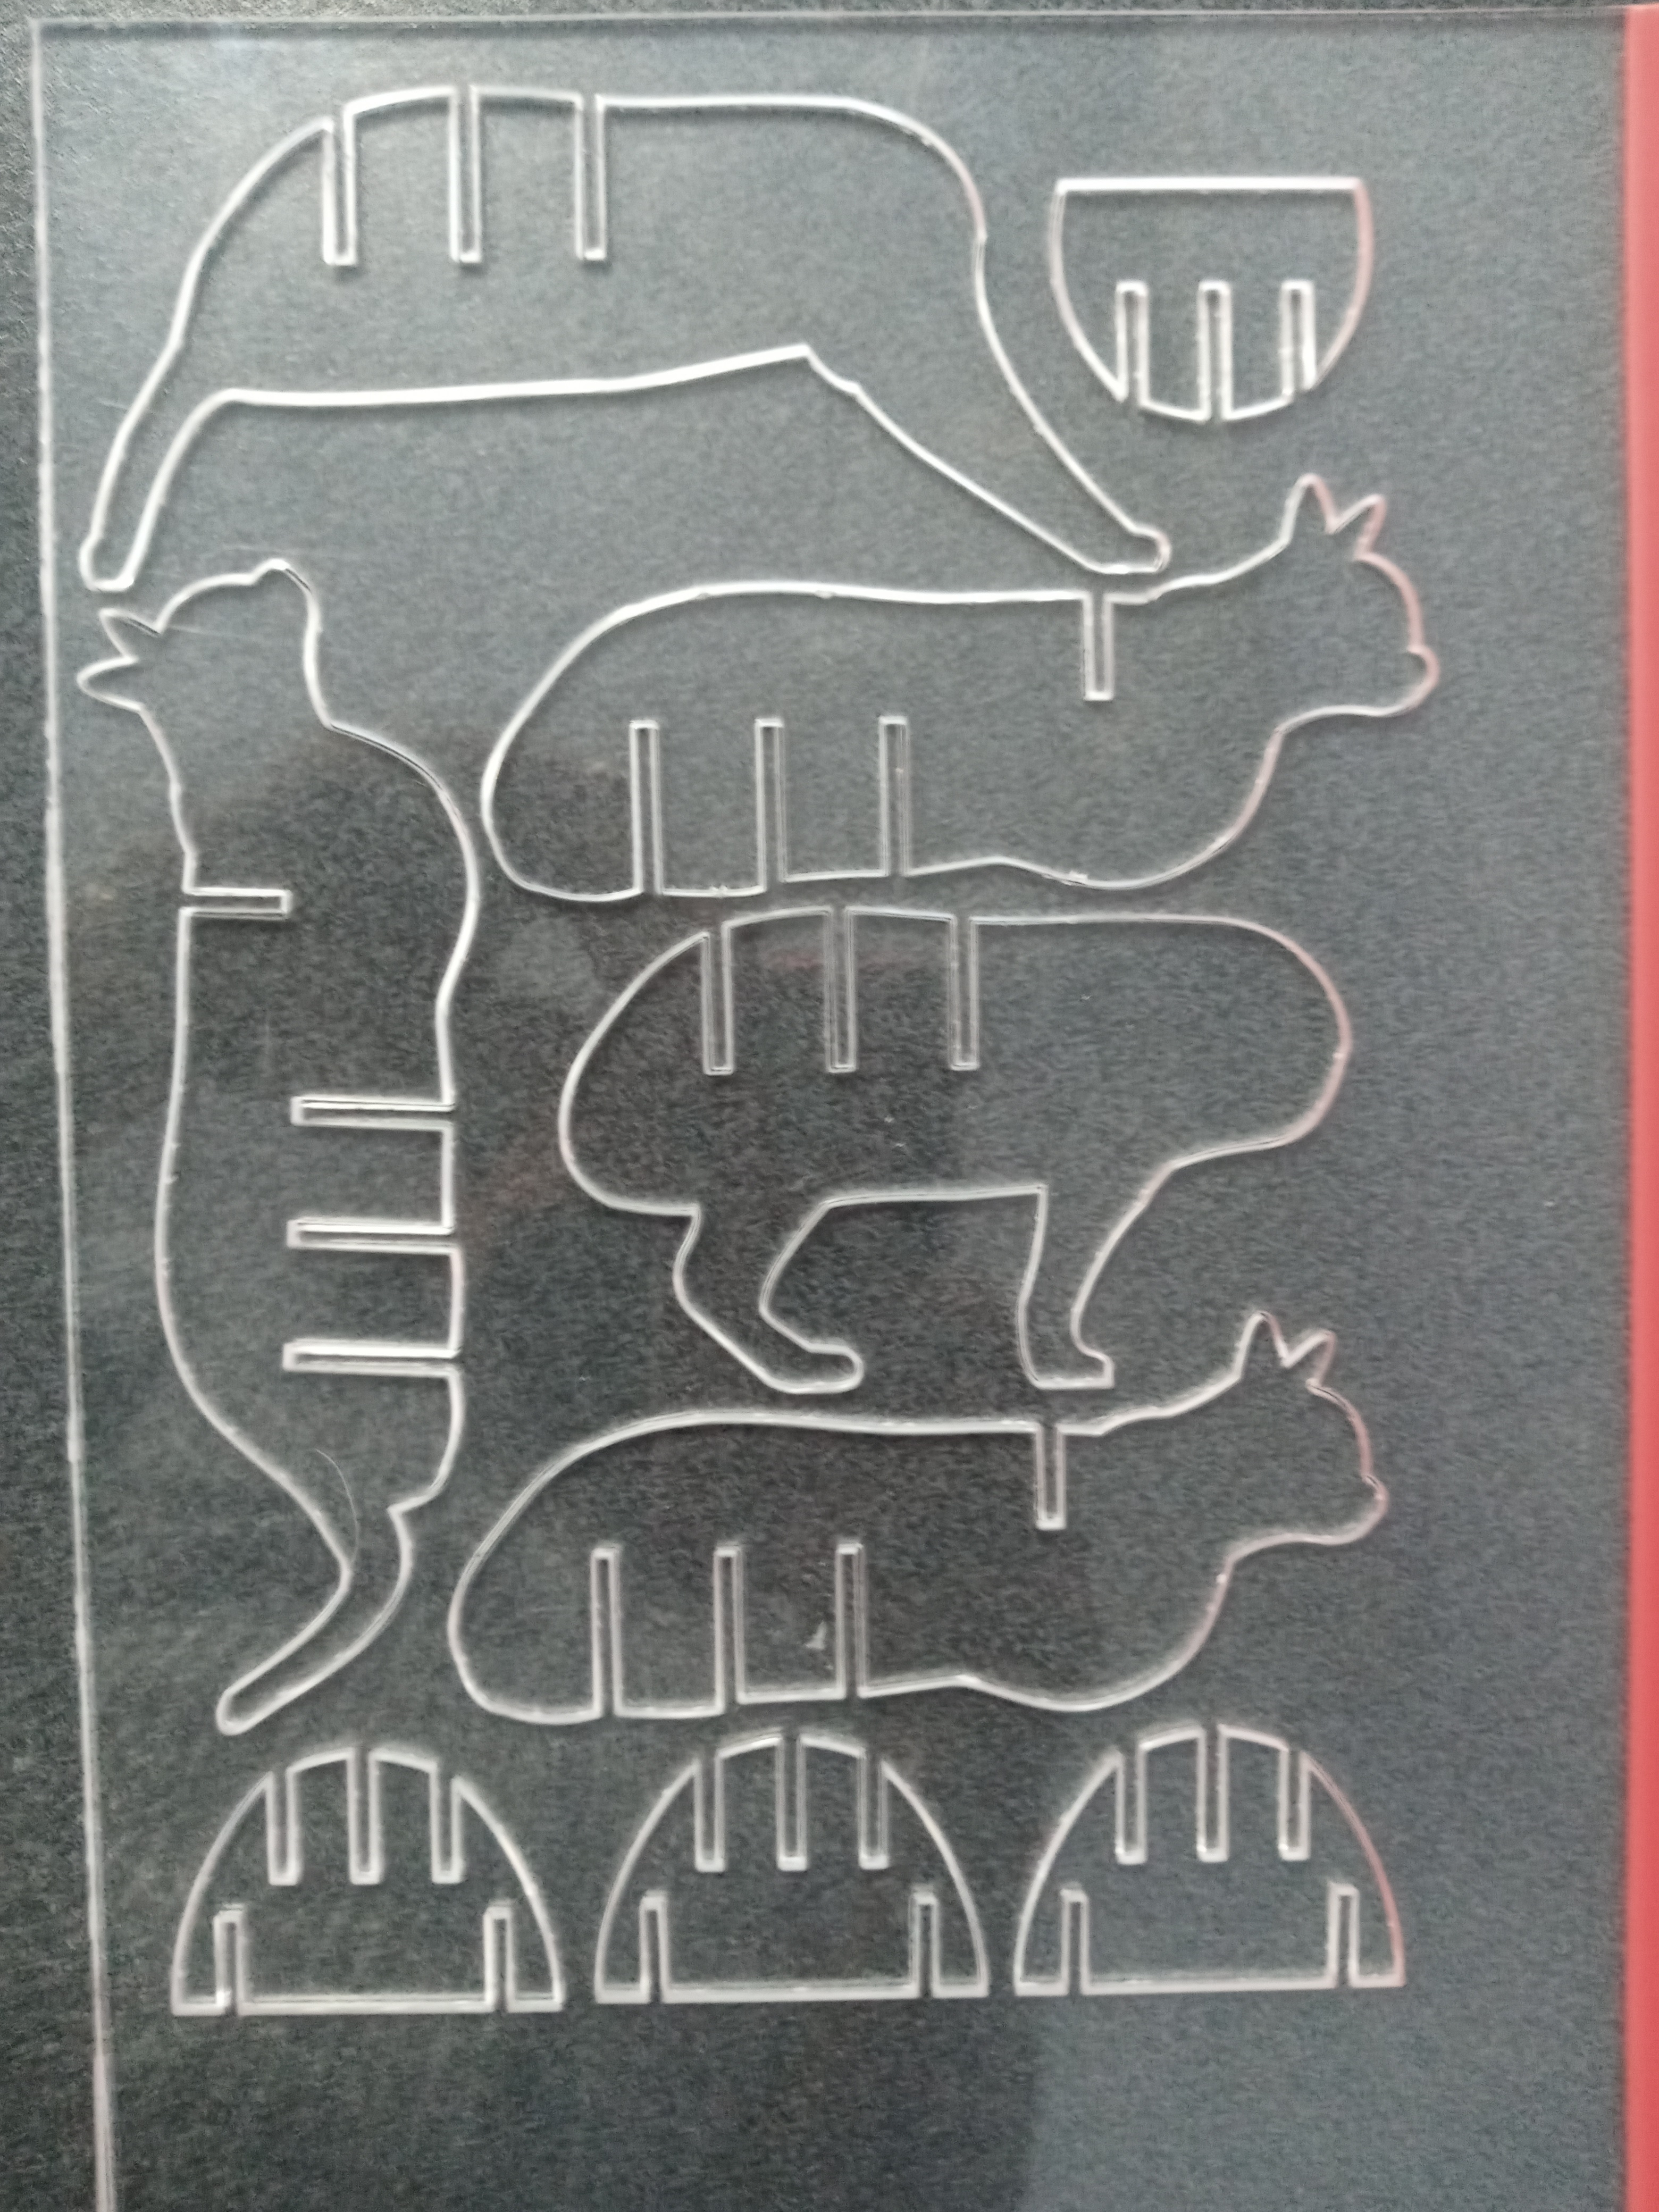
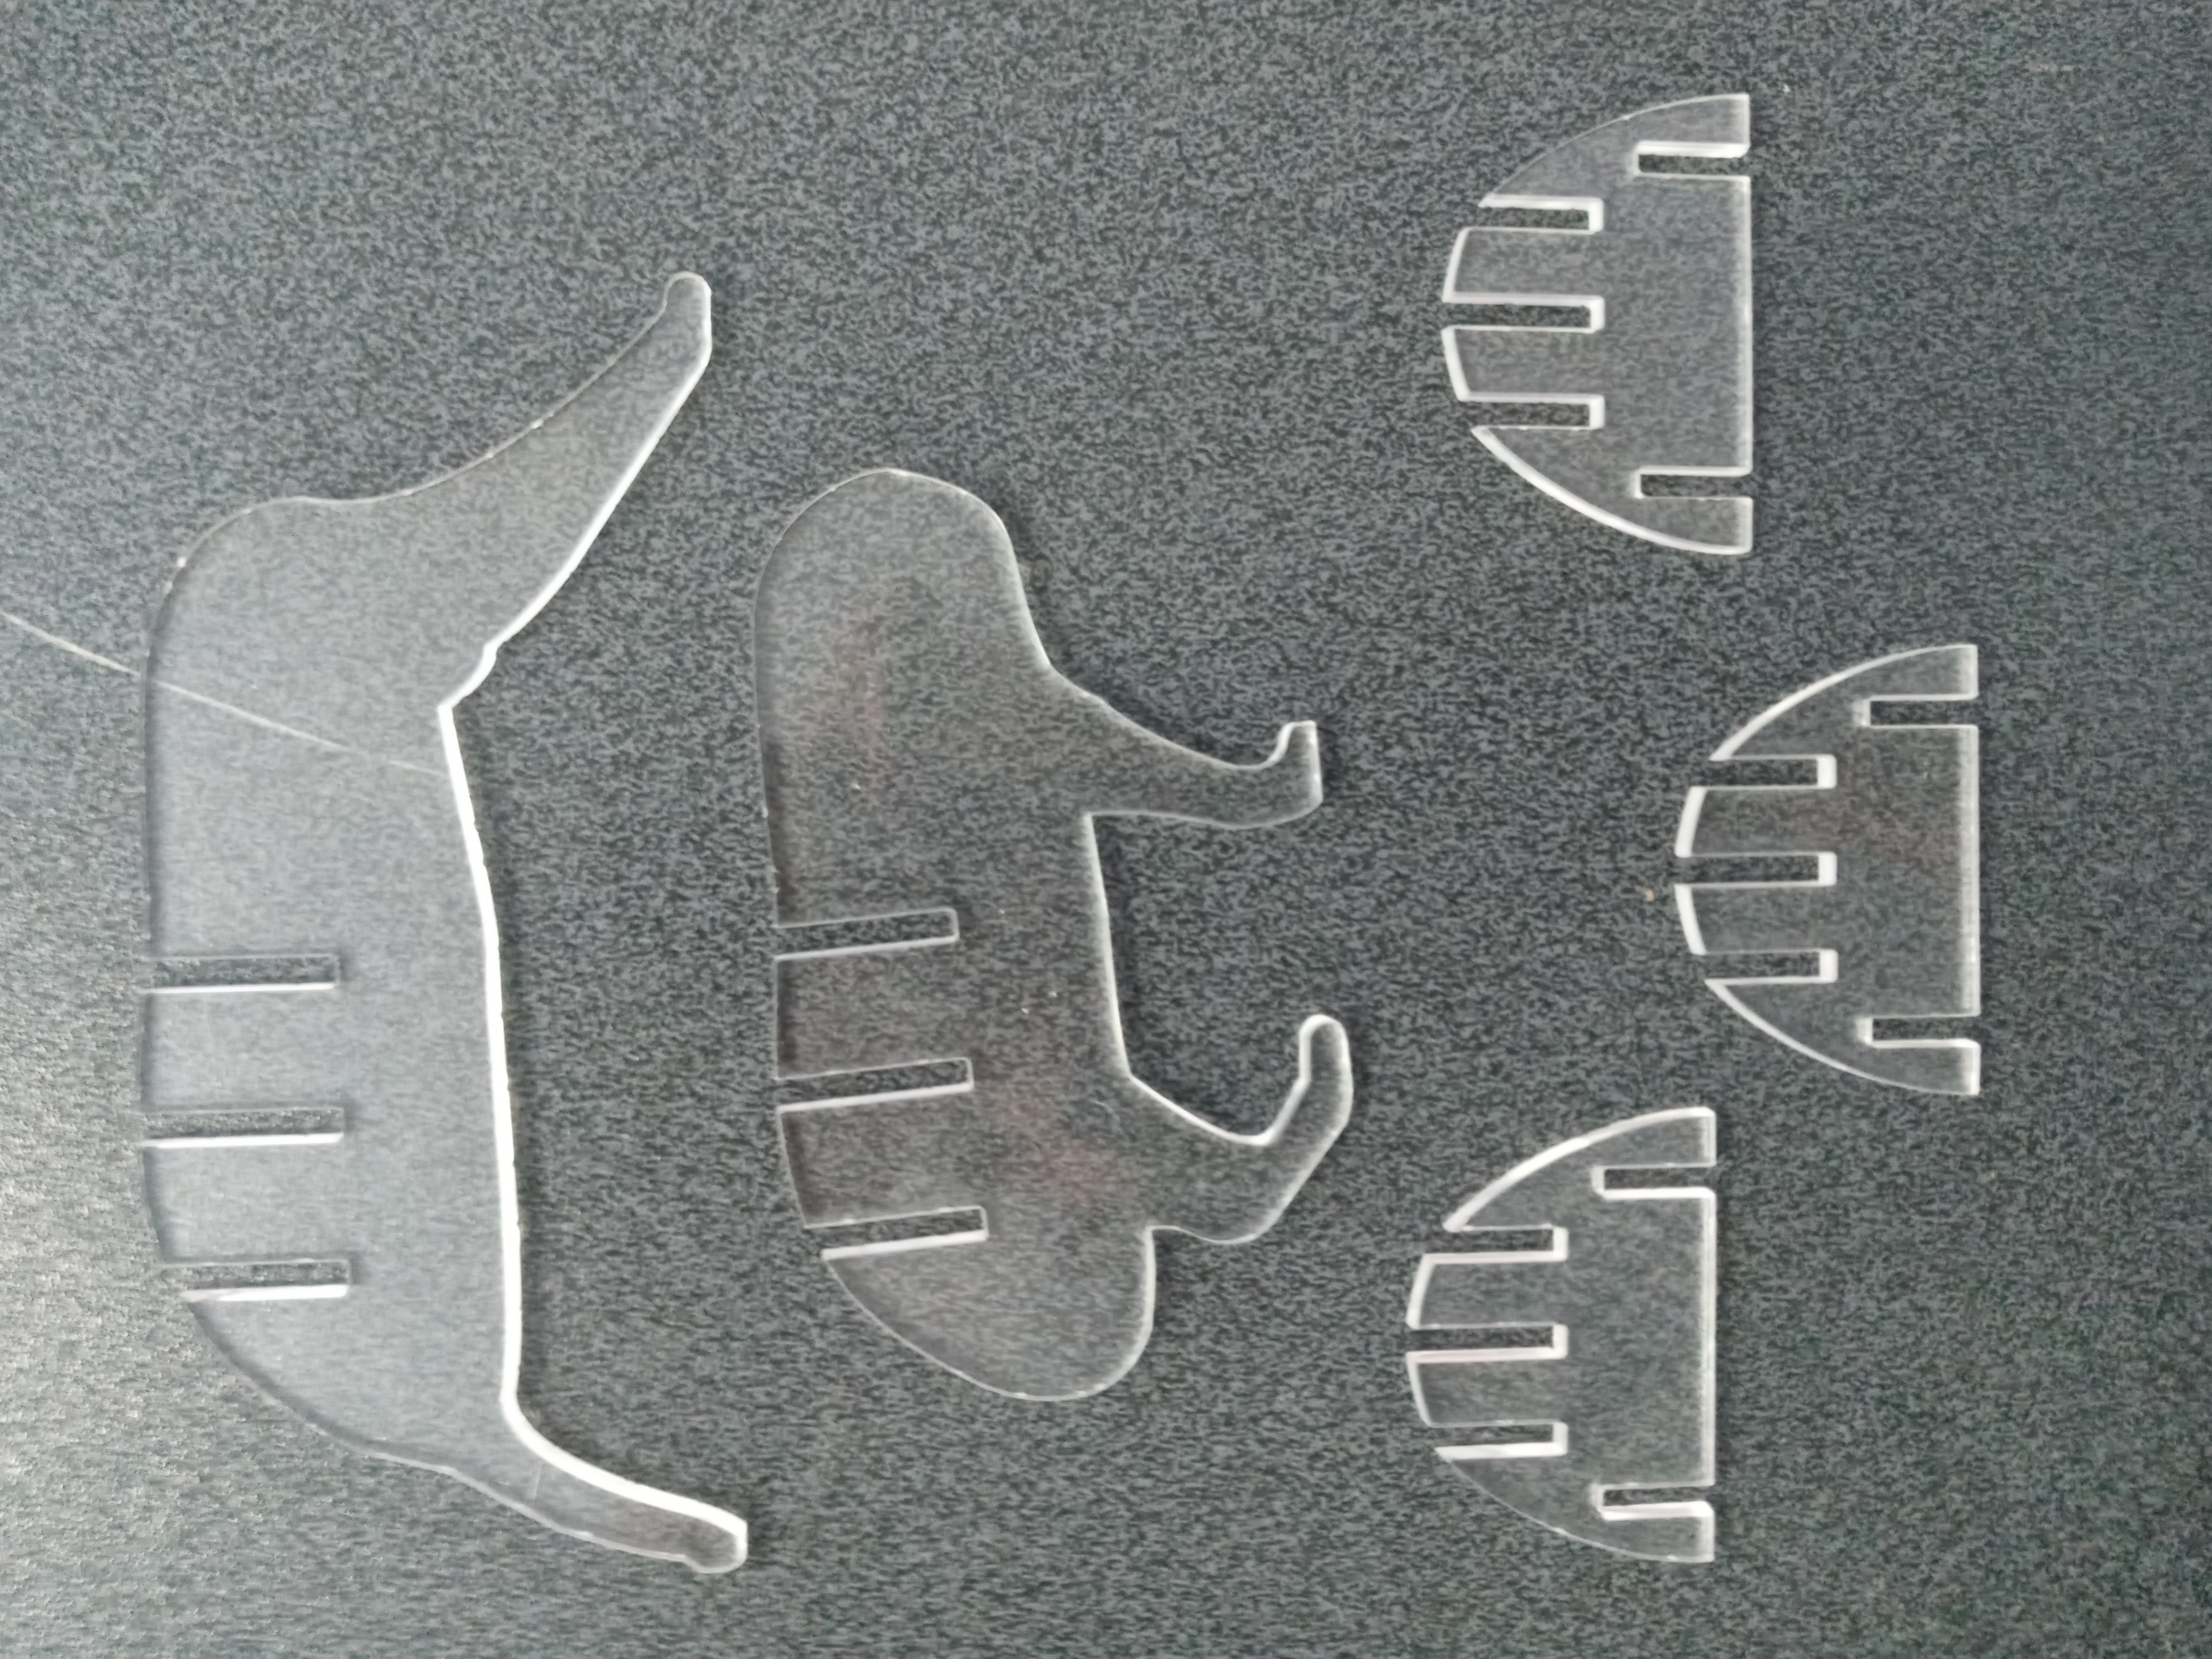
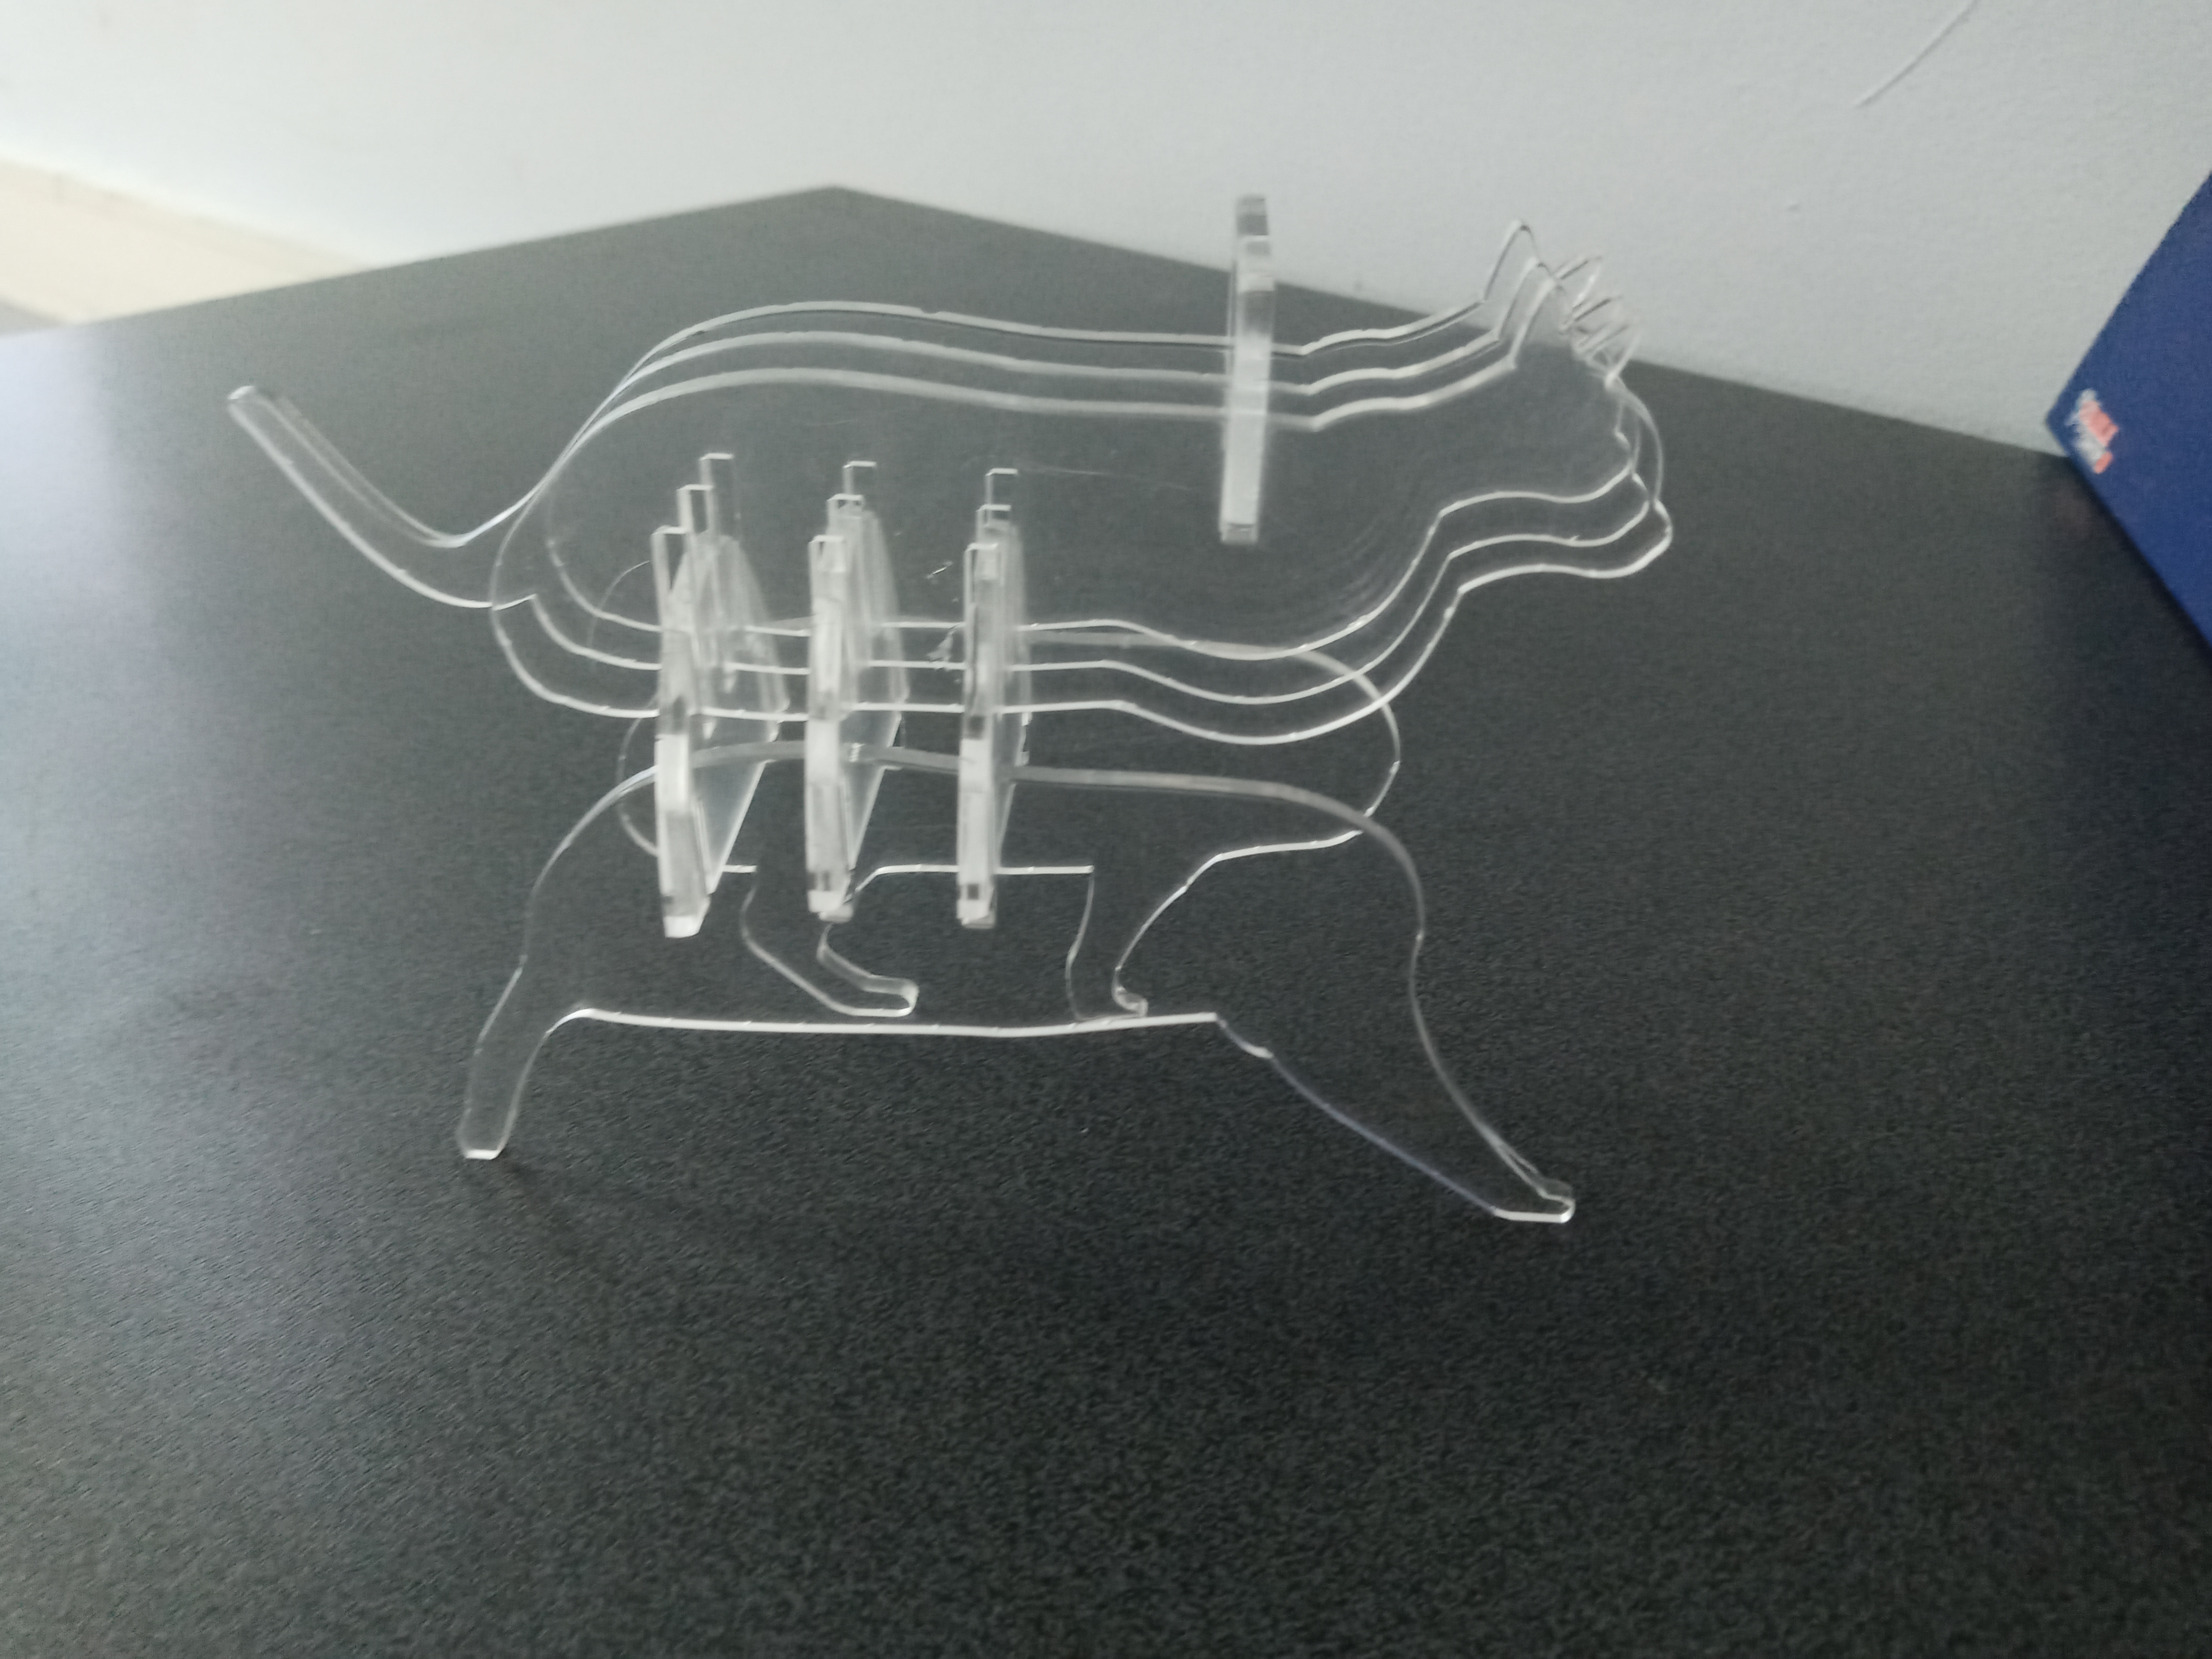
We vectorized and created the 3 layers that will form the inner part of the figure
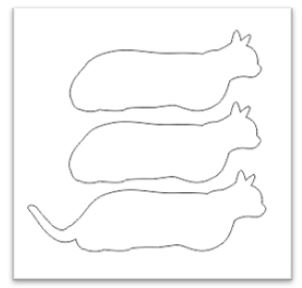
We vectorized and created the 2 layers that will form the outer part of the figure
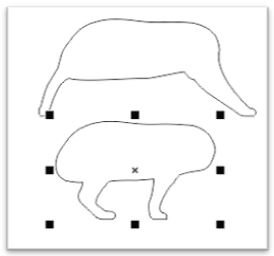
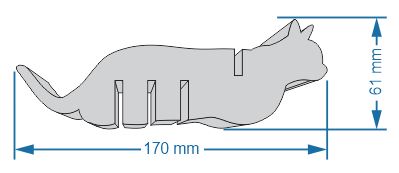
Once we have all the pieces of our vectorized design, we place Extrusion, to be able to assign the corresponding measurements


VINYLCUTTER
For this assignment, the first thing we did was choose the image we wanted to vectorize.
We cut and copy the image to be able to vectorize it in Inkscape

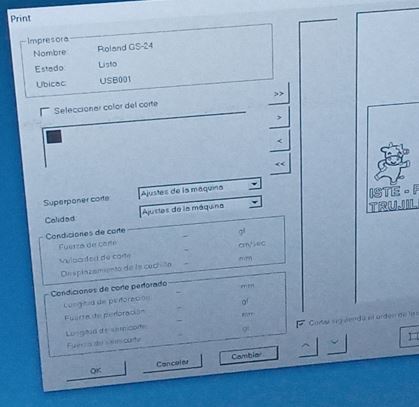
The software that we will use to make this assignment will be: CutStudio
We will start by assigning height and width
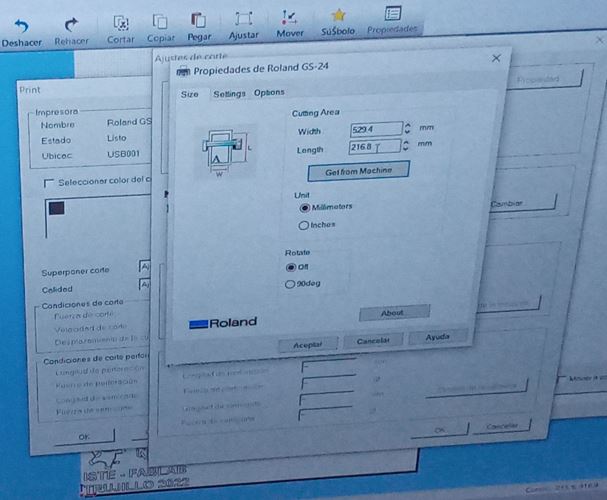
We make the necessary adjustments so that the cut does not exceed the thickness of the vinyl.
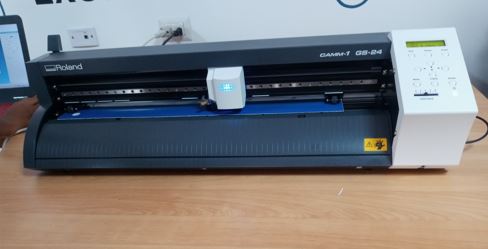
Now we proceed to cut the images
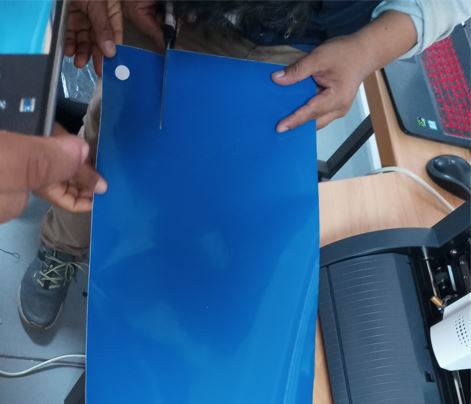
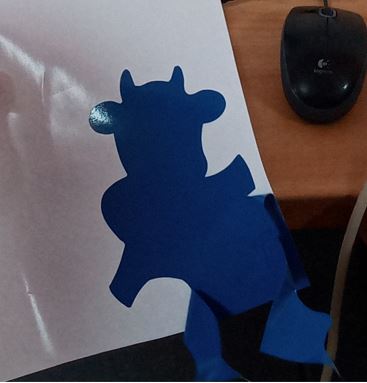
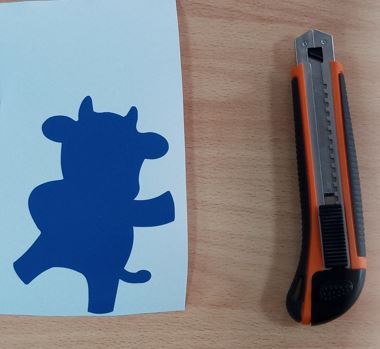
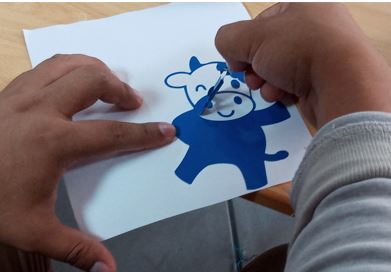
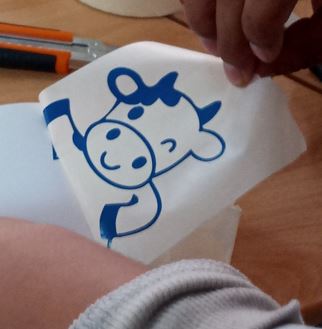
we begin to remove the outer part of the cut figures
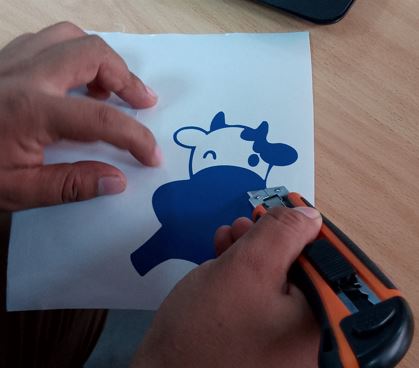
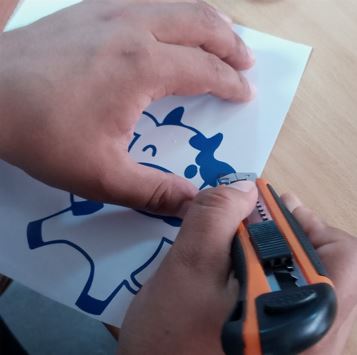
Very carefully and with the help of the cutter we proceed to remove the internal parts that are not part of the figure

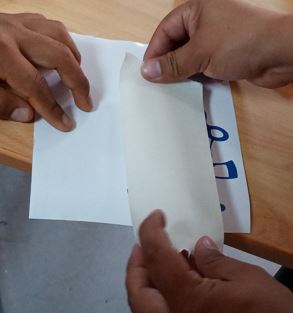
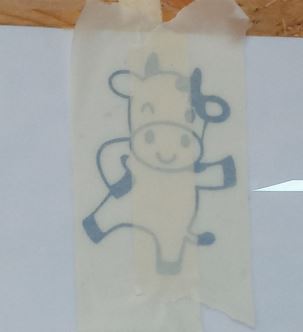
Now we place transfer tape on top of our figure to remove it from its original. In our case we place 02 consecutive tapes
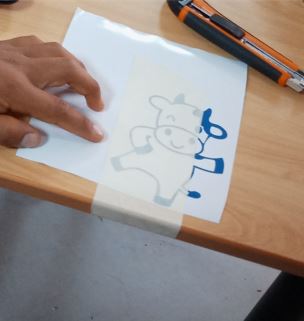
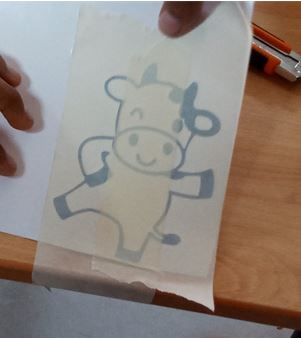
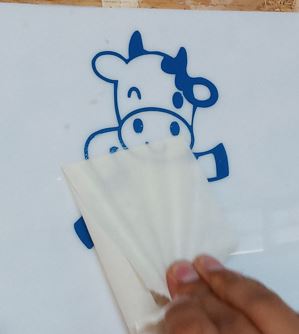
Now that we have it on the transfer tape, we go to the surface where we will place it.
This surface should preferably be free of impurities
Useful links
* TROTEC* ILOVING
* DREAMSTIME
* PNGWINGLE
Work File
* Job 01: Laser Cutter* Job 02: Vinil Cutter