Group Assignment – Mechanical and Machine Design- CDMX
General objective (group assignment):
- Document your work to the group work page and reflect on your individual page what you learned.
- Build the mechanical parts and operate it manually.
- Document the group Project
- Actuate and automate your machine.
- Jonathan Leon
- Jorge Javier
- Jose Manuel Alegria
- José Antonio Díaz Rosas
- José Manuel Díaz Bello
- Luis Alberto Hernandez Vega
- Rodrigo Shiordia López
Development
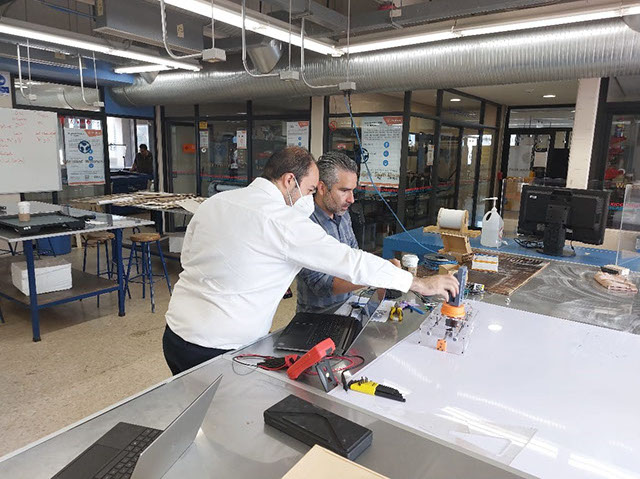
Once we were done with the conceptual machine design and operation, a prototype machine was built in Queretaro and brought to Mexico City to proceed with the electronics design and continued design process.

First, we tested the operation of the machine manually, by moving manually central support in both directions, therefore testing the x-axis movement we need to solve with the step-motor. We found that we needed a killer-switch to stop movement when the base reaches the end of way.
First test manually
Second test manually
Then, we tested manually the rotating base, concluding that solving the movement with a ball-bearing worked fine, and up to the standards we defined in the previous work stages.

After that manually operated test, we tried to make it move using the step-motors. To make it work, as a prototype, we used the board from R. Shiordia’s final project. This board is going to need a few modifications before being able to control both step-motors at once.
We started by testing the x-axis movement, and we found that, while it works as intended, we had a few issues to be solved before being able to build the final model:
1. Killer-switches: We need a way to stop the step-motor, we proposed two different solutions:
a. A killer-switch at each end to let the step-motor know when to stop.
b. A killer-switch at one end, first moving the base toward that end to tell the step-motor where it is before starting any movement, then being able to stop when it reaches the other side by counting the number of steps.
2. Bearings: When moving with the step-motor, the vibration causes the bearings to move away from their position under the base. The solution proposed is to 3D-print something to limit their movement with respect to the base.
Finally, we made the same test with the rotating base, here are our findings:
1. Vibration: Vibration is an issue for the rotating movement, as we tried to take our first videos we found out that the movement is not as smooth as we intended it to be. To find a solution, we split it into two different issues:
a. Rotation Speed: To slow down the rotation we turn the pulses sent to the step-motor as low as possible, it still being too fast for our purposes. So, we started adding a pause between each step by telling the processor to stand by between pulses. We tested different times from 200 ms to 2 seconds, having mixed results caused by increased vibration in the stop and go process.
b. Ball-bearing: We found out that most of the vibration caused by the rotating movement was originated at the ball bearings that were moving through an irregular path created by the 3D printing under the base. As a first proposal we dropped the ball bearings and tested the movement without it, having better results.

Then, to design the new board including headers to plug in both step-motors at once, we made two different boards, one with a ground plane and a second one with conducts for ground.
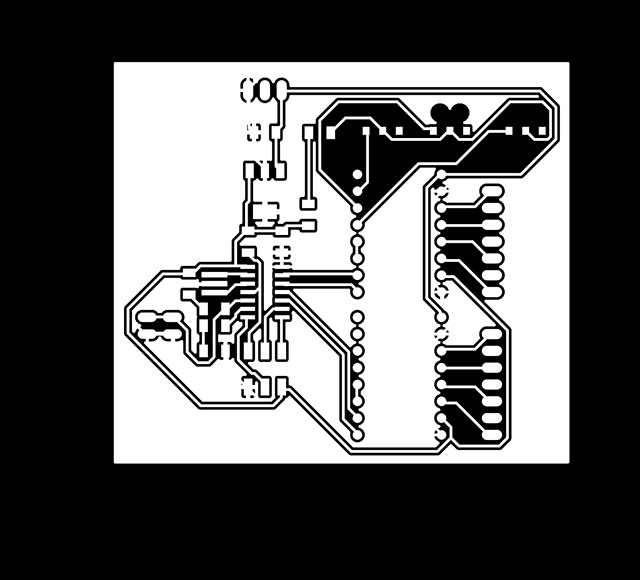

After that, we proceeded as we did in the Electronics Design Assignment, milling and cutting the board with the Modella MDX-20. Then, we wielded the components to the plate and continued to the board programming.


The board programming was made with the same code we used to make the first tests, the main difference is that we will be controlling both step-motors with the same board.
Once the programming was ready, we proceeded to assemble the machine, which comprised the following steps:
1. Fixing the wood case
2. Arranging the board and cables under the case
3. Closing the case


