6. 3D Scanning and printing*
6.1 3D Printing
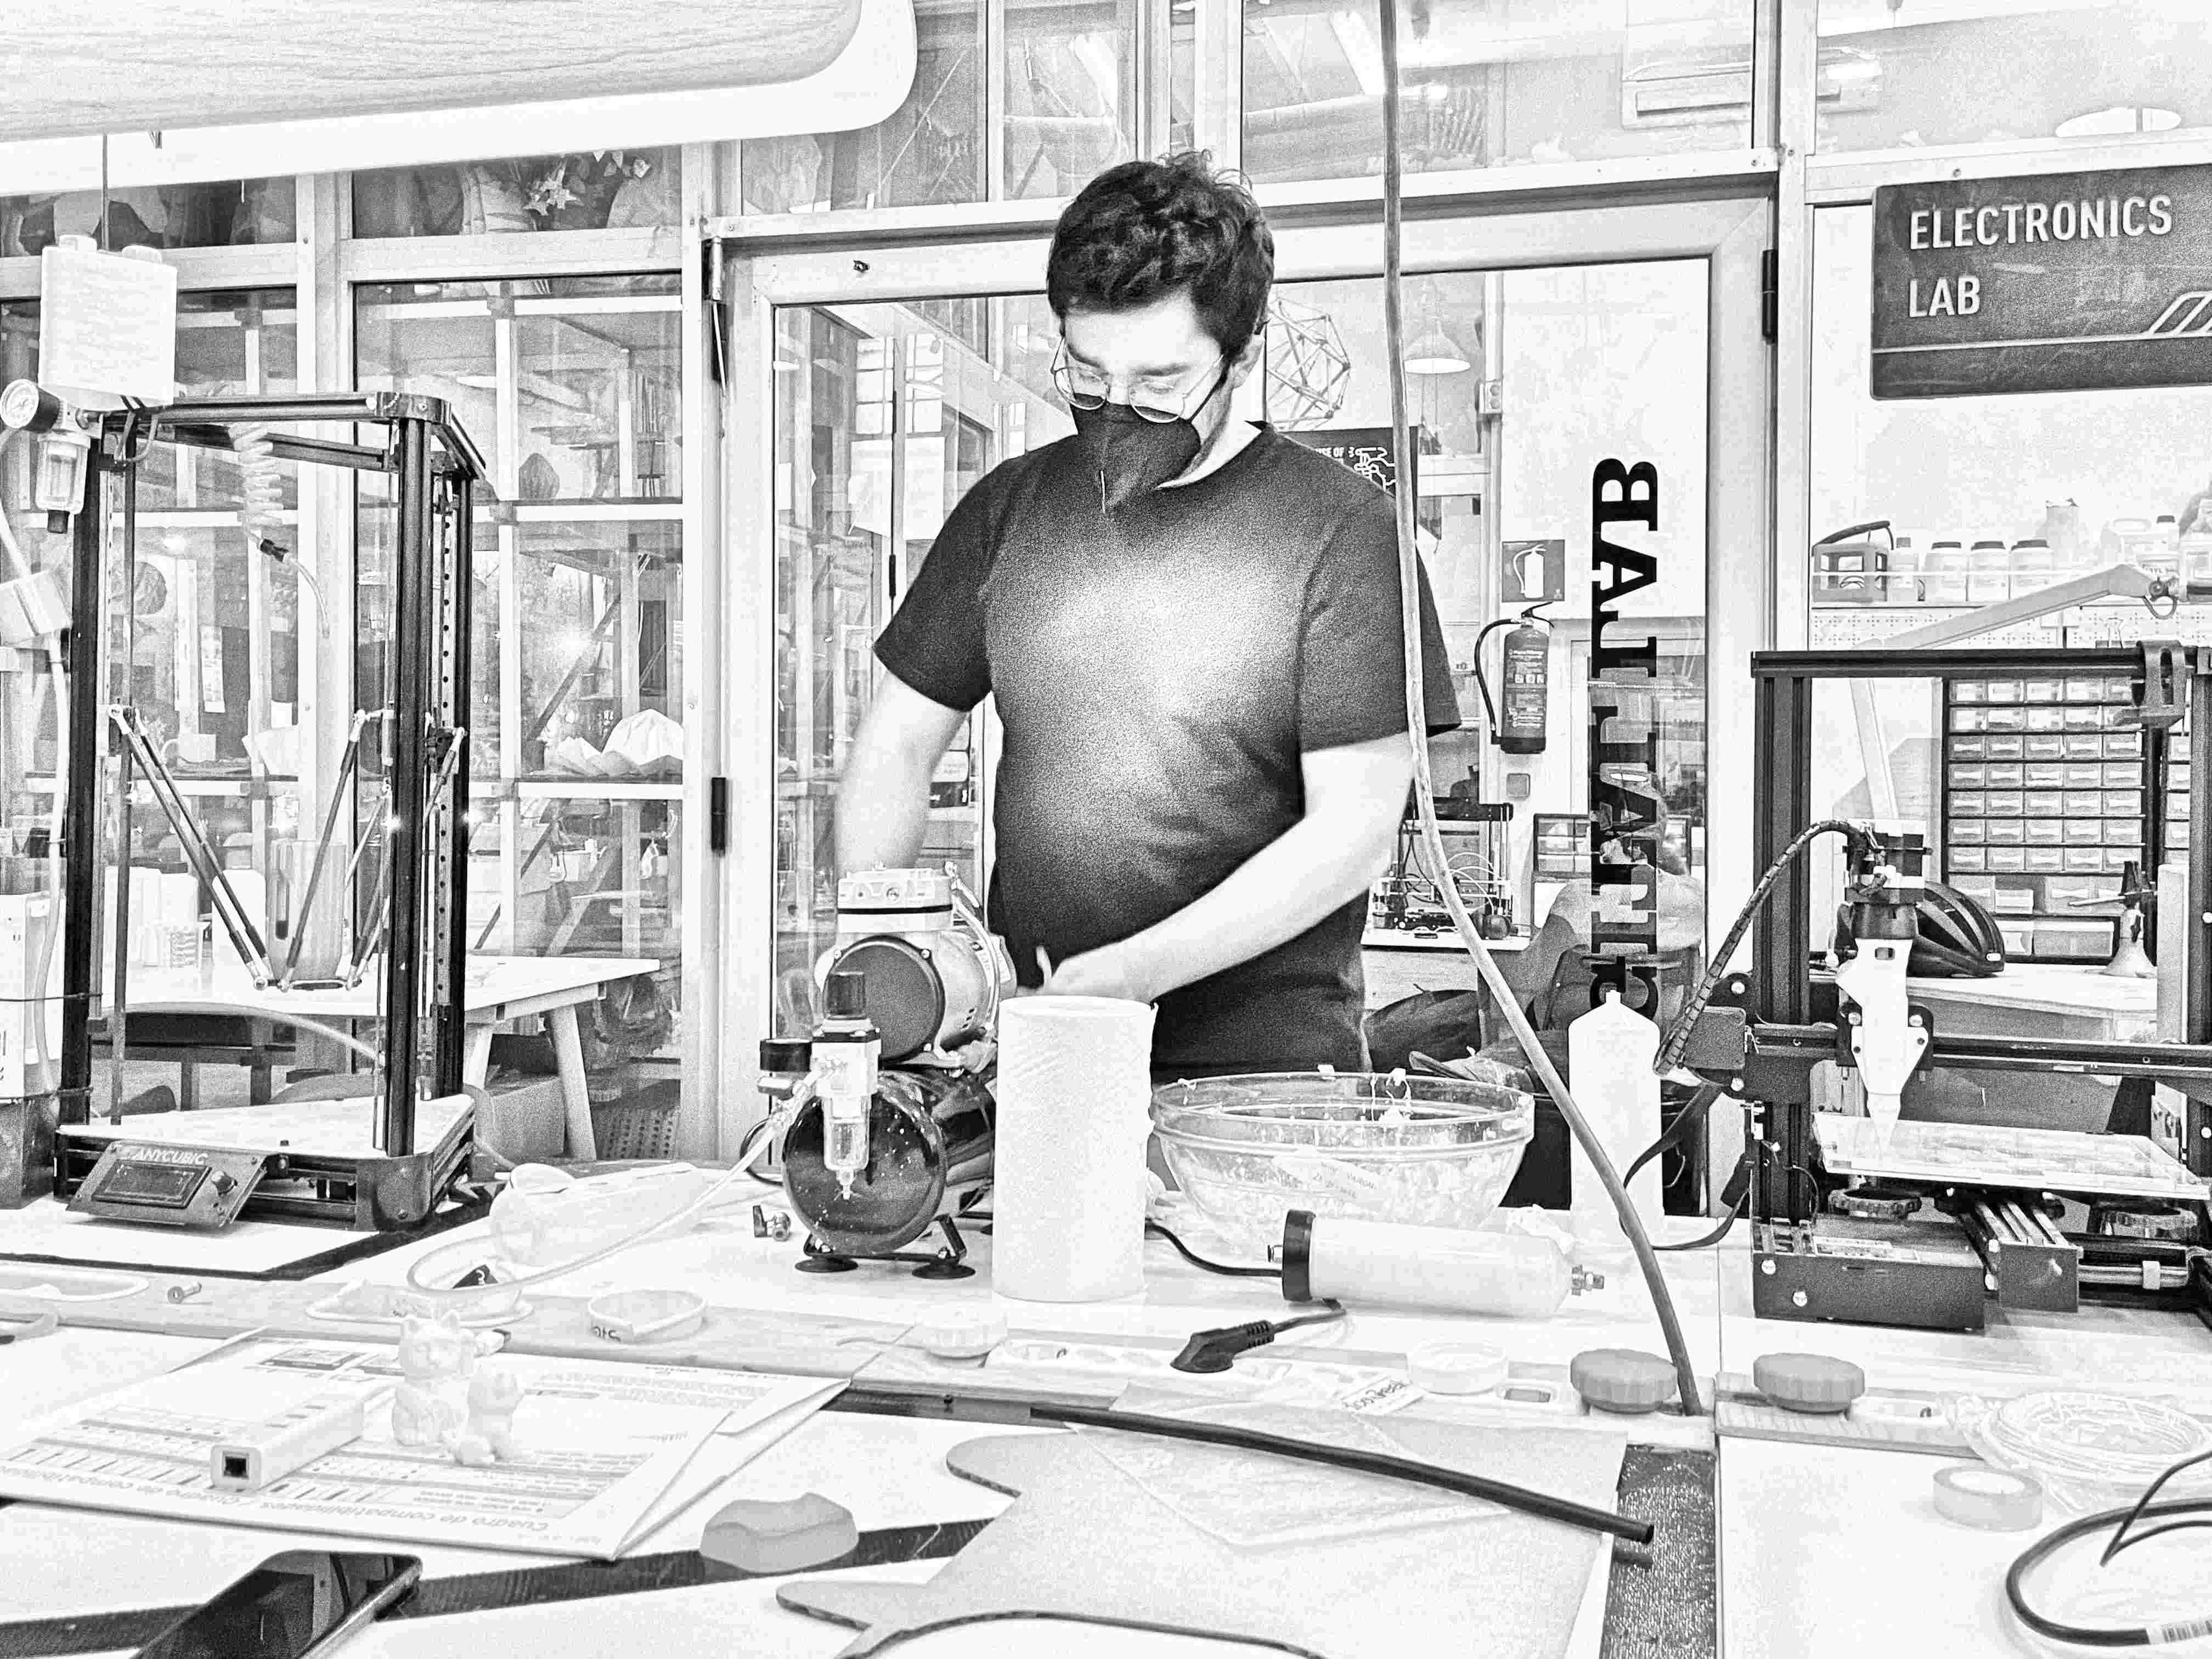 Figure 1. Eduardo Chamorro demonstrating the use biomaterials [potato puree paste] with an
Ender-3 3D printer.
Figure 1. Eduardo Chamorro demonstrating the use biomaterials [potato puree paste] with an
Ender-3 3D printer.
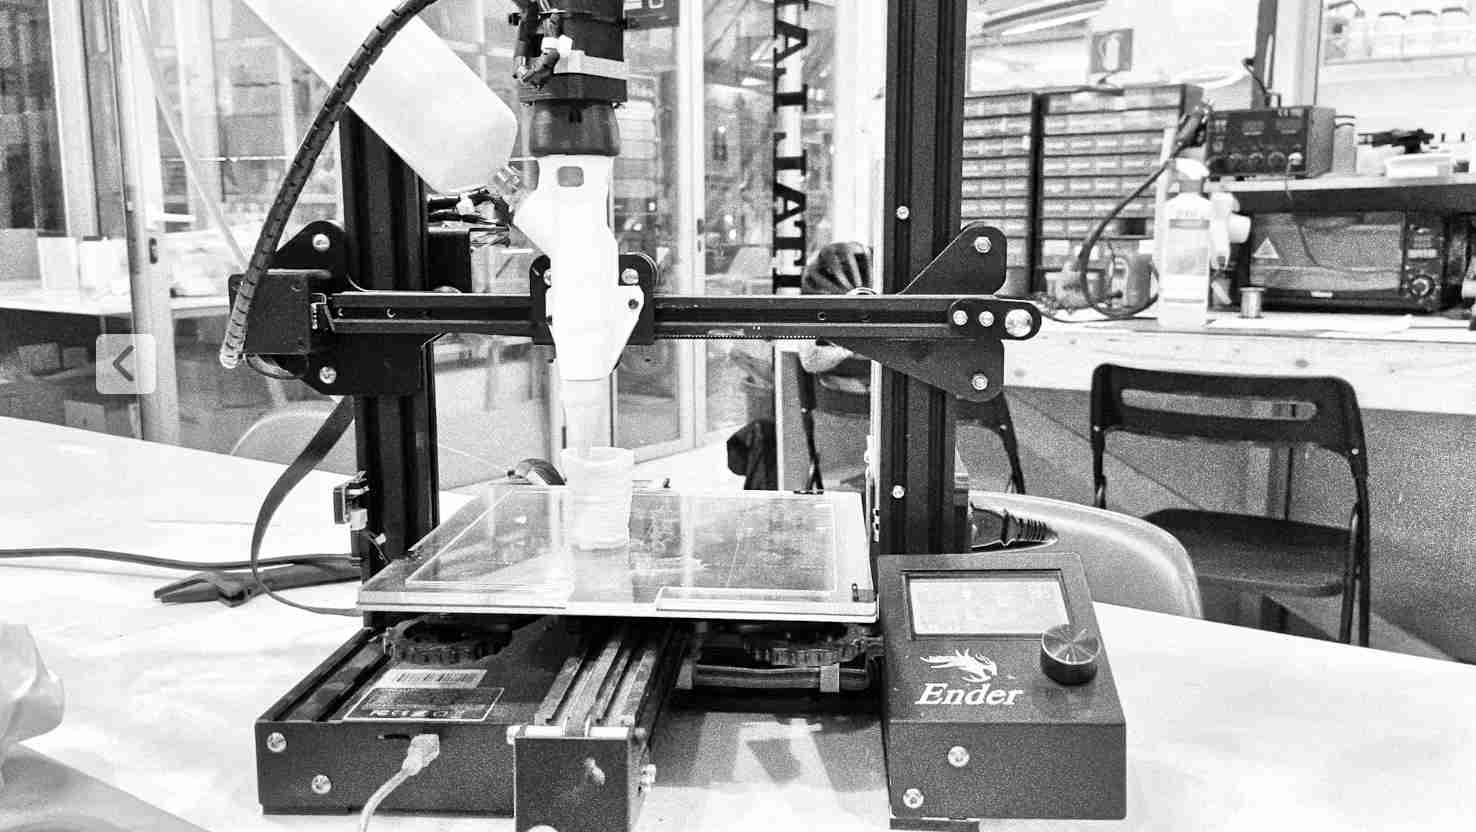 Figure 2. Printing process of a biomaterial based 3D printed vase.
6.1.1 Advantages and Limitations od 3D Printing
From what I was able to experience, the biggest advantage that 3D printing offers is the possibility to create intricate objects, accurately and in a rather small format. It also provides a context where the production of goods can take place locally and in small quantities. Since 3D printers produce objects by printing millimetric layers stacked upon each other, complex shapes and forms produced in CAD design software become achievable, as opposed to the results from the vertical incisions made by a laser cutter.
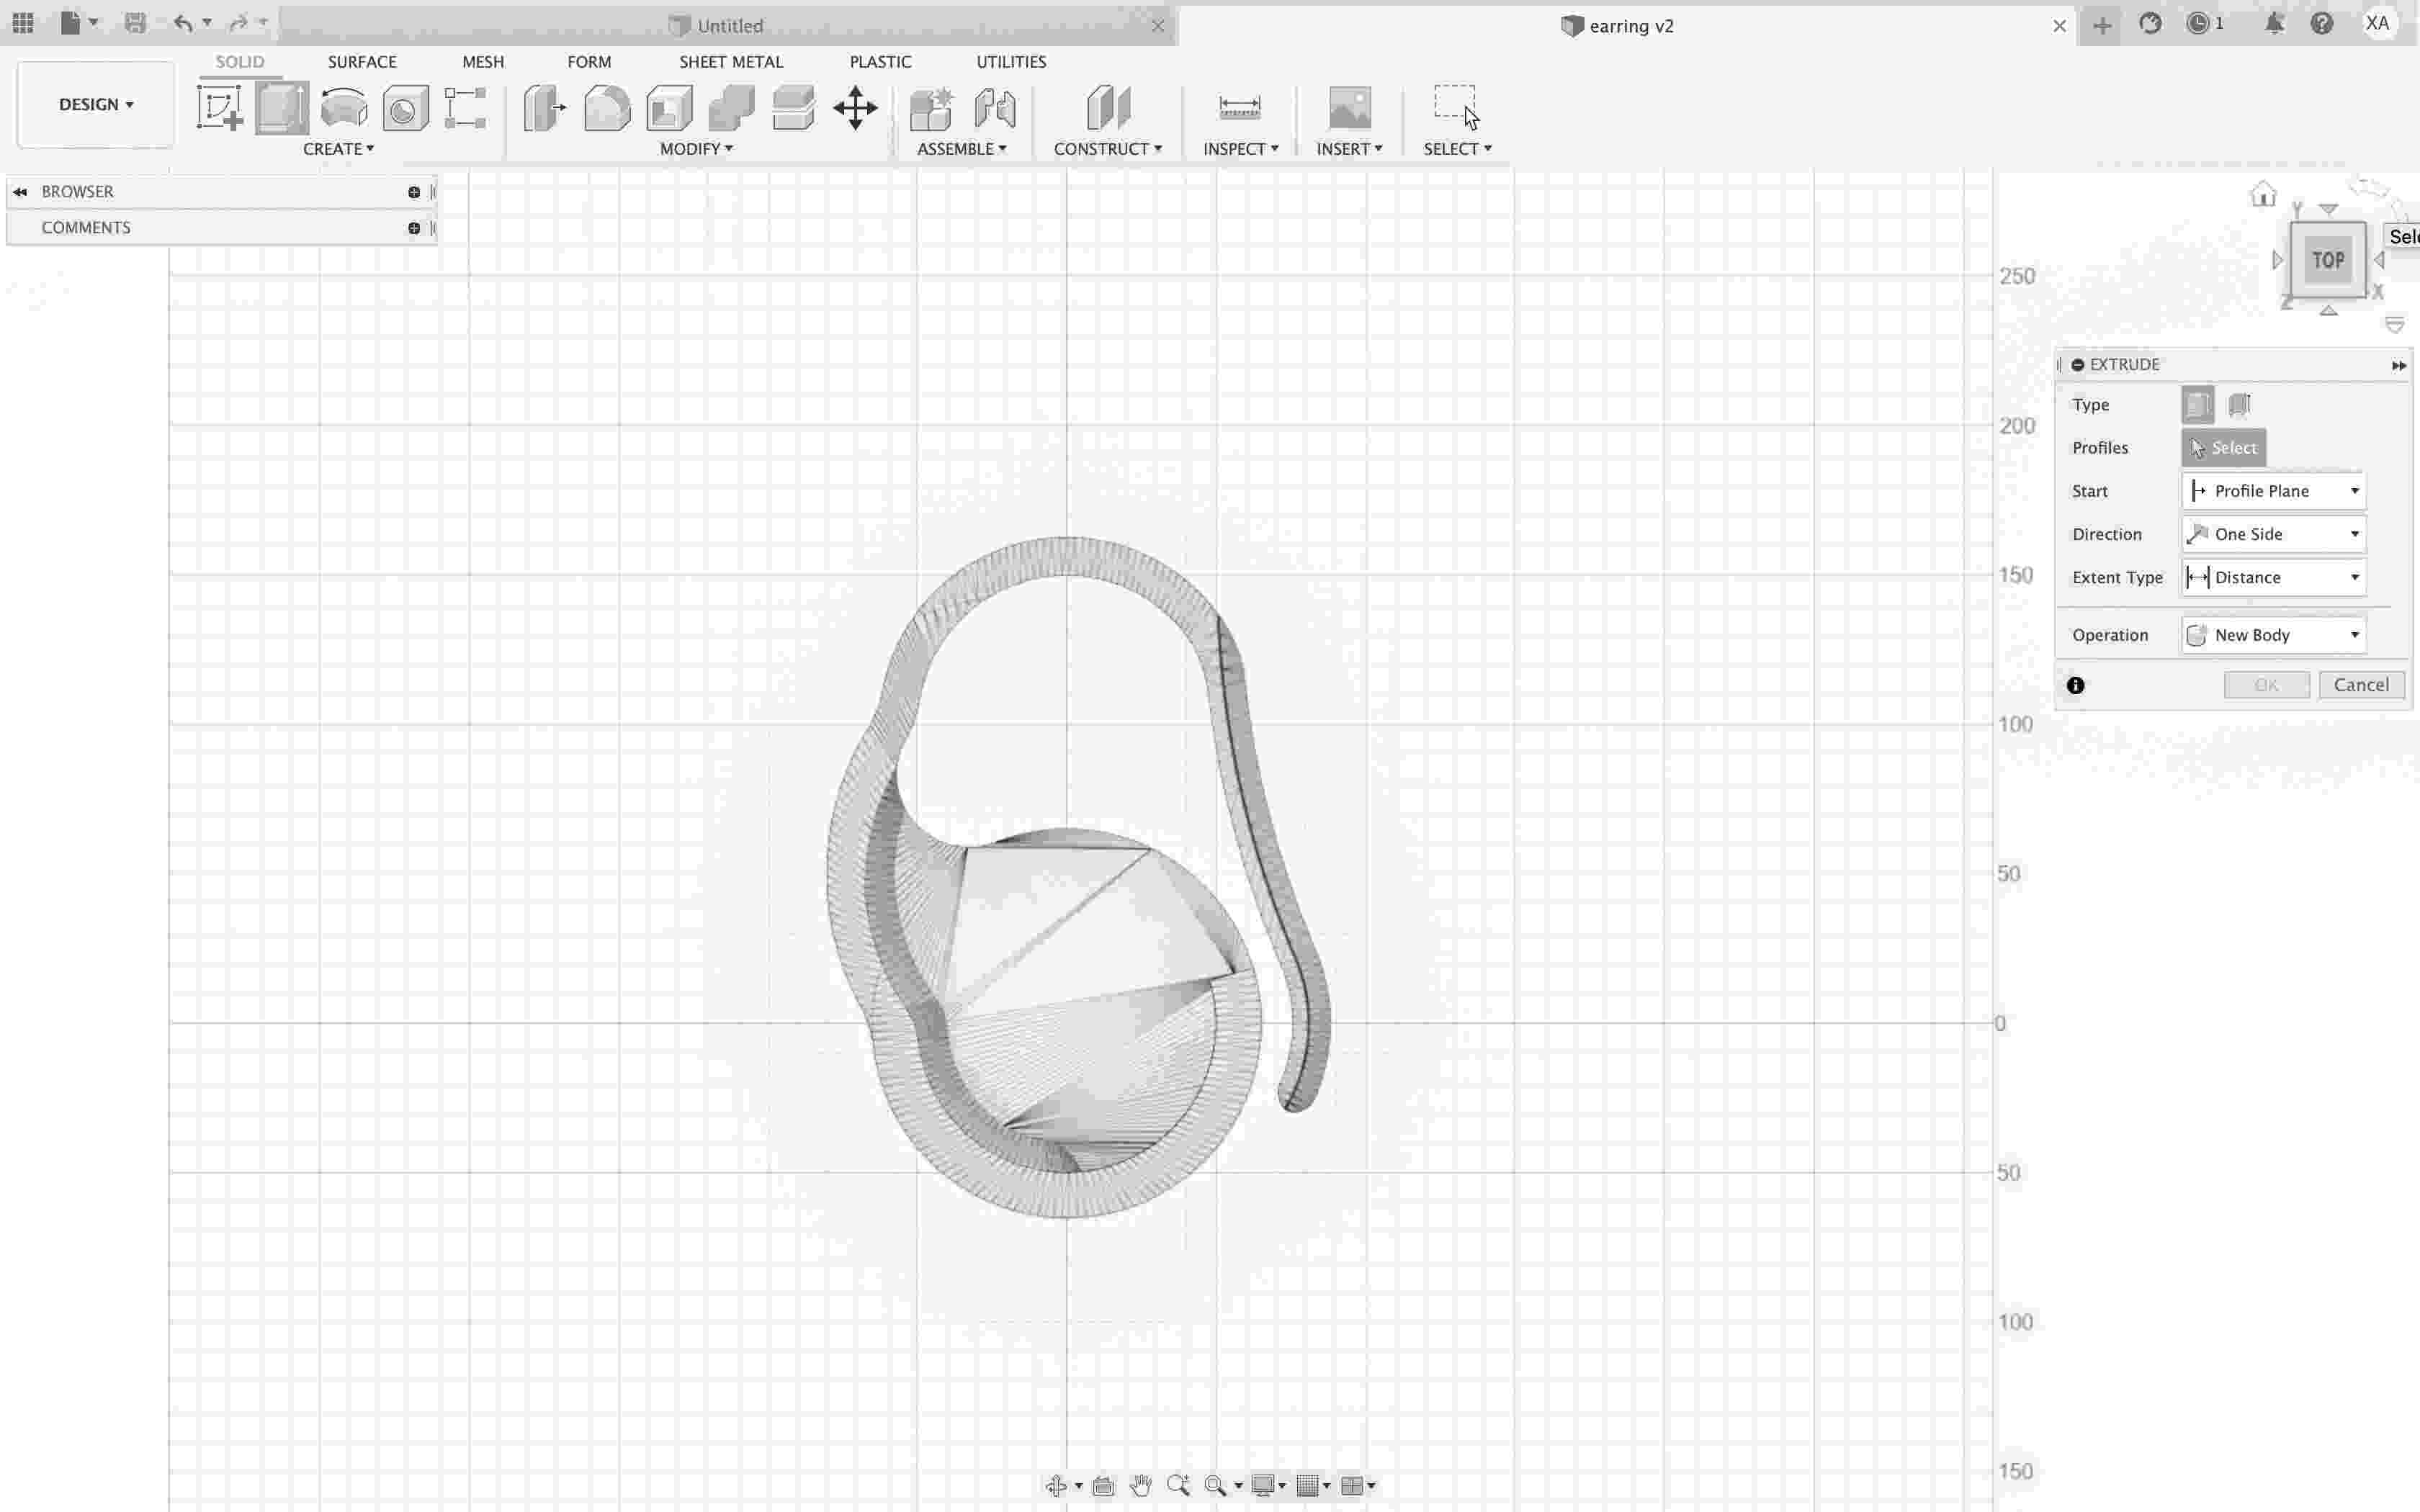
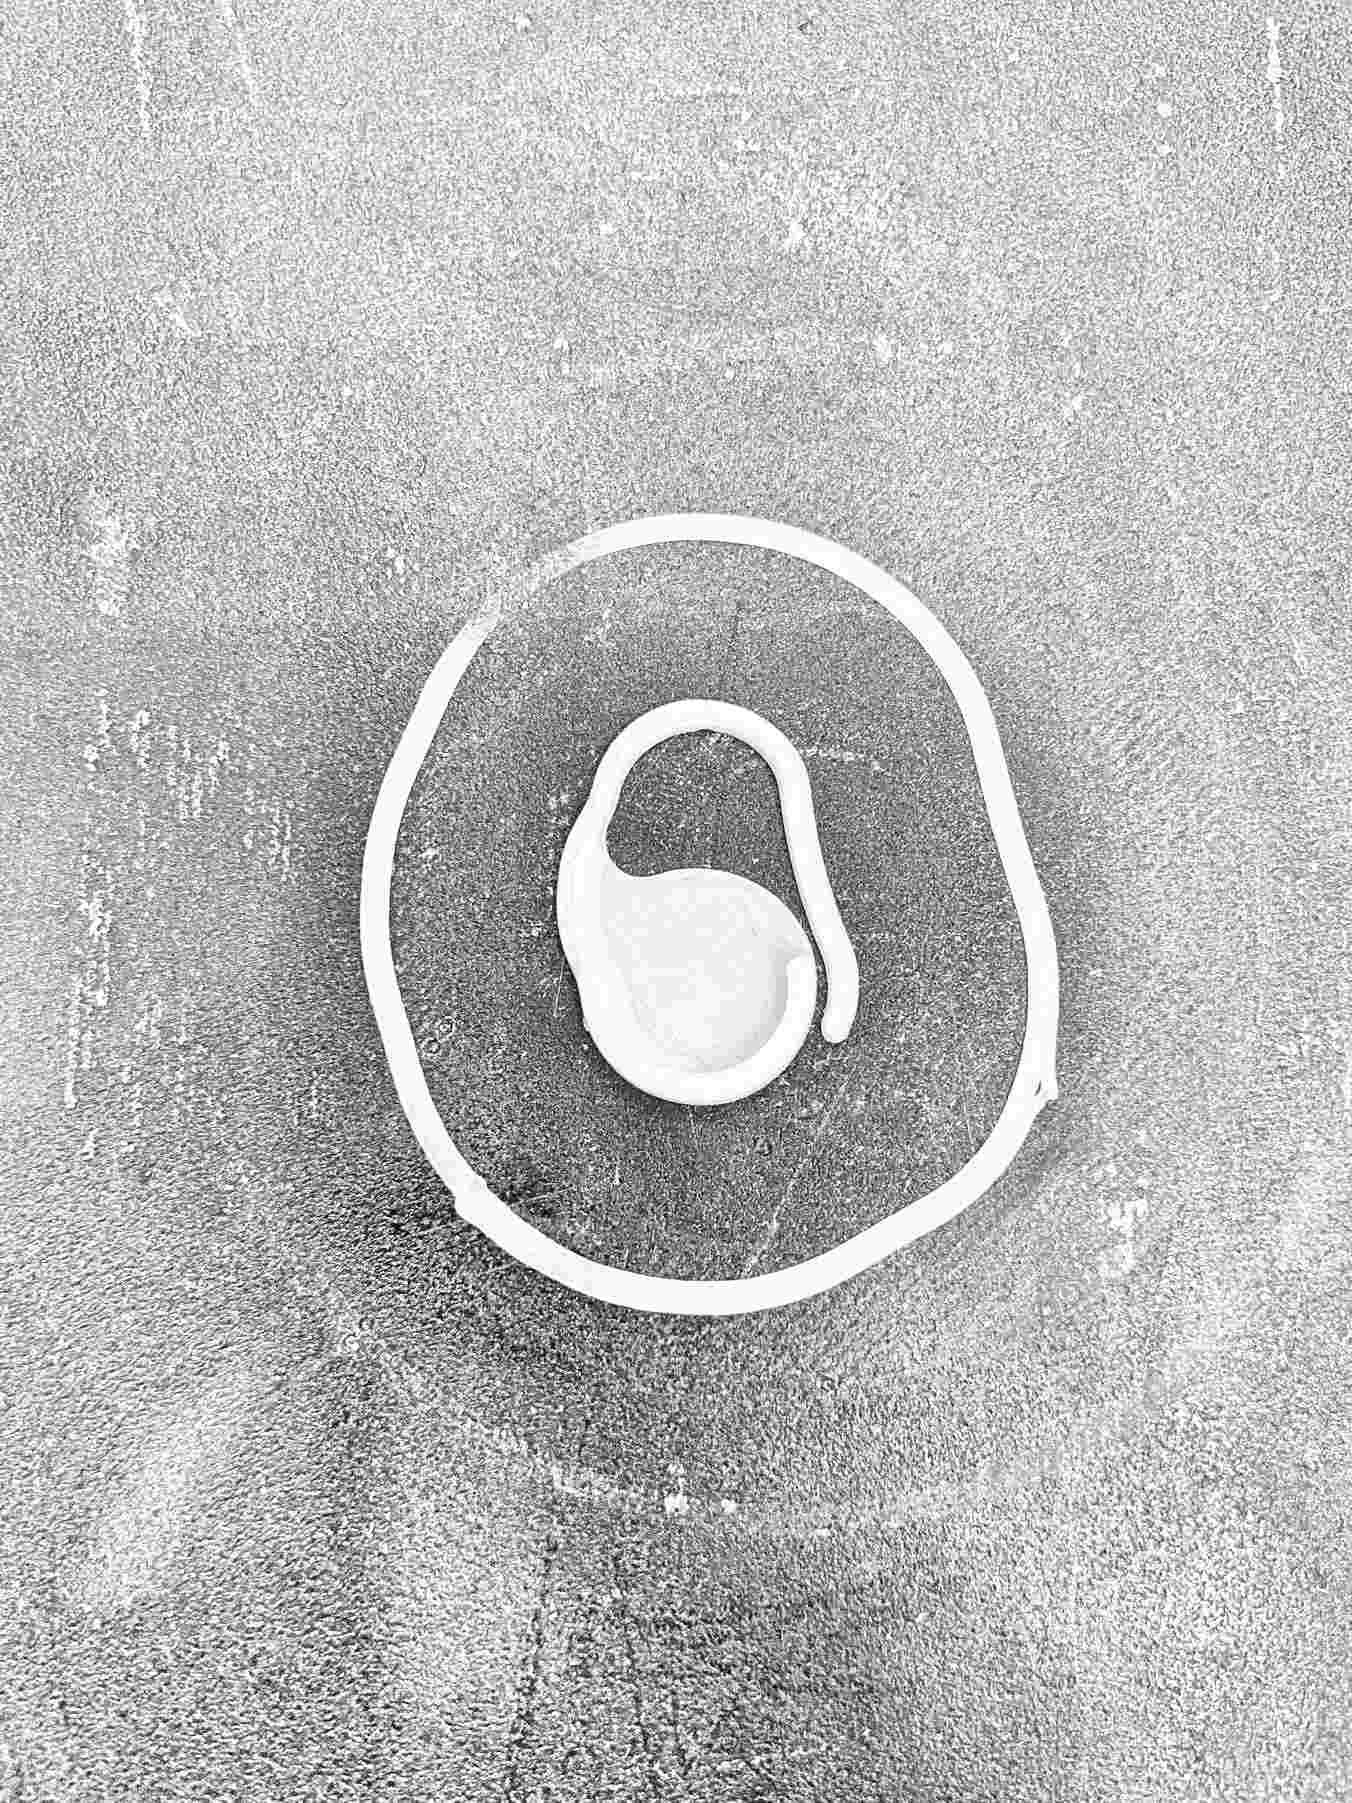
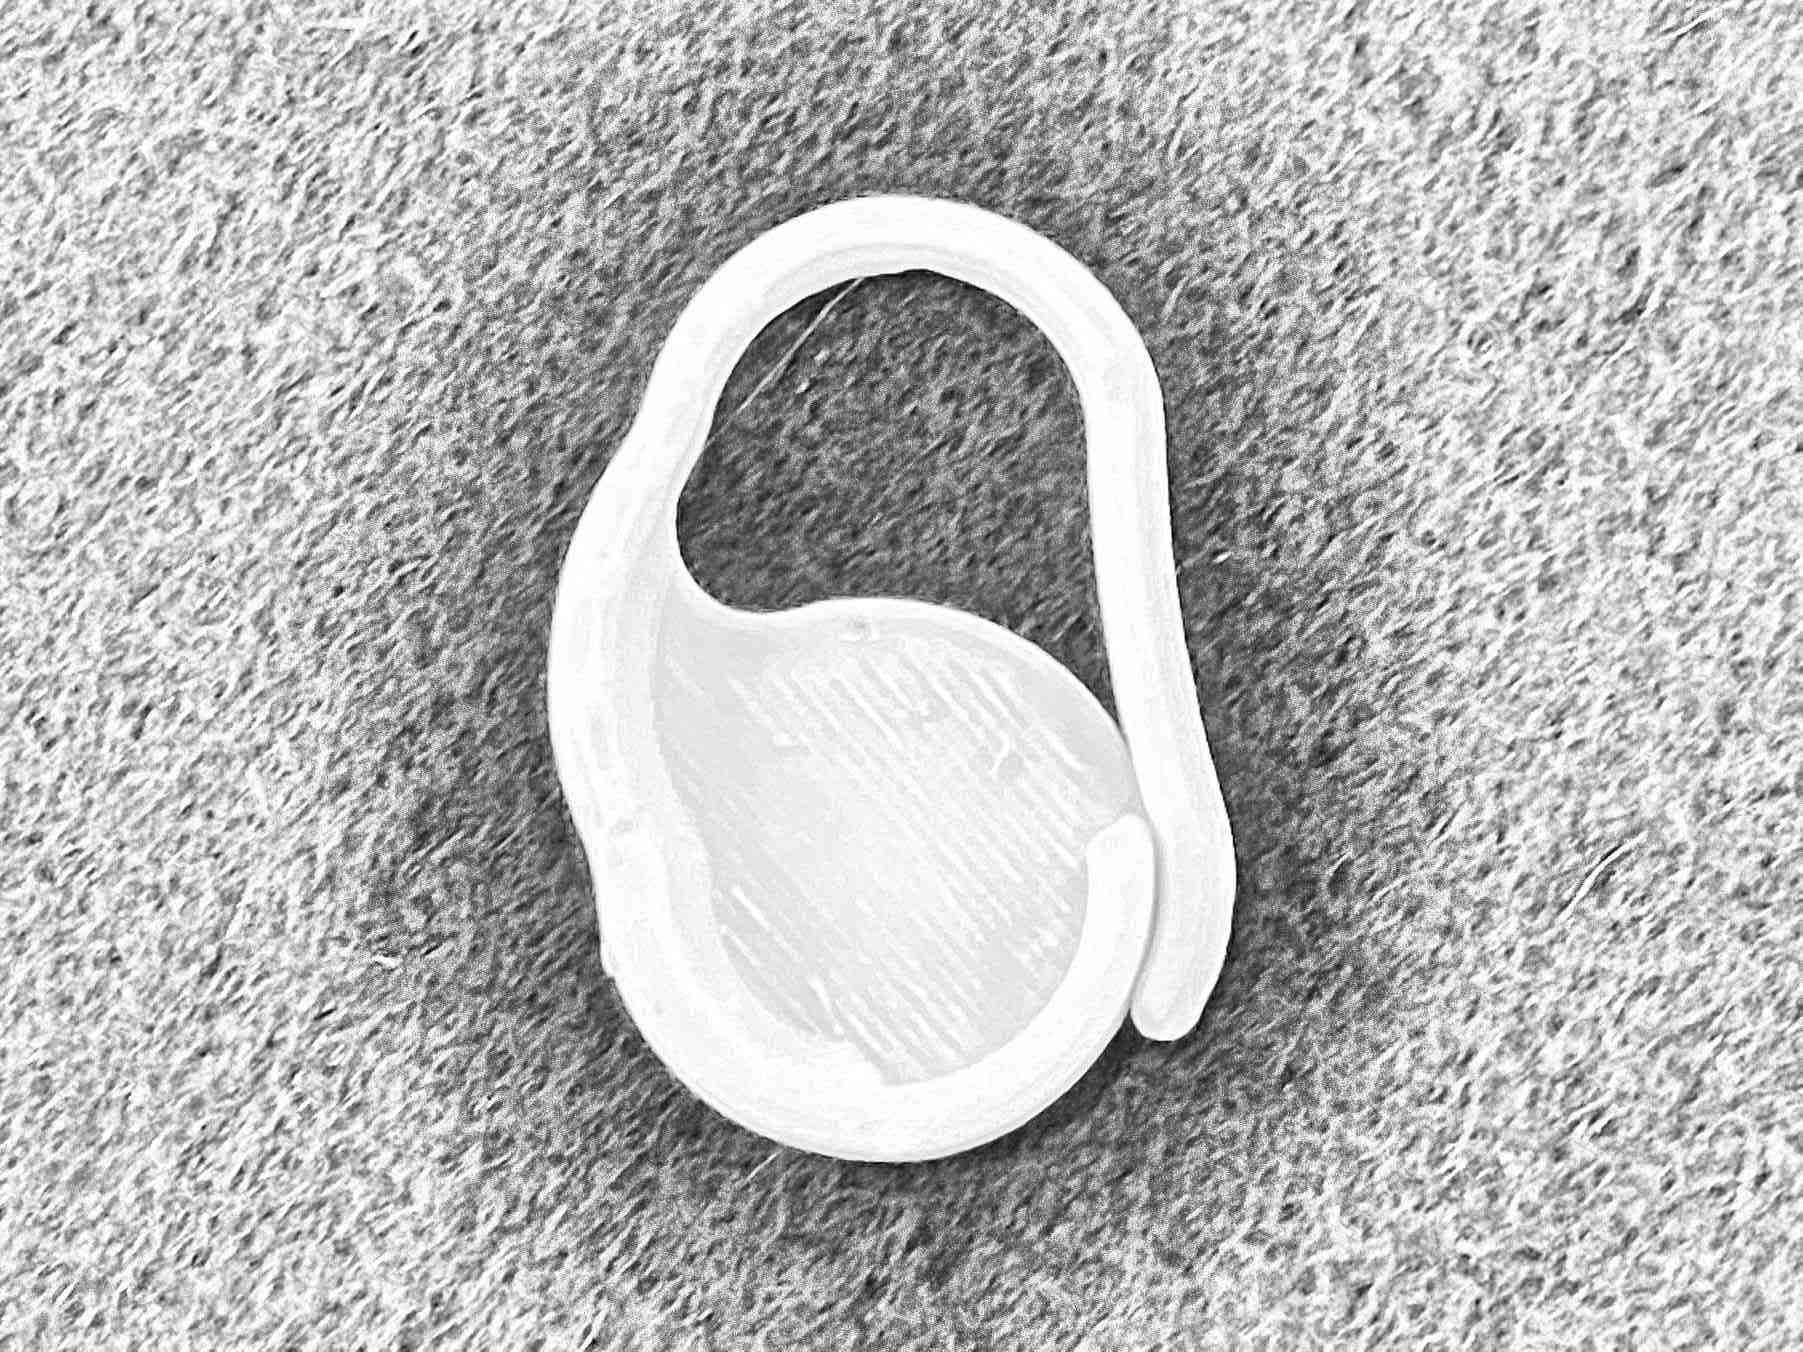 Figure 3. 3D printed earring.
To my perception, possible but perhaps fixable disadvantages to 3D printing would be the following: 1. The extended amount of time [often] needed to print certain jobs. 2. The [default] use of mainly artificial materials (plastic) and the resulting health hazard posed by unavoidable long-time exposure to toxic fumes (occurring when the heated nozzle melts the filament). 3. The lack of foreseen alternatives to material waste management (from tests and/or failed projects and excess material used in the bridging of certain shapes).
Based on American sing and songwriter Pete Seeger’s “If it can’t be reduced” song, I believe that the production of all objects and materials should be subjected to a rigorous examination to ensure the lowest impact on life and the planet:
“If it can’t be reduced, reused, repaired, rebuilt, refurbished, refinished, resold, recycled or composted; then it should be restricted, redesigned or removed from production.”
—Pete Seeger
6.1.3 Design Methods and Files in CAD and ‘Common Format’
6.1.4 Production Processes
To produce a 3D printed object, the following things have to take place:
a. Design of the objects on CAD software
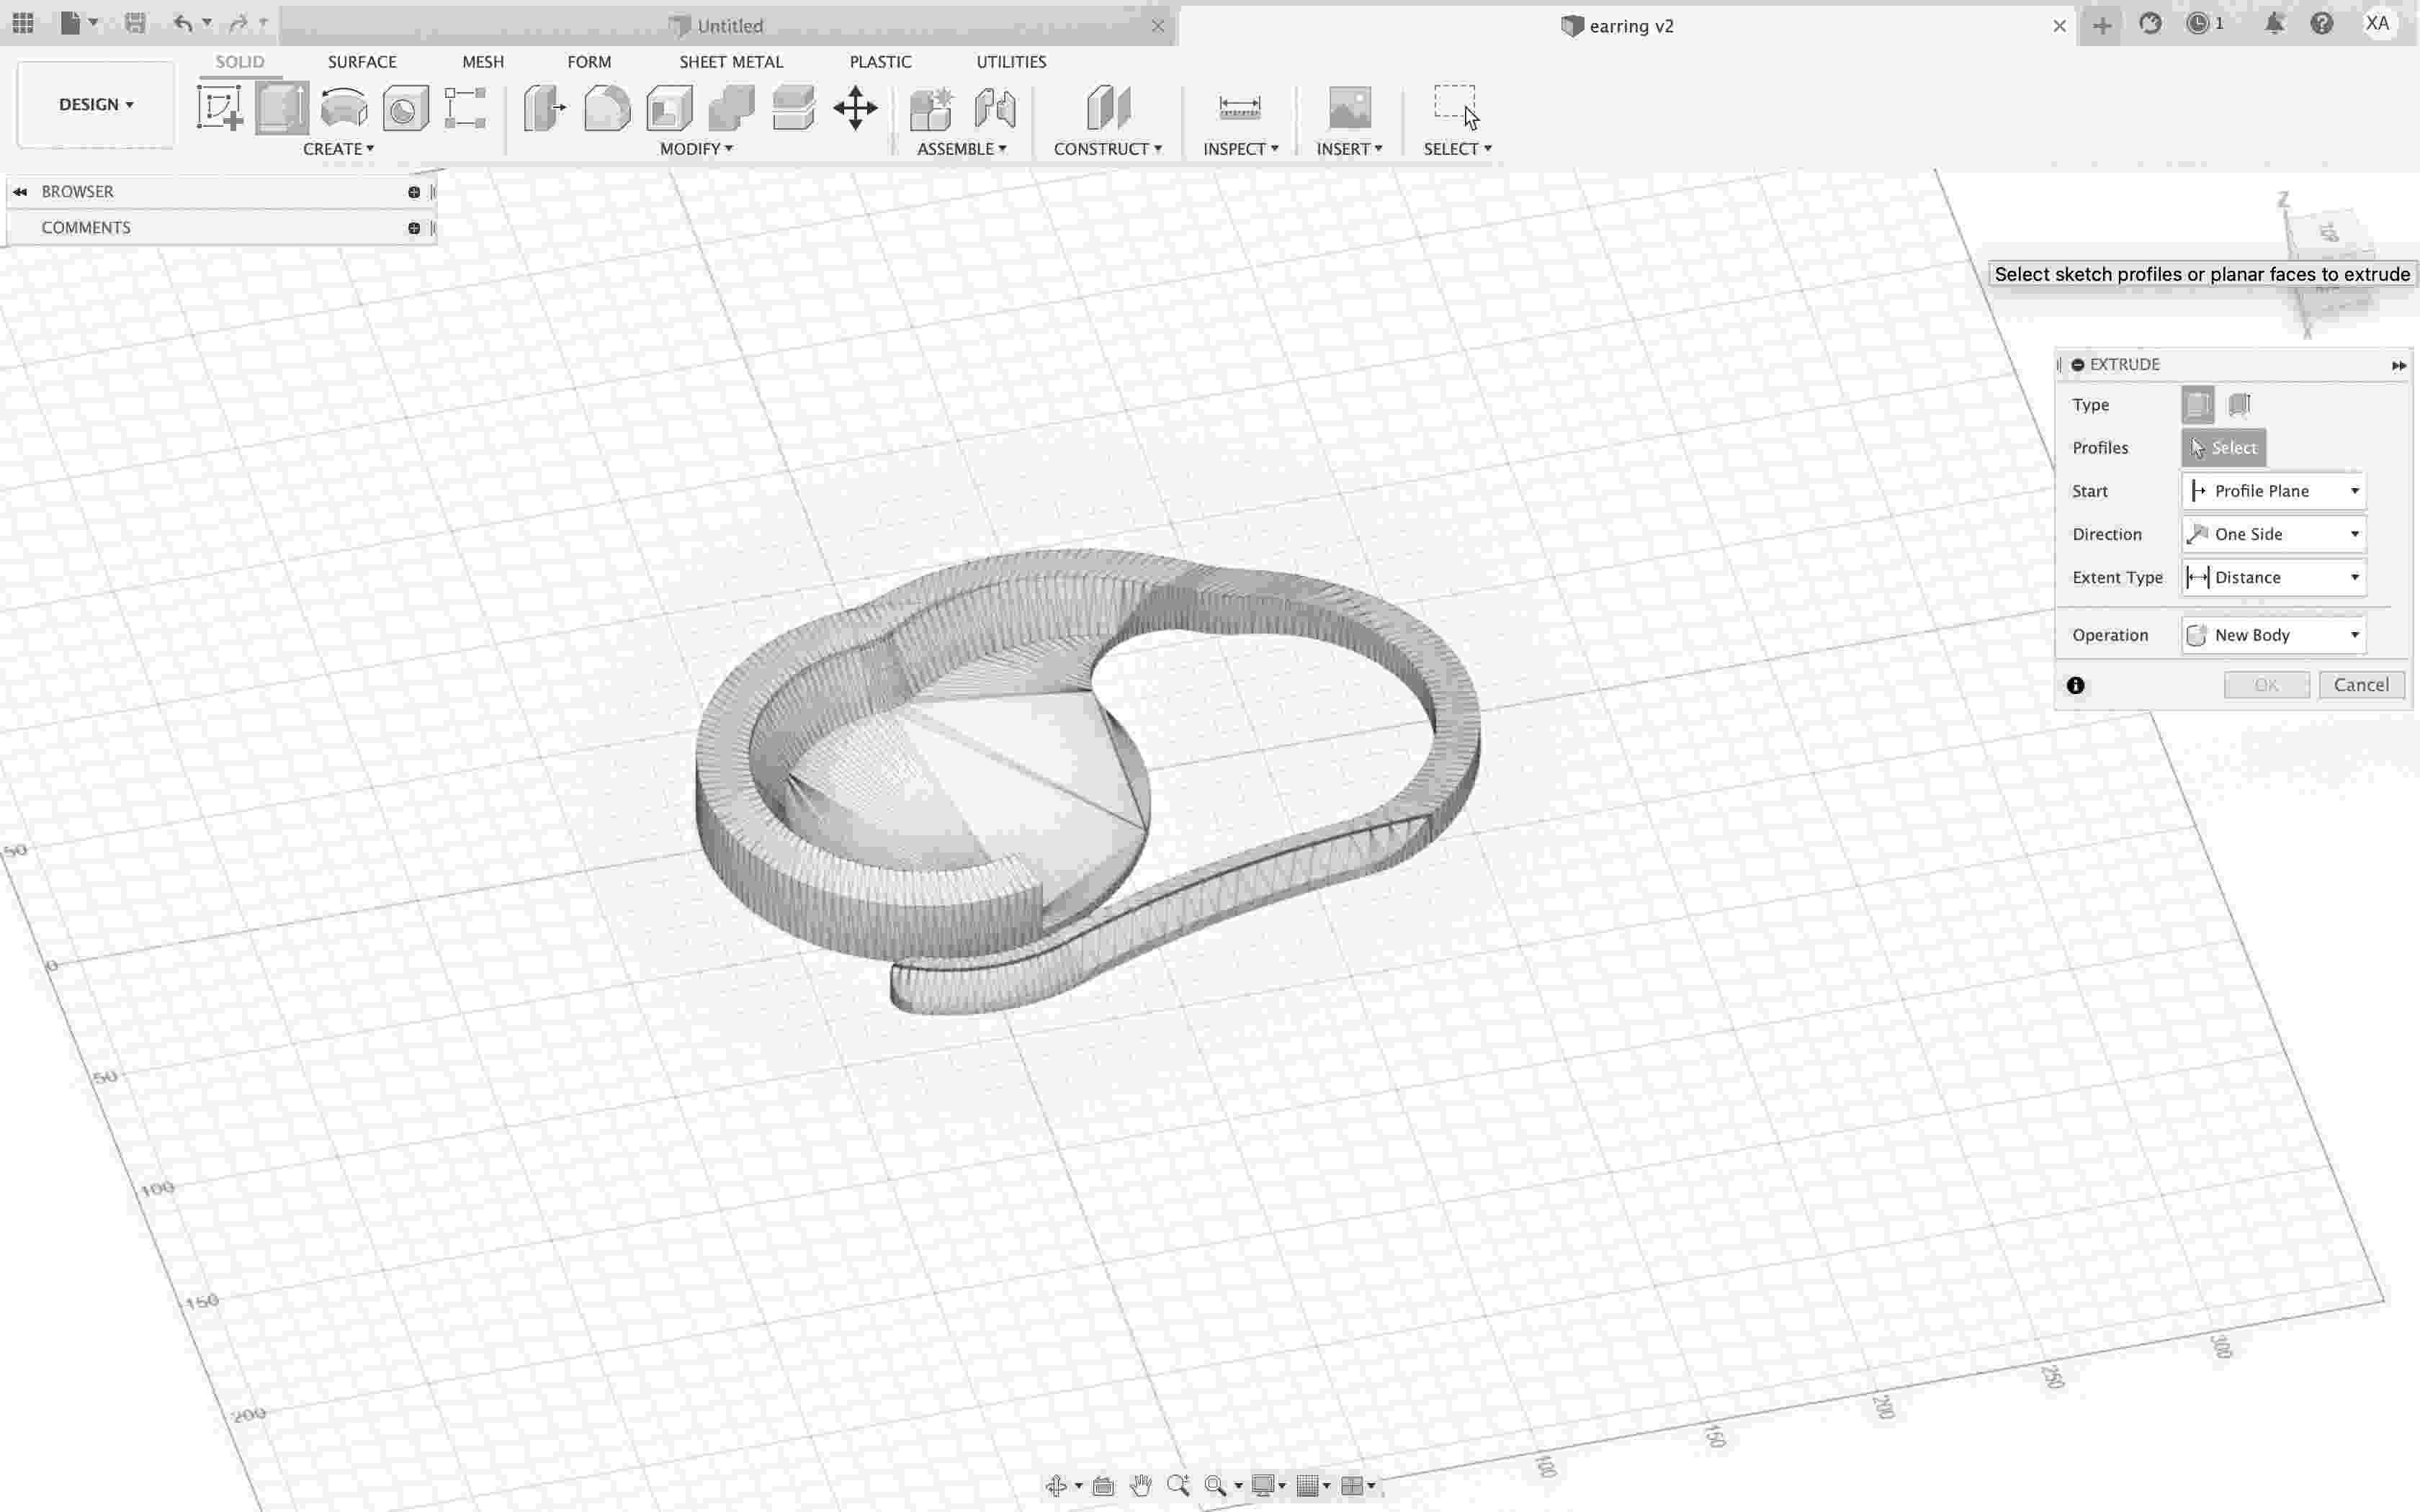
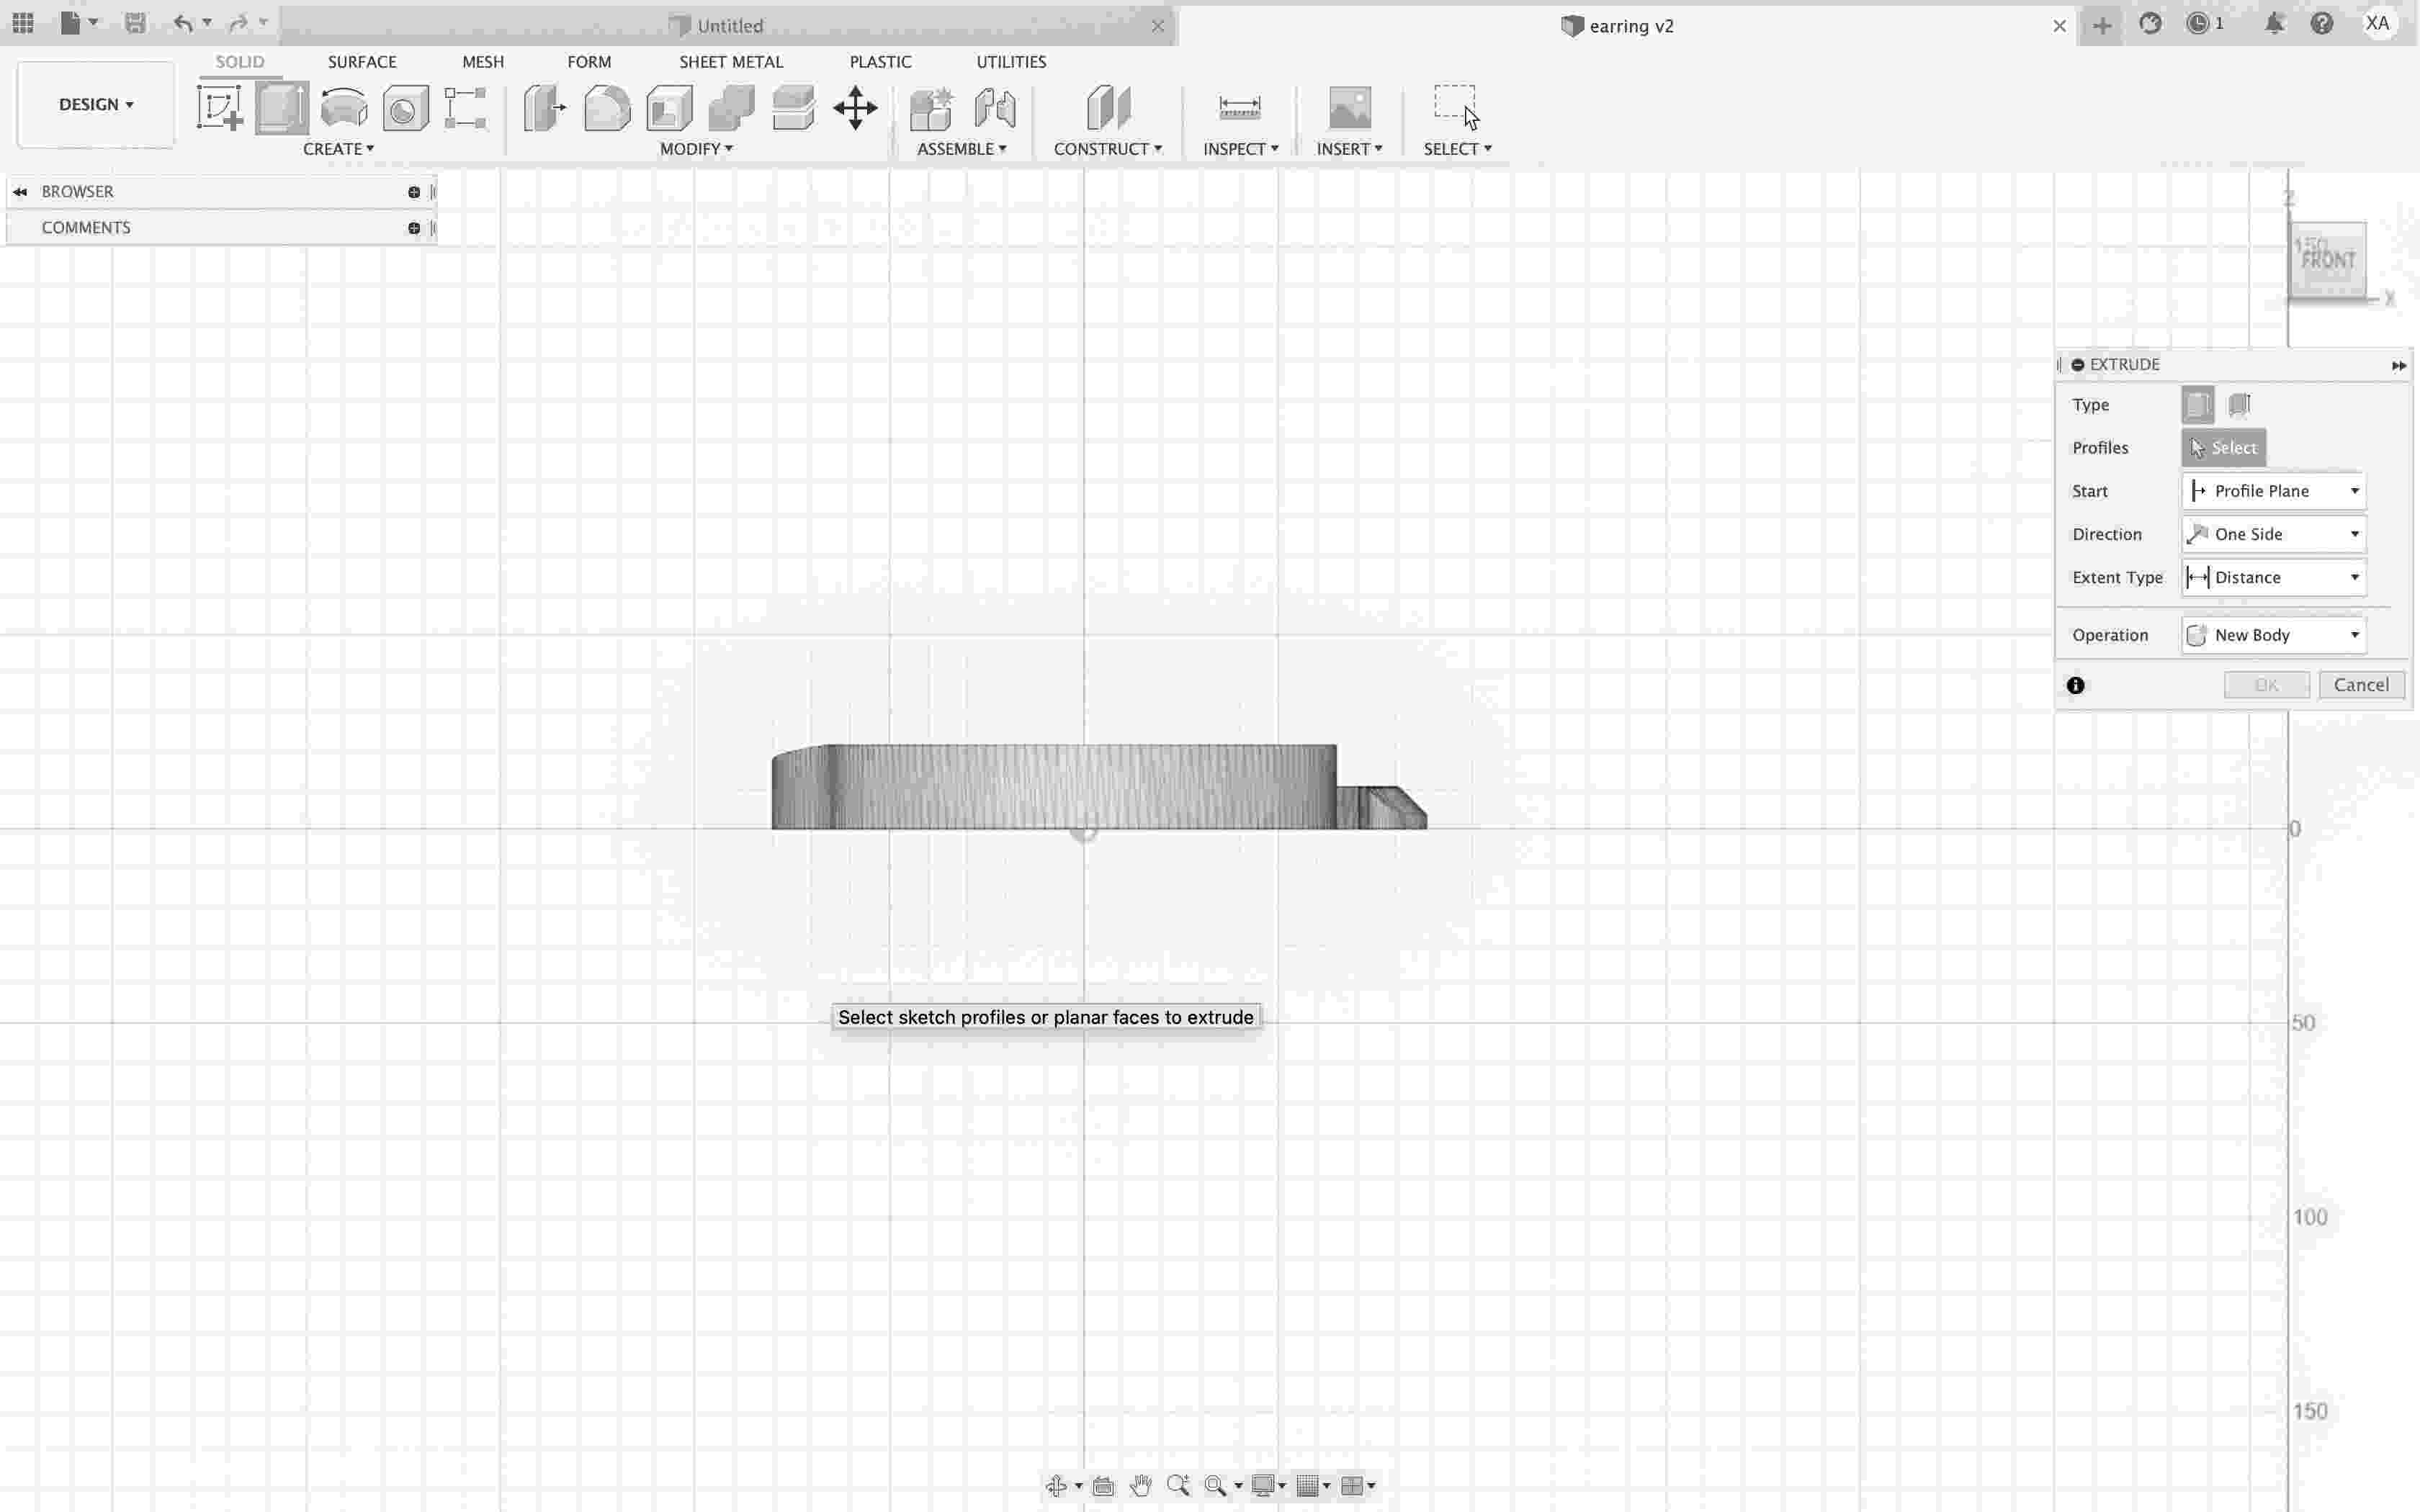
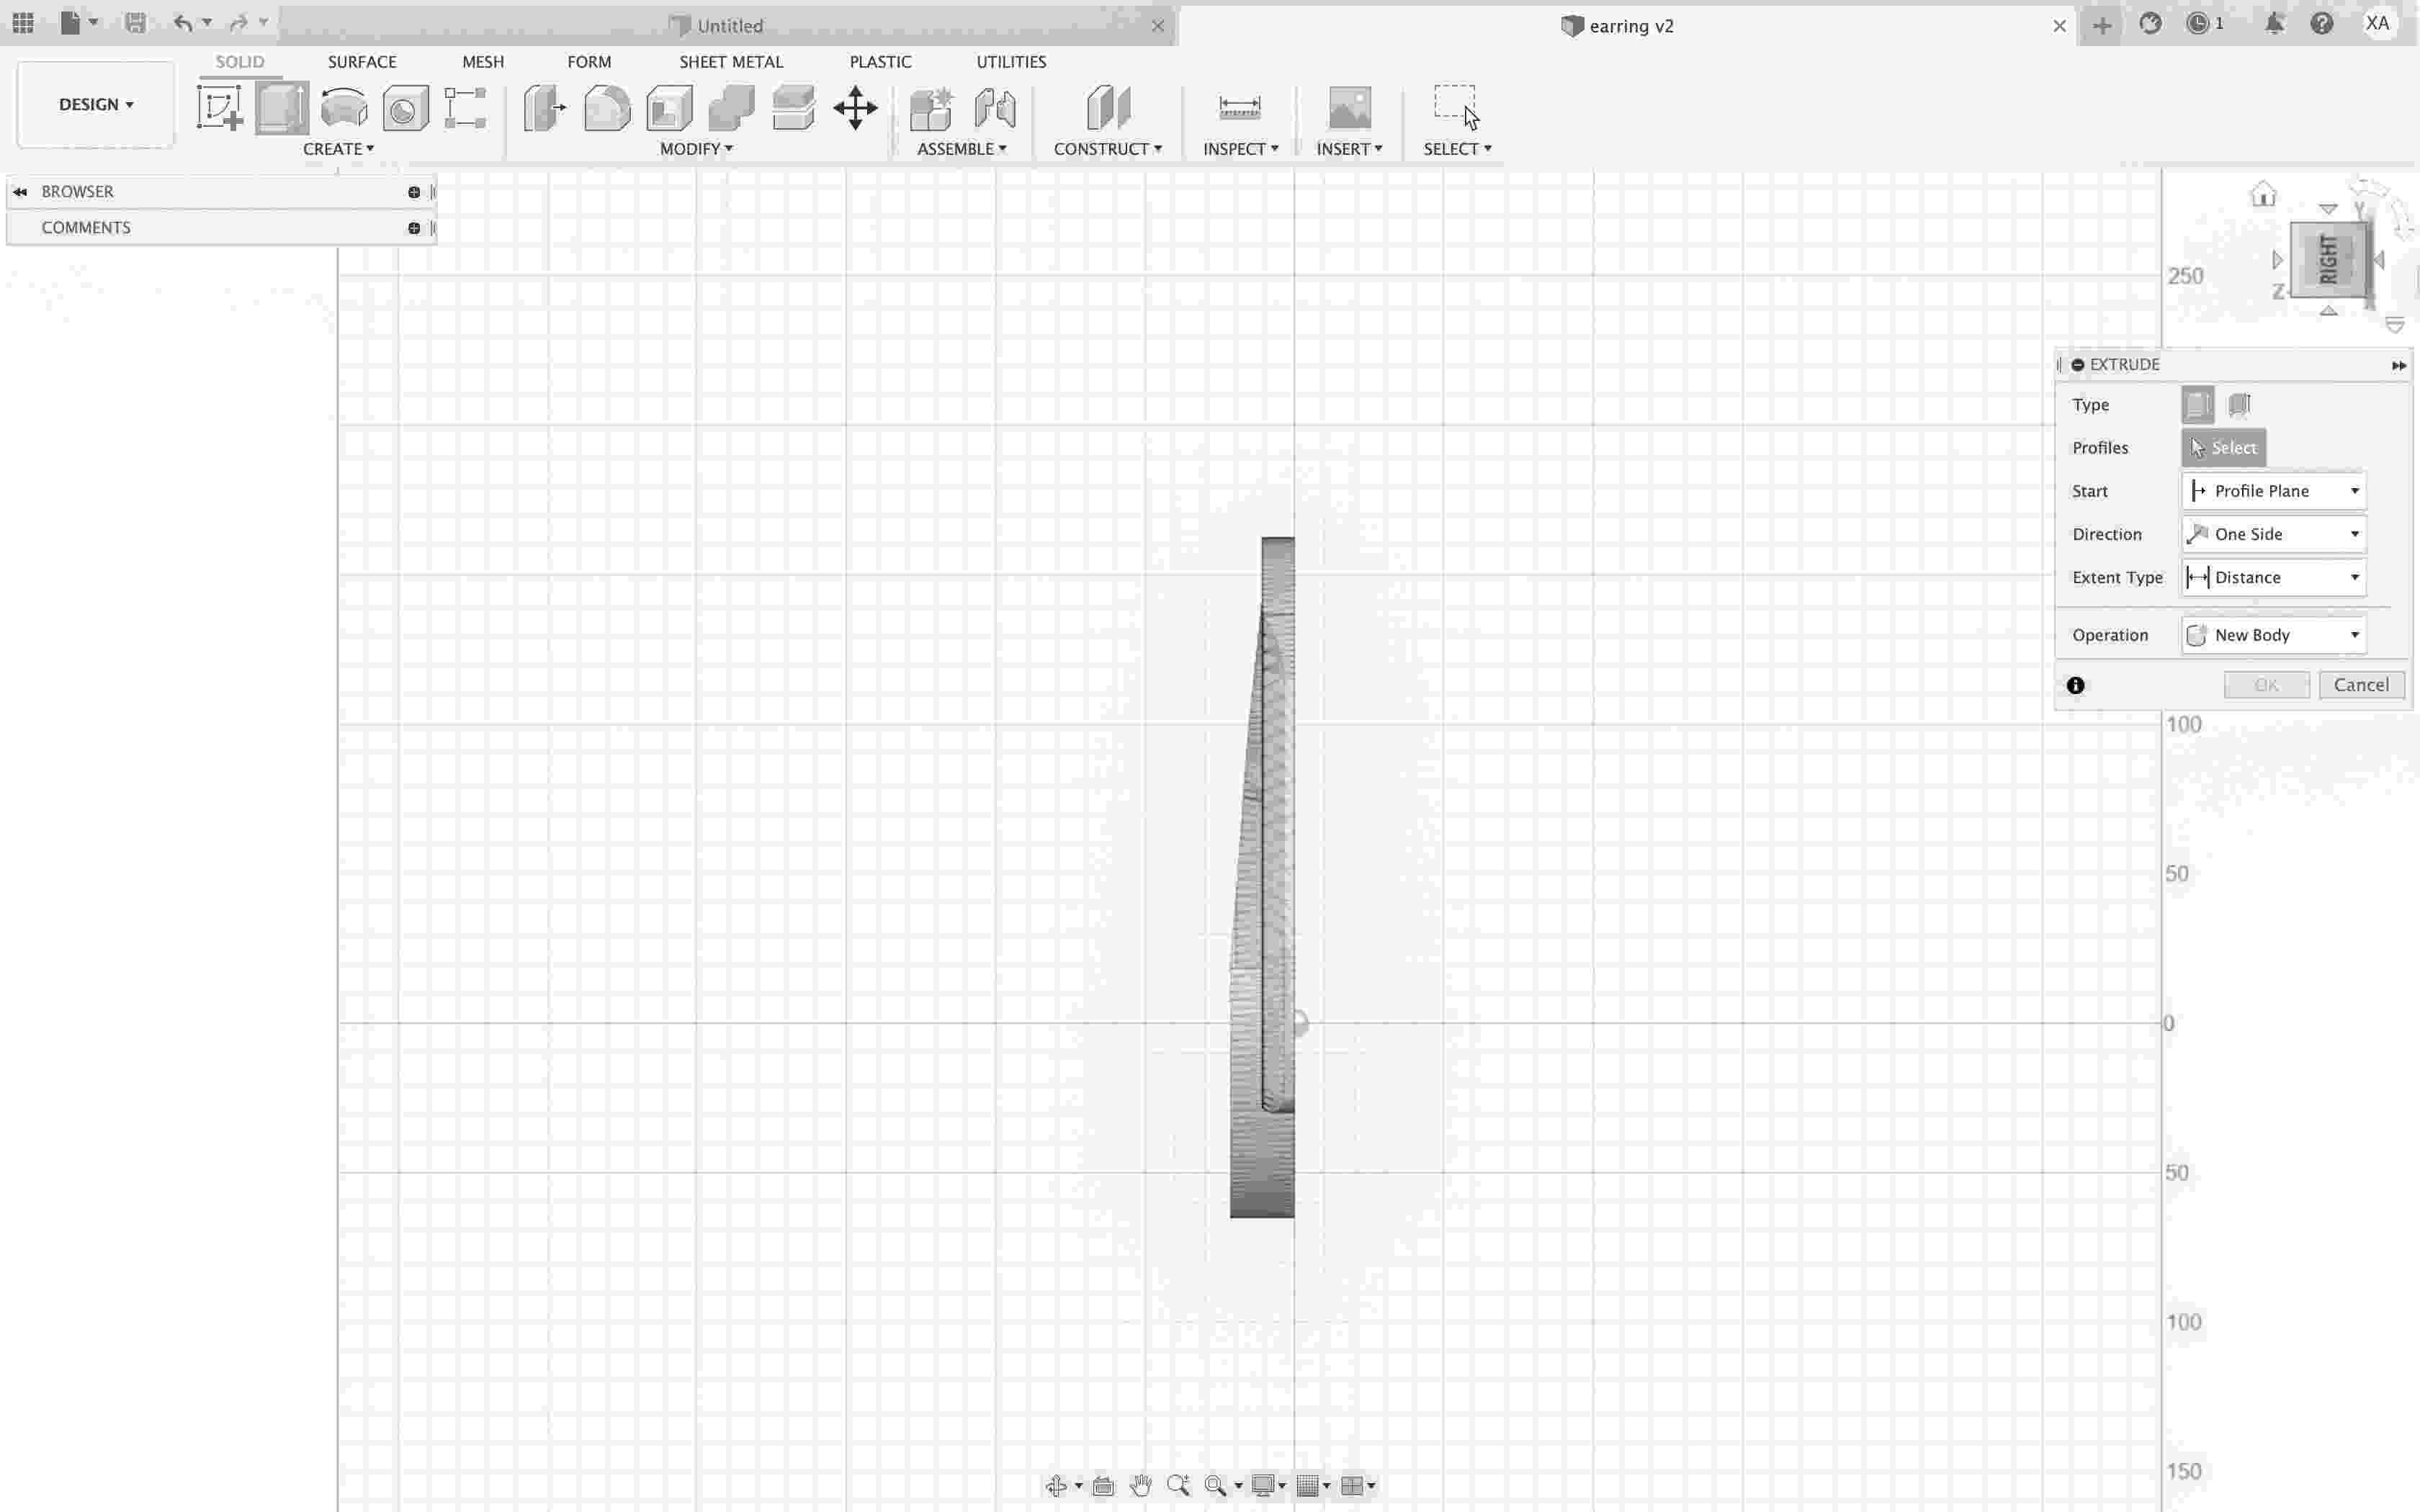
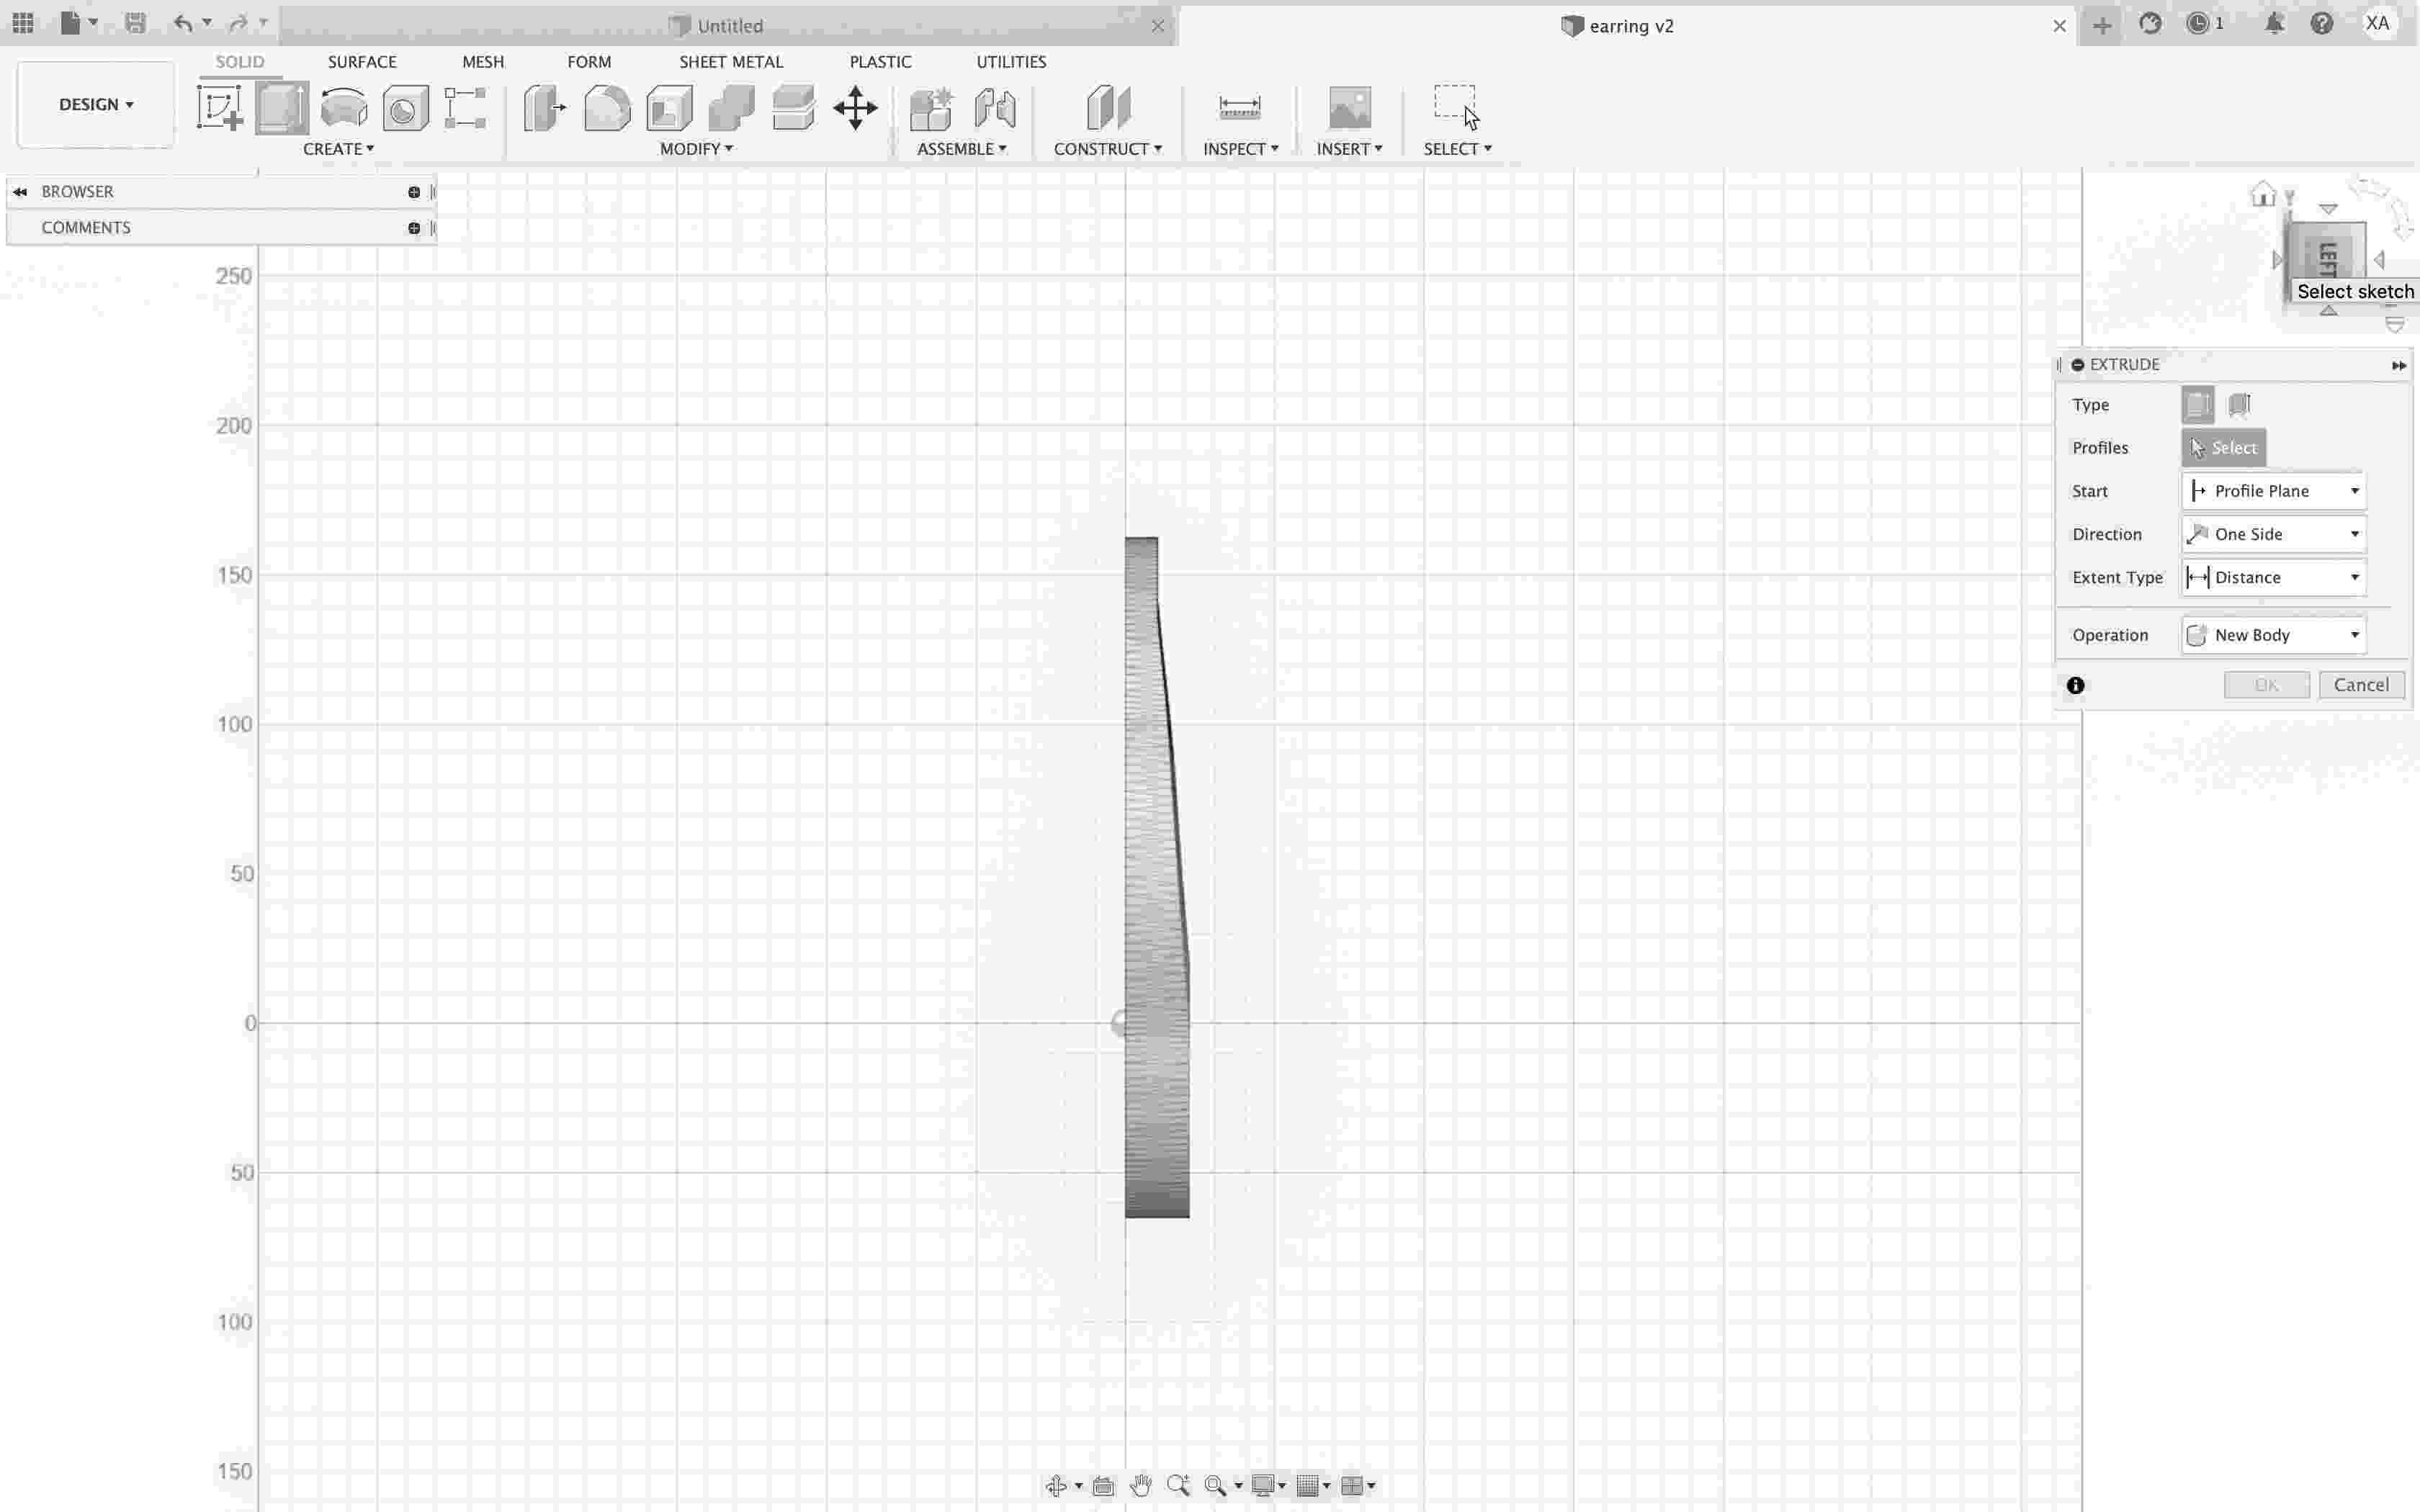
The use of modeling software allows for the creation of objects to desired/required specifications. Using Autodesk Fusion 360 software, I went ahead and created a few designs. More information on the reasoning behind the choice to use this software can be found here
For this exercise, my specific interest was to create something that would keep me from using too much plastic and still could prove to be useful (to be made and own); in order to justify its existence.
Need: To attend Fab Academy, I have had no alternative but to commute by plane a few times. During these months, I could well use a pair of earrings that would allow me to be at ease while transiting security control at the airport. At the same time, I desire to take advantage of the occasion and look for ways to design objects that serve a dual purpose In this specific case, as stitch markers for knitting/crocheting/nalbinding.
The structure would need to replicate a safety-pin, containing a lock mechanism at the end of the hoop.
b. Slicing
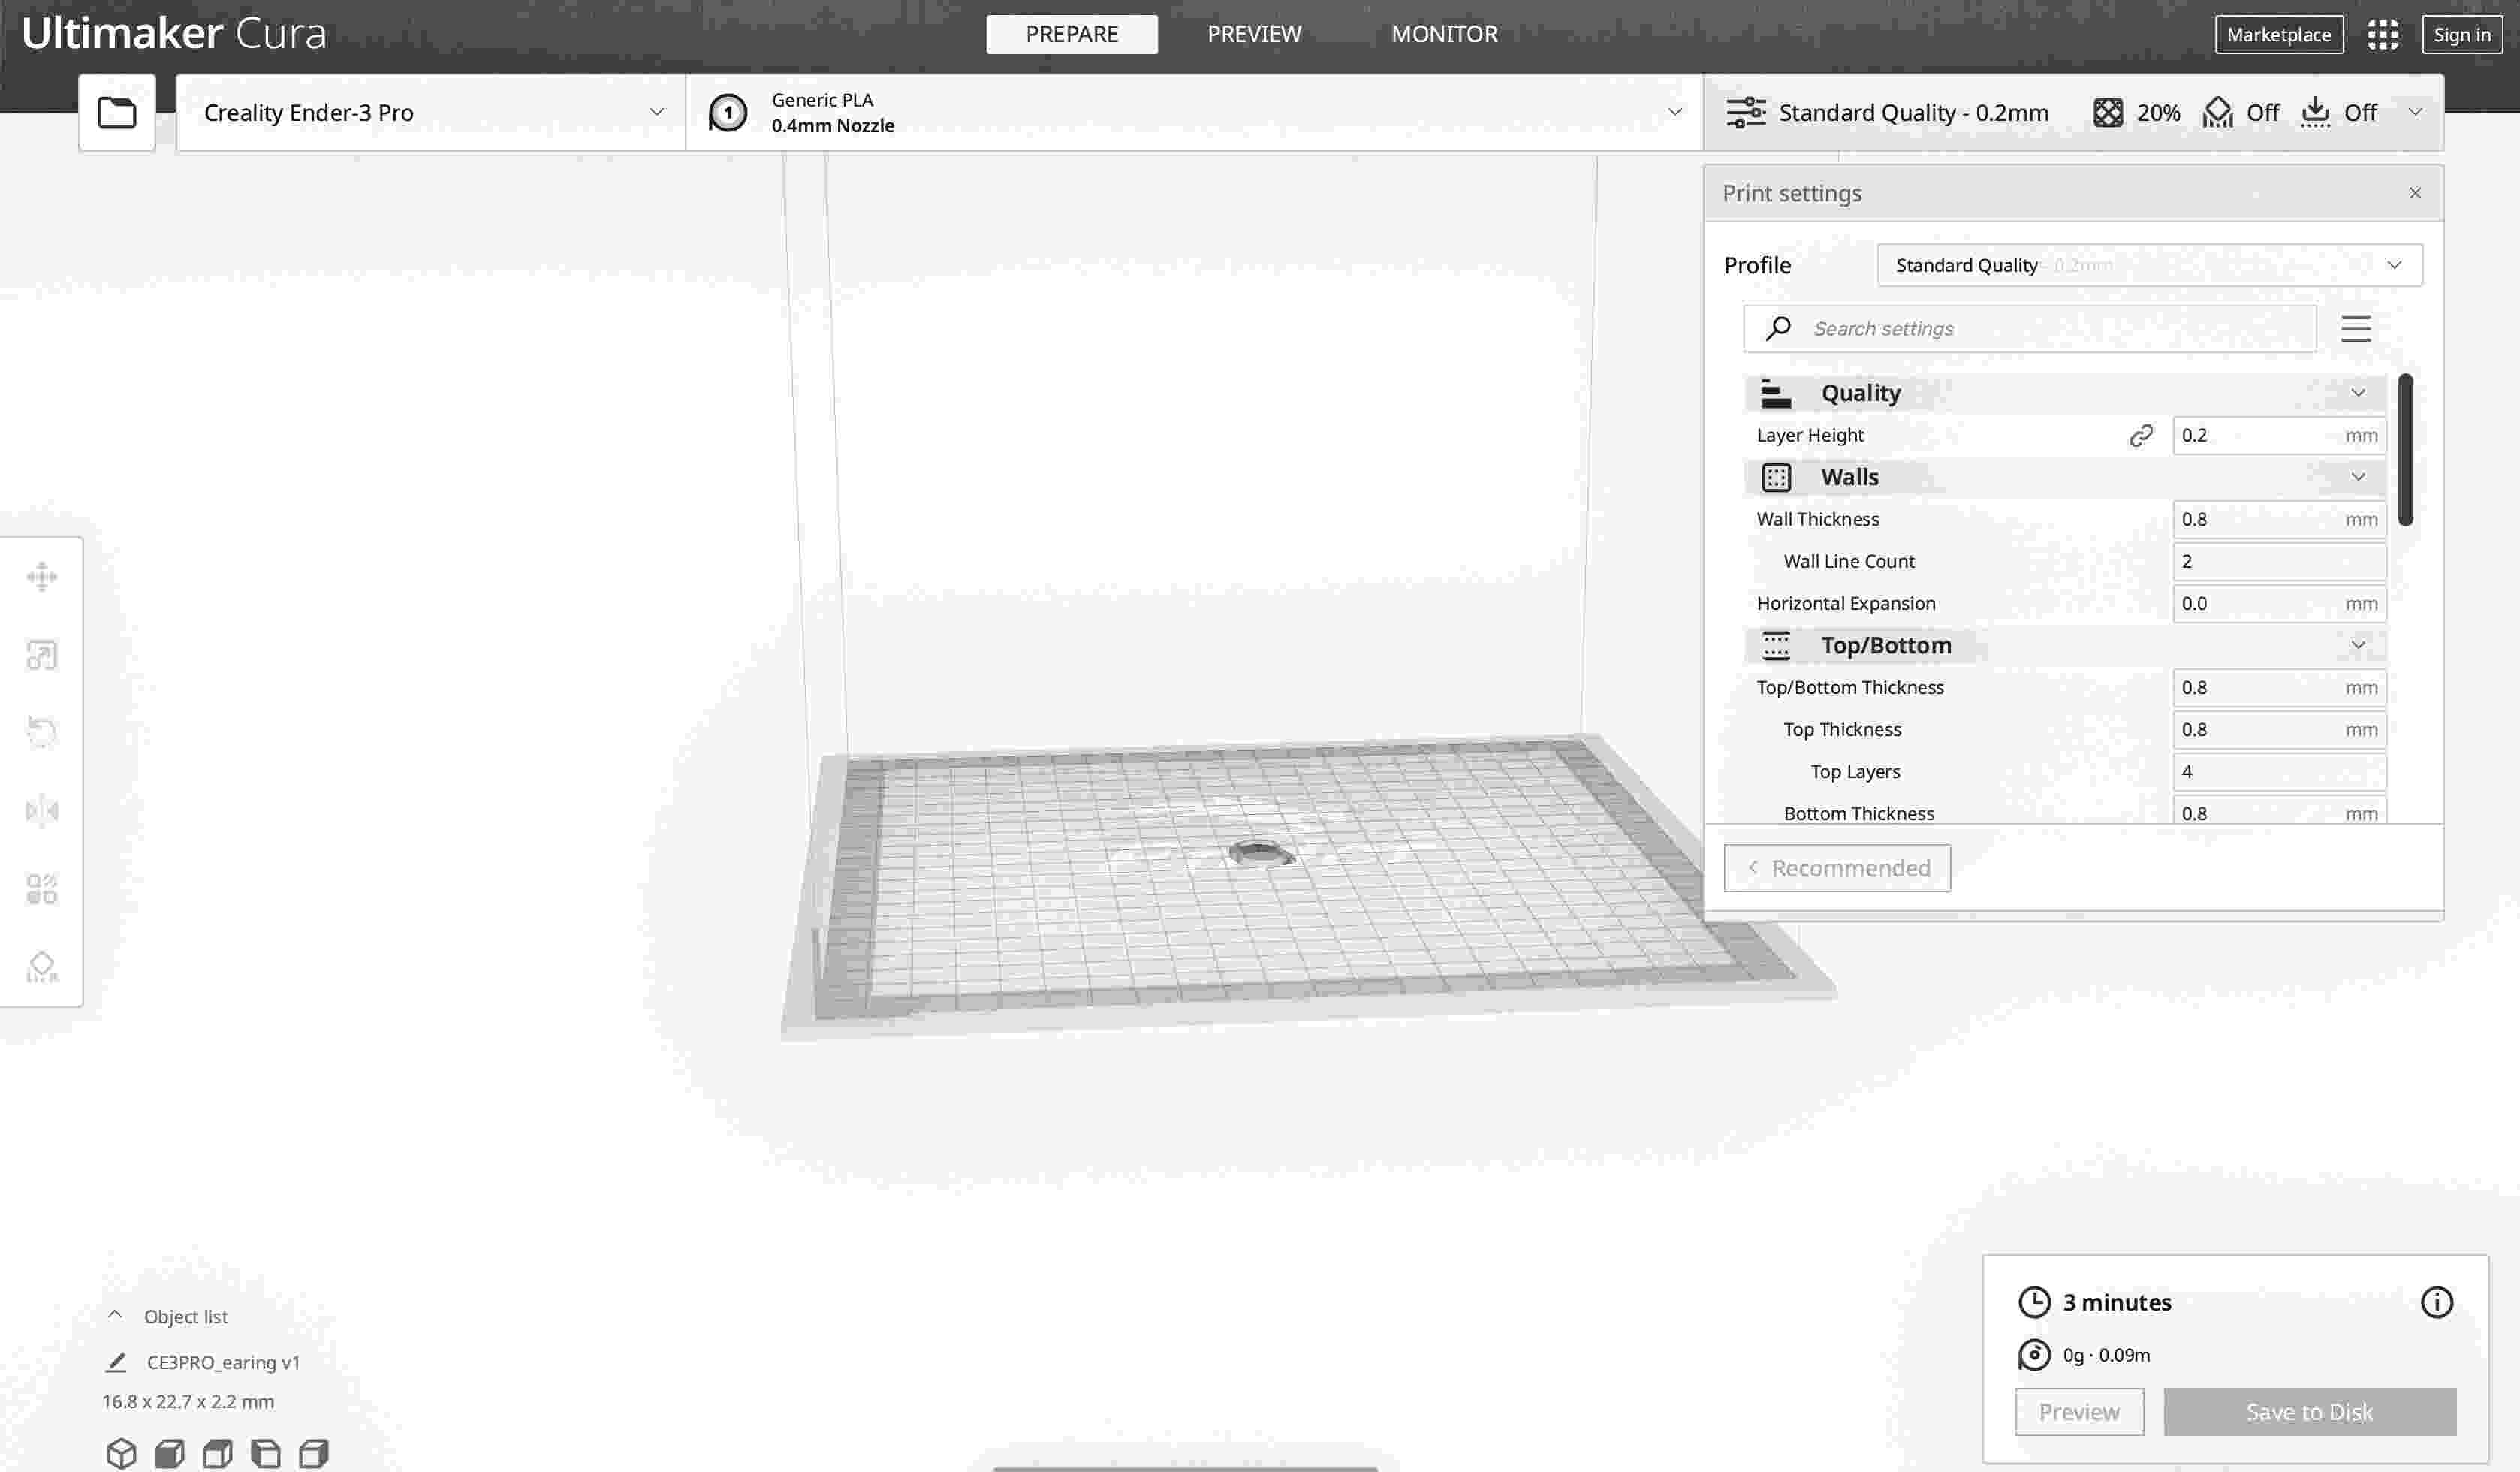
The CAT drawing needs to be ‘sliced’, and for that, a slicing software is needed. During the procedure any 3D drawing is translated into a language that a 3D printer can understand and print — known as G-code (generic name for a control language). Many types of software exist for the process and amongst the most recommended ones is Cura Ultimaker — it happens to be free of cost.

c. Printing
Previous to Fab Academy, this was the first time I had been in touch with a 3D printer (like the [perhaps] post of the population around the globe). To start the production process, I [even] had to ask around how to turn it on.
After observing how my classmates 3D printed their assignments, I went ahead and inserted a memory card in the 3D printer. Its design allowed me to find and select my file from the menu intuitively. I am thankful to the developers behind the 3D printer’s programming; it is clearly designed to be friendly enough for the most inexperienced users.
The initial message said it needed to warm up. My card was inside; I chose the file, checked the settings and ran it. The 3 minutes project seemed perfect. To my surprise, it got printed while awaited doing some other tasks. Following this small but essential success, I printed a second one. In no time, I had a pair of earrings/stitch markers.
6.1.4.1 Example of a Useful 3D Printed Object
6.1.5 Lessons Learned
3D printing is useful and fun; I look forward to finding projects worth the challenge and ecological impact.
6.2 3D Scanning
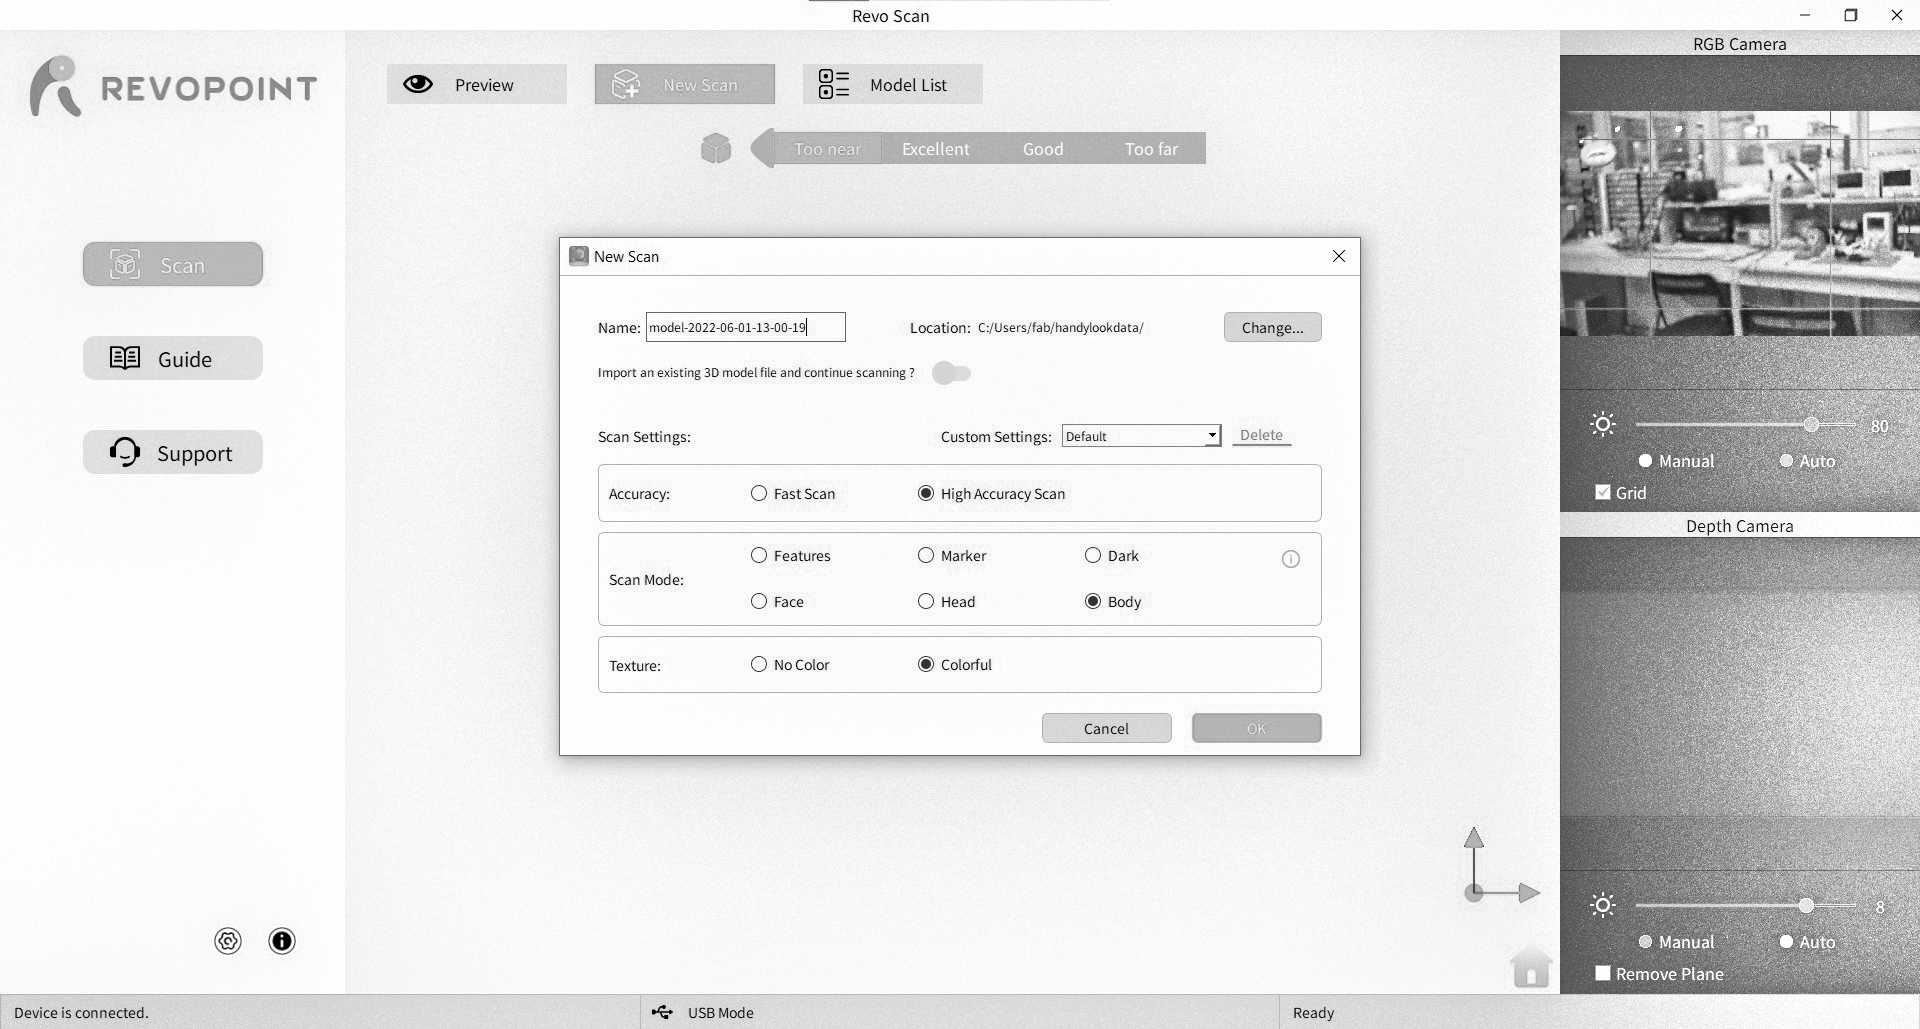
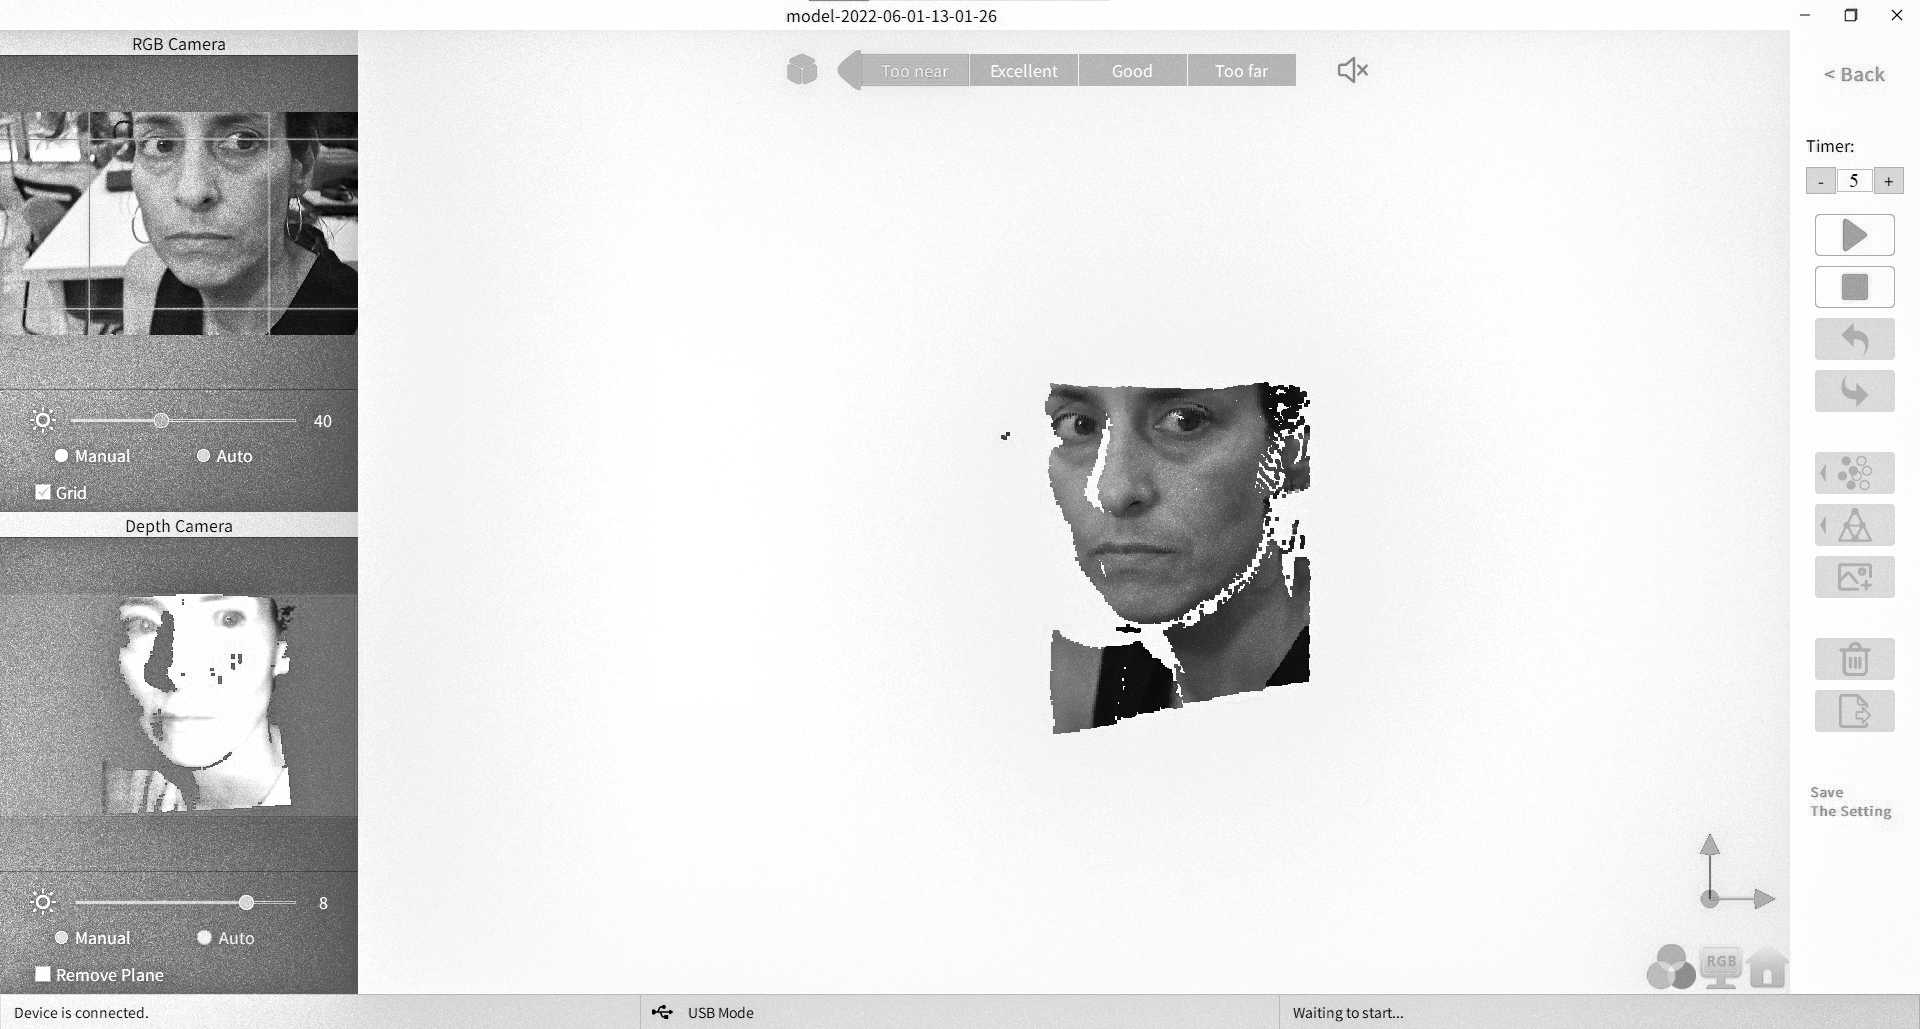
The software used is called REVOPOINT.
6.2.1 3D Scanning Procedure
a. Close attention needs to be given to the computer’s screen while scanning, as the software informs about the correct distance between scanner and object.
b. Surround the object with the scanner forming a bubble shaped path, avoiding to leave unscanned areas.
c. Once the procedure is finished, the software allows for the conversion of the scan to a point cloud.
d. The file can be exported as .stl or .obj format and be beautified using other softwares.
    The scan settings I used are:

    ACCURACY: High accuracy scan(the file would be significantly heavier)

    SCAN MODE: Body

    TEXTURE: Colourful
6.2.2 Demonstration and uses of scan technology
Inspiration
Resources
Scherz, P. and Monk, S., 2013. Practical electronics for inventors. McGraw-Hill Education.