
Do your lab's safety training.
Test runout, alignment, fixturing, speeds, feeds, materials, and toolpaths for your machin
Make (design+mill+assemble) something big (~meter-scale).
Extra credit: don't use fasteners or glue.
Extra credit: include curved surfaces.
Assignment Requirement
Status
Linked to the group assignment page
Completed
Documented how I designed my object (something big)
Completed
Documented how I made your CAM-toolpath
Completed
Documented how I made something BIG (setting up the machine, using fixings, testing joints, adjusting feeds and speeds, depth of cut etc.)
Completed
Described problems and how you fixed them.
Completed
Included my original design files
Completed
Included my hero shots
Completed
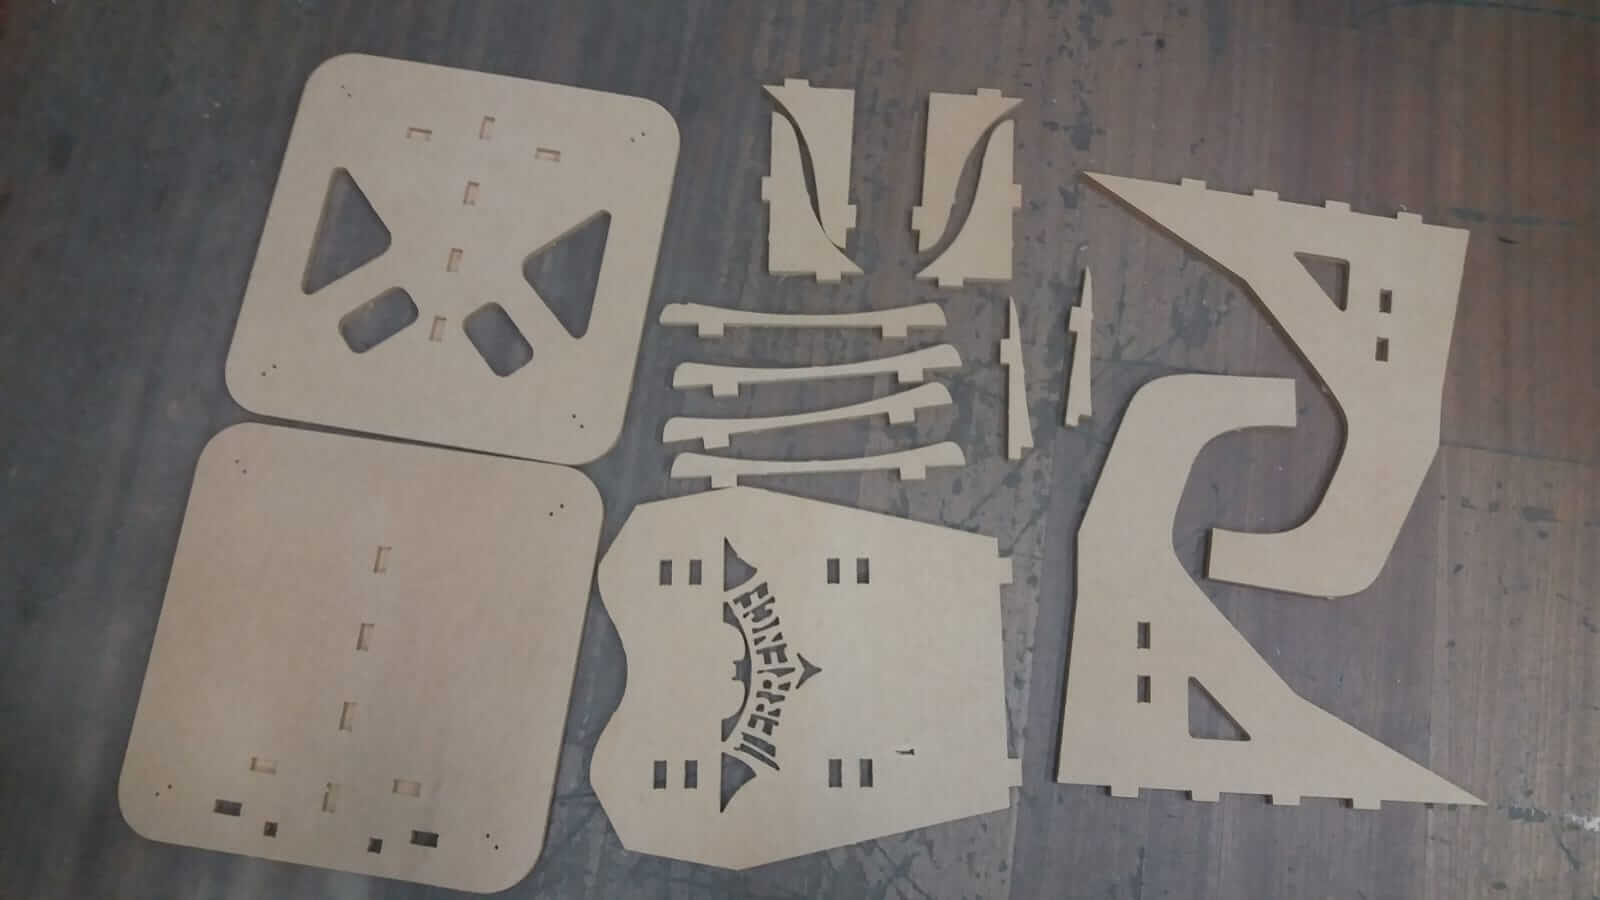
For this assignment I decided to design and build a tensegrity chair using 1/2" MDF.
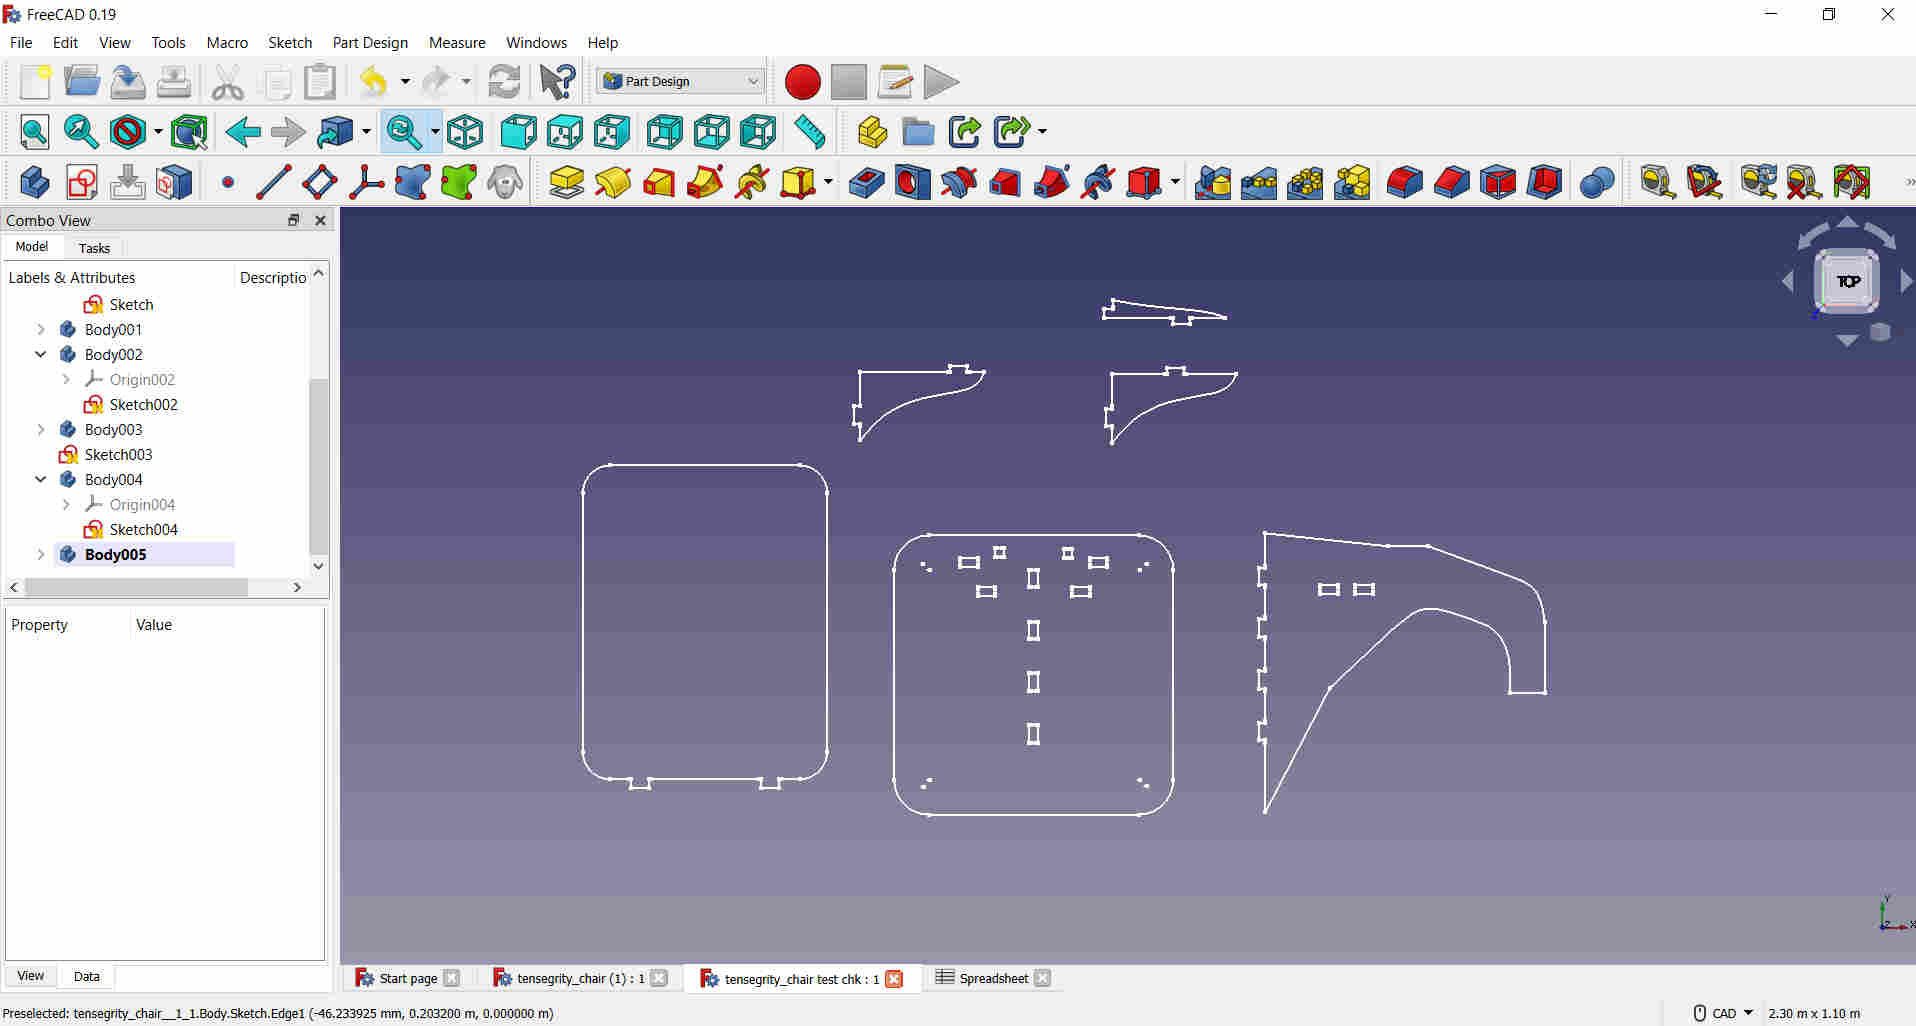
To design my chair I used FreeCAD to draw the basic structure of the parts and also make it parametric.
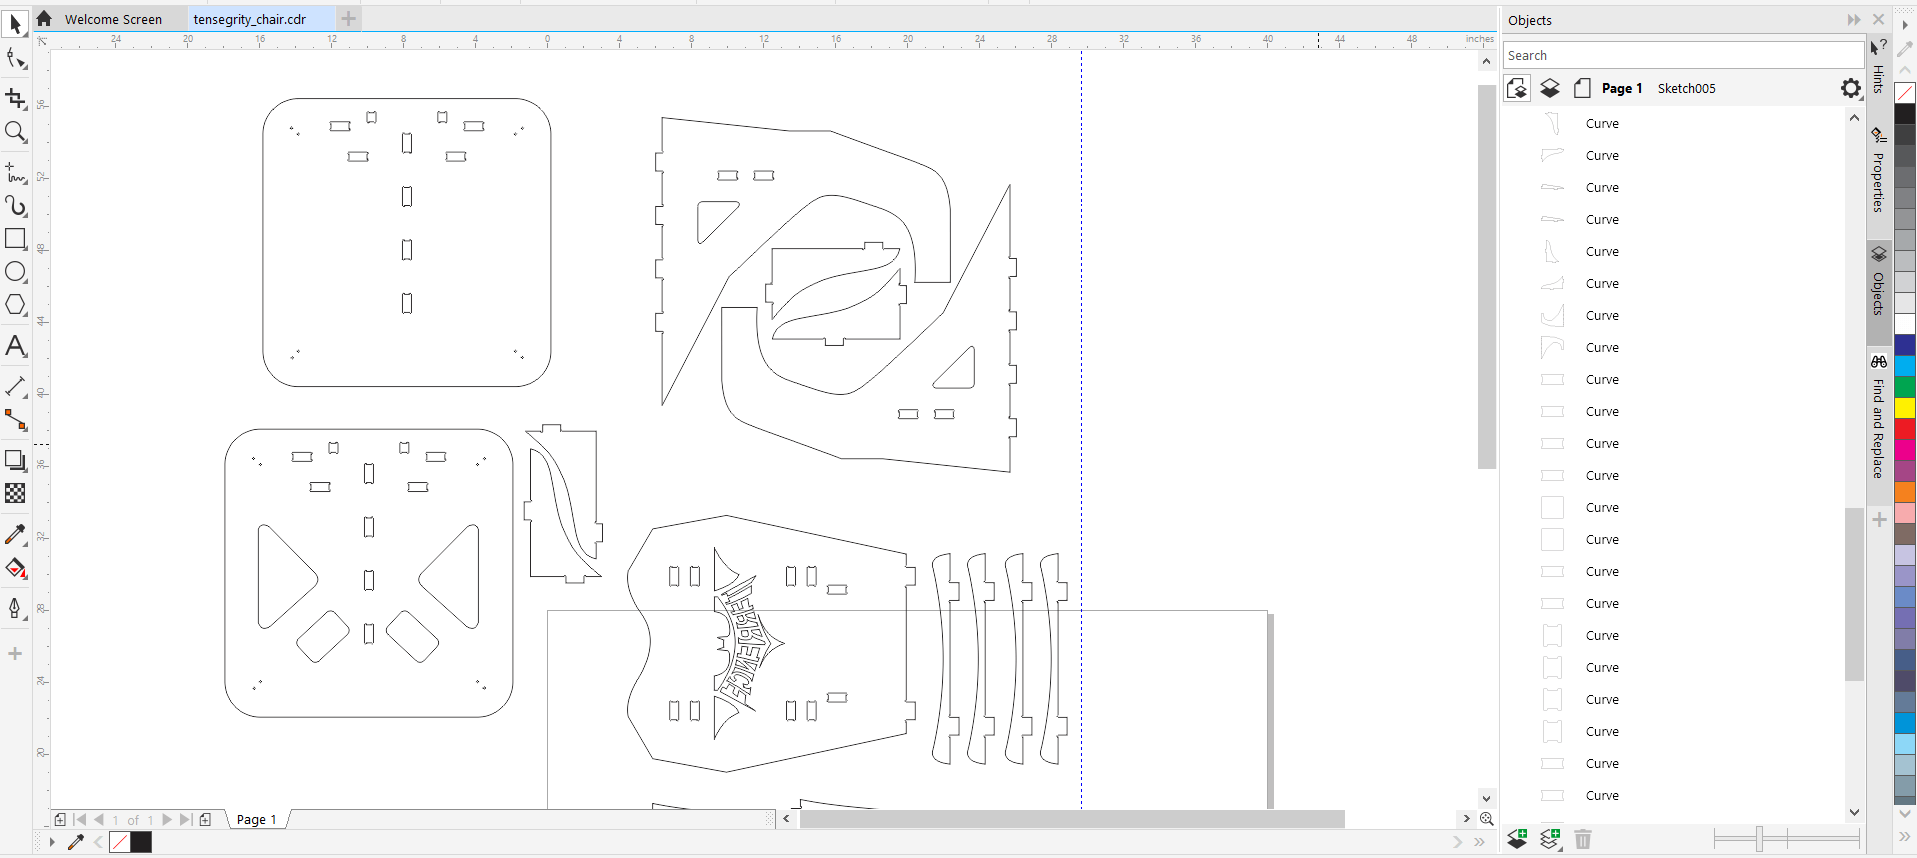
I then used CorelDraw to add some final touches and also prepare the design to sent to Easel to cut using the Xcarve CNC Router.
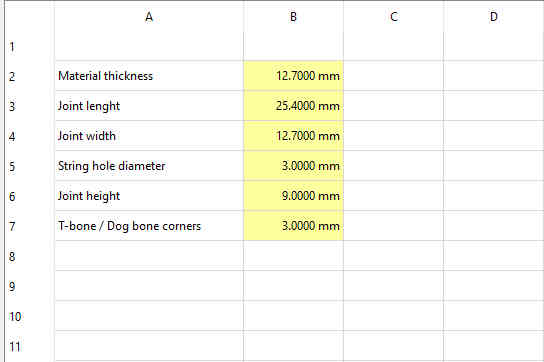
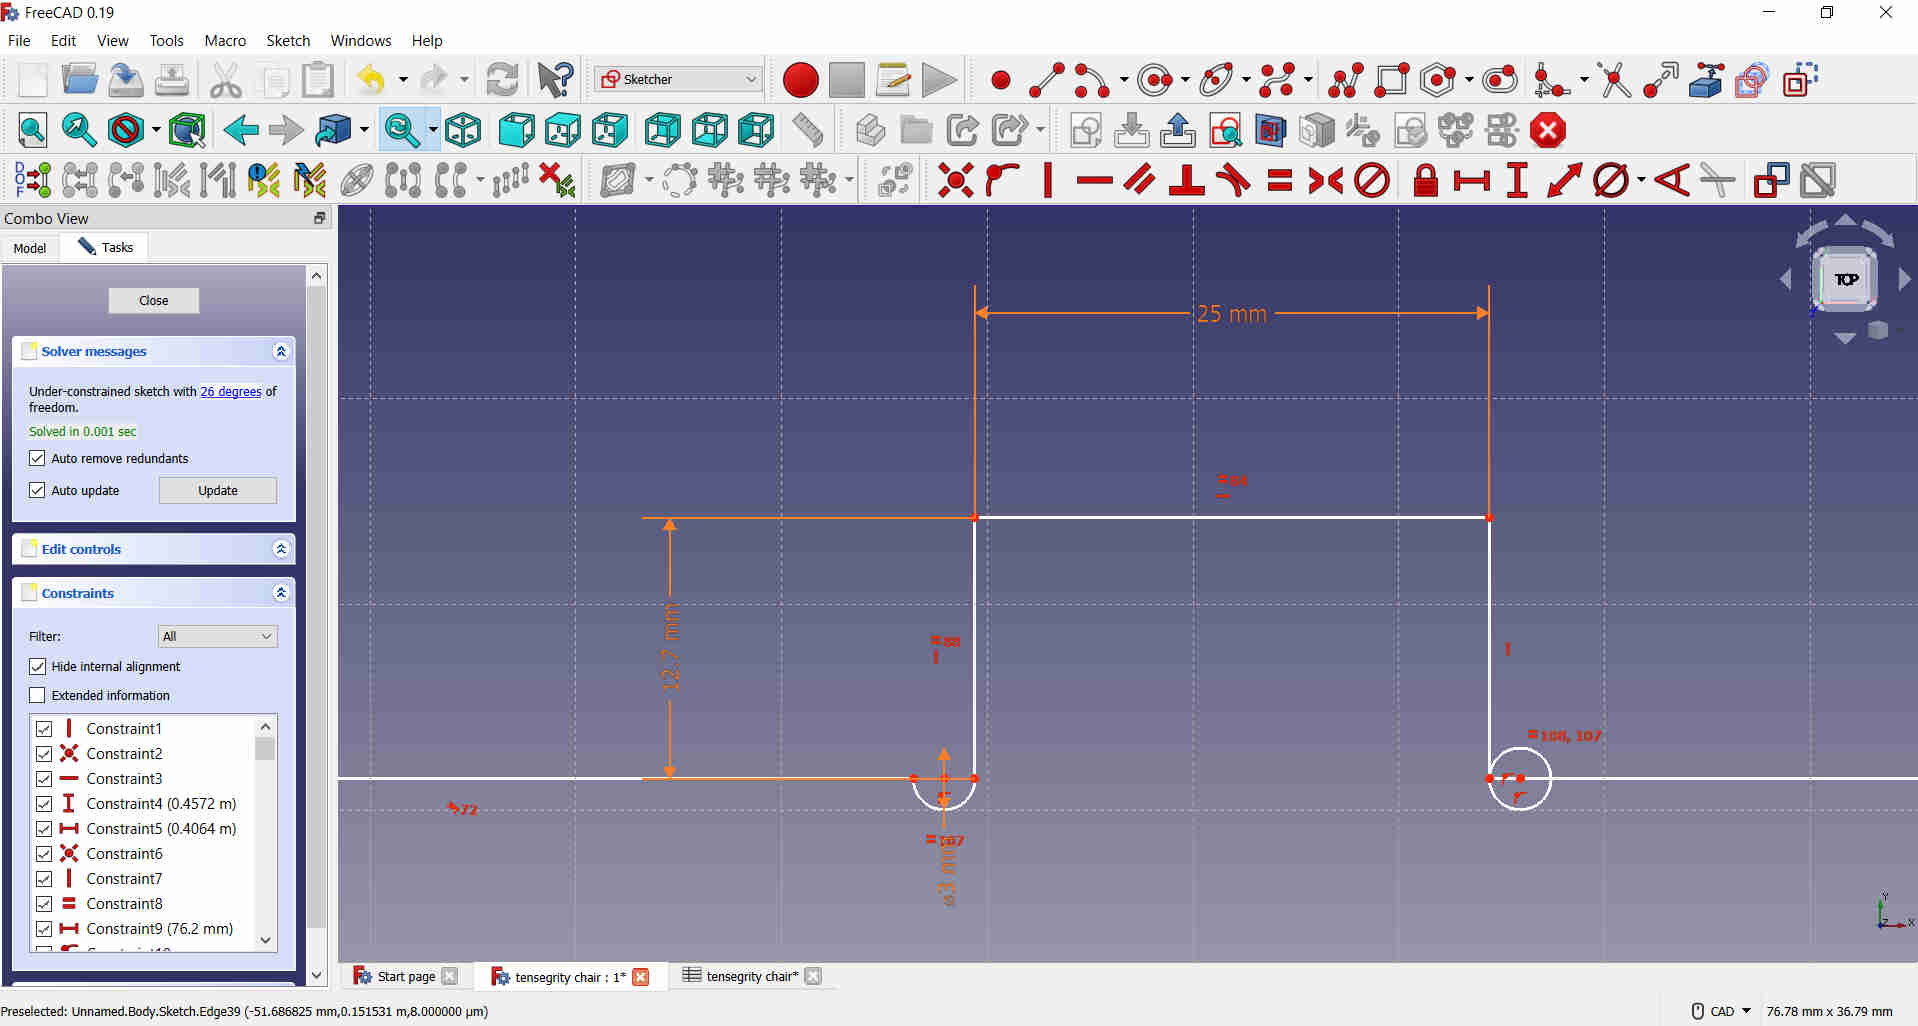
I began by setting up my parametric spreadsheet in FreeCAD.
I then drew the sitting part of the chair which will also be the same for the base.
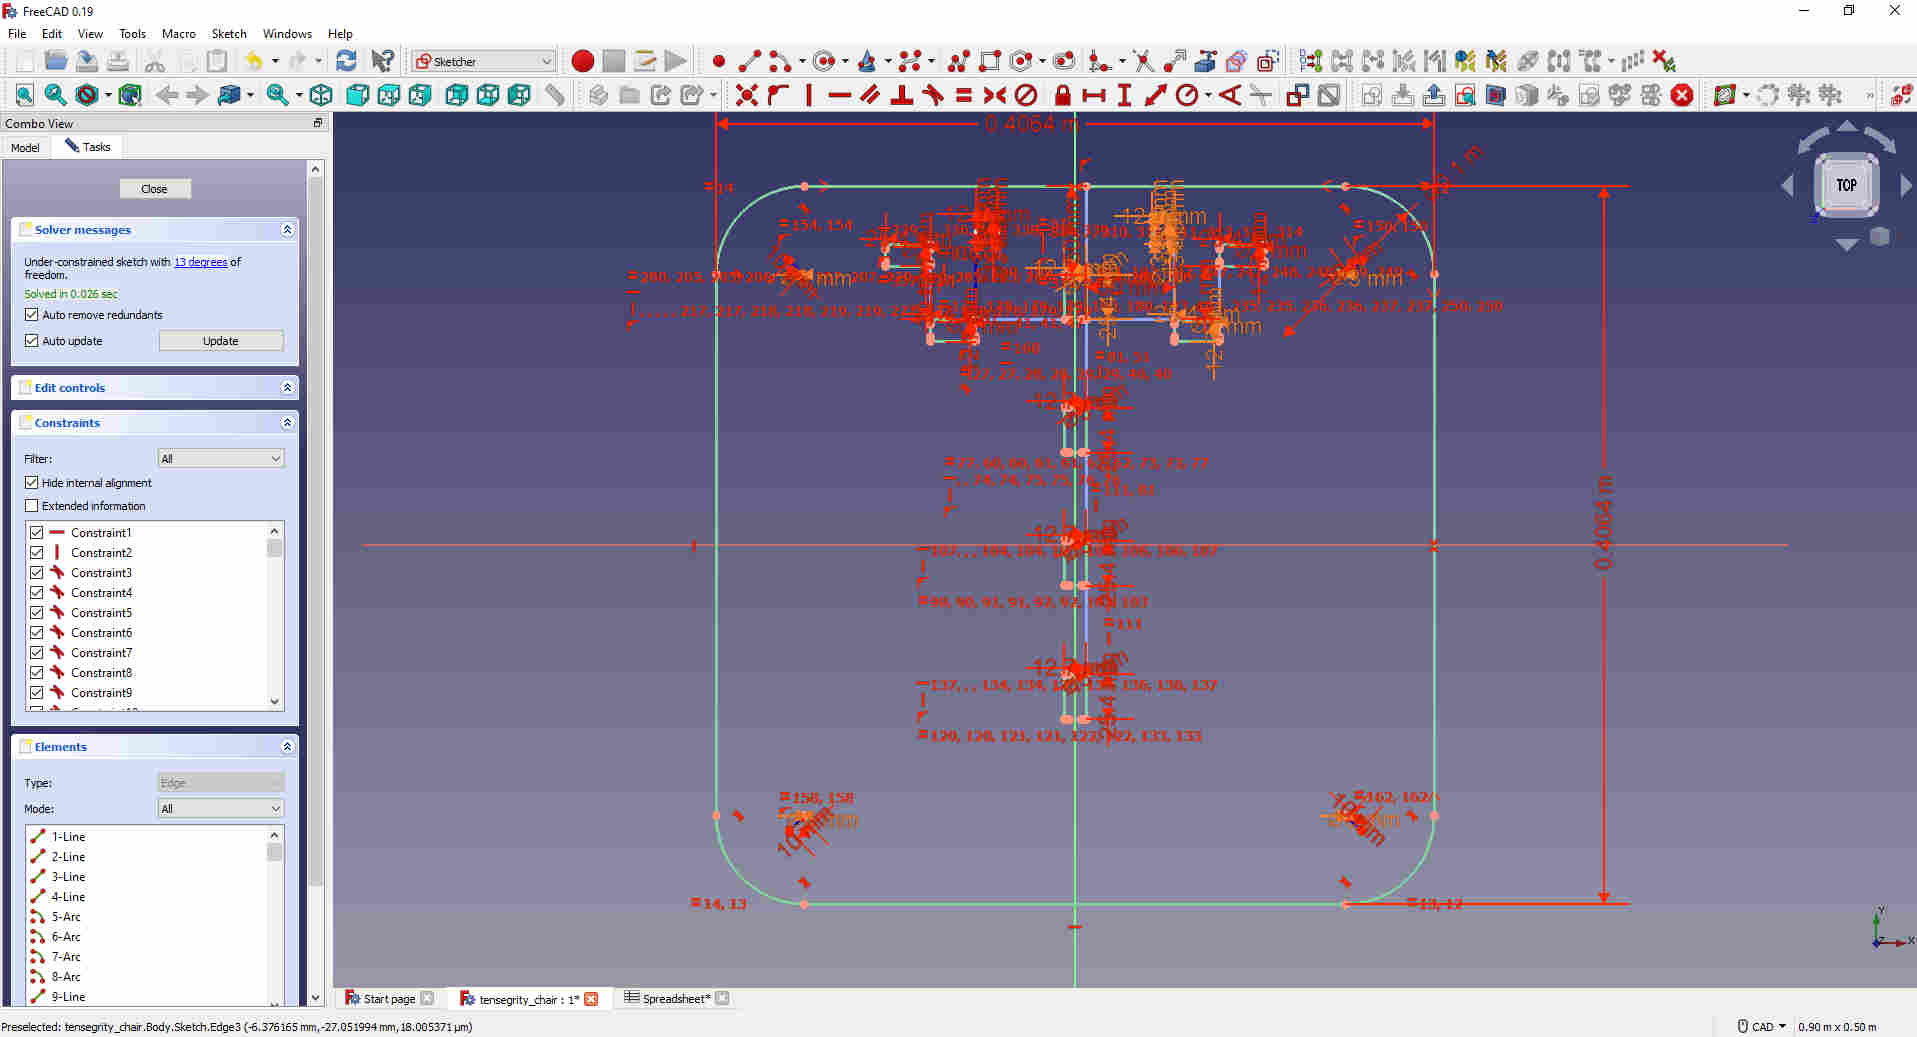
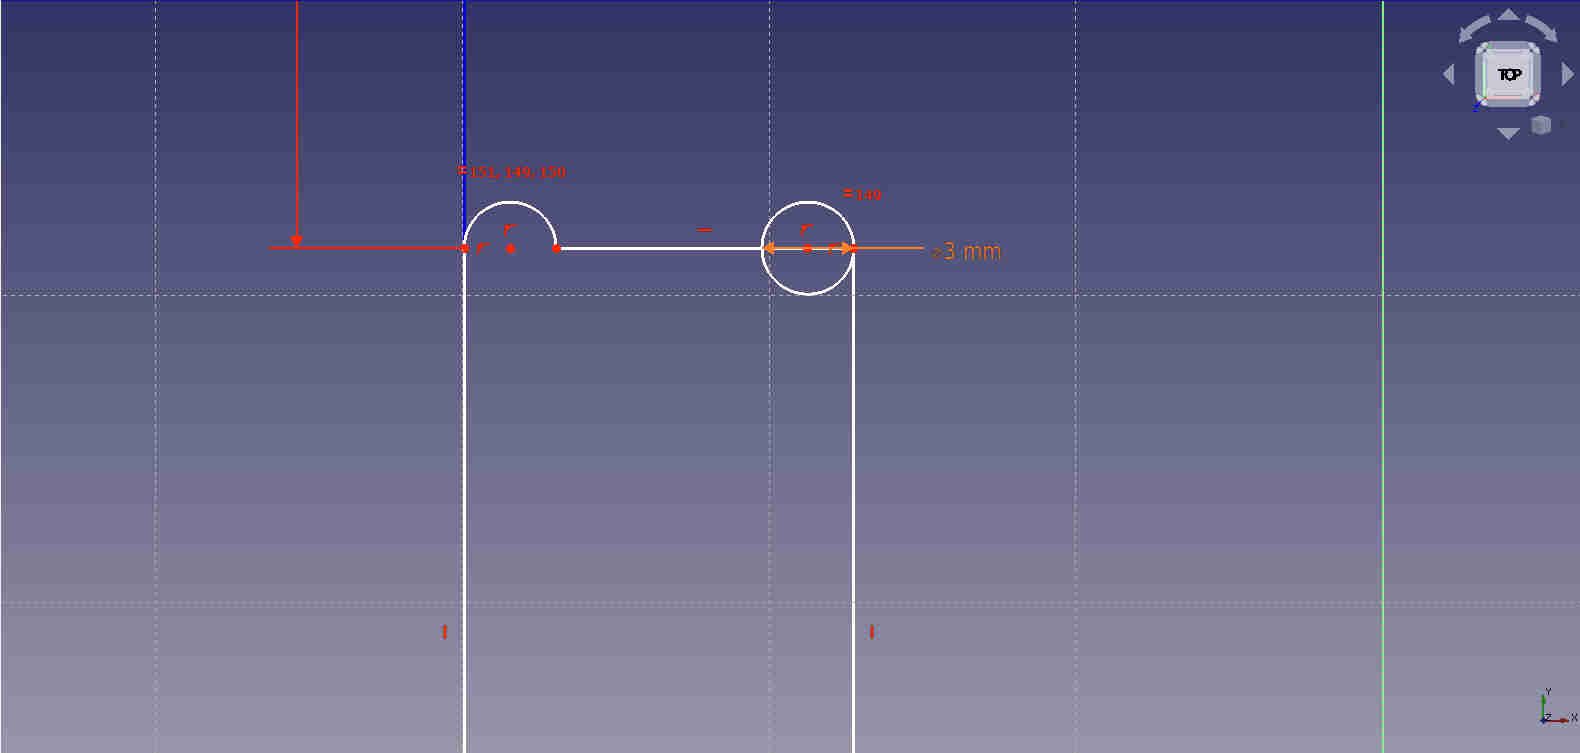
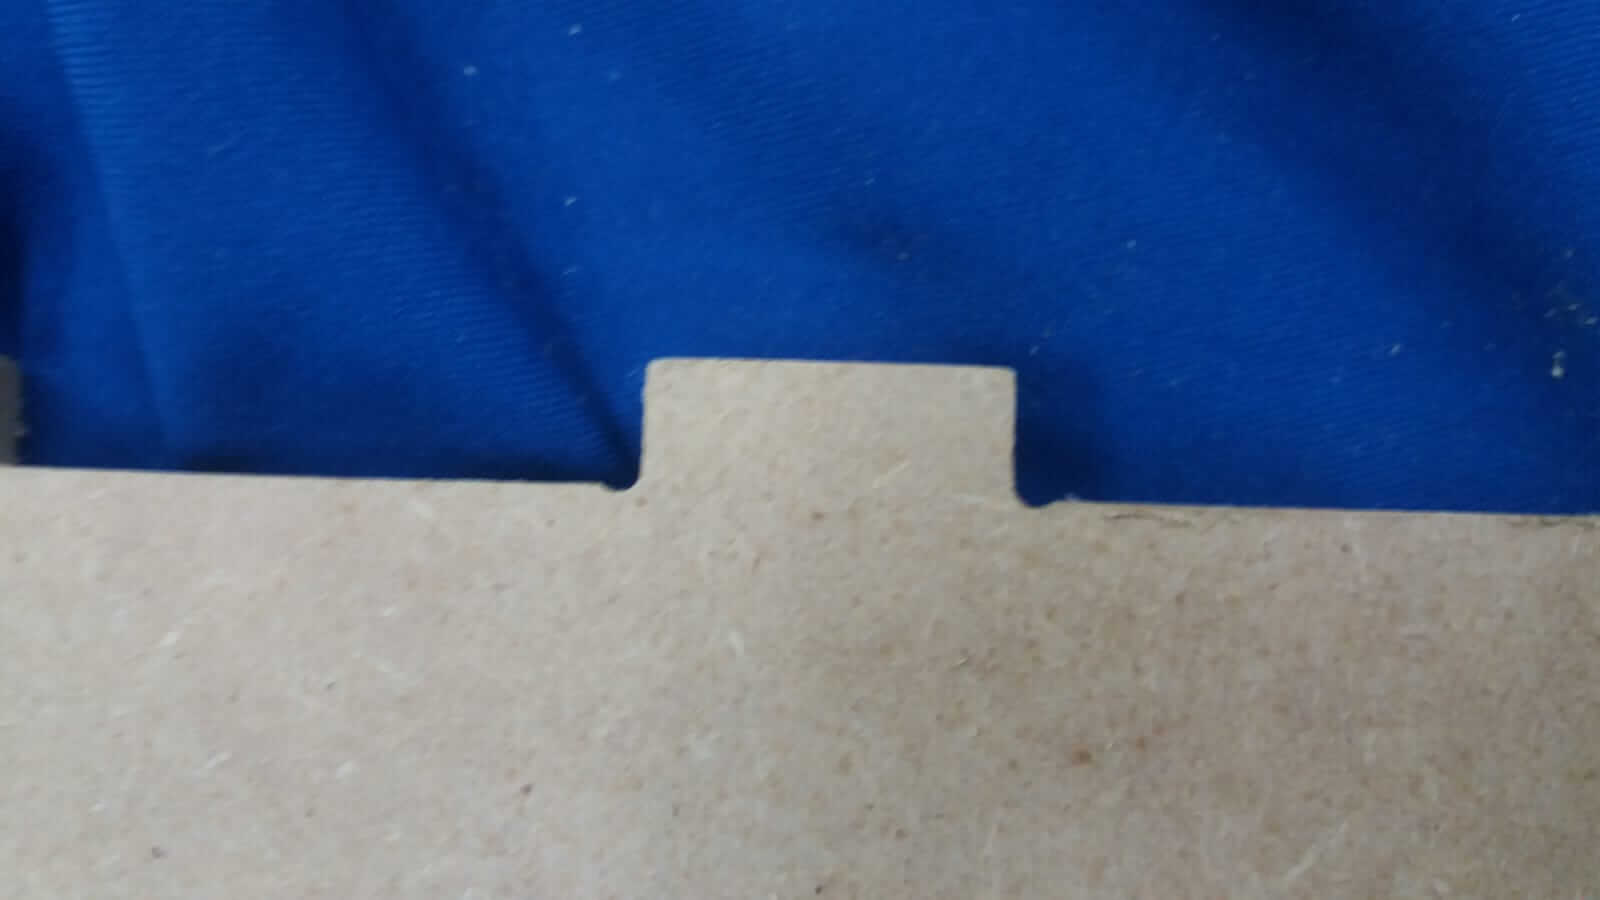
I made slots in this parts where the joint fingers of the support pieces can be inserted. I added small circles to the corners of these slots which I trimmed giving it sort of the dog-bone cut.
These were added so that the joint fingers
can be inserted flush.
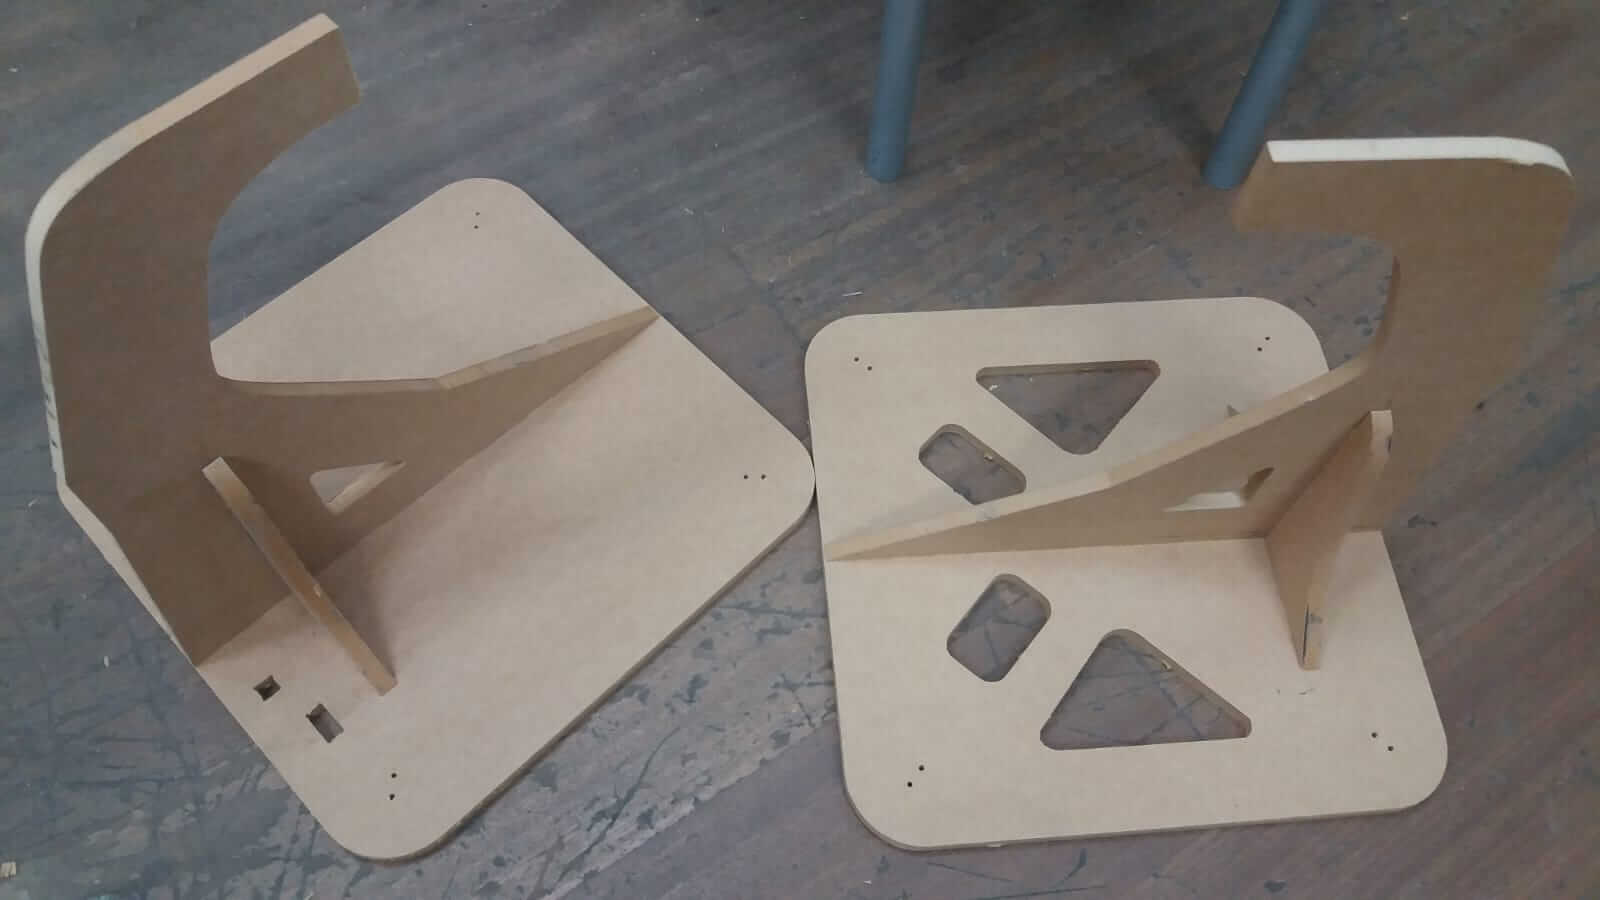
I then designed the stand support.
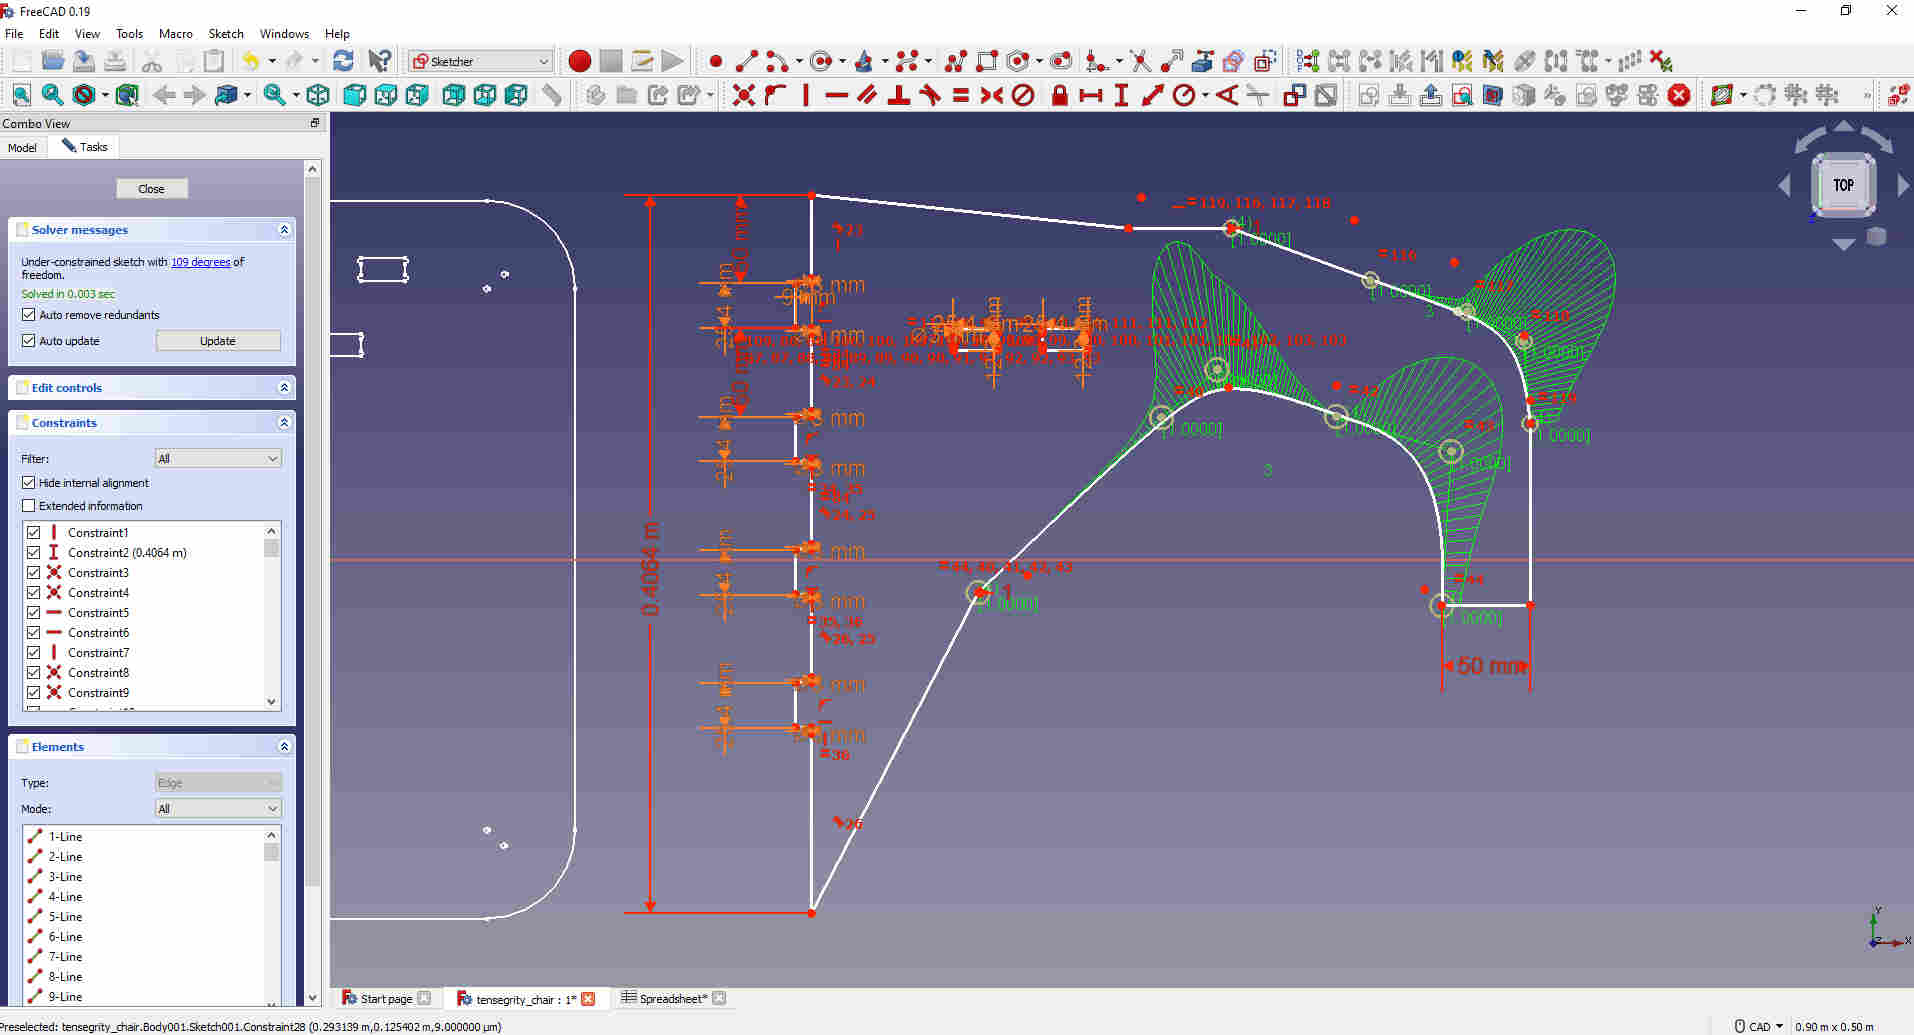
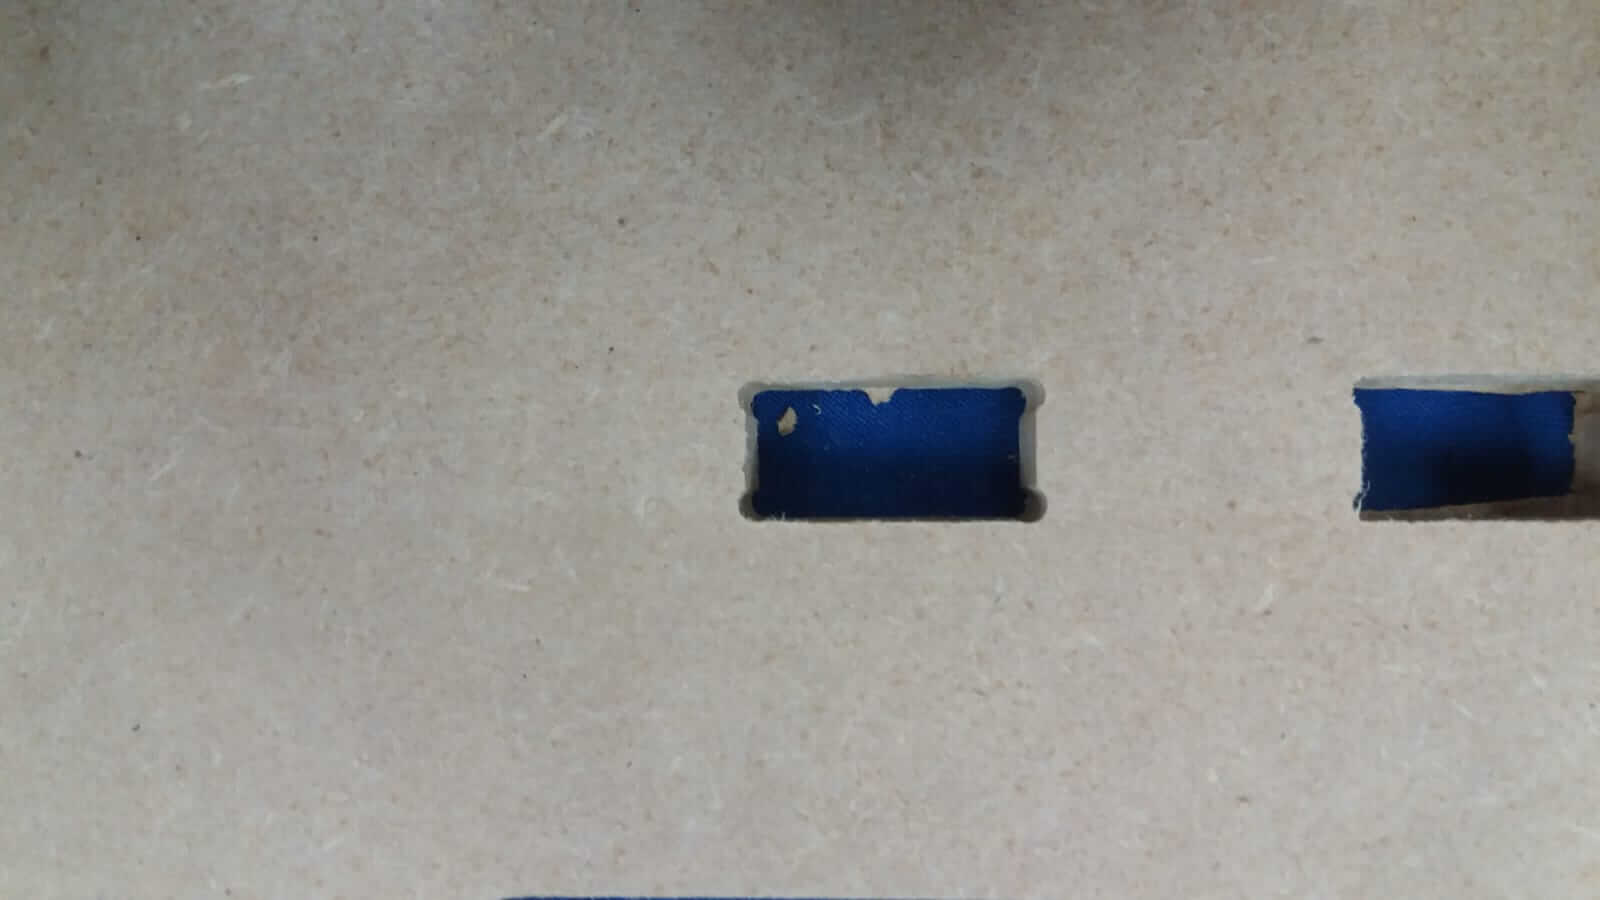
The end of this pieces I added the joint fingers.
At the base of these joint fingers I added small circles which I trimmed as shown in the picture.
This was done to allow the joint fingers to fit flush when inserted into the slot.
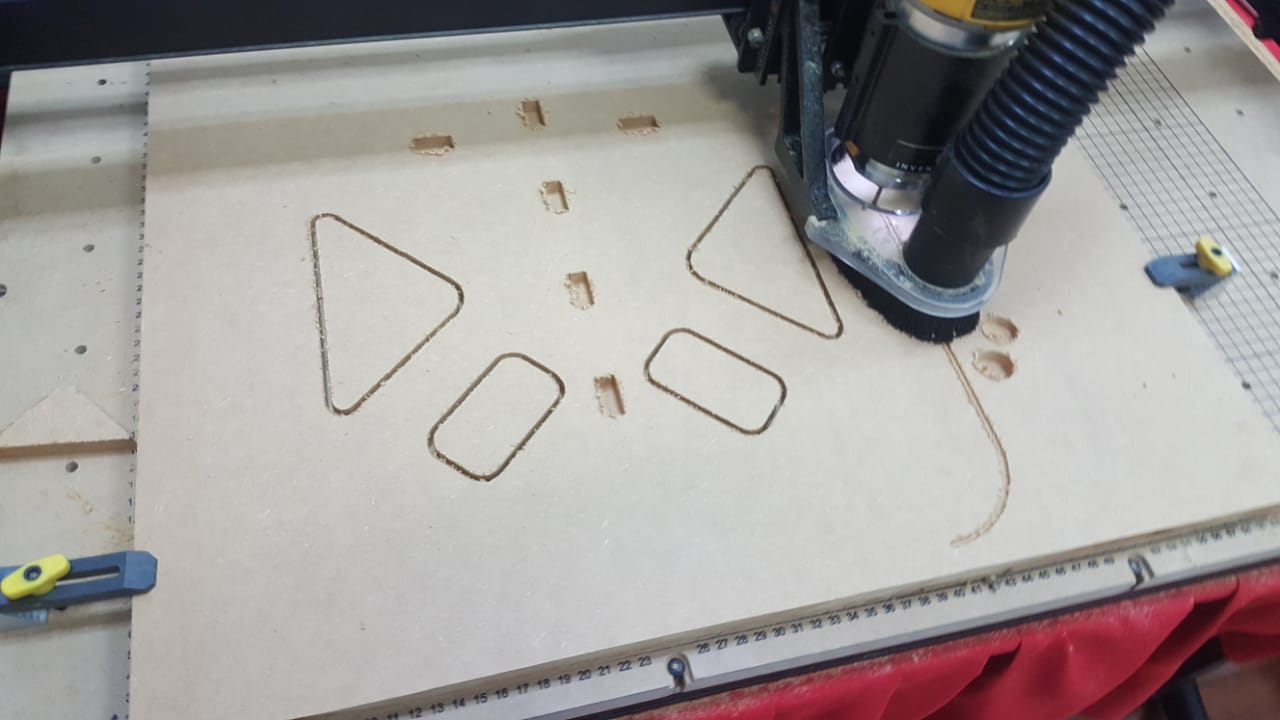
I proceeded to design the additional parts and supports.
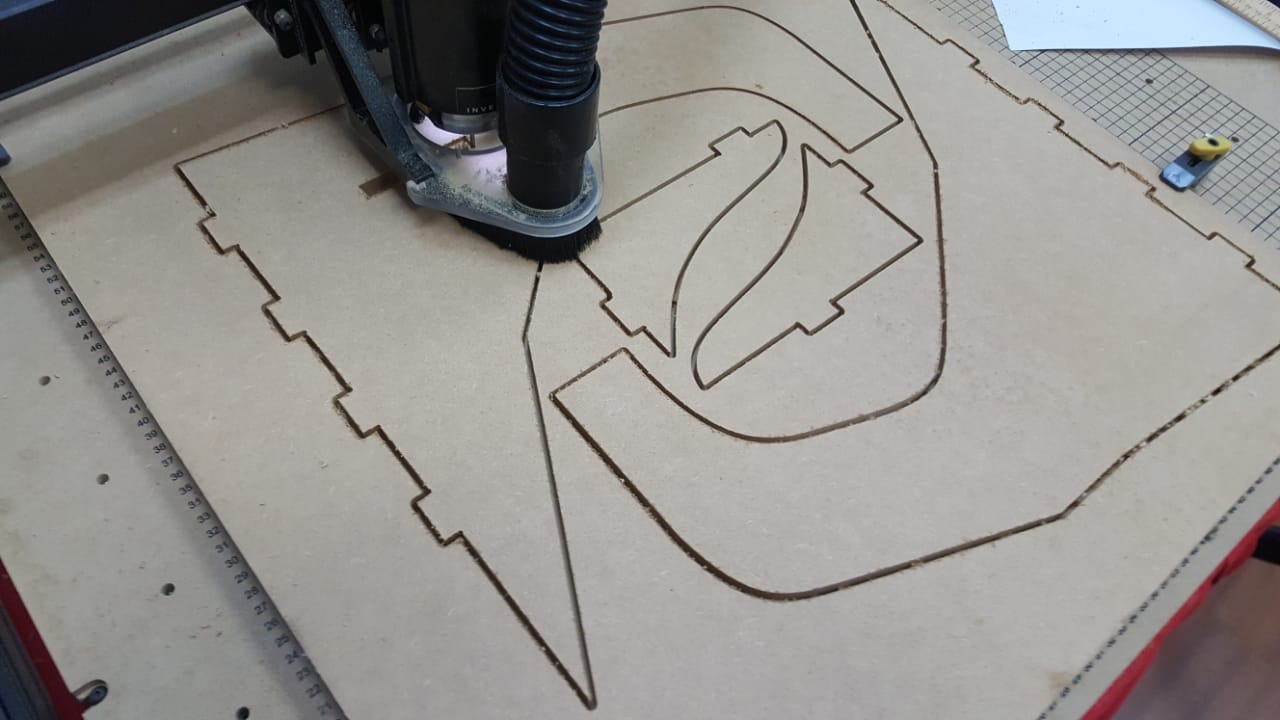
When I finished the basic design in FreeCAD I exported the file as a .dxf which I imported in CorelDraw to add the final touches and prepare for Easel. I redesigned the backrest where I added my name inside the Dark Knight symbol. I also added some cut outs to the supports and the base.
I exported the file as a .svg from CorelDraw which I then imported in Easel where I set up for cutting. For some reason, when I entered a pocket depth of 0.375" it kept going all the way through. This I didn't realise when testing the machine. For this cut I had to vary the material thickness and the pocket depth a few times before I got it at the correct depth. After the first two pieces of MDF, I realised that the depth and material thickness needed to be changed again. I soon after realised that the Z-axis belt was a bit slackened. I had to tension it until I the machine operating was accurate to the software settings.
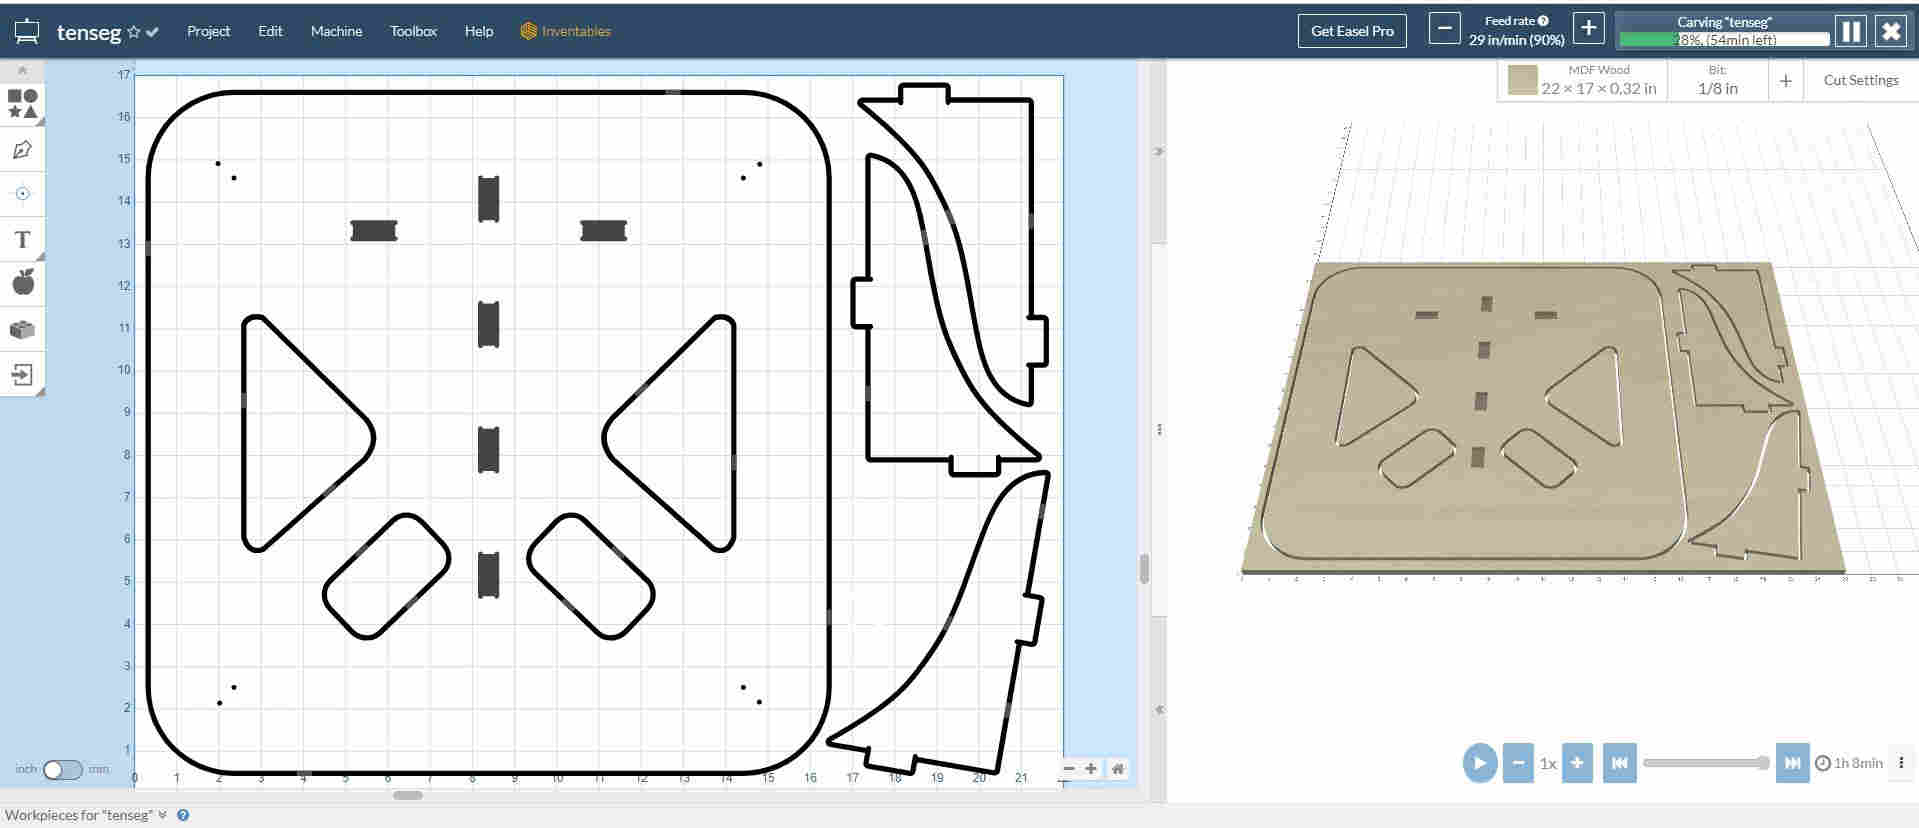
I used a Four flute bit which when it was new cut at a feedrate of 50 in/min. However the bit had been used for a fair amount of cutting so I had to run it at 29 in/min, which was set while the machine was cutting. At the higher feedrate, a very high-pitched sound came from the bit as it was a bit dulled so thats when I lowered the feedrate to 29 in/min. I used a depth per pass 0.06 in and I set the depth to 0.51 in so that the material would cut all the way through. This made about 9 passes.
These are the fingers and holes with the dog bone corners.
The part were then assembled. I intention was to assemble the chair without the use of glue or any fasteners, so I did my design without a kerf with idea of it fitting very tightly. Indeed it was tight, I used a rubber mallot to gently tap in the pieces together.
I then used nylon string support the chair.
The completed chair
