ASSIGNMENTS
Week 7
Computer Controlled Machining
Group Assignment
Do your lab's safety training.
Test runout, alignment, fixturing, speeds, feeds, materials, and toolpaths for your machine.
Lab Safety
Safety in the lab is the highest priority. While safety procedures and policies exist to curb injury, accidents may happen.
However, to avoid or reduce the occurrence of accidents the following general lab safety rules shall be followed:
- Always wear appropriate personal protective clothing when working:
- Wear close toe shoes, eye protection (safety glasses or goggles) while operating machines, especially during tasks
involving dust and flying particles. Goggles or face shields may be necessary for work such as grinding, chiselling
or chipping.
- Do not wear loose-fitting clothing (long sleeve shirts, sweatshirts), neckties and jewellery (including earrings,
watches and excessive rings).
- If hair is long ensure is it pulled back, tied and secured properly to avoid tangling with equipment.
- Know where the fire extinguishers are located and how to use them using the PASS (Pull, Aim, Squeeze and Sweep) system.
- Never work or operate machinery impaired (under the influence of drugs, alcohol and/or sleep-deprived).
- Know the hazards associated with your work. Be sure you are fully educated on the proper use and operation of any tool
before commencing a job. If you cannot do a job safely, do not do it. Think through the entire job before starting.
- Risk assessments are done for each tool/machine and must be referred to before operating any. Risk assesment sheet also
includes detailed steps in operating the tool/machine safely.
- If you are unsure about how to safely execute the operation of a tool, ask for help from the Lab Supervisors to
demonstrate, and observe to help you become familiar and comfortable.
- If you have not worked with a specific material before, consult the Lab Supervisor for precautions, methods and
instruction before commencing work.
- Do not work in the lab if you are in a hurry, this almost always ruins the work and often results in injury.
- Do not remove tool and equipment guards, especially from the table saw.
- Before starting any machine conduct a pre-use check to check that it is set up correctly and fully operational. Check
power cords and plugs on portable tools before using them. Do not use defective machines. Report all defects to the
Lab Supervisor for rectification before use.
- Use a brush, or special tool for the removal of chips, shavings and debris. Do not use your hands to clean shavings or
cuttings.
- When doing heavy sanding face masks or respirators should always be worn.
- Keep your fingers clear from the point of operation of machines by using push sticks and paddles. Never use a rag near
moving machinery.
- Keep the work area free from debris, clean spills immediately and remove all sawdust and wood chips.
- Do not bring food or drink into the lab or at workstations.
- Clean up after yourself. Before you leave be sure all tools are returned to their appropriate position and all the
machines are clean and the floor is swept.
- Earphones, cell phone use and texting are not allowed in the Lab and/or during the operation of machines/equipment.
- Lab guests or visitors are to be accompanied by a Lab Technician at all times. Visits shall be scheduled and kept short
and guests and visitors are not allowed to use machines and tools and are not allowed in the machine use areas.
Machine Testing
For the individual assignment, each group member will be using the X-Carve CNC Router to cut their parts.
The bed size of this machine is 1m x 1m. The machine uses Easel which is an online based software to operate. Various tests based
on the assignment requirements were done on the machine before starting our project cuts.
![]()
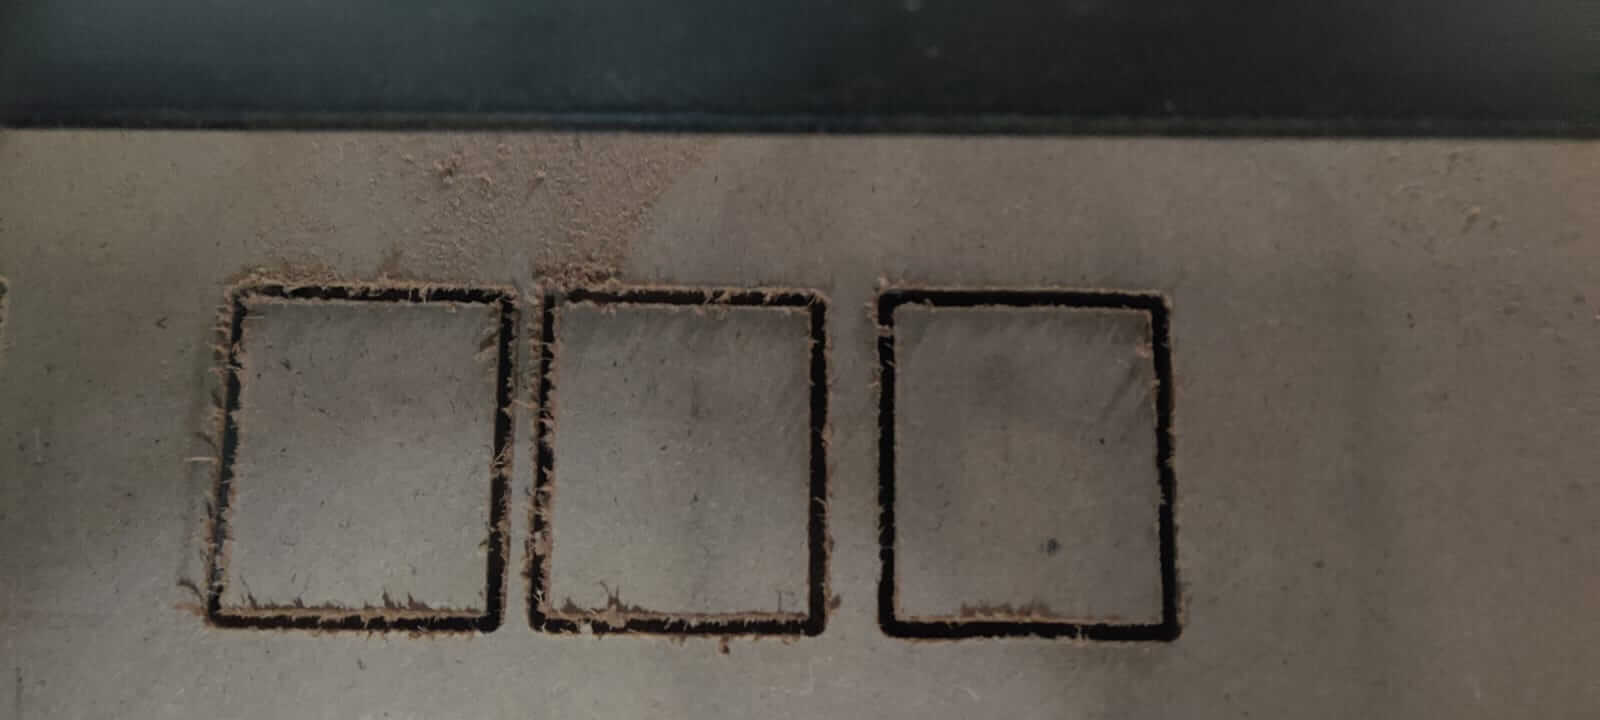
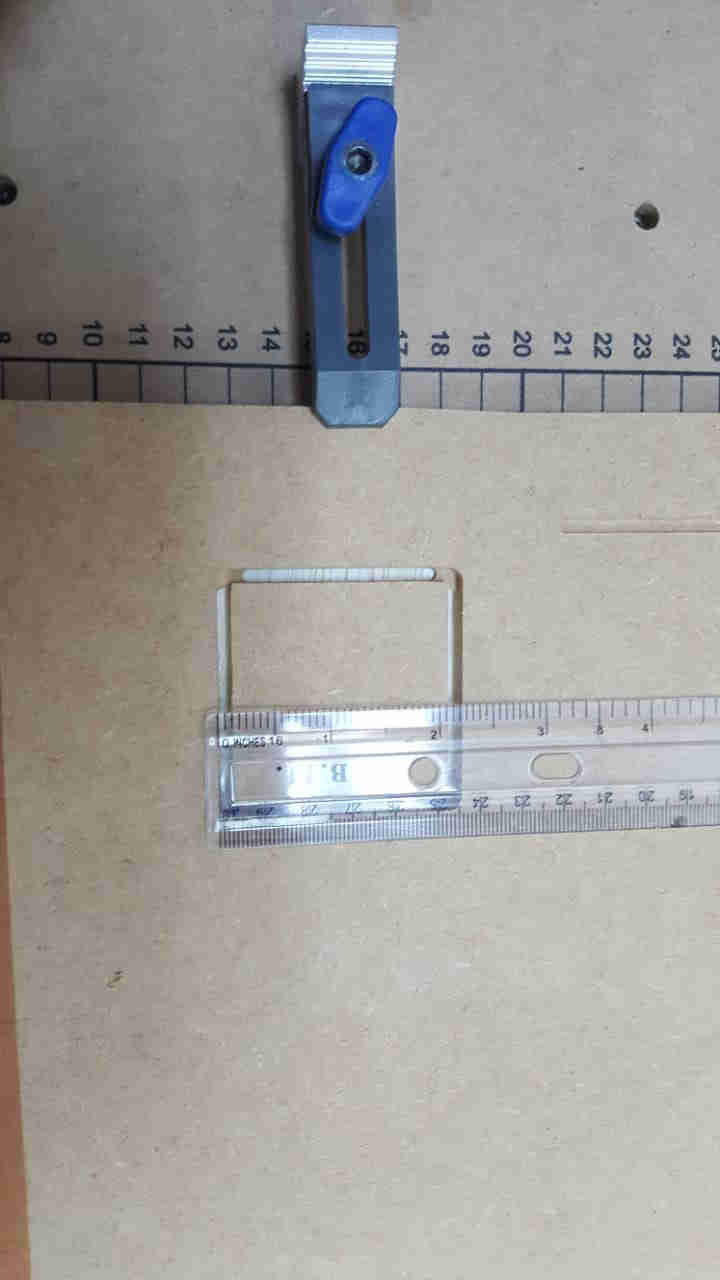
First a test was done to check alignment and accuracy. To do this a square was drawn and sent to cut. On completion of the cut,
the vertical and horizontal of the cut square was measured and the sides were the same this confirmed its accuracy.

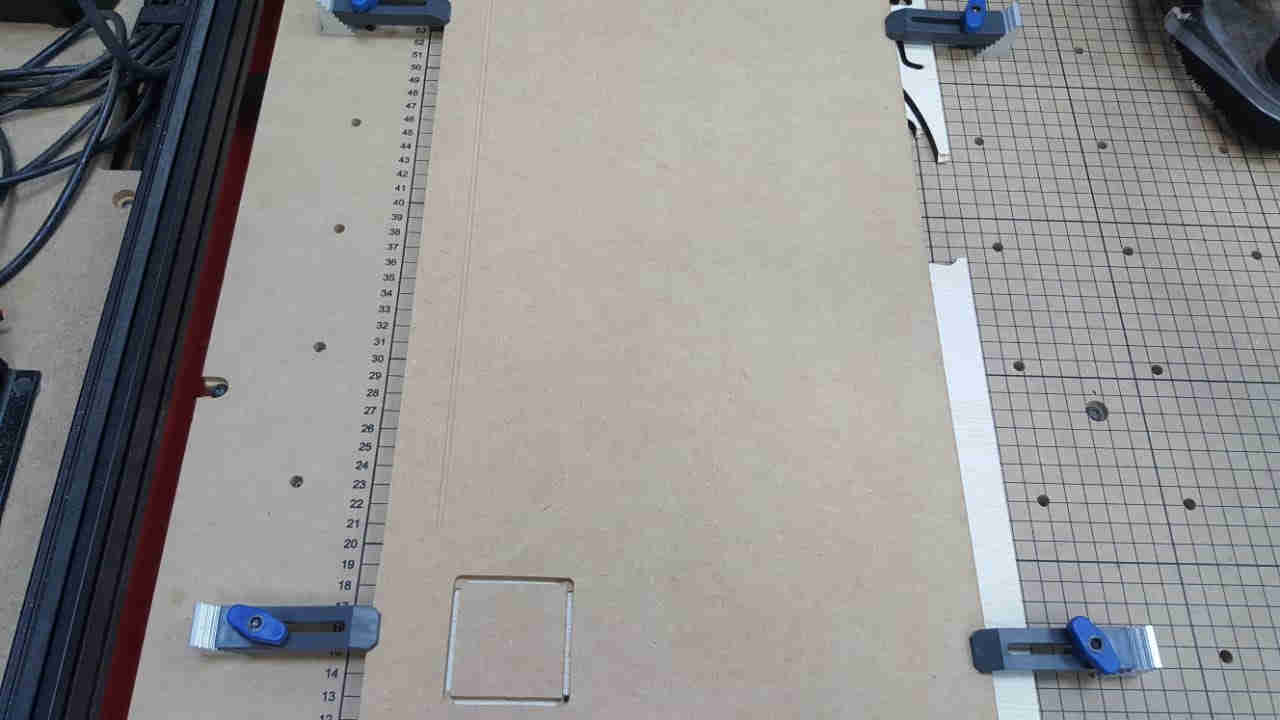
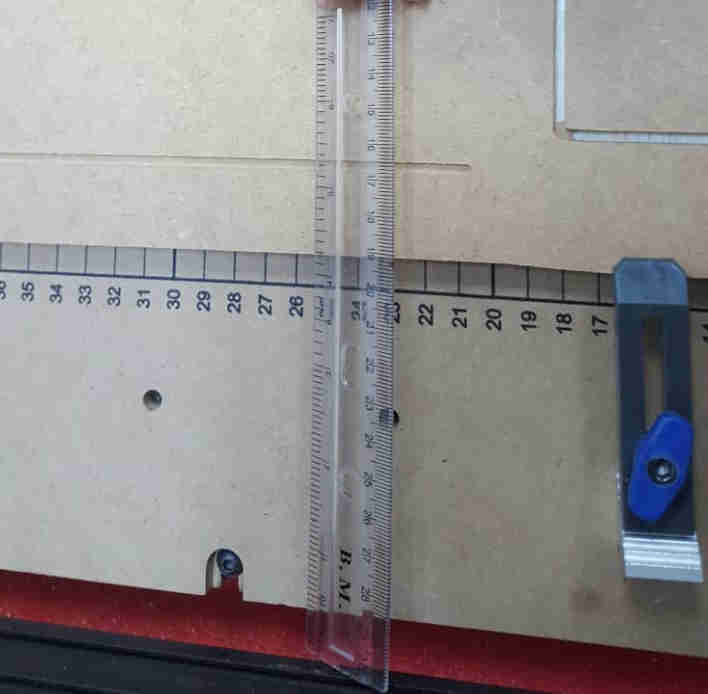
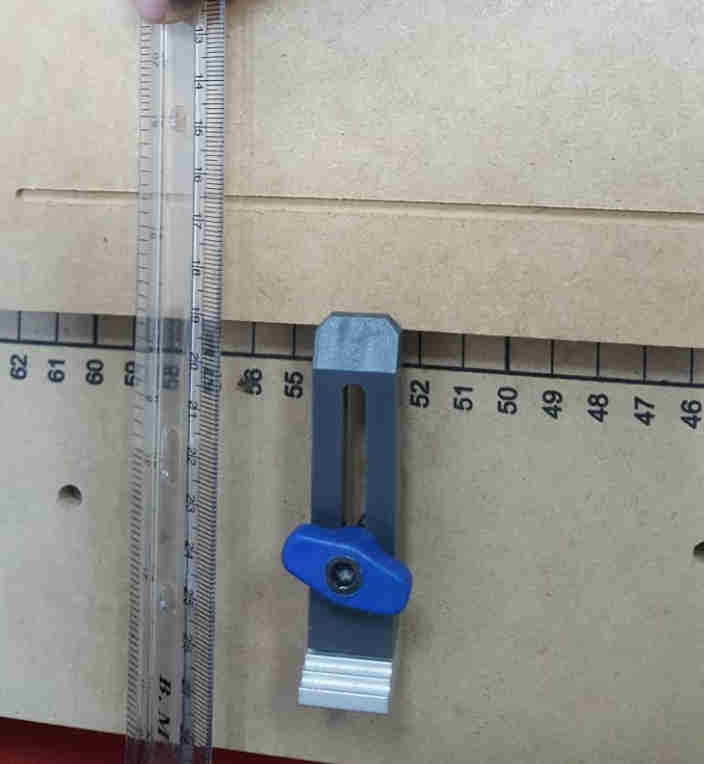
A line was drawn along the y axis a few inches off the rail and sent to mark. On completion of the marking a measurement was taken
between the line and rail at both the beginning and end of the line to ensure that it remains the same distance.
This was one of the alignment test.
The thickness of the line was also measured along its entire path to determine if the router and/or bit is stable.
The thickness was constant indicating stability.
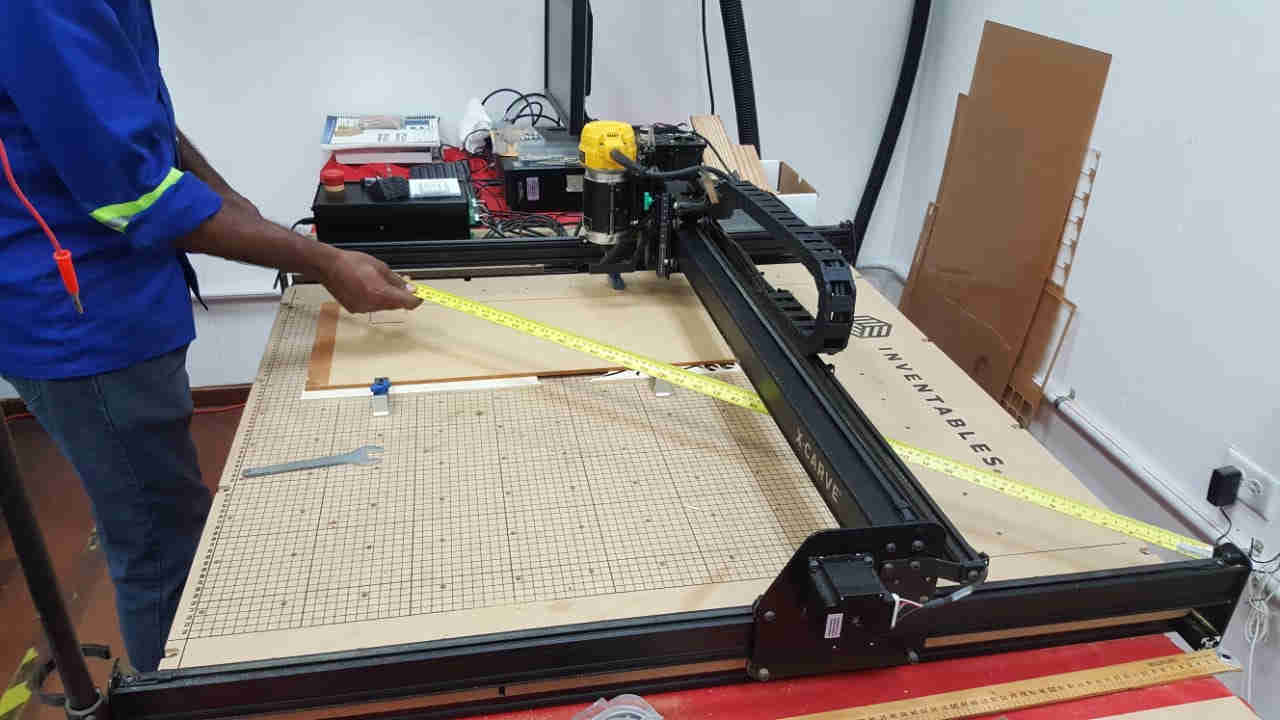
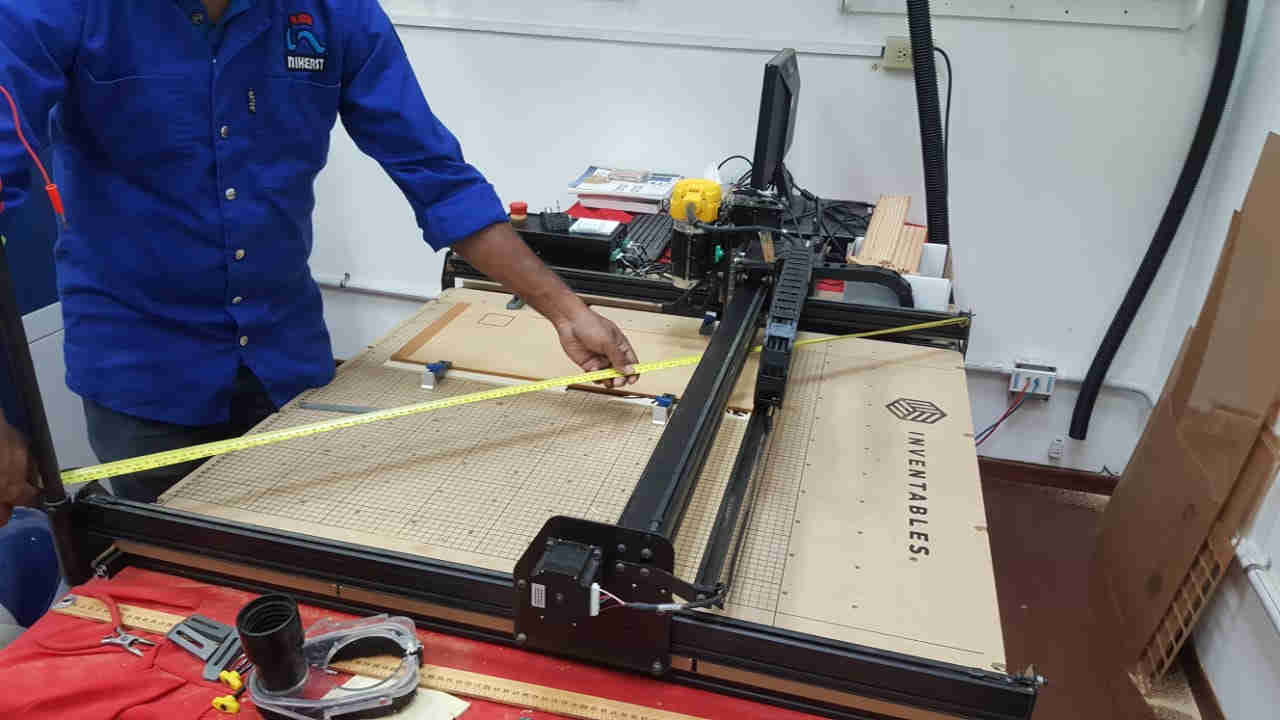
Another alignment test was done by measuring the perpendiculars of the rails. The distance between the bottom left and top right
is the same as the distance between the bottom right and top left, which means the rails are properly aligned.
A test cut was made using 1/2" MDF. The material was cut using a depth of 0.51" with a depth per pass of 0.06". It was cut at a start
feedrate of 80in/min for the first cut, the second cut at 70in/min and the third was cut at 50in/min which was the more suitable feedrate.