Sixteenth Week:
Wild Card
At this week I have used composites to create a hard case for each Joycons that I have. Let's start with the process.
Before that...
As this subtitle said, let's get more knowledge about the componentes of this project. I will introduce the important composites components and utility components that I used for this assignment. Let's start:
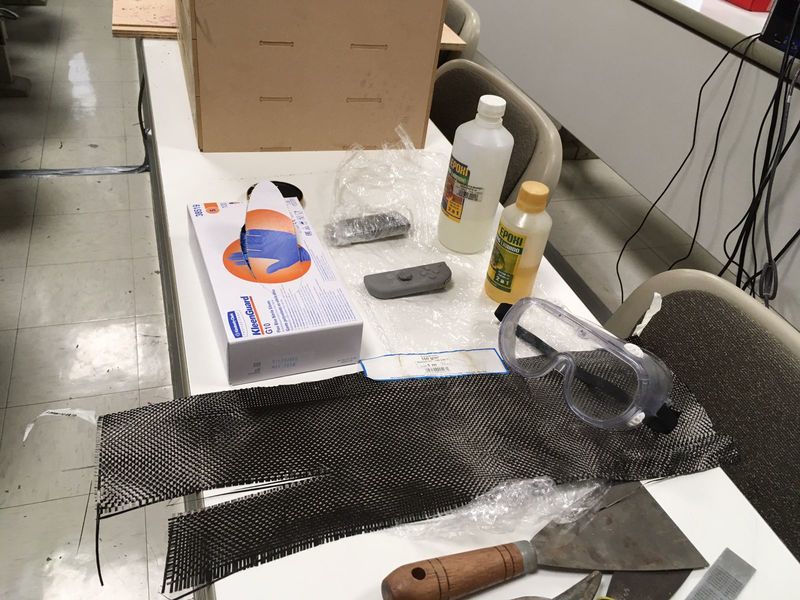
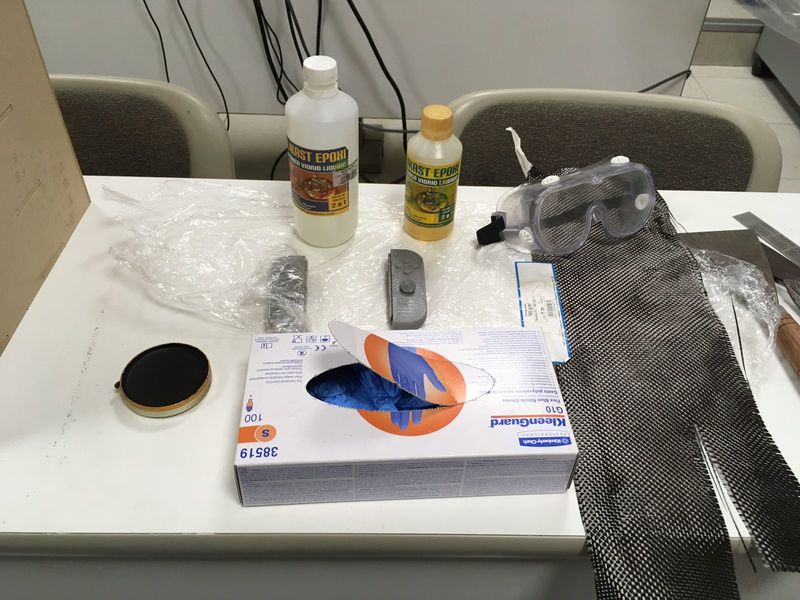
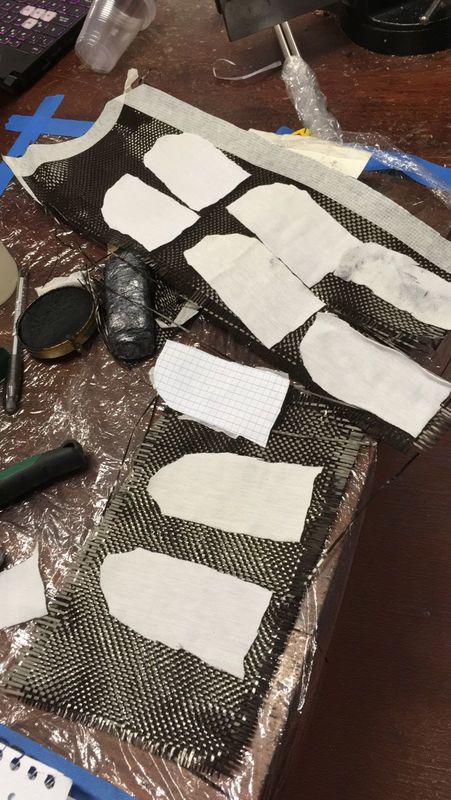
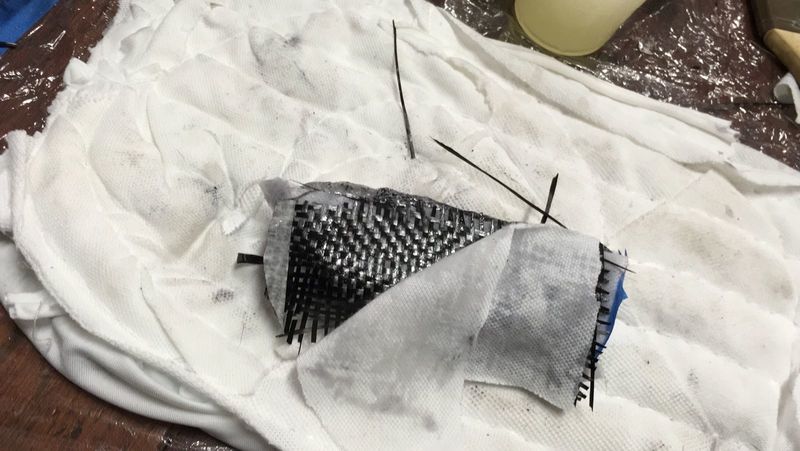
1st Carbon Fiber: I used a standard Carbon fiber which type is T700G. This material has a great tensile strength and is optimal for composites projects. Here is the datasheet of this product.
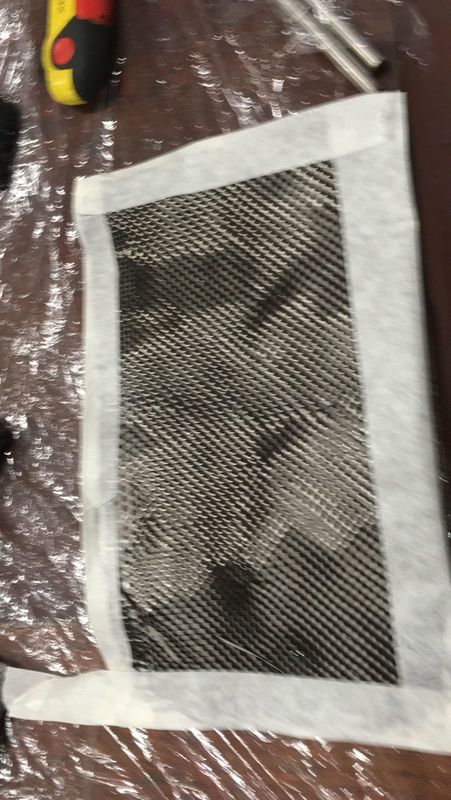
Note: I put some masking tape on edges because this fiber in easy to unstitch.
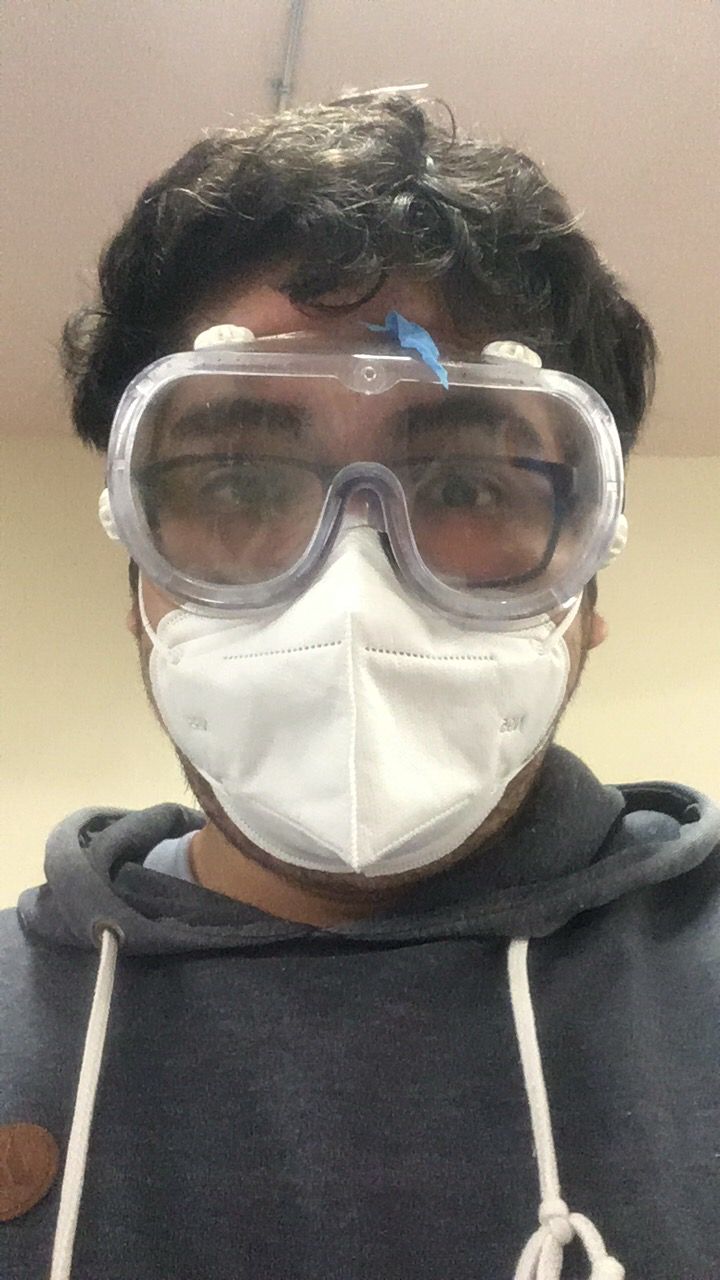
2nd Epoxy Resin: This resin may cause irritation and burns so is recommended to use gloves and protective glasses as its safety datasheet recommend.
3rd Bitumen: Bitumen is not toxic in short-term but is more annoying because you might make a mess with your clothes. I used it as a release agent and here is its datasheet.
4th Polyester Fabric: This material is mostly used here in Peru to make cheap clothes. This kind of material is not toxic for our skin and have lots of utilities in textil world.

Let's produce...!
As I said on the beginning of this page I wanted to create a kind of case for my Joycons . Let's start.
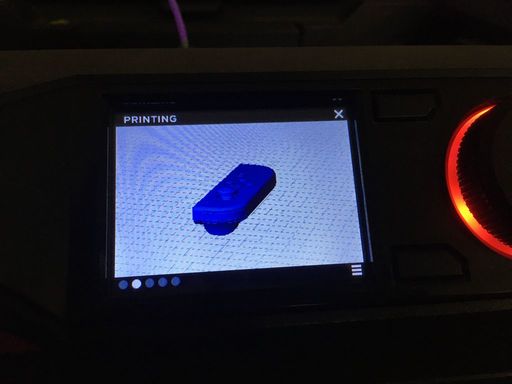
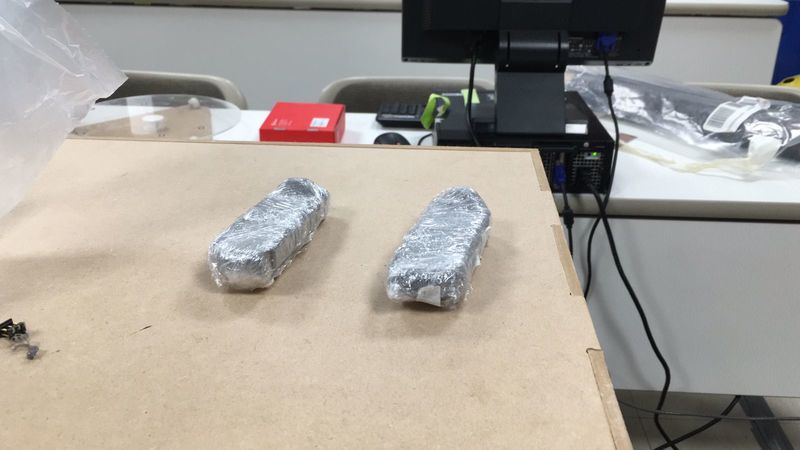
1st I decided to not make a mess with my own Joycons , print 2 joycons models using 3D printers. So I downloaded beautiful and very precise representation in GrabCad library .
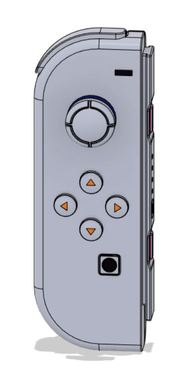

And then I exported these ina STL format to start with the production part.
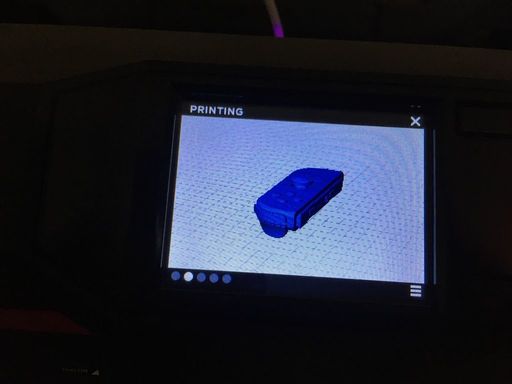
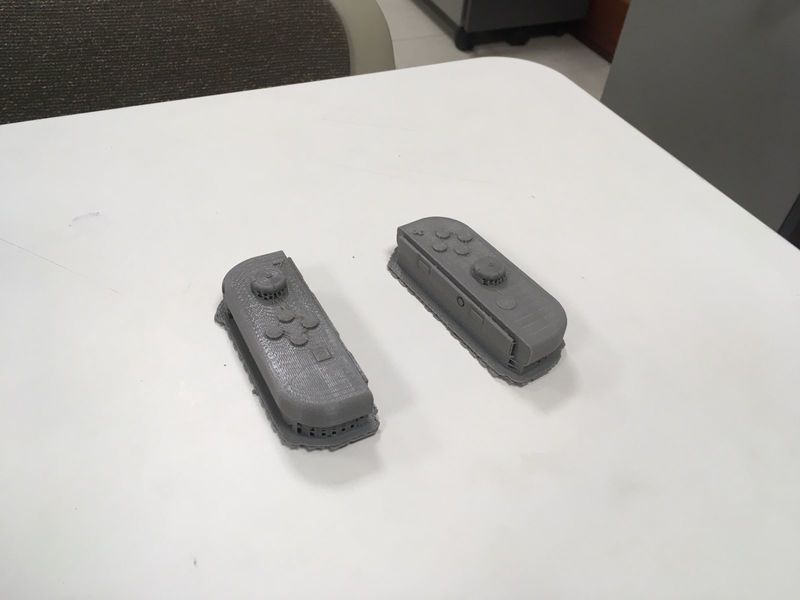
2nd I used 2 Replicator to produce both in a parallel. It took around 4 hrs. using normal performance, supports and 25% of density.
Having produced it's time to clean them.
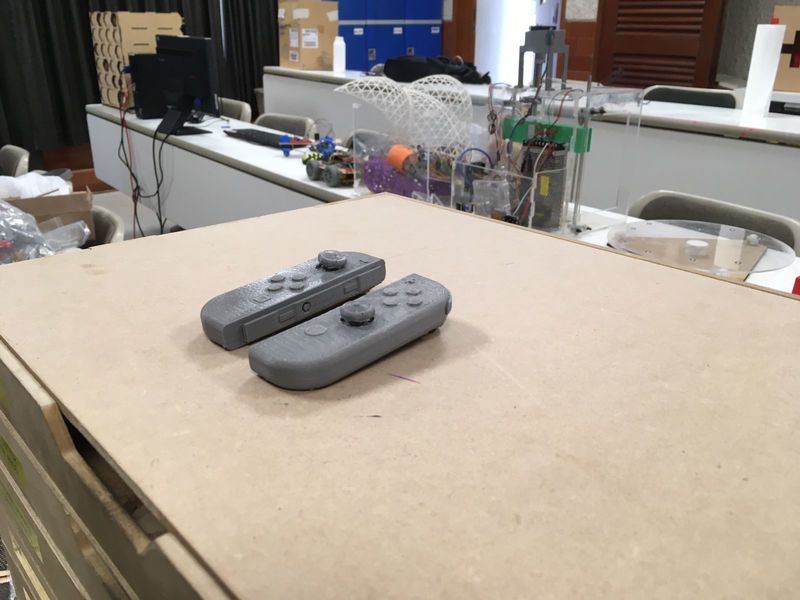
My first working space before I went to a more safety place.
3rd I wrapped the joycons with stretch film to avoid the contact of resin with printed material.
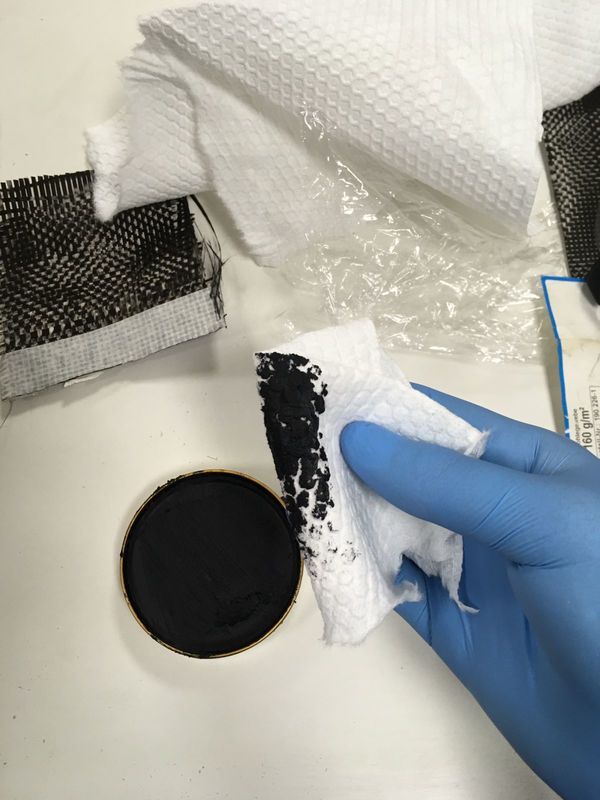
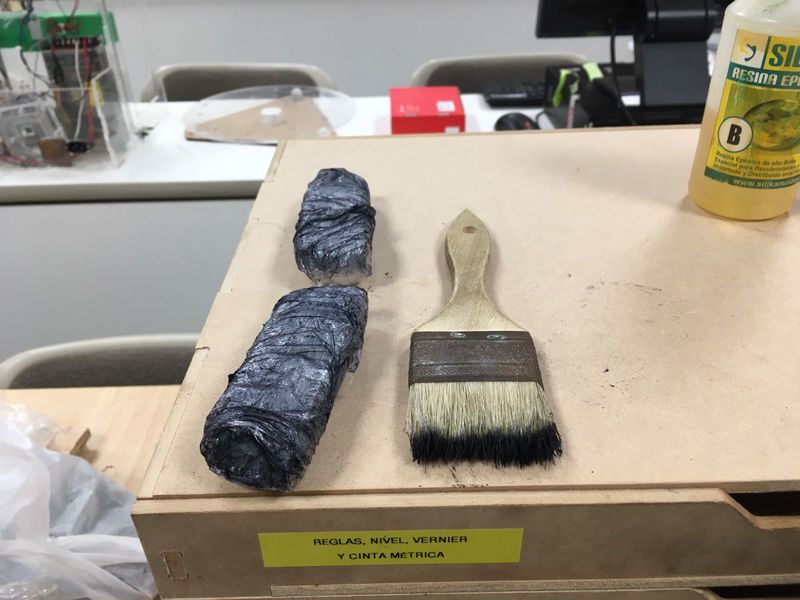
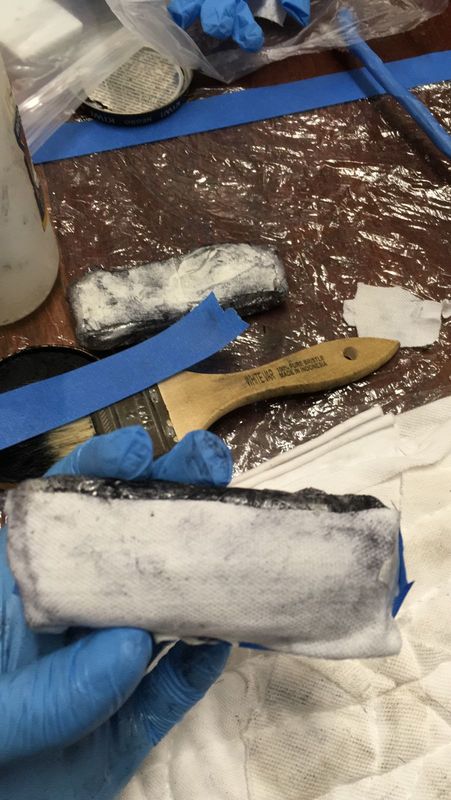
4th I applied bitumen over the face where I will put the fabric as a release agent. I started using a piece of fabric but I declined to use a brush.
Before I started I changed my working space to another with more space.
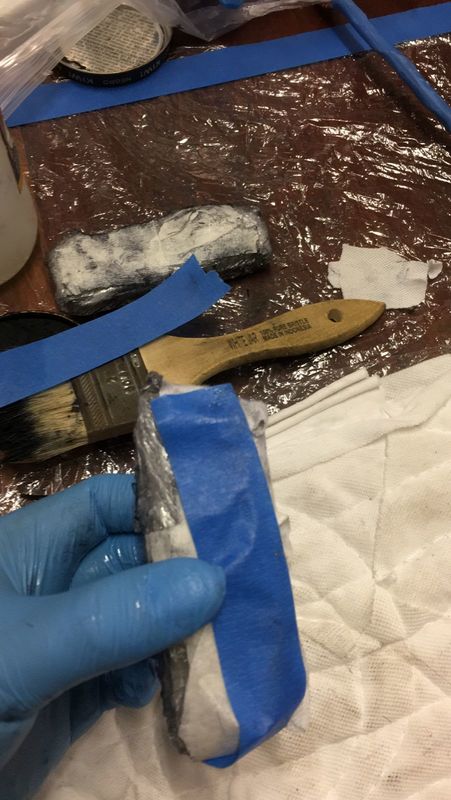
5th I was trying to define the perimeter that I will use. I tried to a piece draw its perimeter but I didn't work.
So I decided to draw the perimeter with a pencil as you can see at next picture.
To start the cutting process piling layers of each material and holding the piece of paper with masking tape as you will see next.
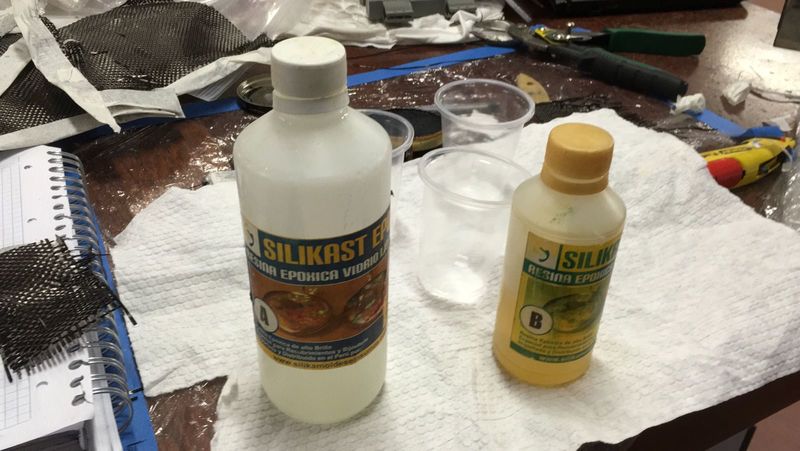
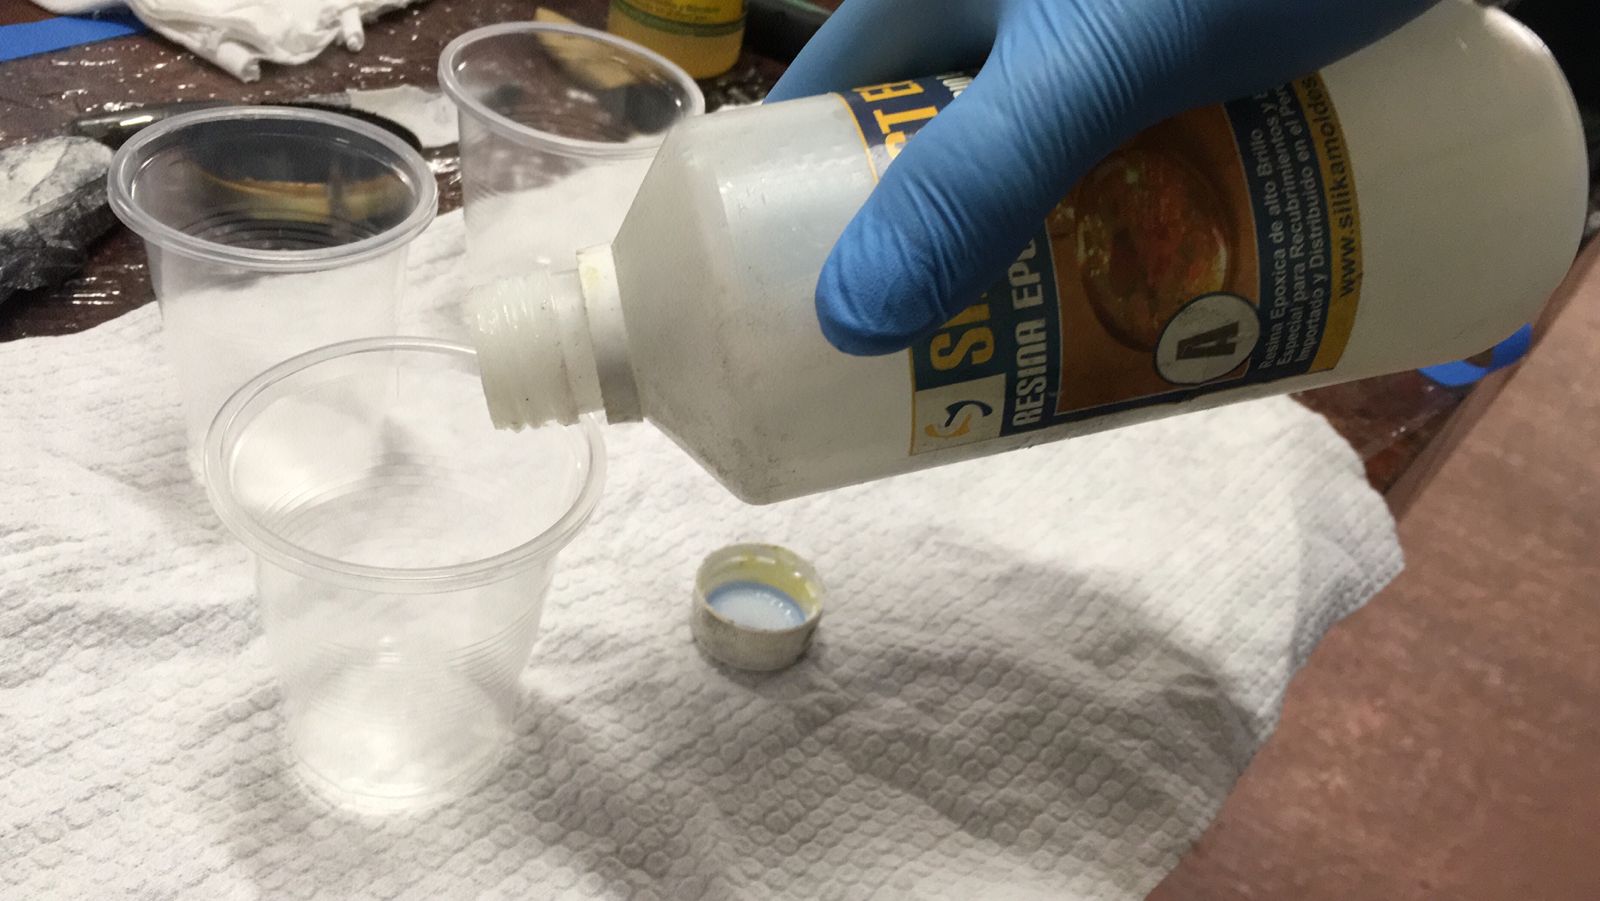
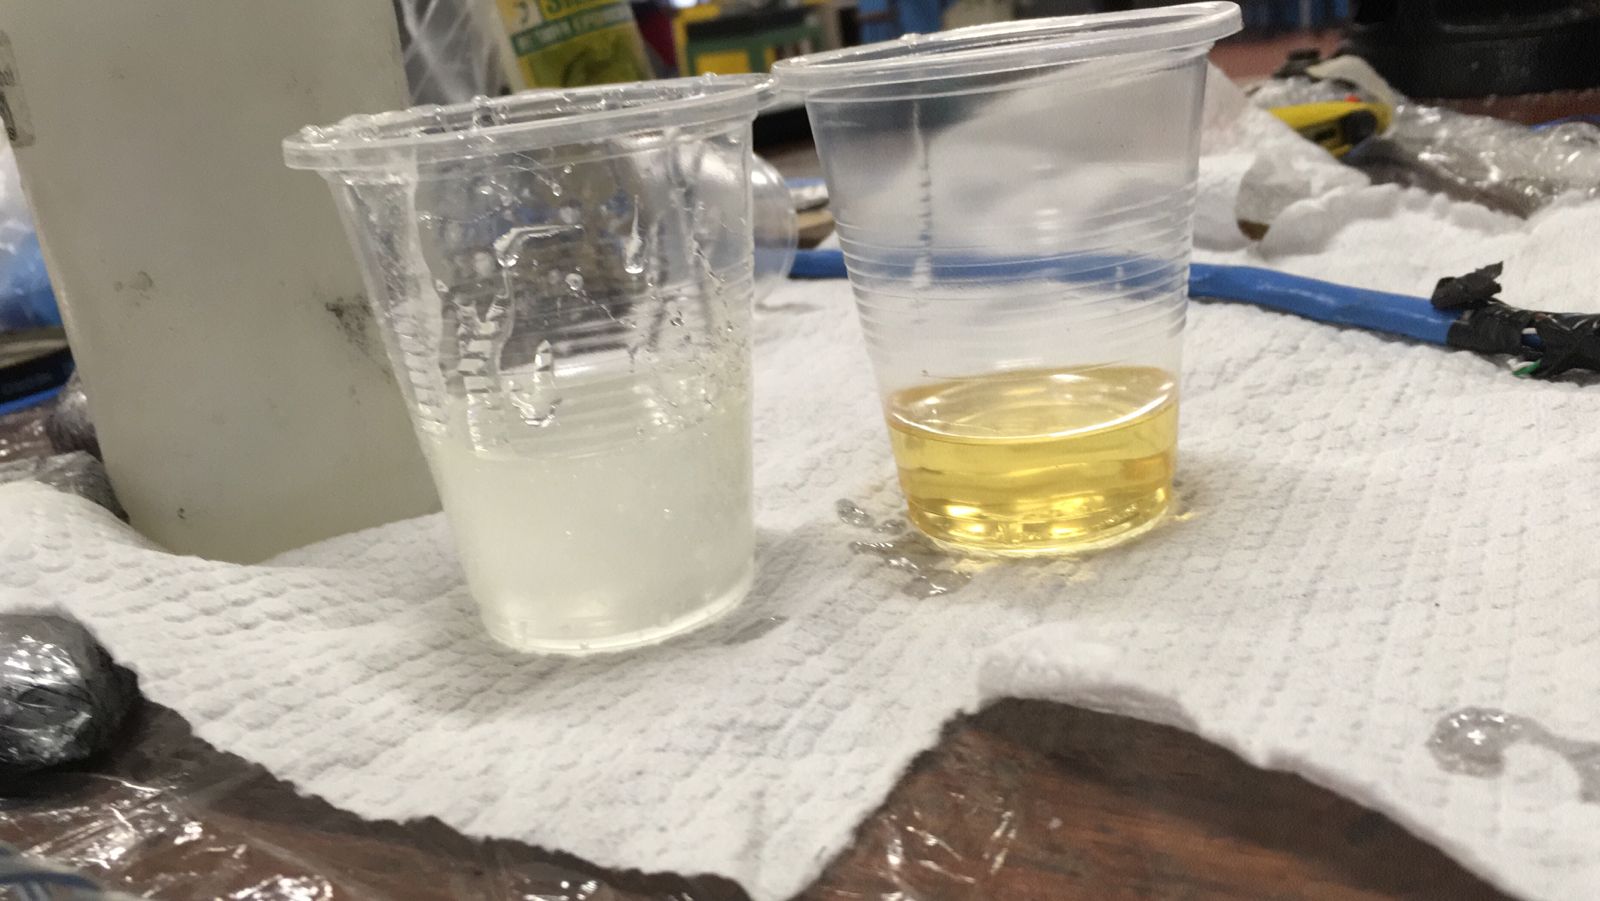
6th Time to mix the Epoxy. At this part I used protective glasses and gloves.
Then I started the mixing for what I used 2 to 1 ratio of A and B component respectively. I used plastic glasses starting with A-Component.
Then the B-Component.
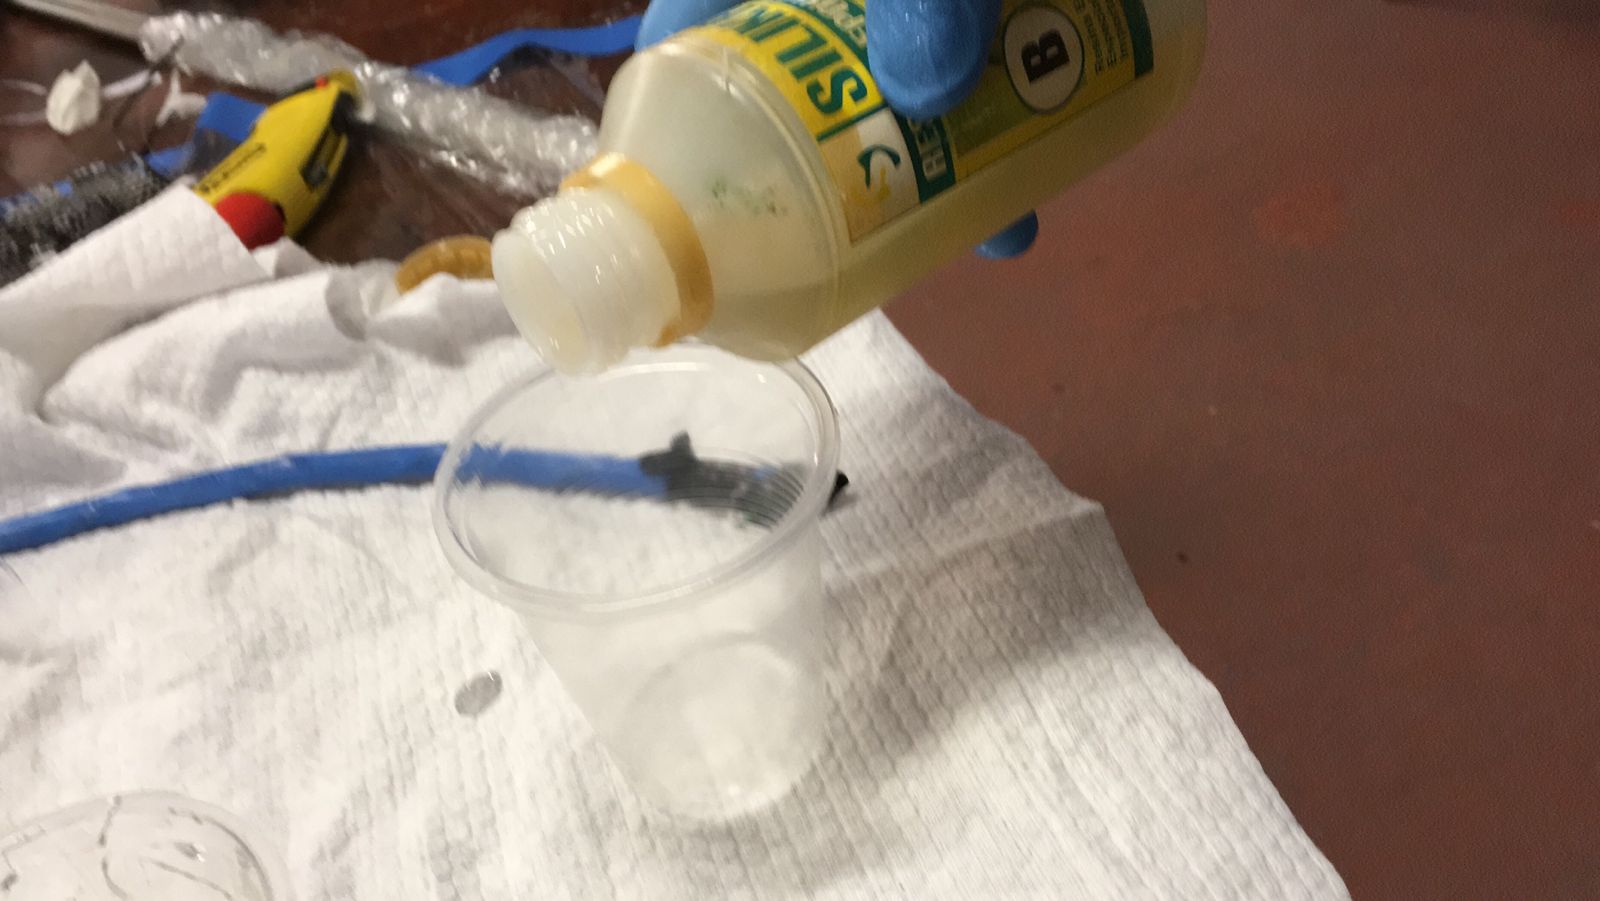
Here is a refence picture.
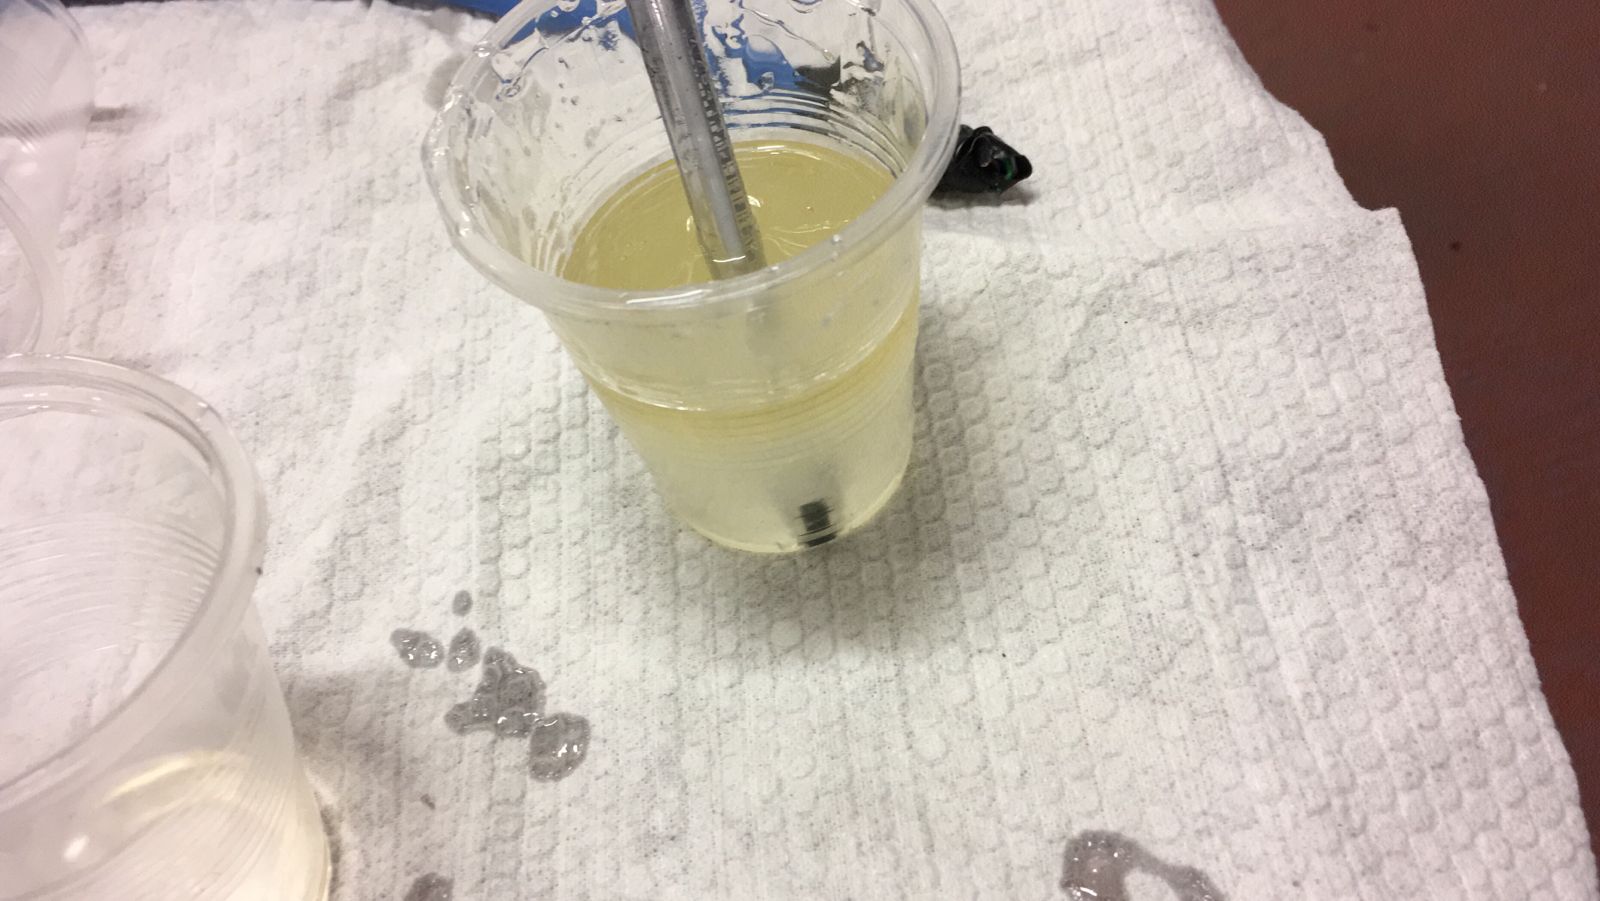
Time to mix.
7th Time to cover with layers of polyester fabric.
First I attached the first layer with masking tape as you can see next.
Then I proceeded to apply the resin mix and cover with a layer of carbon fiber to finally cover with a layer of fabric fiber.
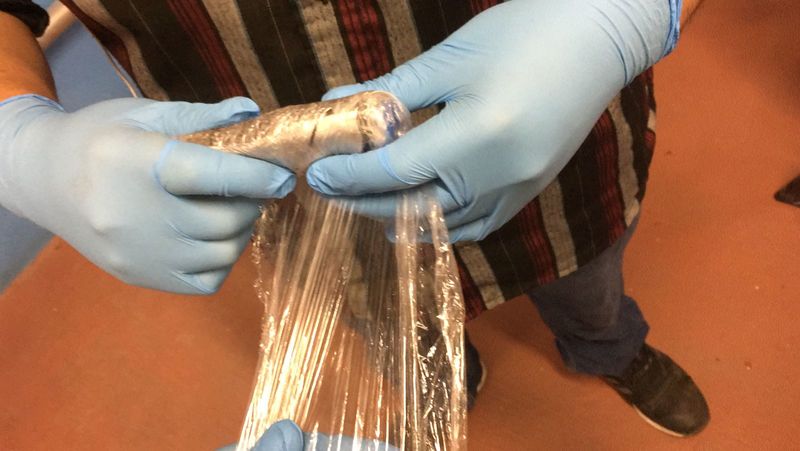
With help by Ronald, who is part of this Fab Lab, I wrapped with stretch film in order to press and spread the rexin throughout the area.
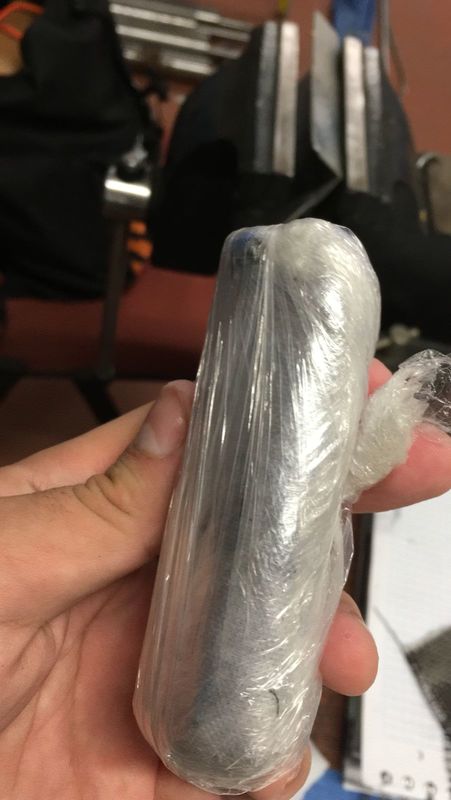
Note: This epoxy took around a day to get hardened as its datasheet says.
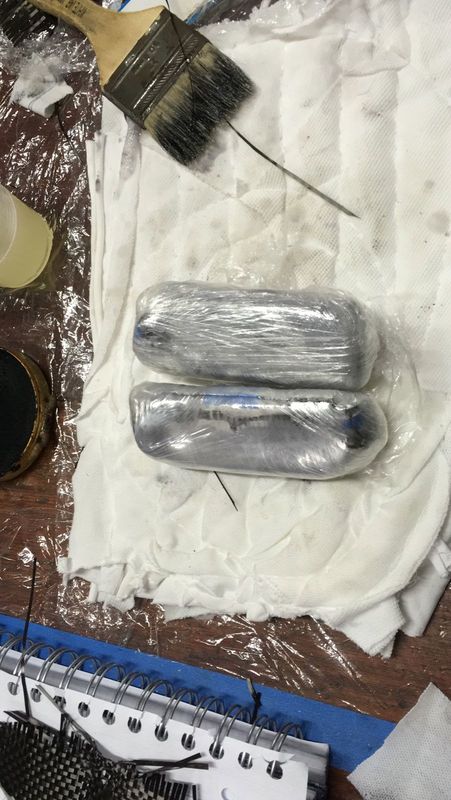
I saved it in a plastic bag with another mold that is from other assignment.
That's how they look...!
Having return the next day I had to open the molds. The 1st one is for this assignment.
And this is for one goes to my final product of my Twelfth Week: Molding and Casting project.
The next video was a "Speedrun" that I made to unpack the 2nd Joycon Case.
And the I cleanned it using this special scissor because the composite is very hard.
Issues
The main issue I had was that we had our epoxy resin messed so we had to buy more and It took around a day and half. Beside of that I spent my days working on past projects that need to be finished and my final project.