Twelfth Week:
Molding and Casting
At this week assignment we had to design, mold and cast something we want. Additionally, we had to research some information about the molding and casting materials we used. Also I used the Roland machine, which I used in some past assignments to mill my board. Let's start.
Designing something
At my first move was to practice how I would mill and cast something. I decided to design something "easy" to practice and get some advice about how to improve my skills.
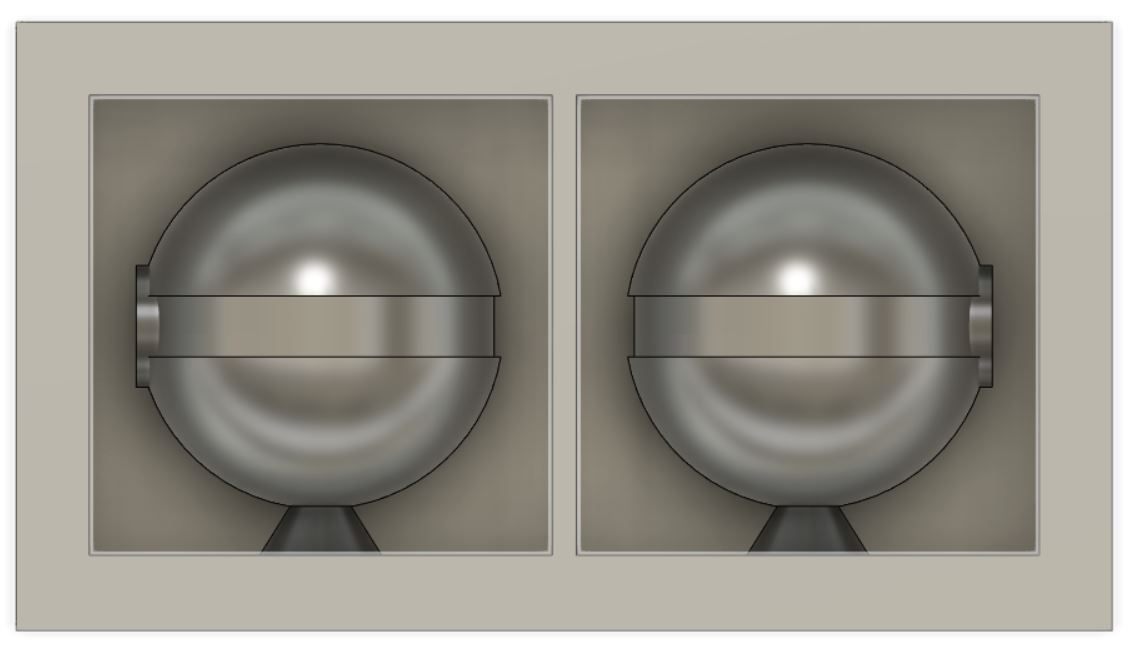
I choose a "Pokeball", as you can see at next picture, which was my first sketch.
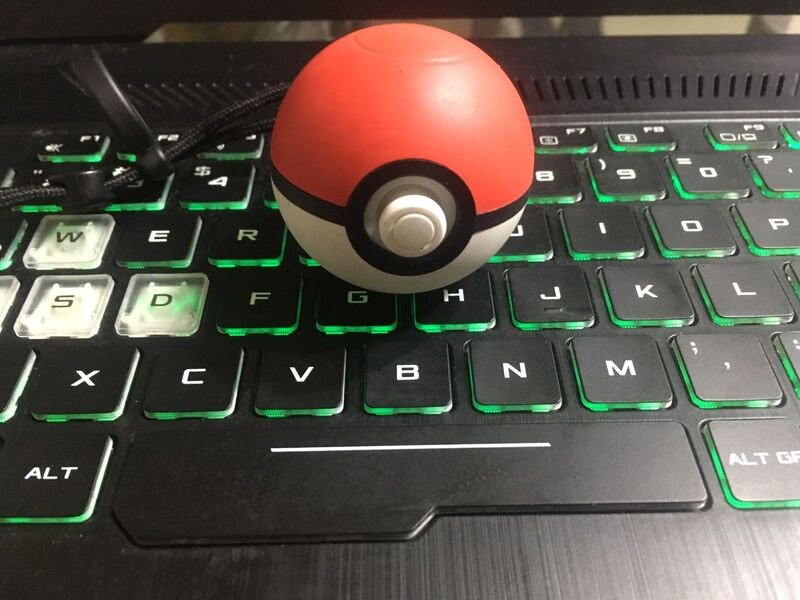
Note: This picture is a toy call Pokeball Plus. Note 2: I was not pay for this "advertisment", unfortunatelly.
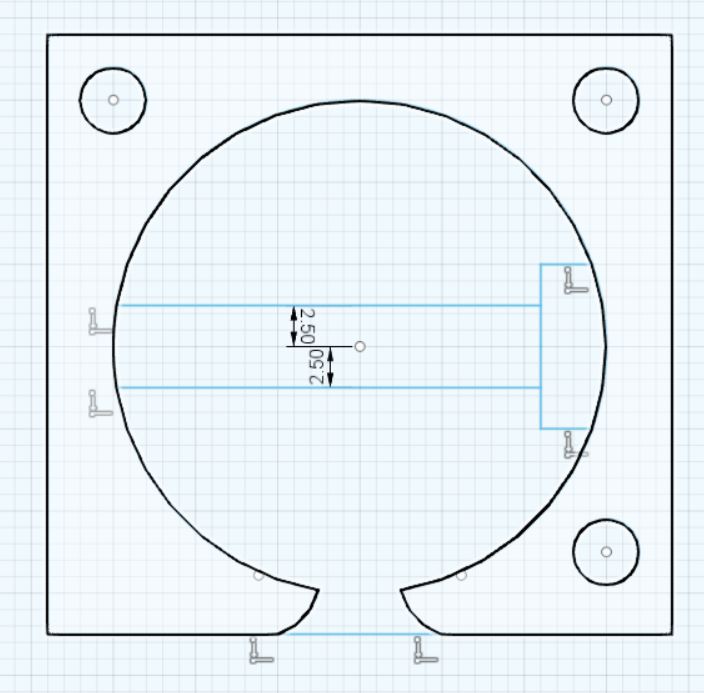
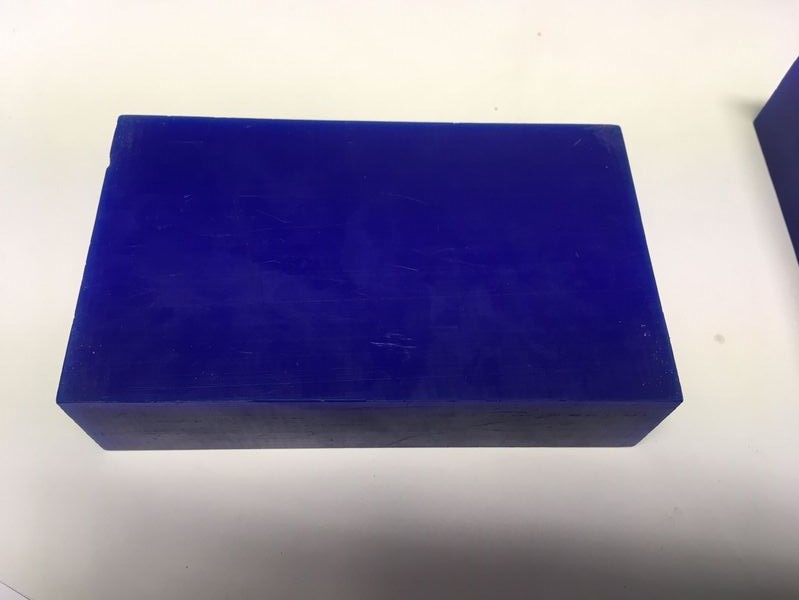
I started sketching the shape of the final product. As an important part is to know the workable surface we have, I used a piece of casting wax and, as you can see later, its workable surface was defined like: L:90mm; W:50mm; and H:15mm. Which this specs I started the process.
Improving my skills
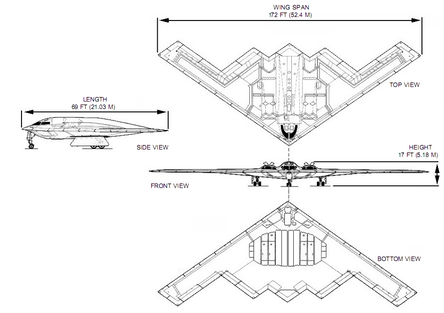
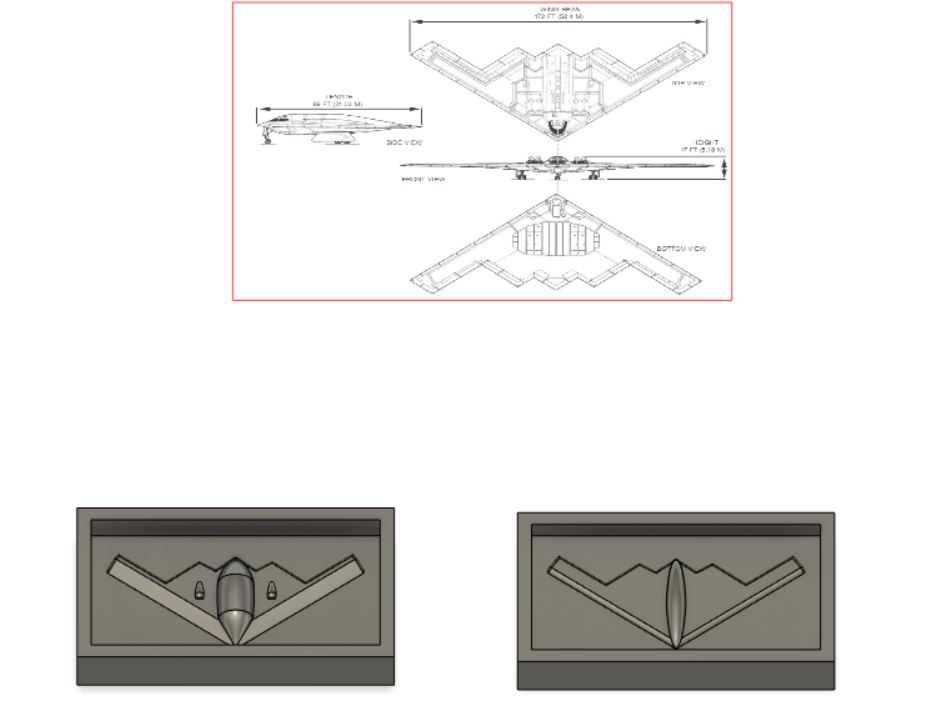
Now was time to change the perspective, and finally I decided to cast a plane but not a common plane. I decided to recreate a NorthRop B-2.
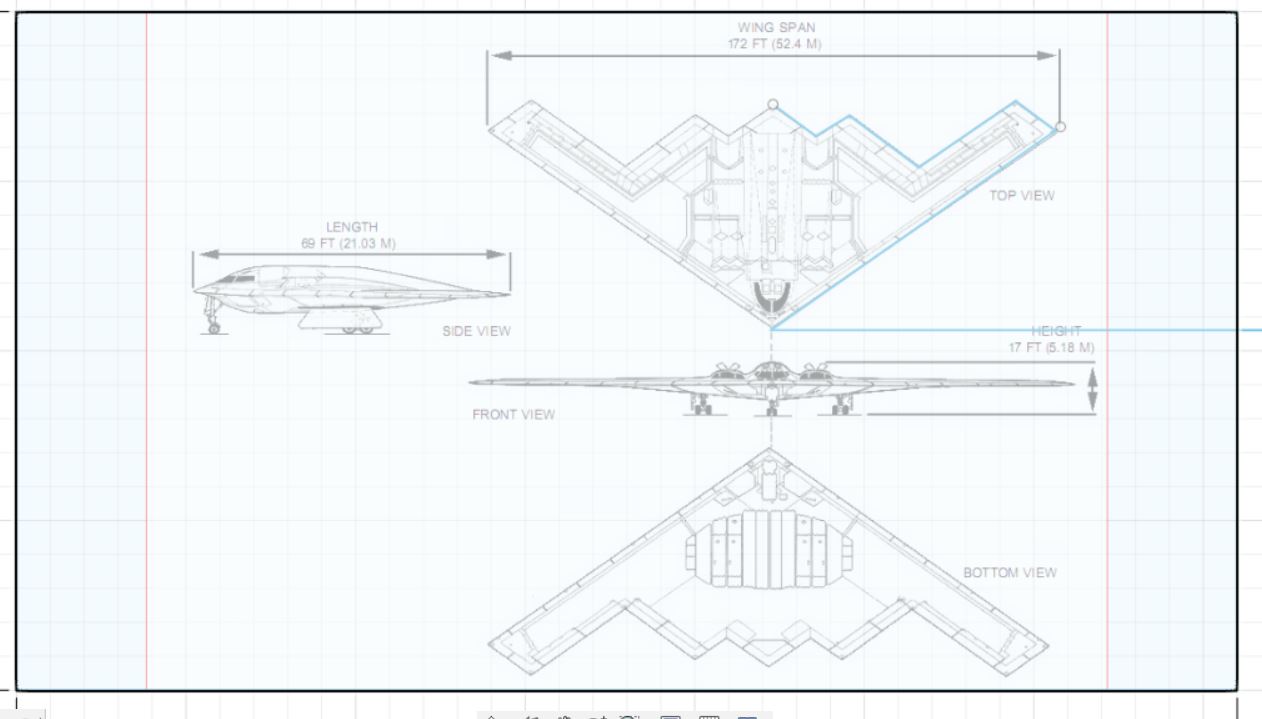
So first I searched for some picture which worked as a drawing guide. I found I here.
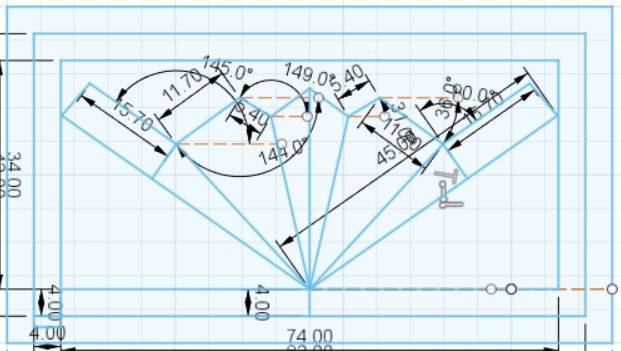
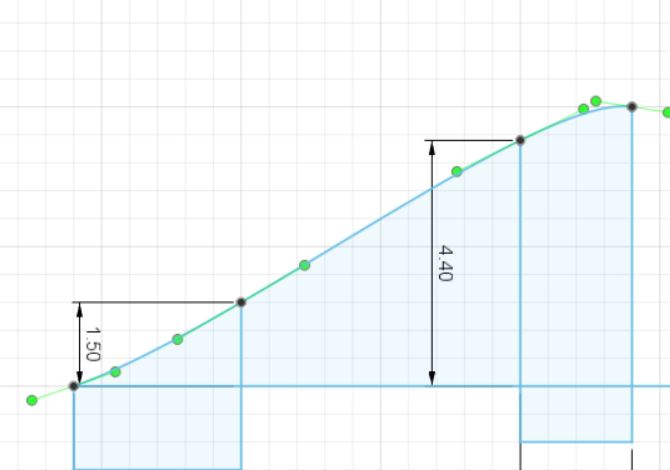
Then, I drew some line as references.

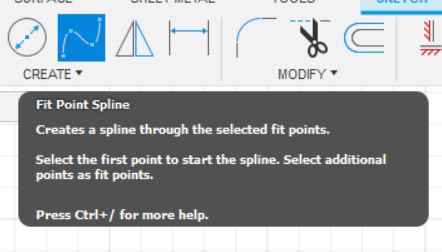
Now, I sketched the 2D shape of this wonderfull plane, and used others function of the Fusion software.
Having extruded some parts of my project, I "rendered" and improved giving them curves and organic shapes.
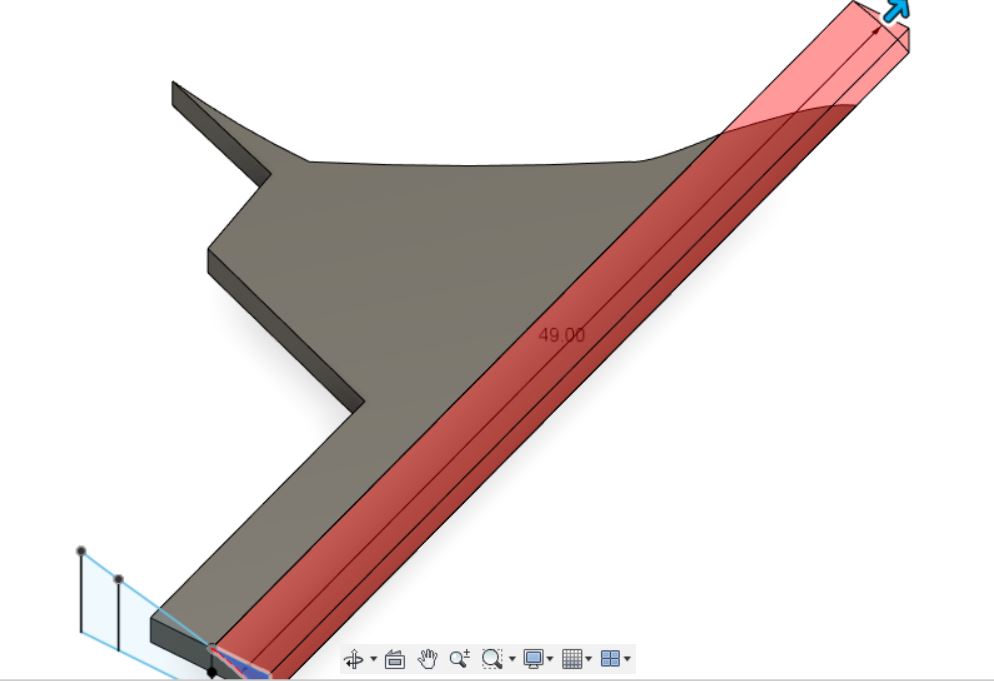
After these process I got this.
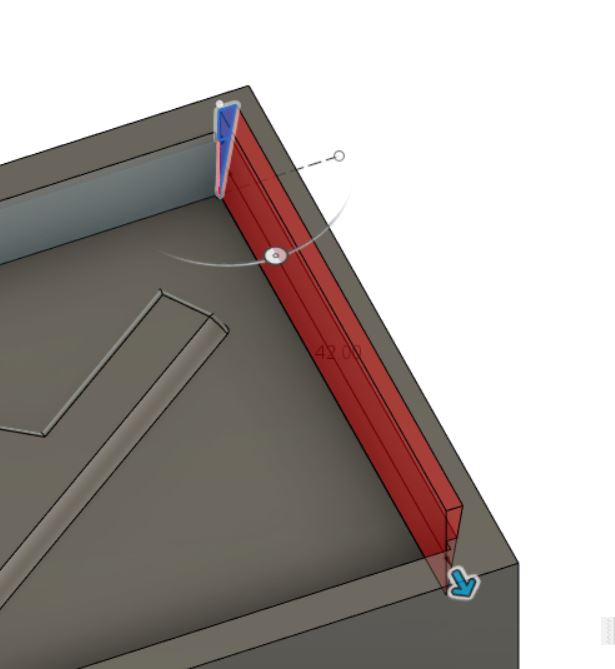
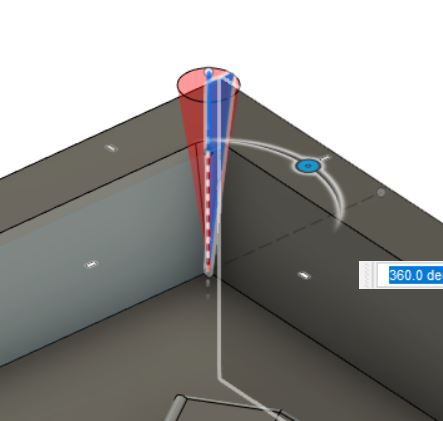
Now I had some advices about my 3D design and how to do it functional. I started giving an 8 degree angle for every internal face to make the future mold easly to remove. And then, for every internal corner I did a similar process.
After that, I added some parts which will work as joins. Those hold the 2 faces and don't allow to accidentally 1 face slice and mess your project.

At this part I had this.
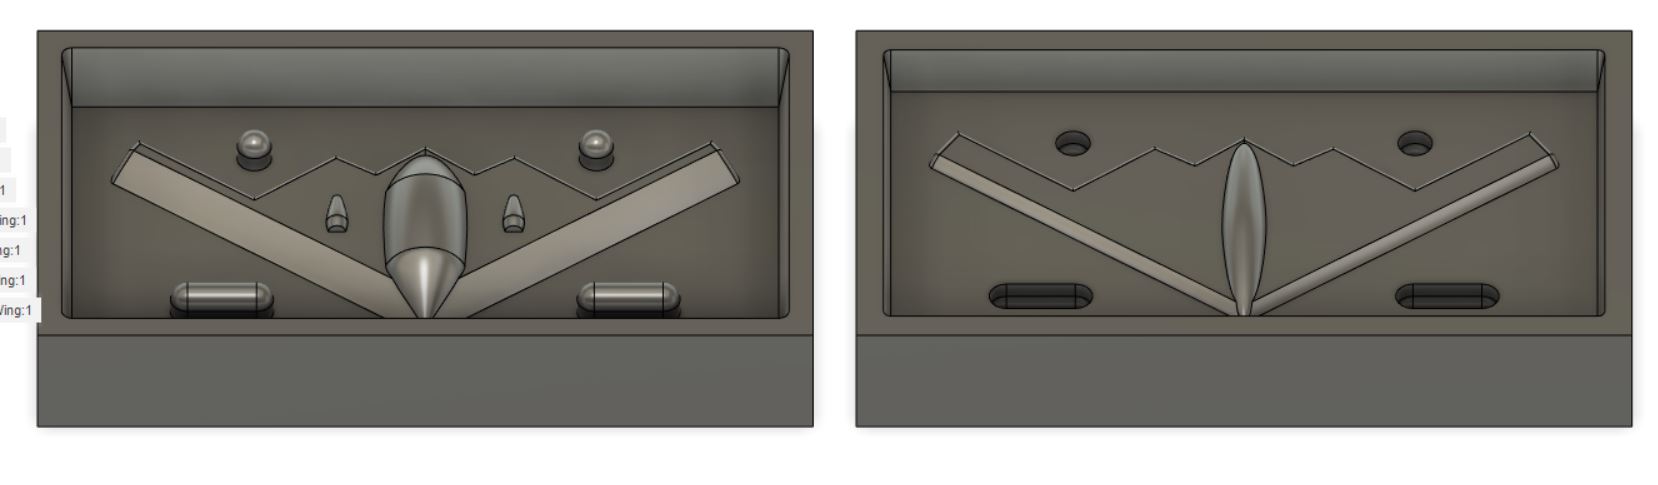
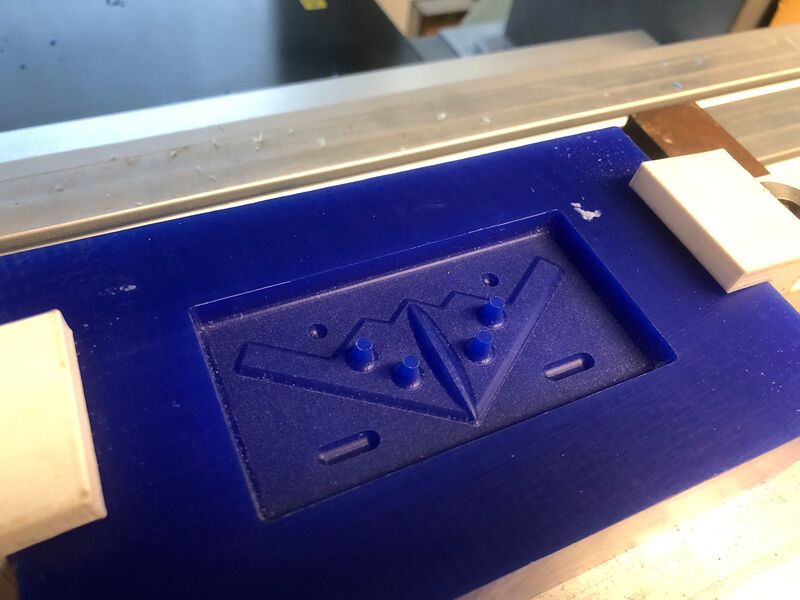
Finally I added some steps which will work as entrances for the resin and "legs" to hold the plane balance.
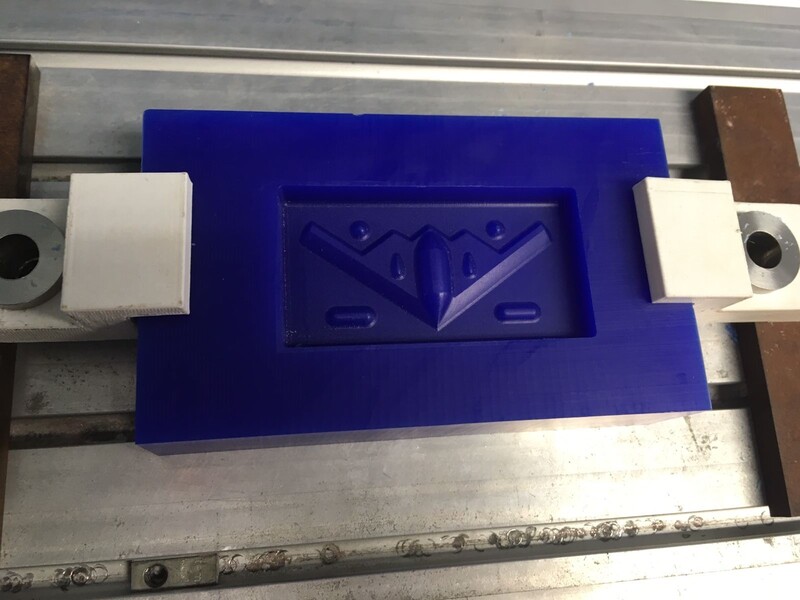
Finally, my NorthRop B-2 was finished.
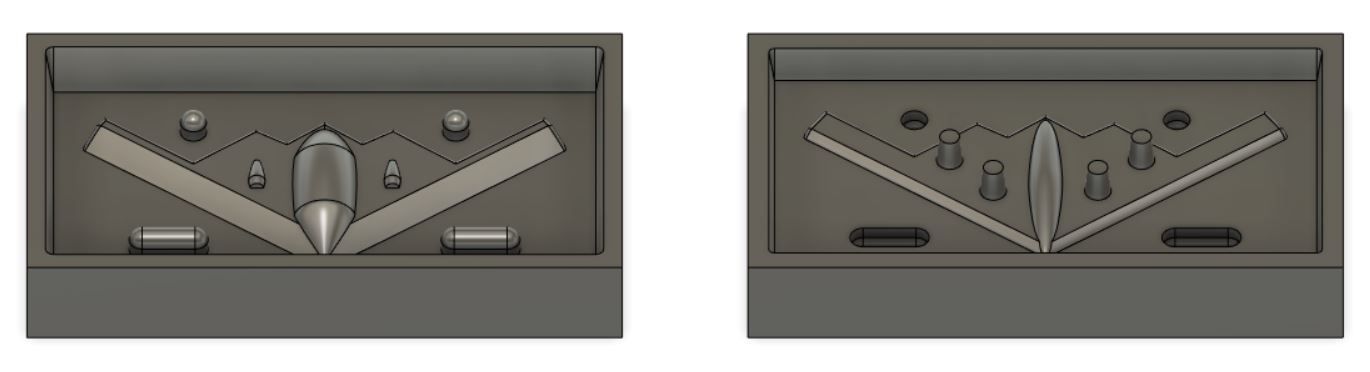
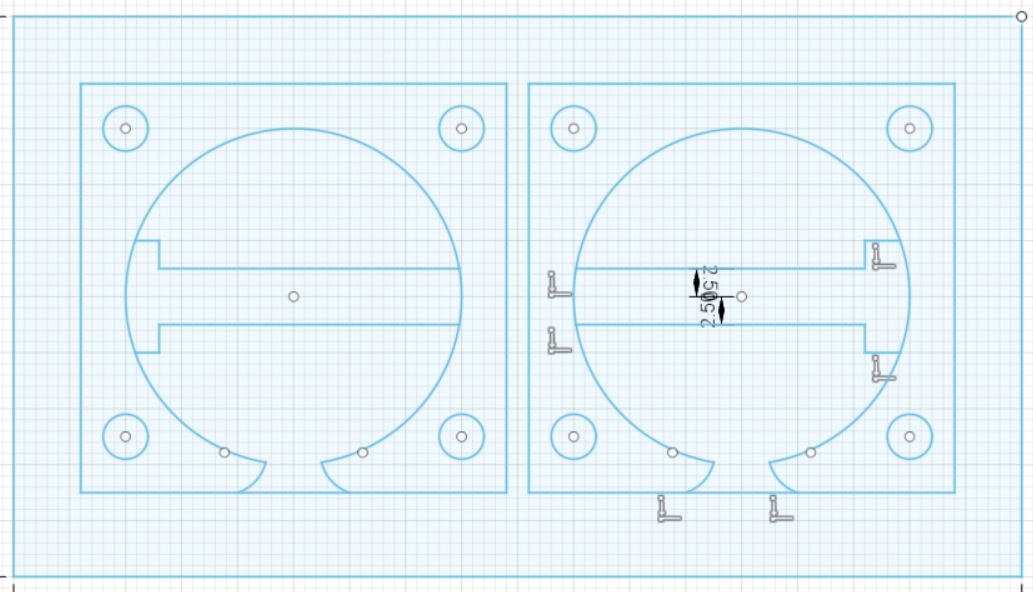
Before continuing the process, I had to separate it because I had decided to work with 2 pieces of Casting Wax.
Time to know about the materials I used
For this assignment I used the next materials:
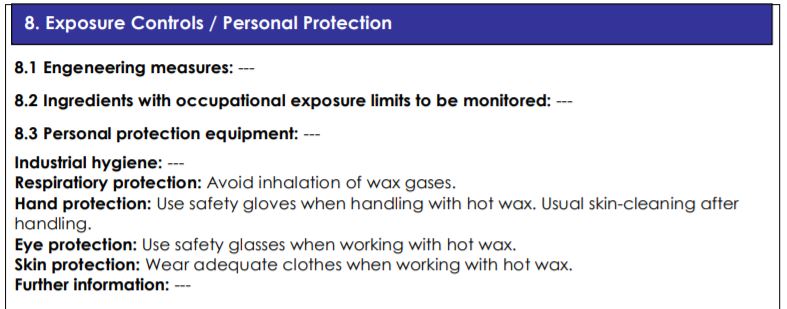
1st Modeling Wax: This material is so common for this kind of process.
Now is a picture about control and personal protection which is in this datasheet.
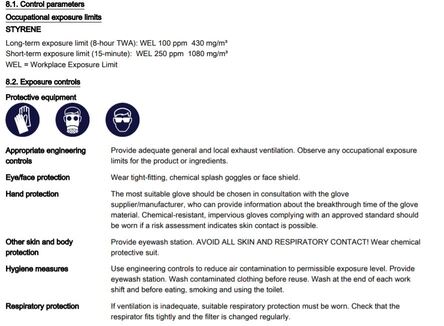
2nd Polyester Resin: This material is also common for this process. We have to types: the common, and UV.
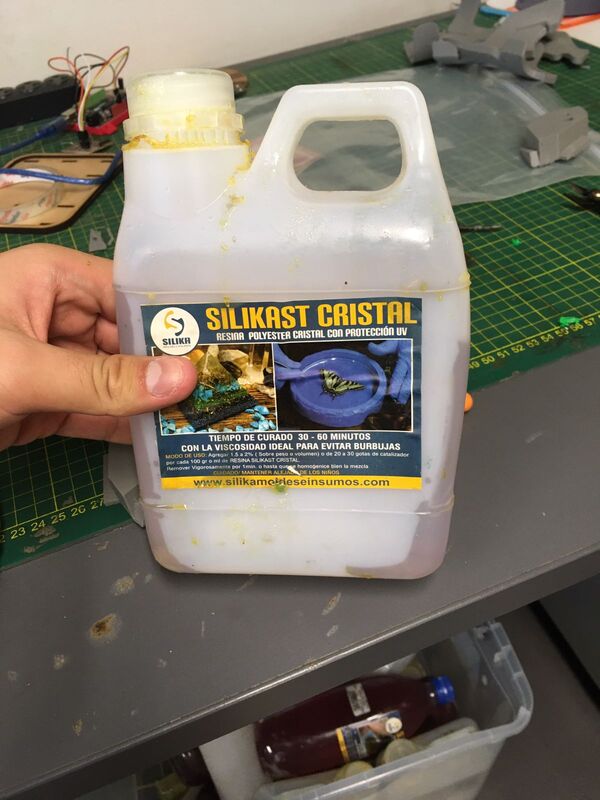
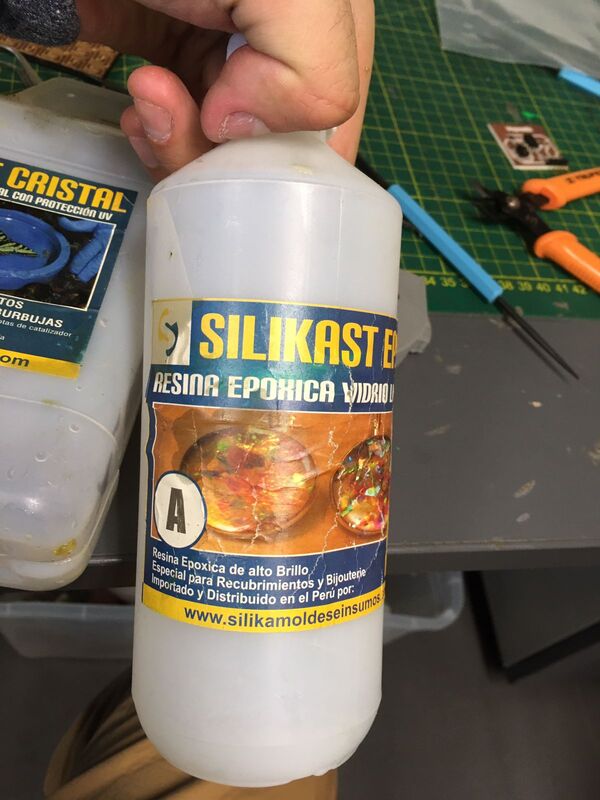
As first material, here is an extract of the datasheet , which focus the "Control Parameters".
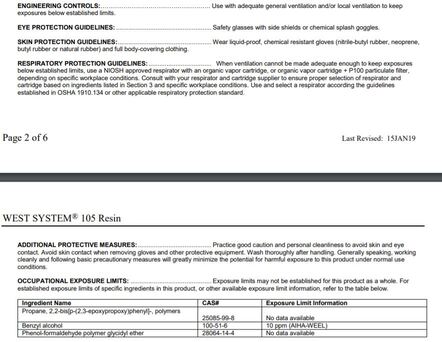
3rd Epoxy Resin: Used to cast part.

Next is the "Control Parameters" section found in this datasheet.
Milling
Now I started with the milling process at Roland machine but before we have to set some parameters at its software.
1st We have to change the Roland's process mode. For this we have to go to VisualPanel and select "RLM-1" mode.
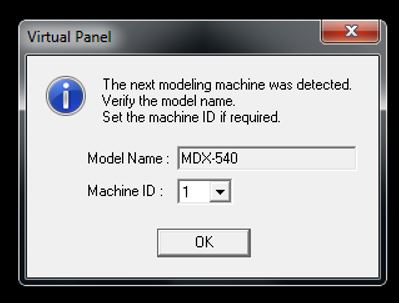
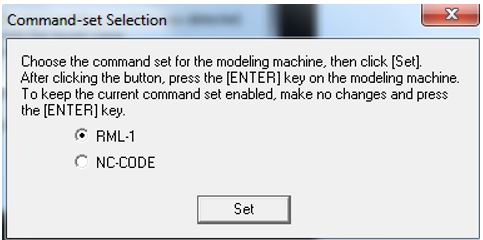
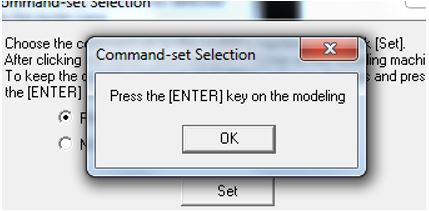
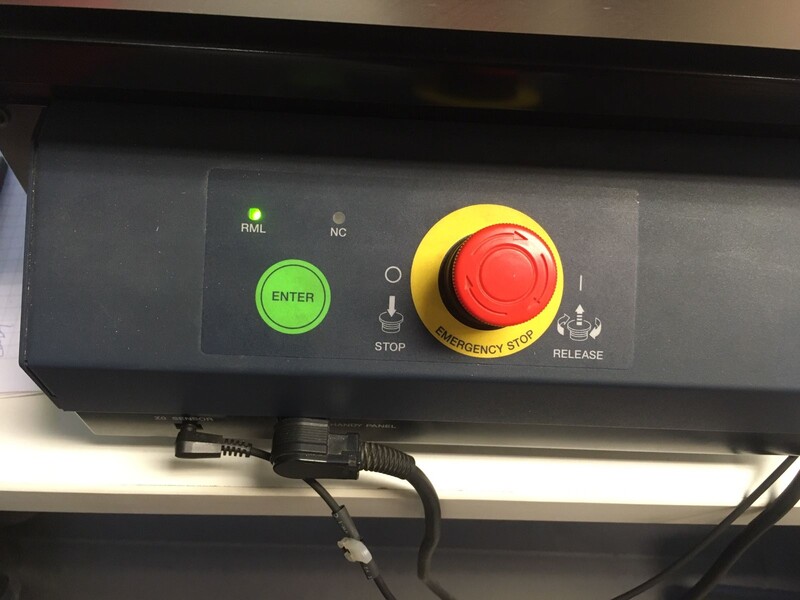
And then a message will appear, so we have to go to the Roland's front panel and press "Enter".
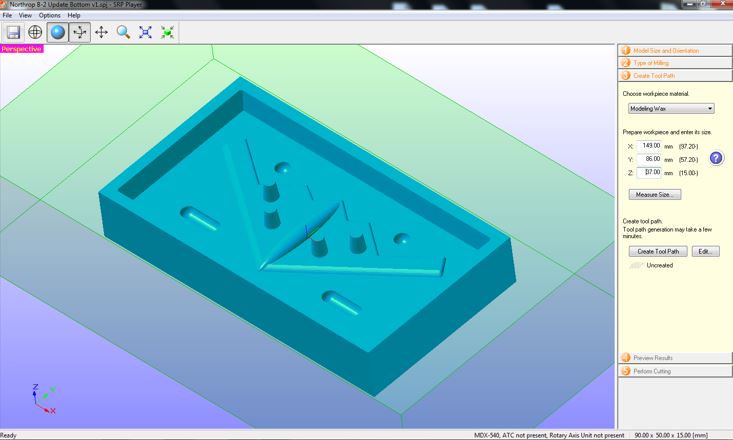
2nd We used SRP Player software which is part of Roland's brand.
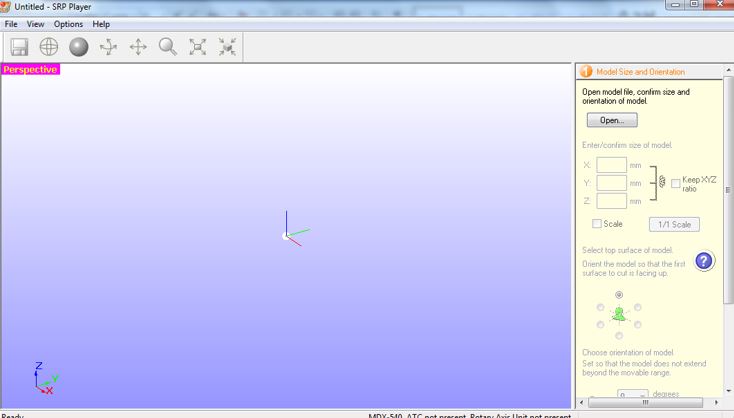
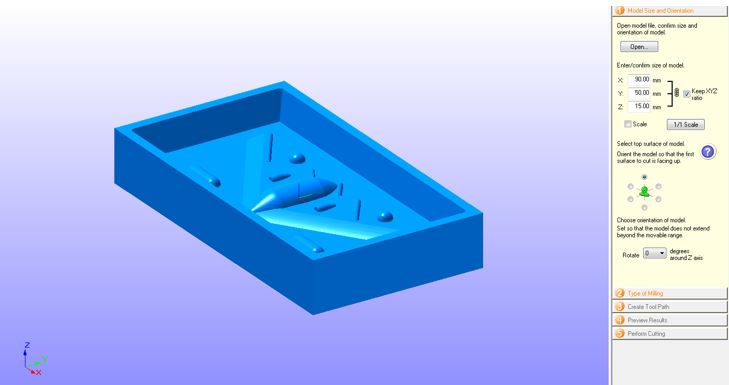
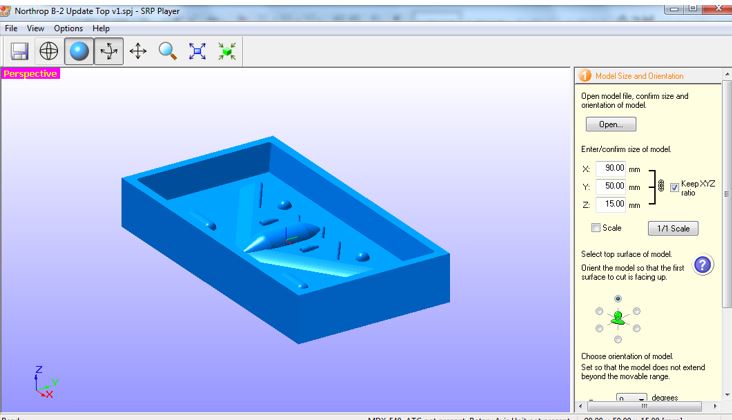
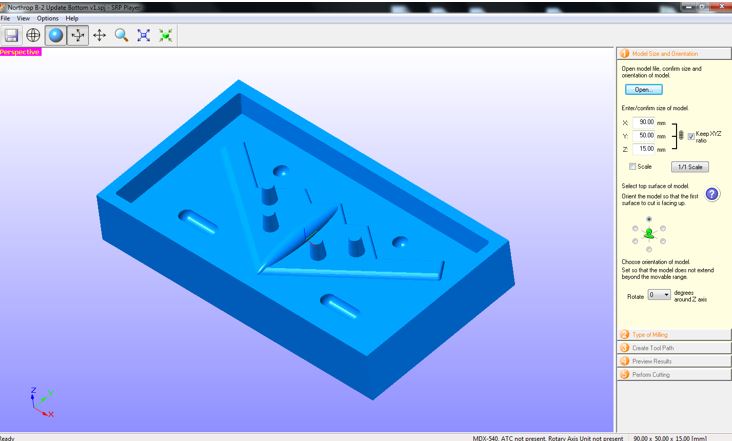
To start the setting process we have to open the file, which was saved as STL format. When it is opened you would see at right part the preset parameters of your model and a part where you can change the orientation.
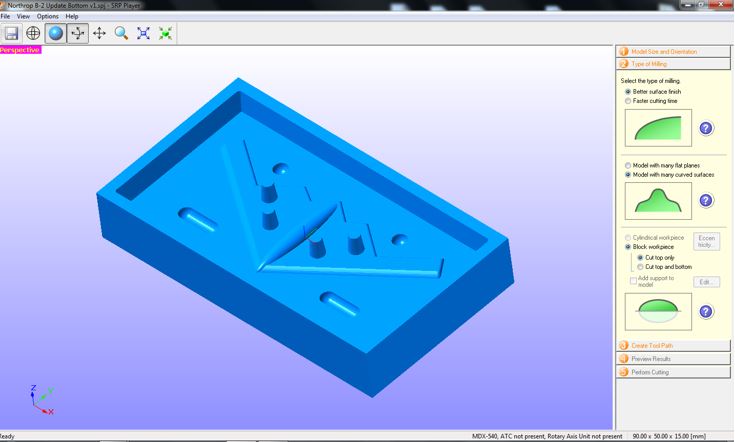
The next part show us some options to especify the quality of the final mold. In my case I selected all the options which will give an extraordinary quality to my mold.
The next part we set the material to be processed. I selected and used "Modeling Wax" and especify all Wax Block parameters.
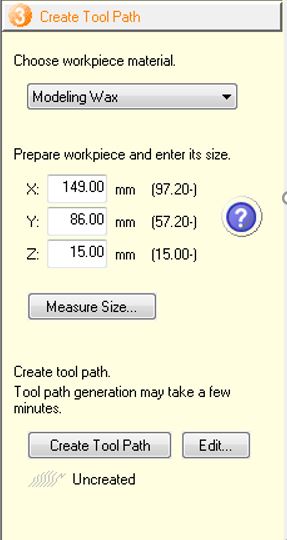
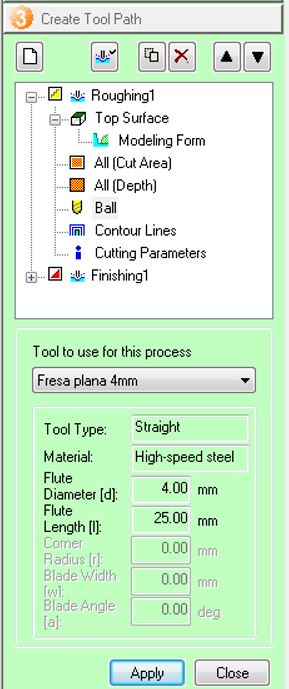
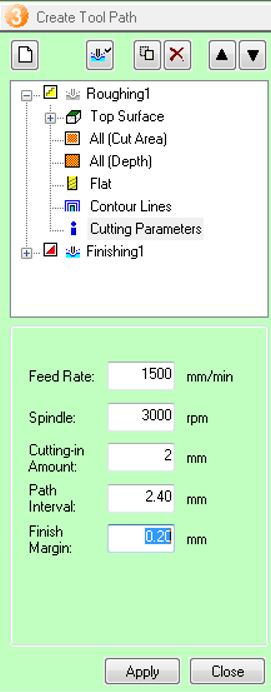
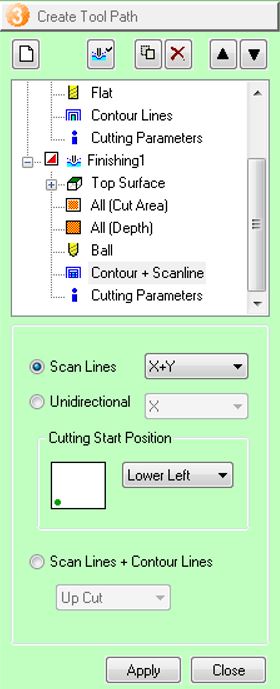
Now is time to define the "Tool Path". I didn't add margin because I designed it with this parameter.
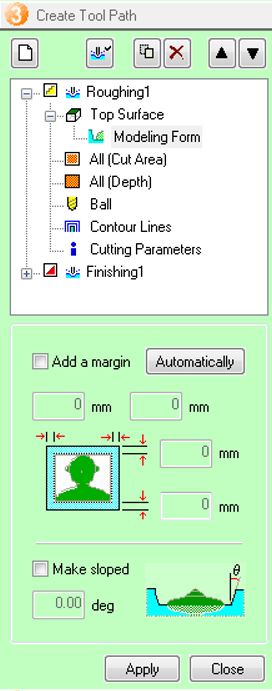
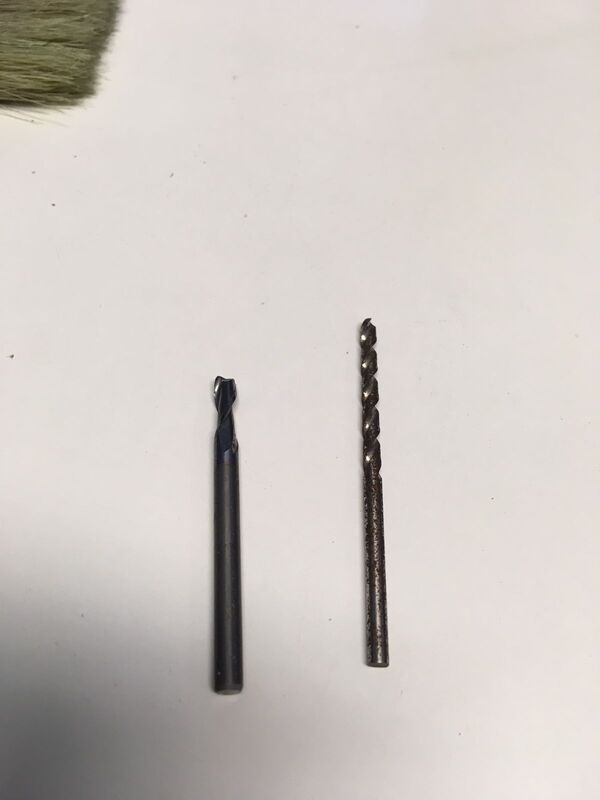
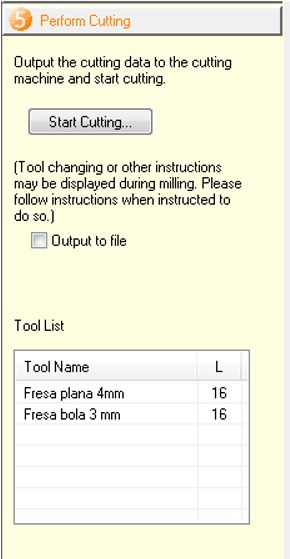
Then is time to define the tools that I will use. To the "Roughing" process is 4mm, and to "Finishing" is 3.2mm, respectevely at next picture.

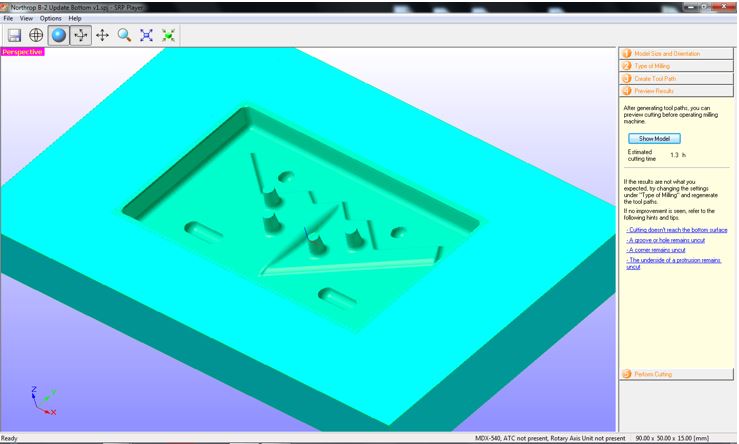
When we finish this part a "Created" status will appear.
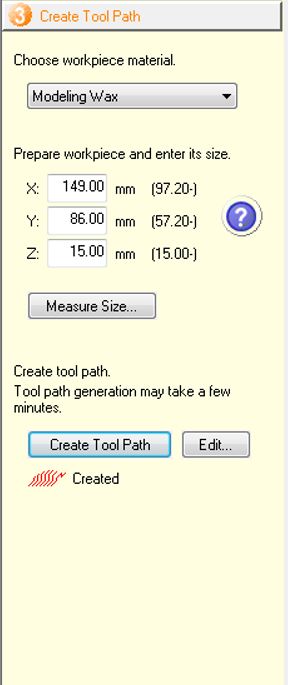
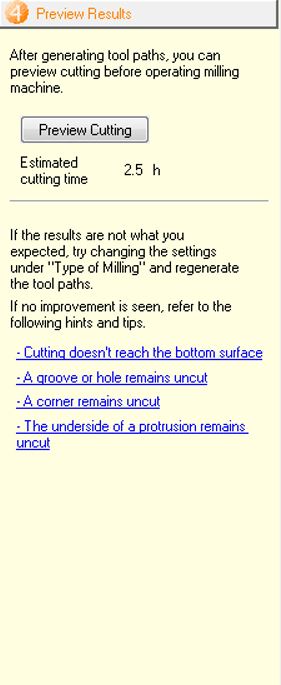
At next window is showed the estimated time to all the completed process.
Finally, at last window is the "Start Cutting" button. Pressing it we will find these windows.
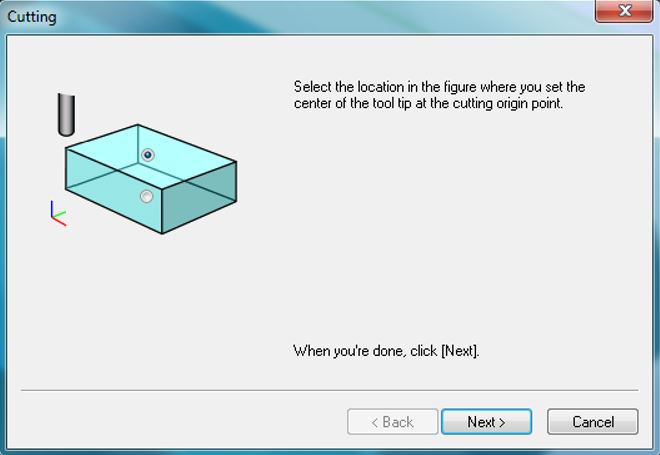
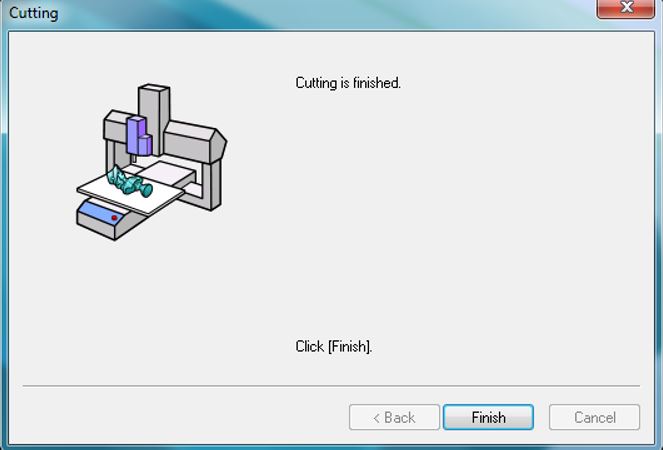
The next window is the final to start the milling process. But before that we have to set the coordinates of the machine.
And now, we can start the milling.
3rd The first thing that the machine does is "Rectify" the top.
Then, it starts with the 1st part of the process: "Roughing".
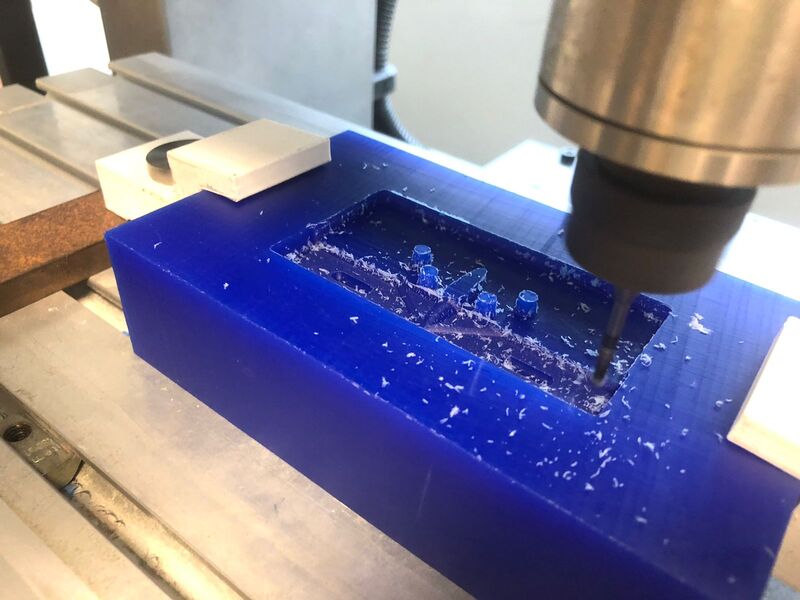
Note: We use a vaccum to keep clean the our work space.
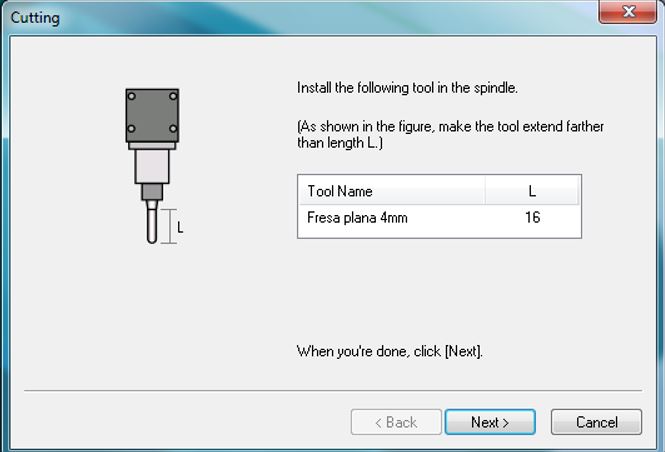
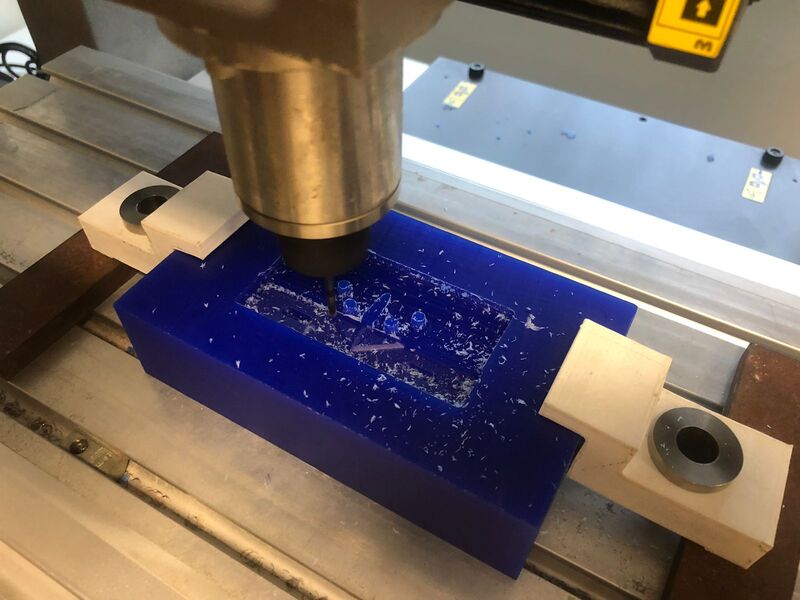
To finally start the "Finishing" process. Before that we have to change the tool.
Milling
To this part I used Platinum Silicone which is a food safety product to create food molds.
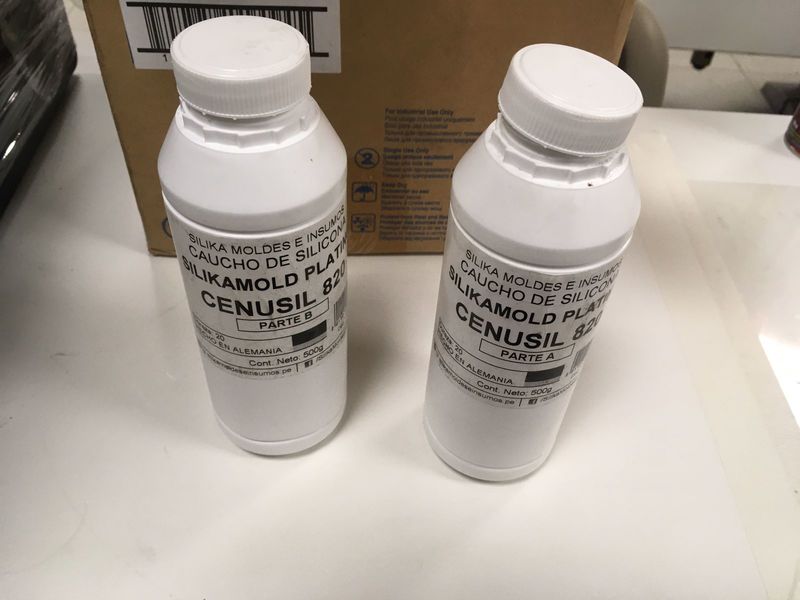
1st We have to pour the "A" component. I measured the quantity using its bottle cap.
2nd We have to pour the "B" component.
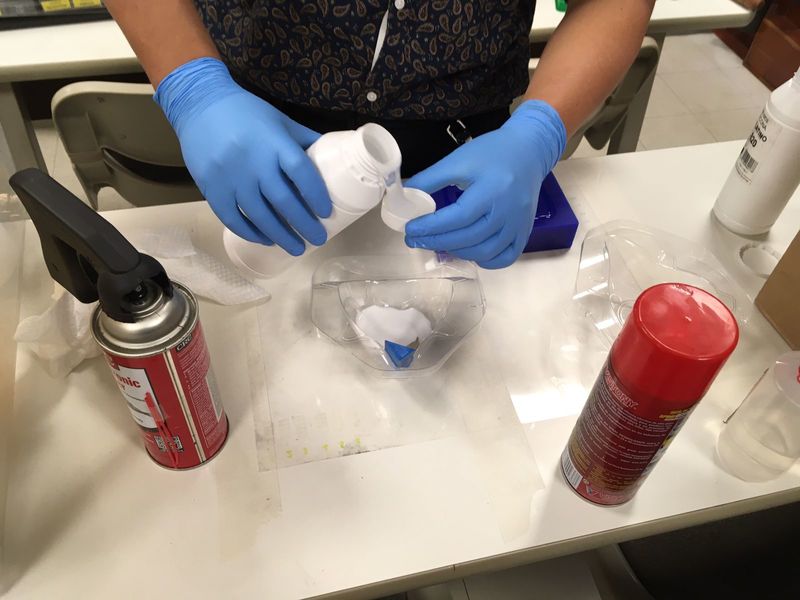
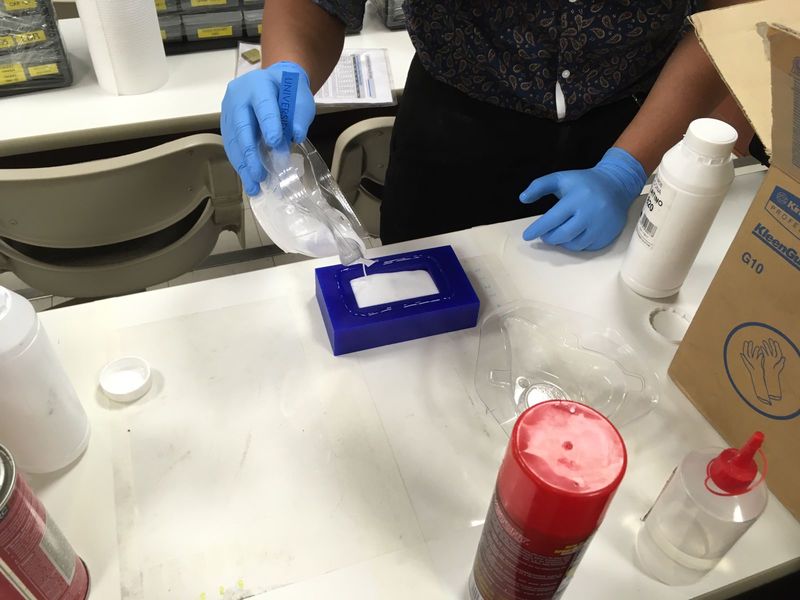
3rd Now we have to mix the content until the content will be homogeneous to pour on the mold.
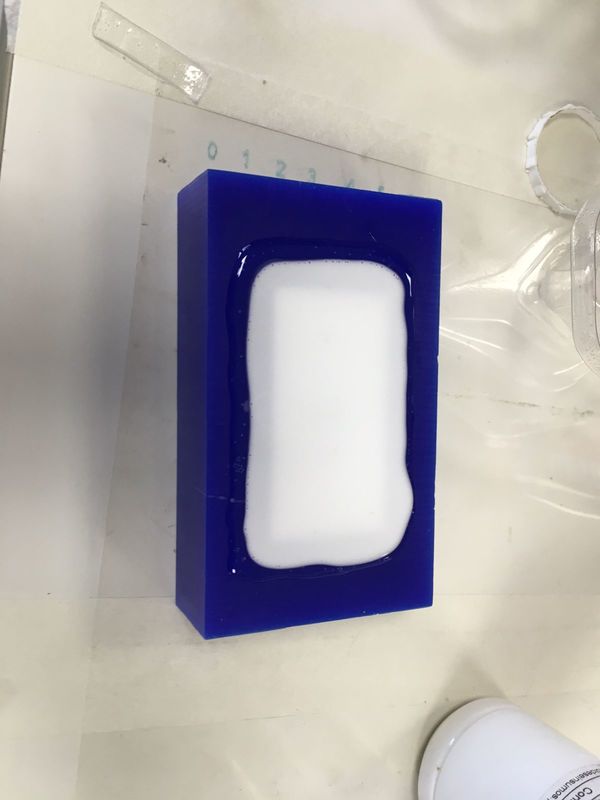
4th Now we have to let it dry. Then we will continue.
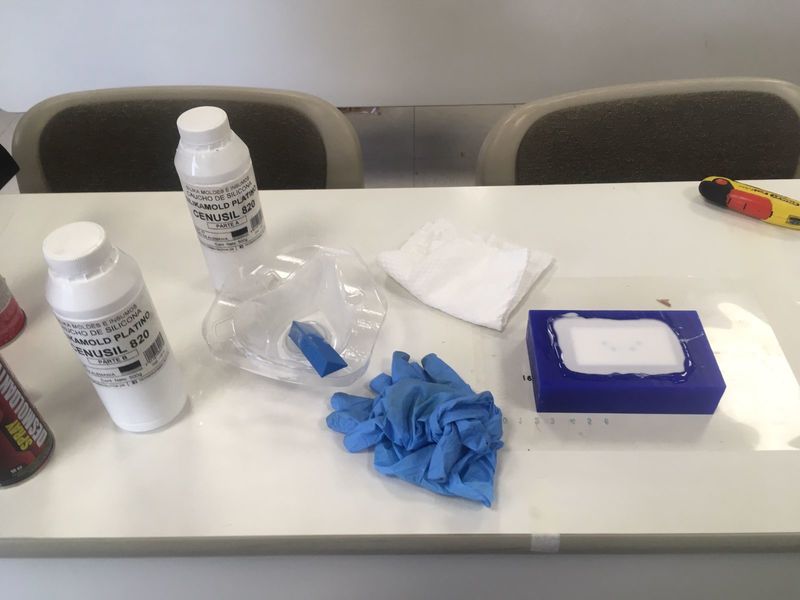
5th After retire each "face" wehave to clean the waste, I used a cutter, and drill some holes for where material will be introduce.
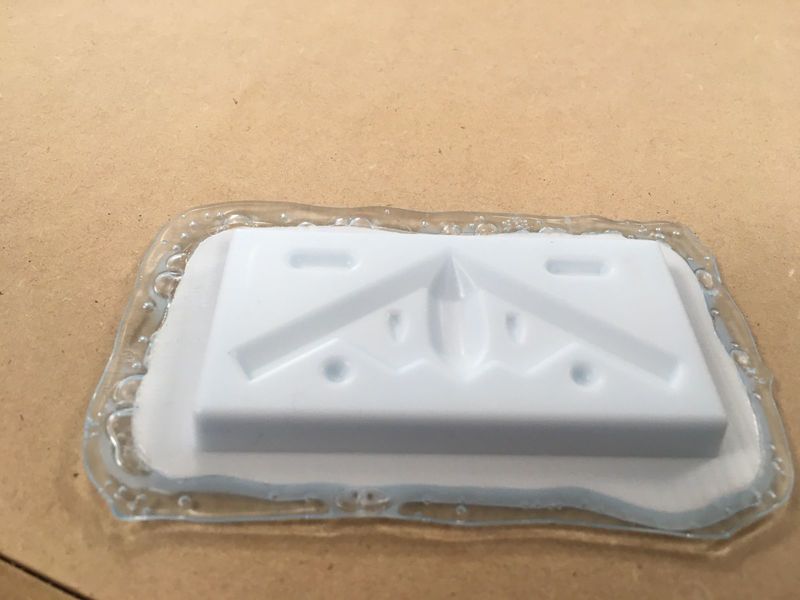
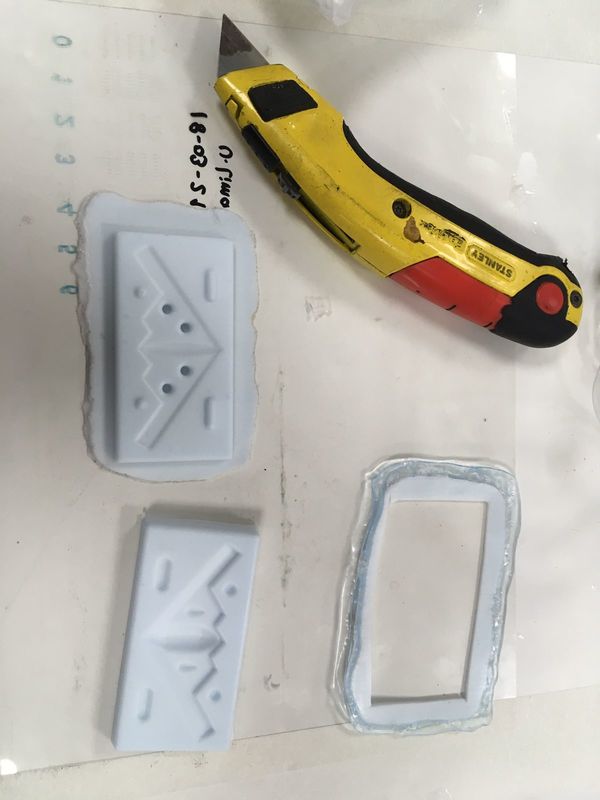
I finally have this.

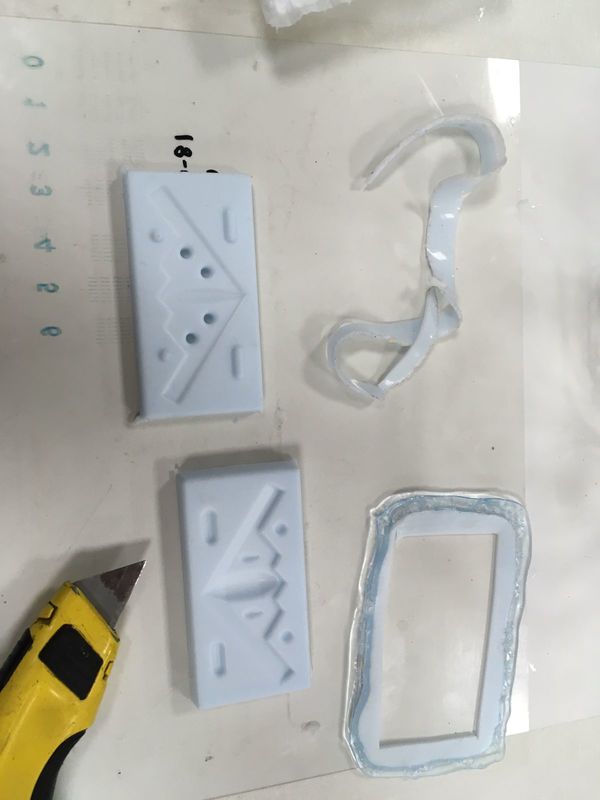
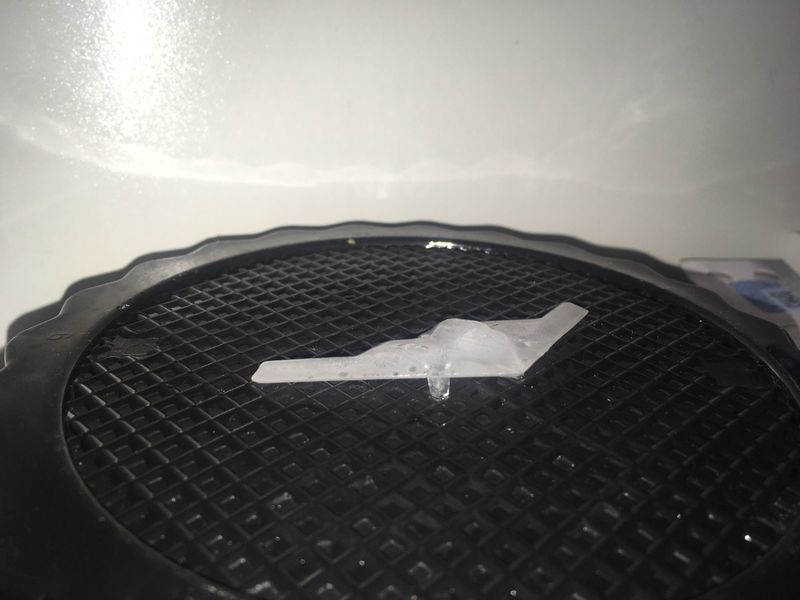
And I created these planes. Ice-Plane and Cholo-Plane.
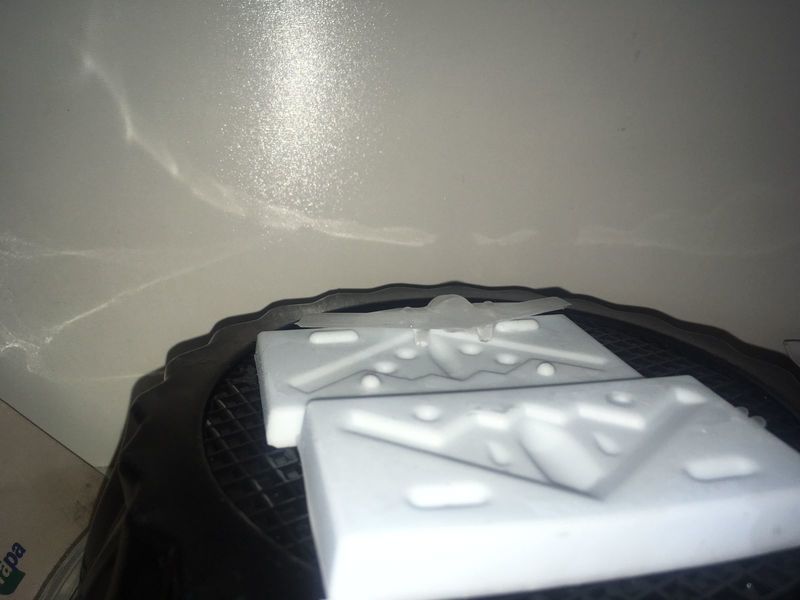
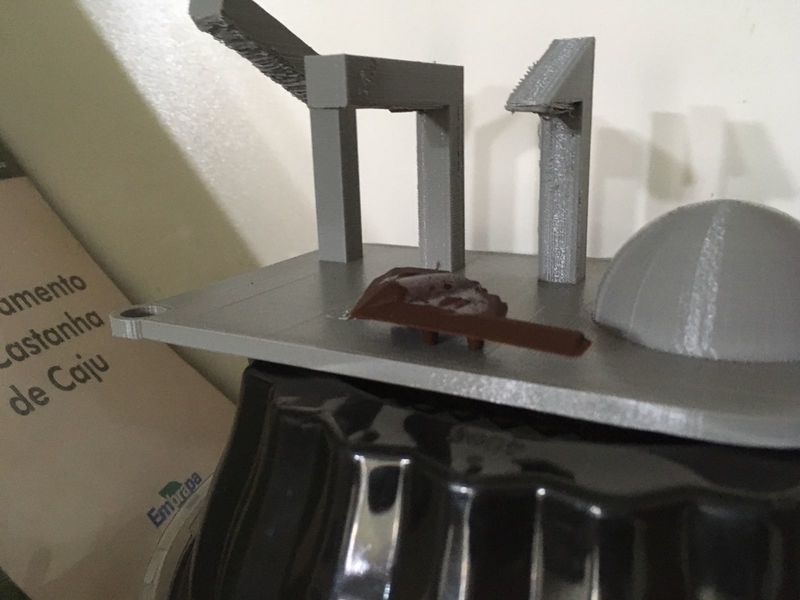
Finally I used some resin that remained from my Week Sixteenth: Wild Card to create a Resin Plane.
Here I was openning the mold.
And here it is.
Files
Below you will find my files which I made this week.