11. Molding and Casting
Objectives
- Group Assignment: Review the safety data sheets for each of your molding and casting materials.
- Group Assignment: Make and compare test casts with each of them
- Design a 3D mould around the stock and tooling that you'll be using, mill it (rough cut + (at least) three-axis finish cut), and use it to cast parts.
Group assignment
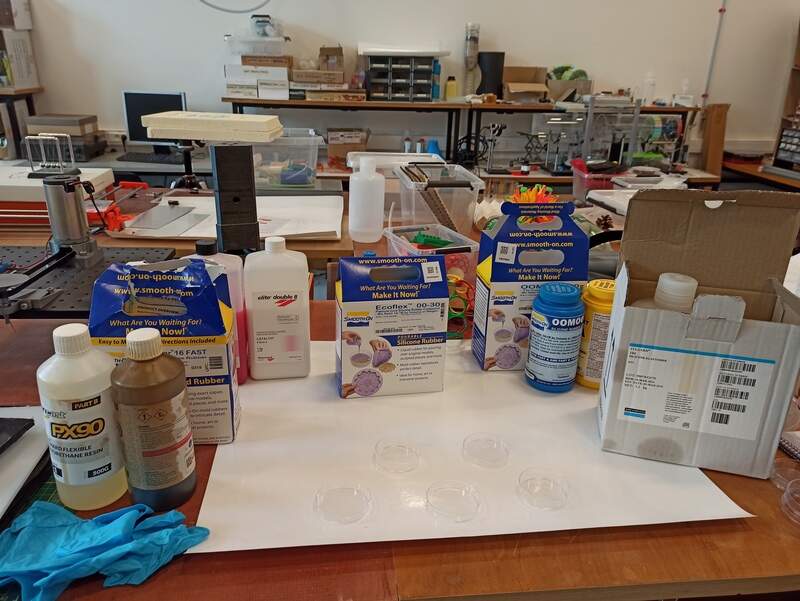
Jason and I reviewed the safety data sheets and we made some test casts with each molding material (or at least each family). This is recapped below:
Safety
In particular, we tested (with the datasheets linked):
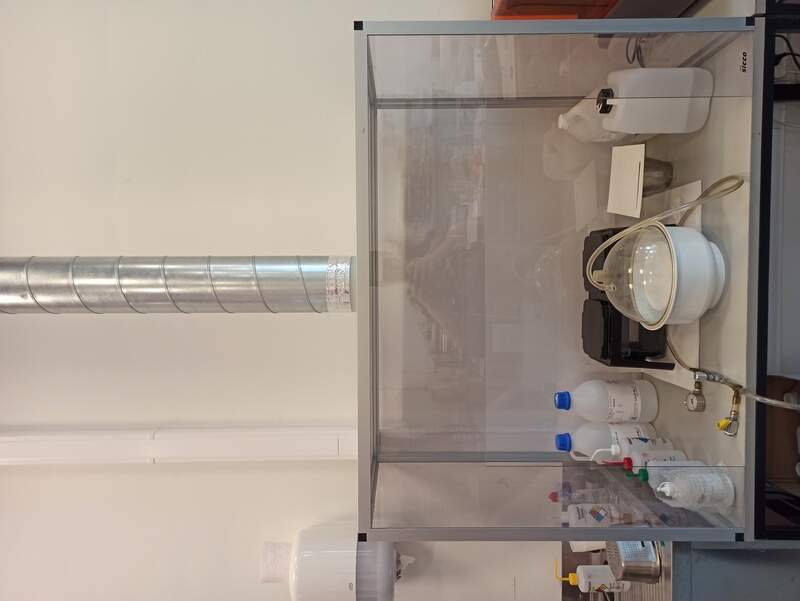
We noticed that all datasheets are talking about gloves, long sleeves, ventilated area (“room size” ventilation), and safety glasses. Because of this, we made sure to always work with nitrile or latex gloves, lab coats, glasses, and under a vent in the lab.
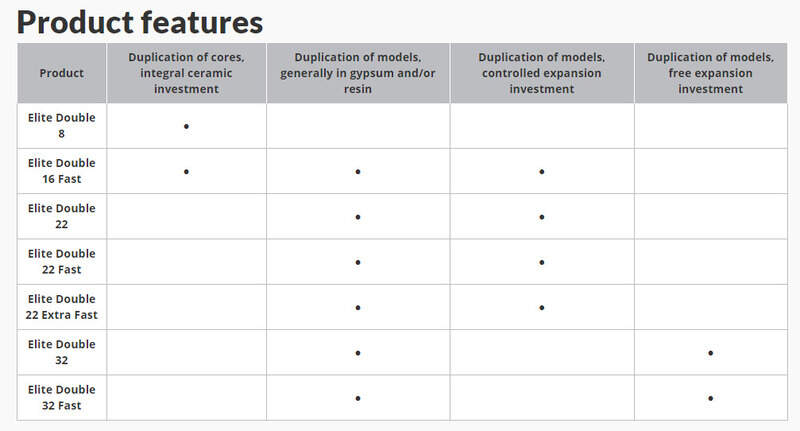
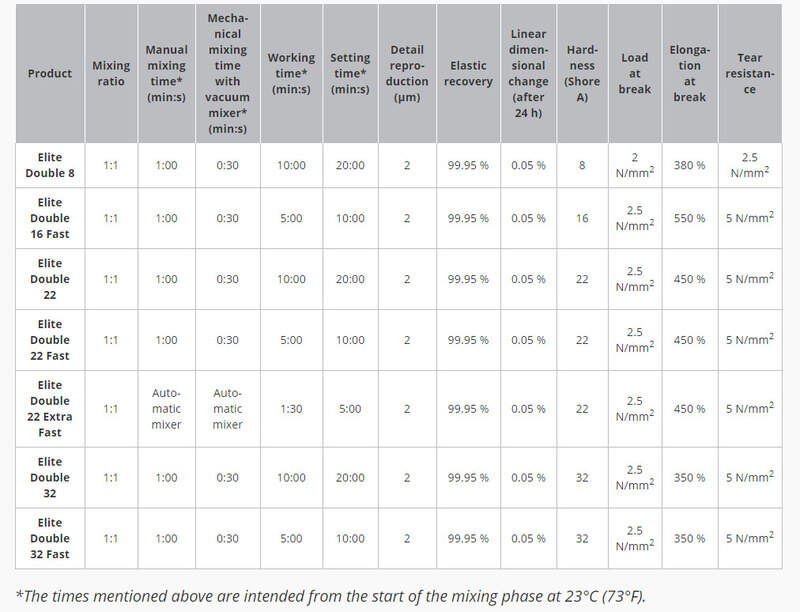
Types and usages
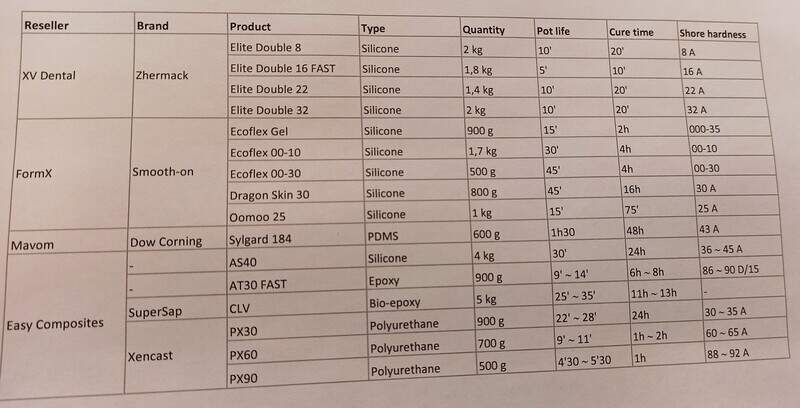
Having a look at the various datasheets, we can see that some of them are bio-compatible (Elite double 8 for example, which is used for dental work). The materials are categorized according to their final hardness (shore), pot life and curing time, material, …
examples of instructions for use (Elite double 8):
- Before using Elite Double, check that the model to be duplicated is perfectly clean. If it needs milling, be sure to remove any oily residues; the use of a solvent such as acetone is recommended. Wait for steam to evaporate, if used, and make sure that the model is perfectly dry. Select a flask of appropriate size, then anchor the model onto its base with wax
- Measure or weigh equal amounts of Catalyst (white) and Base (colored) in a graduated container.
- Mix the two components well, until the color is even.
- slowly pour Elite Double, preferably from a height of about 30cm above the flask. If the quantity measured out is not sufficient to complete the process, wait until the silicone has hardened completely and then add more material the same way. The material will bind perfectly and the addition will not affect the final result. Use a jet of compressed air between the model and the mold created. Do not use mechanical force with a knife or other implement, and do not pull it away from the flask, or you may deform the mold
Test casts
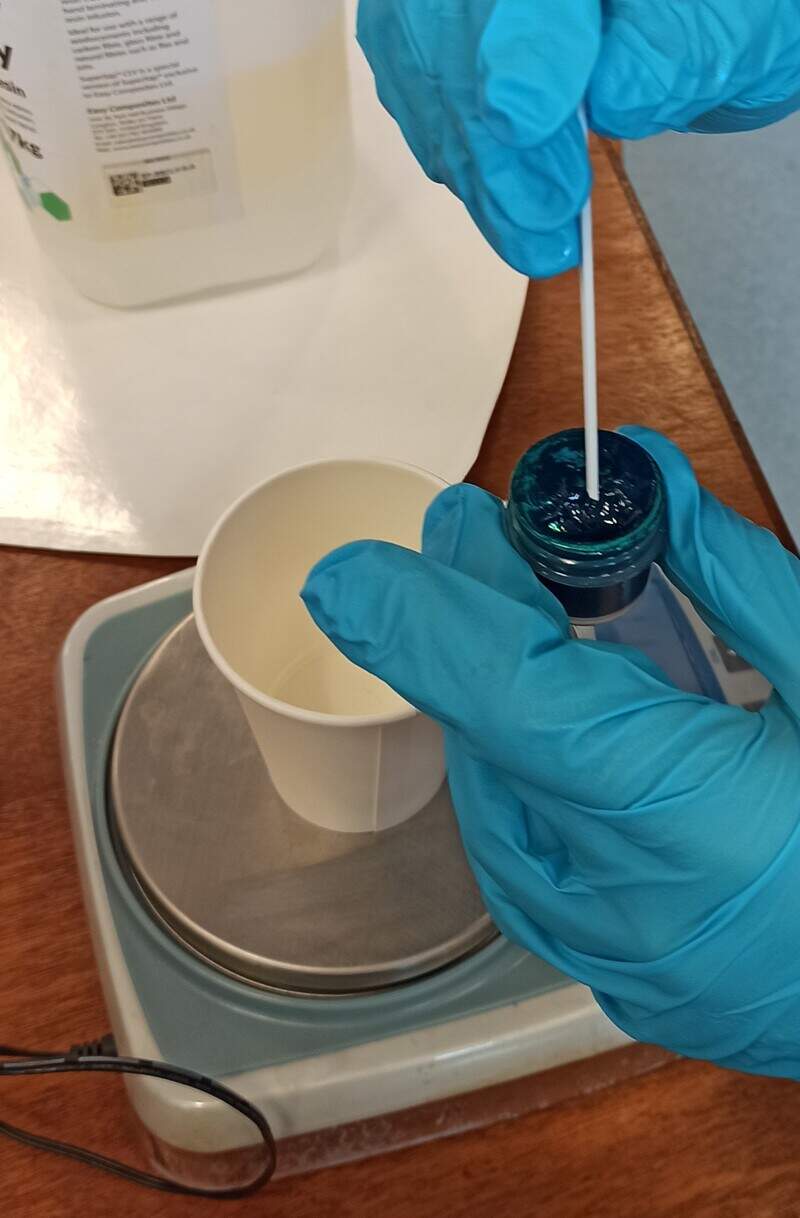
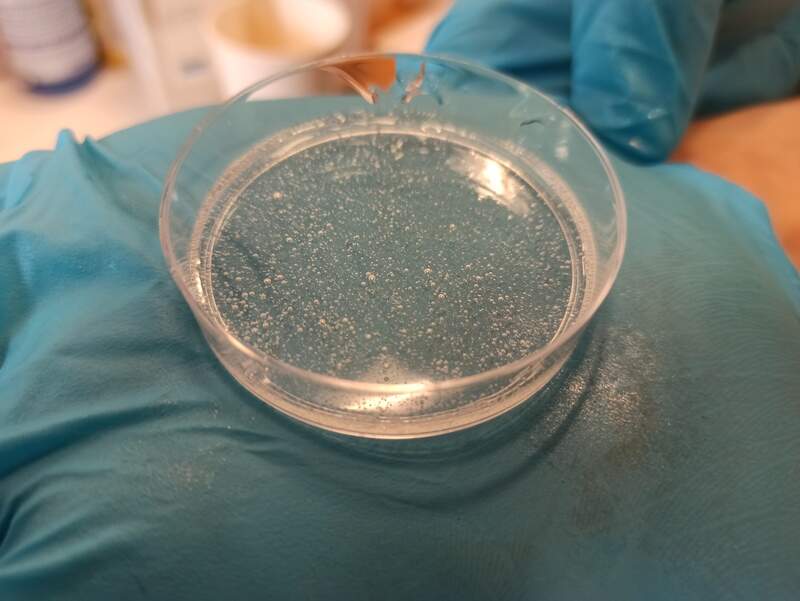
We used Petri dishes to test the different materials. We made sure to pour about 10g of each material while respecting the mix prescribed by the manufacturer.
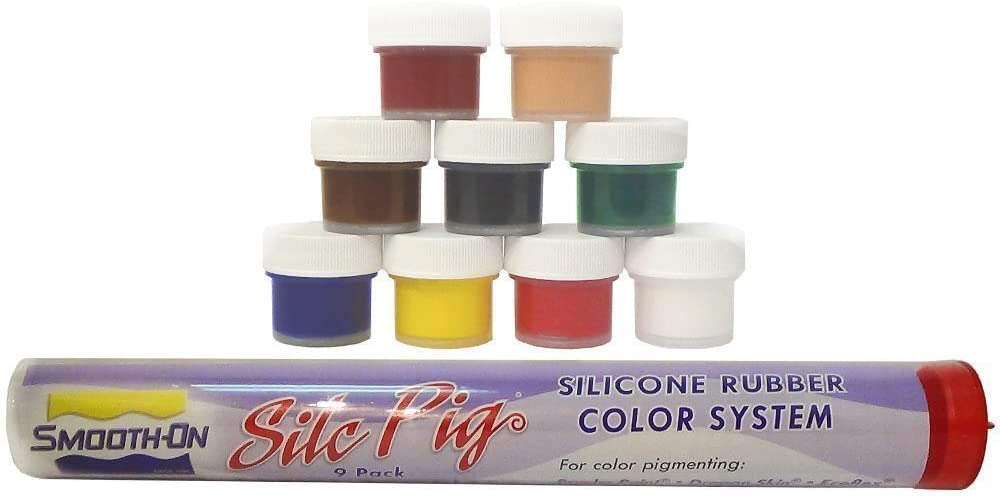
We also played around with some pigments:
and used the vacuum bell. We had an analog manometer so it was sometimes difficult to read the exact values but we reached around 0.2 bar for efficient degassing. We also noted that going too low in pressure would result in never-ending bubbles as the solvents would start to evaporate (or at least we think so).

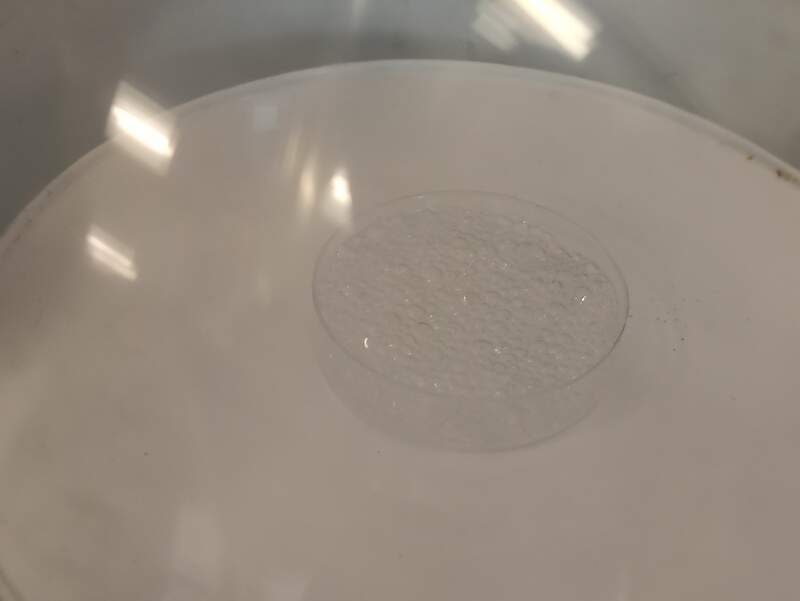
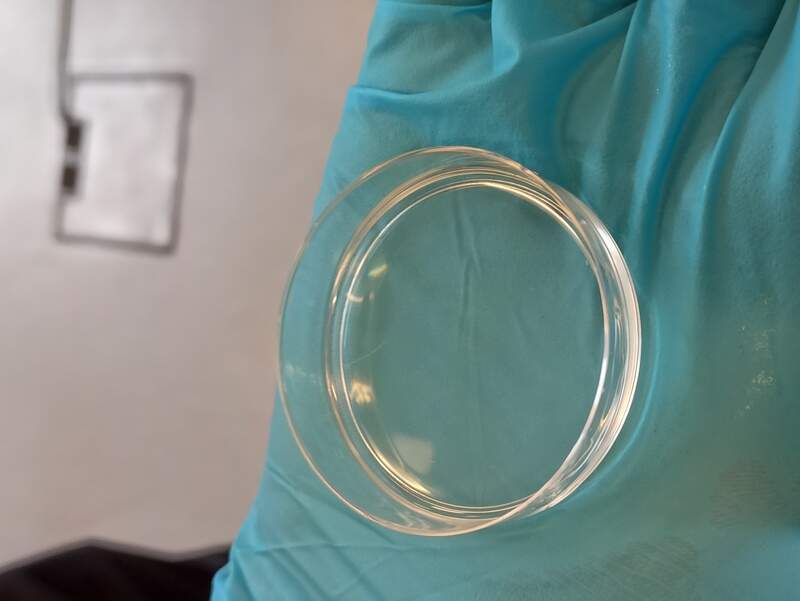
Same goes for other materials:
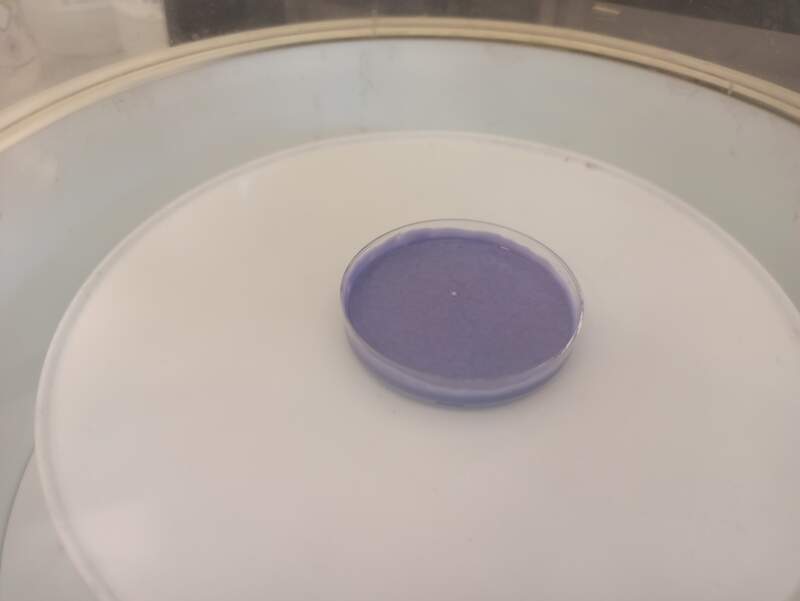
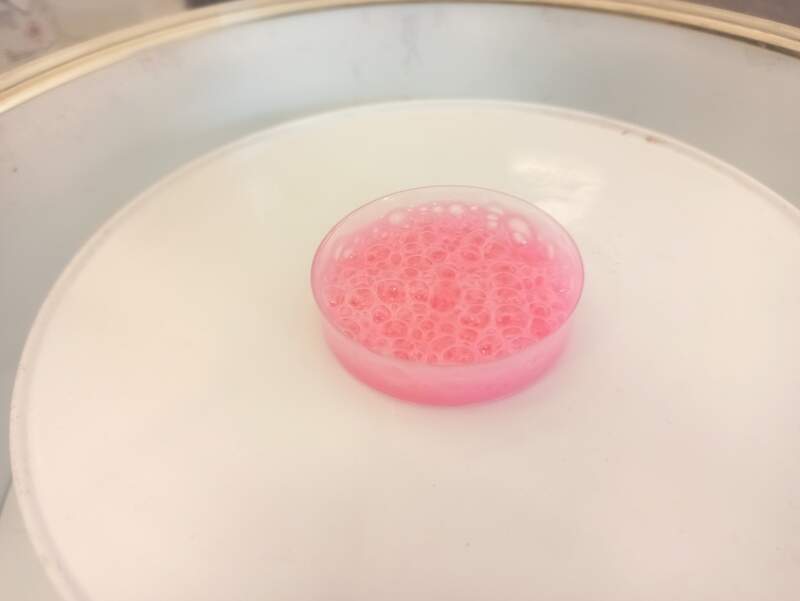
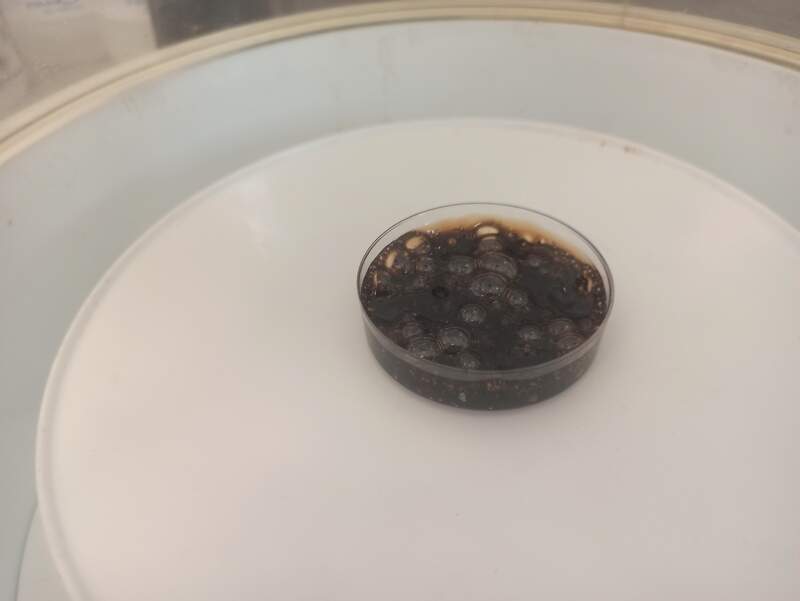
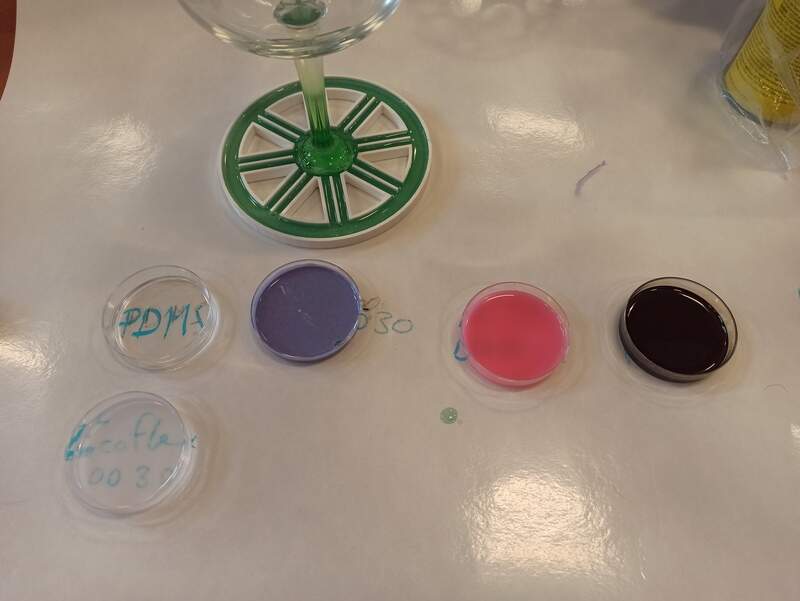
Our test casts:
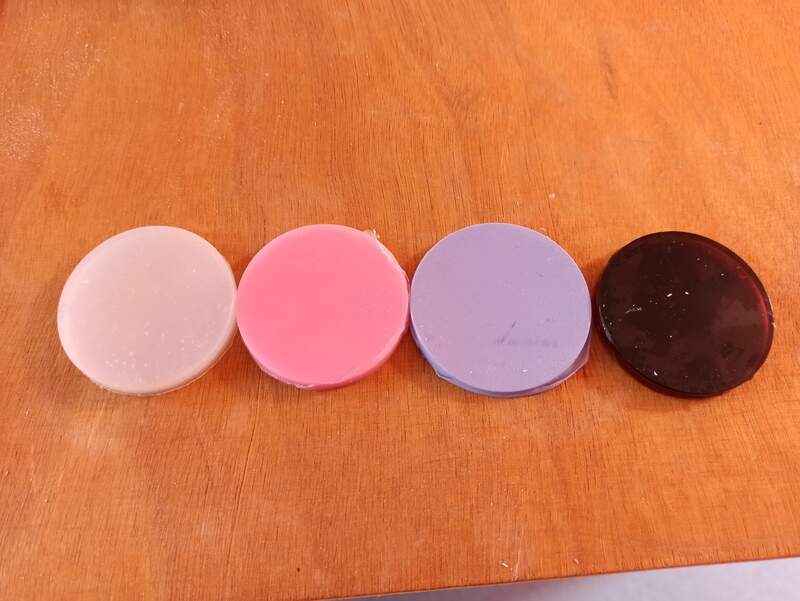
For the pigments in the epoxy (and below in the first project), we used the Smooth-on Silc Pig color system. Note that they are not soluble in water, only in silicone or fatty media.
As a conclusion for the test materials, we can say that there are large differences in terms of pot-life and curing time for the various types of molding substances. Also, some are more viscous than others and therefore need more degassing, are more difficult to pour in a mold, and sometimes it would even be beneficial to be able to centrifugate the mold for a very viscous silicone. The PDMS has really interesting optical properties and could be used for microfluidics for example but has a 24-hour curing time. Some materials already have some pigments in them like the Oomoo for example. Finally, the most obvious difference between the materials is the stiffness.
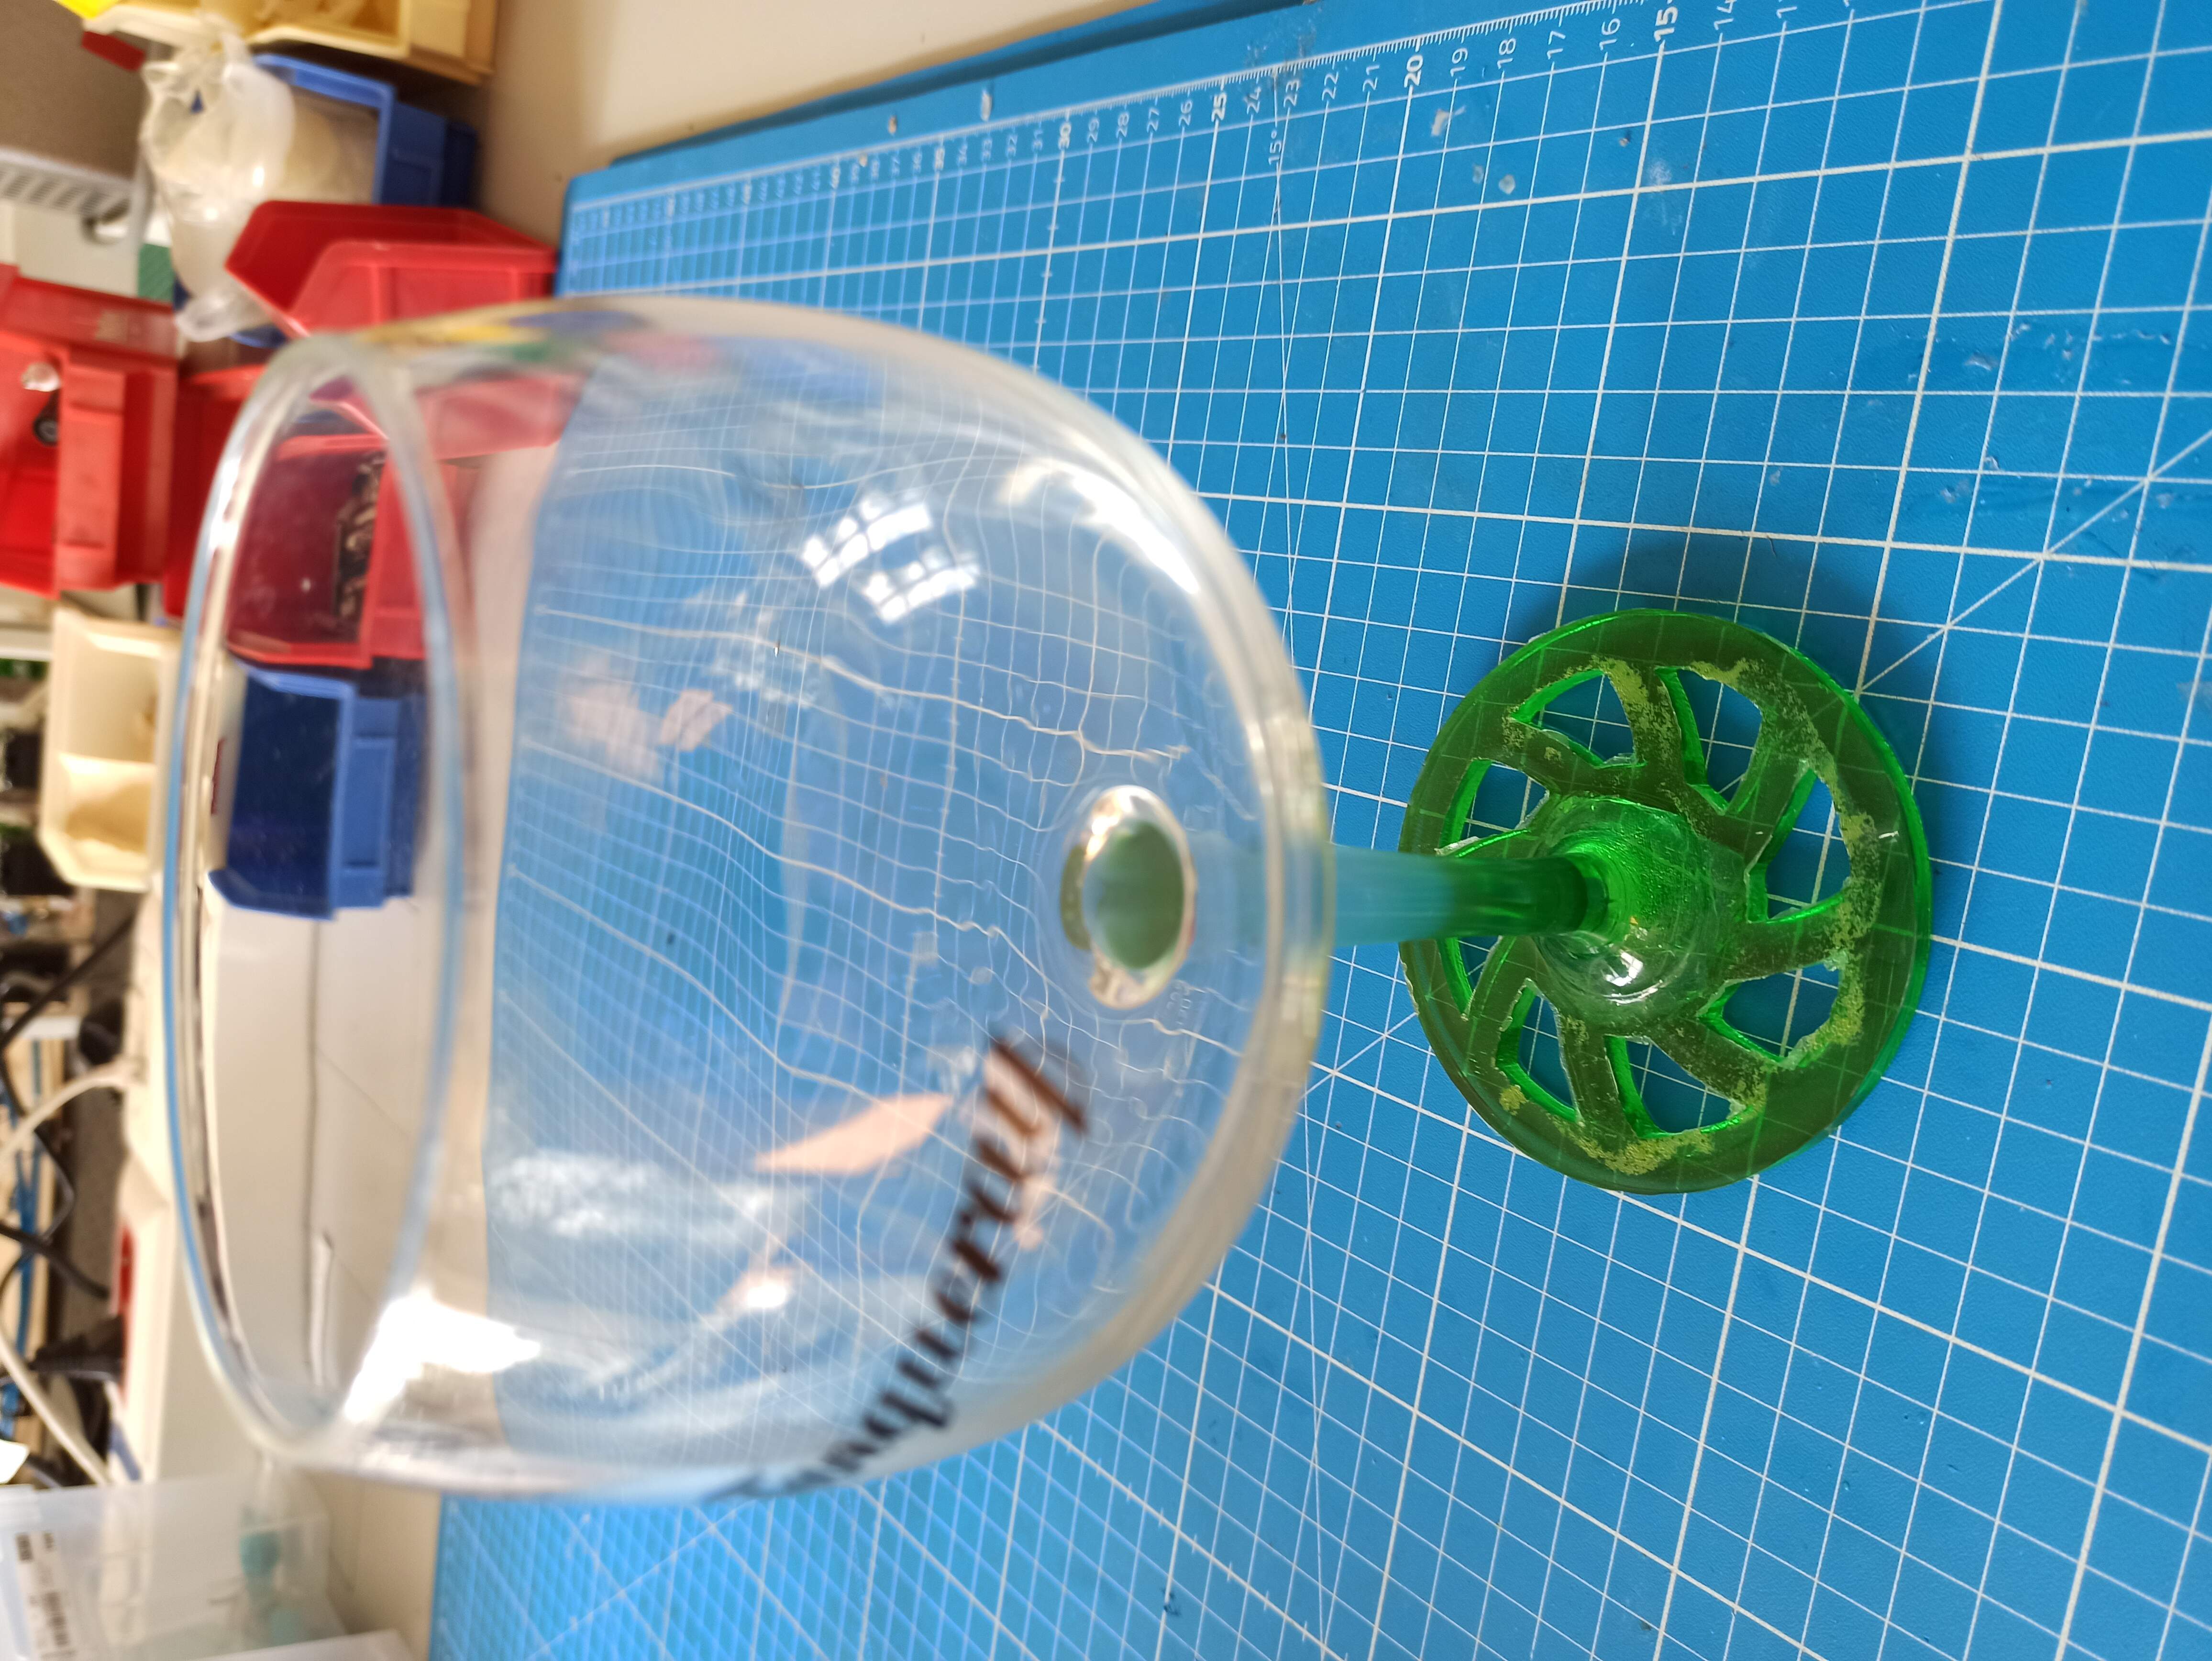
First project: repairing a broken glass
A friend of mine recently told me he broke a glass and wanted to repair it but didn’t know how to do that. Let’s try to repair it this week.
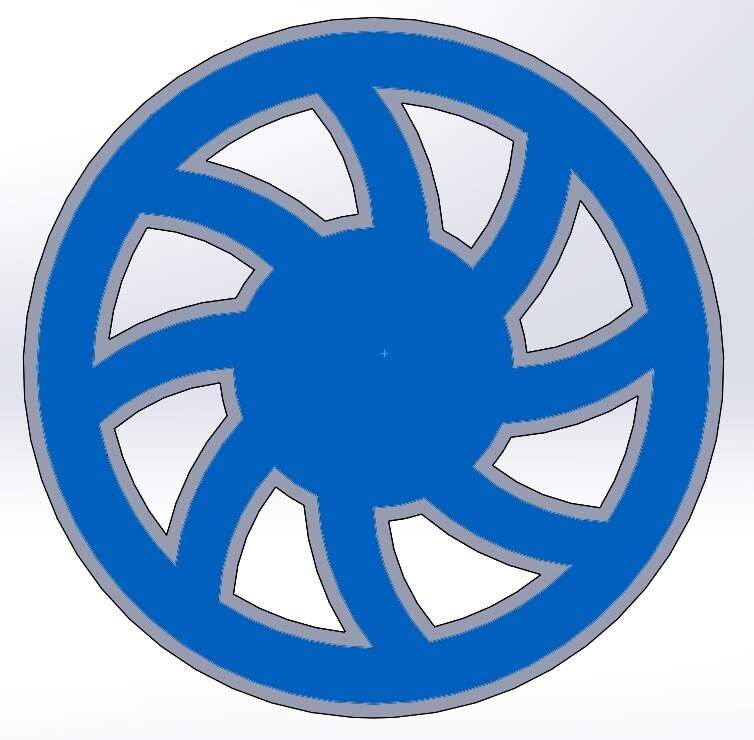
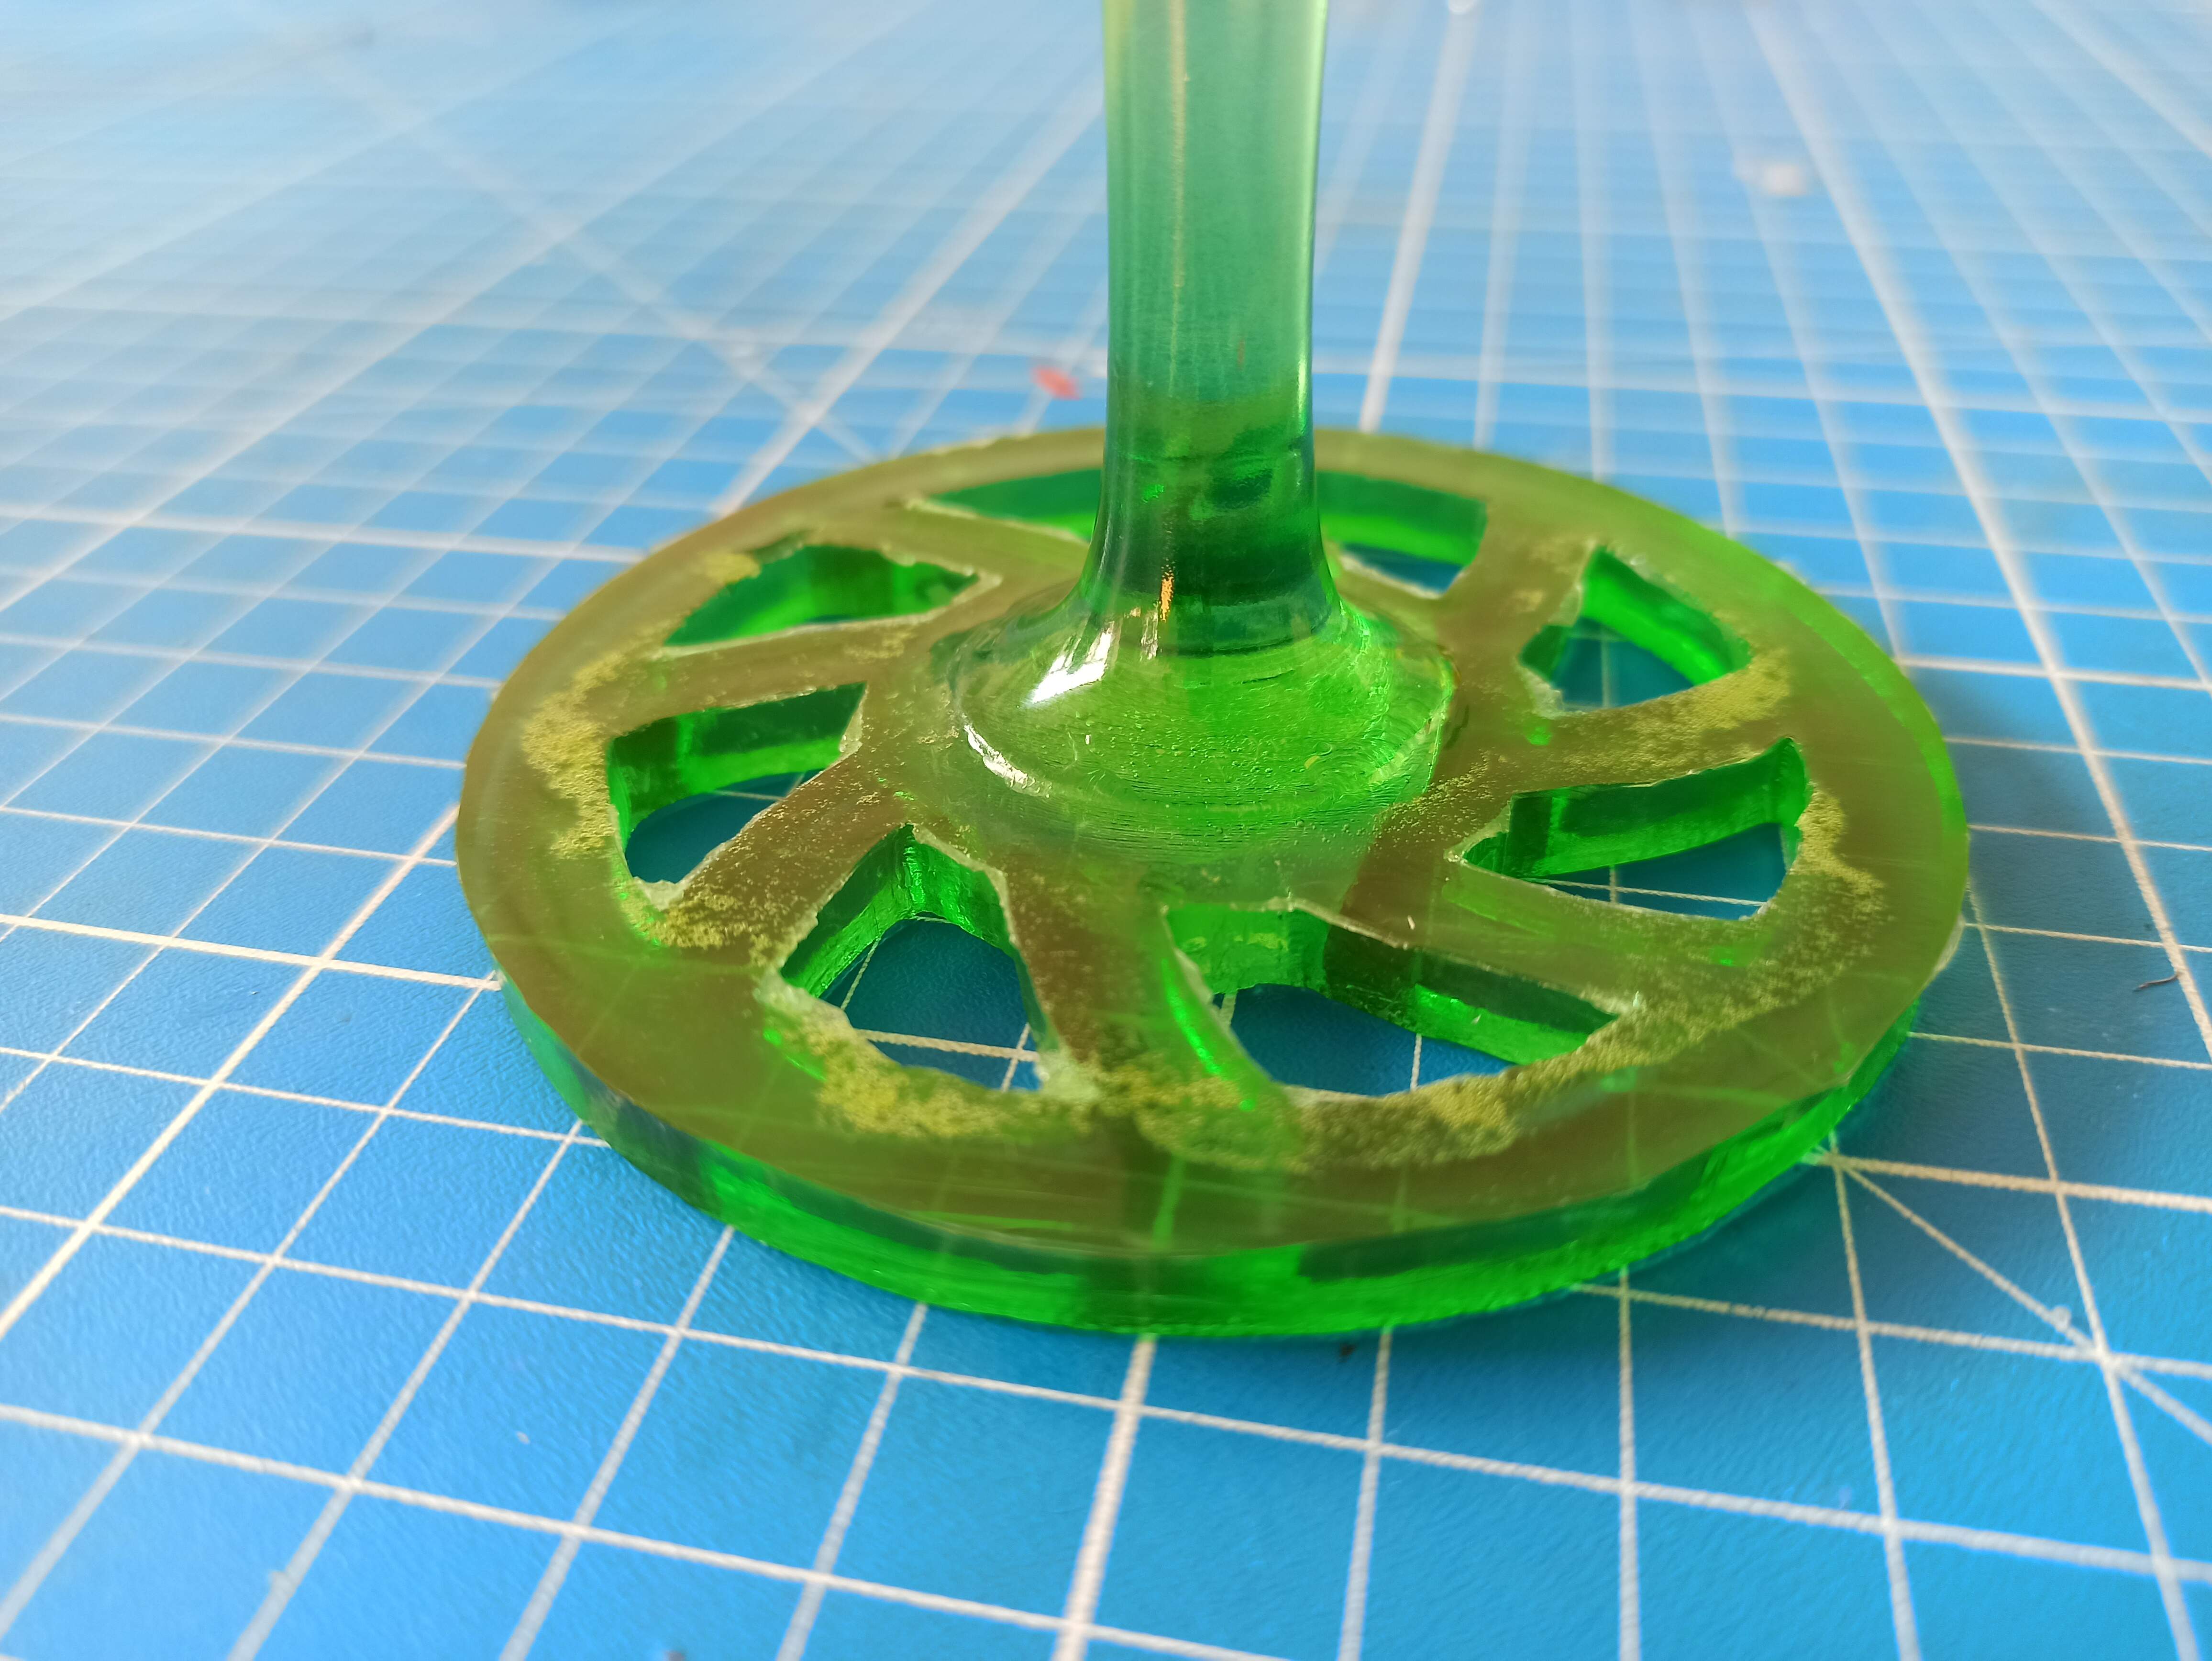
Its bottom stand was completely broken so I thought about making a quick 3D-printed mold and then pour some (coloured) epoxy on top of it. So I started designing a mold in SolidWorks, that looks more or less like a bicycle wheel (he’s a fan of cycling) :
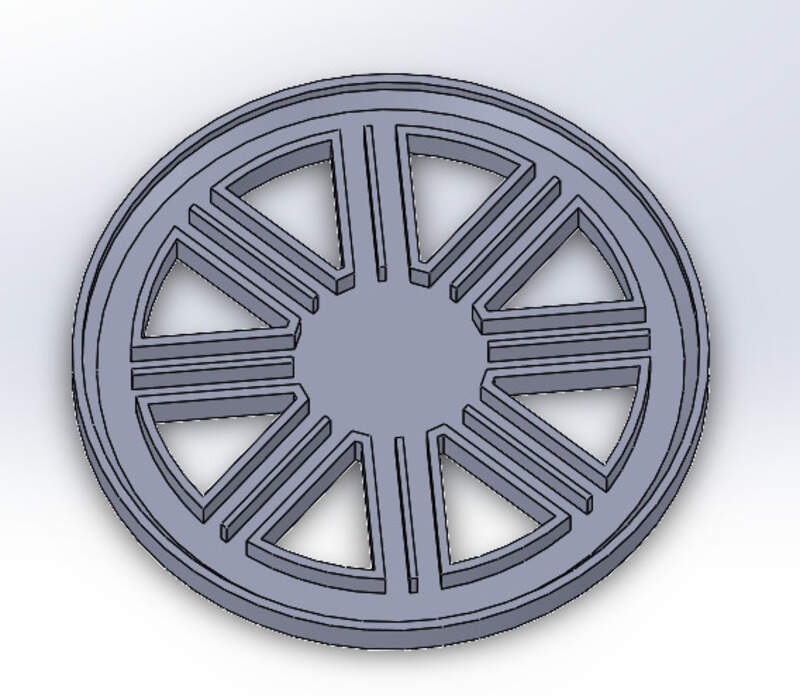
I made sure to add some chamfers in the design to help remove the mold (spoiler alert: that wasn’t enough!).

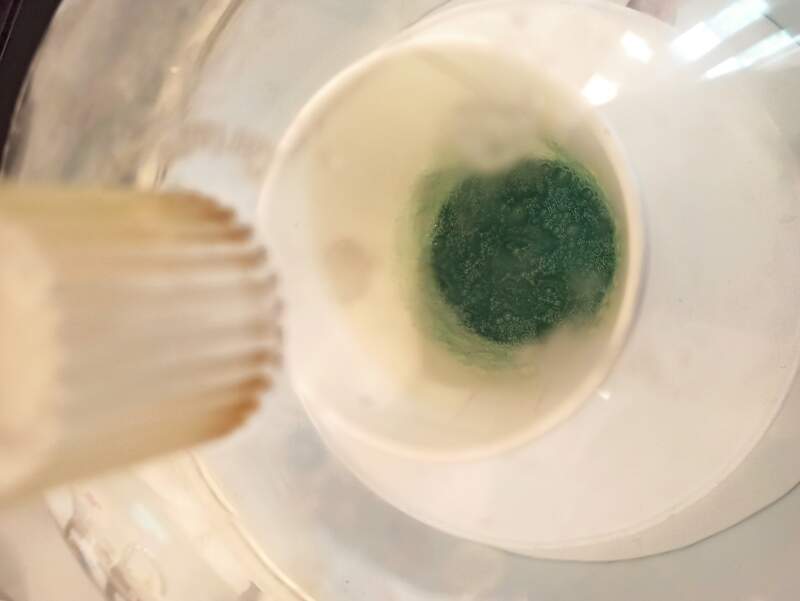
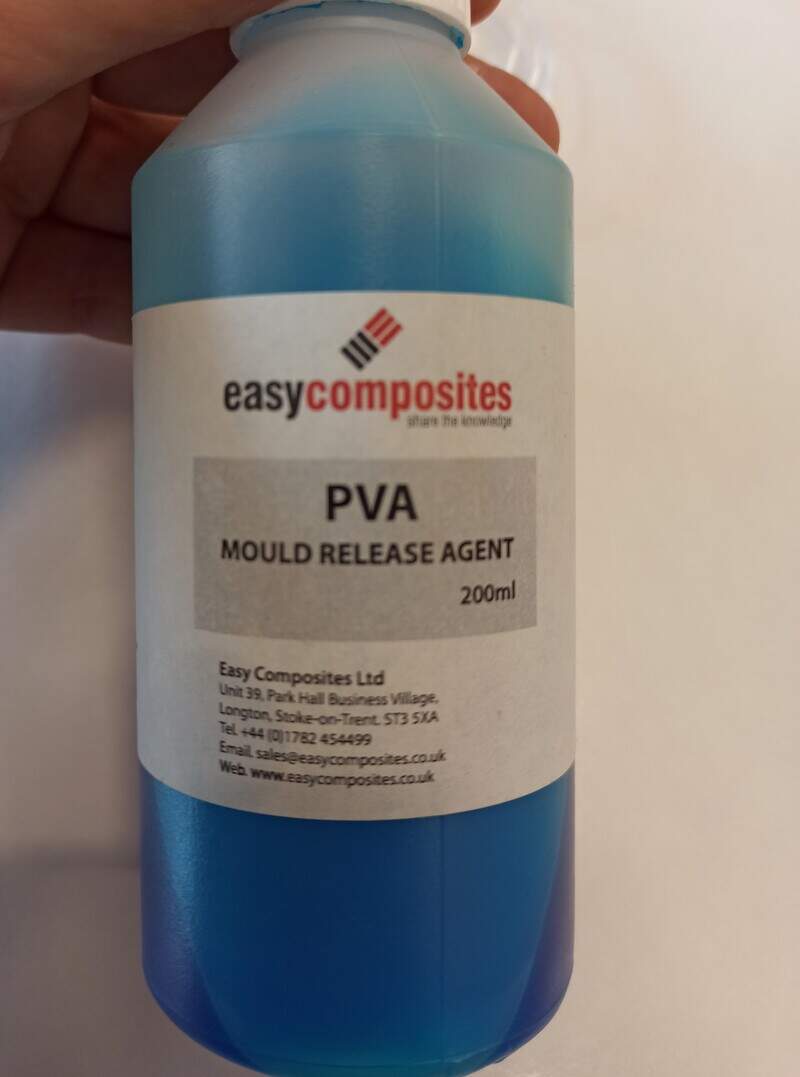
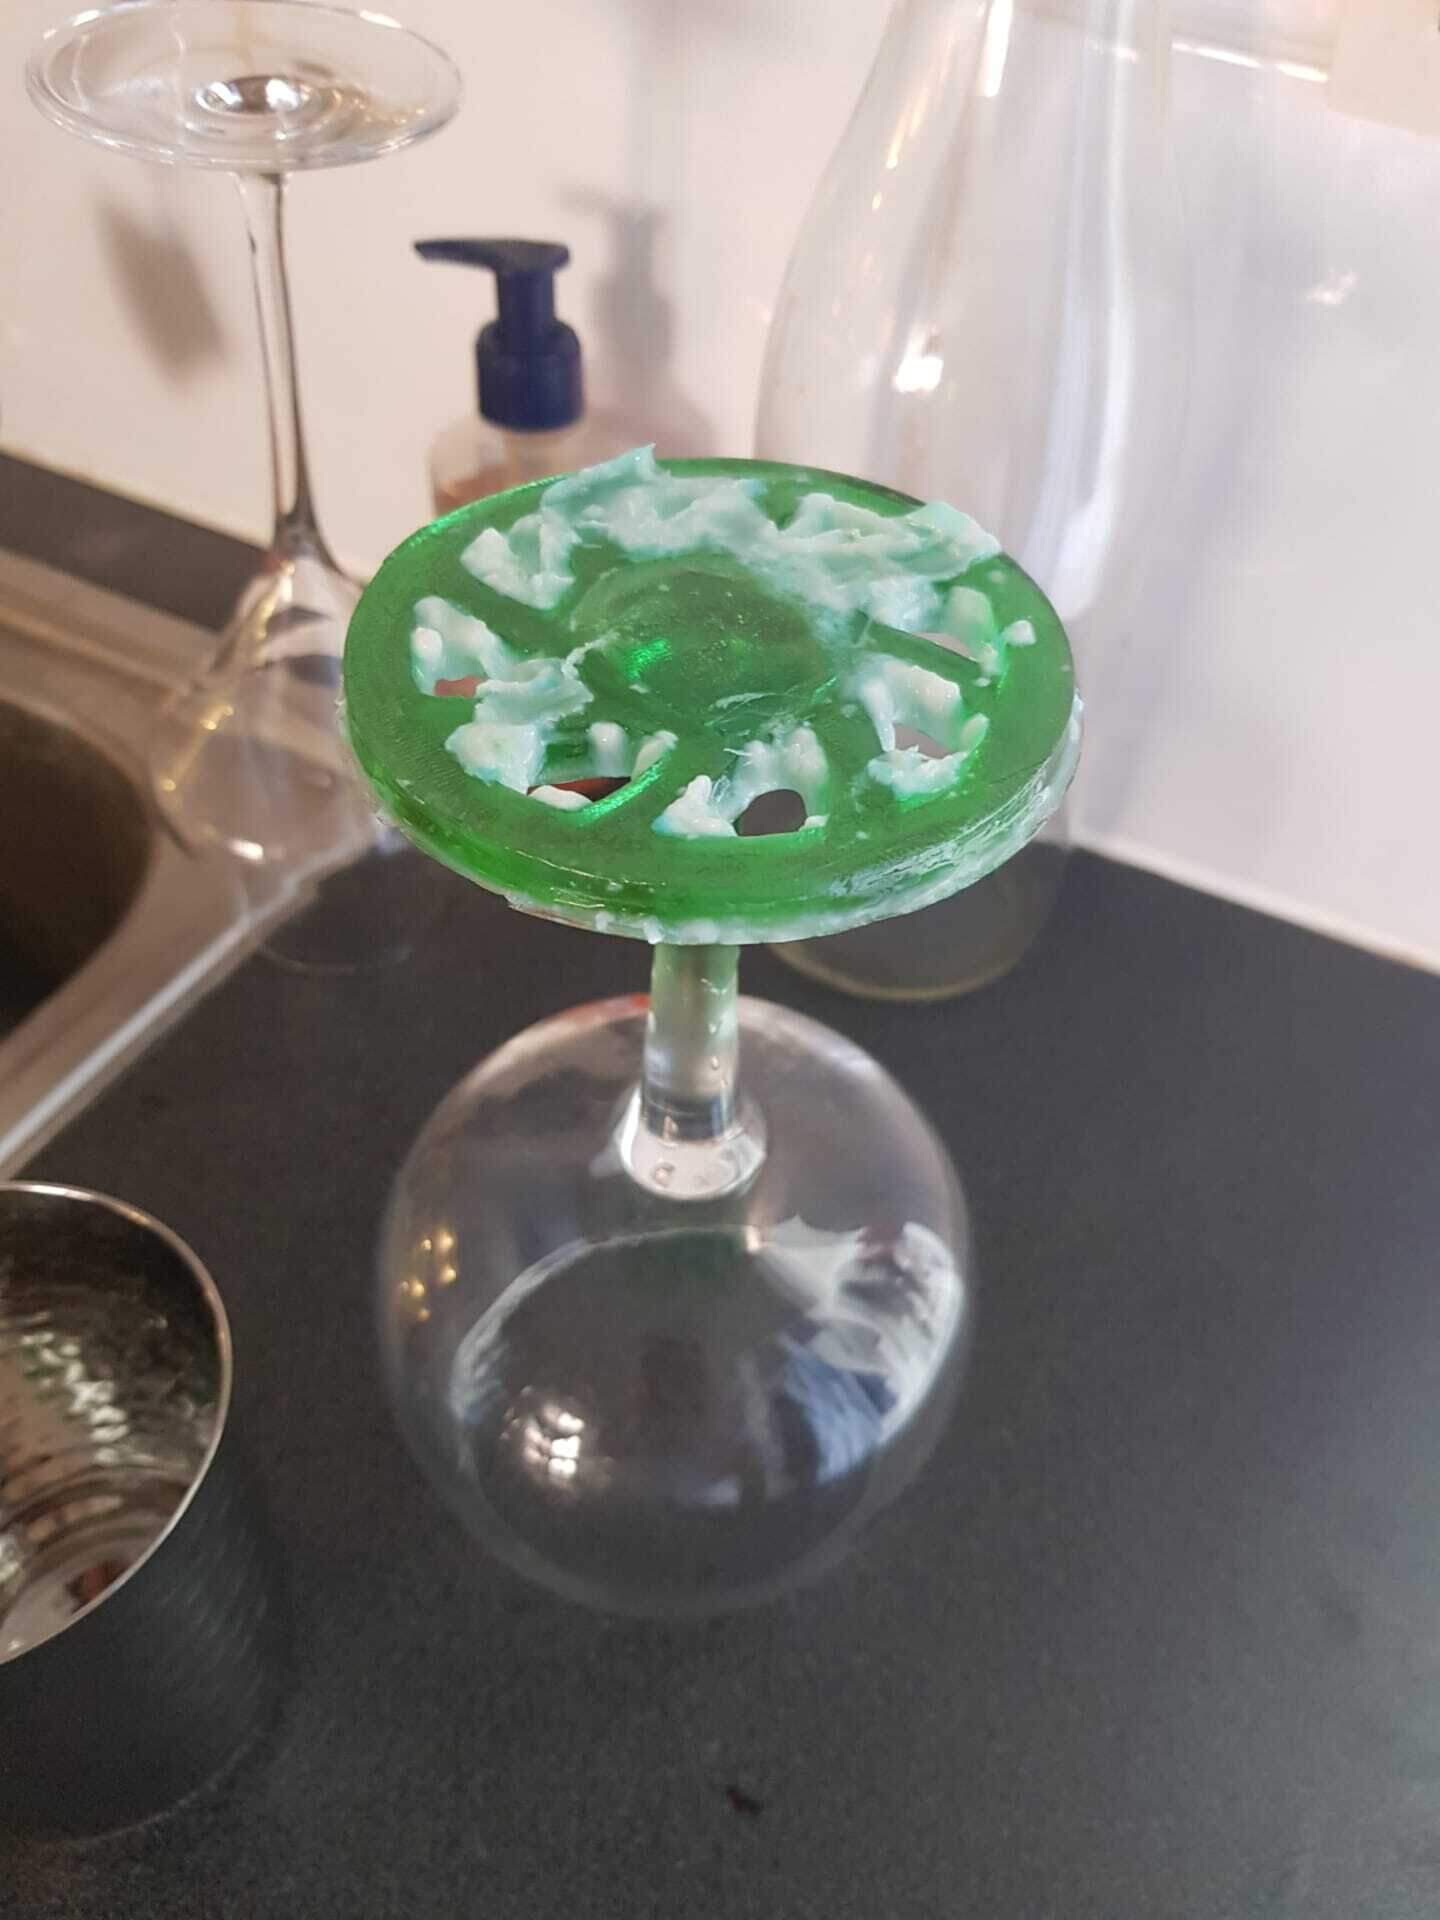
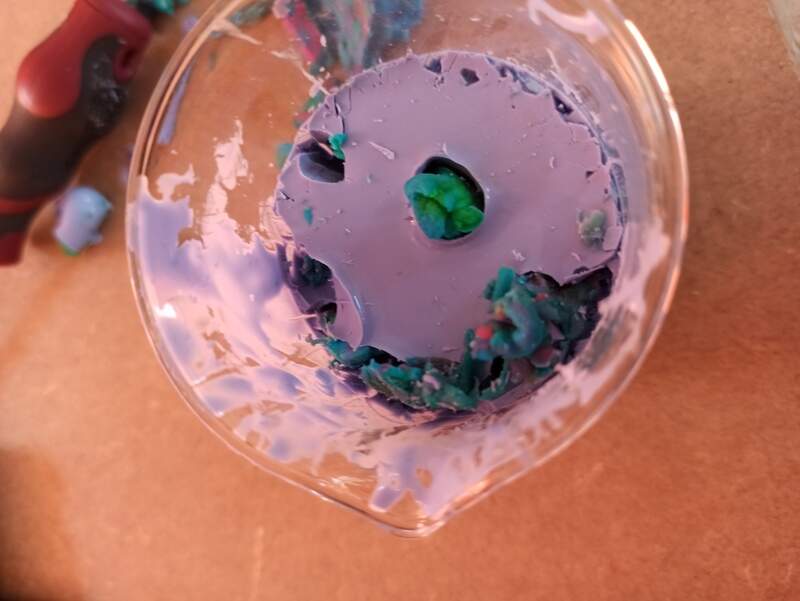
I then applied a lot of mold release agent:
Then prepared the epoxy (mix 100:1000) and added some green pigments before pouring it into the mold.
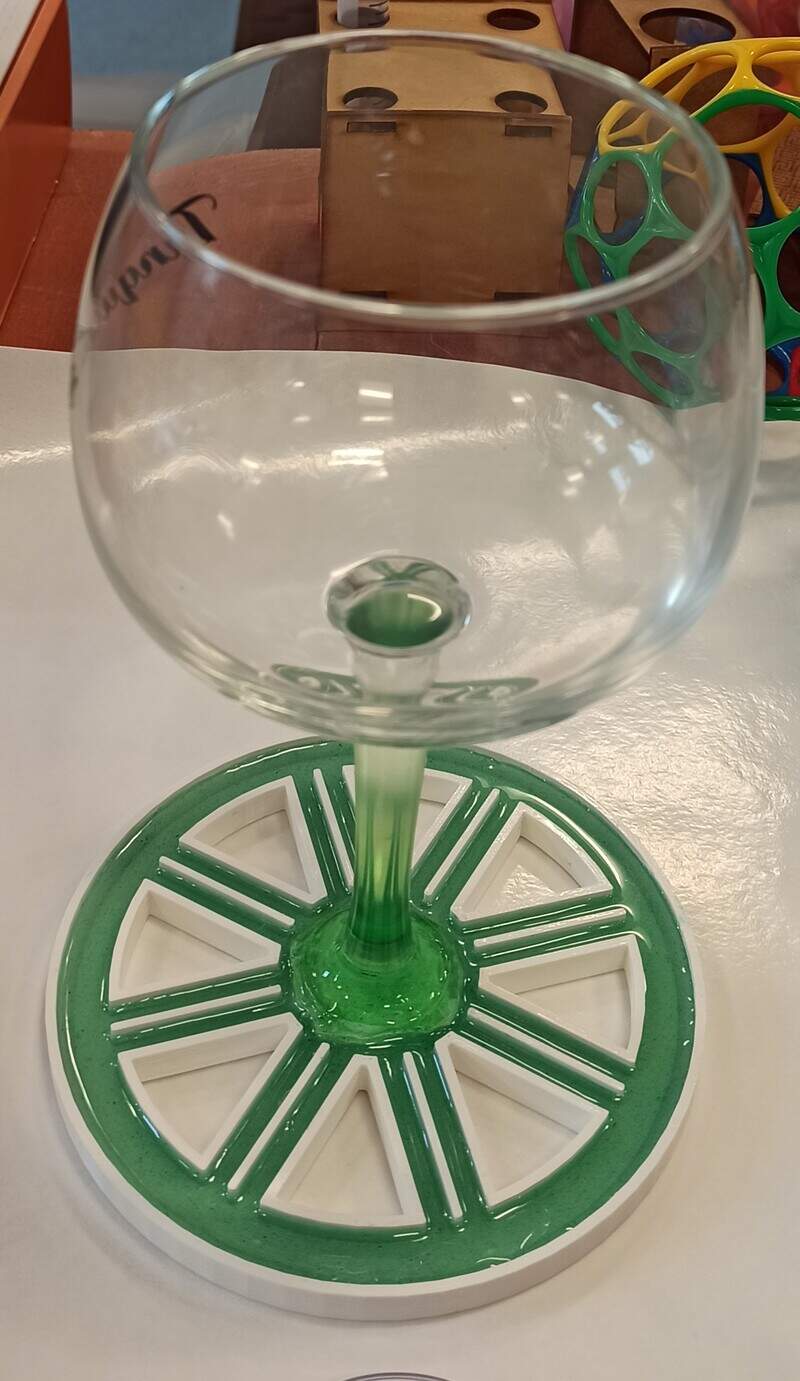
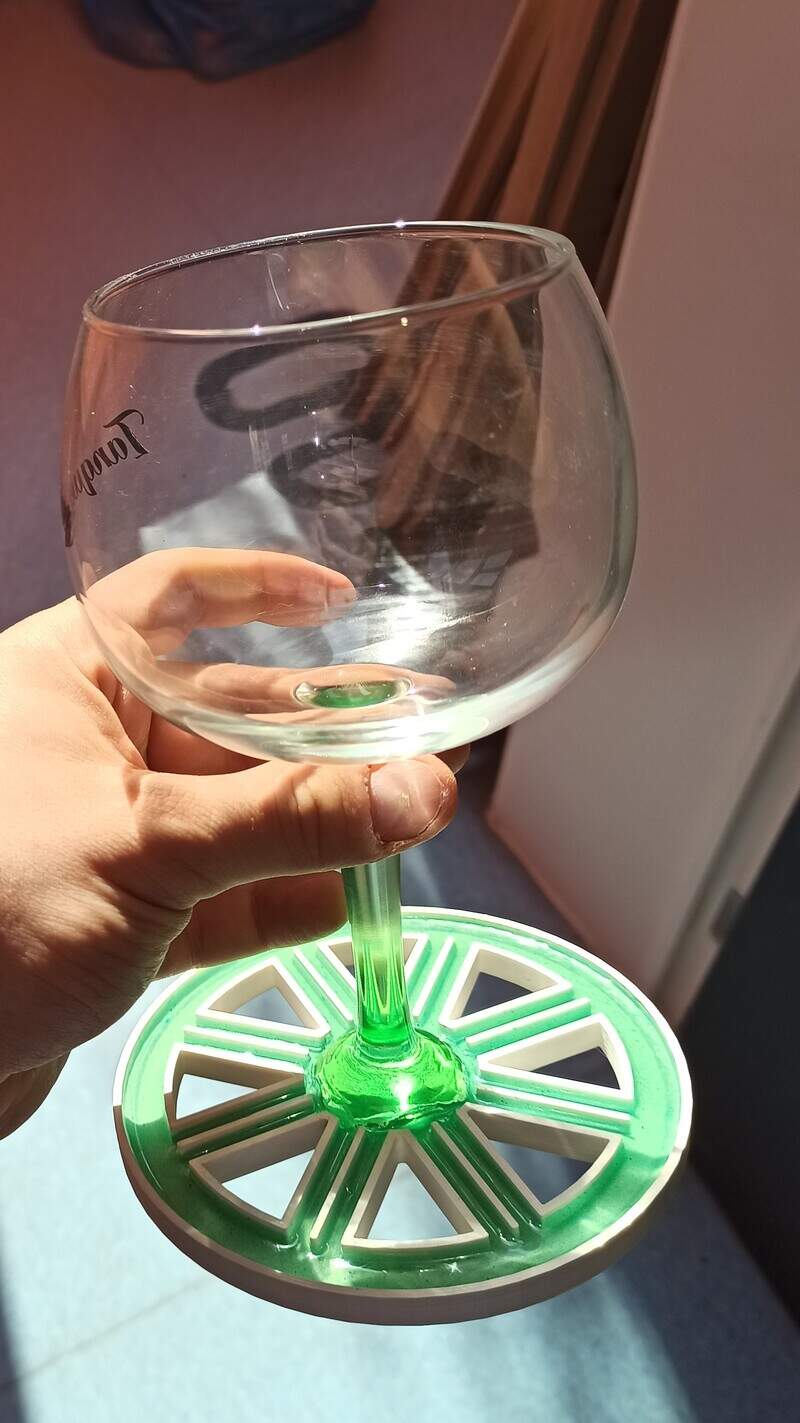
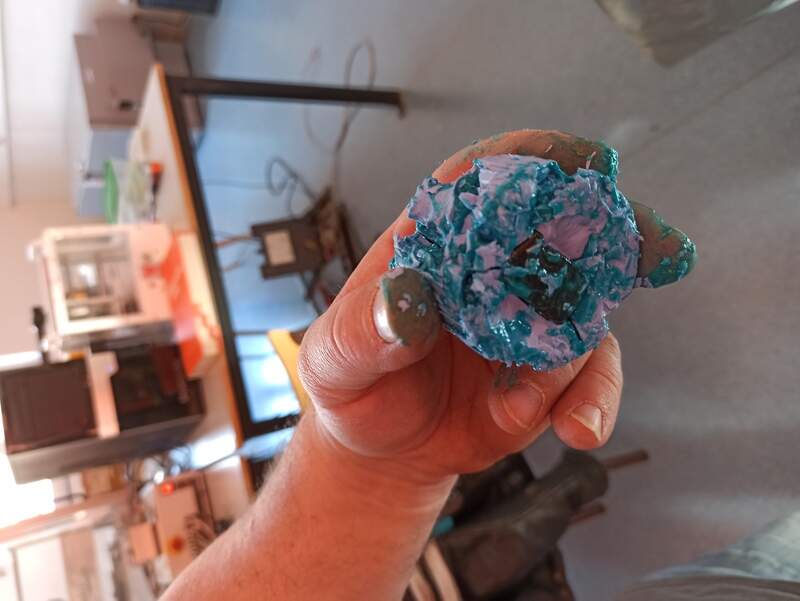
Then end result is pretty nice !
But I can’t seem to remove the mold. Next time, I’ll use a soluble filament (PVA) so that I can easily dissolve the mold!
Update Week 12
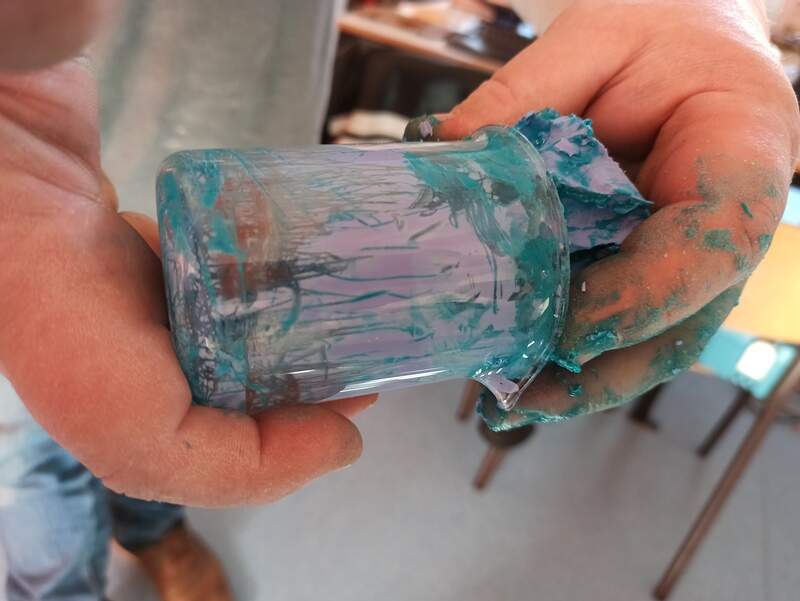
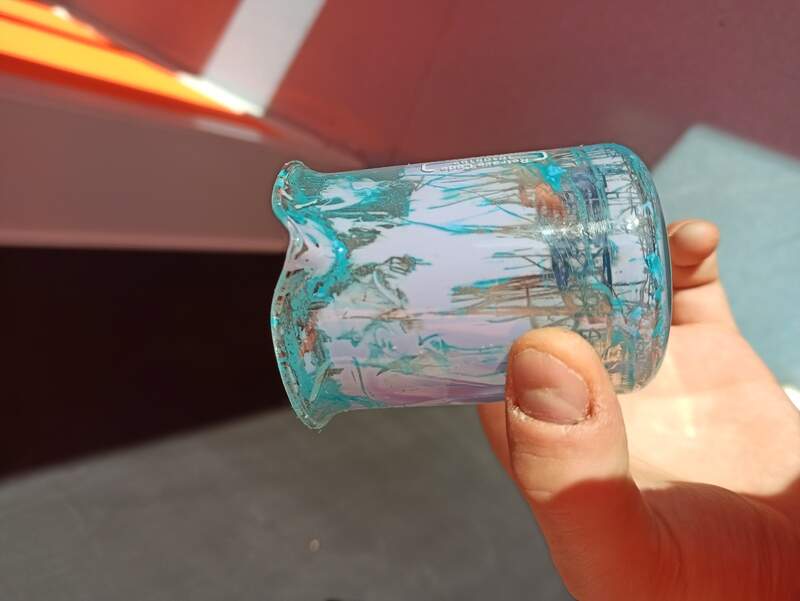
I have re-done my mold (with a new design) using PVA water-soluble filament and made a new batch of epoxy. With the water-soluble filament, I can easily remove the mold! I forgot to take a pic before placing it in the water but here is the result:
The result is extremely nice and the glass can be used again  !
!
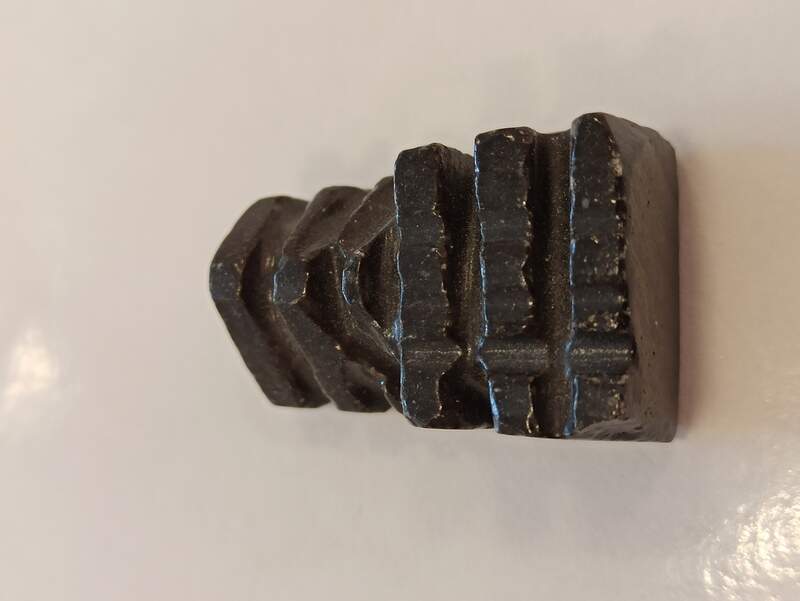
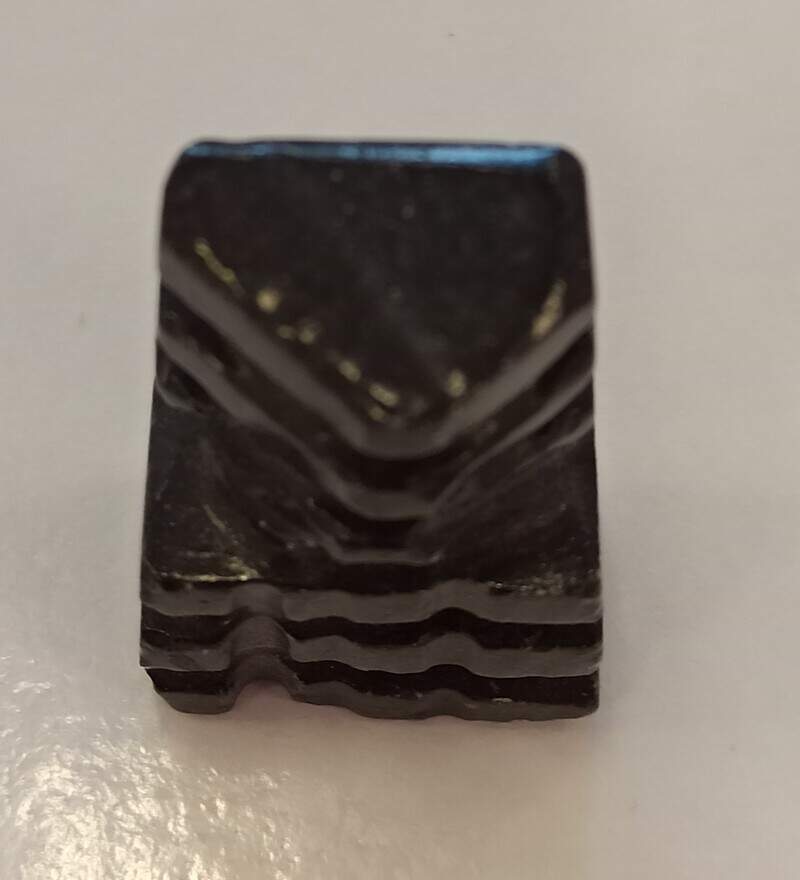
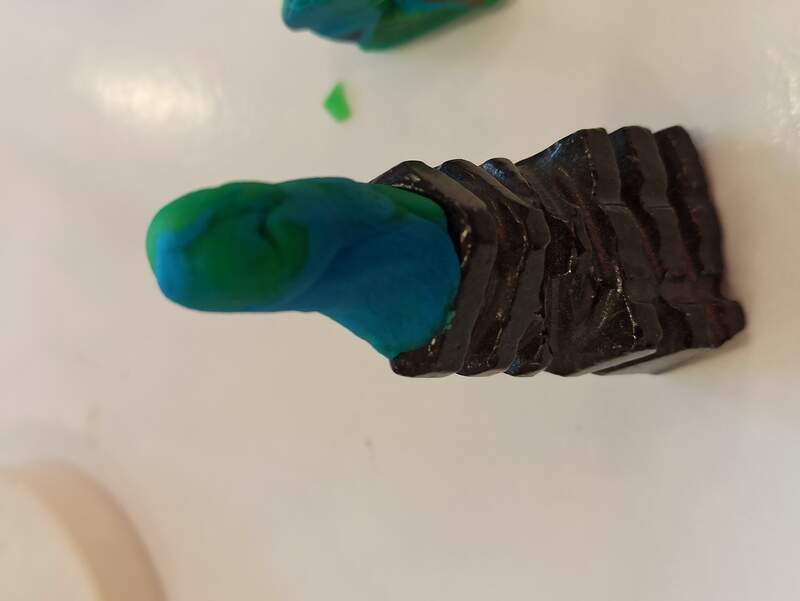
Second project: remaking a chess piece
That same friend recently brought a chessboard at work but he, unfortunately, lost a few pieces in the past years. The pieces themselves are quite artistic and would be extremely difficult to reproduce by 3D printing or any other method! So it’s perfect for molding!
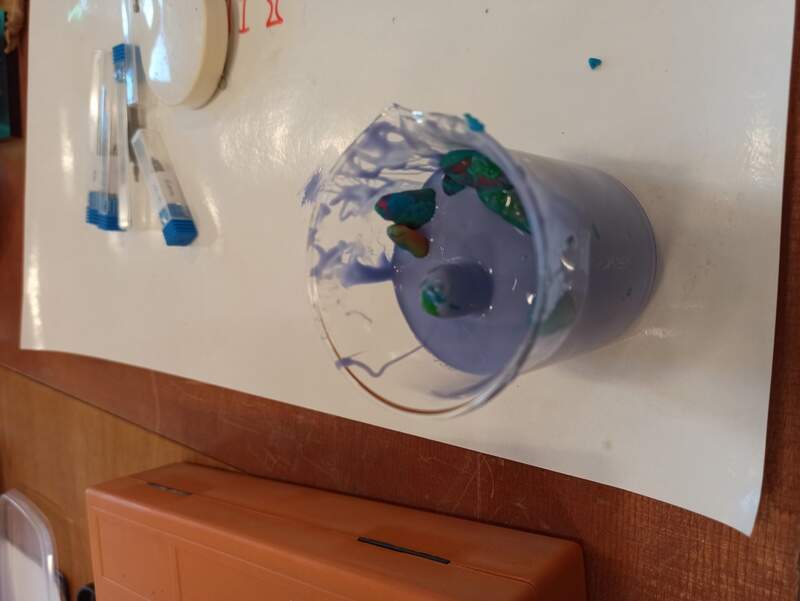
I placed it in a container but because I was afraid that the bottom would be filled, I made sure to make a vent at the top (in the end it wasn’t necessary though).
I placed it in a pyrex container (bad idea !)
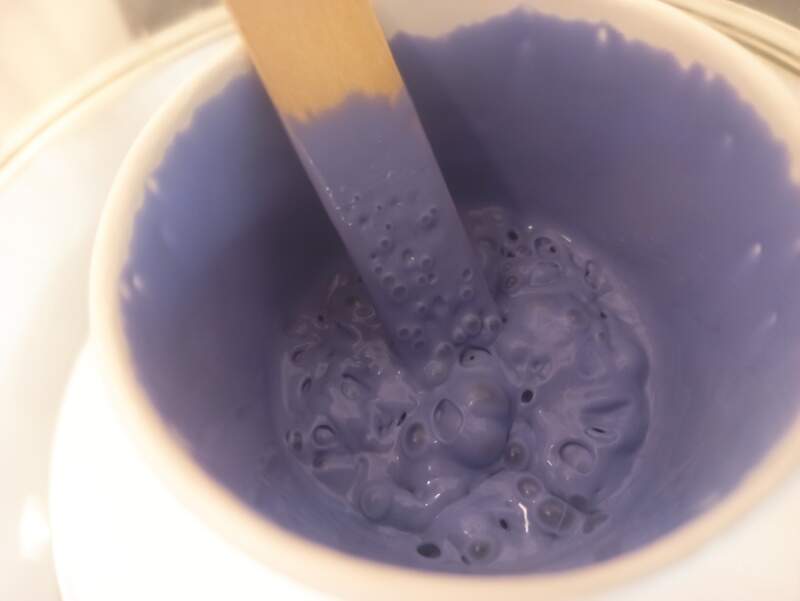
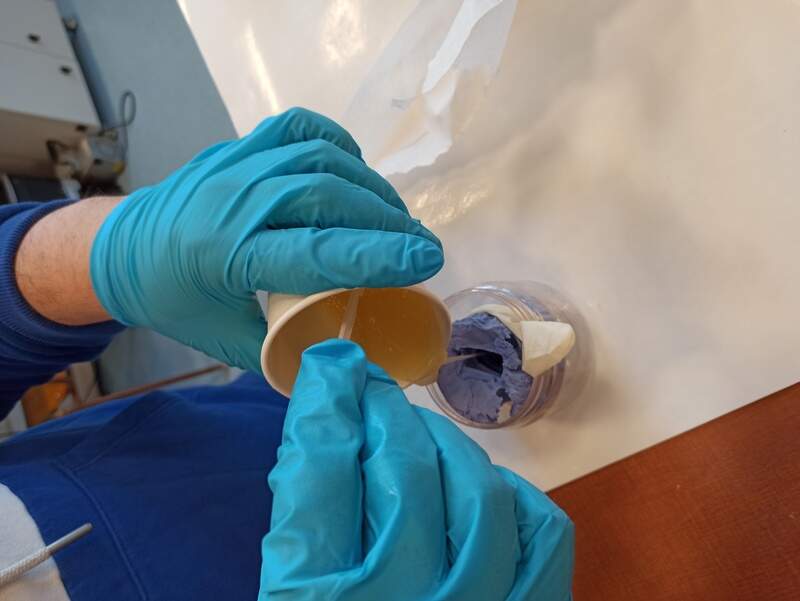
And then prepared the silicone mix. I used the Oomoo-30 as it was the most recommended one to make a mold and the only one I had at hand at this moment.
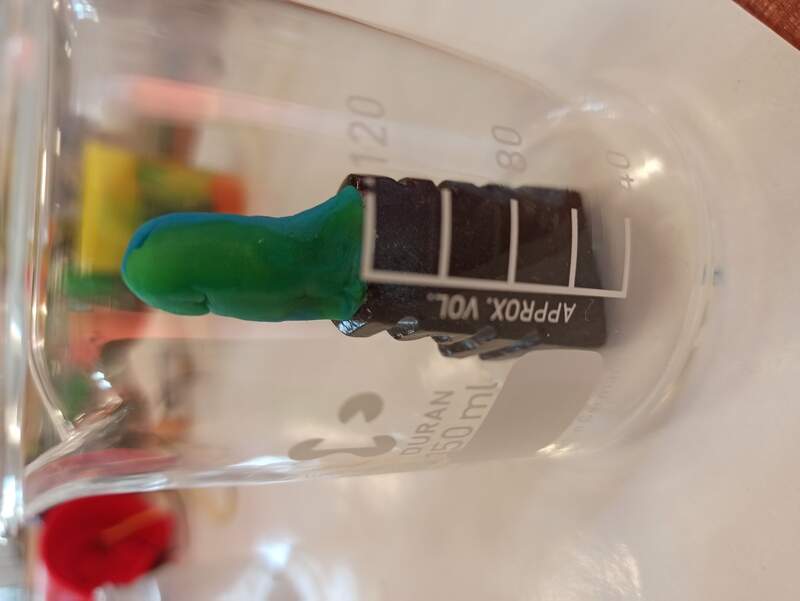
I then filled my container with it but… I didn’t prepare enough… Okay, let’s raise the silicone level by inserting some Play-doh inside.
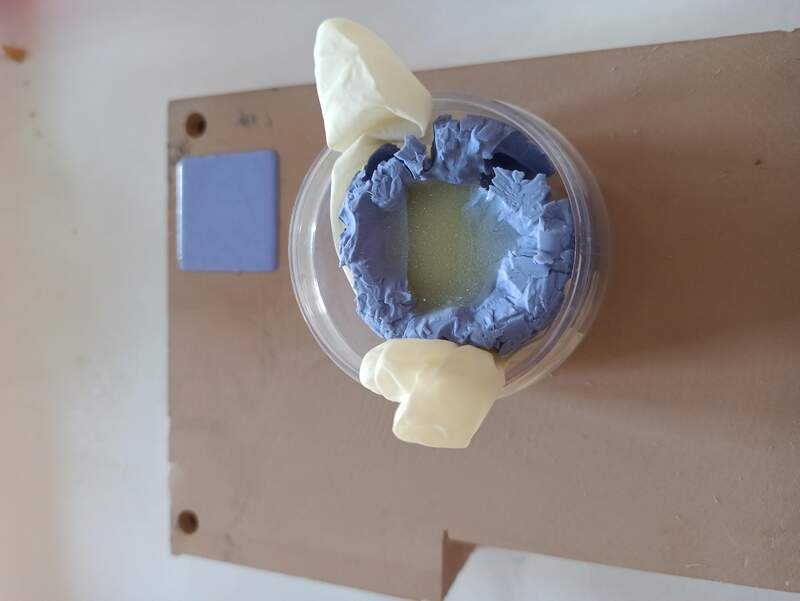
The day after
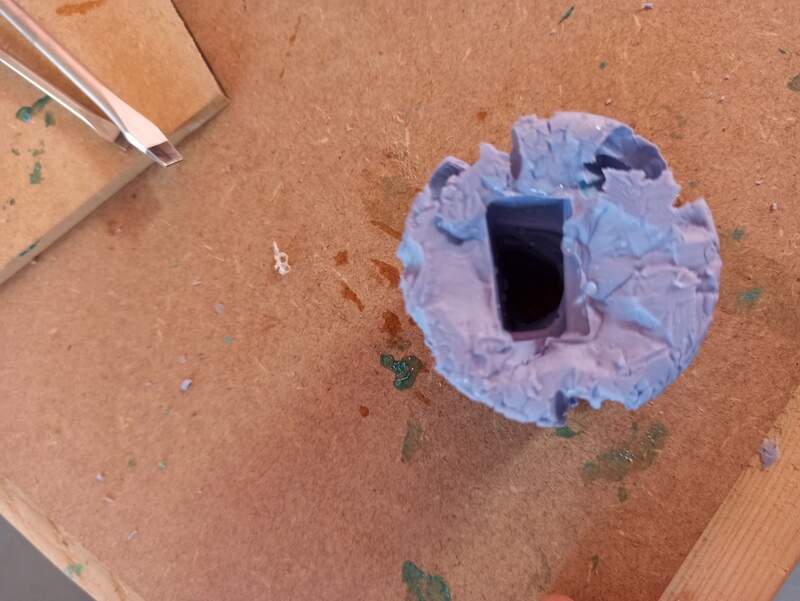
So I came back the day after with the expectation to unmold that pretty easily… Oh was I so wrong !
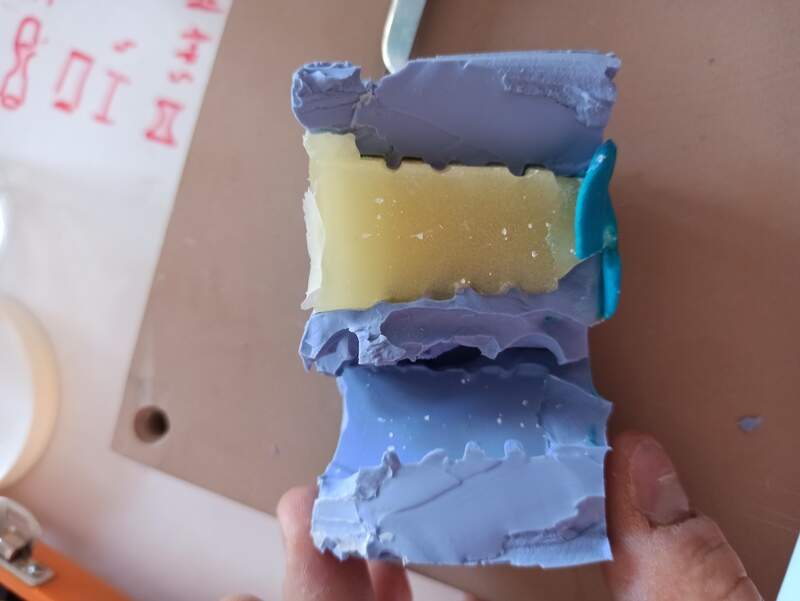
It just stuck so much to the container I had to try to unmold it for a few tens of minutes with a scalpel, a screwdriver, and anything else I could find. Looking back, I never should have done it inside this container!
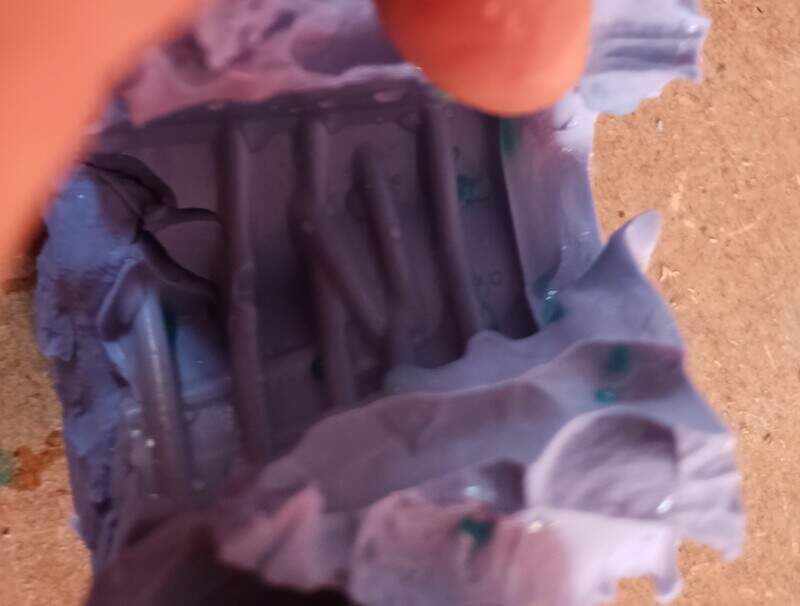
I finally did it but the mold really took a hit.

The new piece
Now that I have a mold, I can pour epoxy in it and get a nice copy of my piece.
But since I broke my mold while trying to unmold it… I had to find rubber bands to get it to hold together. I had none. So let’s tinker a bit with a latex glove !
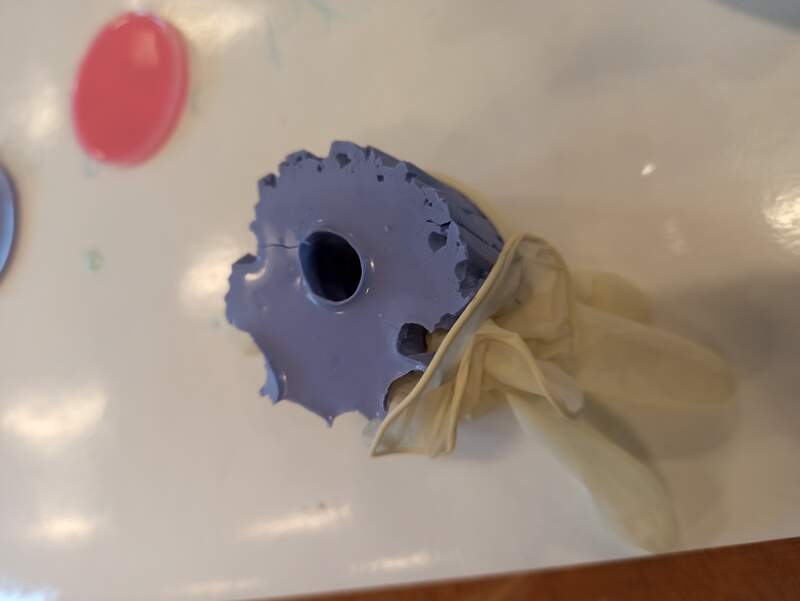
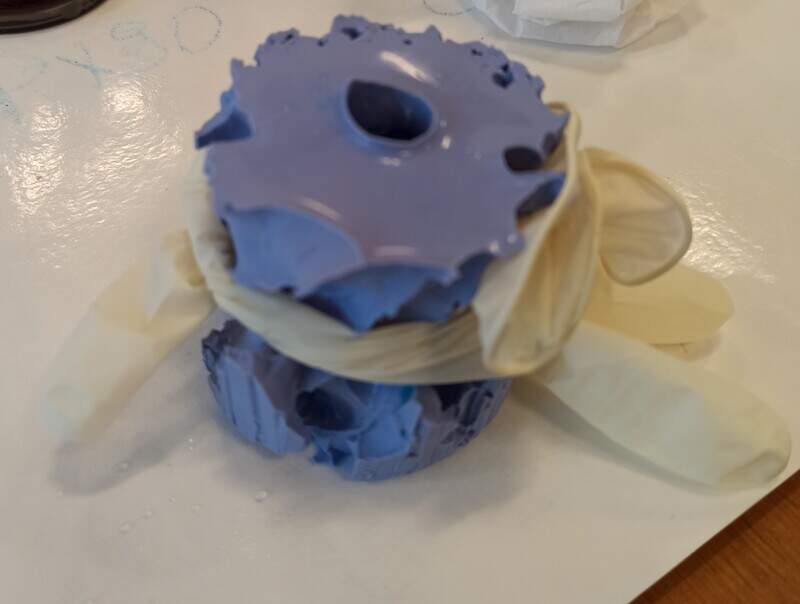
Now we just have to wait and hope the molds hold together for the curing time.
The day after… again
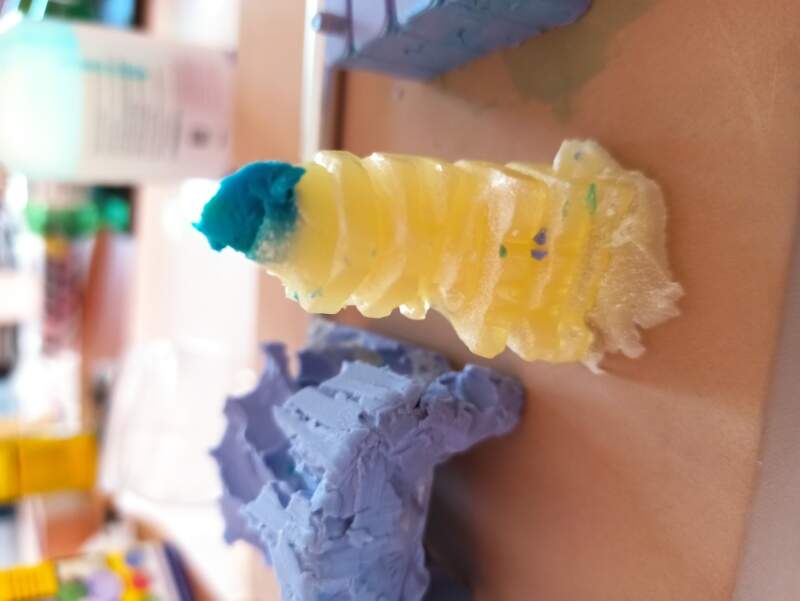
Epoxy has cured, time to unmold!
The result is quite satisfying… But far from perfect.
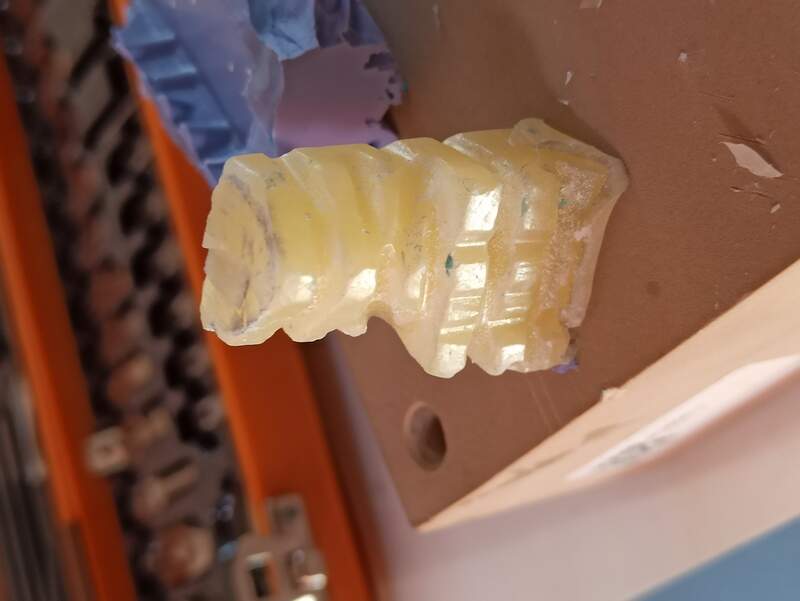
Let’s cut the excess and polish the rest with sand-paper.
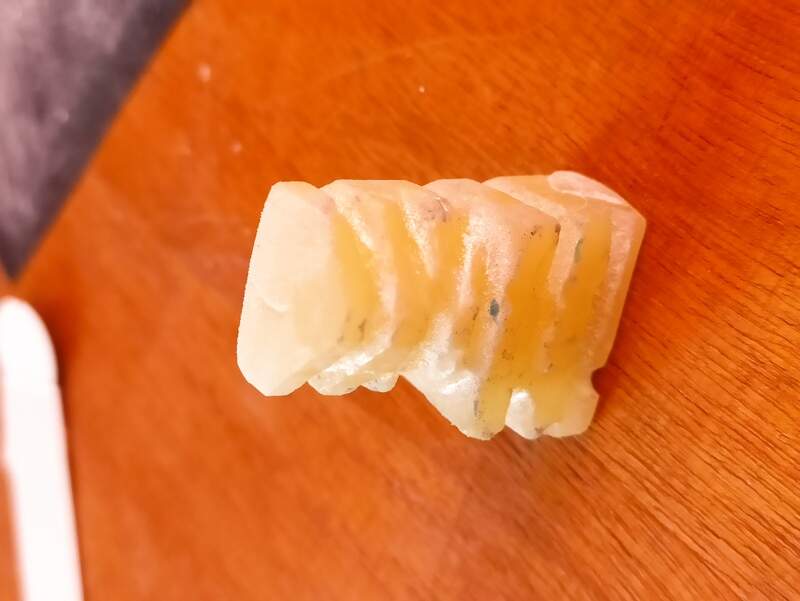
The comparison and end result
Can you tell the difference ?
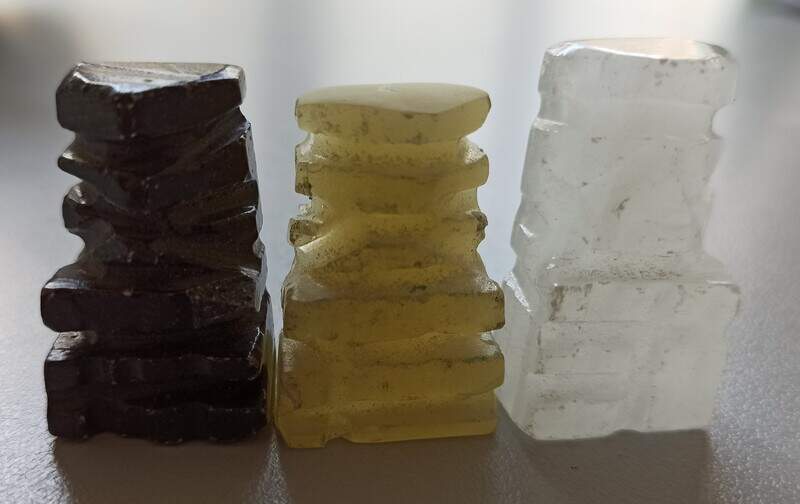
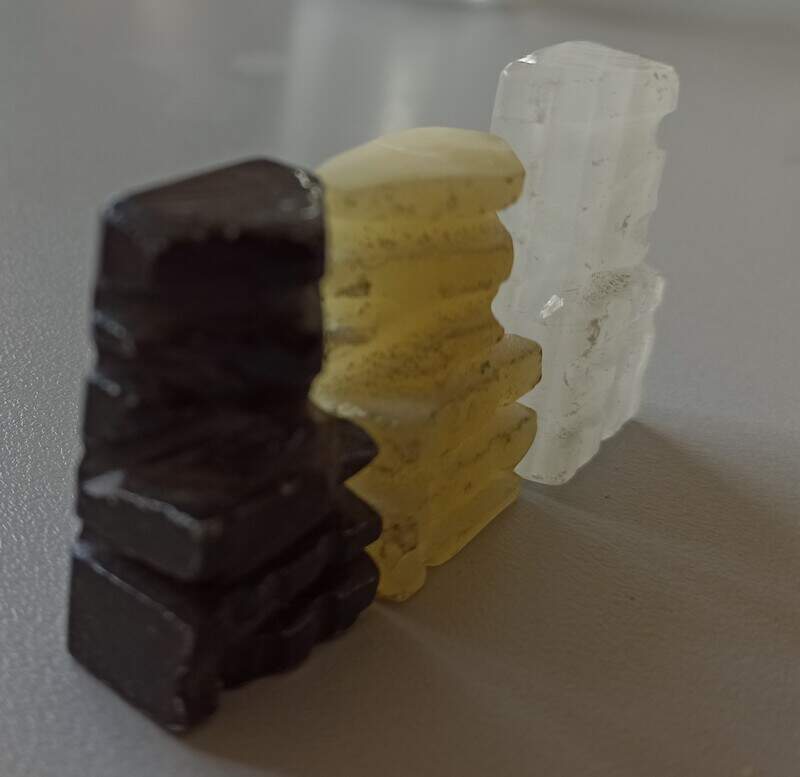
In practice, some pieces are smaller than others but this is because they are originally handmade so they are not all the same ! Also, my copy is actually a bit smaller than the original as I had to sand it a bit to have a nice smooth finish so I lost about 2mm.
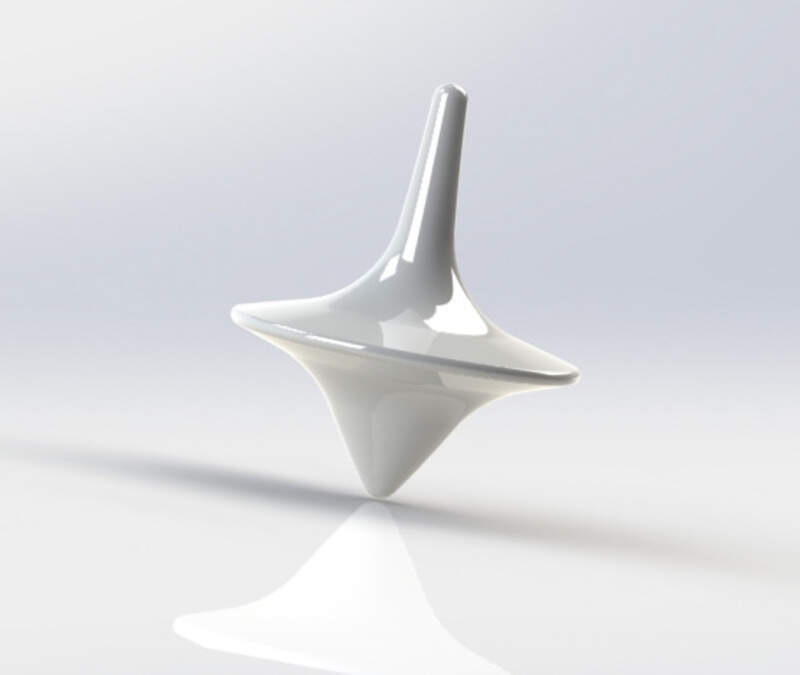
Third project: Inception spinning top
Finally, let’s make a spinning top!
First, I found a nice design, inspired from the Inception movie.
Positive mold
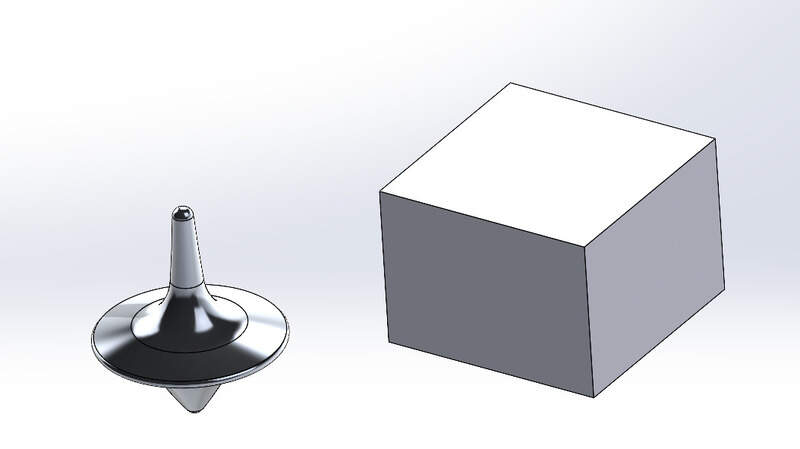
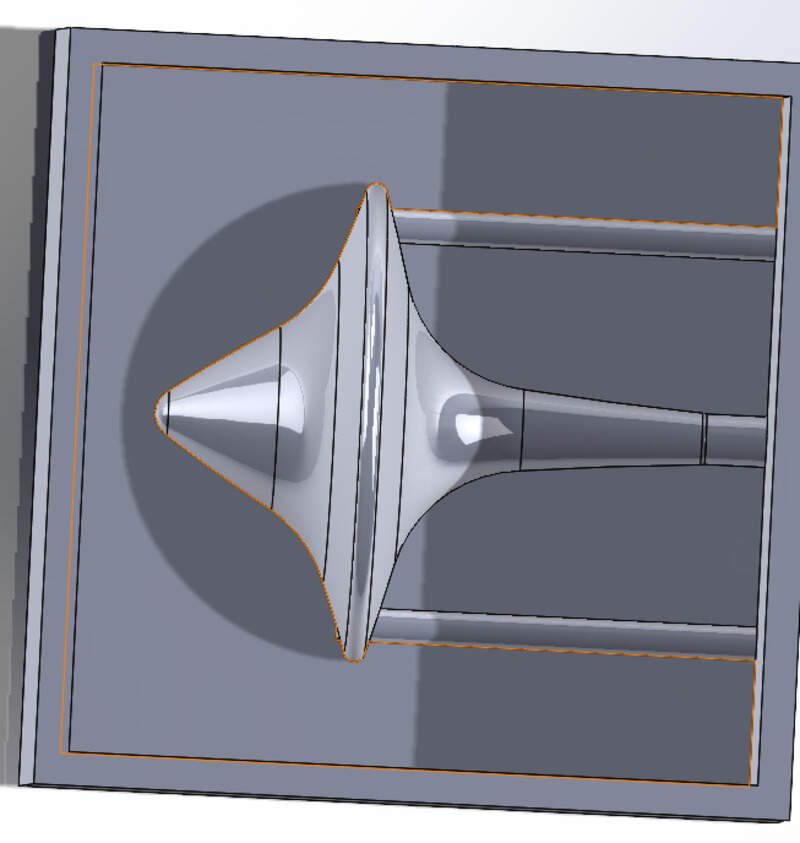
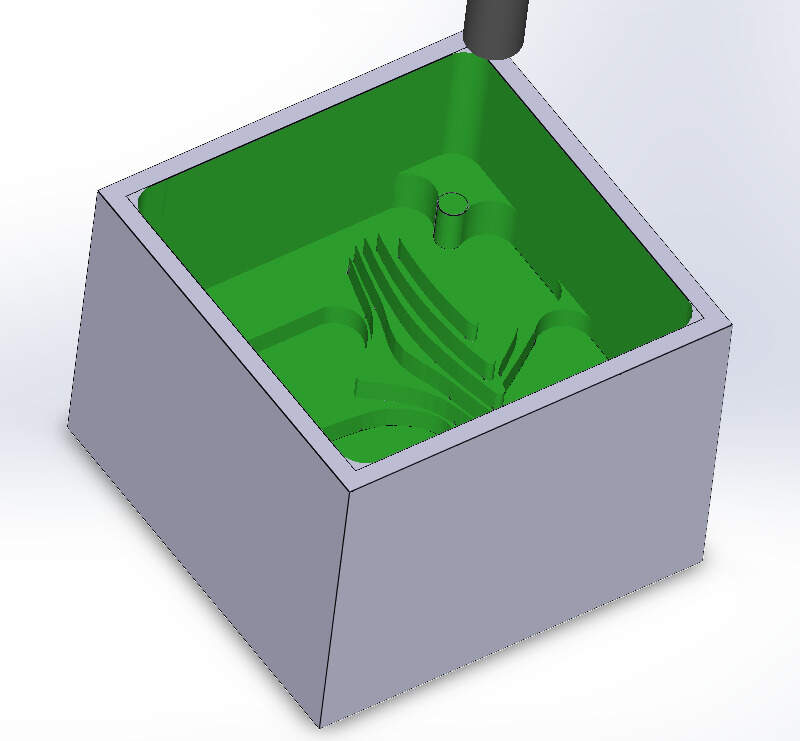
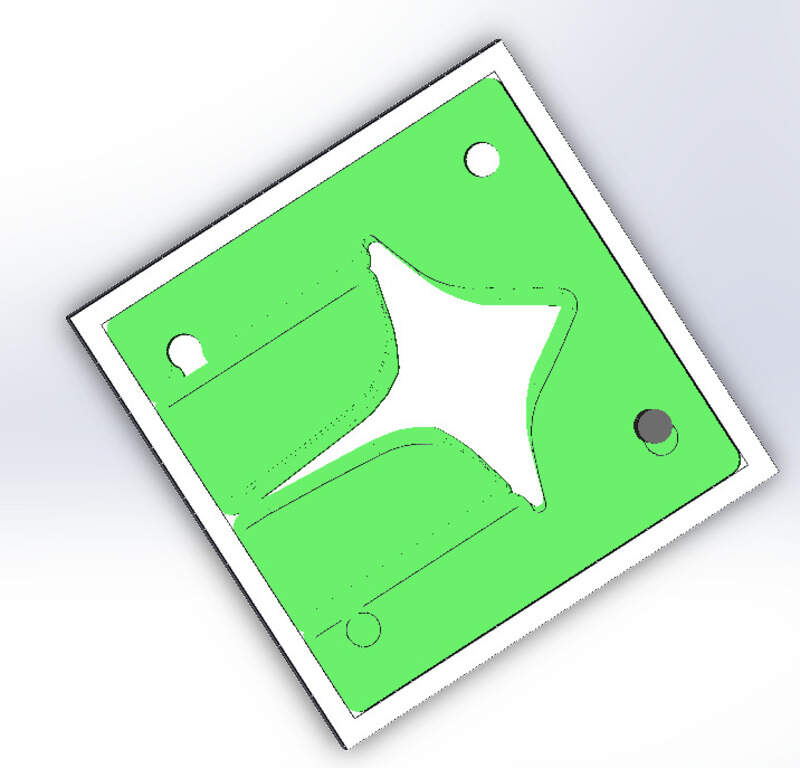
First step: designing the positive mold in SolidWorks so that I can machine it. To create the mold in SolidWorks:
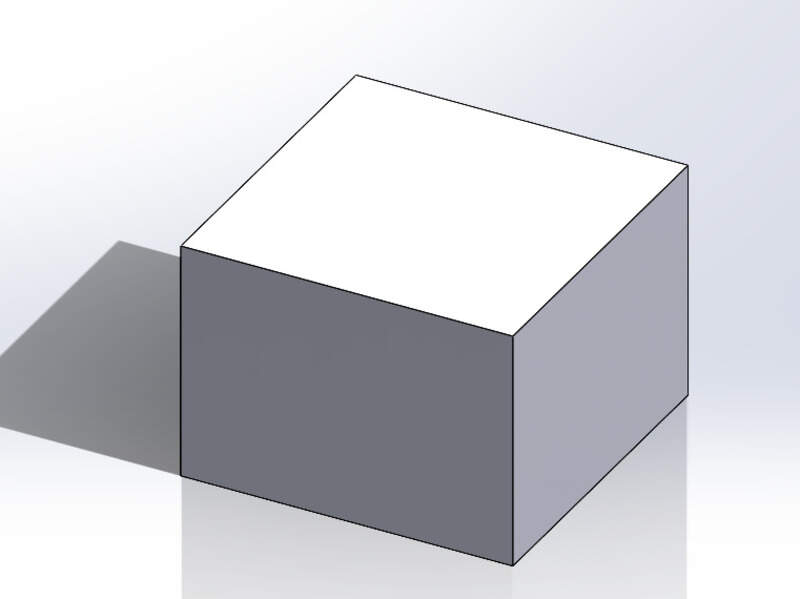
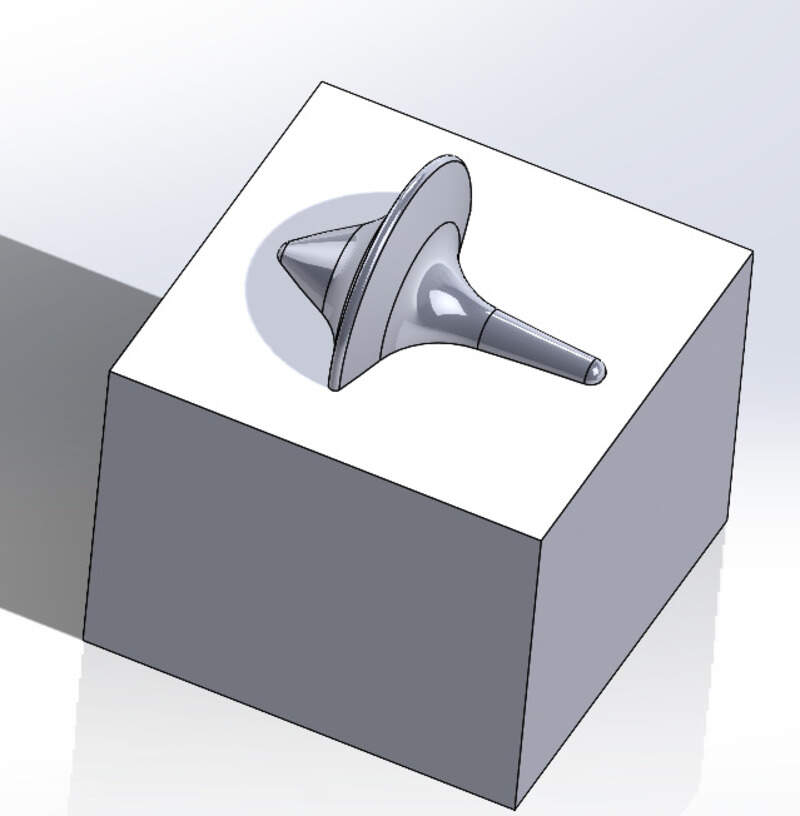
I created a basic rectangle which is bigger than the spinning top.
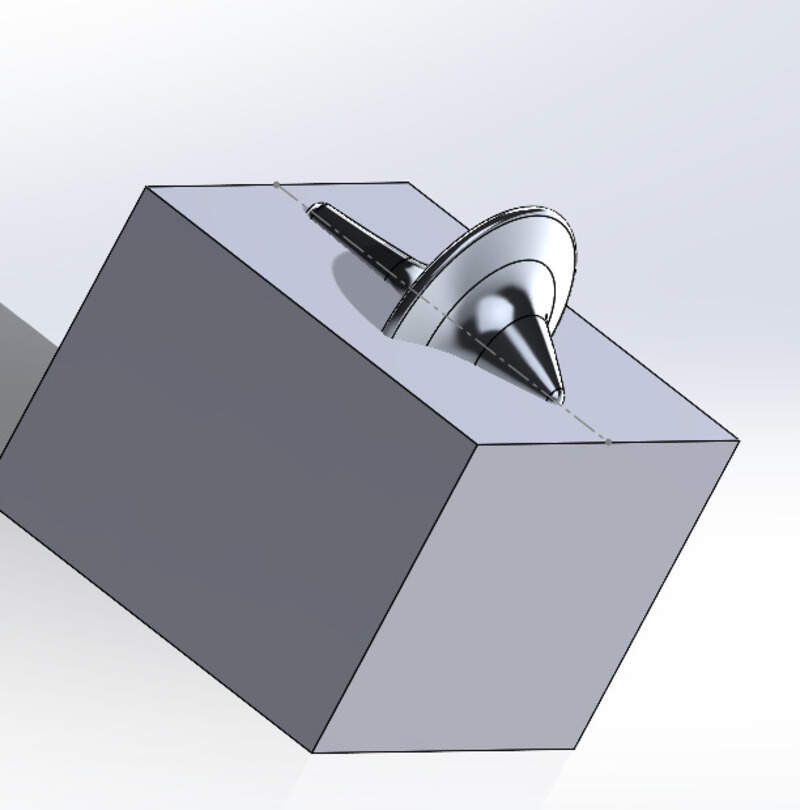
Then created an assembly that contained both the “mold rectangle” and my spinning top.
I then placed it right in the middle using the centerlines of the top and the rectangle:
Then I thought about using the cavity feature:
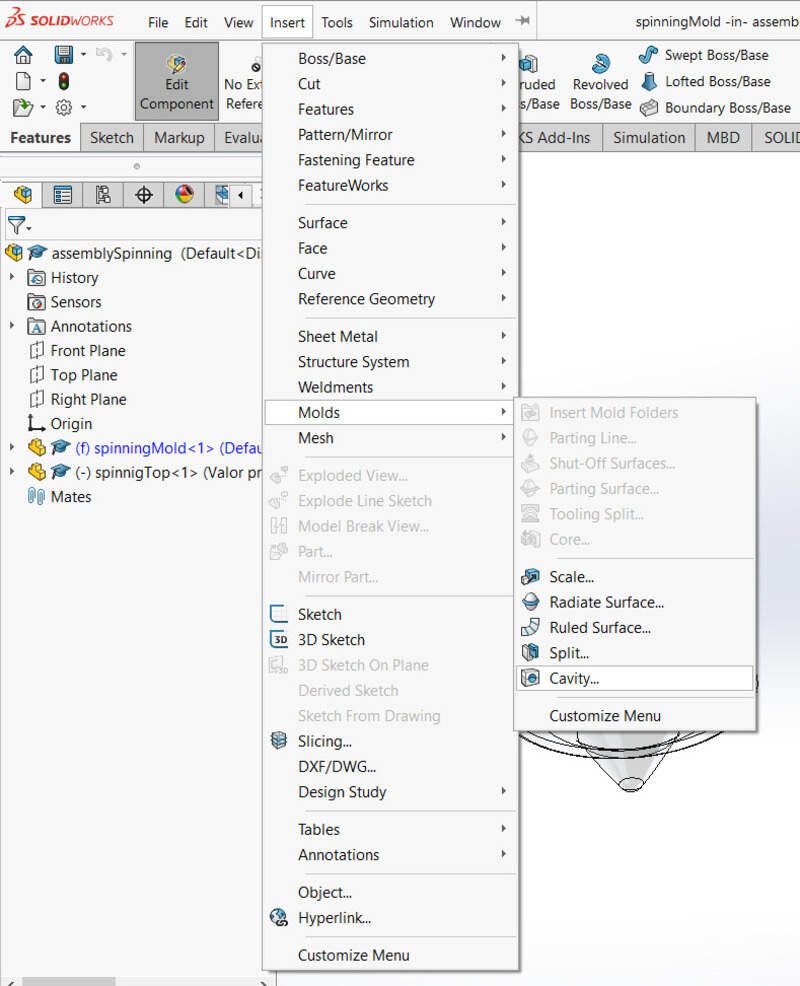
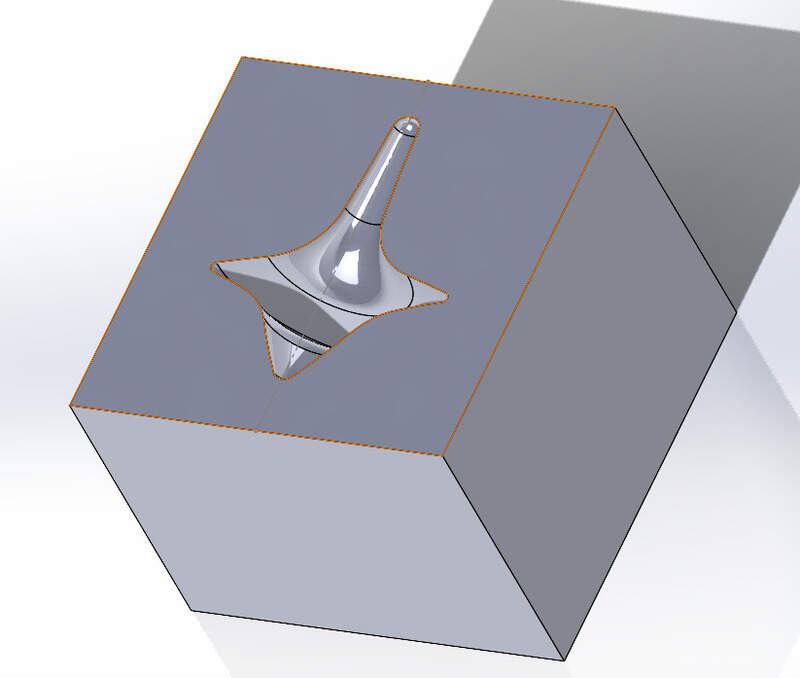
But no… That’s a negative mold… I need a positive ! Let’s go back and use the “join” feature.
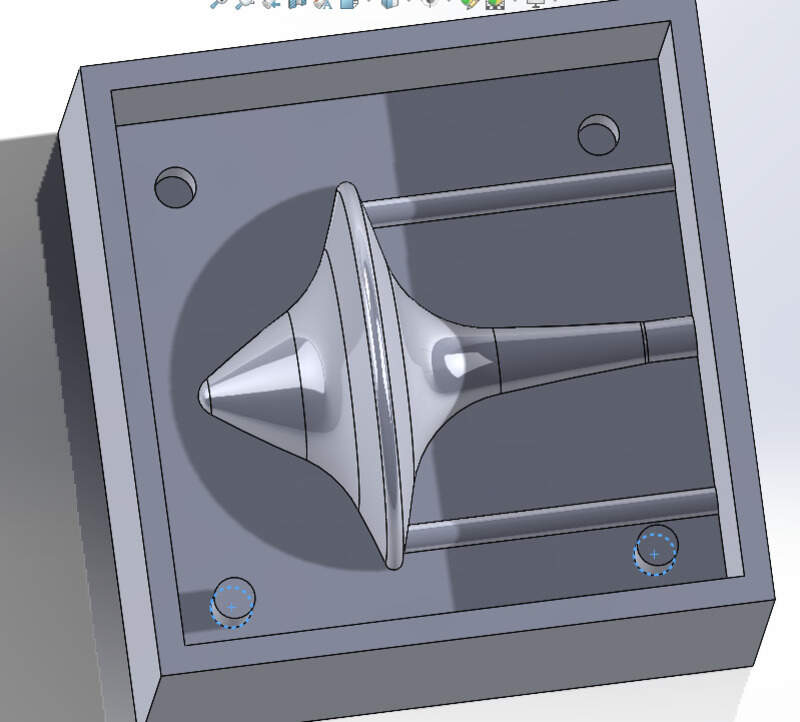
Then I designed some walls around it:
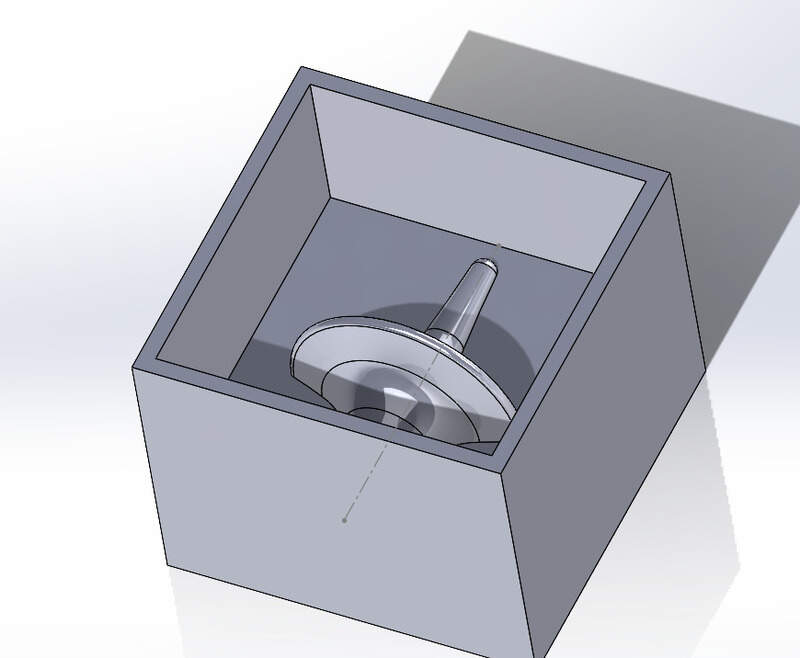
Then silicone inputs and exhausts:
Finally, I’ll need to make it twice to get the full object and to help both parts of the mold to stay together, I designed some bits (two extrusion and two cuts):
Machining
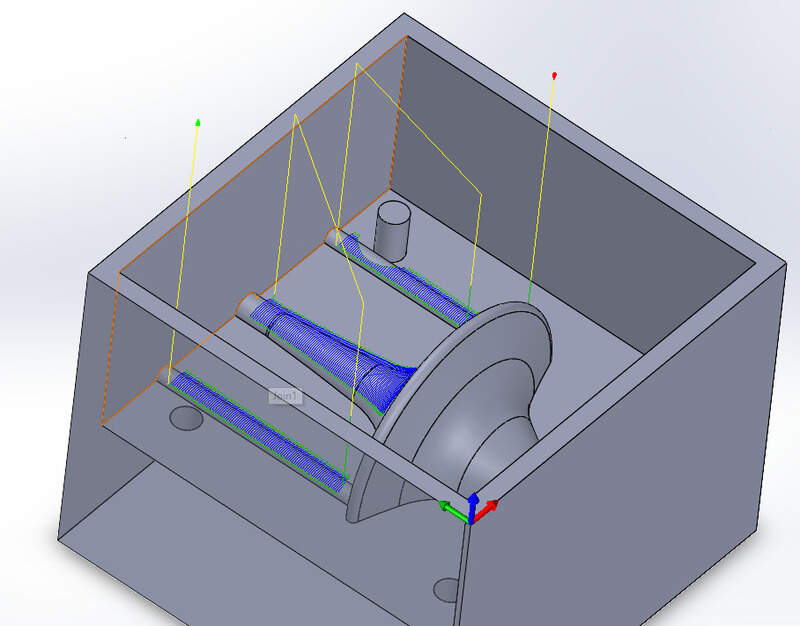
Just like I did in the CNC week, I used Solidworks with HSMWorks and the KineticNC post-processor. More explanation is available on that week to understand how to use the CNC machine!
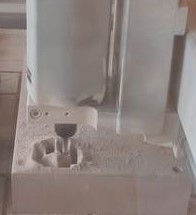
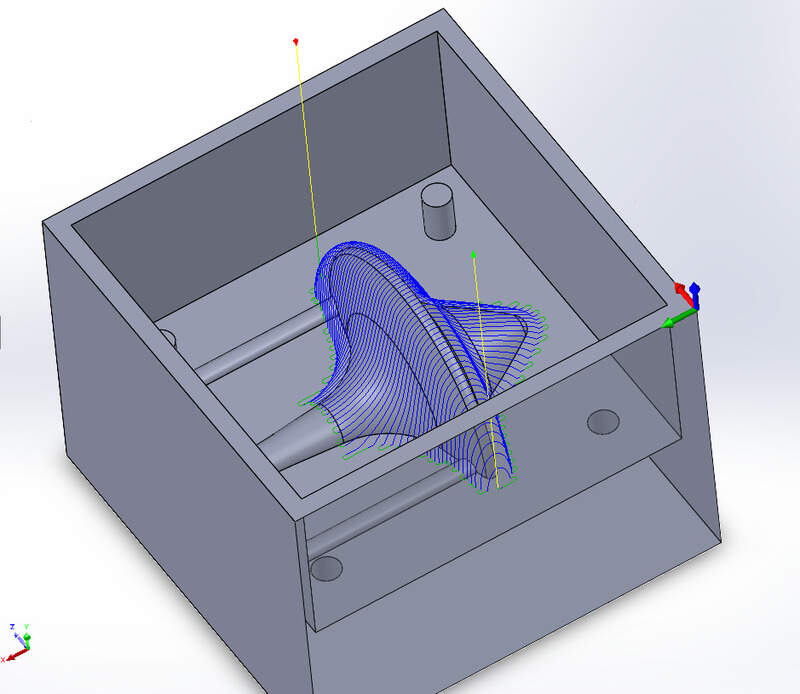
1. 2D pocket with a 6mm flat mill to get rid of most of the material around the spinning top:
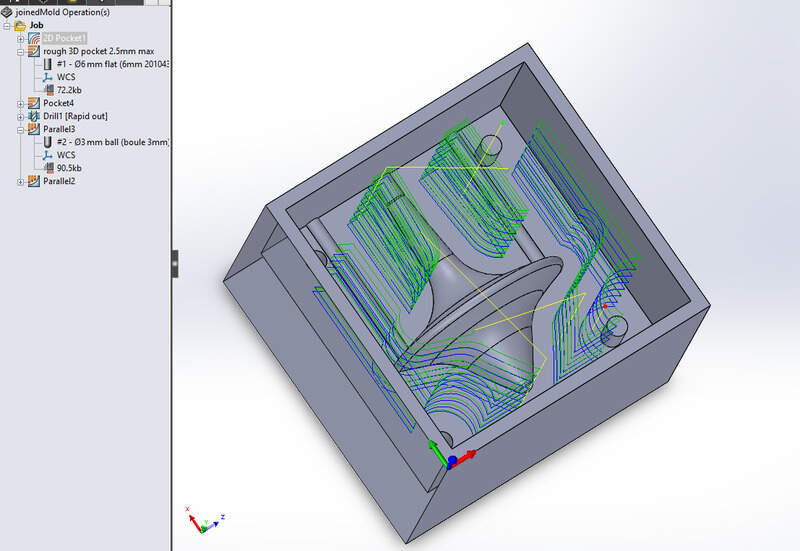
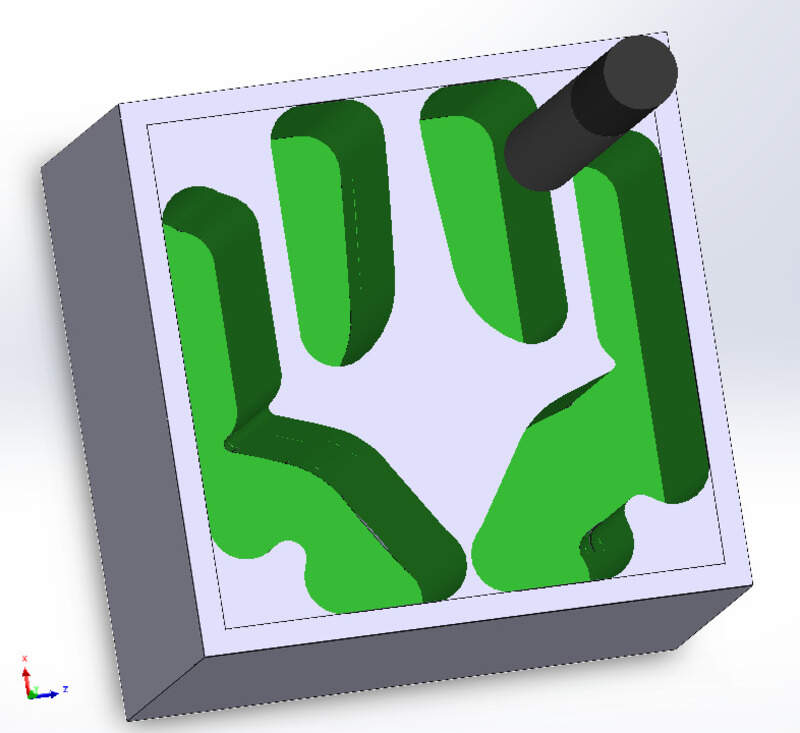
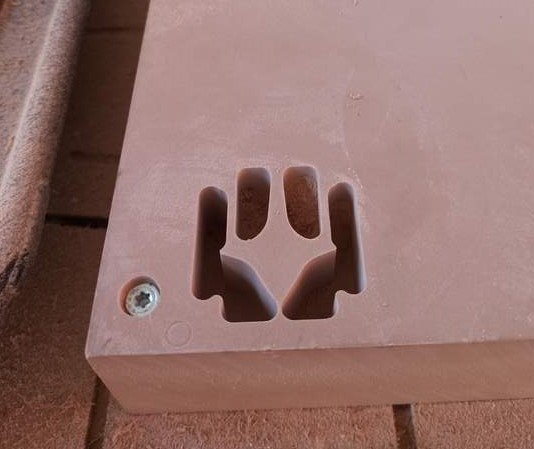
2. 3D pocket with 6mm flat mill to remove layers on top of the spinning top:
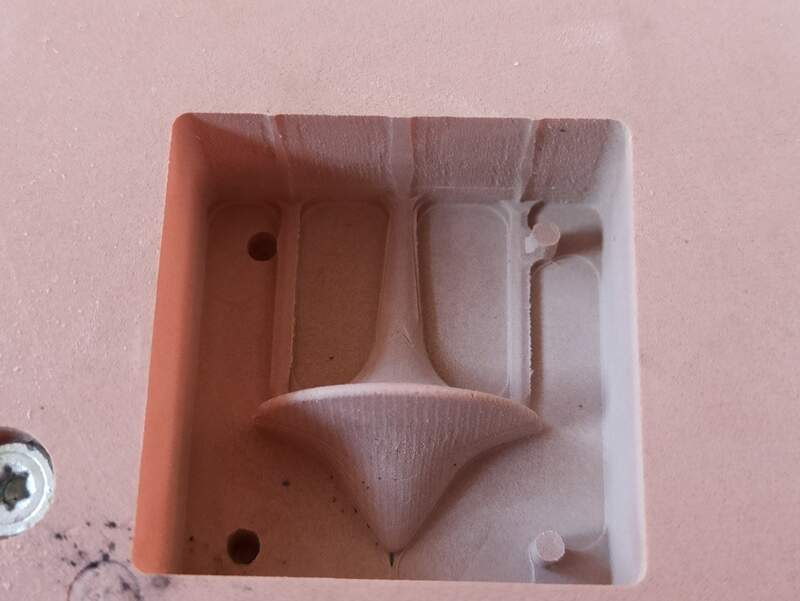
3. Fine pass with a 3mm flat mill to get in the corner and around the alignment bits:
4. Making the 2 holes for the alignment bits:
Note: for an unknown reason here, the mill went straight between the top of the holes and hit my part (luckily just a very small part of it). It is strange because I took special care for that not to happen and, in the toolpath simulation, it does not happen…
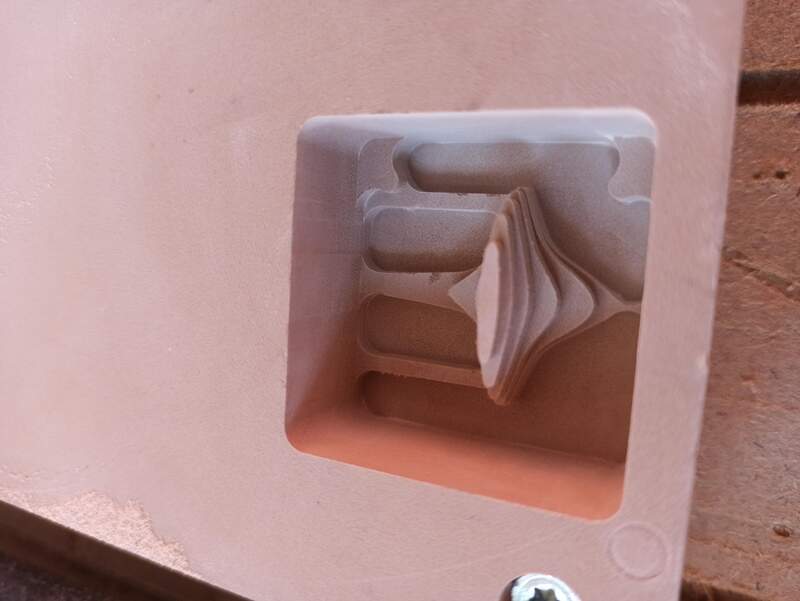
5. Parallel pass to get a nice finish with a 3mm ball mill:
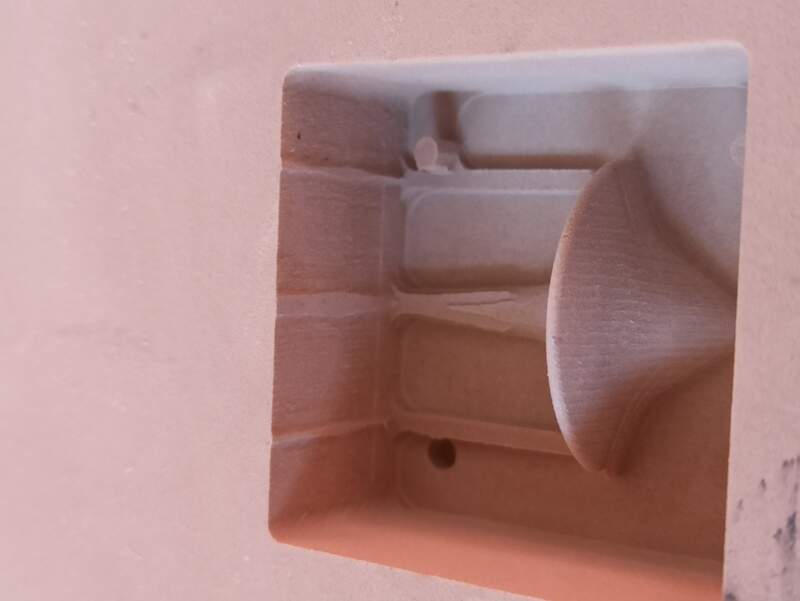
6. Parallel pass on the exhausts and silicone inputs
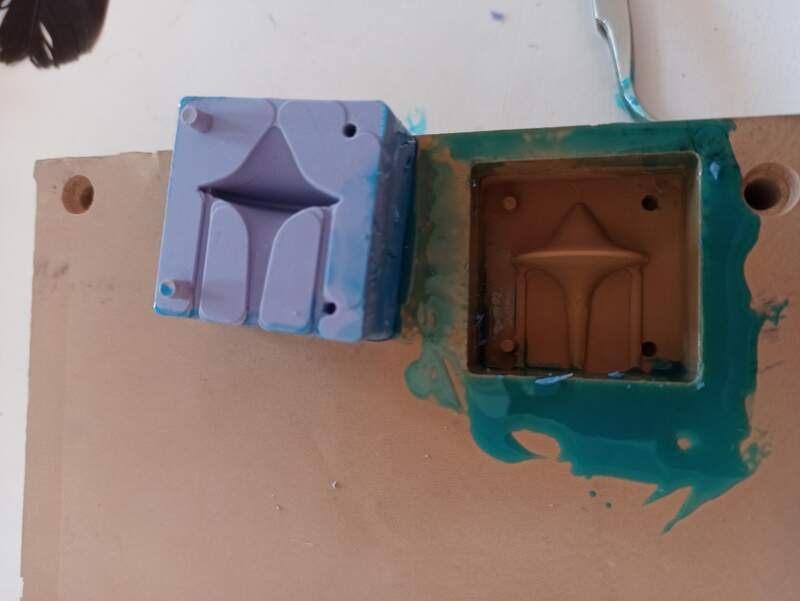
Making the negative
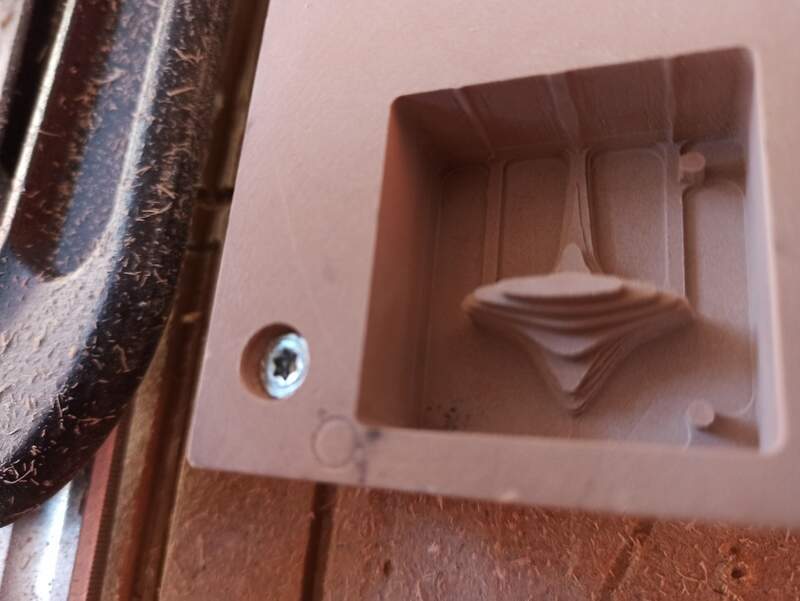
Just like for the chess piece, I used Oomoo-30. Simply mixing them 1:1, vacuum, and pouring. I made sure to lightly coat the positive mold with a release agent before pouring. It still stuck hard so I had to play with it a lot before being able to get it out of the mold once cured.
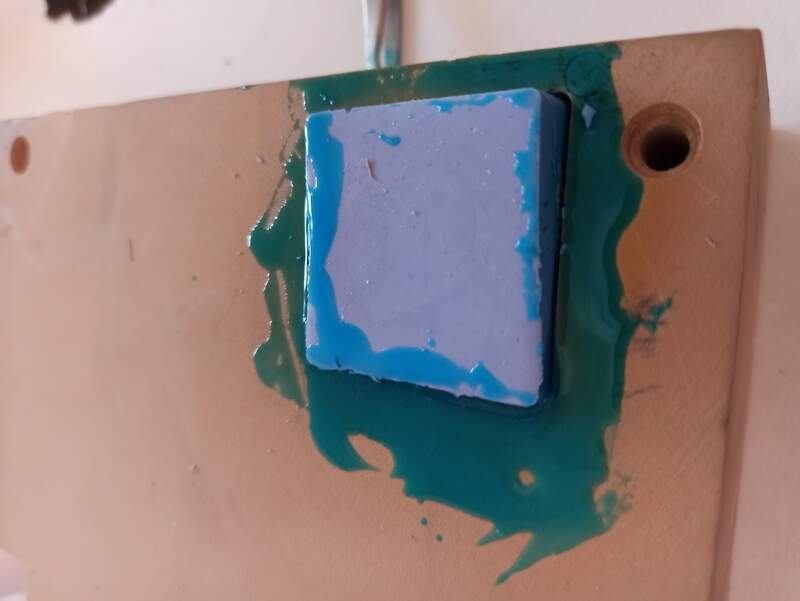
The result is pretty good though.
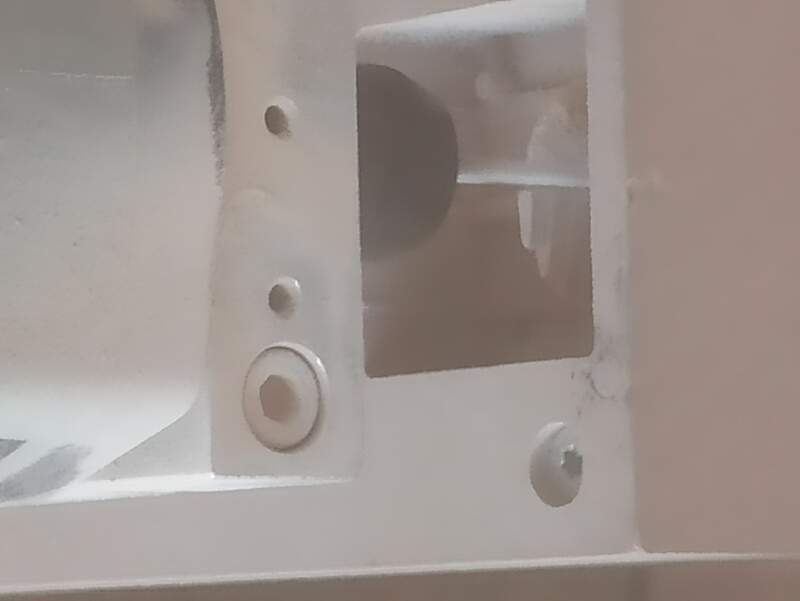
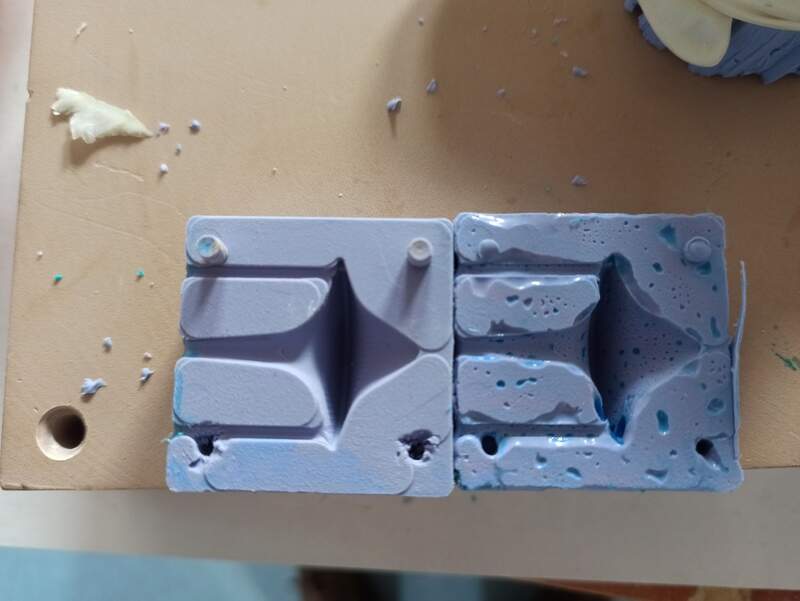
I did the same thing for the second part, this time with much more release agent. It was indeed easier to remove but there was so much releasing agent that it left some holes and the surface finish is not great.
Assembling both parts with rubber bands:
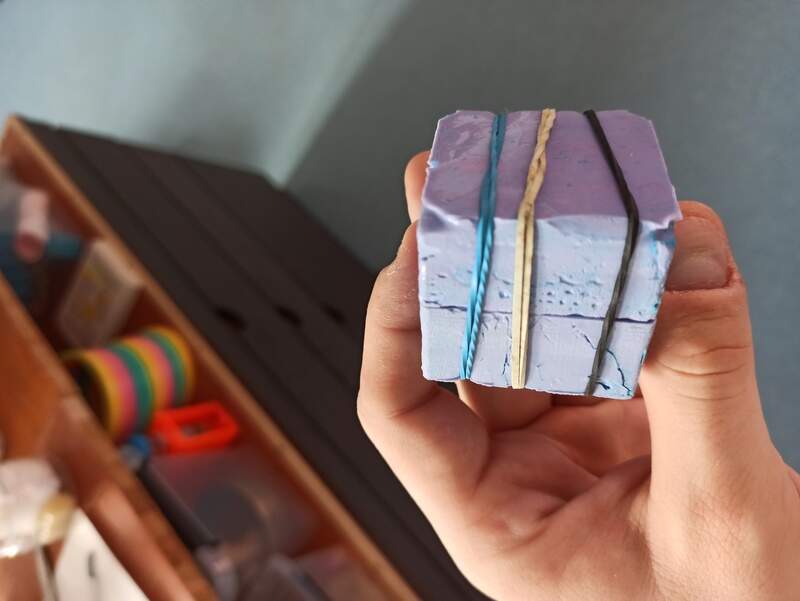
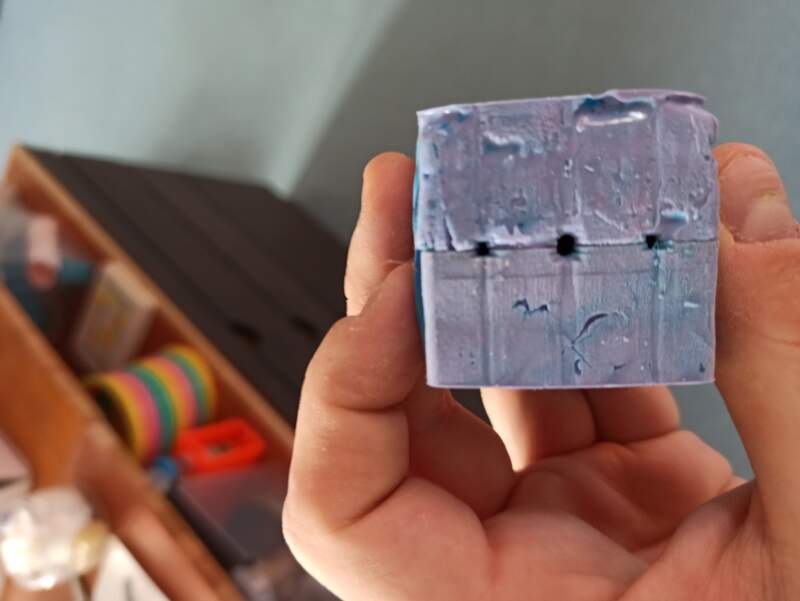
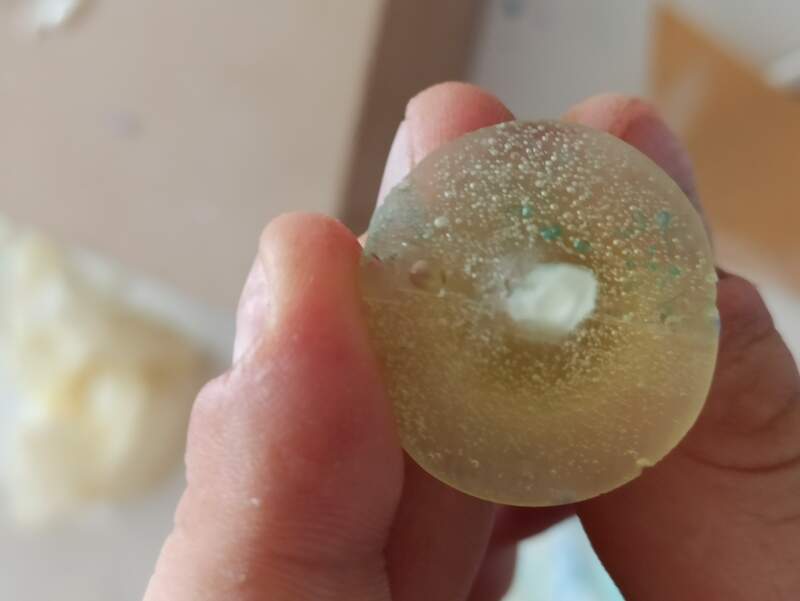
I then made a bio-epoxy mix like for the group assignment and the glass (mix 100:1000). I was very afraid the input holes were too tiny and there would be a lot of air inside the mold, so I played a bit with a syringe to make sure to pop all of them. After curing, we can open the mold:

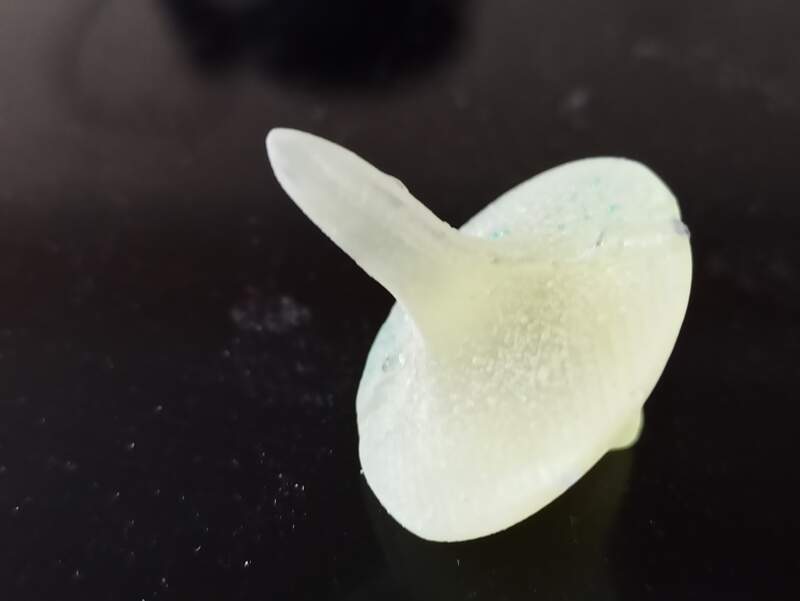
The result is not as bad as I thought and it’s actually quite nice.
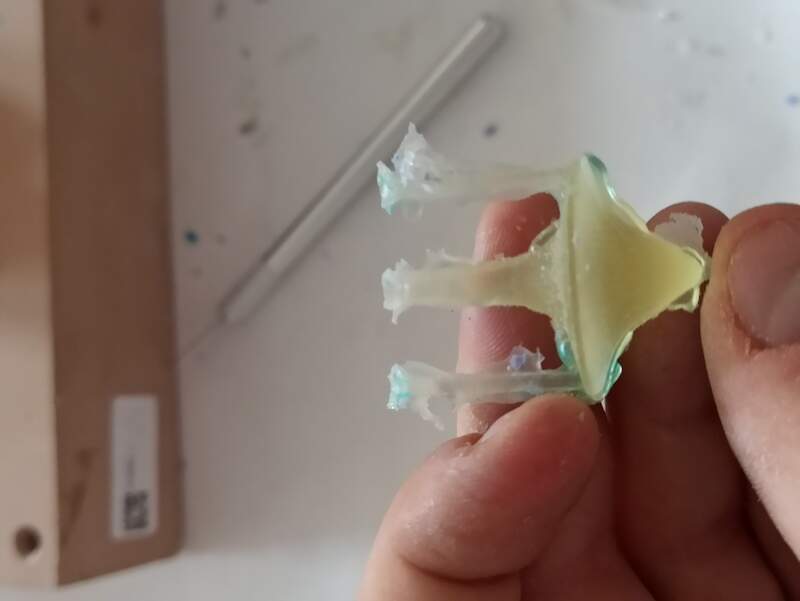
I still need to cut the excess:
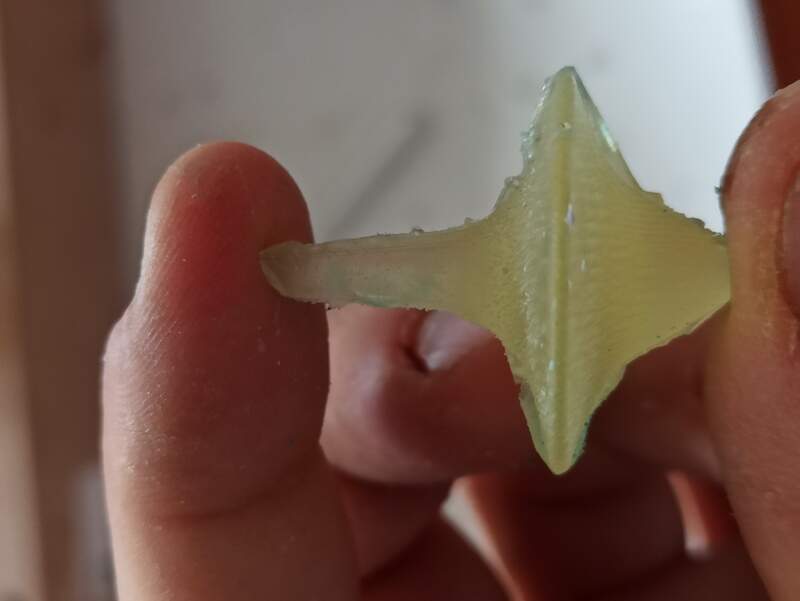
And polish everything with sand-paper:
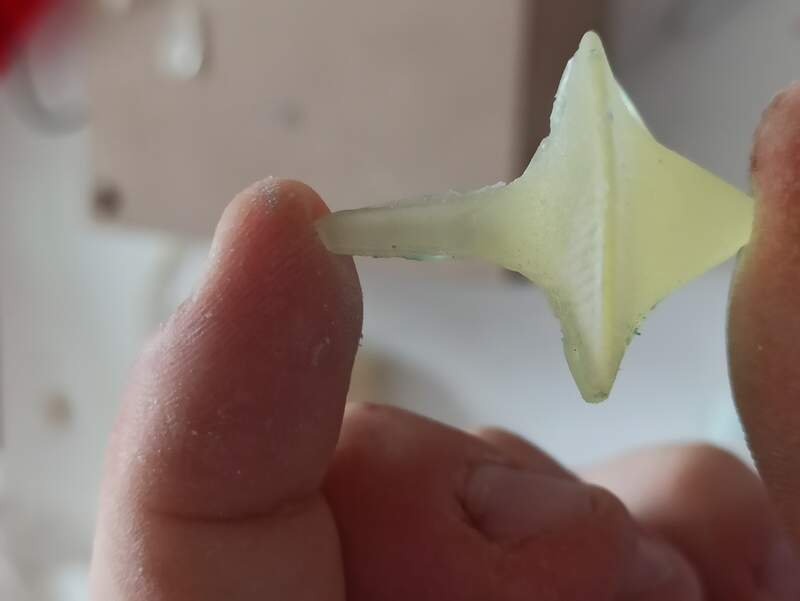
Still some bubbles on the top but it’s not that bad: