Week 17:
Applications and Implications
For this week the work is based on preparing the steps to take during the next weeks, with respect to the final project.
I believe that the idea I have in mind can be a good final project and that it should be able to cover all the aspects that are required for it to be successful.
To understand a little better what I intend to do, I think answering the ideas may be a good idea and explain to you approximately (it is a bit early for some questions yet) how I want to carry out each aspect of the project.
The assignment for this week is (there is no group assignment this week):
Individual assignment:
• Propose a final project masterpiece that integrates the range of units covered (answer the questions)
Final Project Proposal
If it occurred to me that a lamp that could offer users the possibility of illuminating spaces by reading the colors of other objects would be interesting, it would be an interesting way to change the interaction we currently have with lighting devices.
The idea that appeared to me in parallel to complement this concept was that of a dropper. I think it is interesting to focus on another existing object with which you interact in a different way in light and bring that sequence of use to that other world of products.

The following phrase crossed my mind and I will revolve the project around it:
"The idea is to make a lamp that acquires the color that the user wants. But not by means of a remote control or an app but by reading colors thanks to a sensor. In addition, the interaction with the lamp escapes from the current domestic interactions with electronic systems. "
What will it do?
I want the lamp to allow the user to bring it closer to another colored object and read the color of that object. Once read, transfer that color to the neopixels inside the lamp and illuminate in a color as similar as possible.
Who's done what beforehand?
Here are some of my references regarding alternative interactions with systems:
| Name | Link |
|---|---|
| Fluid Current | https://www.instagram.com/p/CKOJVaXAcFn/ |
| Candle Lamp | https://www.instagram.com/p/CJ-wOXRAQMQ/ |
| Wilhelm | https://www.instagram.com/p/CJVlXejAkZ-/ |
| Bloom | https://www.instagram.com/p/CHzuPAyA8FC/ |
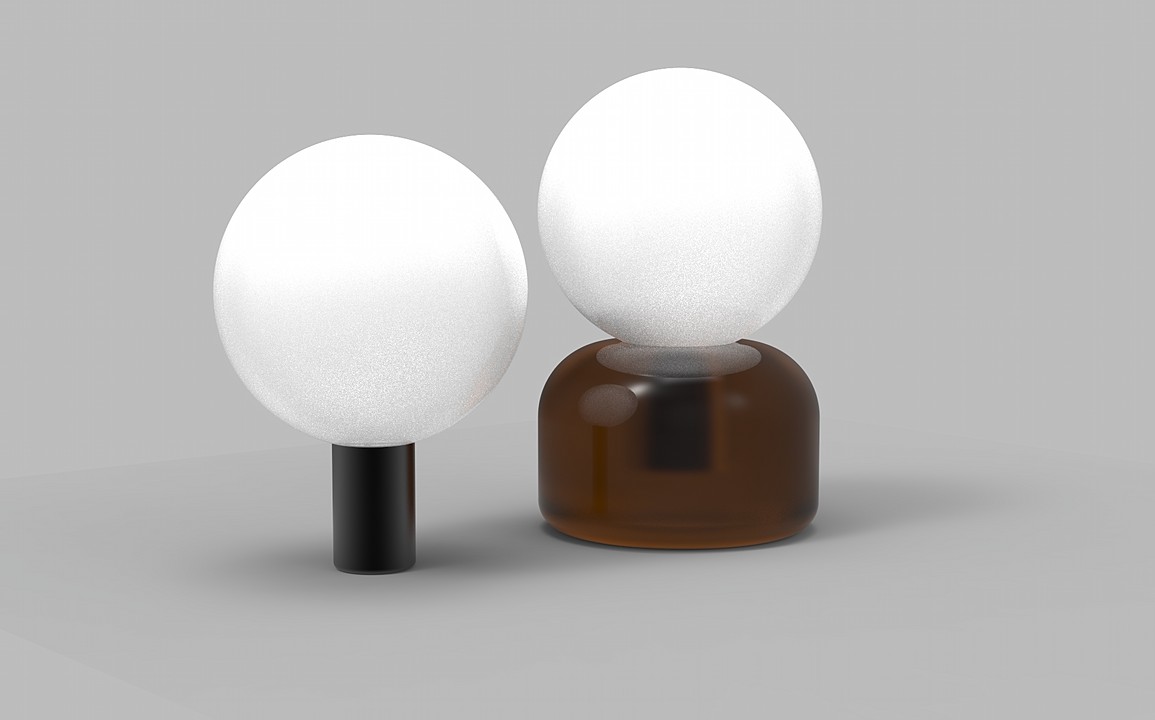
| Ball Lamp | https://www.instagram.com/p/CC-pbulDLpa/ |
Here are some of my references regarding similar projects to the one I want to develope:
| Name | Link |
|---|---|
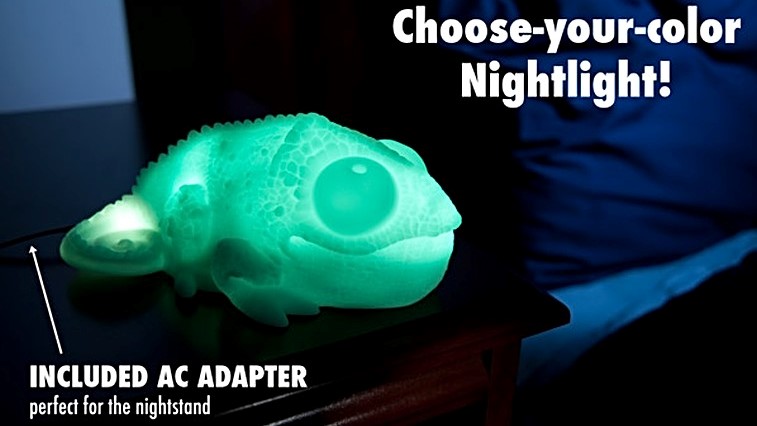
| Huey the Chameleon | https://www.vat19.com/item/huey-color-copying-chameleon-lamp |
| Magical Colour Lamp | https://www.instructables.com/Magical-Chameleon-Lamp/ |
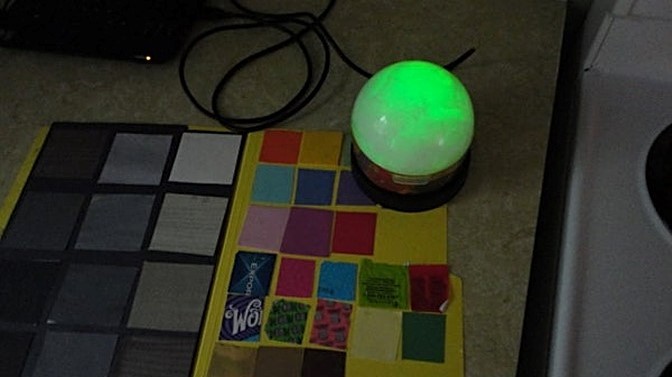
| High-performance Color Detector | https://www.instructables.com/High-performance-Color-Detector-for-Under-1/ |
| ColorUp Magic Lamp | https://www.amazon.es/decoraci%C3%B3n-cualquier-relajante-Reconocimiento-formaci%C3%B3n/dp/B06XFWM5NM |


Most of the latter project references are from commercial brands that do not show how they achieve color reading. That makes me think that this is where the difficulty of the project itself will be.
What will you design?
So far I have developed some lamps in the past, but always in a superficial way. This time I would like to design everything possible. To better understand what I want to do, below you have a categorized list of what I would like to design:
Electronics
- A microcontrolled electronic system that allows to collect information from the sensor and send it to the lights
- A breakout that houses the sensor in the most suitable position possible so that it reads the color of objects correctly
- A battery and charge management system that turns this lamp into a portable wireless device
- An interaction system that does not convey the usual sensation of pressing a button
Fabrications
- A soft, translucent lamp shade to emulate the feel and look of the dropper knob
- Store all the electronics and batteries inside a cylinder in 3D printing that simulates the glass pipette of the dropper. It will be difficult for it to be transparent because of the printing finishes and because the sensor is in the dark
- Unify all the joining systems to press fittings, brass inserts and Allen head screws
- (Optional) A translucent base that lights up in the same color as the lamp to illuminate more intensely and that is also the charging base for the portable part

Code
- A code that receives information from the sensor, converts it into a digital signal and sends it to the LEDs when the user wishes
The latter are currently wishes, I think that would be in the case that all spirals work correctly and there are no problems. In the end, everything will depend on the ability you have to carry out the project and how you manage errors and time.
What materials and components will be used?
Where will come from?
How much will they cost?
These following questions I think it will be easier to answer them in a common way through a B.O.M. (Bill Of Materials). With some extra columns I was able to answer all this more quickly:
Electronics
| Item | Vendor | Price |
|---|---|---|
| ATtiny1614 | Digikey | $0.80 |
| VEML6040A3OG | Digikey | $2.52 |
| Wireless Charger | BricoGeek | $18.90 |
| 2400 mAh li ion battery 18650 | BricoGeek | $11.92 |
| Adressable LED (10) | Digikey | $5.95 |
| $40.09 | ||
| 33.59€ | ||
Right now it is difficult to take into account absolutely all the components that will make up the electronics of the project, so for now I only refer to the key elements of the system. On the final project page you will find all the materials.
Fabrication
| Item | Vendor | Price |
|---|---|---|
| Brass Inserts | Amazon | $10.72 |
| Allen Bolts and Nuts | Amazon | $16.68 |
| PLA black | Amazon | $18.90 |
| Easyl 940-FDA | Feroca | $56.04 |
| HighDensity Poliuretane Foam | Amazon | $21.34 |
| 100.00 | ||
| 100.00 | ||
In the same way as with electronics, keeping in mind that it will be necessary exactly is difficult right now.
What parts and systems will be made?
I'm going to break down my answer into electronics, manufacturing, and code separately to avoid too much reading.
Electronics
- A main board that will house the microcontroller, its system around it to manage the logic of the code
- A breakout for the sensor, which will read and send data to the main board
- A battery pack that will store energy and send it to the entire circuit
- A side pcb that will have a button and neopixels to illuminate and activate the system.
Fabrications
- A soft, transparent silicone knob that will act as a diffuser
- An abstraction of the glass pipette where all the electronic system will be
- A bottom cap that will close the entire pipette and act as a trim
- (Optional) A translucent base that lights up in the same color as the lamp to illuminate more intensely and that is also the charging base for the portable part
Code
- A code that receives information from the sensor, converts it into a digital signal and sends it to the LEDs when the user wishes
All these manufacturing processes will ultimately generate the design of other parts that will allow to manufacture the desired part. For example, it is very likely that you need to make a mold for the screen of the lamp.
What processes will be used?
For the electronics we will use:
- Electronics design
- 2D design for wiring and mods preparation
- CNC milling for the pcbs
- Hand soldering and wiring
For the fabrication we will use:
- 2D and 3D design (basically CAD)
- CNC milling (knob)
- Molding and casting (knob)
- 3D printing (pipette)
- System integration and casing of those electronics
For the code we will use:
- Embedded microcontroller interfacing
- Embedded microcontroller programming
What questions need to be answered?
The questions that I need to solve right now are:
- Where do I place the lights so that the distribution is even?
- Will the silicone be strong enough to maintain the spherical shape? Will it give the feeling of being soft and pleasant?
- How do I distribute the plates so that each component is in place without manufacturing being impossible?
- Will 3D printing give me the clean finishes that I would like to have?
- How many adressable LEDs can I put in without exceeding the capacity of the battery or the microcontroller? Will it be on for a reasonable time?
- Of the previous electronic components, which ones can I put on the same pcb? Will it be necessary to do double-sided pcb's?
I'm sure many more will appear but for now the ones that I am most concerned about solving are those.
How will it be evaluated?
I consider that the basic objectives right now are:
- Make the knob
- Manufacture the pipette
- Manufacture the custom battery pack
- Manufacture all the modules of the electronic system
- Join all those modules and debug until correct operation
- That the sensor read correctly and be able to send that color to the LEDs
- The lamp has the appropriate dimensions, it is aesthetically pleasing and it can be handled comfortably
- The code works correctly and does the reading when the user activates the lamp, sends the data to the LEDs.
- (optional) Manufacture the charging base and charge the battery by induction
- (optional) Create another electronics for the base that communicates with the lamp and lights up the same color
Workflow Proposal
To start developing the project, I think the first thing is to organize my head and try to give a logical order to the tasks.
I don't think trying to work with spirals is a good idea when I'm used to working in another way. I usually focus on creating a Gantt of the tasks that I have to perform and little by little I develop them as the days go by.
But there is one thing I would like to try. I had always looked for some software or app that would allow me to work in the form of a blank canvas but I didn't know of any. In one of the FabLabBarcelona classes we were taught MIRO and I think it might be a great idea to use it.
I think this way is great for you to see the process that I am following during the process. It is possible that when you see this, it is already fully resolved and you will not see the workflow live, but anyway I still think that it is a very visual way for you to follow my steps.
Conclusions
The most important conclusions that I draw from this week of work and planning are:
- The project motivates me a lot, I think that will make when difficulties come, everything is more enjoyable.
- I consider that I meet all the necessary requirements for the final project to be accepted by the evaluators
- I believe that the difficulty of the project is affordable for my skills and that I will be able to do it to a greater or lesser extent even if it is not easy.
- I think that the work plan that I have developed shows my progress well in real time, and that it will help me to do a good time management during the work process
What to improve for next assignments?
As improvements to be made, I don't think there is anything to improve, but simply to believe in the process that I have worked on this week. Stick with my time schedule, keep a good attitude and keep track of deadlines I think are the most important for the next 2-3 weeks.