1.5. Project management
The task for this week was to go through a git tutorial and create a personal website that describes me and my final project. I have signed and uploaded a Student Agreement.
Git setup
The first thing I had to do was download and install git from https://git-scm.com/. When I did that I started following the official tutorial from FabLab Academy, here. I started Git Bash and set up my username and email using the following commands:
git config –-global user.name “my user name”
git config -–global user.email “my email”
The next step was to set the SSH key. Since I didn’t have an SSH key from before, I had to generate it. To generate and view the SSH key, I used the commands:
ssh-keygen -t rsa -C "my email"
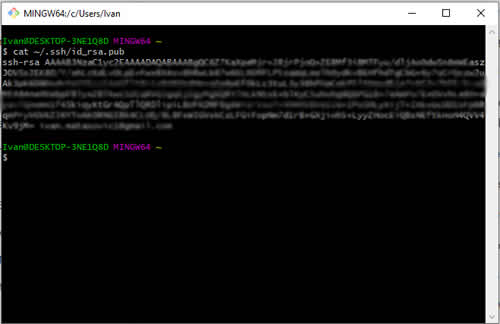
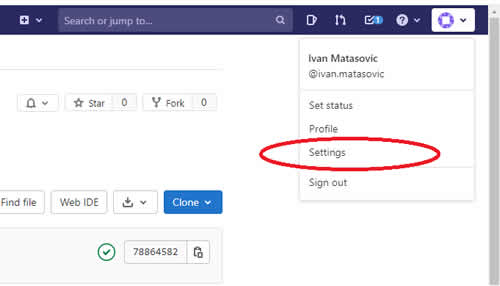
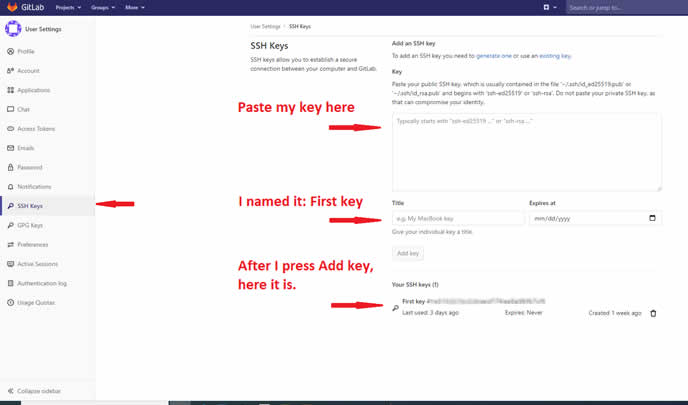
Using the command I copied the key and pasted it into my gitlab.fabcloud.org account under settings -> SSH keys.
clip < ~/.ssh/id_rsa.pub
I can now easily access the repository. I cloned my repository using SSH with the following command:
git clone git@gitlab.fabcloud.org:academany/fabacademy/2021/labs/barcelona/students/ivan-matasovic.git
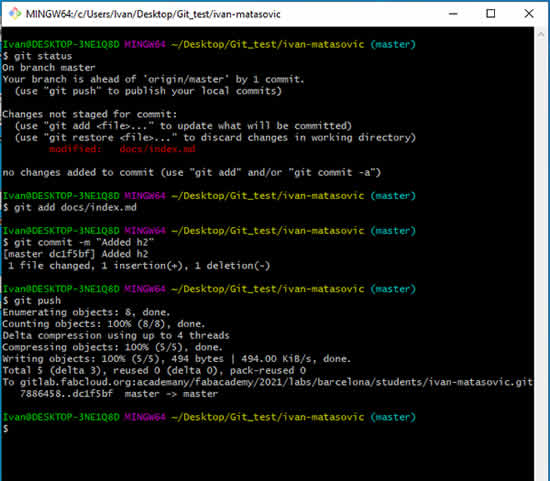
For testing, I made a small change in index.md and tried to make a push to my repository. Before that, I checked to see if the git showed changes. I used the following commands:
I usually use the above commands when working with git.
git status
Gives a status of project, changes, and untracked files.
git add docs/indeks.md or git add .
Add selected or all changed files to the stage
git commit -m „Added h2“
Commit changes with short description
git push
Upload to the repository
Creating a personal website
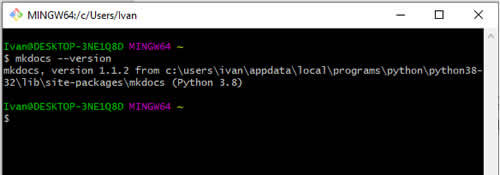
The next step was to create a personal website. We were introduced to a lot of tools and programs for creating websites. Since I already have experience with creating web pages using HTML, CSS and bootstrap, I decided to try MKDocs and Markdown because I haven’t worked with them yet. As for the editor, I was thinking between Atom or VSCode. I’ve seen a lot of similarities between them, but I opted for VSCode because I’ve used it before. I went to https://www.mkdocs.org/ and followed their instructions on how to install MKDocs. I first had to install Python from https://www.python.org. With the installation of python, the Python package manager (pip) was also installed. I didn’t install the latest version of python, I wasn’t sure everything would work. I installed the version below. I checked the Python and package manager versions and got the following

After that I started with the installation of MKDocs and checked the version after installation.
pip install mkdocs
I opened my local repository which I had cloned before and opened in bash. I wanted to open a website in a dev-server. I used the following command and that resulted in errors.
mkdocs serve
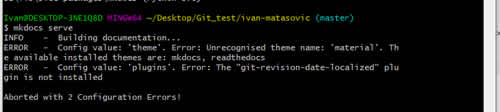
The dev-server could not start due to two errors. I had to install the “git-revision-date-localized” plugin and the material theme. I did a little research and came across this site https://squidfunk.github.io/mkdocs-material/getting-started/ which helped me with that. I used the following commands:
$ pip install mkdocs-material
$ pip install mkdocs-git-revision-date-localized-plugin
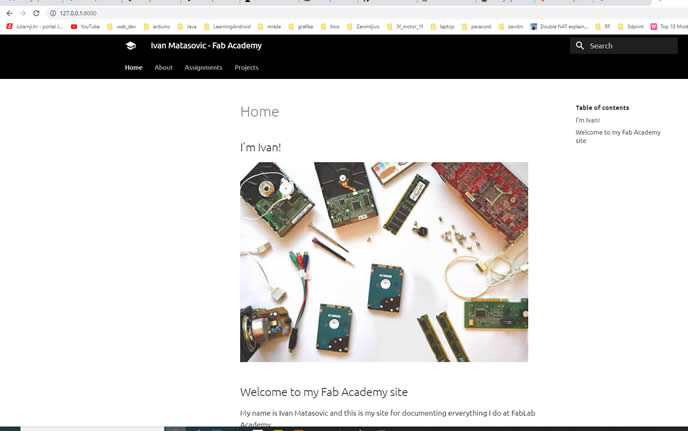
When I successfully installed it I started the MKDocs dev-server and it was successful, error free. I opened Chrome and typed http://127.0.0.1:8000/. My website has appeared, which means success.
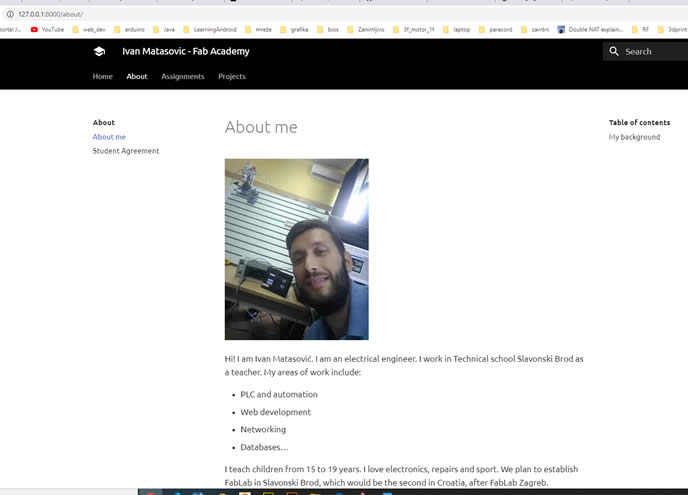
Now I set out to alter the website and add a little about myself. I saw that I had to use markdown to format the content. I came across the page https://github.com/adam-p/markdown-here/wiki/Markdown-Cheatsheet which helped me with that. Before that, I decided to change the colors on the website. I opened the mkdocs.yml file and replaced the primary palette color from indigo to black. I found a list of colors and how to change them at https://squidfunk.github.io/mkdocs-material/setup/changing-the-colors/. I put my data and description in the same file.
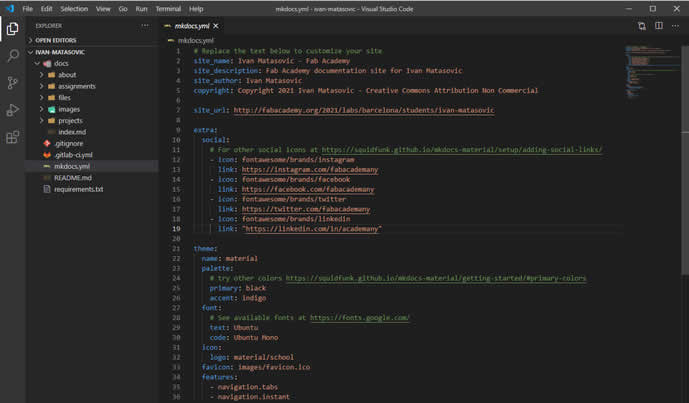
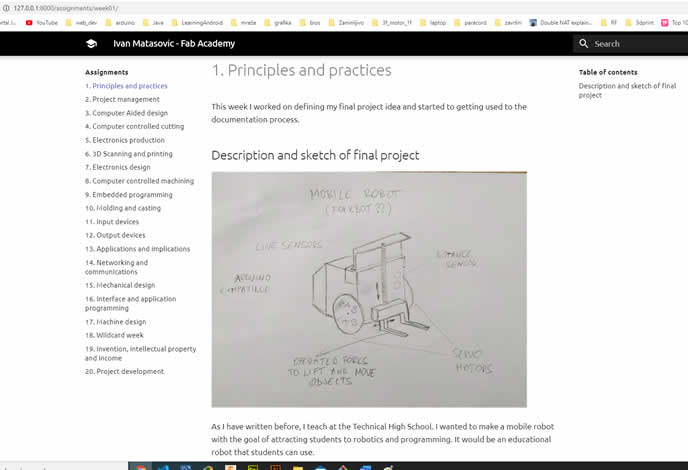
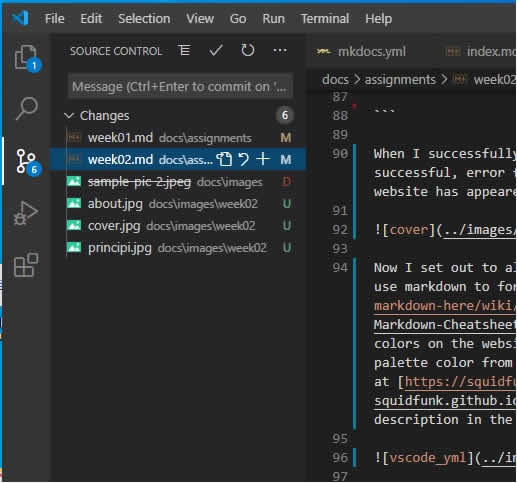
I continued to edit the part about myself, the title page and added a sketch and description of the final project. I edited until I achieved a satisfactory look and shape. I later noticed that Git was integrated into VSCode, so I used Git directly from VSCode.
Working with mkdocs was very interesting and successful. Also, working with git seemed intimidating to me at first, but after trial and error I managed to learn it.