3D Scanning and Printing
Group assignment
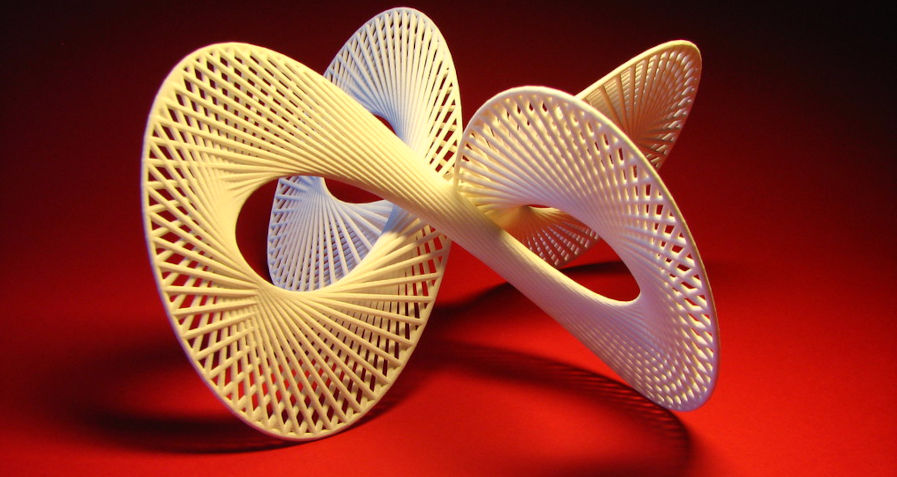
For the group assignment, we took two test files and printed the jobs in the different machines we have available in the lab and different filaments as well. With one of designs we were looking to test the efficiency of the printers with intricate designs, with overhangs and nested parts. With the second design we aimed to test the resolution of each printer, if they could print mobile parts and small details.
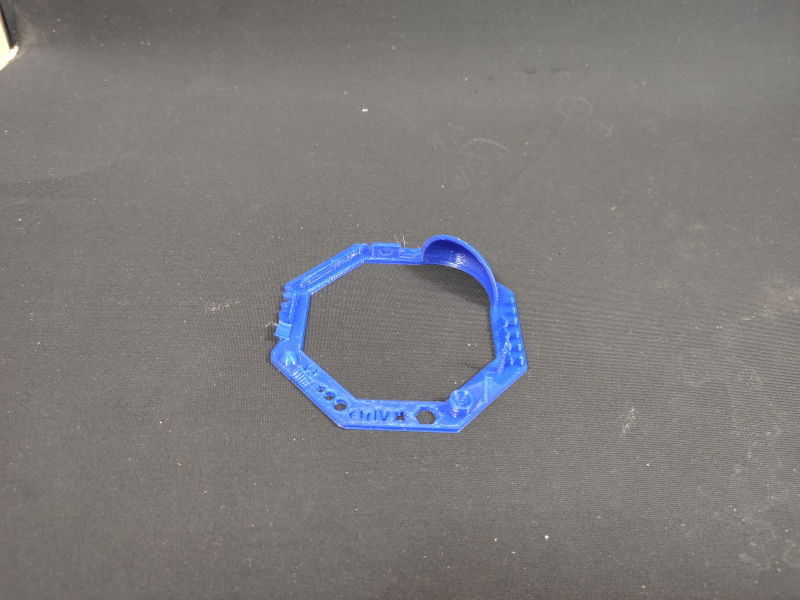
Prusa I3 MK3, with PLA filament:
This printer had a great definition and was faster than the other machines, it has a very intuitive menu that we can manage through a dial. It also has the option of multi-filament printing, but we didn’t test this feature:

Delta, with PLA filament:
This machine caught my attention, because of the different process it uses to print. I believe that having a fixed bed is one of the reasons it has a great resolution, it was a bit slower than the Prusa but the finish of the desing was as good or better.
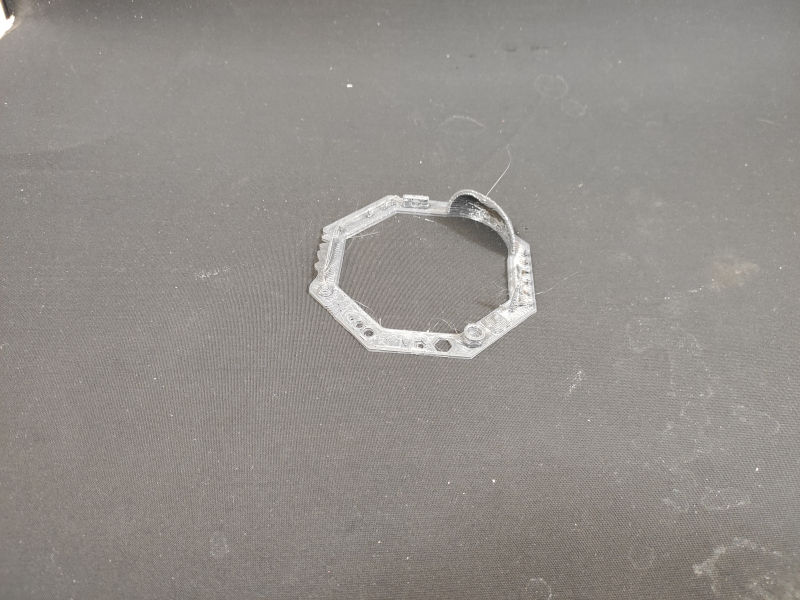
RepRap, with PLA filament:
The big plus of this machine is the cost/quality ratio. It gets a good job done on the cheap. Although quality or speed were not close to what we find in the Prusa or Delta.
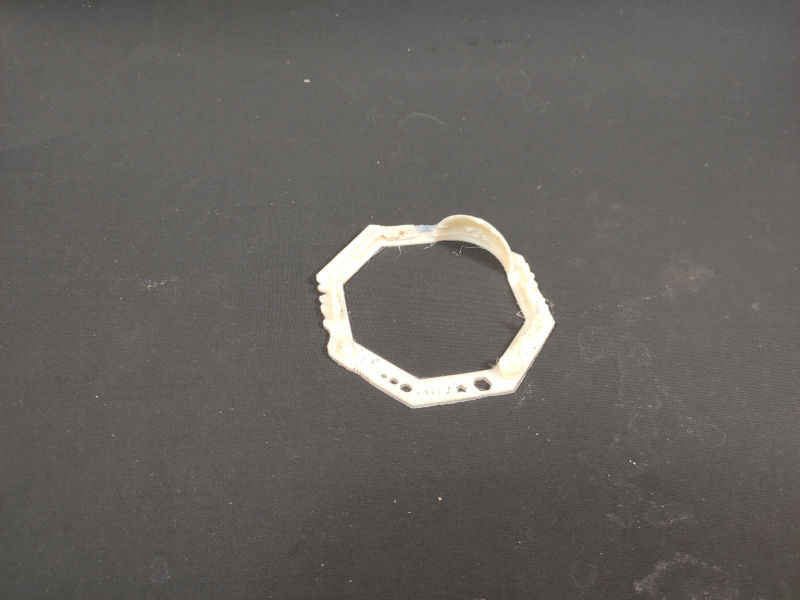
RepRap, with flexible PLA:
We found this material quite interesting and give us the opportunity to design multiple forms that require flexibility as a feature. Although for high detail designs is not a good option:
Individual assignment
3D printing
For the individual assignment, I decided to model a hypercube in Rhino. After a couple of attempts, I figured out that the best way to build it was to create two solid cubes and perform a Boolean subtraction to obtain both cubes, then extruding the face of the corner of the bigger cube and merging them with the smaller cube’s corner:
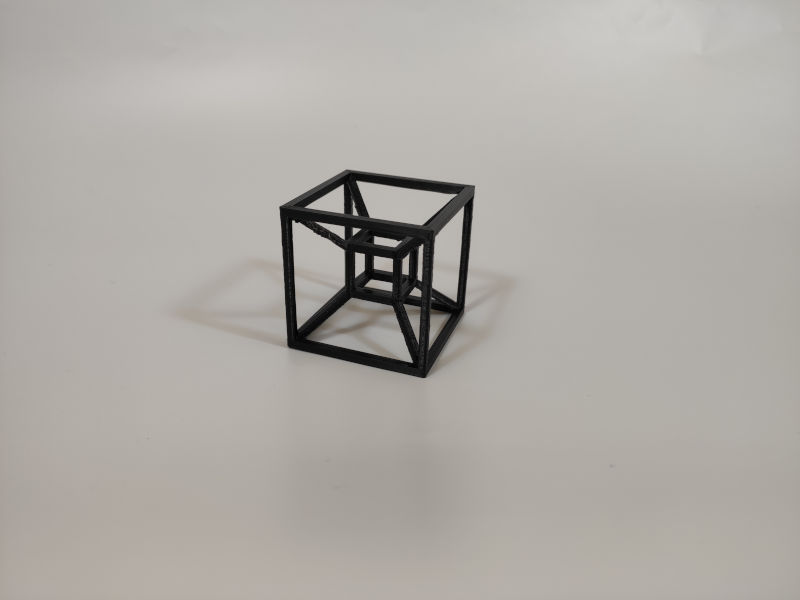 Hypercube
For this print I used the Prusa MK3, with a 1,75 mm PLA filament and a 0,6 mm nozle. I wanted to test if such overhang could be printed without any supports so I only used supports in the base. The print was completed with no issues, just the finish of the upper side of the cube is not as detailed.
I used Cura fot generating the G-code file, usign the default parameters for the printer. Only changing the infill to 20% and resolution to 0,2 mm.
3D scanning
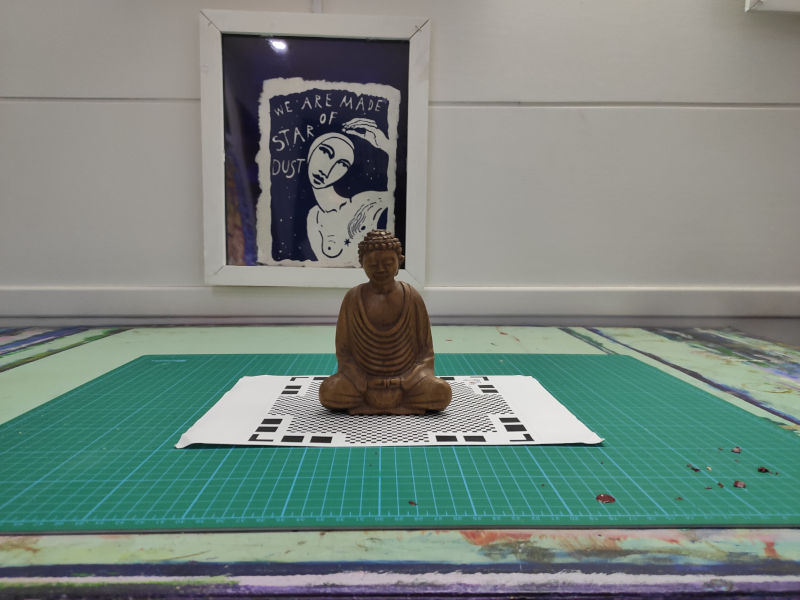
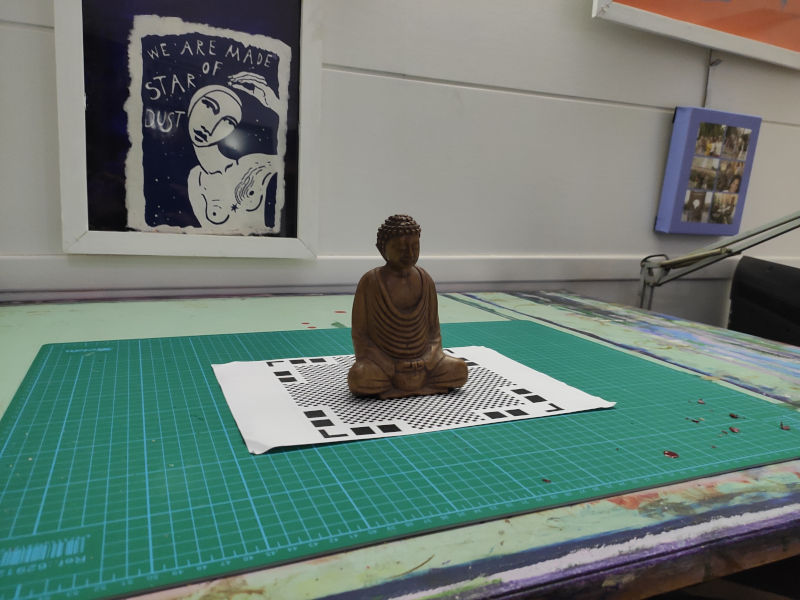
For this assignment, I decided to scan a small object with my mobile phone, through multiple photos using the dome technique and a grid as reference. I took a total of 98 pictures, trying to have an overlap of 20-30% between each picture and a distance from the object between 50 to 60 cm.
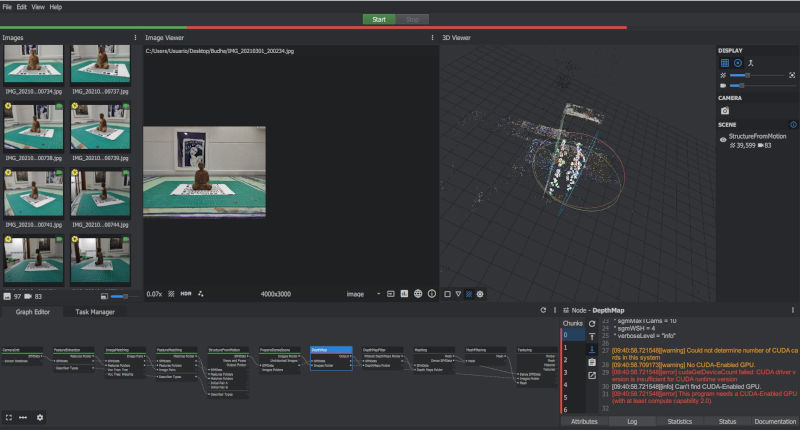
I uploaded all images into dropbox, as .jpg files in high resolution (4000x3000) then used Meshroom to create the scan. The software is very straigh-forward, we just need to drag and drop the images and click on start.
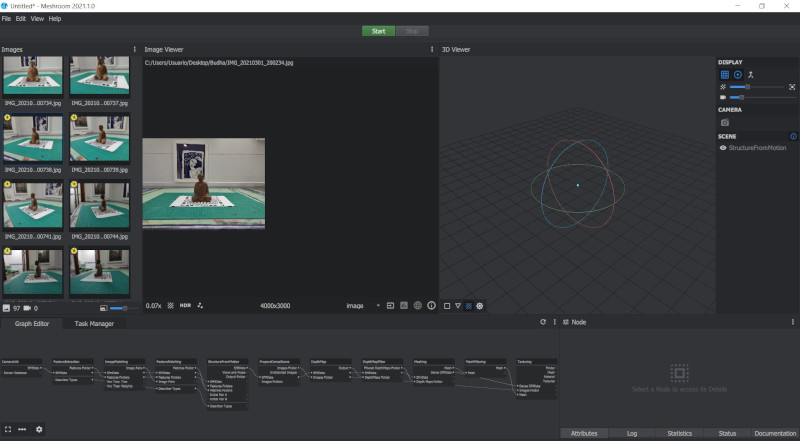
The first test failed during the DepthMap process, checking the logs, the issue is that my laptop seems to not have CUDA enabled GPU
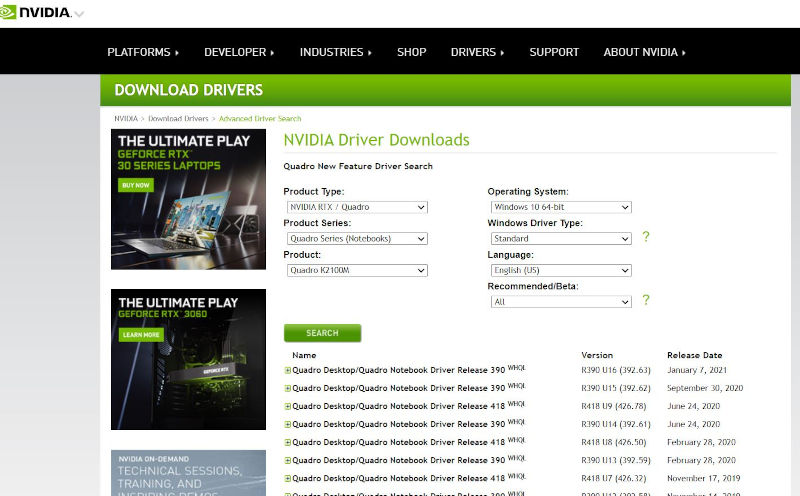
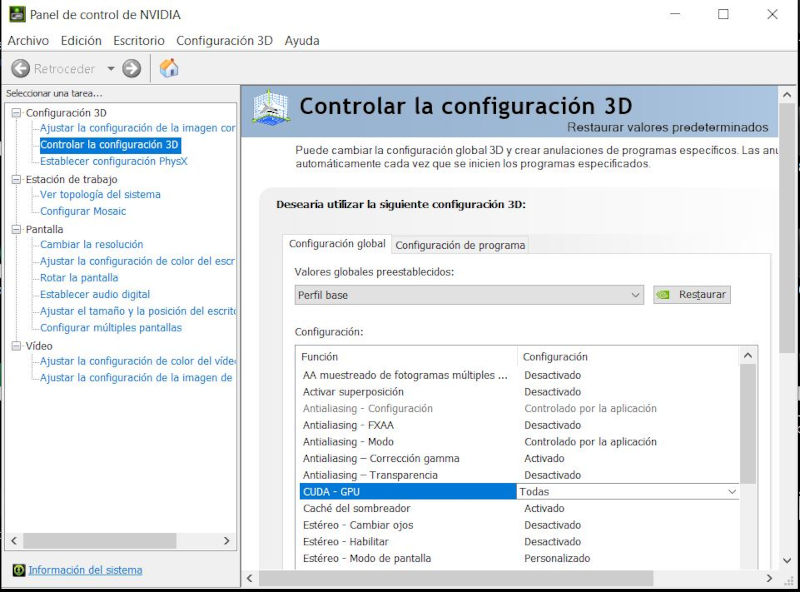
After this I downloaded the latest GPU driver and made sure that the CUDA settings were set as all
Conclusions
During this week, my main struggle was once again the 3d designing, a good part of the time was invested in making my model in Rhino. Main takeaway: ALWAYS save your Rhino file before exporting it as .stl, I had to recreate again my object because I exported it directly.
For 3D scanning, photogrammetry gives us the option to create a 3D scan with a simple tool, such as a mobile phone camera. But generating the scan and then rendering it it is more complicated than using other techniques, such as scanning with a kinect.