4. Computer controlled cutting
-
Individual assignment: Cut something on the vinyl cutter. Design, laser cut, and document a parametric construction kit, accounting for the laser cutter kerf, which can be assembled in multiple ways, and for extra credit include elements that aren’t flat .
-
Group assignment: Characterize your laser cutter’s focus, power, speed, rate, kerf, and joint clearance.
Vinyl Cutting
For the vinyl portion of this weeks individual assignment I decided I would use heat transfer vinyl and apply it to a canvas bag.
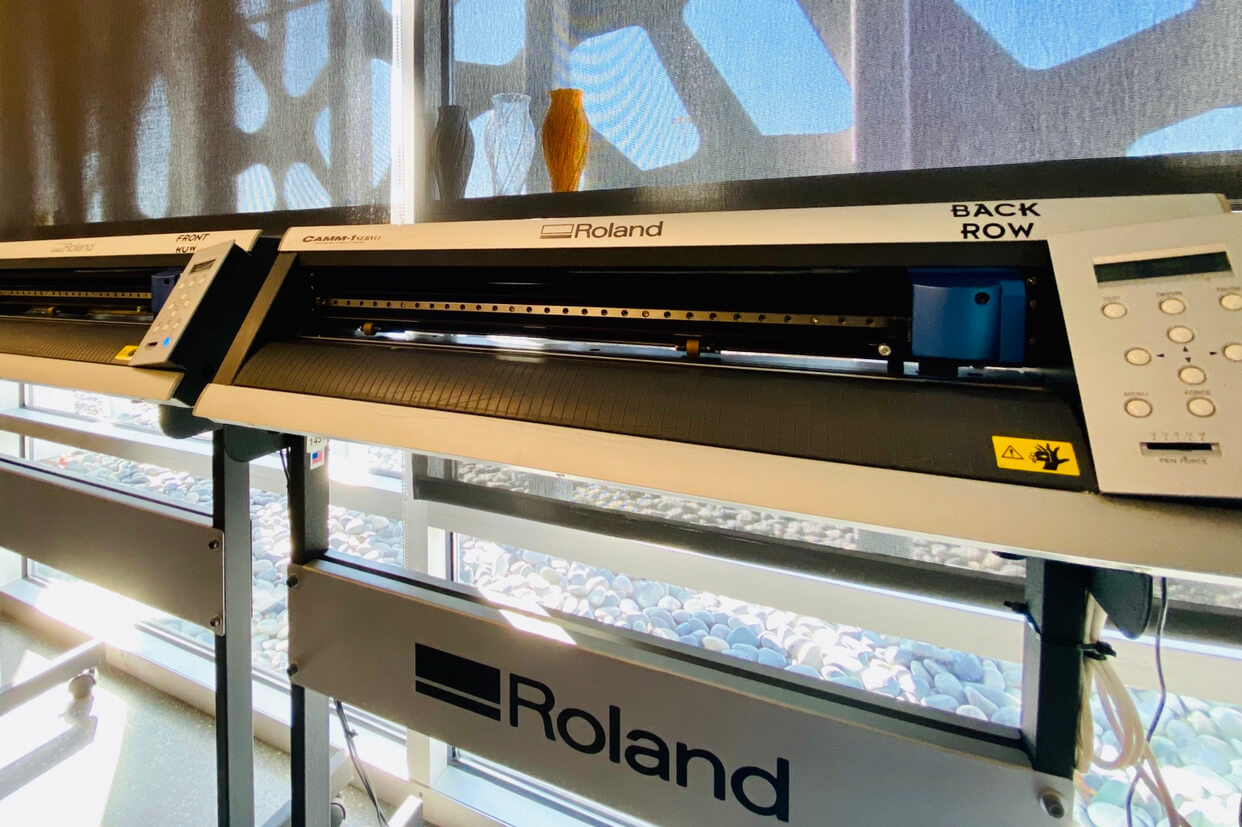
In our lab we have two Roland GX-24 Vinyl Cutters.
Vinyl Cutter Safety
- Sharp Blades
- Moving Carriage
- Pinch Hazards
Be extremely careful when replacing or working with razor blades and cutting tools. Keep hands away from blade and blade protector. Failure to do so may result in injury.
Keep hands away from cutting carriage when it is in motion.
This machine has moving rollers, it is advised to not wear loose clothing or jewelry and to have your hair tied back to prevent anything from being pulled into the rollers in an event that you are too close.
NEVER operate this machine unattended.
In the event of an abnormal stat (such as smoker sparks, odor, burning or an unusual noise), immediately unplug the power cord from the machine.
Only cut approved materials.
Vinyl Cutter Setup
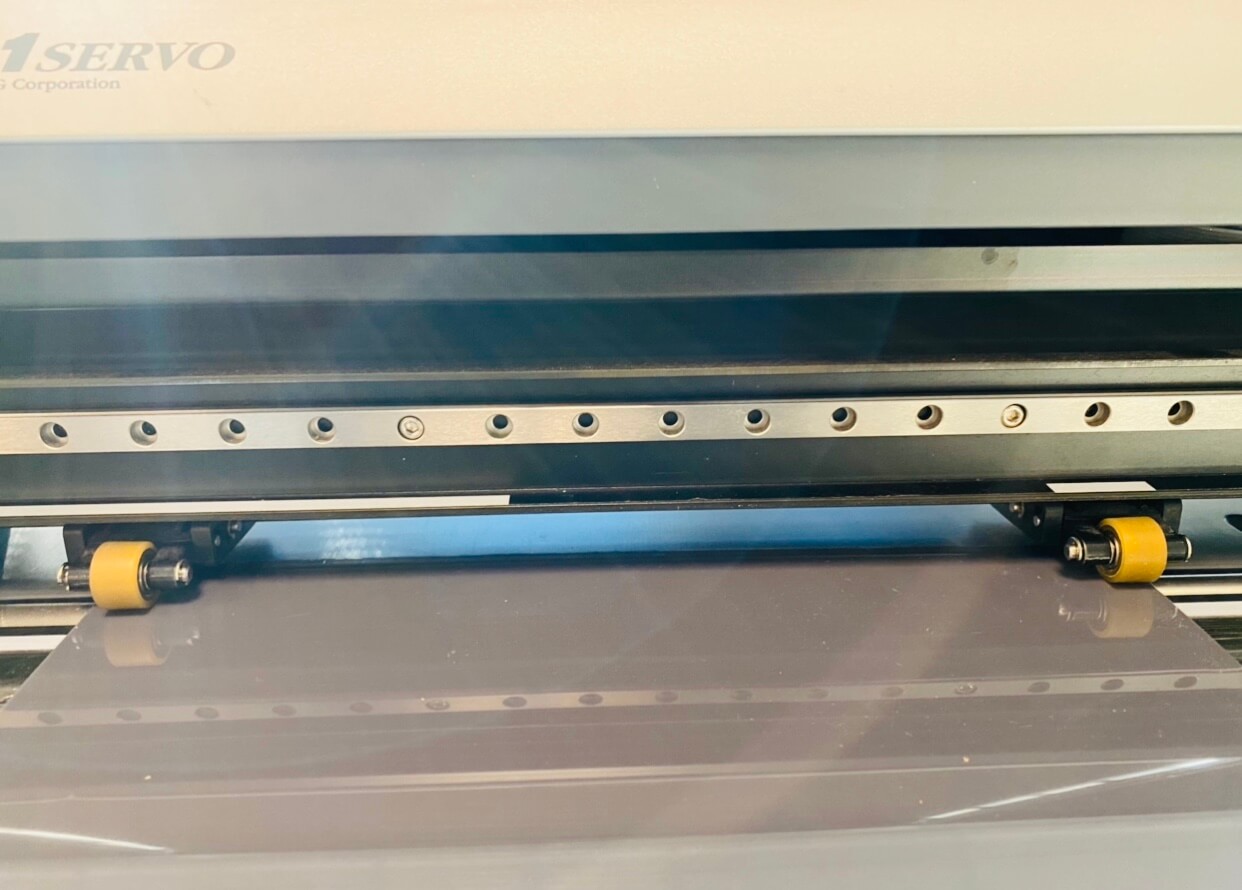
When it comes to the vinyl cutters we have there is of course a certain way to set them up to cut and things to pay attention to. Our vinyl cutters each have two rollers, it is important that we leave the first roller within the first 6 inch white section on the left hand side of the machine, this is where our sensors are located to measure the roll or piece of vinyl. For the other roller we have 3 1 inch sections that it has the option to sit in, this will be dependent on the size of your vinyl and how it is adjusted to hold the vinyl down. Once the vinyl is where you would like it, you will pull up on a lever on the back left hand side of the cutter and this will press the rollers down to lock the vinyl in place.
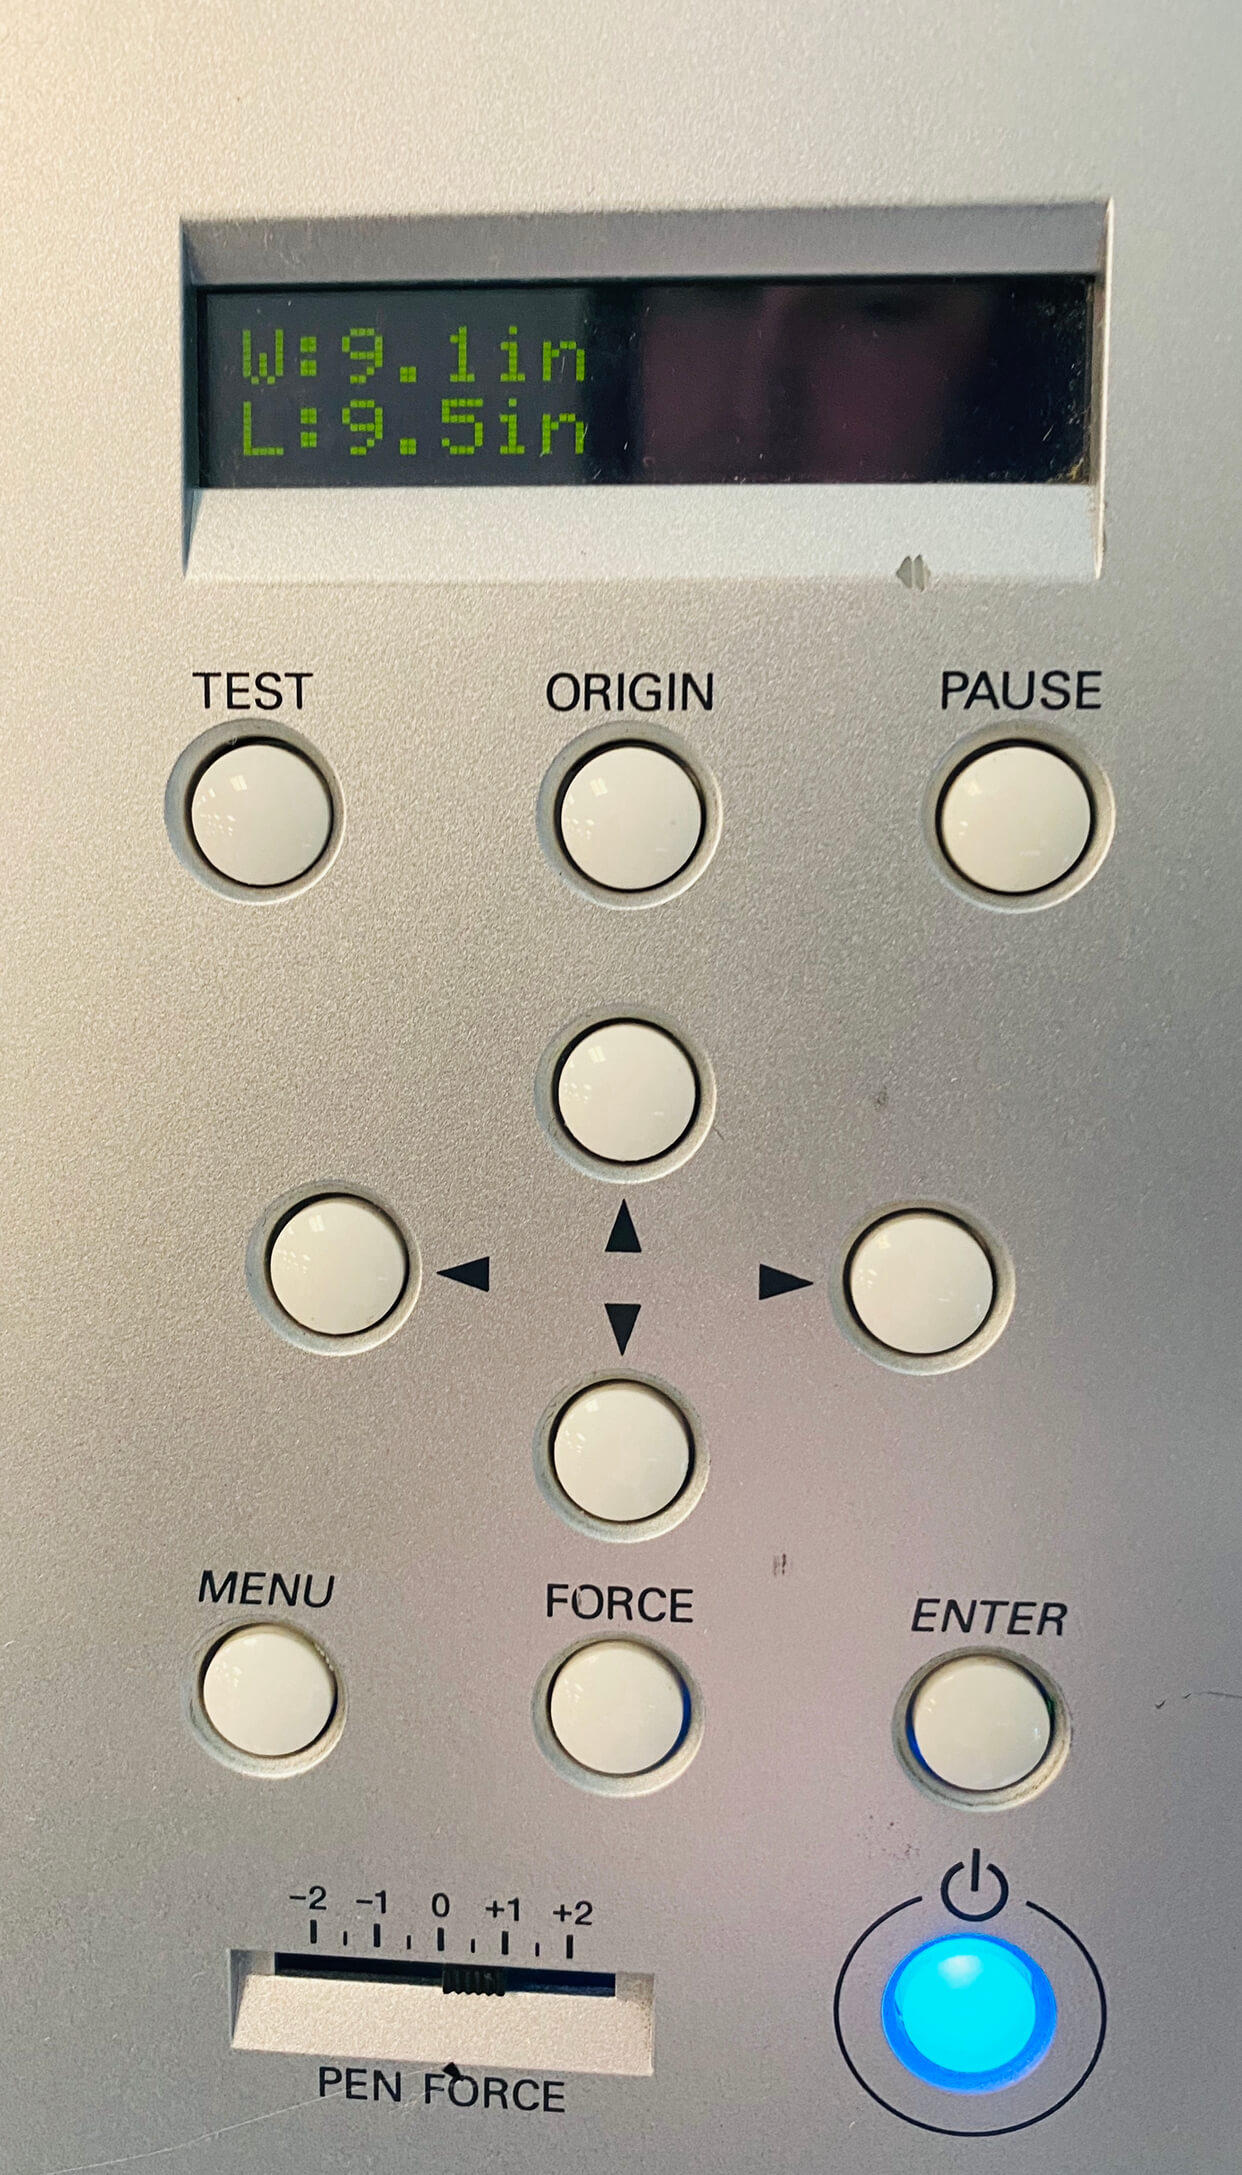
Now that your piece is in the machine, we can have the machine measure it by selecting the option for “piece.” You will immediately notice the cutting carriage begin to move, so at this point you should take a step back. Once the machine is done measuring, the carriage will stop moving and display your usable cutting space on the little screen above the control panel on the right side of the machine.
Designing and Cutting
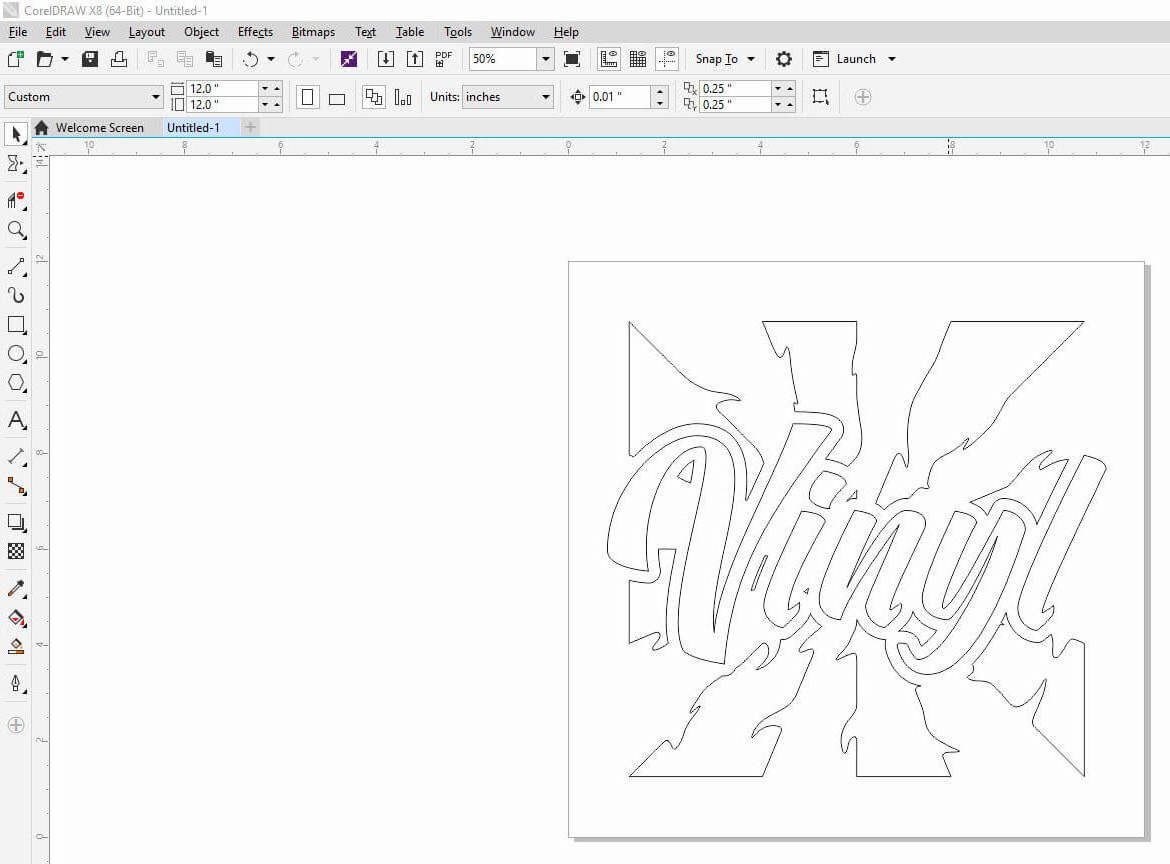
For our vinyl cutter we utilize two programs when designing; CorelDraw & Cut Studio. For my the design I created I decided to used CorelDraw. In order to send a file to cut you will need to make sure you are using vector artwork and that your line is set to a hairline, if it is not then nothing will be cut out. Also since I will be using heat transfer vinyl, it is important to remember to mirror your graphic before cutting.
Now I will press Ctrl+P, this will bring up my systems print menu.
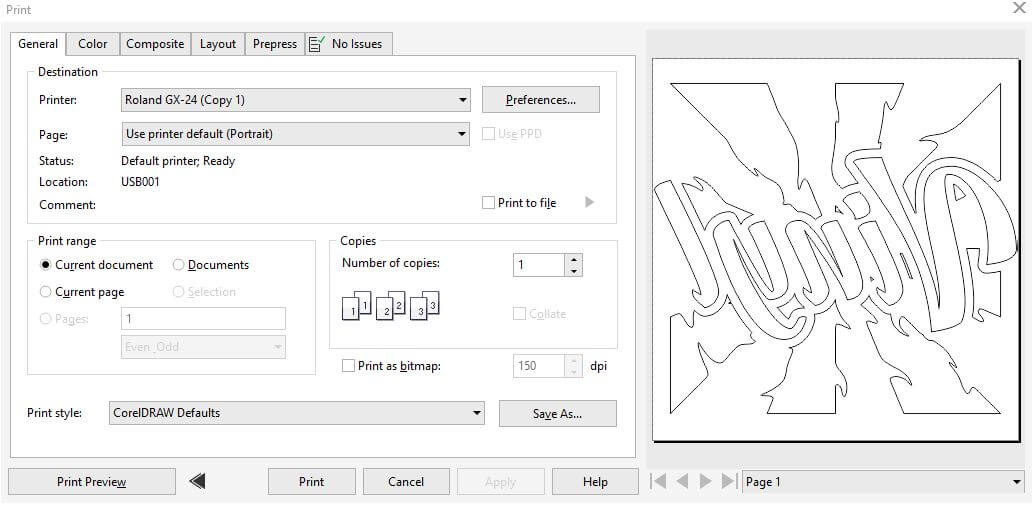
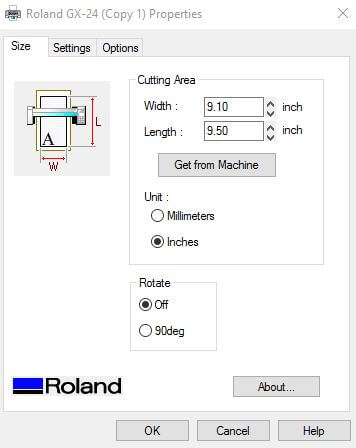
Once that menu is up, I will go into the print drivers preferences and enter the size to match the measurements given to me by the machine. Once this is done I will press print and send my job to the cutter.