2. Project management
- Individual assignment: Work through a git tutorial & build a personal site in the class archive describing you and your final project.
Getting Started
Project management might be our second assignment but it is the one assignment that will be a key resource throughout this entire class. Mastering this skill will help in keeping you organized and on task as you move through Fab Academy at a very rapid pace. There are so many programs and applications out there that can help you keep track of completed and incomplete tasks as well as allowing you to add due dates, notes, links and photos. Below I will link some of the programs and apps I have used in the past and plan on using quite a bit over the next 5 months.
Upon resetting my password for GitLab I was able to get logged in and I realized I already had a nice template waiting there for me. Although I have experience in web designing I made the decision to stick with using the template that was given to me instead of spending excess time in HTML and CSS each week. I was ultimately happy with my decision as it would allow me to learn more about Markdown and Gitlab.
Before Fab Academy I didn’t realize how great GitLab was. Git is extremely easy to use. One of my favorite things about Git is that it keeps a history of your commits to your repository which helps me keep track of my changes.
Below is where you can see the files you have in your repository and when they were last updated.

GIT Setup
I created a folder on my desktop and named it fab2020. This is the folder where I will store and make changes to my repository.
Next I opened up terminal on my MacBook to check out what version of git I had installed already to make sure it was up to date by entering the following command line.
% git version

Next I setup my username and email by entering the following command line.
git config --global user.name
git config --global user.email
You can check this what yours is by entering the following into the command line.
git config --list

Lastly, you’ll need a ssh key, you can check if you have one by entering the following.
% cat ~/ssh/id_rsa.pub
I did not have a ssh key so I had to make one using the following command.
% ssh-keygen -t rsa -C “r.corrigan@lorainccc.edu”
After this step it will ask you to create a passphrase that you will enter every-time you push or pull to/from your repository.
File Prep
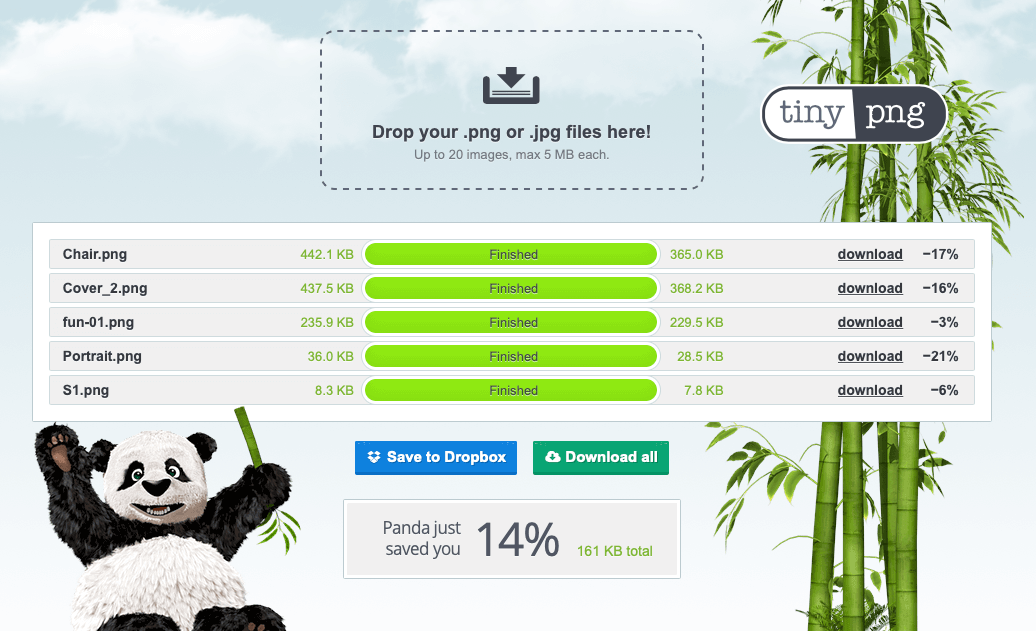
After hearing horror stories of people uploading massive files to their repositories I knew it would be very important to look into file compression options. Out of the ones I looked at for photos, I decided on tinypng.com. tinypng is very easy to use, you literally just drag and drop files into your browser and they all get compressed - showing you the before size and after. Once you do this and you can tell that your sizes are a good size, you can then rename them and drop them into the appropriate weeks folder to get pushed to your site.
Below is an example of tinypng!
Cloning Your Repository
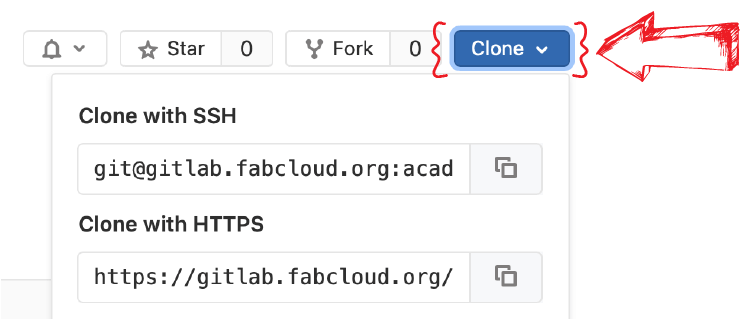
You will start off by logging in to your GitLab with your Fab Academy Credentials and navigate to your repository and you will wee a blue button that says, “Clone” in the upper left. When you click it you will get a drop down like the one pictured below. You will want to copy the URL for the option that says, “Clone with SSH.”
Now that you have that copied, head back to you terminal you’re going to enter the command to clone your repository followed by that URL you copied.
git clone git@gitlab.fabcloud.org:academany/fabacademy/2020/labs/lccc/students/ryan-corrigan.git
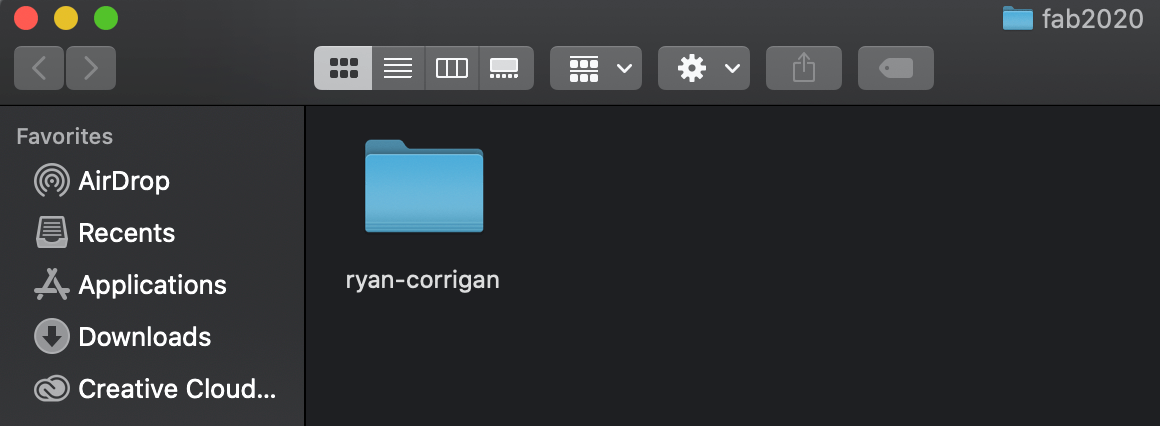
Once your repository has been cloned your can go ahead and check out the folder on your desktop and you will see your repo located there.
Something to take note of is that you do not want to change anything on your site through GitLab itself once you’ve cloned your repo. This will cause problems and you will have to re-clone your repo.. trust me I have already done it… twice.
Editing, Committing, & Pushing
Next is what is thought of as the “FUN PART” - building your website. To do this I utilized a program that was already installed on my app called TextEdit. TextEdit is your most basic version of a notepad editor type of program. In this app you can type using html and markdown language. You can then save those changes. To start I made changes in the index.md. Now we will need to push our changes to our site. Below I will share some screen captures and command lines you will need to know in order to push changes to your repository.
To start you will want to open your terminal. After that I always want to check my location. Ill do so by entering the following command line.
pwd

From there I can see that I my location is my computer. I will want to navigate to my fab2020 folder on my desktop. I will do so by entering the following command line.
cd desktop/fab2020/Ryan-corrigan

Now I can enter the command line that will check to see if changes have been made and if so I will need to push those changes to me repository.
git status
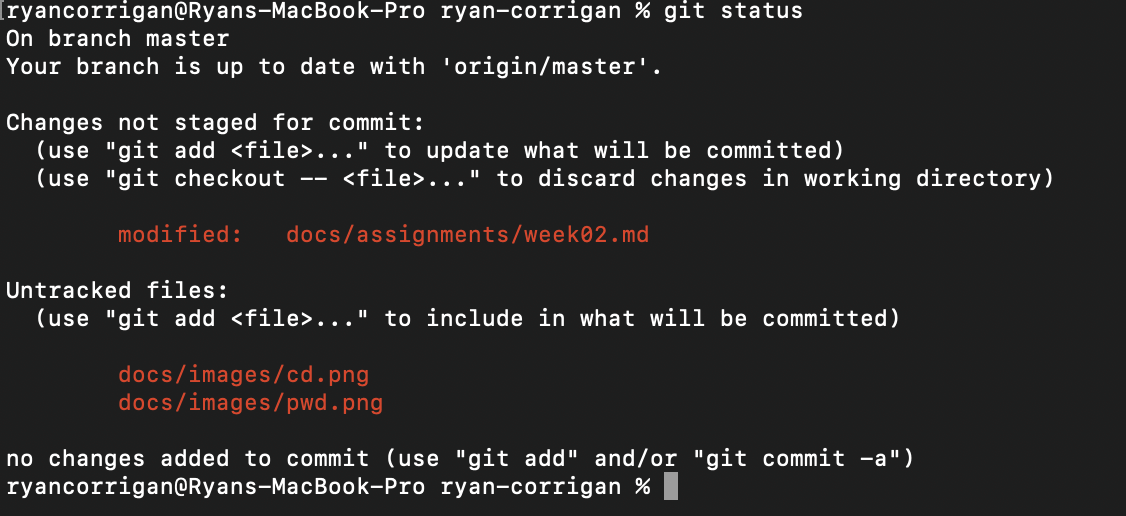
You will be able to see the documents that have changed are above in red. That means there are things that need pushed. Next we will add them.
git add docs/assignments/week02.md

After that I will always check my git status again to make sure what I gust added has turned green.
git status
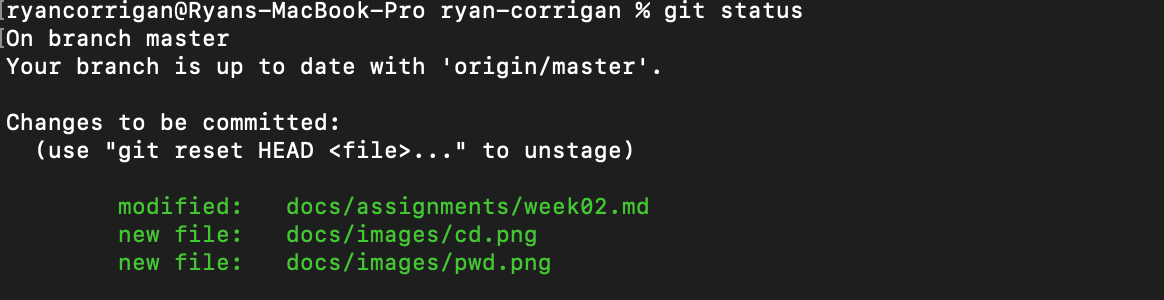
YAY! Green now we are ready to commit our changes and push to our repository.
git commit -m "test"
It is not a bad Idea to name your commit something according to the push you are doing as you will be able to see the history of your commits and this can make it easy to track down old things you have pushed if necessary. For this purpose I have named this one “test.”

Alrighty, last step is to push and enter your passphrase to send these changes to your repository.
git push

Now, lets check and make sure our commit was added to our repository on GitLab.

YEP! The green check means our test commit went through and we are in business.