
Assignment
Individual Assignment
To Read the safety data sheet (SDS) and technical data sheet (TDS) for the resins that you're using design and fabricate a 3D mold (~ft2) and produce a fiber composite part in it, with resin infusion and compaction
Individual assignment:
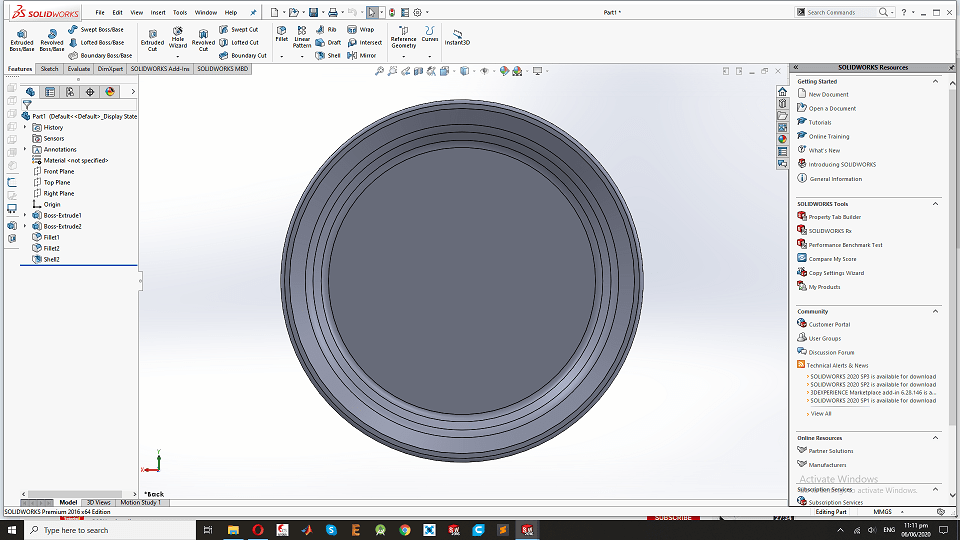
This week is waild card week and I want to design the plate for me,first I am designing the plate in solid work.
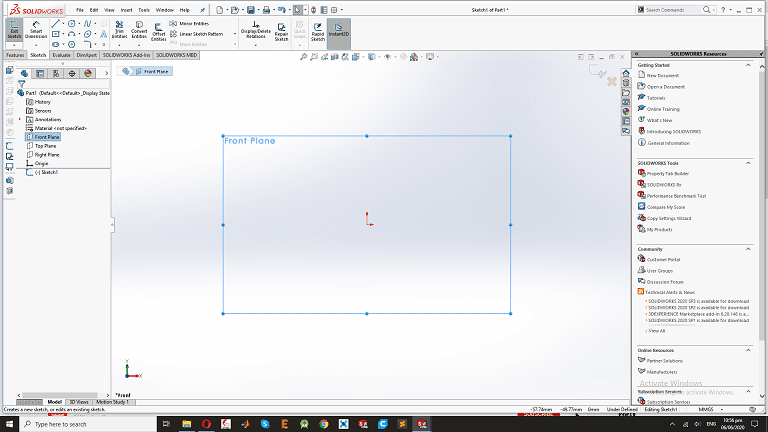
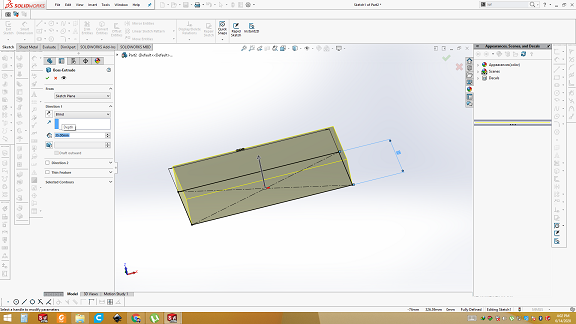
First open the Solid work and open the new file and name it plate , after that I have set the plan in solid work.
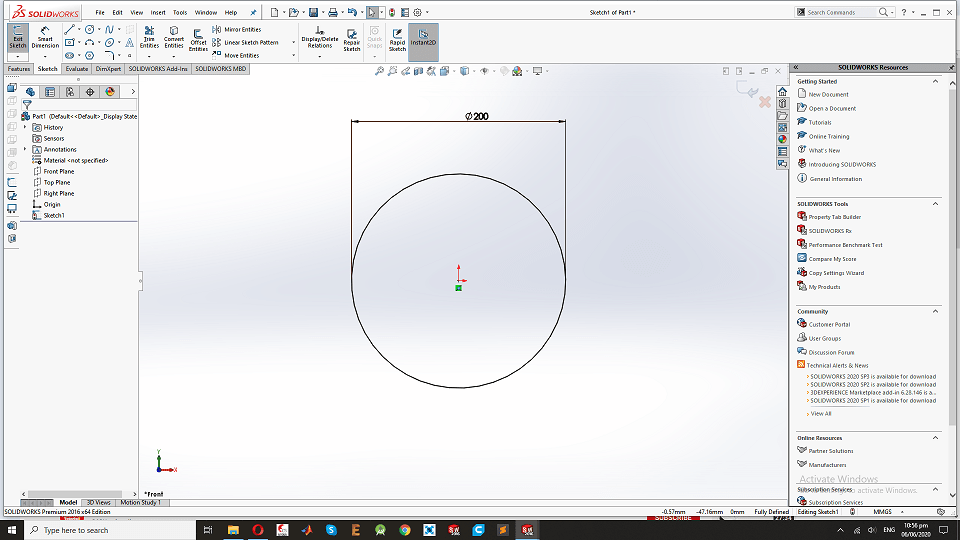
Now I have draw the circle of 200mm.
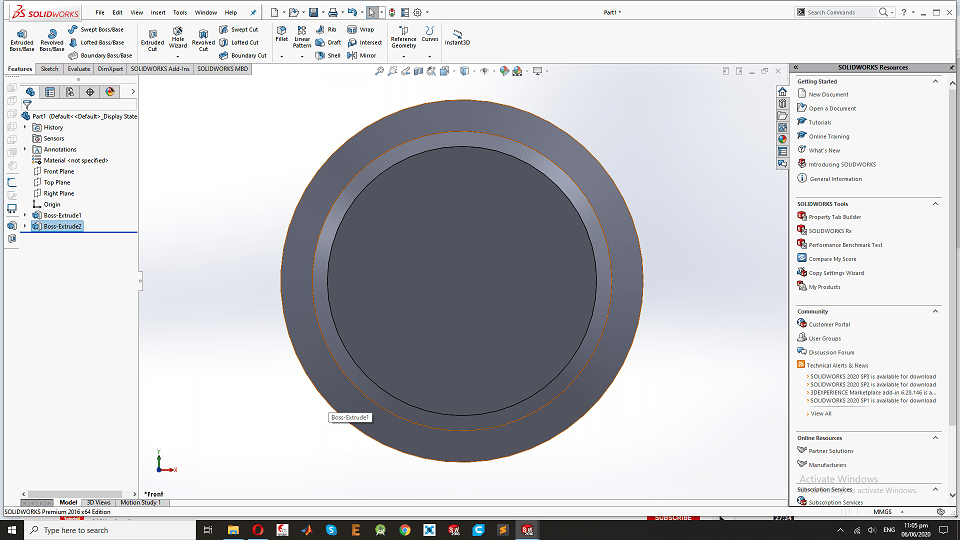
After that I extrude the circle, using the draft to extrude the outer side as the back of the plate.
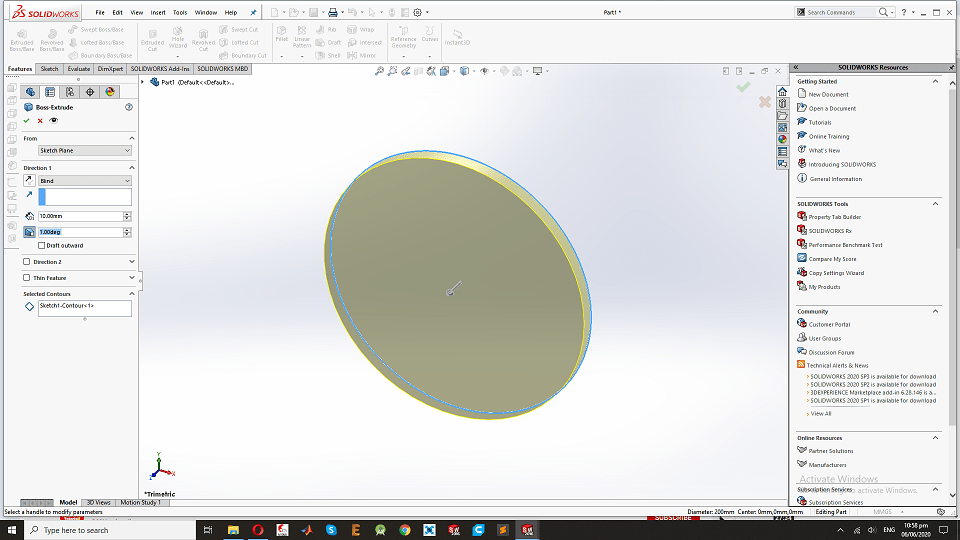
Now design the back of the plate is look like this.
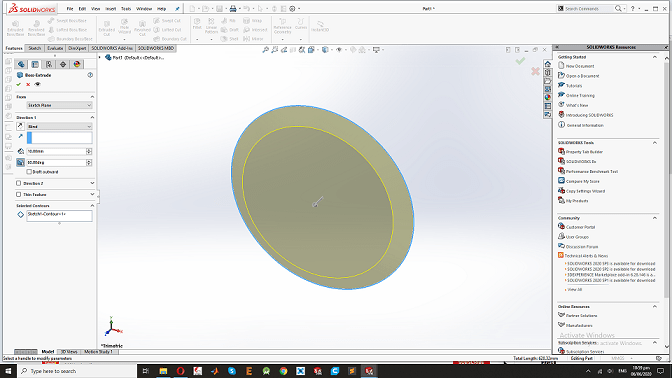
After the extrude and draft then design look like that.
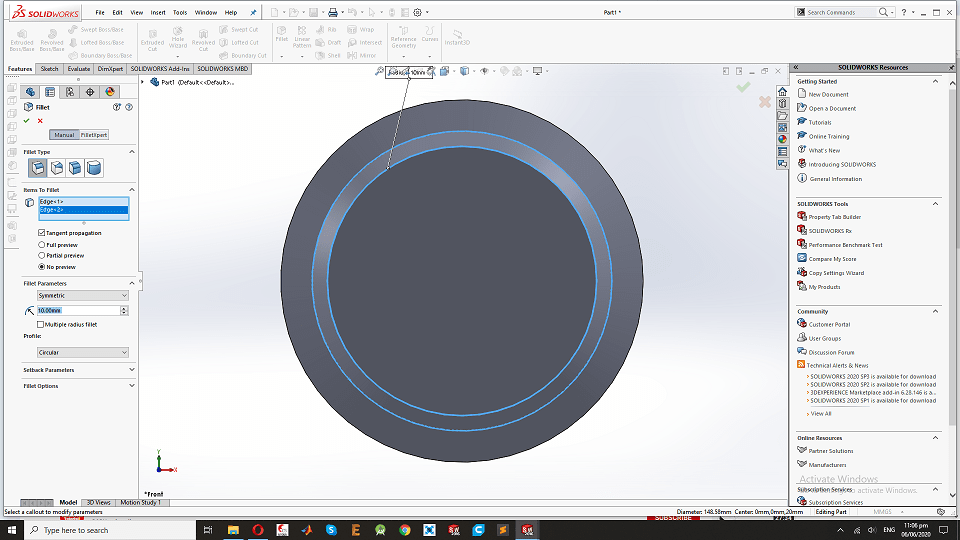
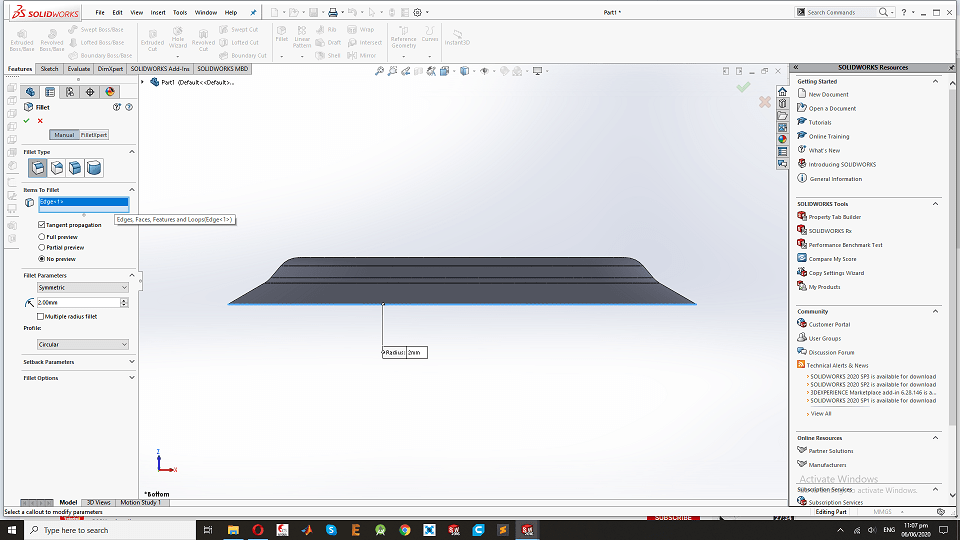
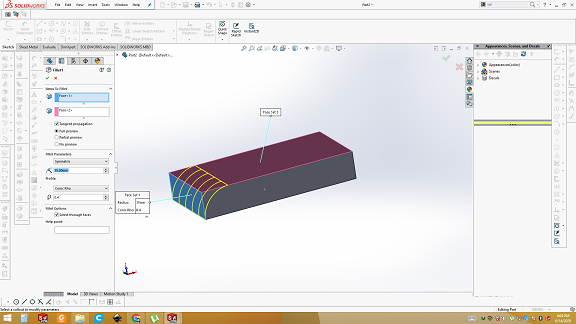
Now using the command of the fillet to fillet the back of the plate
Now my design is ready this side view of the plate
This back view of the plate
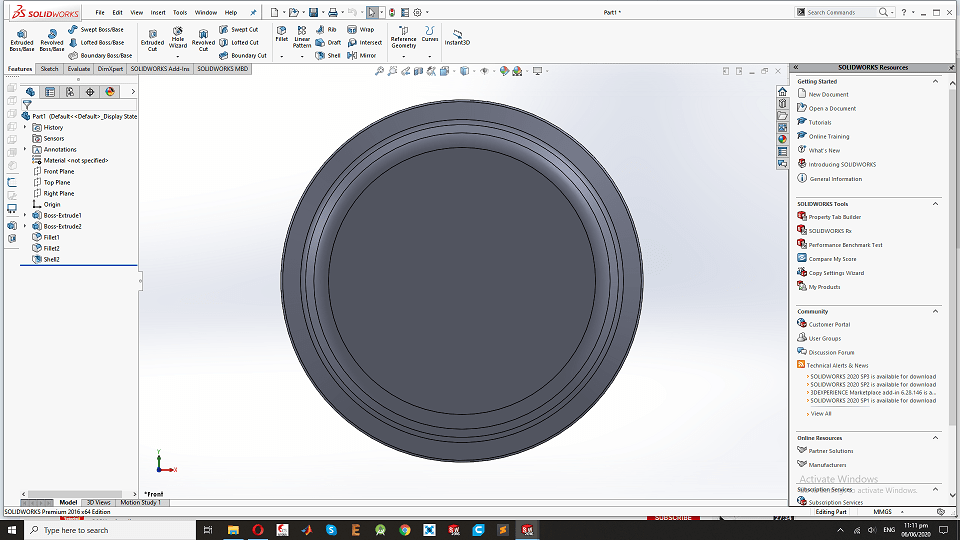
This is the front View of the Design.
after that i have save the solid work file into .stl file that is help to generate the toolpath for the shopbat cnc machine.
Tool Path Generating using Vcarve.
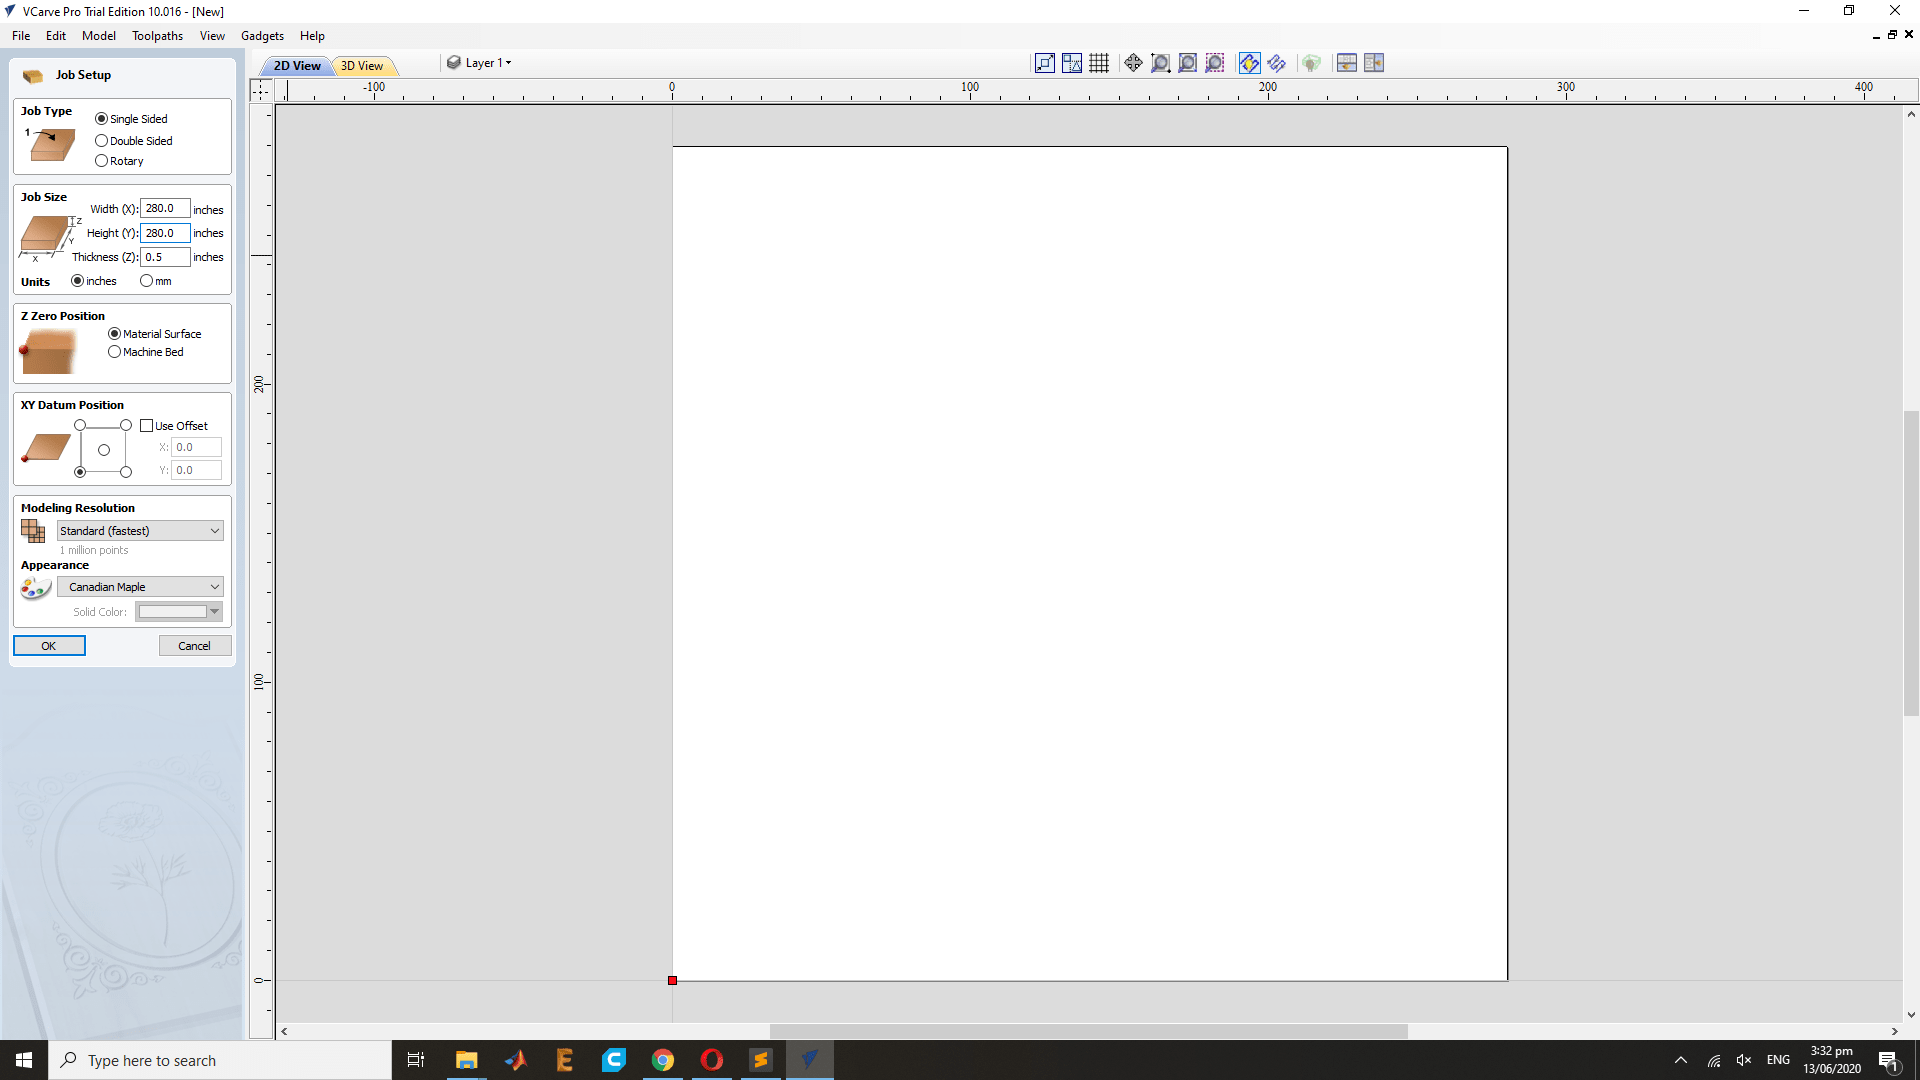
Now phase is to Generate the tool path using the Vcarve software, First I have open the software and open the new file and set the job setup.
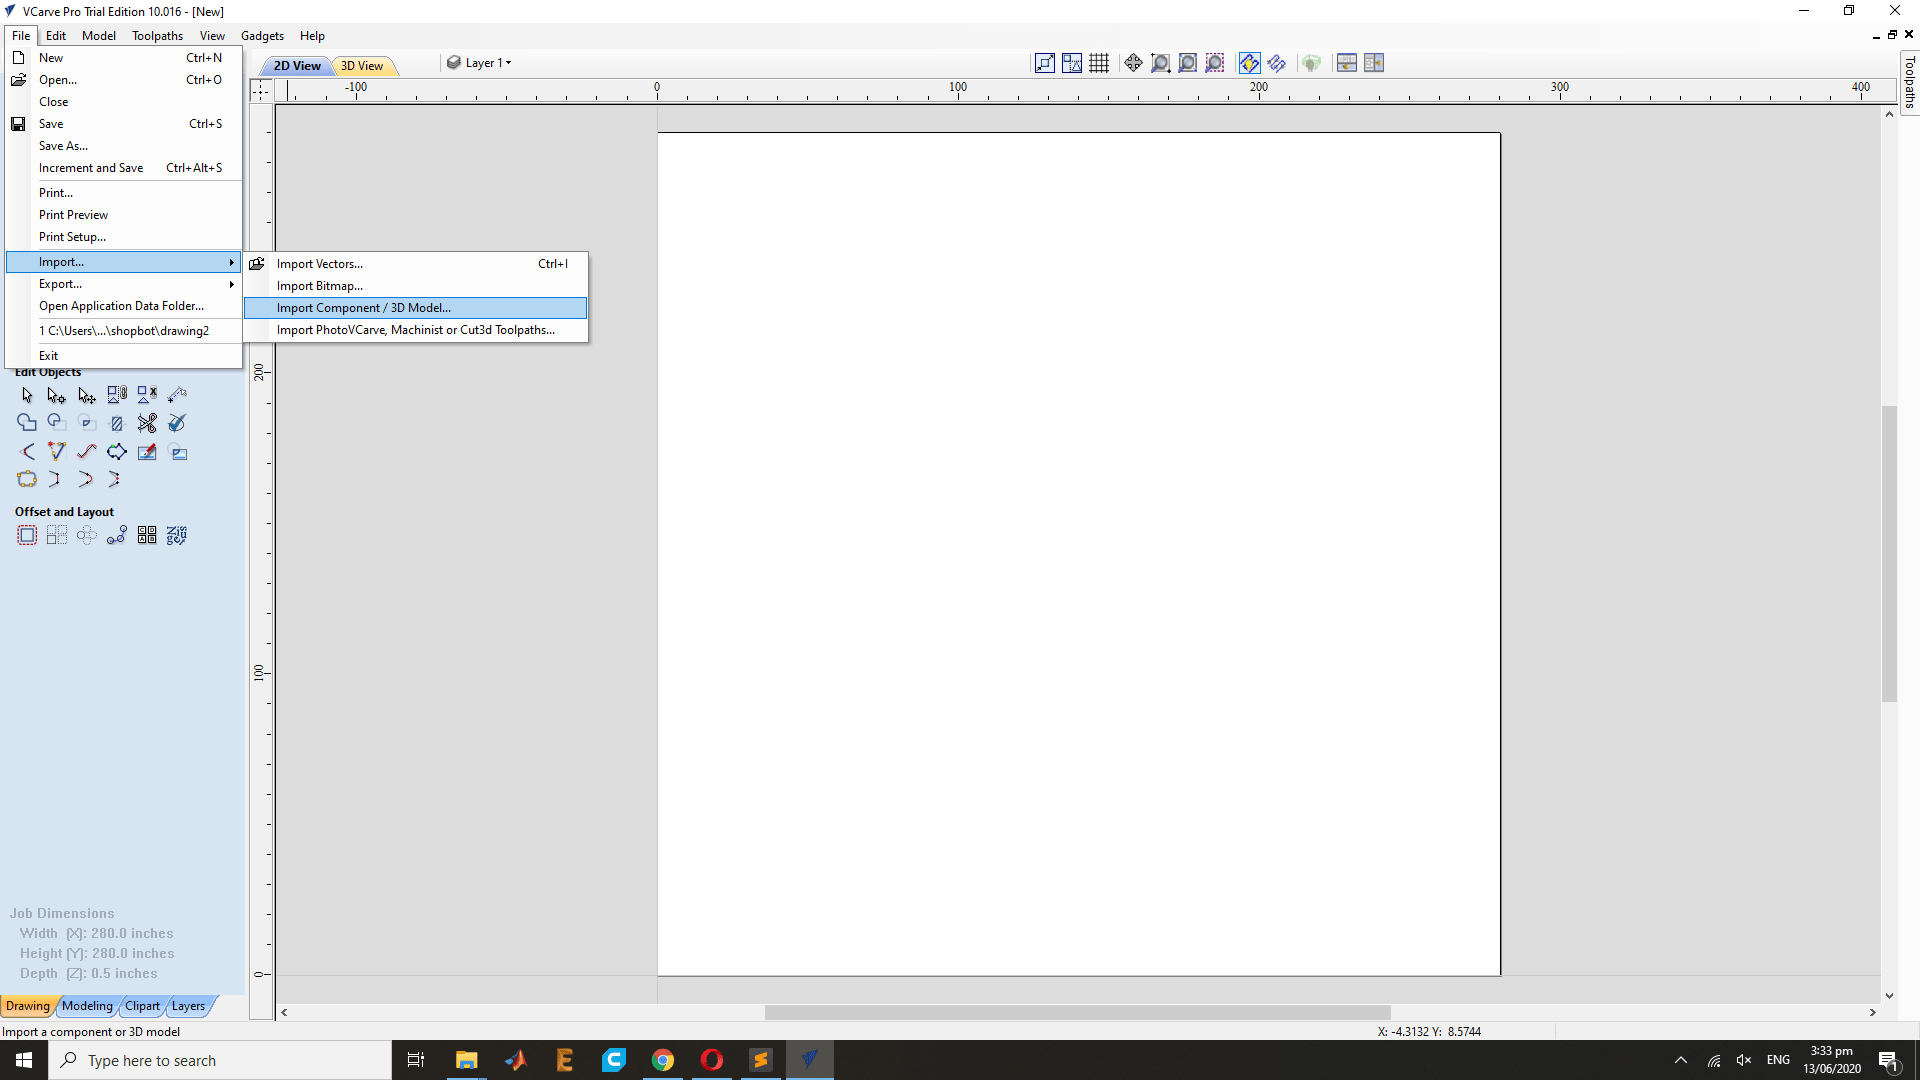
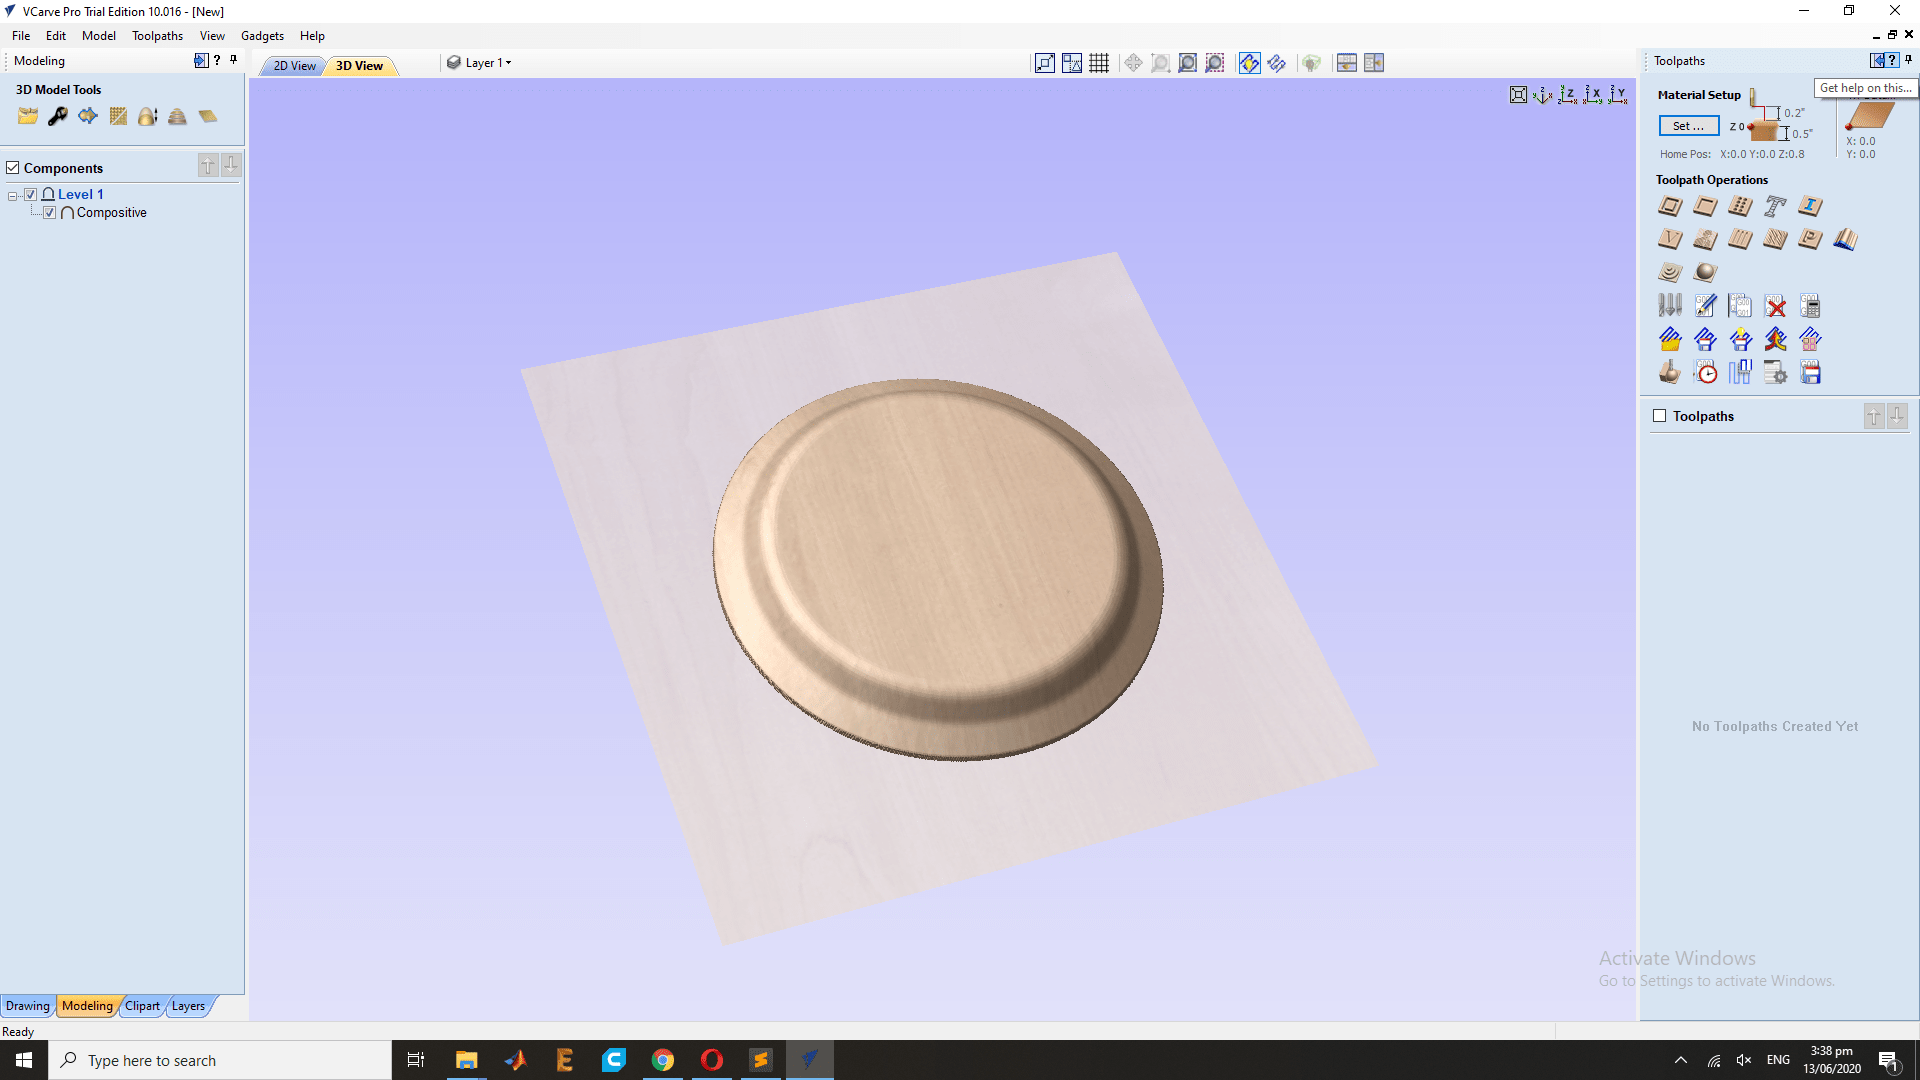
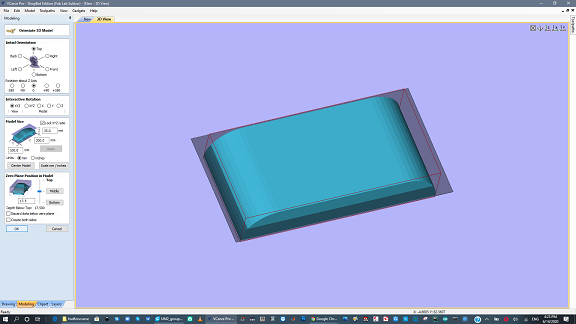
now goes to the file and Import the my design .stl file.
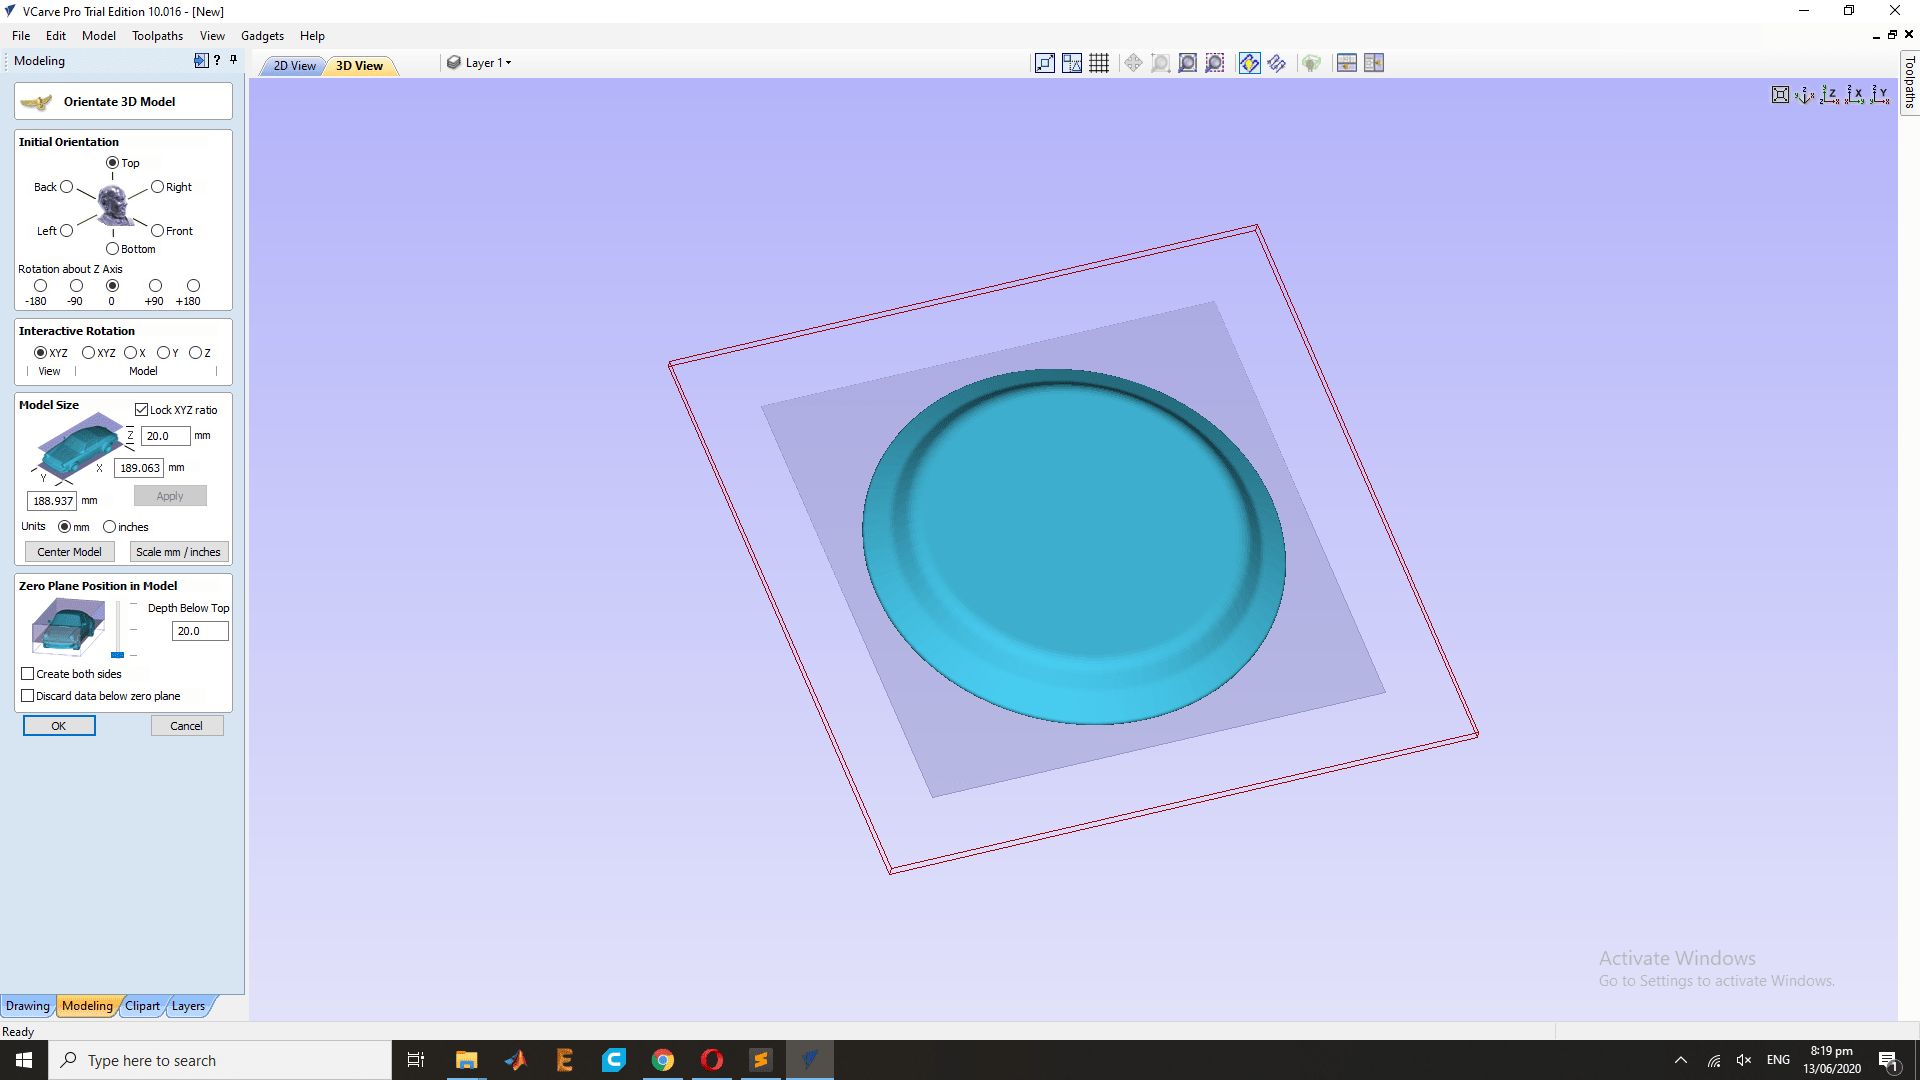
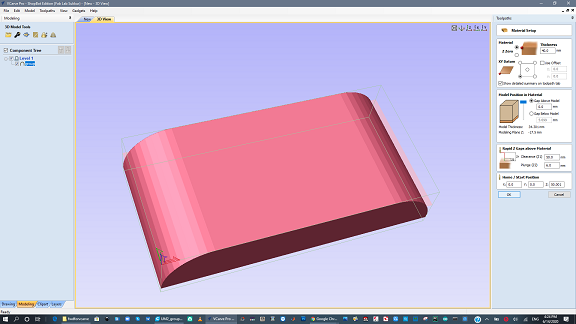
Now phase is to set the file setting,first set the orintation of model ==> TOP after that the model size and final set the zero plane postion and " discard data below zero plane" and then ok .
All setting are finished , So now generate the tool path for the CNC Shopbot machine.
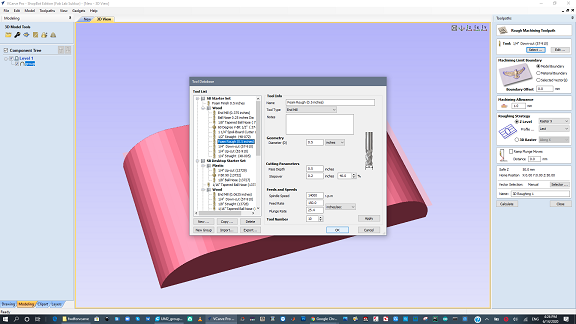
click on the tool path menu and select the roughing tool path.
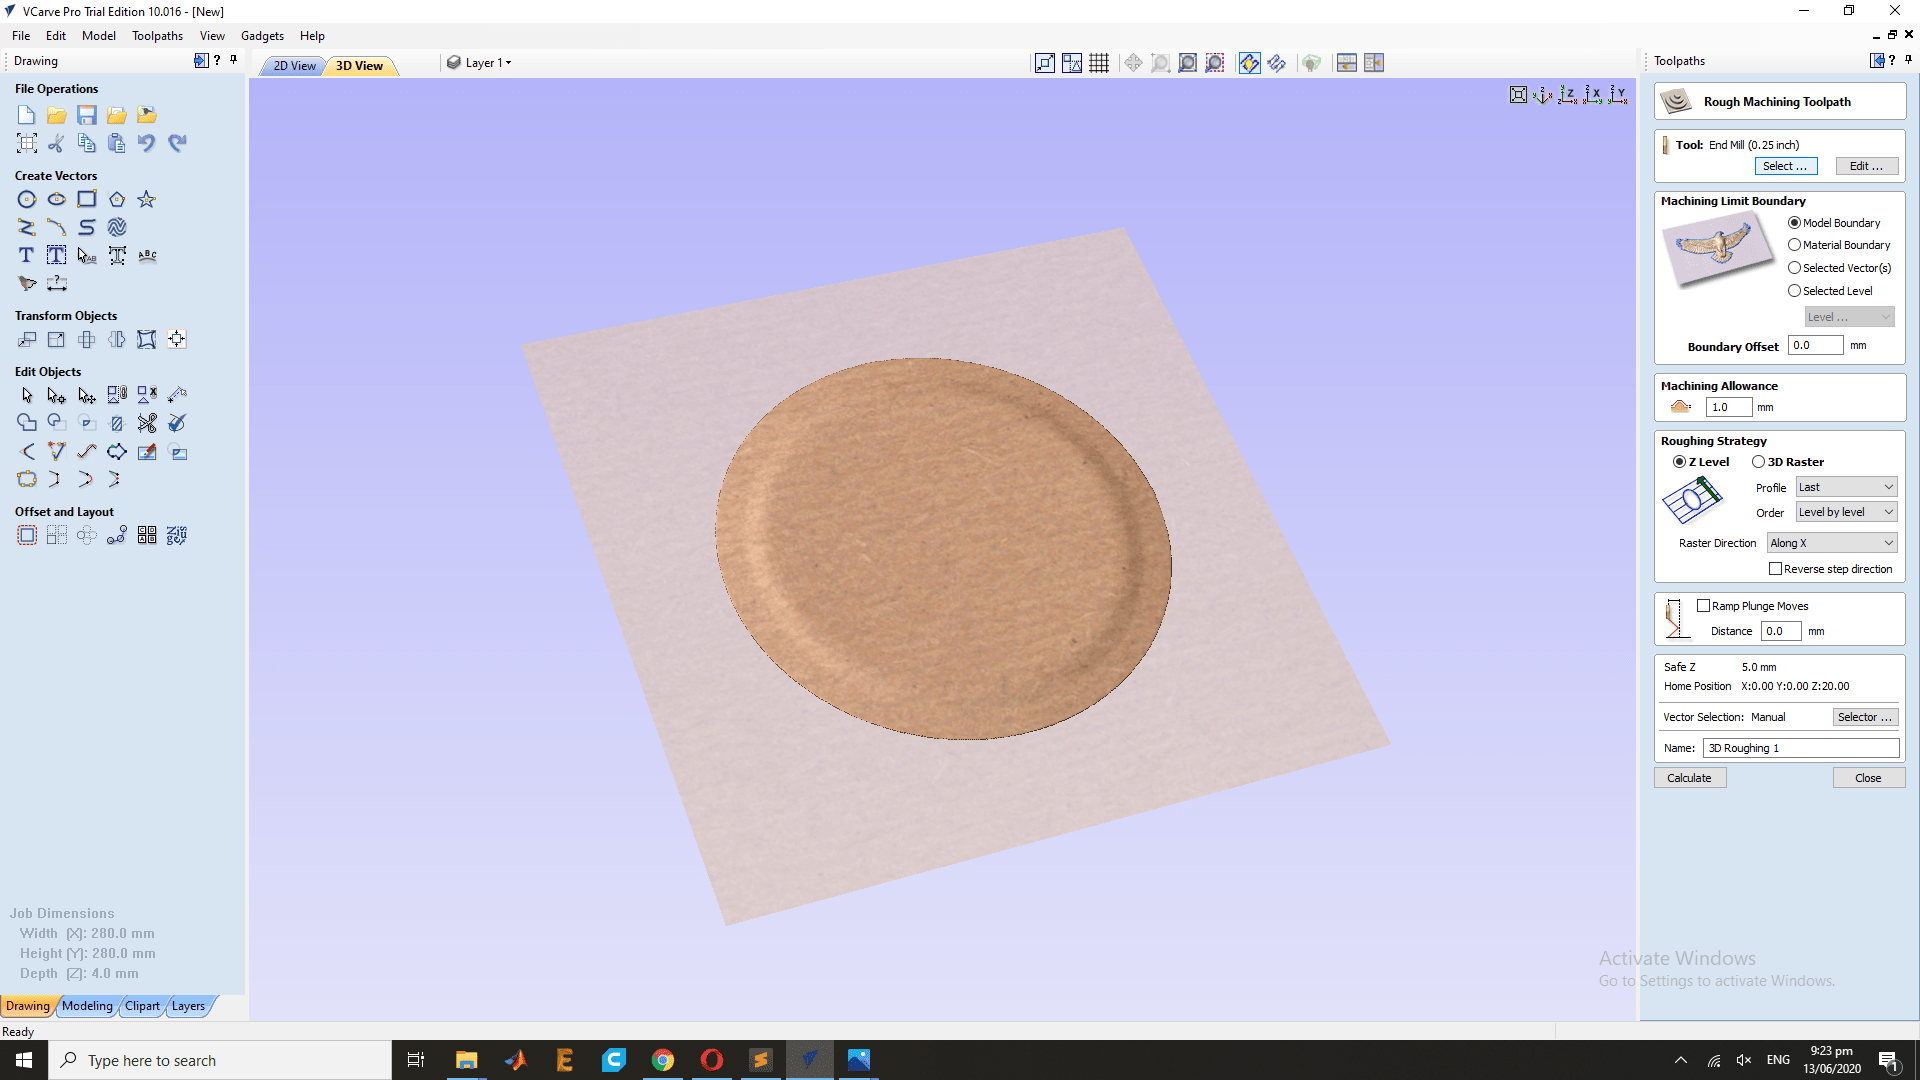
Now click on the tool " End Mil" and select it.

Select the roughing tool of 0.25 inch and presss Ok.
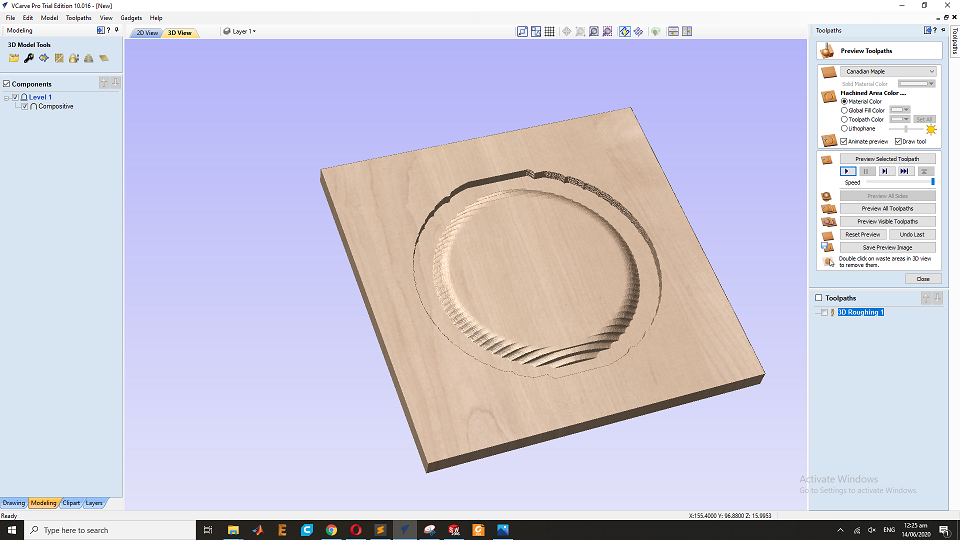
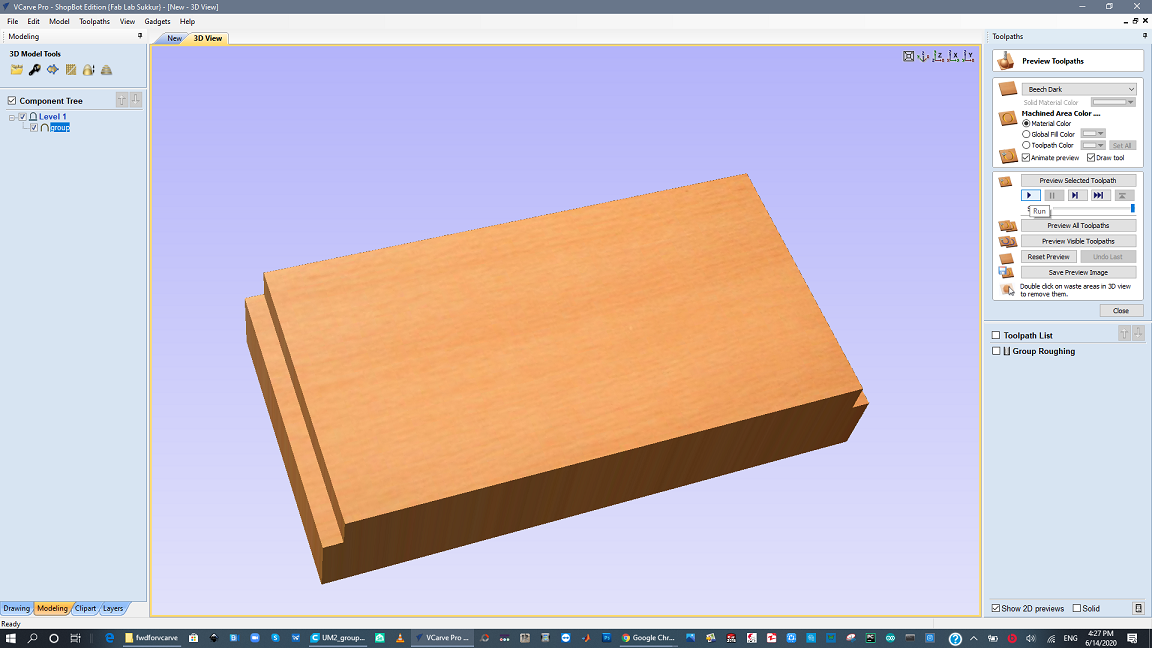
Go to the preview and check the preview selected tool path speed the close it.this is the Roughing toolpath.
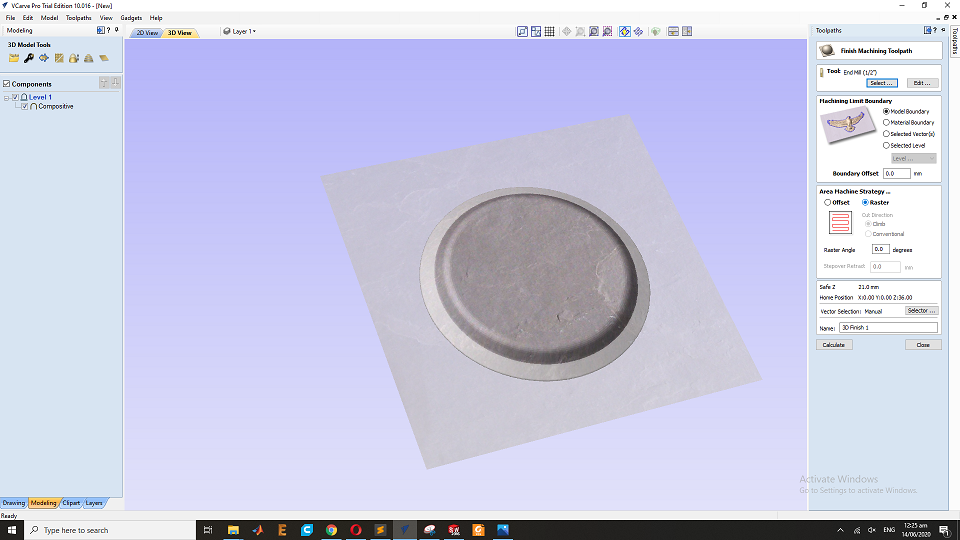
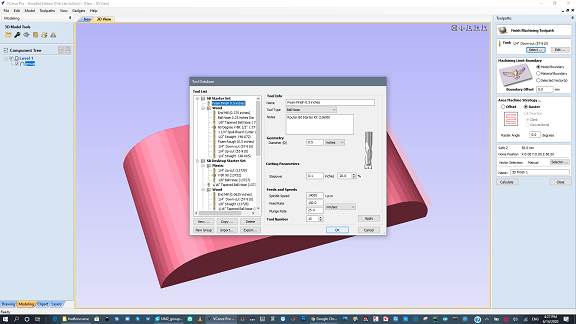
Now again generate the tool path for the finishing
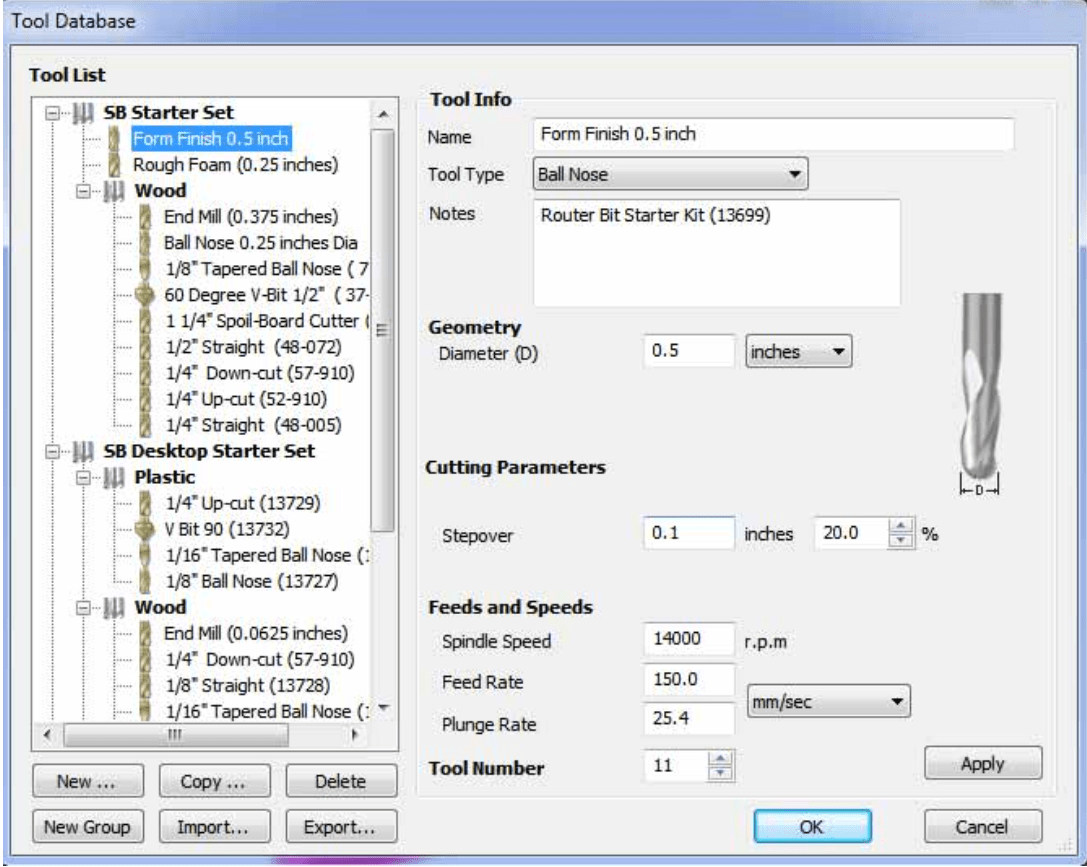
Select the finishing tool of 0.50 inch and presss Ok.
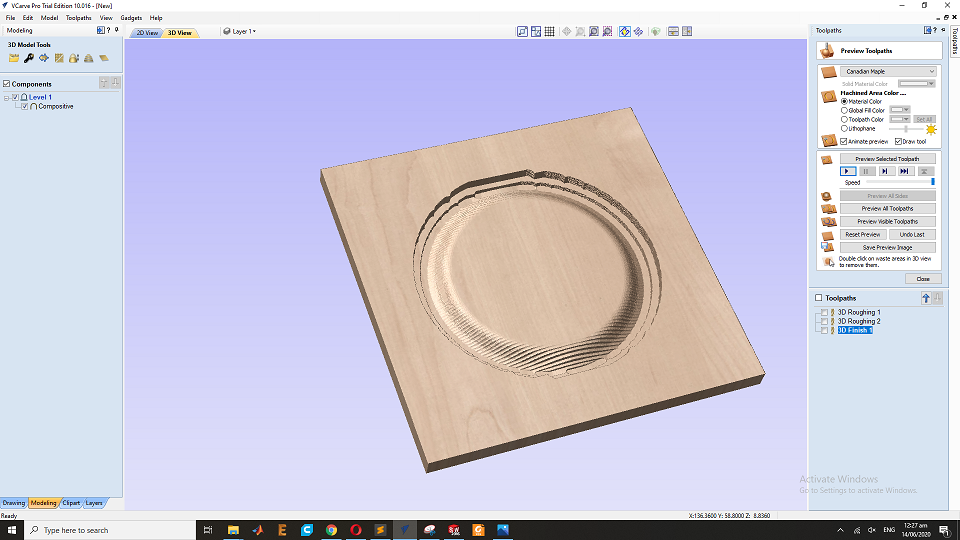
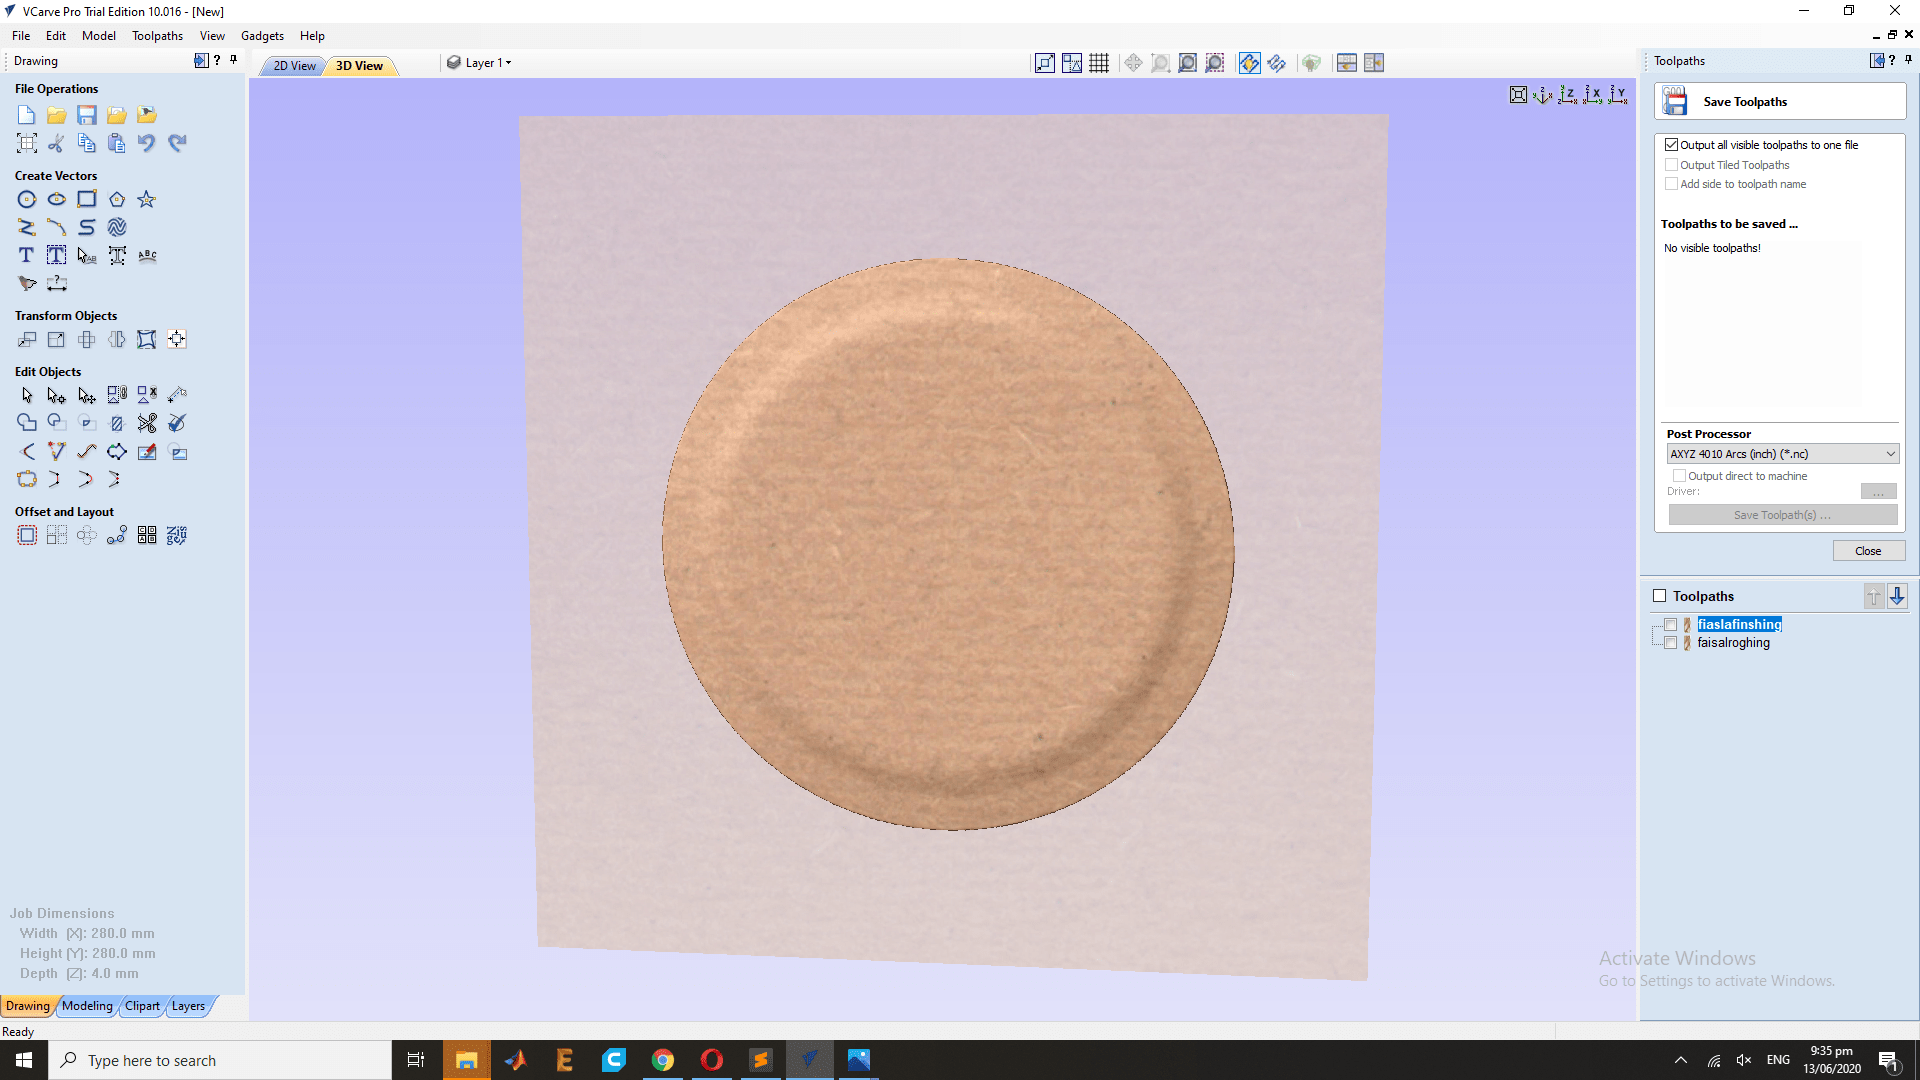
Go to the preview and check the preview selected tool path speed the close it.this is the finishing toolpath.
Milling
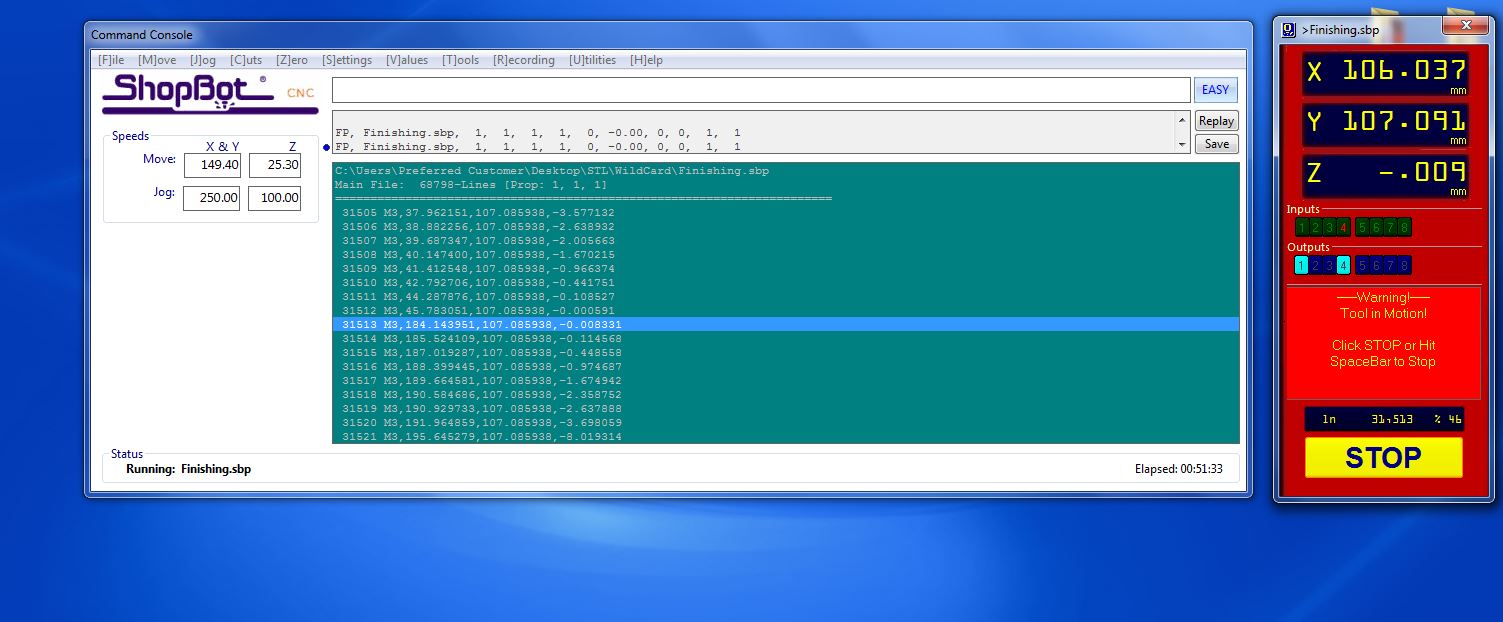
After tool path of the ,Roughing , finishing and boundary , the new phase is to mill it , for the milling we will use the shopbot. After that I gave the files to shopbot, but before that I set the origin accordingly and then executed the files Roughing and Finishing respectively.
first set the origion and then put the Roughing file to machine.
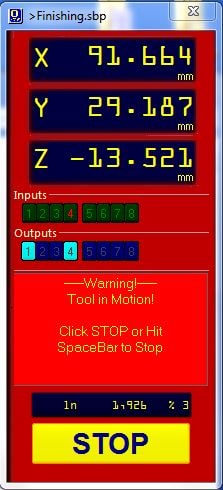
This is the shopbot job manager view
Roughing job
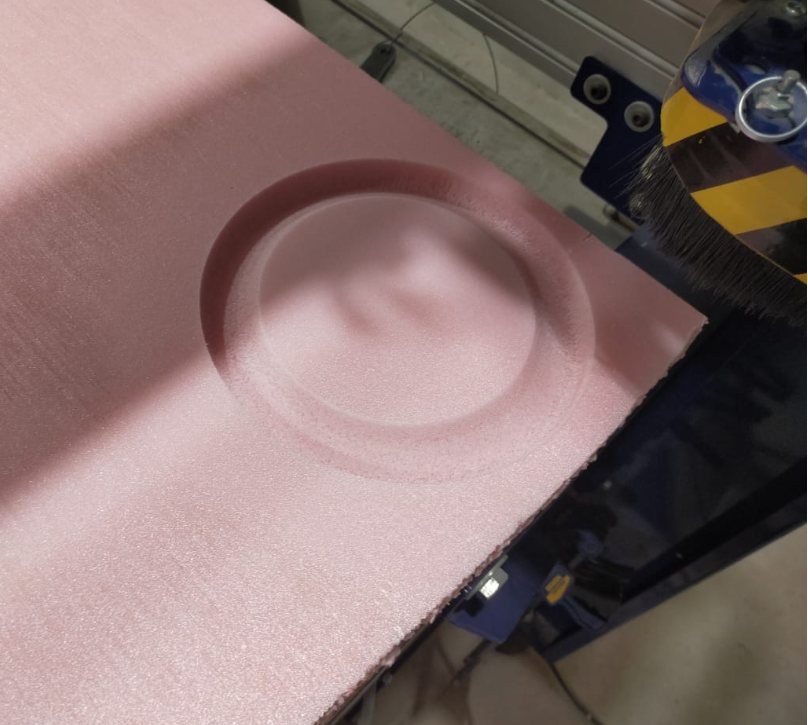
This is the final mold after roughing , finishing and cutting.
Composite
In our wildcard week, we chose to work on composites. The composites is about making shapes or objects by using Epoxy Resin and Jute. Since jute itself is not strong enough to form hard shapes so it is combined with the resin and are placed in the shape of layers of both one over another. Then the design is left for a day or two inorder for resin to cure properly and after that we have got a solid and strong structure. Further explainations are given ahead
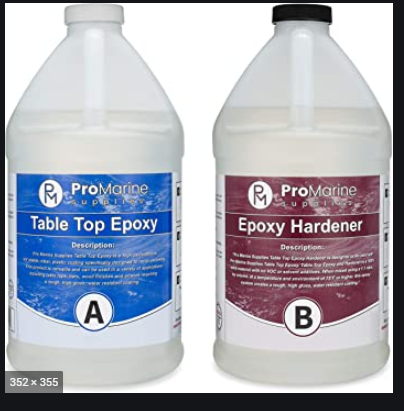
Data sheet : Before working with chemicals, we must be aware about there properties and safety precautions related to the use of that material.The material we are using is combined in the ratio 2:1 which means that 2 parts of material A(resin) and 1 part of material B(curing agent). HERE
To making the composite, we need to measuring jute and cut jute in order to the size of mold.
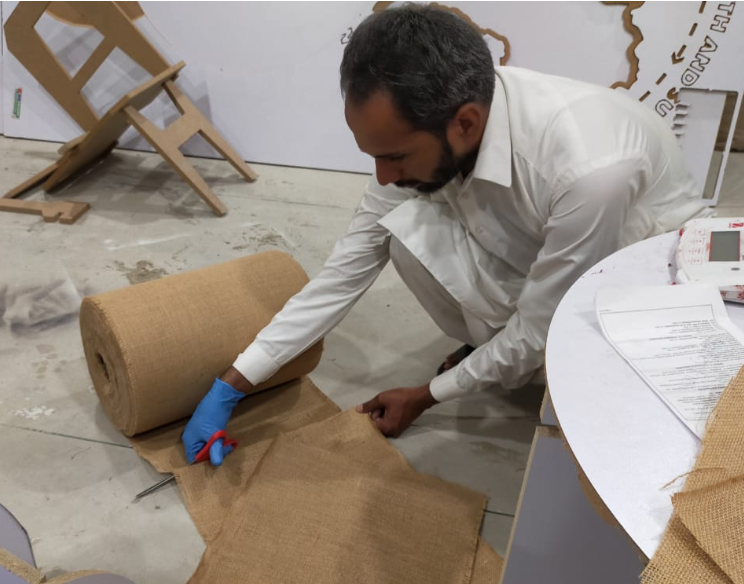
Measure the weight of piece of jute so that we can Take the composite material accordingly. In our group assignment, we observed that we need atleast thrice the weight of composite material as compared to the weight of piece of Jute. Only then we will be able to completely dip the jute in composite material.
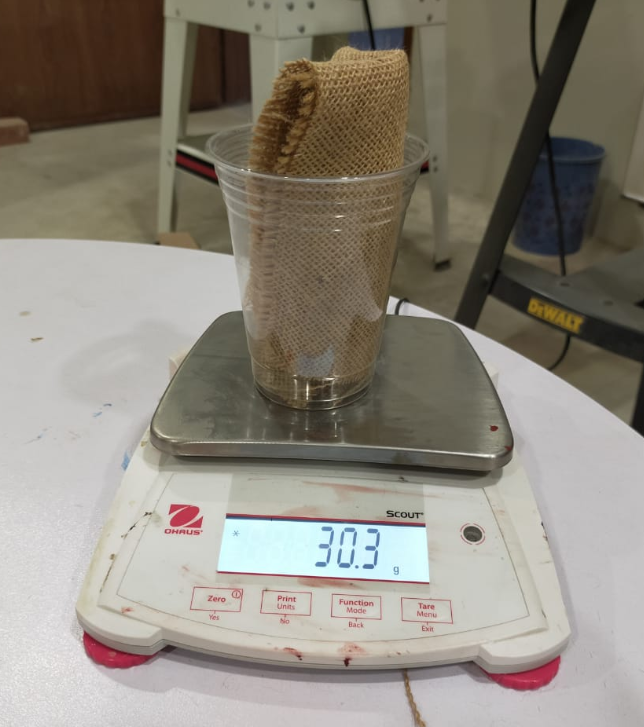
After jute weight so now is time to mix the ratio of Resin and Hardner is mixed in 2:1 and the total quantity is 3xweight of a material which is 150gm approx and Place a breather and put the mold into air bag for the suck the air.It was then placed inside the vaccum bag, and the bag was sealed so that no more air can go inside that.
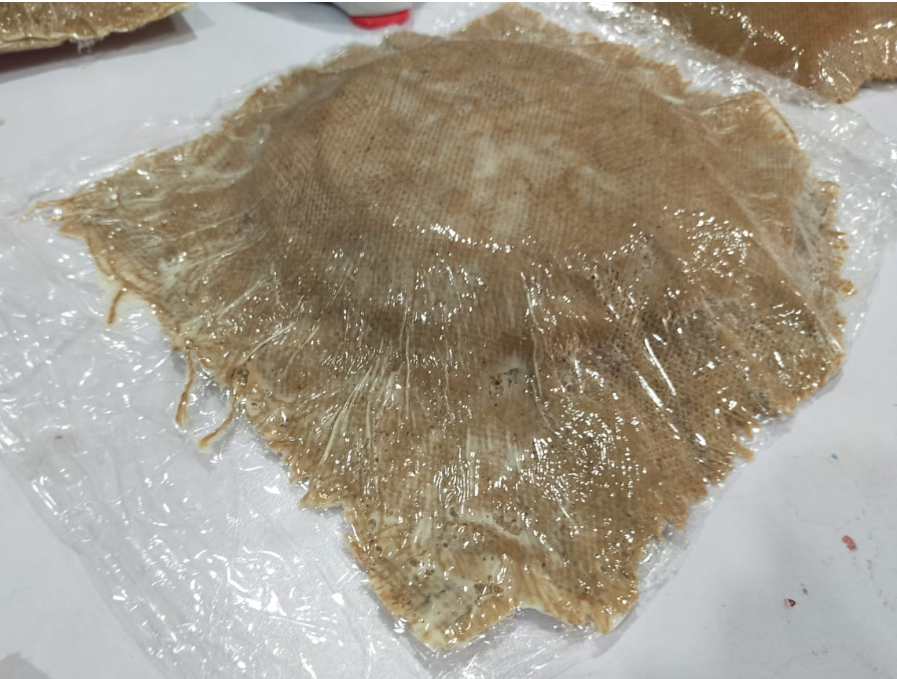
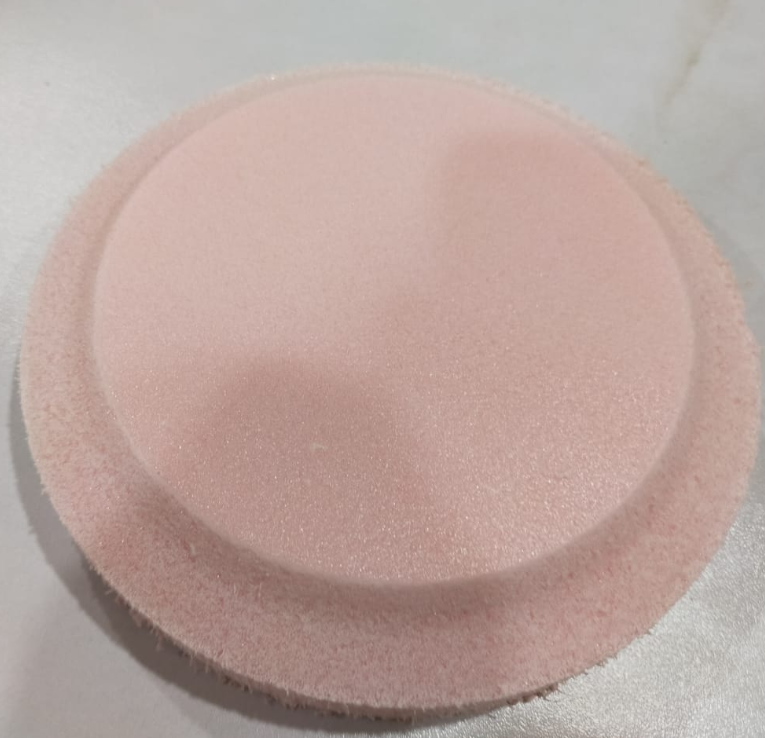
After the wait 24 hours my composite mold is ready then I cut the extra part to make it perfect size.
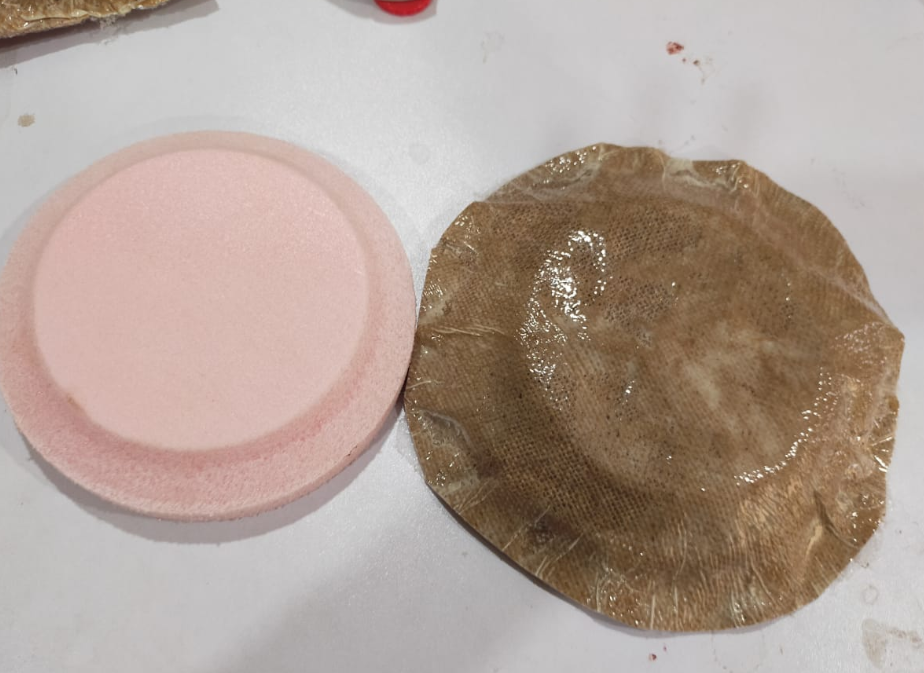
The results were to much fine So i thought to cut the extra part of composite and make it look better.

Group Assignment: produce test coupons for your composite fabrication process(es)
Group Assingment
Produce test coupons for your composite fabrication process.
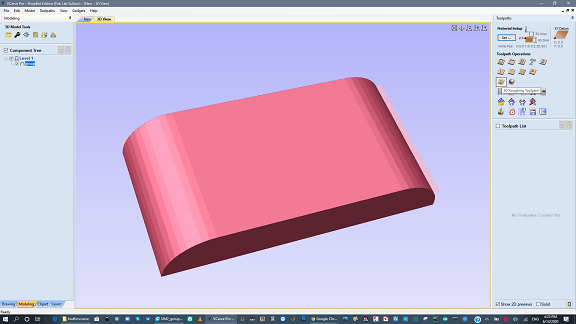
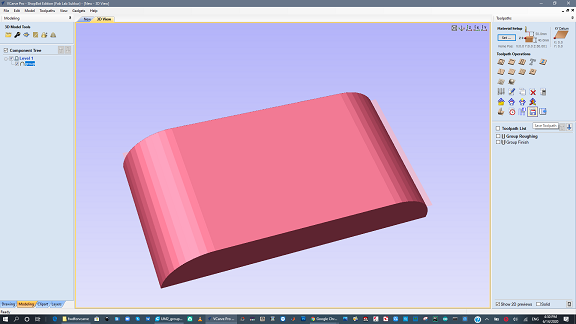
For test coupin, we made simple design in solid works. It is simple curvy shape and saved as .stl
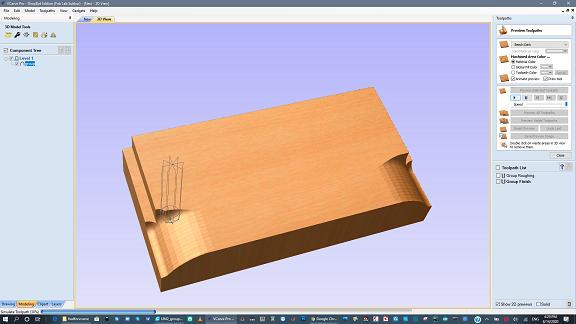
Open Vcarve and generate tool path for Roughing
Open Vcarve software and import the .stl file. Give the dimensions(200mmx100mm) then click on "Center model" and uncheck the "discard data below z-axis" then click ok. Then Click on 3D roughing and give the material thickness and safe Z axis. Click on tool bits and select Foam rough 0.5 inch. Click ok. Tool path is generated. Run the simulation to see the tool path.
Open Vcarve and generate tool path for Finishing
Repeat the same above process and select the 3D finishing. Give the dimensions(200mmx100mm) and give the material thickness and safe Z axis. Click on tool bits and select Foam finish 0.5 inch. Click ok. Tool path is generated. Run the simulation to see the tool path. Then Click on save the tool path and save both rough and finishing tool paths

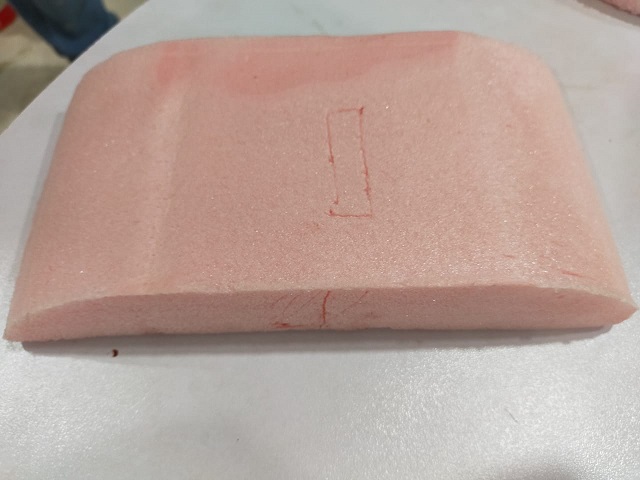
Mold
Tool paths are given to machine and we got this result.
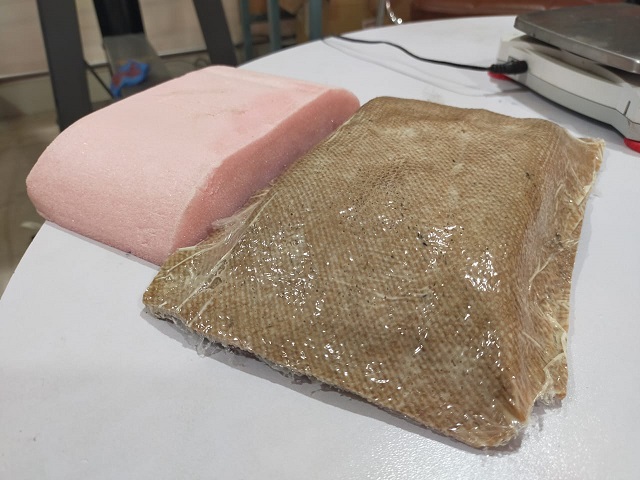
Final result
After making mold, we applied all the above steps to make the composite. And finally we got this result.
Conclusion
In this week I learned about the CAD design and composite mold, then I have use the Vcarve software to generate the tool path for the CNC shopbot machine and that mold is milled on Shopbot, after that I have design its composite by using Epoxy Resin and Jute two materails. and my plate composite is too good.
Download All file of this week Here.

This work is licensed under a Creative Commons Attribution-NonCommercial-ShareAlike 4.0 International License