6. 3D Scanning and printing
Assignments for the week
Group assignments
- Test the design rules for your printer(s)
Individual assignment
- Design and 3D print an object (small, few cm3, limited by printer time) that could not be made subtractively.
- 3D scan an object (and optionally print it).
Requirements
- Described what you learned by testing the 3D printers.
- Shown how you designed and made your object and explained why it could not be made subtractively.
- Scanned an object.
- Outlined problems and how you fixed them.
- Included your design files and ‘hero shot’ photos of the scan and the final object.
- ” Cannot be made subtractively ” means the model has undercuts, overhangs or nested parts.
Group assignments
2019 Fablab Taipei Group site Week 6
Individual assignments
Drawing
-
Drawing parts from file of week 3 (or open in a new tab)
-
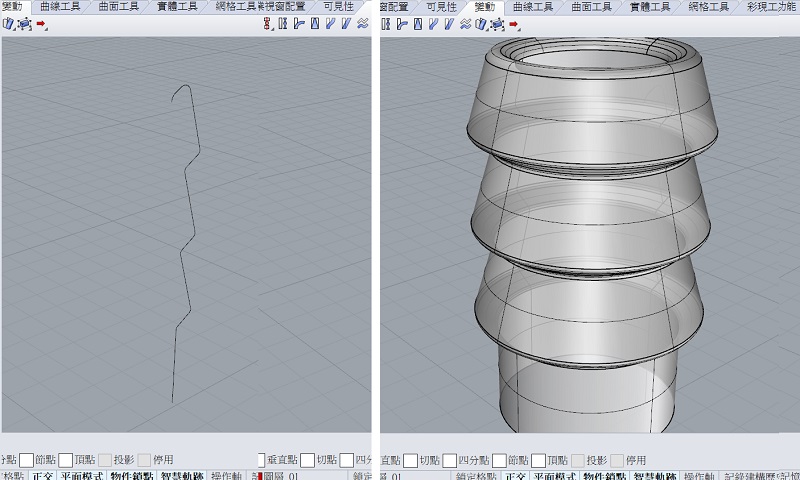
Draw a slide view of another connection type, “Revolve” it and modify original model.
-
Fit to the original week 3 drawing.
Why it can not make subtractively
When make the topper separately and subtractively,
there are under cuts for all 3-axis.
So if it must done by CNC,
5-axis or manually rotation will be needed.

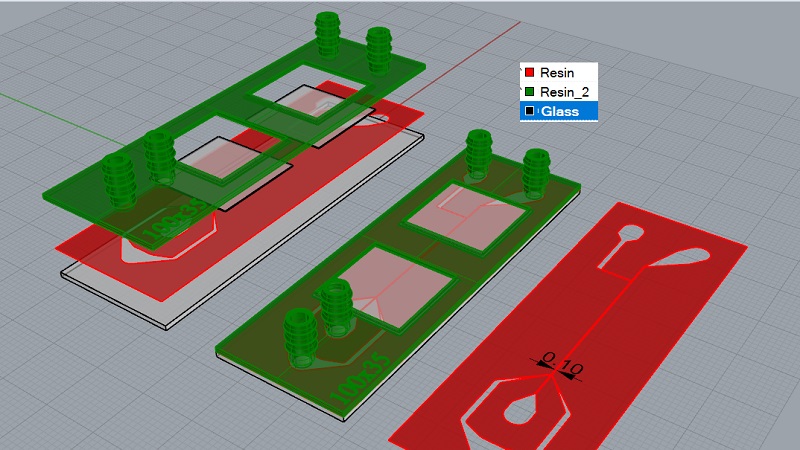
Trial 1
- A bar help guiding following glass slide.
- Stick the glass slide to forming bed.
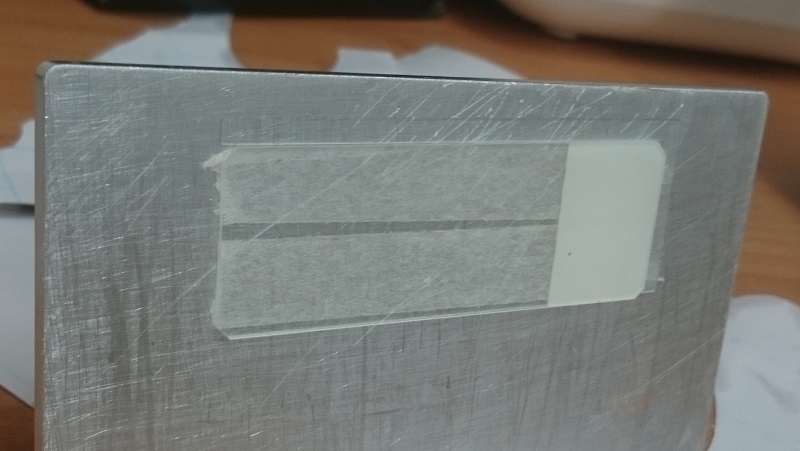
- Caliberate z axis, print micro-channel on it.
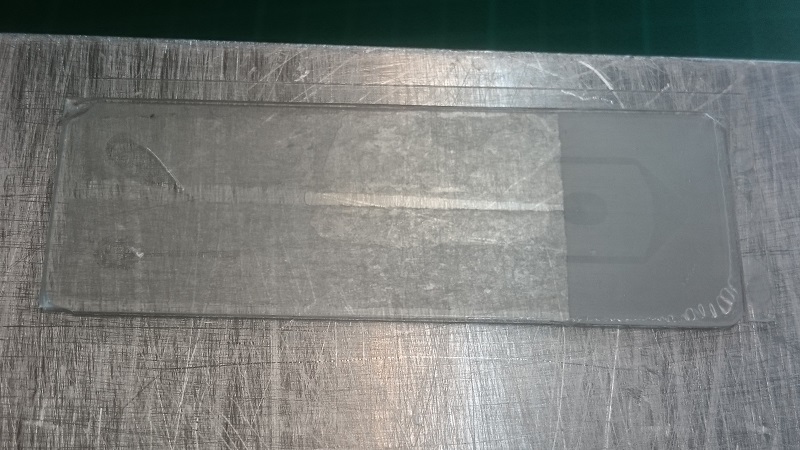
-
Caliberate z axis, print topper.
-
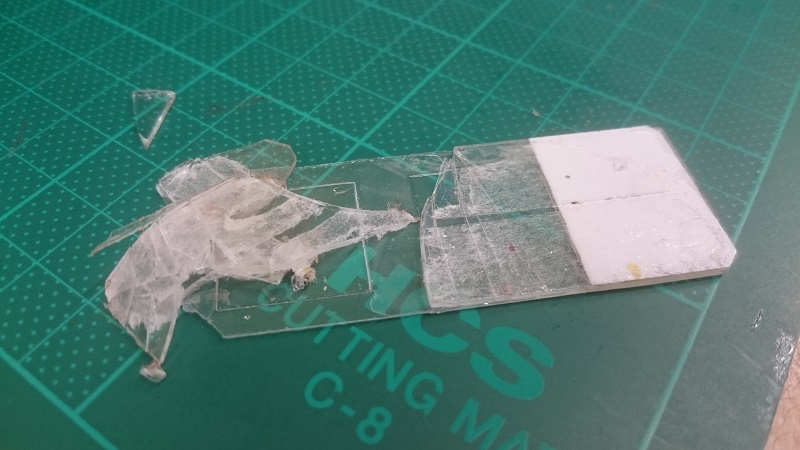
Result: fail. The channel was sealed in the and juction broken.
Trial N
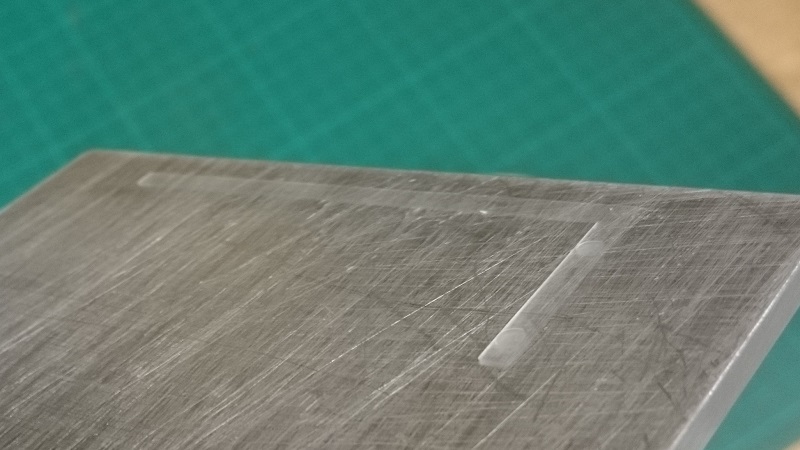
Finally I only print top layer as the assignment for this week.
The connector could not be made subtractively.
Transparent material for UV curing is not a good choice for hiden structure.
It will keep curing process in the following layers.
And shorter curing time will make the print weak.
(Curing times are 18 sec., 15 sec. and 10 sec. respectively)

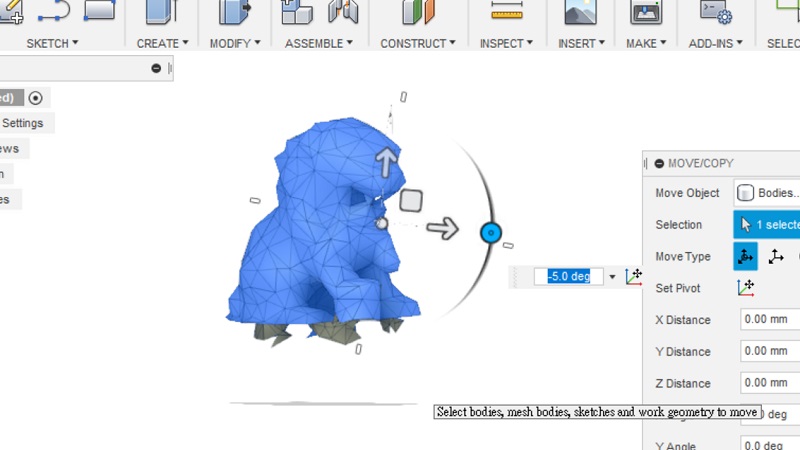
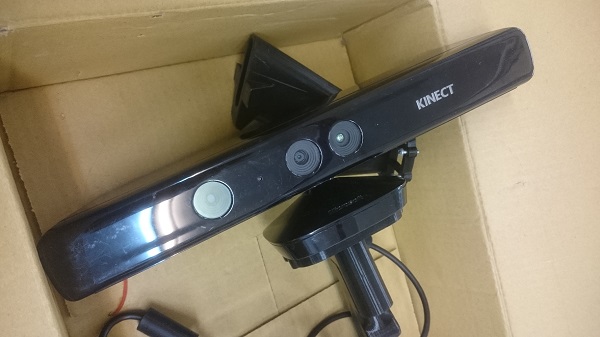
3D Scan
Hardweres
Microsoft Kinect for windows v1
Softweres
- Kinect SDK v1.6
- Kinect Developer Toolkit -v1.6.0
- ReconstructMe 2.5.1034
- Shapify.Me
- Skanect
Drivers
Install Kinect SDK v1.6 and Kinect Developer Toolkit v1.6. Older 1.6 version is more stable then 1.8, Shapify.me seens can’t take 1.8.
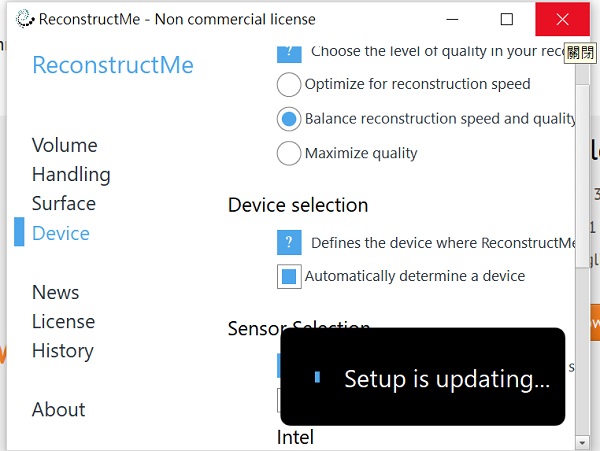
ReconstructMe
It can’t update the device and keep updating.
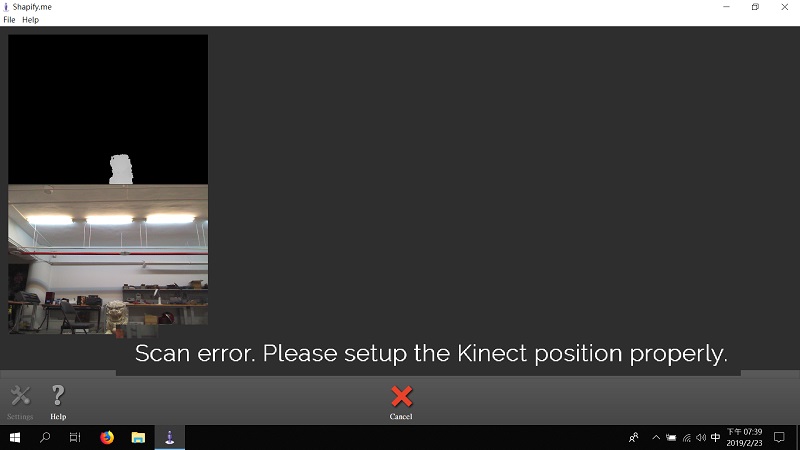
Shapify.Me
When it scanning will be an error after started.
Skanect
The only softwere can finish the scan.
-
Download and install .
-
Setup the device.
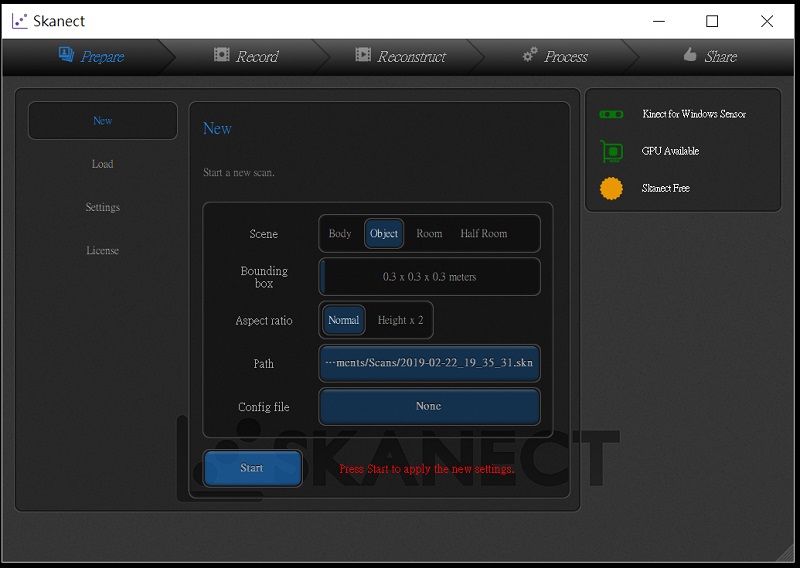
- Scan. Note: Final view of kinect well be the pose skanect recognise.

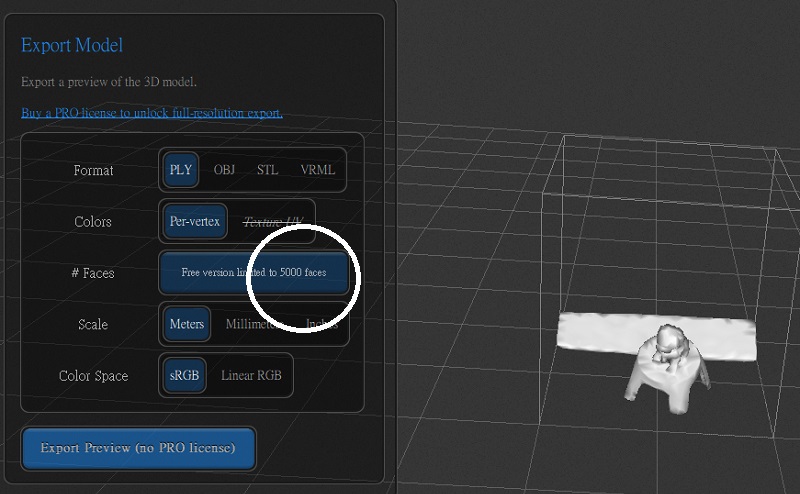
- Edit and export.
Note: Reduce faces to be 5000 to export for the limit of free sofewere licence.
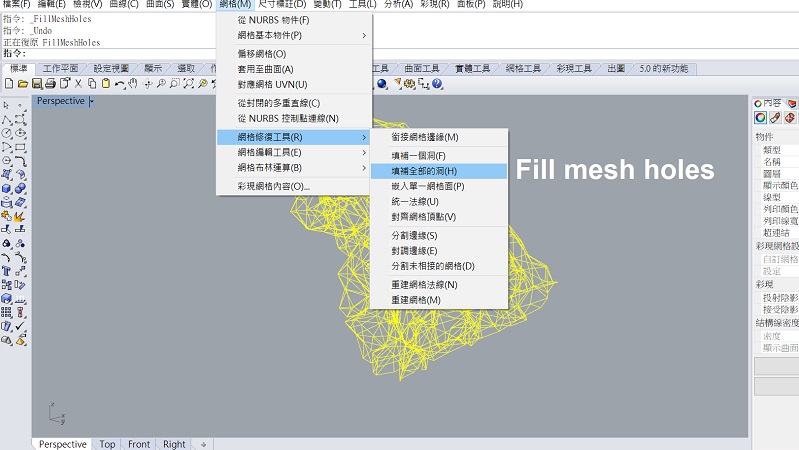
- Inport to Rhinoceros, Clean rhe model and make It sealed.
- Done (View in Fusion 360).