10. MOLDING AND CASTING
Goal
Design 3D mould and created your rough and finish toolpaths for machining
Doing the assignment
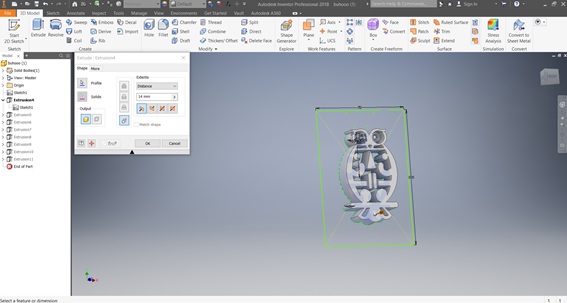
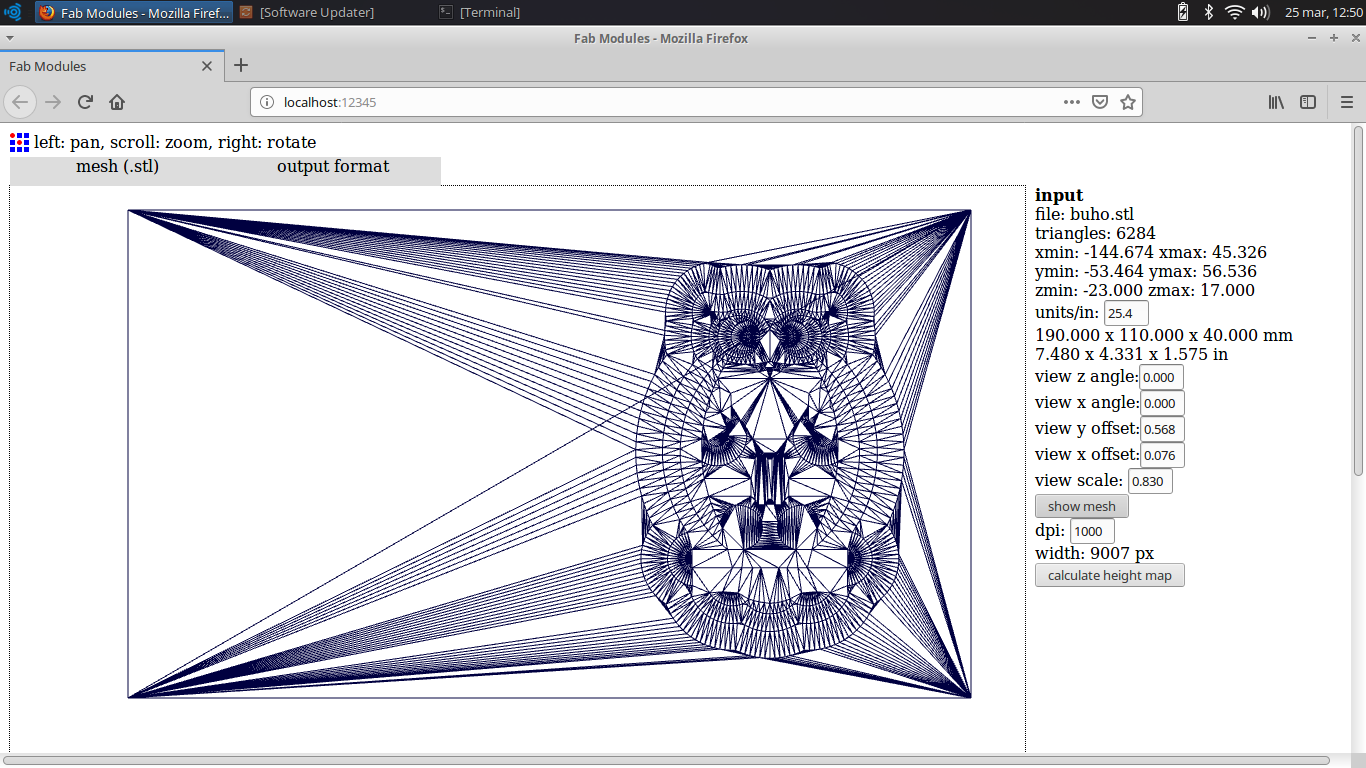
First, I made a 3D design of an owl, because I have always wanted to have an ornament in the shape of this animal.
I designed in Autodesk Inventor, I used some options of the inventor like: Slot, Polygon, Rectangle to be able to reach the desired figure.
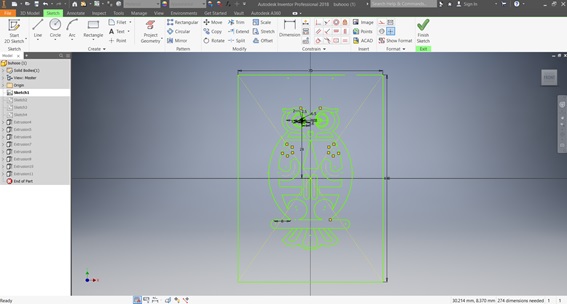
Then I applied the extrude option.
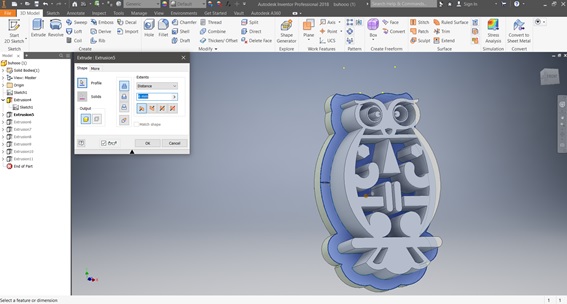
I applied the offset option.
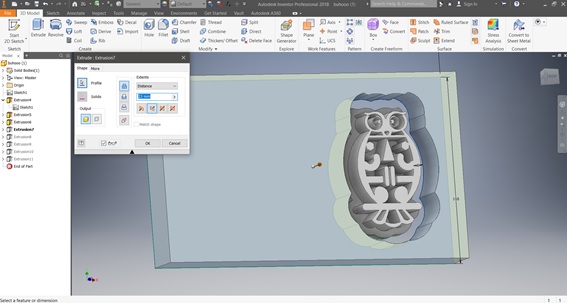
I applied the option of extrusion according to the material of the wax mold.
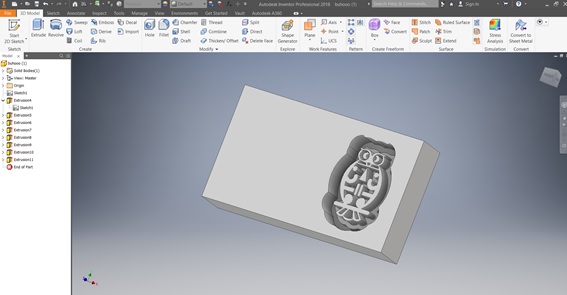
You can download the file by clicking on the bullet.
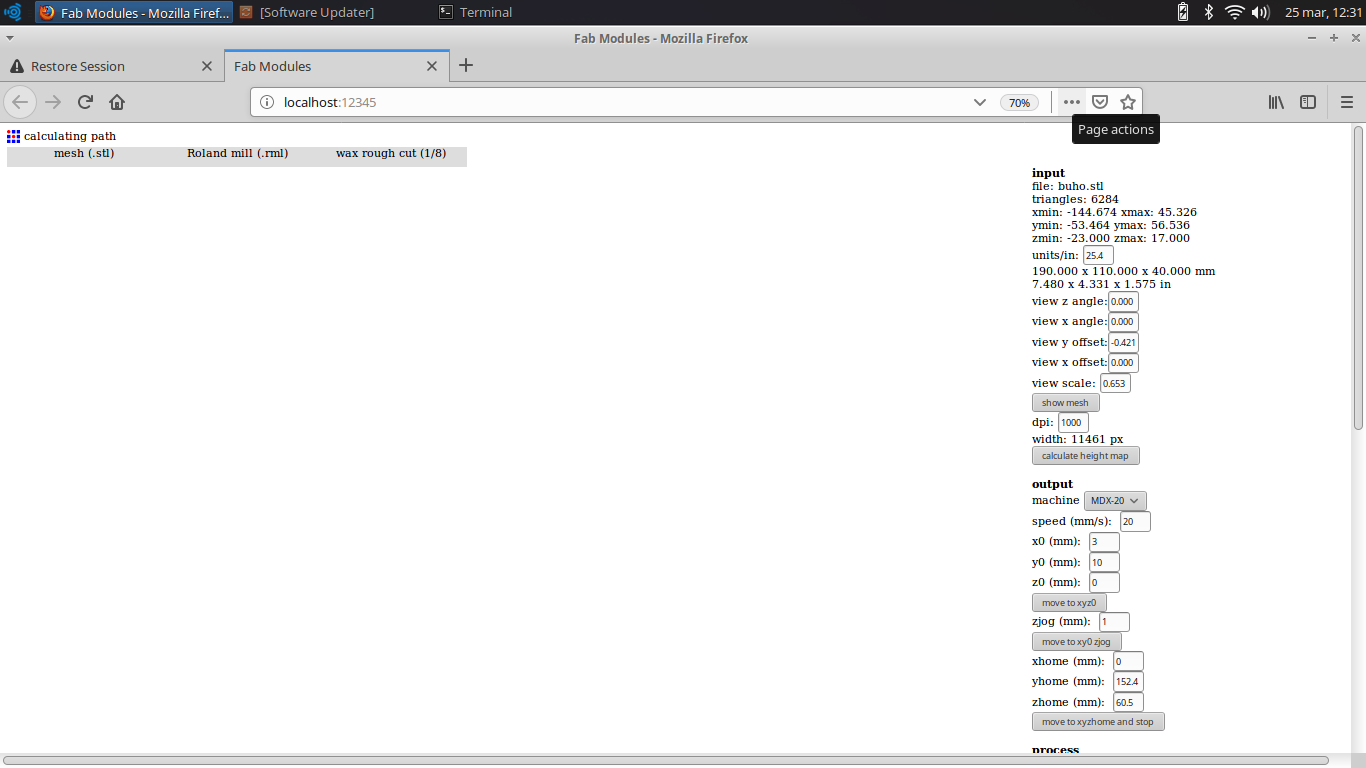
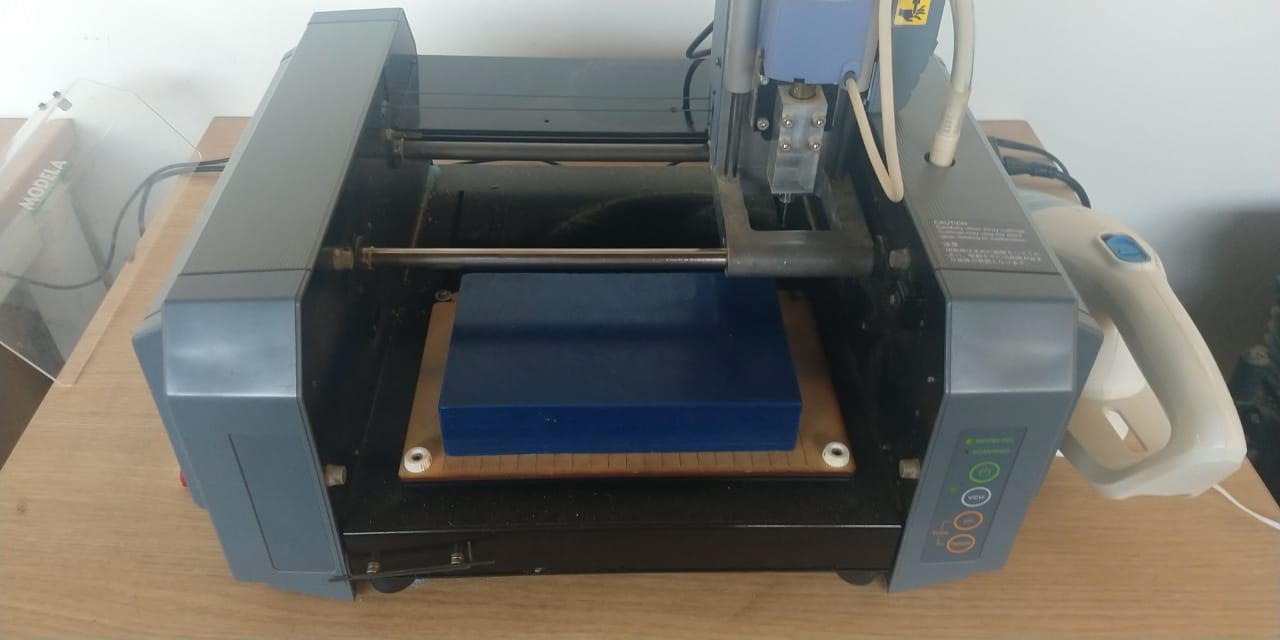
I opened the Fab Modules program, I configured the stl file and I indicated the machine model and the scale,
the Fab Modules inserts the milling parameters.
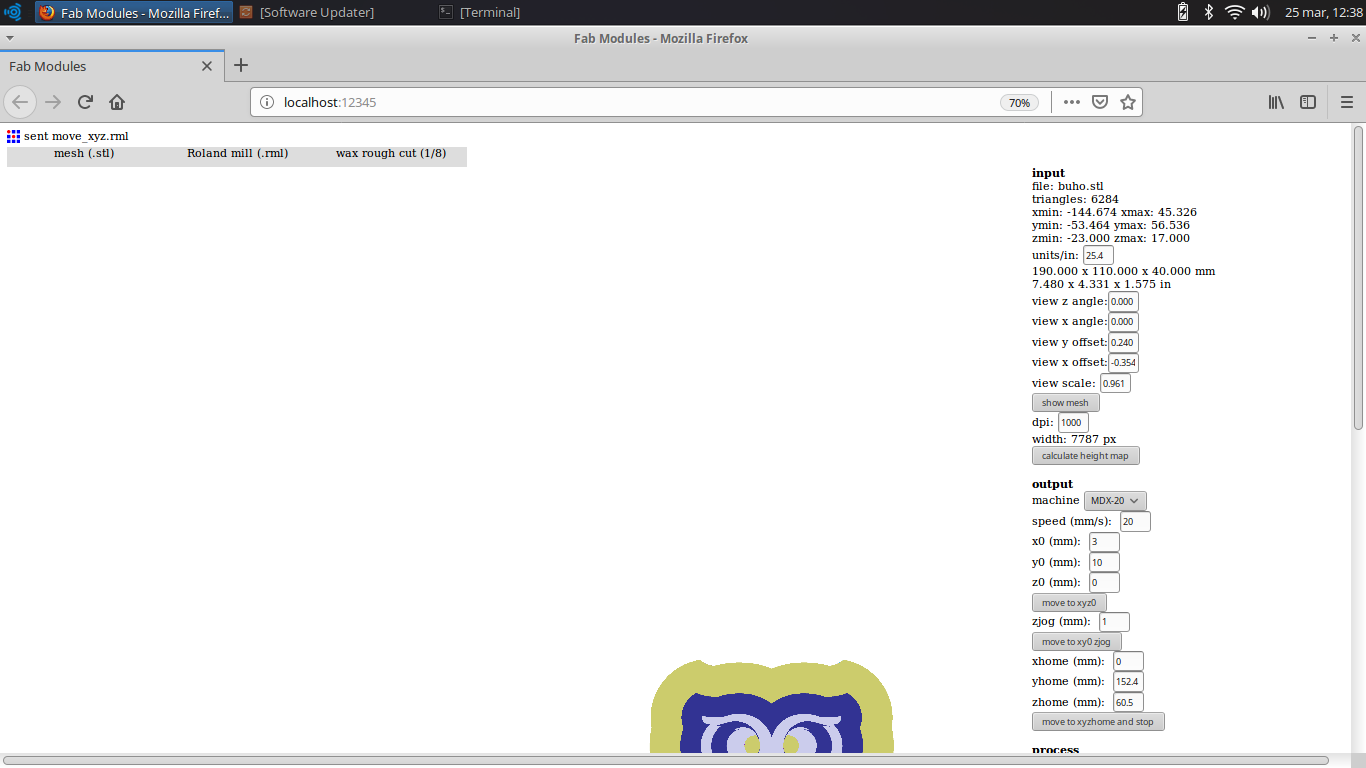
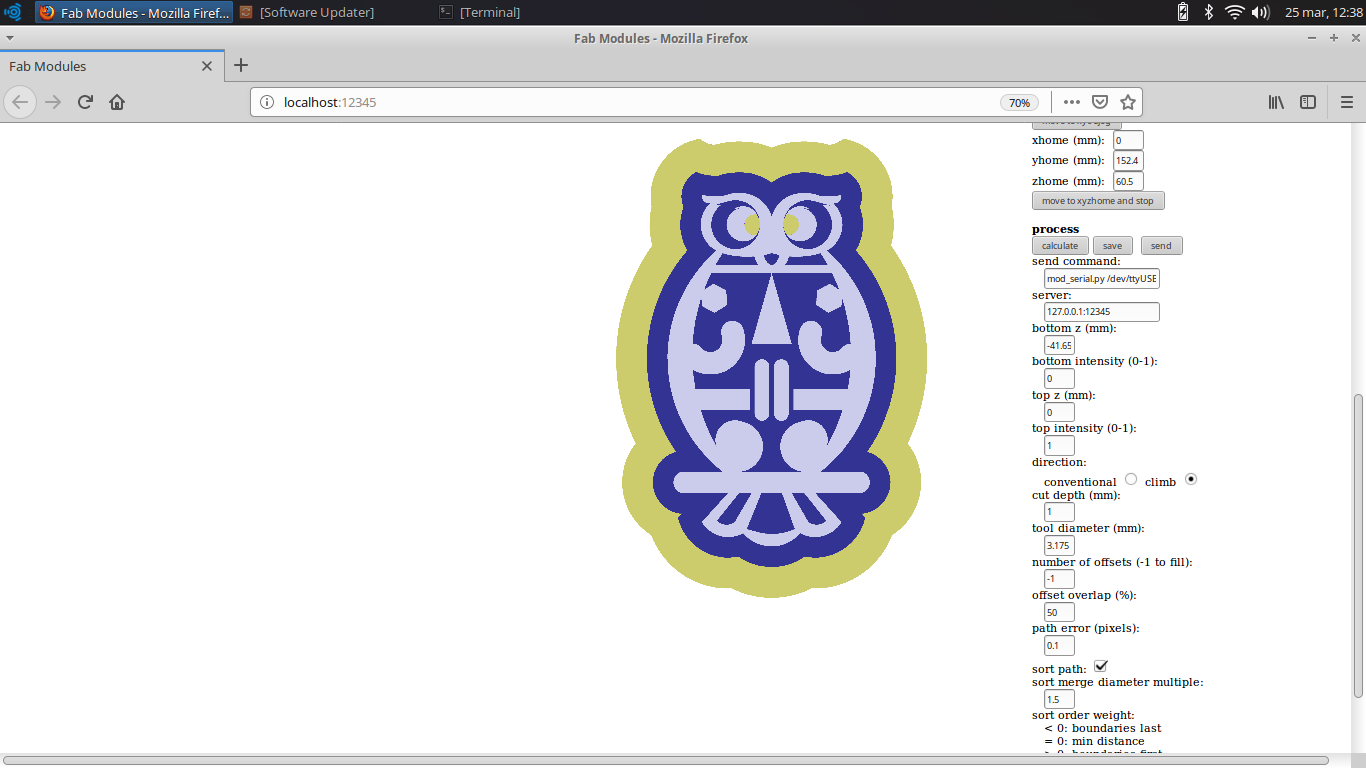
And start the milling process
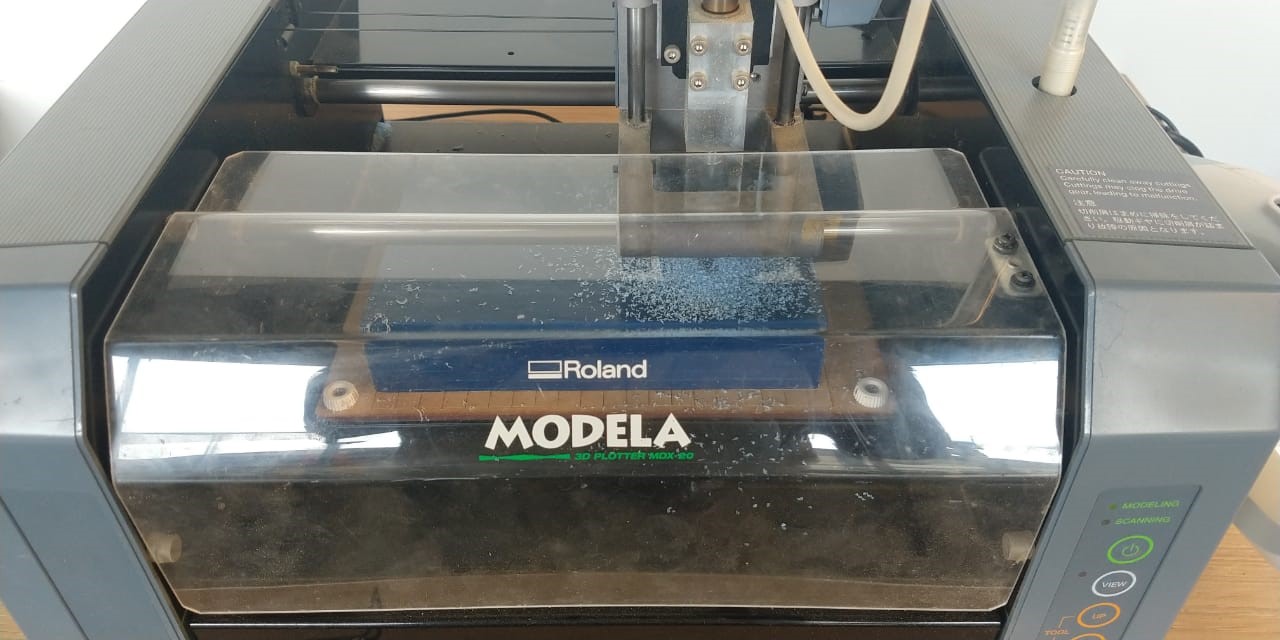
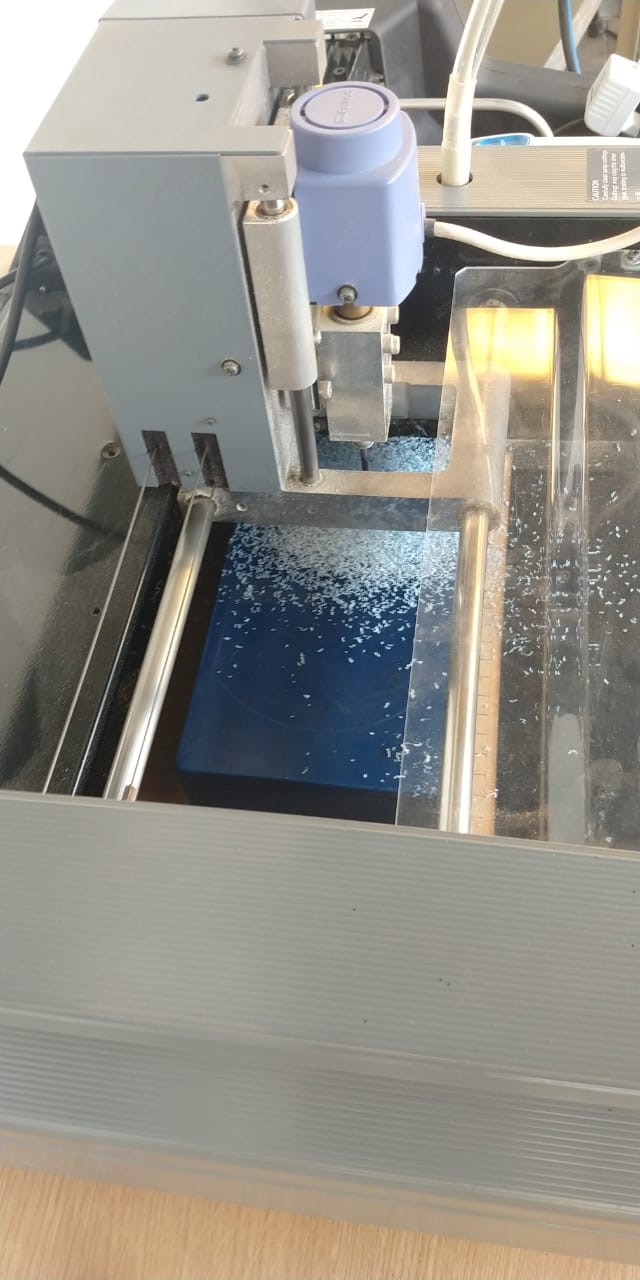
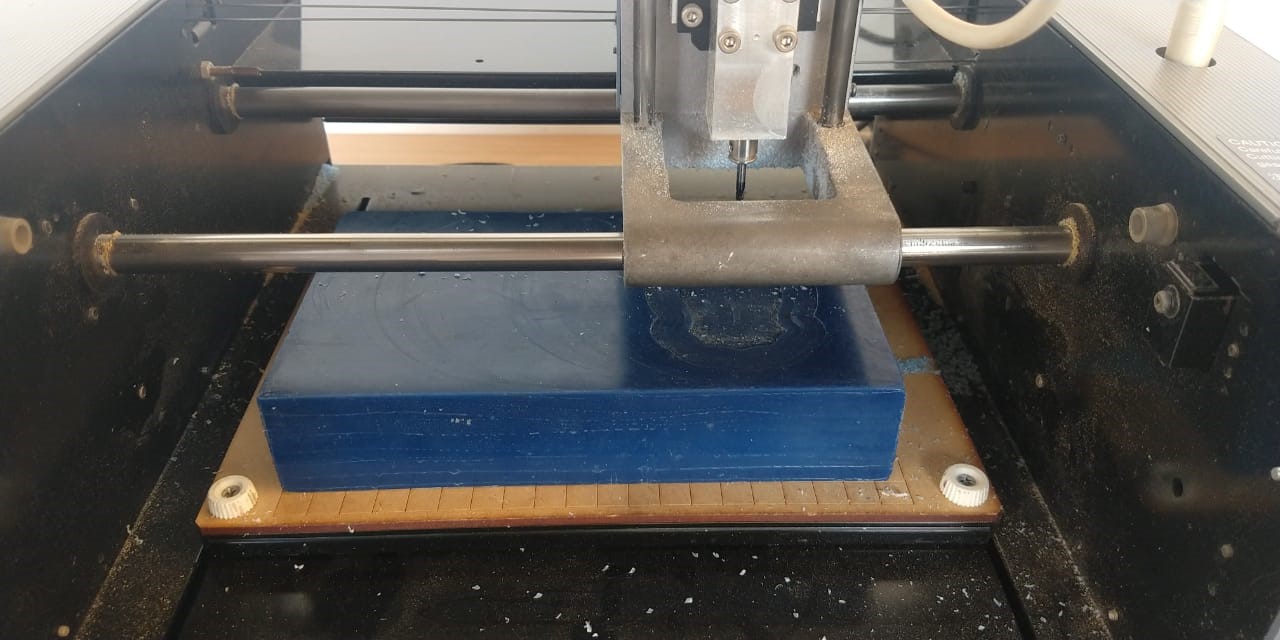
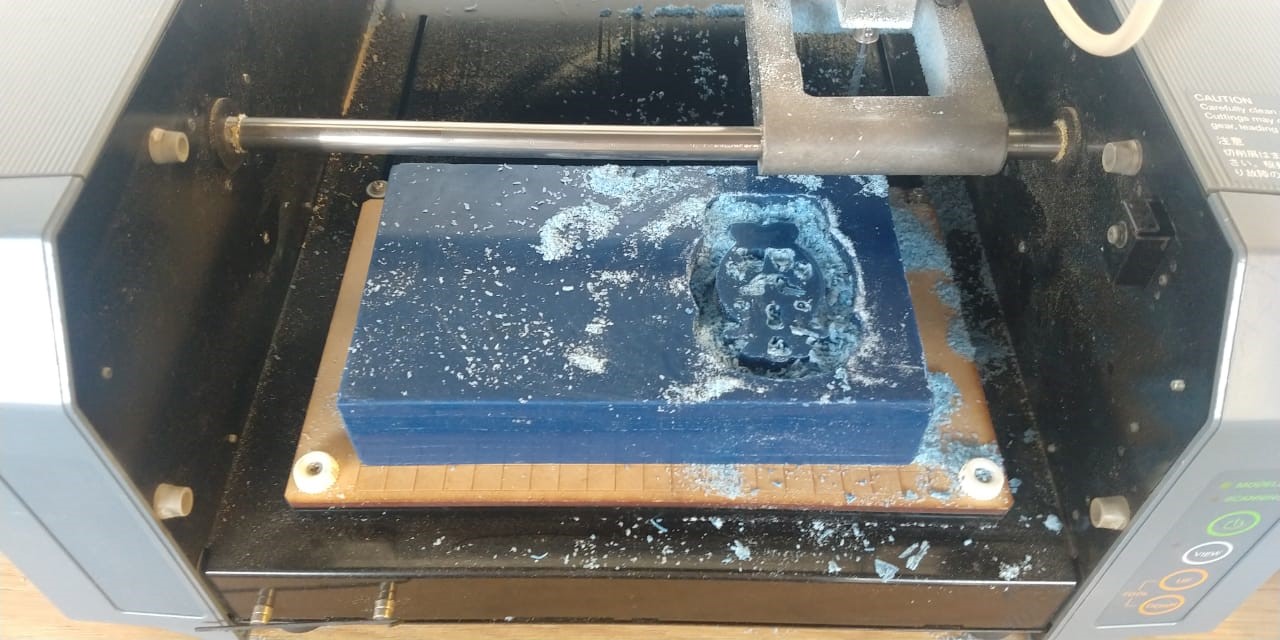
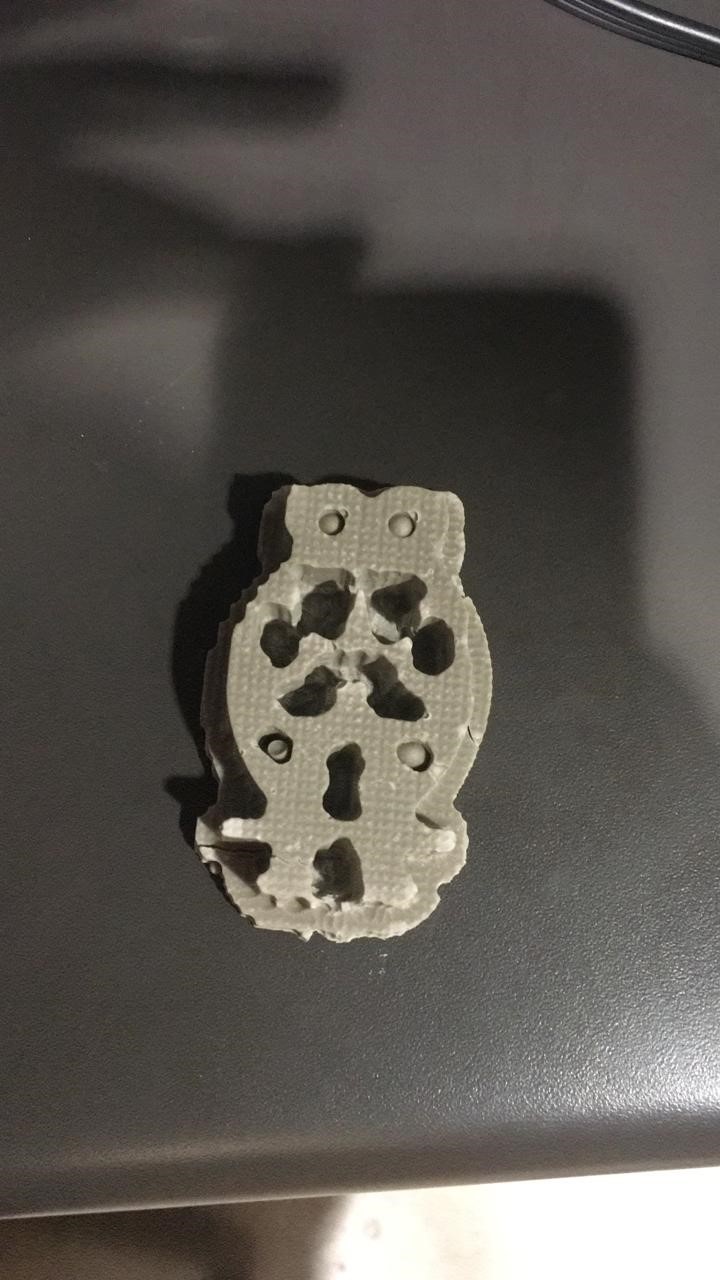
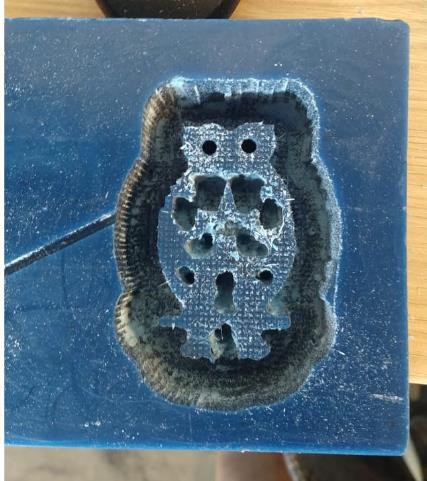
Then, using a vacuum cleaner removes the residue from the block and proceeds to remove the milled design.
Now, I had to prepare the silicone for the negative mold.
Here we see the materials to be used: silicone, catalyst, cement.
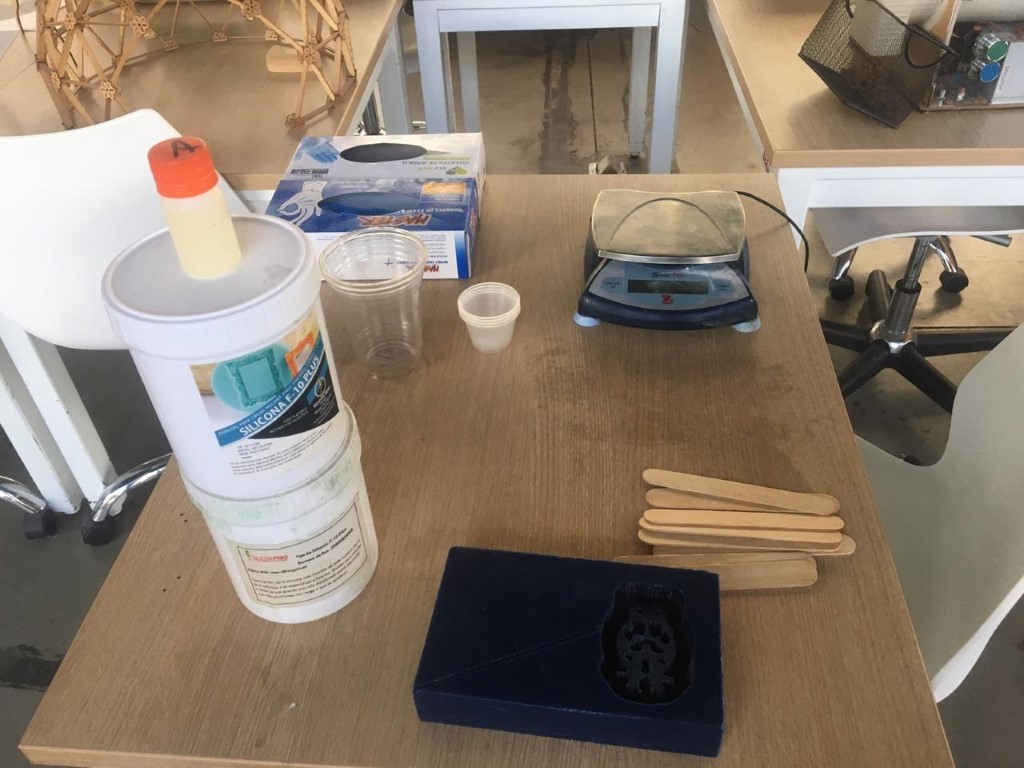
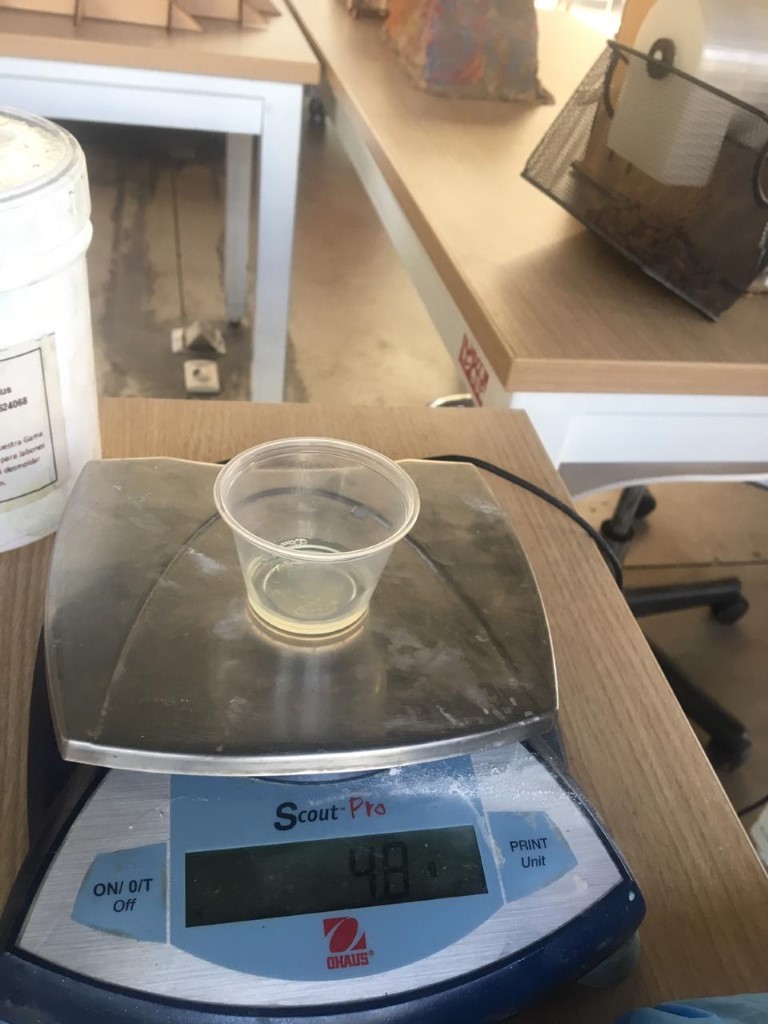
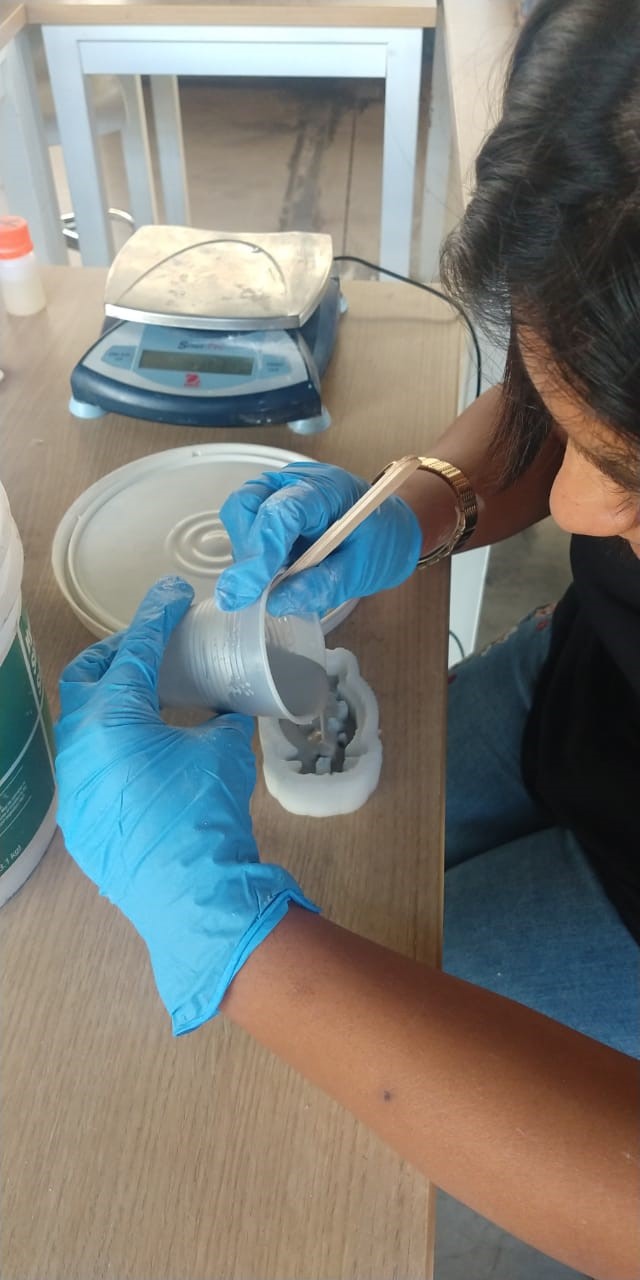
First I had to weigh the glass in which i would mix the silcone, then I weighed the amount of silicone to be table to add the 2 % of catalyst.
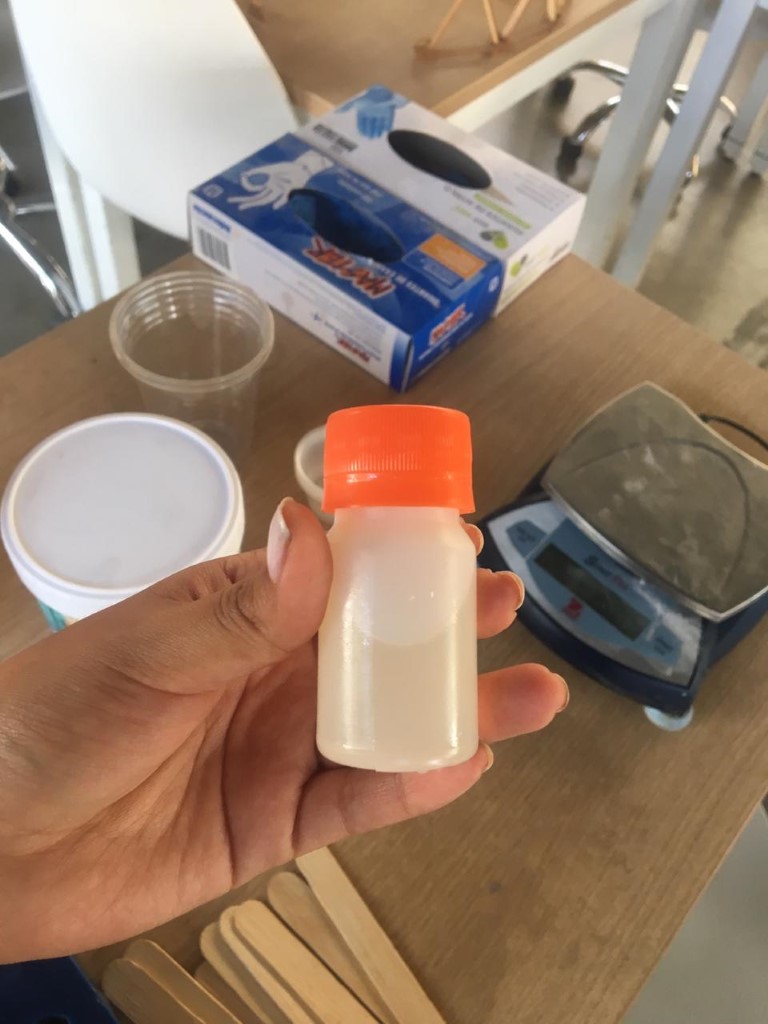
The correct mixing process is, empty the catalyst into the silicone and beat.
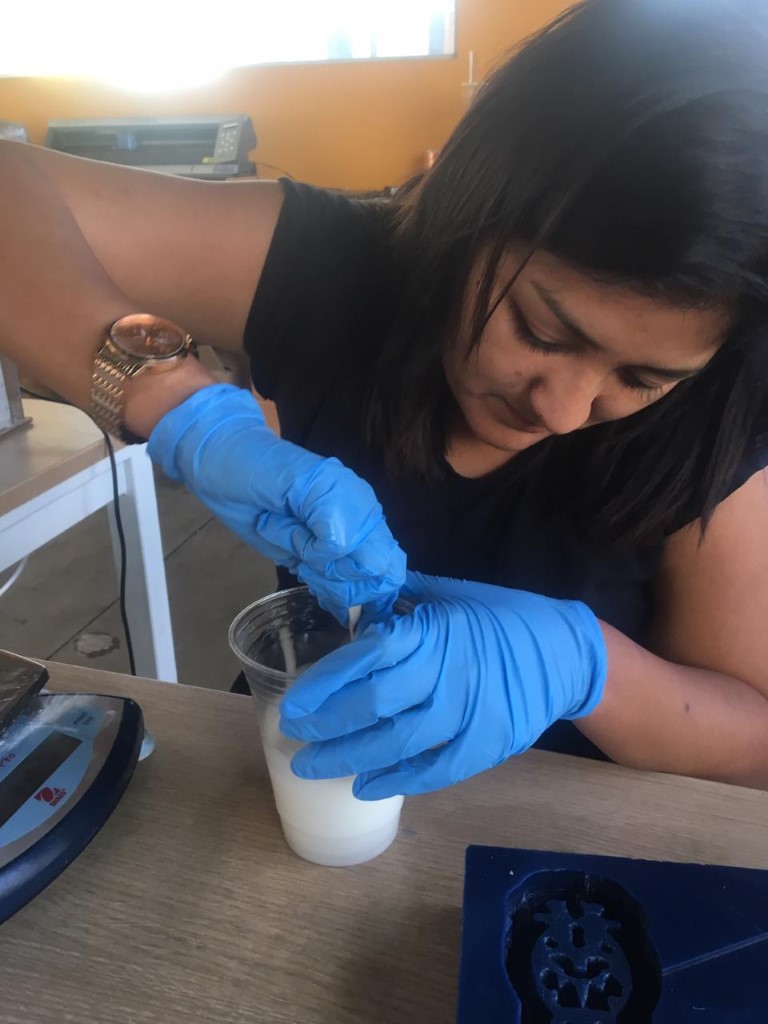
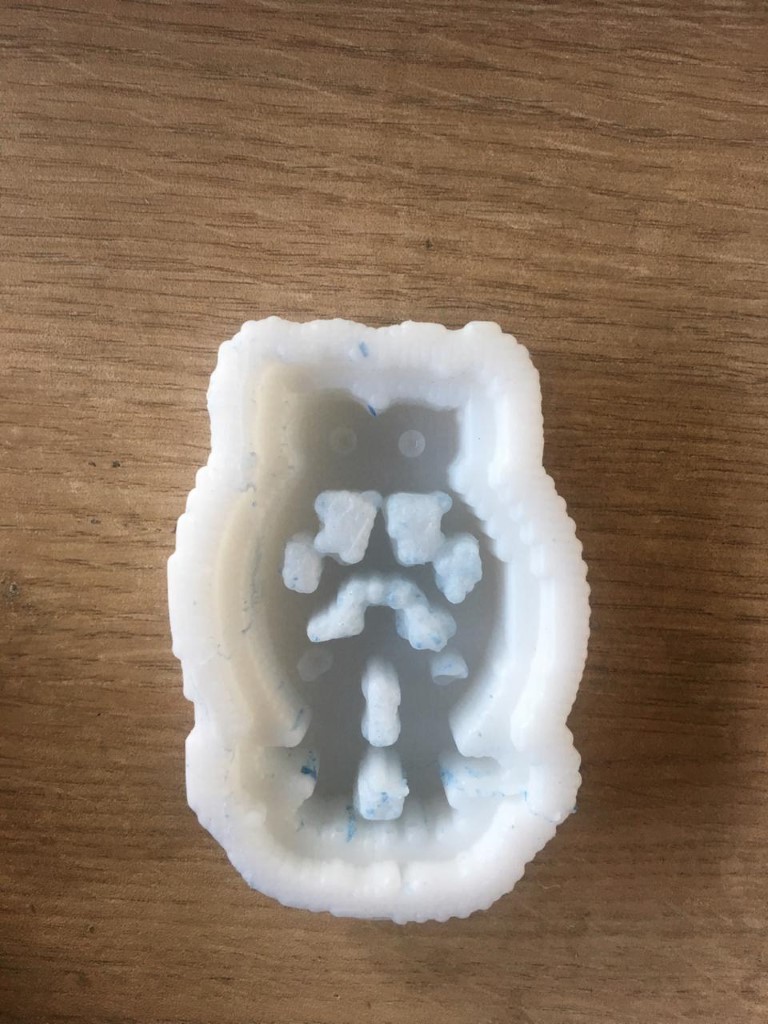
We empty the silicone mixture to the wax mold and wait 20 minutes to obtain the silicone mold.
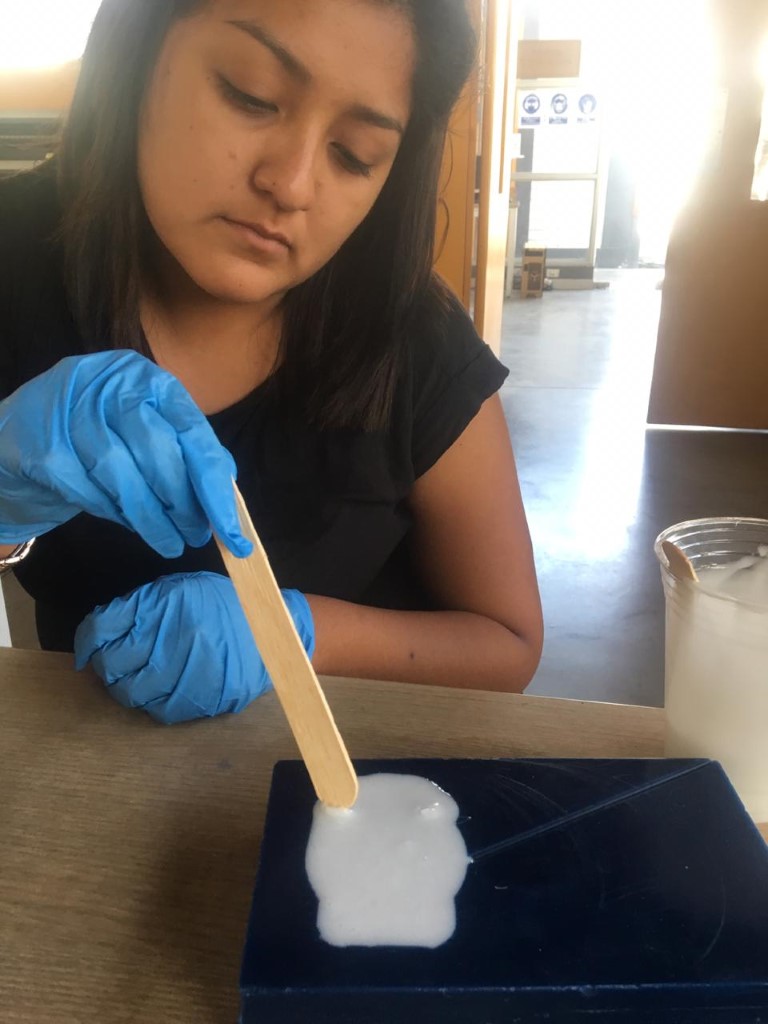
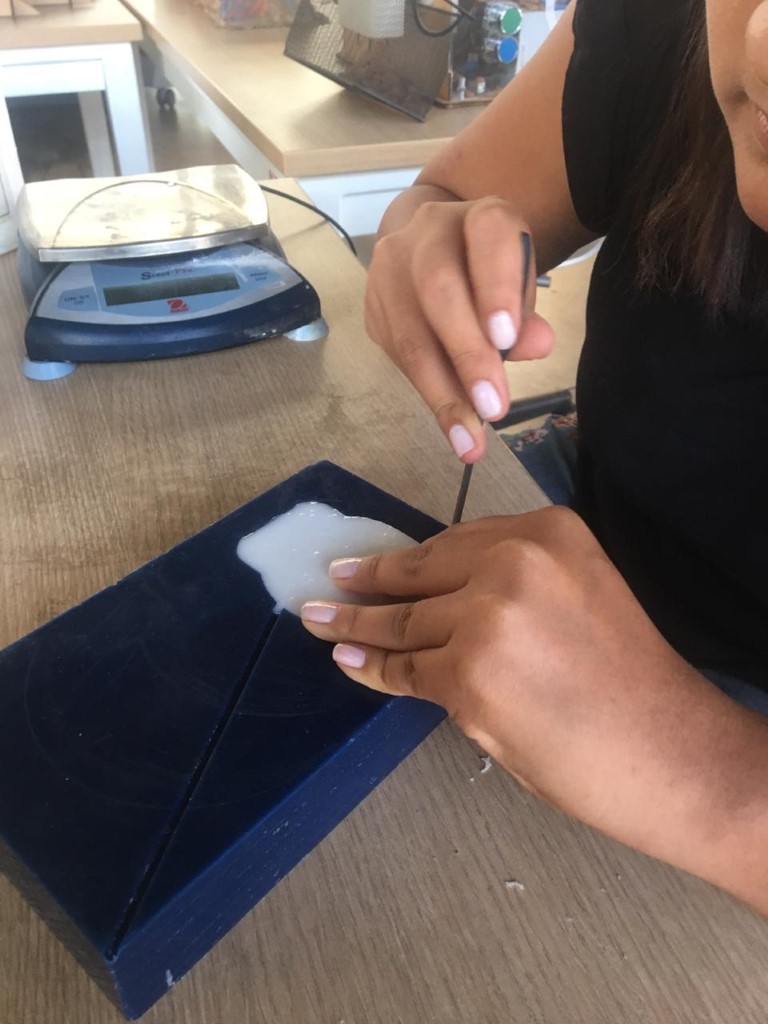
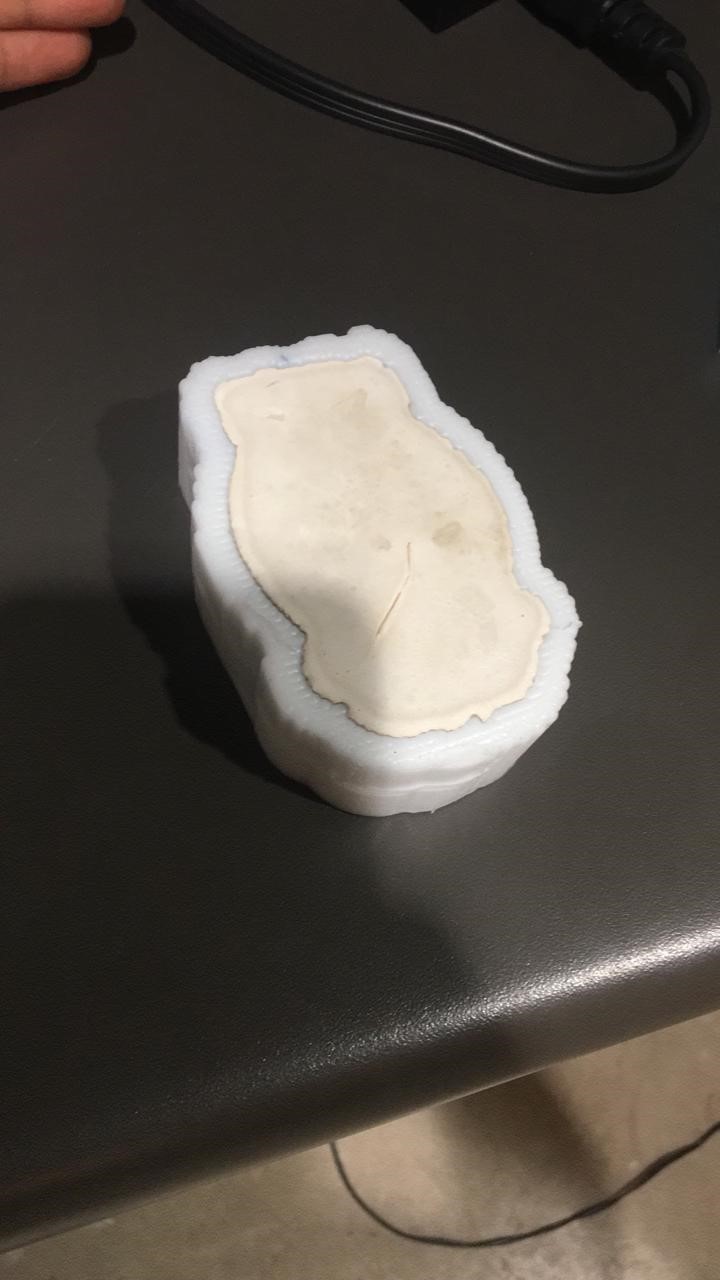
We can see the mold.
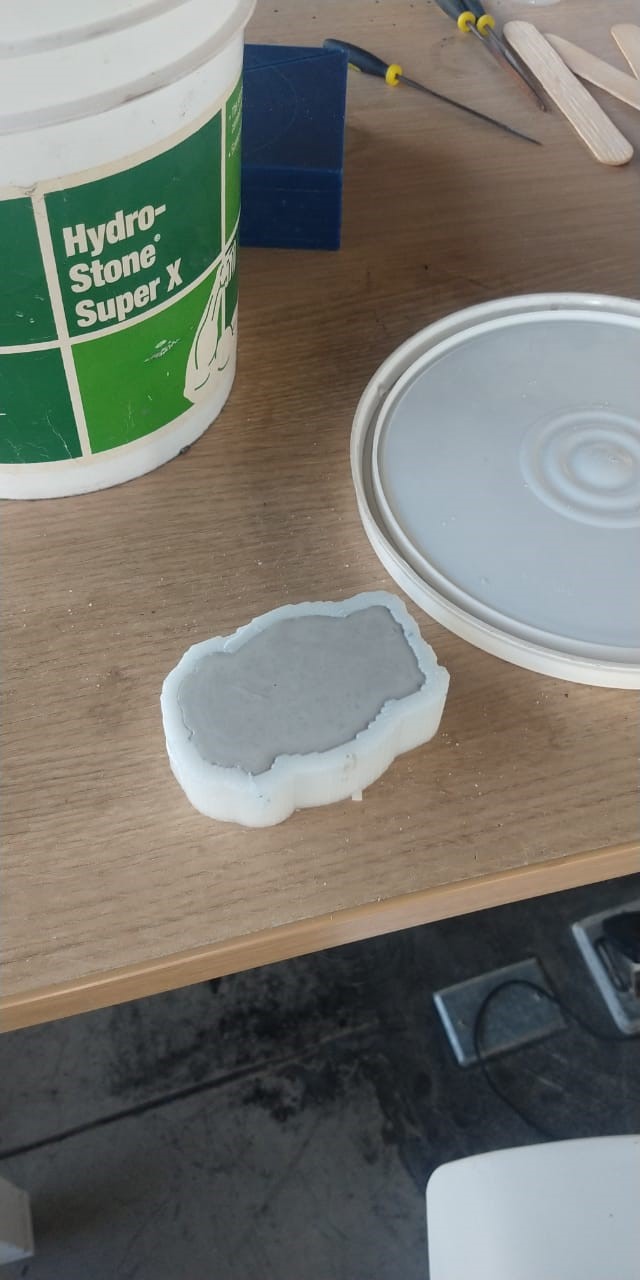
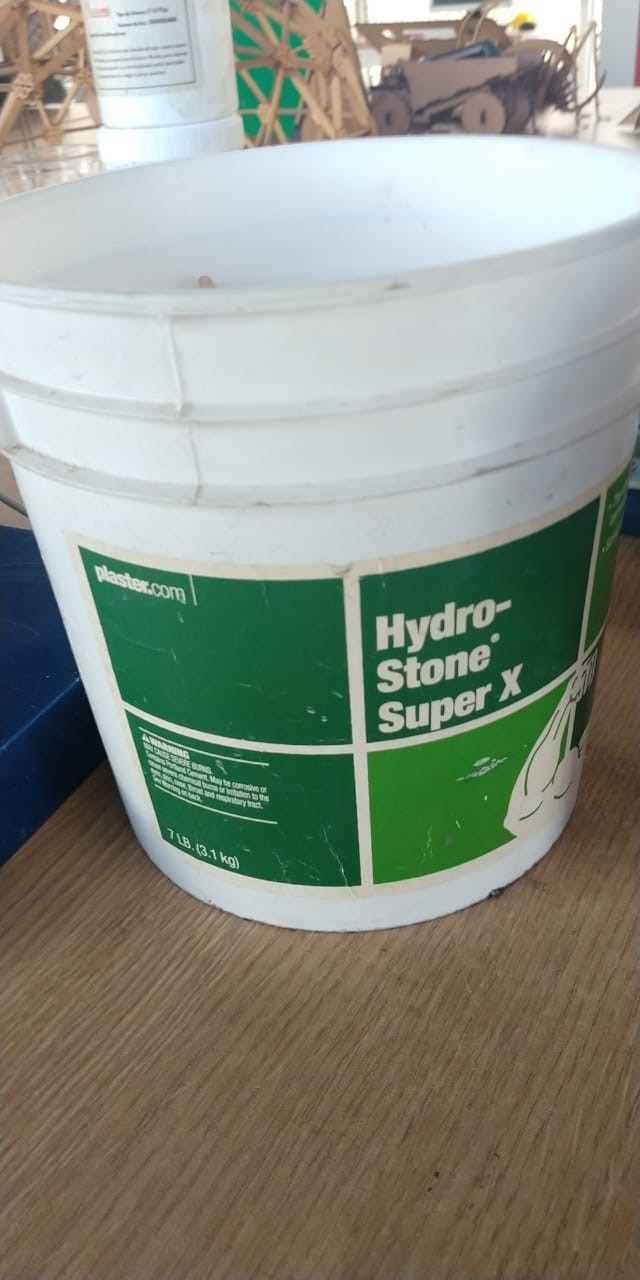
The cement used was Hydro-Stone Super X
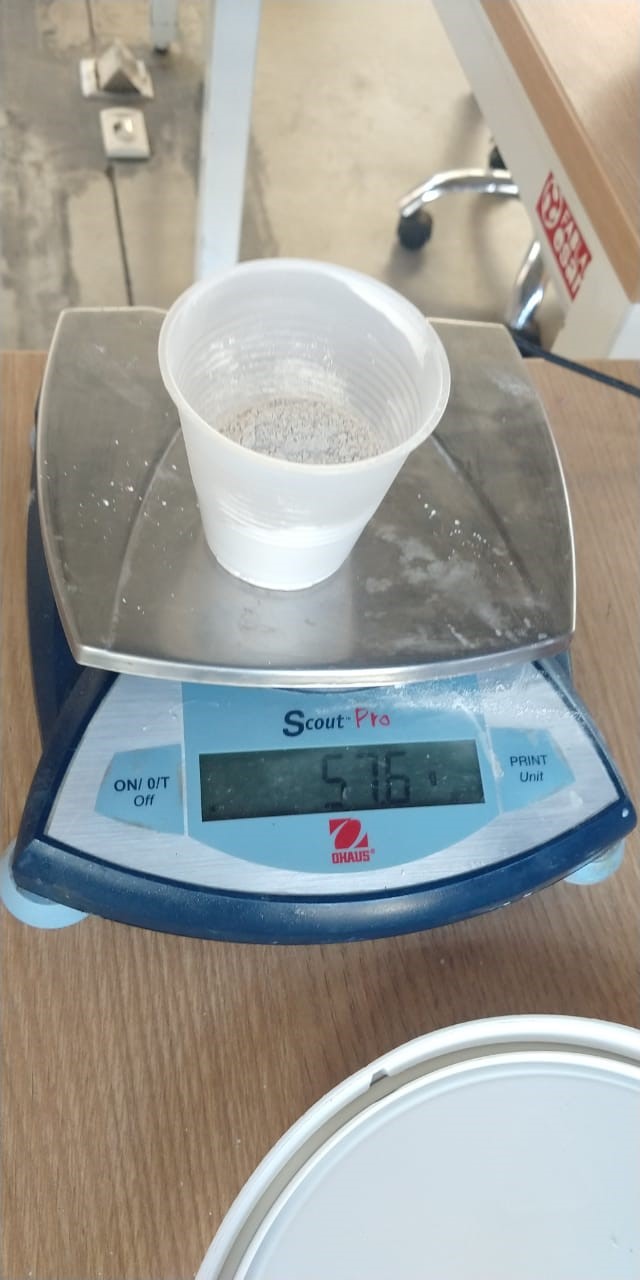
First I had to weigh the glass, then pour the amount of cement that could fit into the mold.
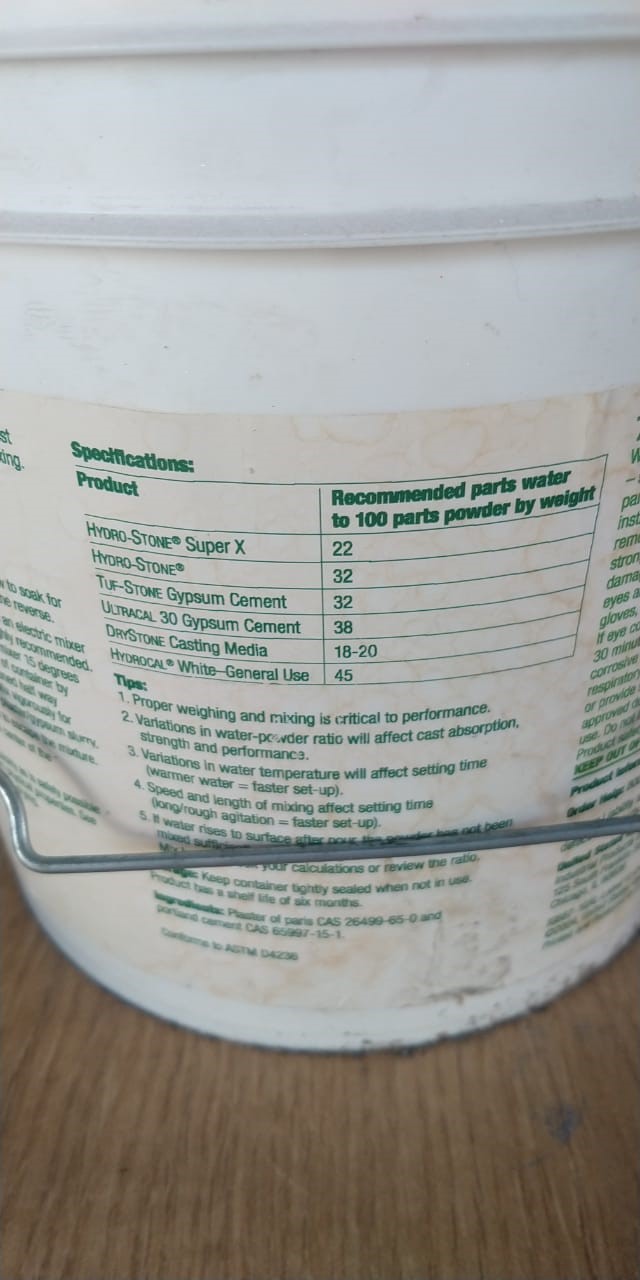
Then, I calculated 22% of the total cement to be able to mix it with water, according to the references indicated in the cement pot.
We empty the cement mixture into the mold and wait 4 hours to obtain the object.