3. COMPUTER AIDED DESIGN
Goal
The objective of this assignment was to investigate, experience, compare and review various 2D, 3D, also to model a possible final project.
Previous research and considerations
I have experimented with some programs
- AUTOCAD
- CORELDRAW
- INVENTOR
- TINKERCAD
- ONSHAPE
So i think its the first step towards How to design almost anything.
AUTOCAD (2D)
I started designing in CAD programs, at 2D level with the software Autocad 2018,I will design the batman logo.
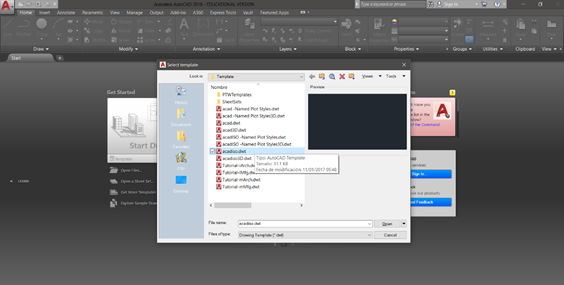
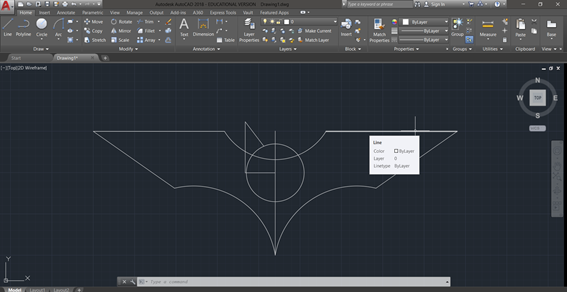
First, Open AUTOCAD 2018 and select Acadiso.dwt because because we will work in millimeters.
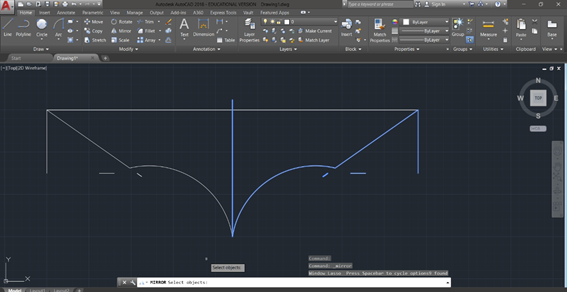
I applied the mirror option to reflect the image from the left to the right.
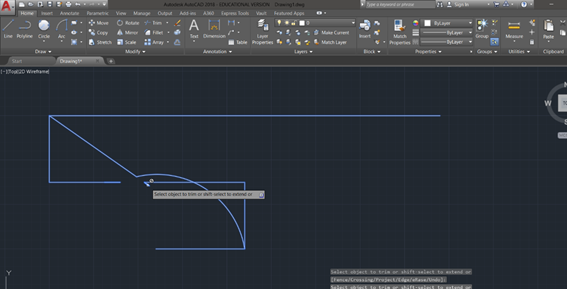
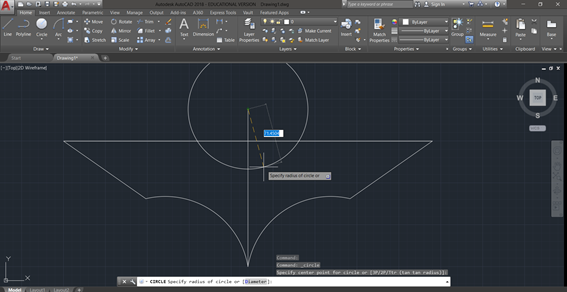
Then made a circle to make the upper part of the logo.
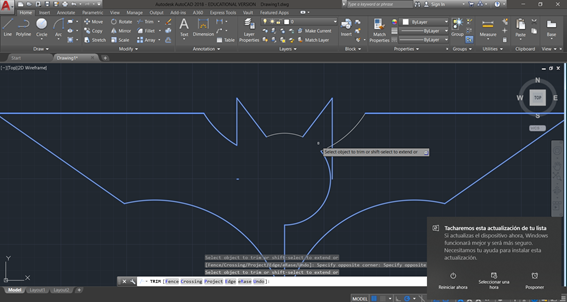
I eliminate the remaining part with the trim option
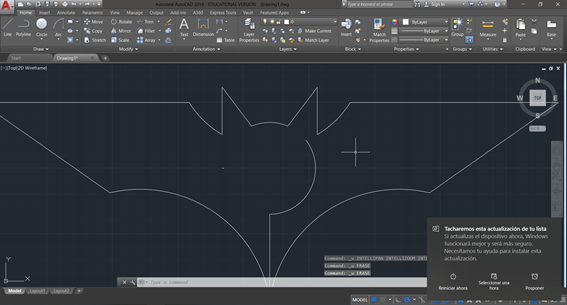
Finally I got Batman logo
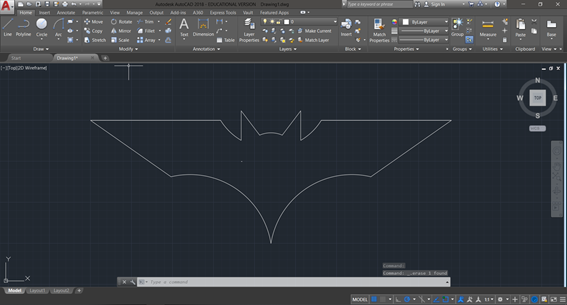
You can download the file by clicking on the bullet.
CORELDRAW (2D)
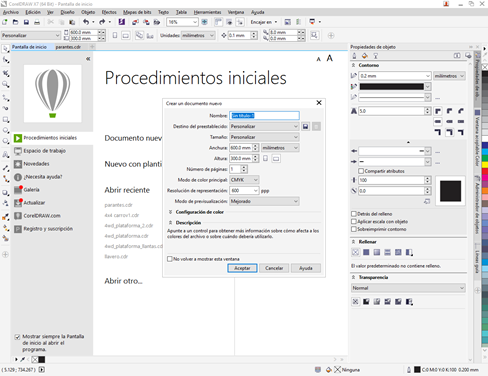
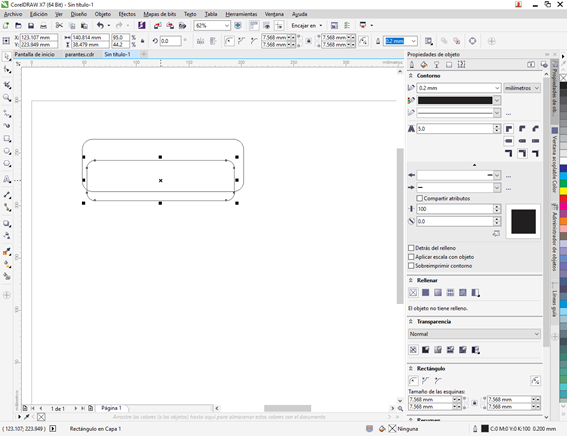
For this design used the Corel DRAW X7 which is a program that allows you to work graphic design I designed the prototype of a keychain, for that I created a new document of dimensions 60 and 30 cm. These dimensions were based on the size of the material used in FAB LAB ESAN.
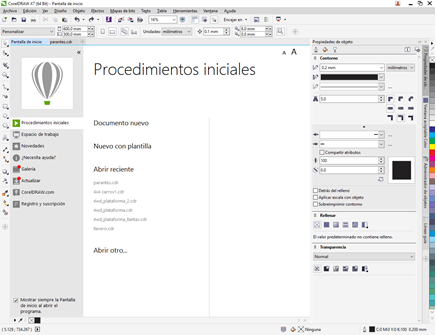
In the start window I configured the units (millimeters) of the dimensions with which I will work, as well as the width and length of the work area.
Corel Draw allows to start with lines or predetermined geometric figures.
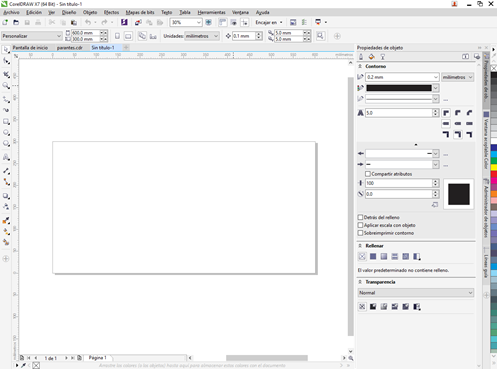
I started by choosing a geometric figure (rectangle) and I sized it according to a conventional keychain.
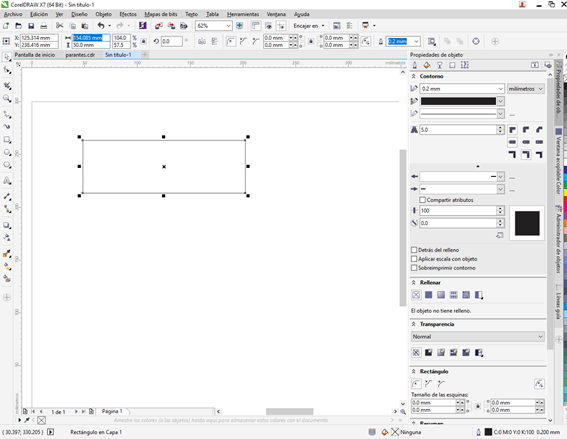
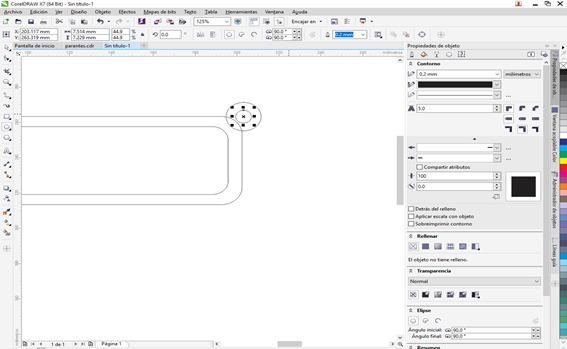
I inserted another rectangle and with the option of deformation of nodes redondie the vertices.
Then I inserted two circles of different dimensions in the upper corner in order to generate a support for the keychain.
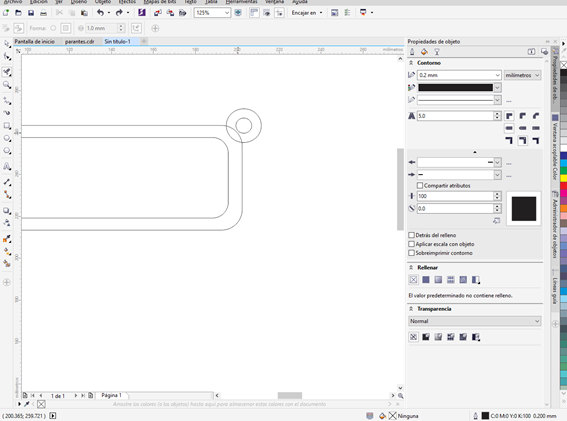
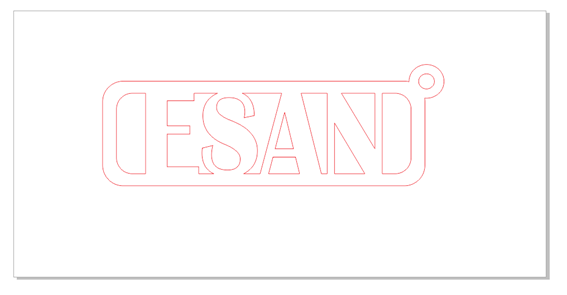
Then use the option of virtual segmentation that allows you to make cuts in lines or vectors.

Here, I show the cuts that I will make to the leftover lines.
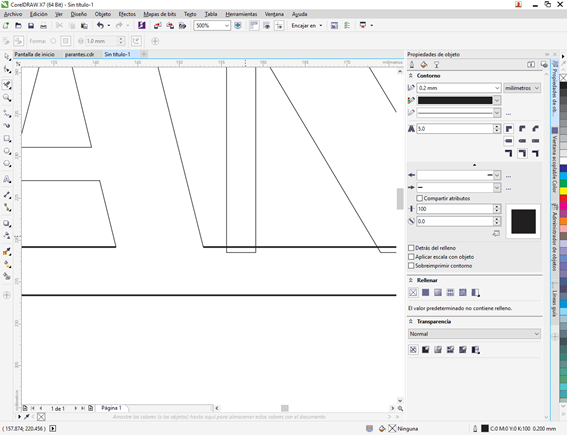
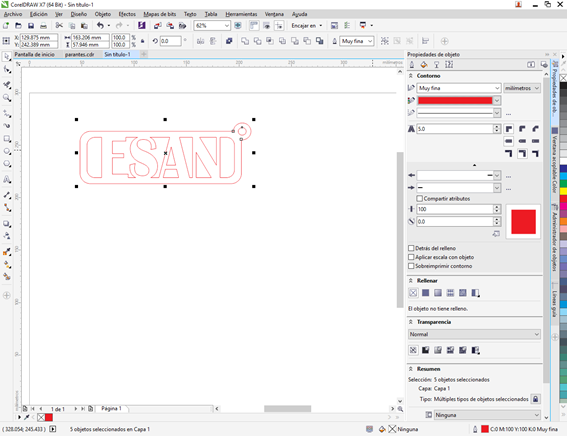
Finally, I got the keychain design with the letters “ESAN”.
You can download the file by clicking on the bullet.
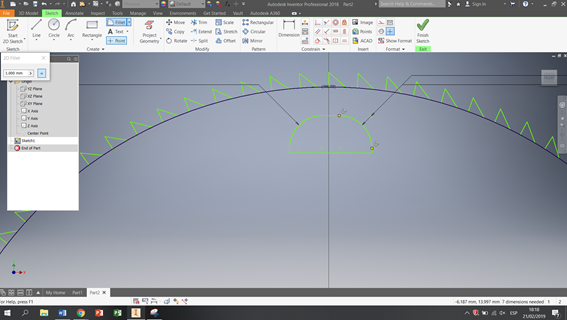
INVENTOR (2D)
I worked with inventor 2018 Then, I made a triangle tangent to the circumference
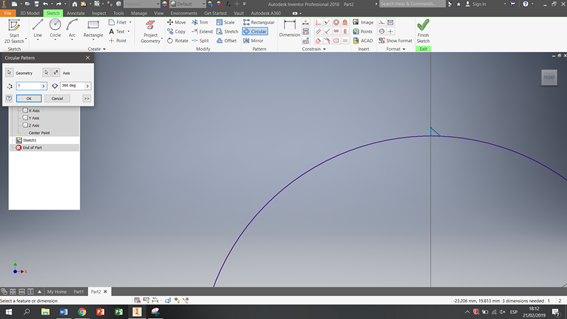
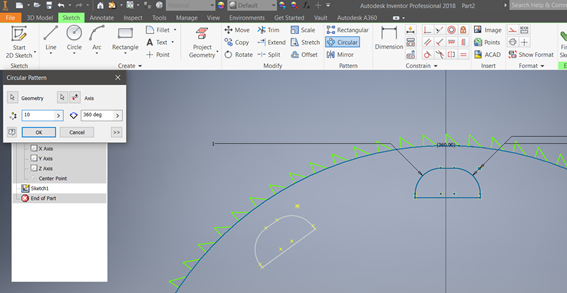
I applied the “Circular pattern” option and 90 triangles were automatically made.

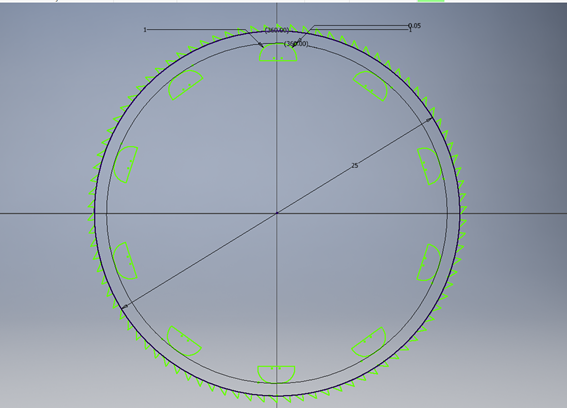
I made a rectangle
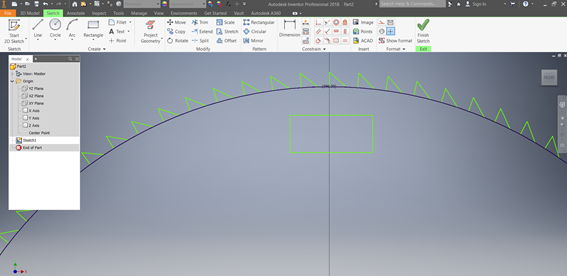
I applied la opcion “Fillet”
I applied la opcion “Circular pattern”
Finally I made this design
You can download the file by clicking on the bullet.
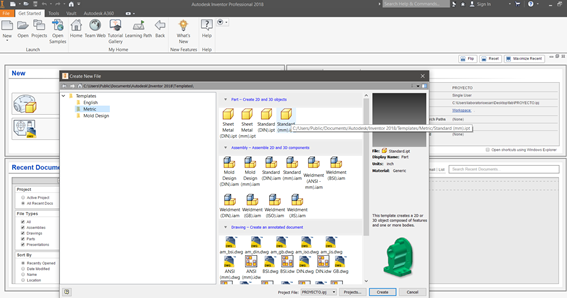
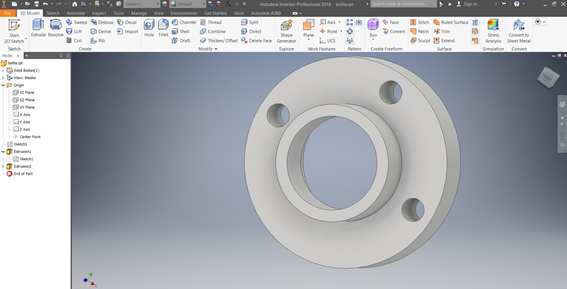
INVENTOR (3D)
We made a simple piece, first we will open the Inventor 2018, Also I worked with the options Metric- Standard (mm).
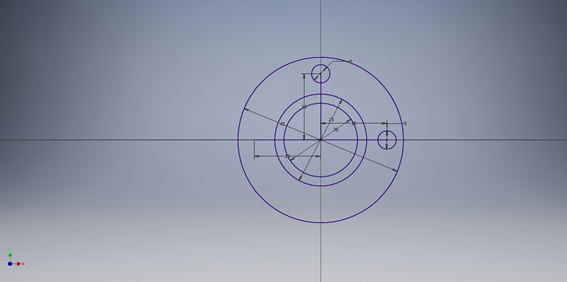
I made a circle of 45 millimeters of diameter
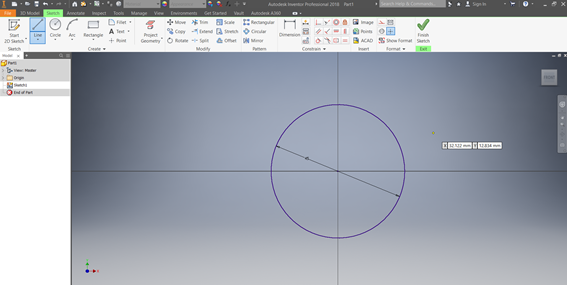
I made circles of 25, 20 ,5 millimeters of diameter
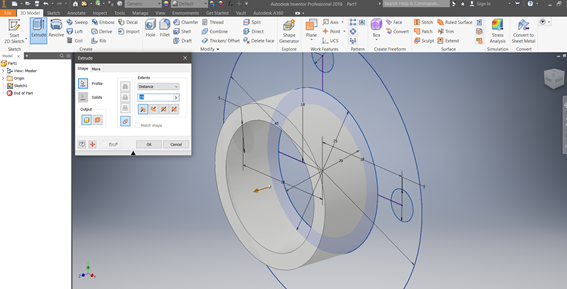
I used the extrude option with a height of 10 mm
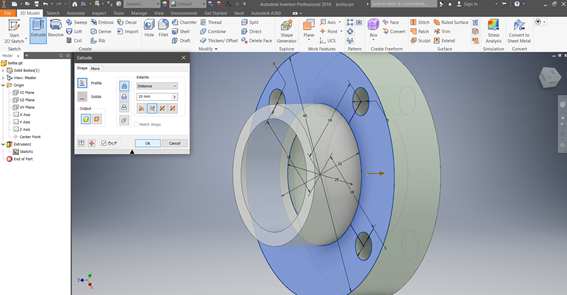
I finally got the piece in 3d
You can download the file by clicking on the bullet.
TINKERCAD (3D)
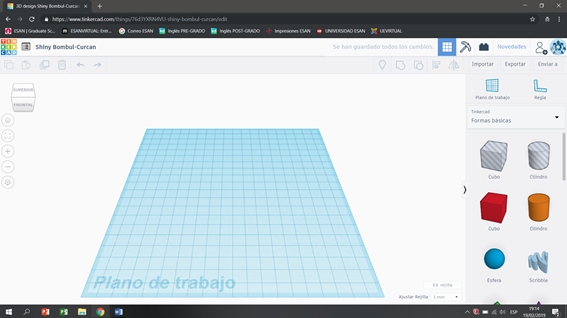
Tinkercad is a program very easy to use. To begin with yu do not need to download it, you work from the web platform. It works on Windows or Mac. You have to create account and then you can use it.
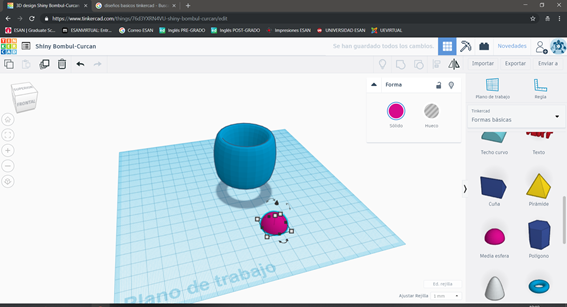
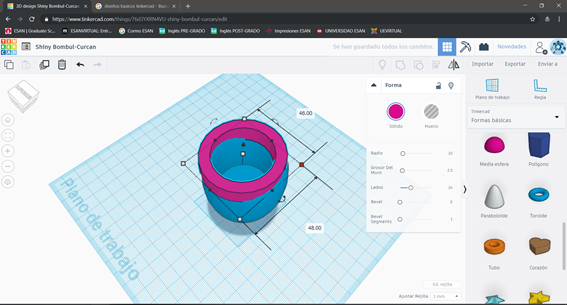
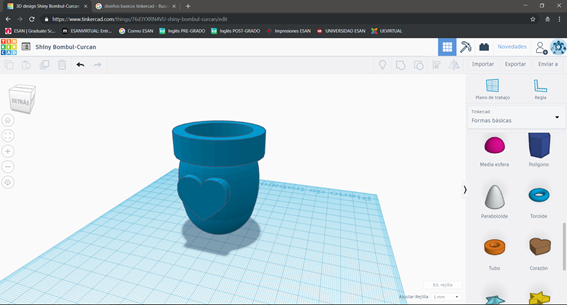
Tinkercad is based on three-dimensional geometric solids, so for this part I will design a custom glass, This image is the work area of TINKERCAD
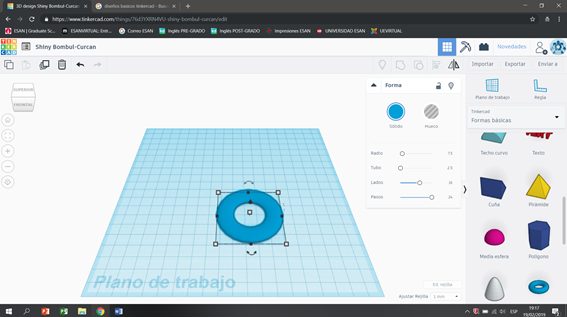
Start with the geometric solid in the shape of a donut and size it into width, length, height and thickness.
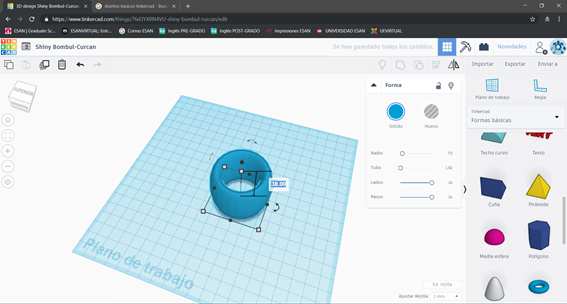
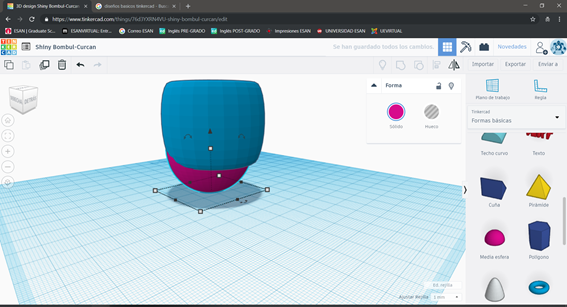
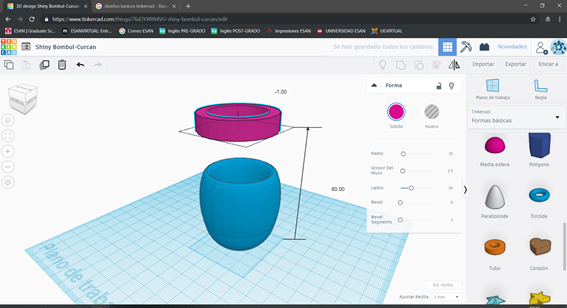
Then I added a semi-sphere and then rotated it 180 ° so that it could be used as a base in my glass.
Also, TINKERCAD allows me to ascend or descend the inserted solids of the work plane.
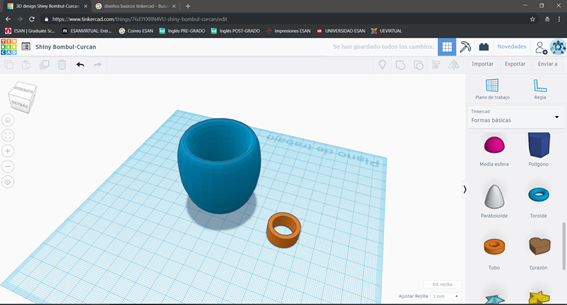
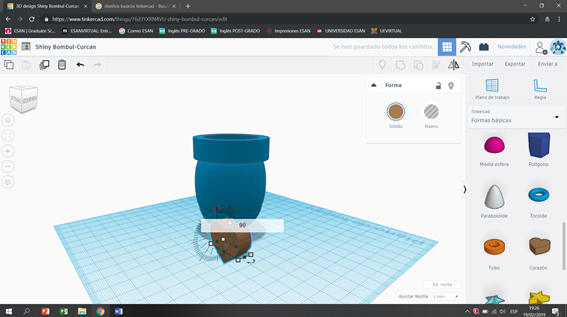
Then I inserted the tube option and I was adapting them to form my glass design
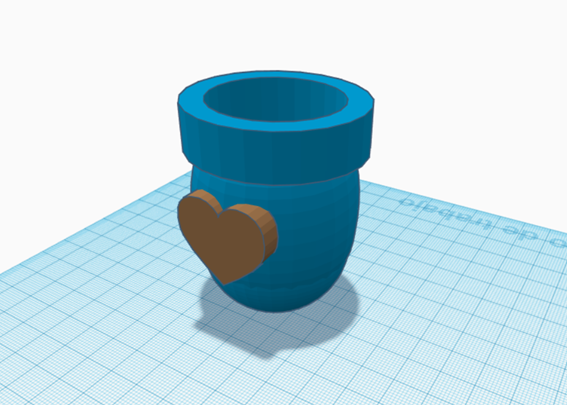
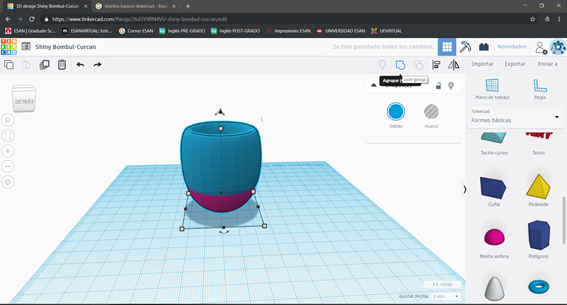
Finally use the option of grouping which allows me to join solids, generating a single object. This can be verified, since after applying the group command, all the solids are uniform in a single color.
You can download the file by clicking on the bullet.
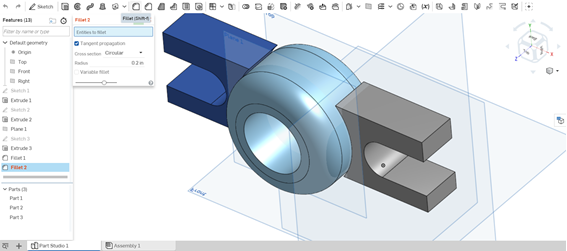
ONSHAPE (3D)
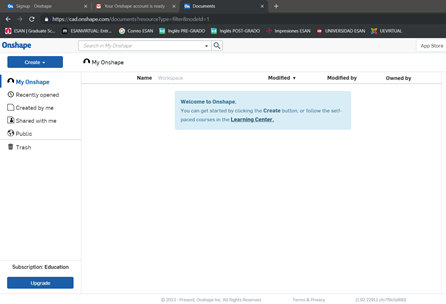
Onshape is a computer-aided design software system that is delivered through the Internet through a software-as-a-service model.
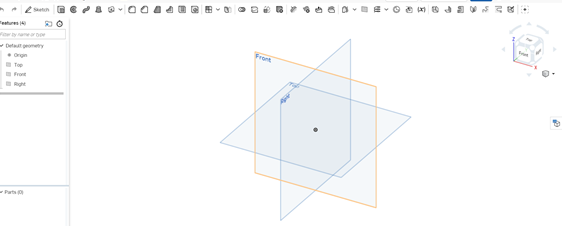
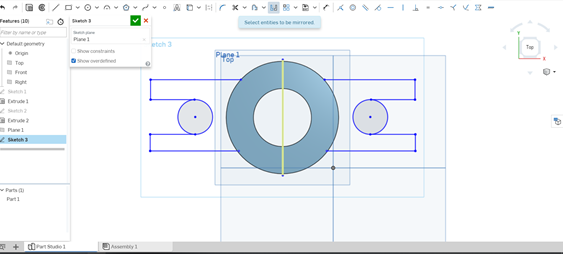
Create a new document and template in millimeters, you also choose the construction plan.
I chose the construction plan to start designing (xz)
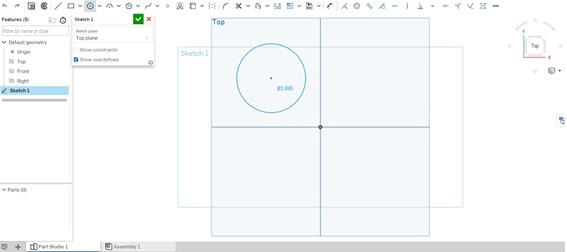
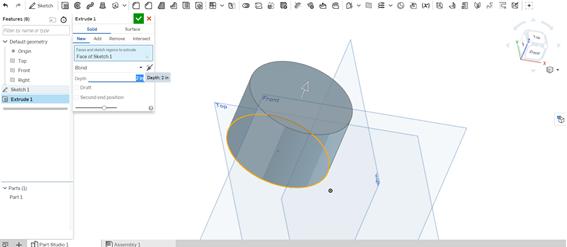
I designed a pokemon (MAGNET) I started inserting a circle, I adapted it in dimension and I extruded it.

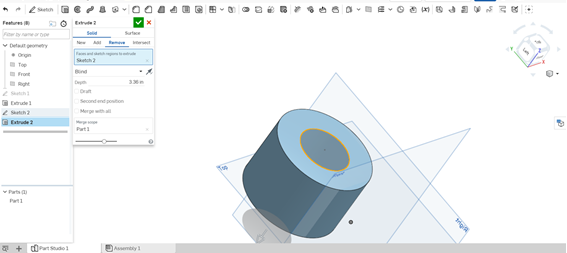
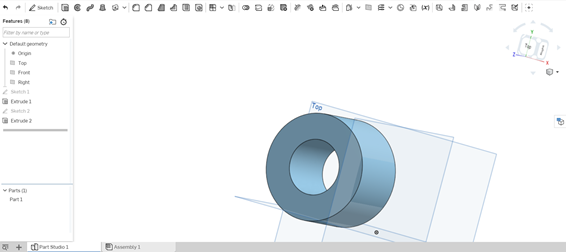
Then I made a hole in the upper front face.
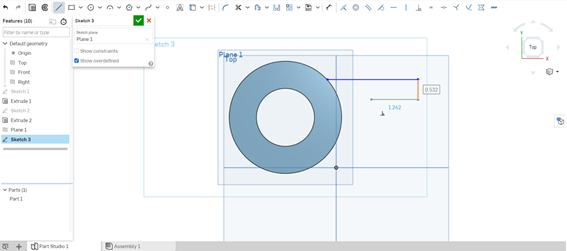
I created an intermediate plane between the two main faces so starting from this plane start with a symmetrical design (what would be the ears of pokemon)
Onshape allows me with the mirror option to mirror vectors symmetrically
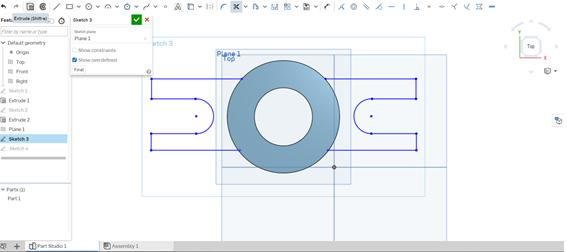
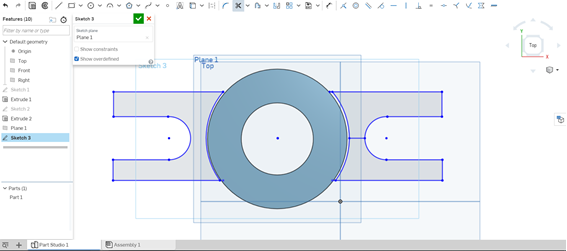
Then with the EXTRUDE command I was able to extrude the vectors.
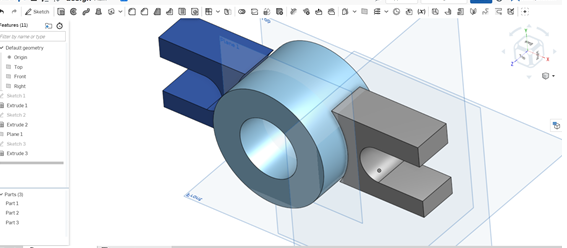
And I supplemented with the FILLET option, which allowed me to round the edges.
You can download the file by clicking on the bullet.