2. PROJECT MANAGEMENT
Goal
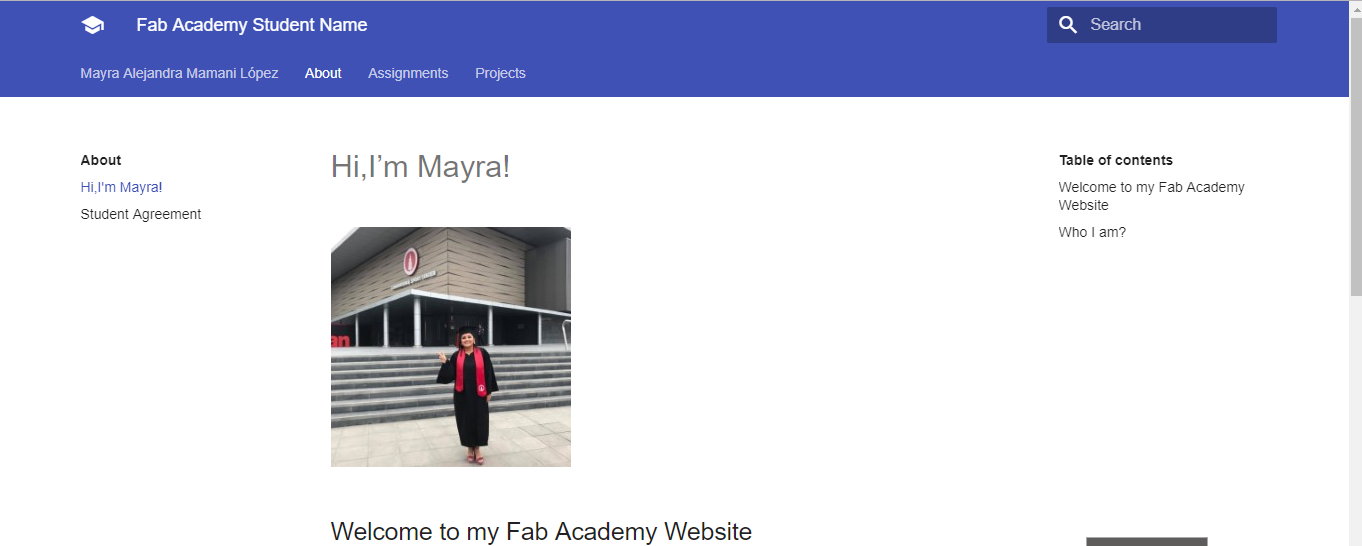
The objective of this project is to create my Web page and describe how i did it.
Process
a.- First, I used default template based on MkDocs provided this year by FabLab,Then I installed Git Bash to my computer.
b.- I opened the program and created my username and email

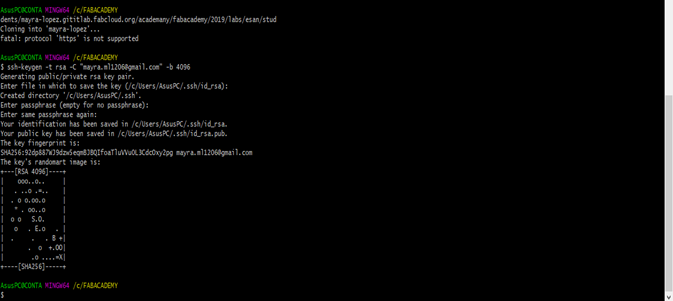
c.- I generated a new SSH key pair, use the following command:
ssh-keygen -t rsa -C “your.email@example.com” -b 4096
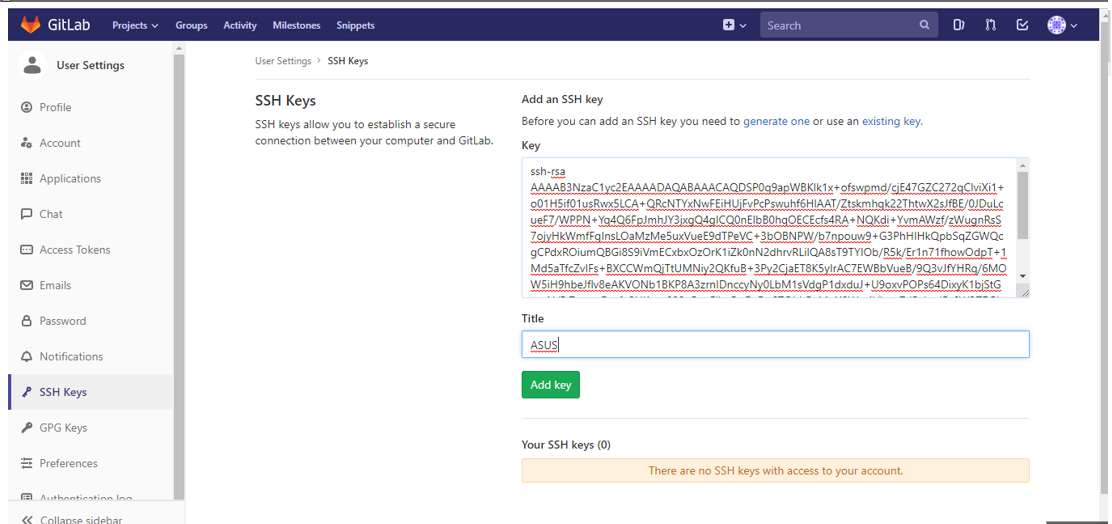
d.- To copy the public SSH key to the clipboard, I used the appropriate code below: cat ~/.ssh/id_rsa.pub | clip

e.- I copied the key and put the title with the model of my laptop “ASUS”
f. I generated SSH Key

g.- I cloned my folder created from my computer with my gitlab page and I used this command:
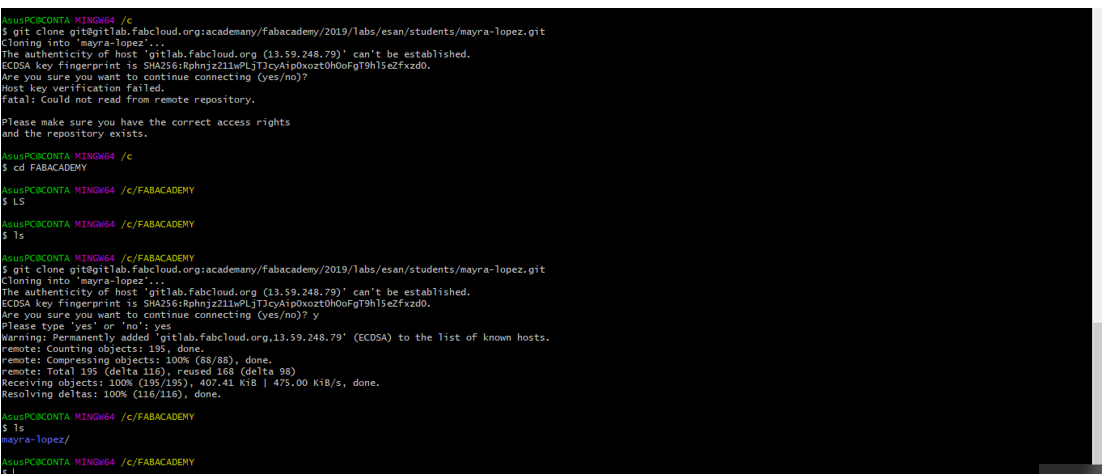
h.- Finally I could to edit my page with 4 commands of Git Bash then my website could synchronize.
- git pull origin master
- git add *
- git commit -m “text”
- git push origin master
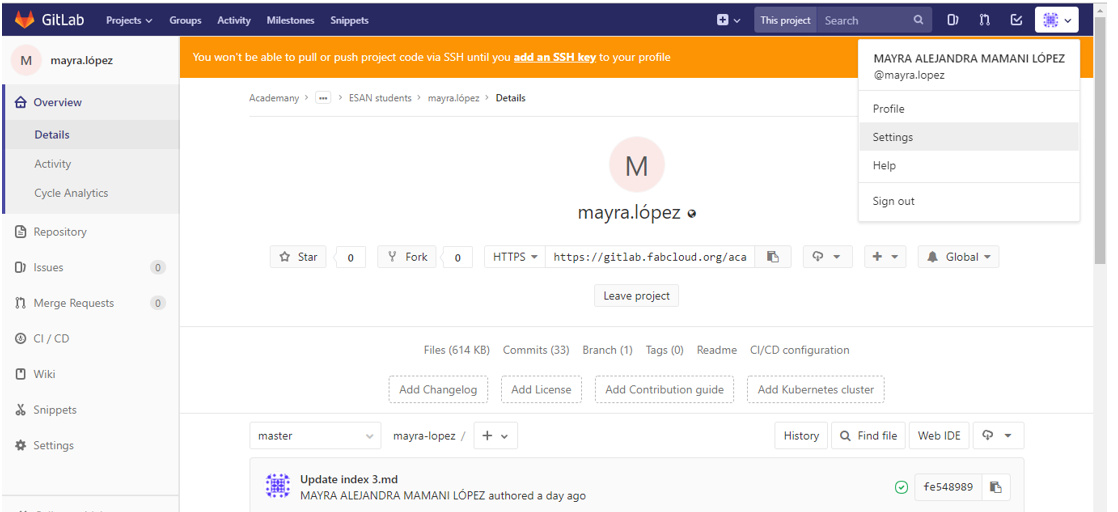
You can see my website
Web site
According MkDocs page say that it is a fast, simple and downright gorgeous static site generator that’s geared towards building project documentation. Documentation source files are written in Markdown, and configured with a single YAML configuration file.
MkDocs builds completely static HTML sites that you can host on GitHub pages, Amazon S3, or anywhere else you choose.
MarkDown
Markdown is a lightweight markup language. Content publishing is faster and you get a better result.
I will give some examples of codes, which I used in my template
Heading
To create a heading, add number signs (#) in front of a word or phrase.The number of number signs you use should correspond to the heading level.
Bold
To bold text, add two asterisks or underscores before and after a word or phrase.
Upload images
You have to upload the image to the git then put the route
For exanple:

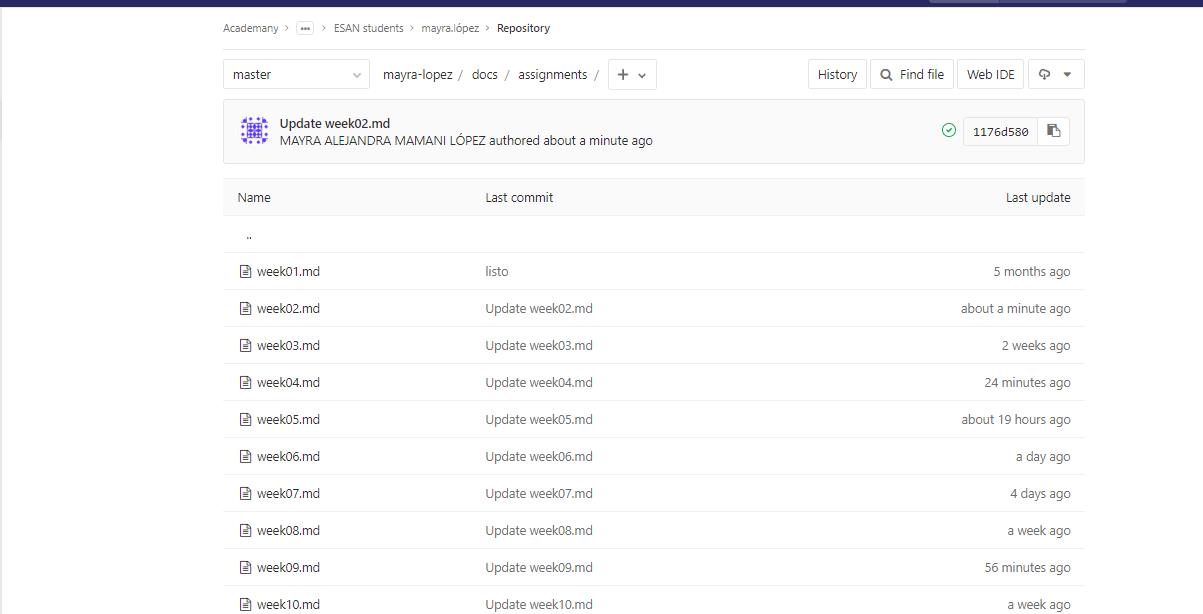
We can see the assignments of each week
If you add the link of the web site or video
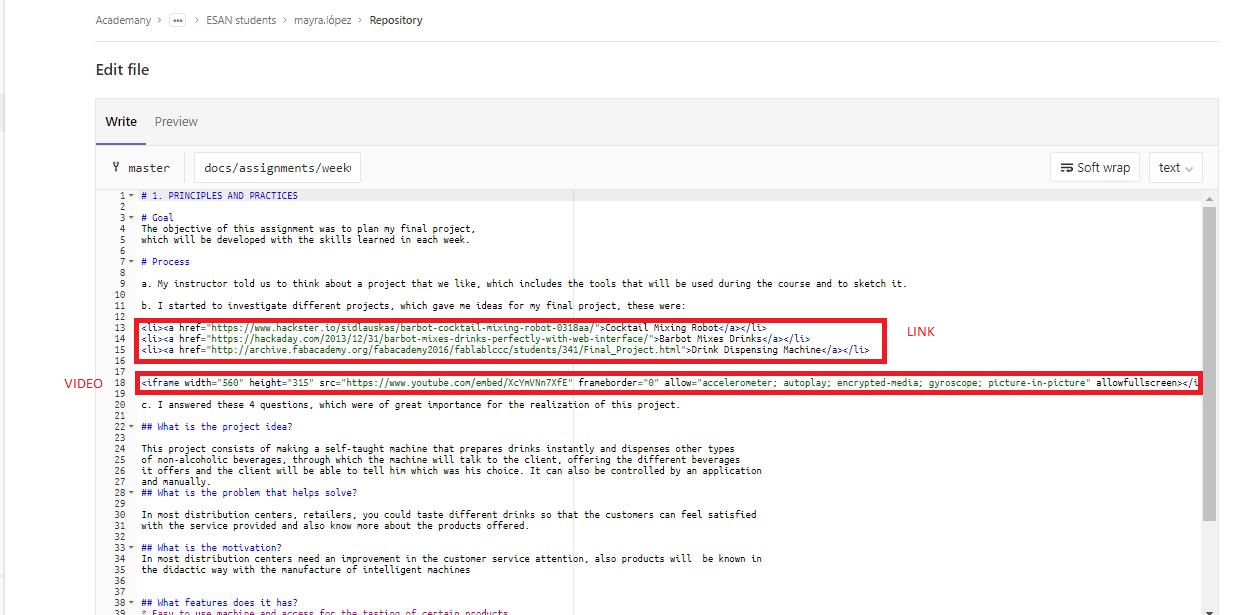
You can find more tips by clicking on the bullet
This is my first experience creating webpages, so for this time I want to control and use first FabAcademy template a see how comfortable i feel.
As Neil emphasized last day, you will need to use images as light as you can. For that reason I will use an online pictures editor to reduce size.
Learned lessons
- I learned gitlab structure
- I learned MkDocs which is amazing new framework
Fab Academy Student Agreement
The Fab Academy is responsible for:
- Teaching principles and practices of digital fabrication
- Arranging lectures, recitations, meetings, and events for the class
- Evaluating and providing feedback on student work
- Offering clear standards for completing assignments
- Certifying and archiving student progress
- Supervising class preparation
- Reviewing prospective students, instructors, and labs
- Providing central staff and infrastructure for students, instructors, and labs
- Fund-raising for costs not covered by student tuition
- Managing and reporting on the program’s finances, results, and impacts
- Publicizing the program
- Promoting a respectful environment free of harassment and discrimination
I’m a Fab Academy student, responsible for:
- Attending class lectures and participating in reviews
- Developing and documenting projects assigned to introduce and demonstrate skills
- Honestly reporting on my work
- Working safely
- Leaving workspaces in the same (or better) condition than I found them
- Participating in the upkeep of my lab
- Ensuring that my tuition to cover local and central class costs is covered
- Promoting a respectful environment free of harassment and discrimination
Signed by committing this file in my repository,
Mayra Mamani