Week four: Computer-Controlled cutting
For the assignment of this week, we must make a parametric press-fit construction kit wich can be assembled in multiple way, taking into account when designing parameters such as kerf and tolerance, we must also use the vinyl cutting.
Parametric Design
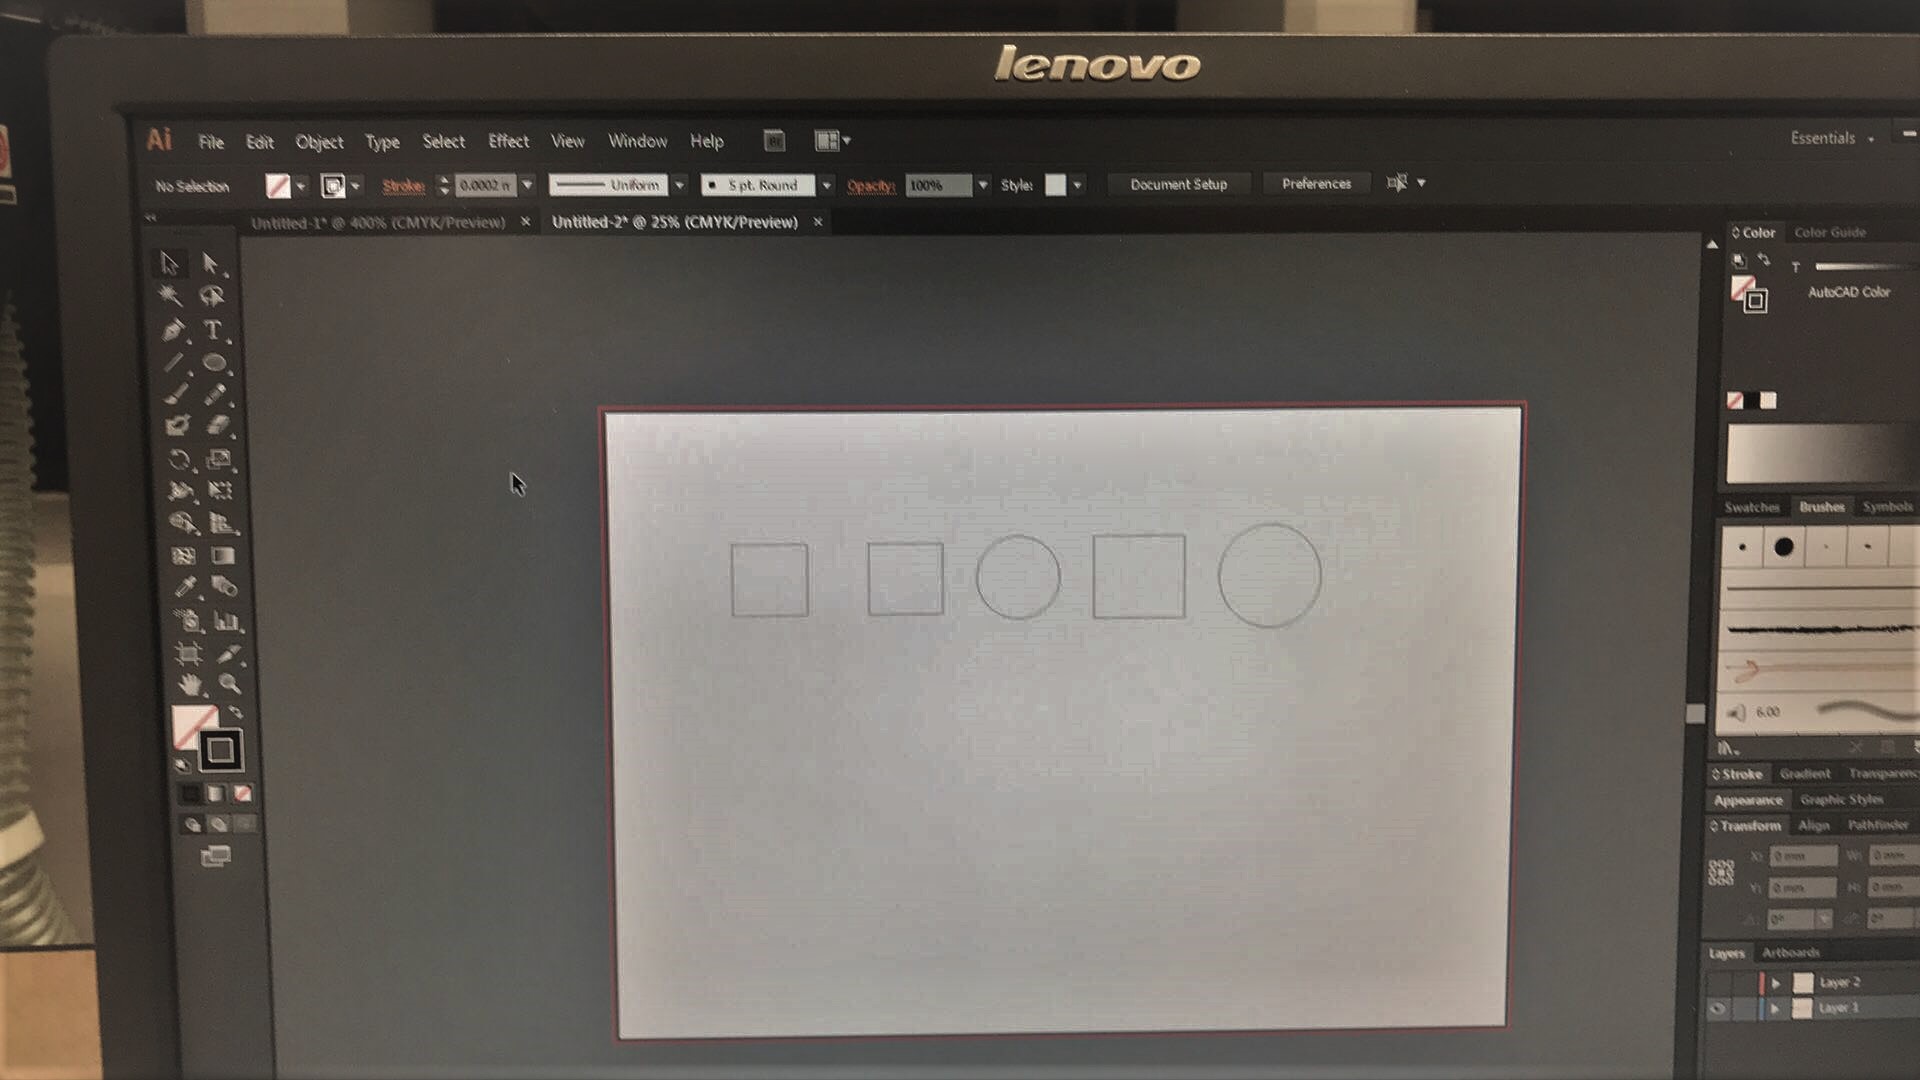
To make an optimal parametric design, I decided to cut some geometrical figures to measure the kerf, that is the width of the laser, I made the designs in adobe illustrator, since the laser cutter that I used works directly with this software
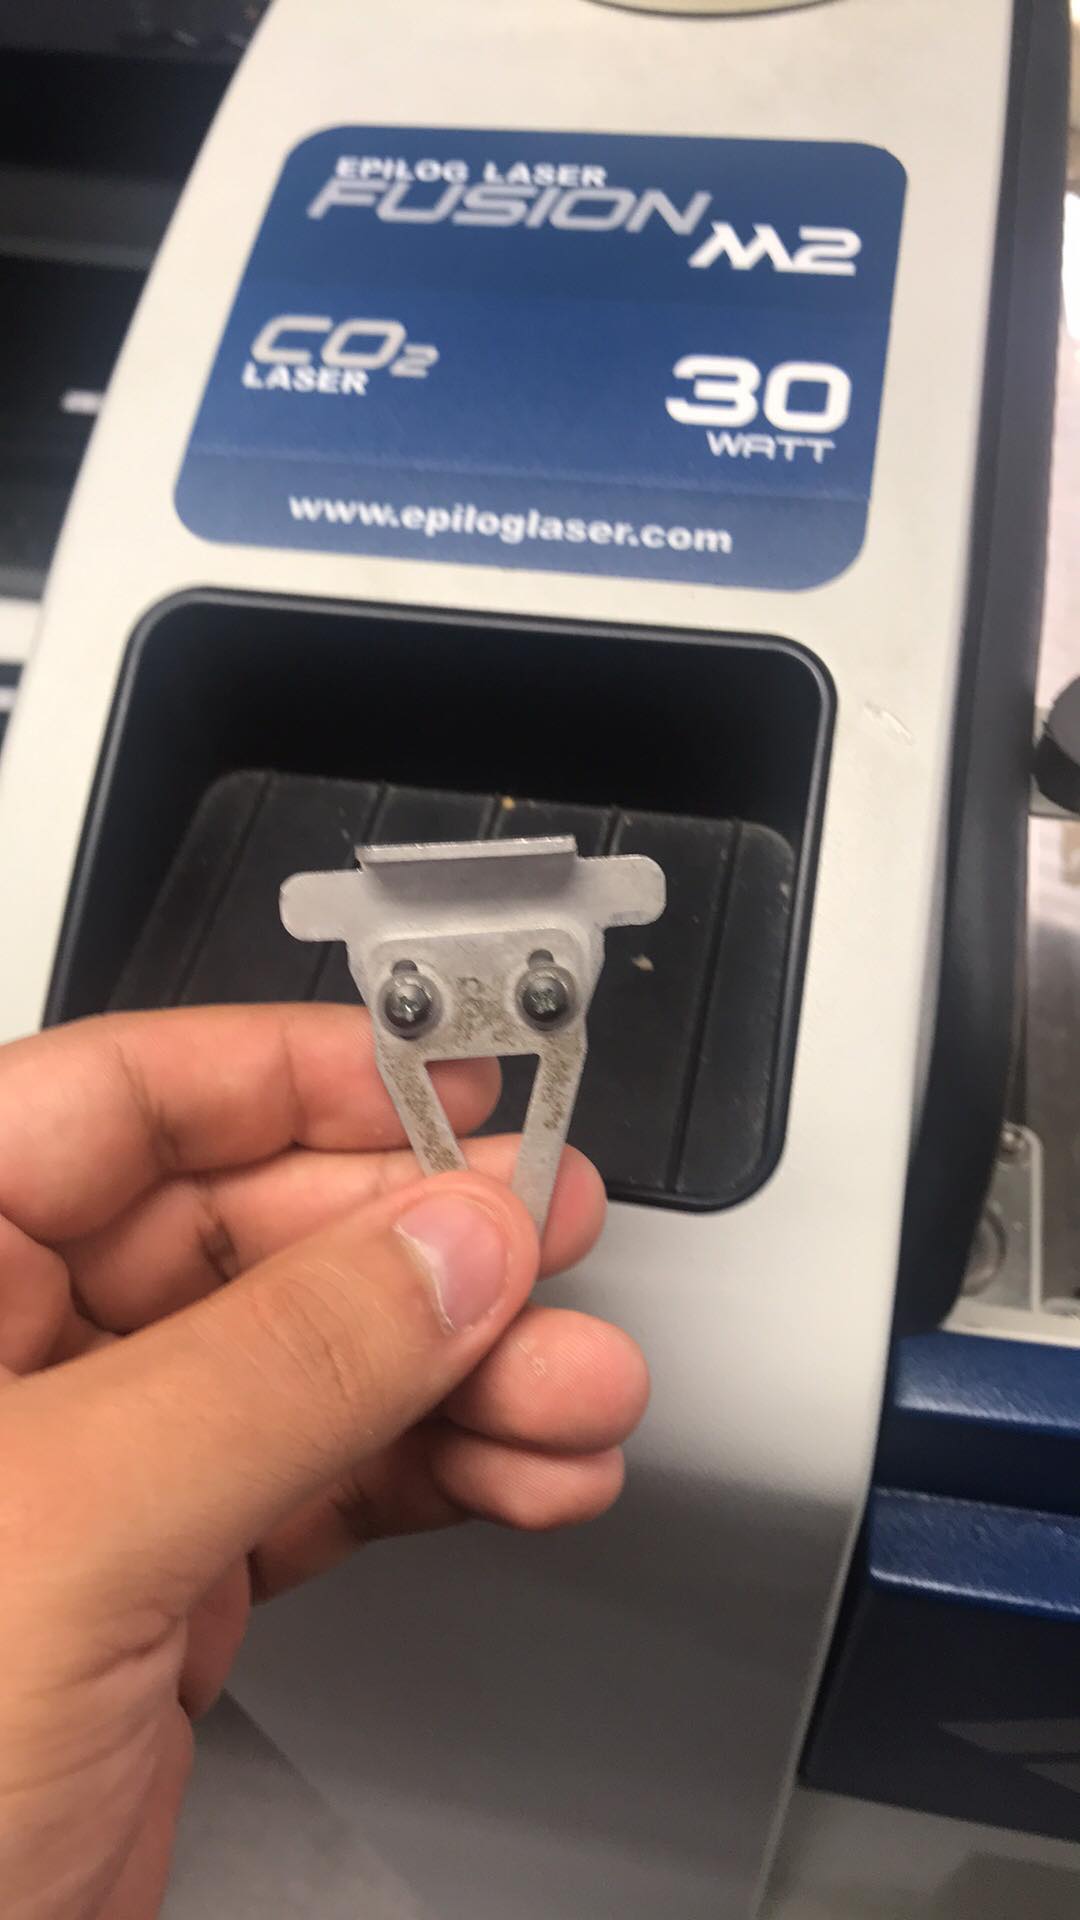
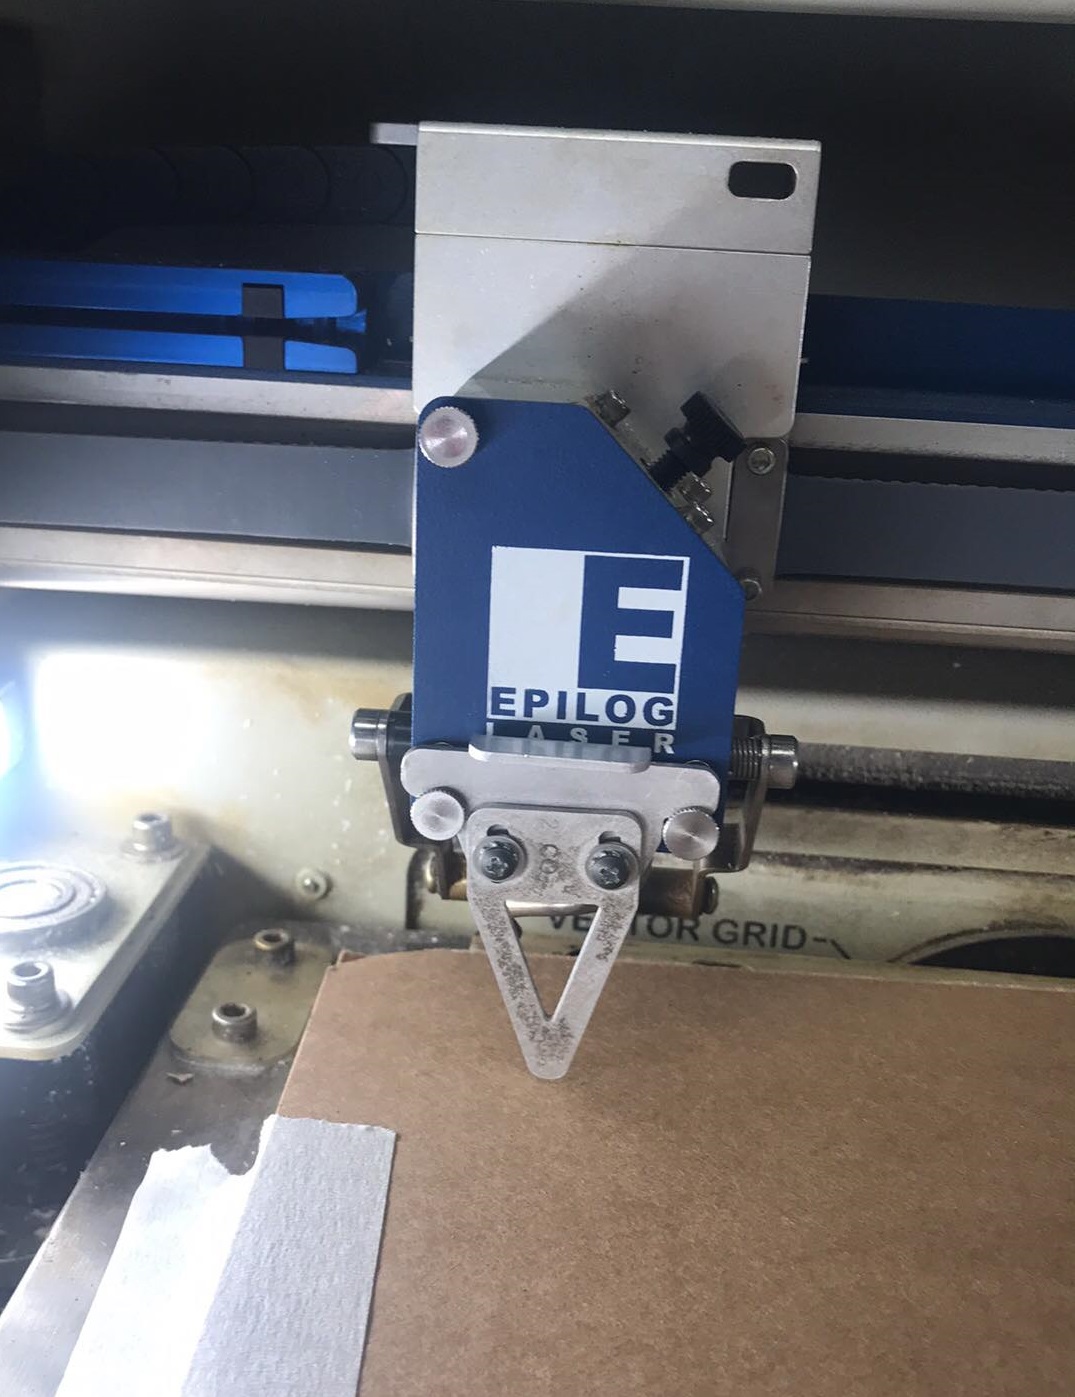
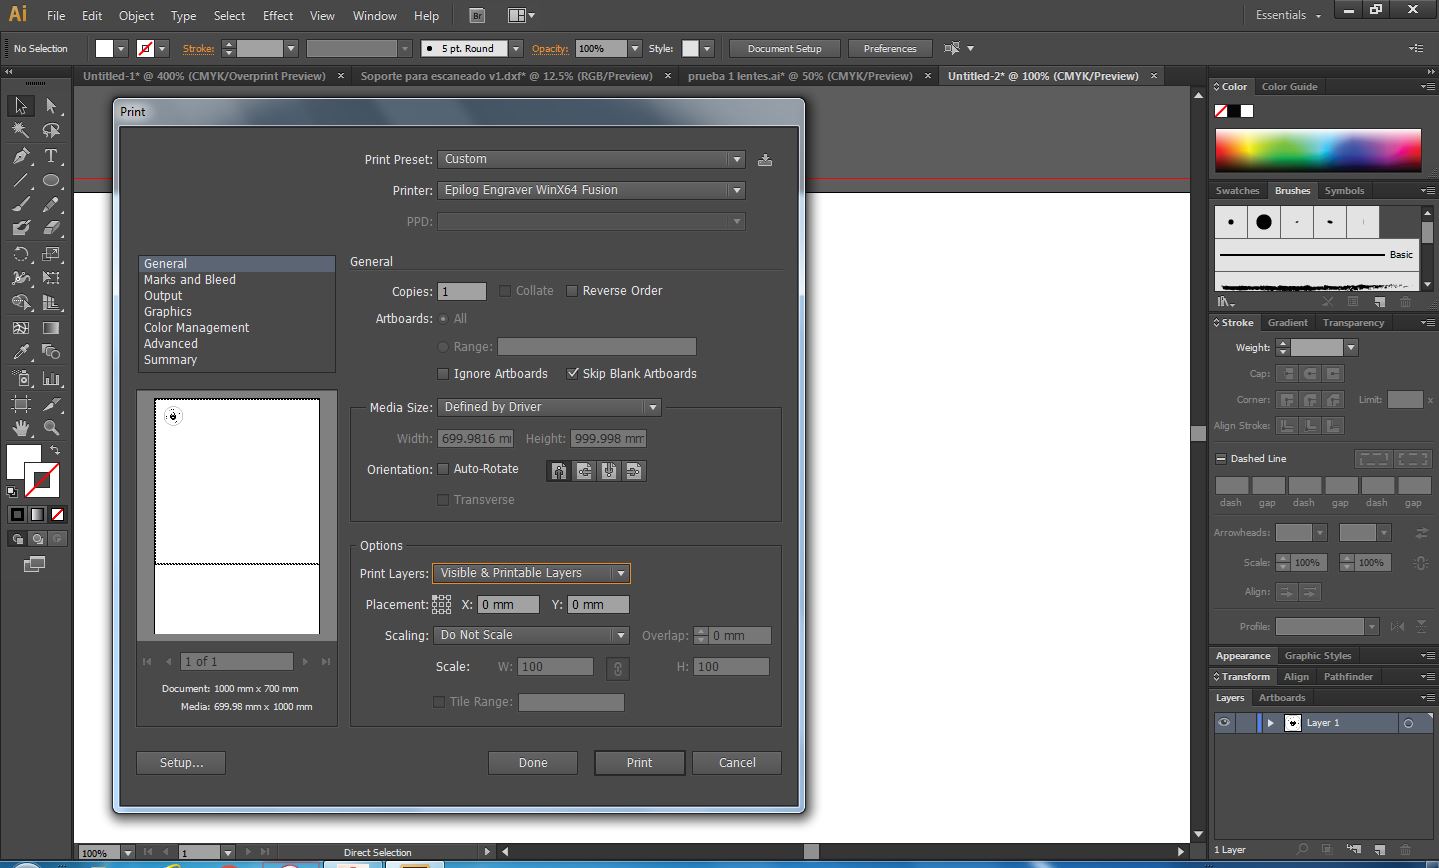
The laser cutter that we have in the laboratory is an Epilog laser fusion m2 of 30 watts, this works with an effective area of 1000mm * 700mm
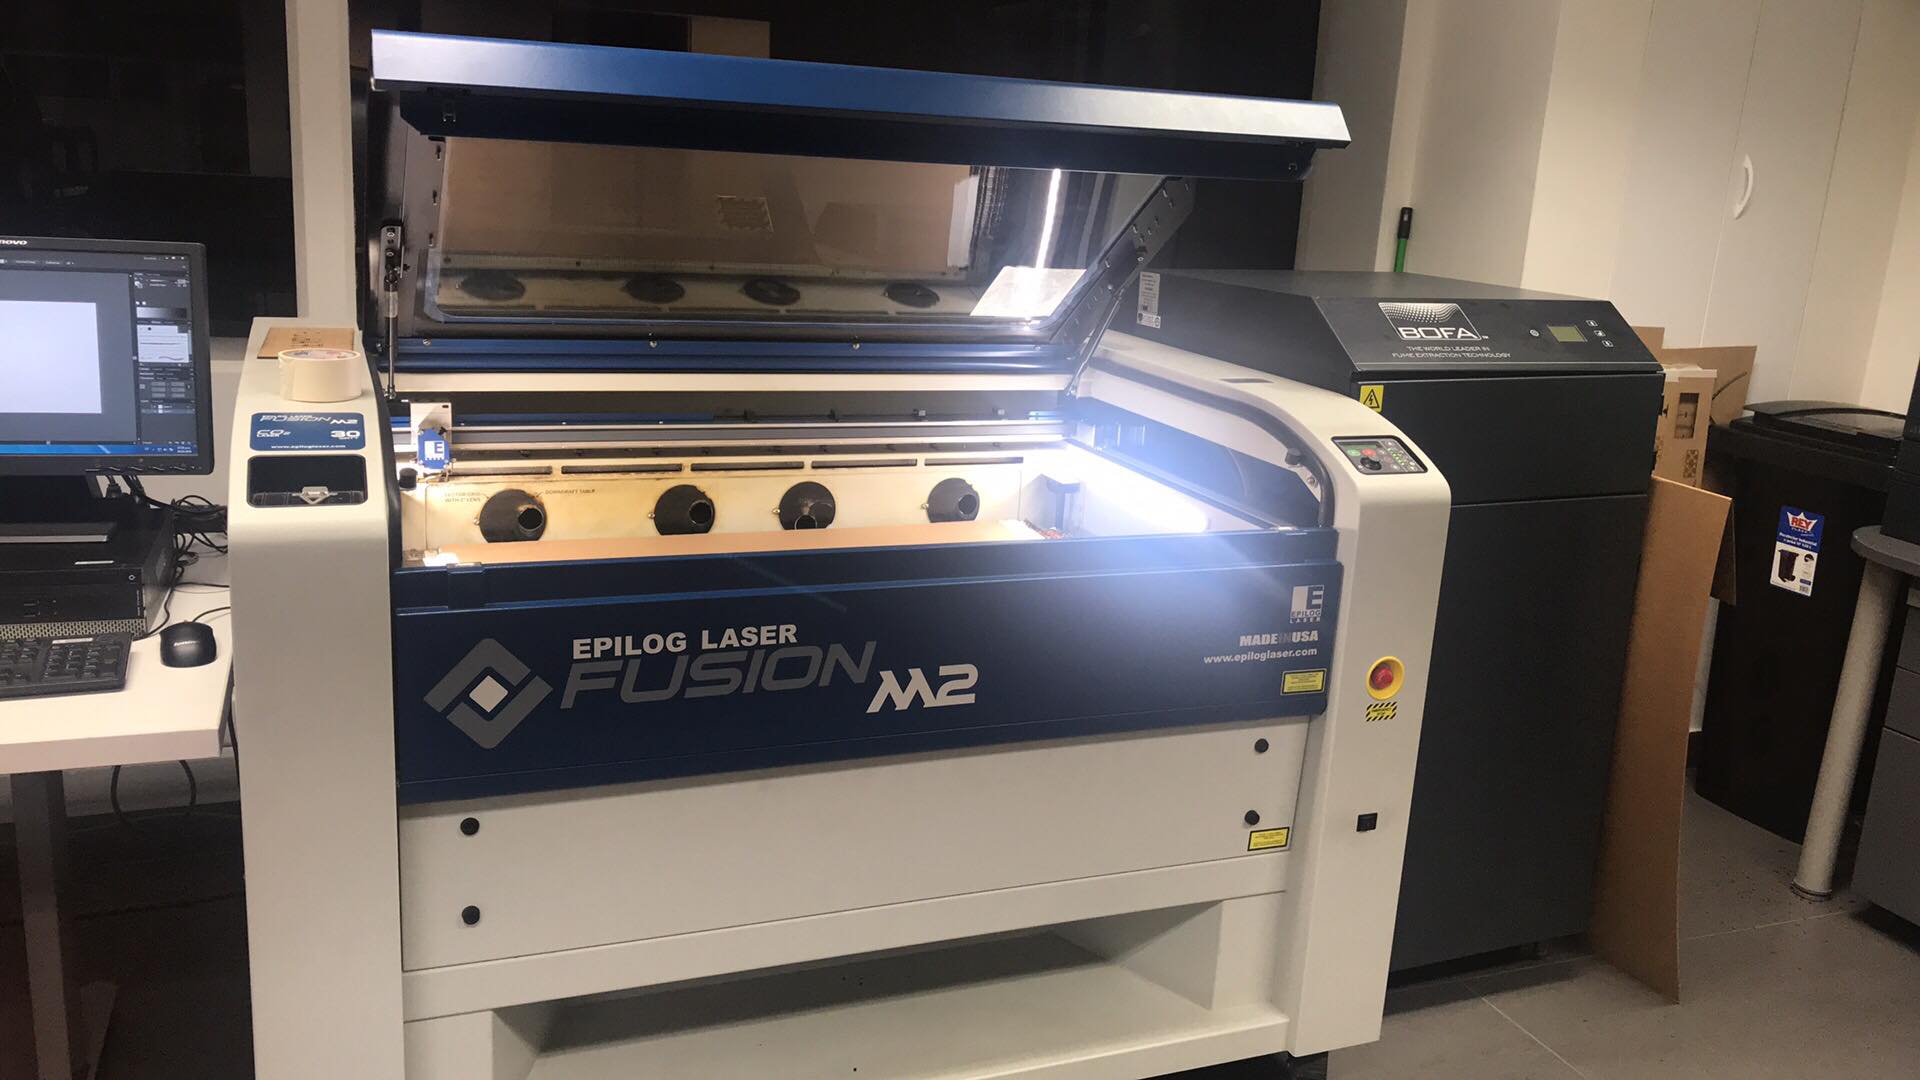
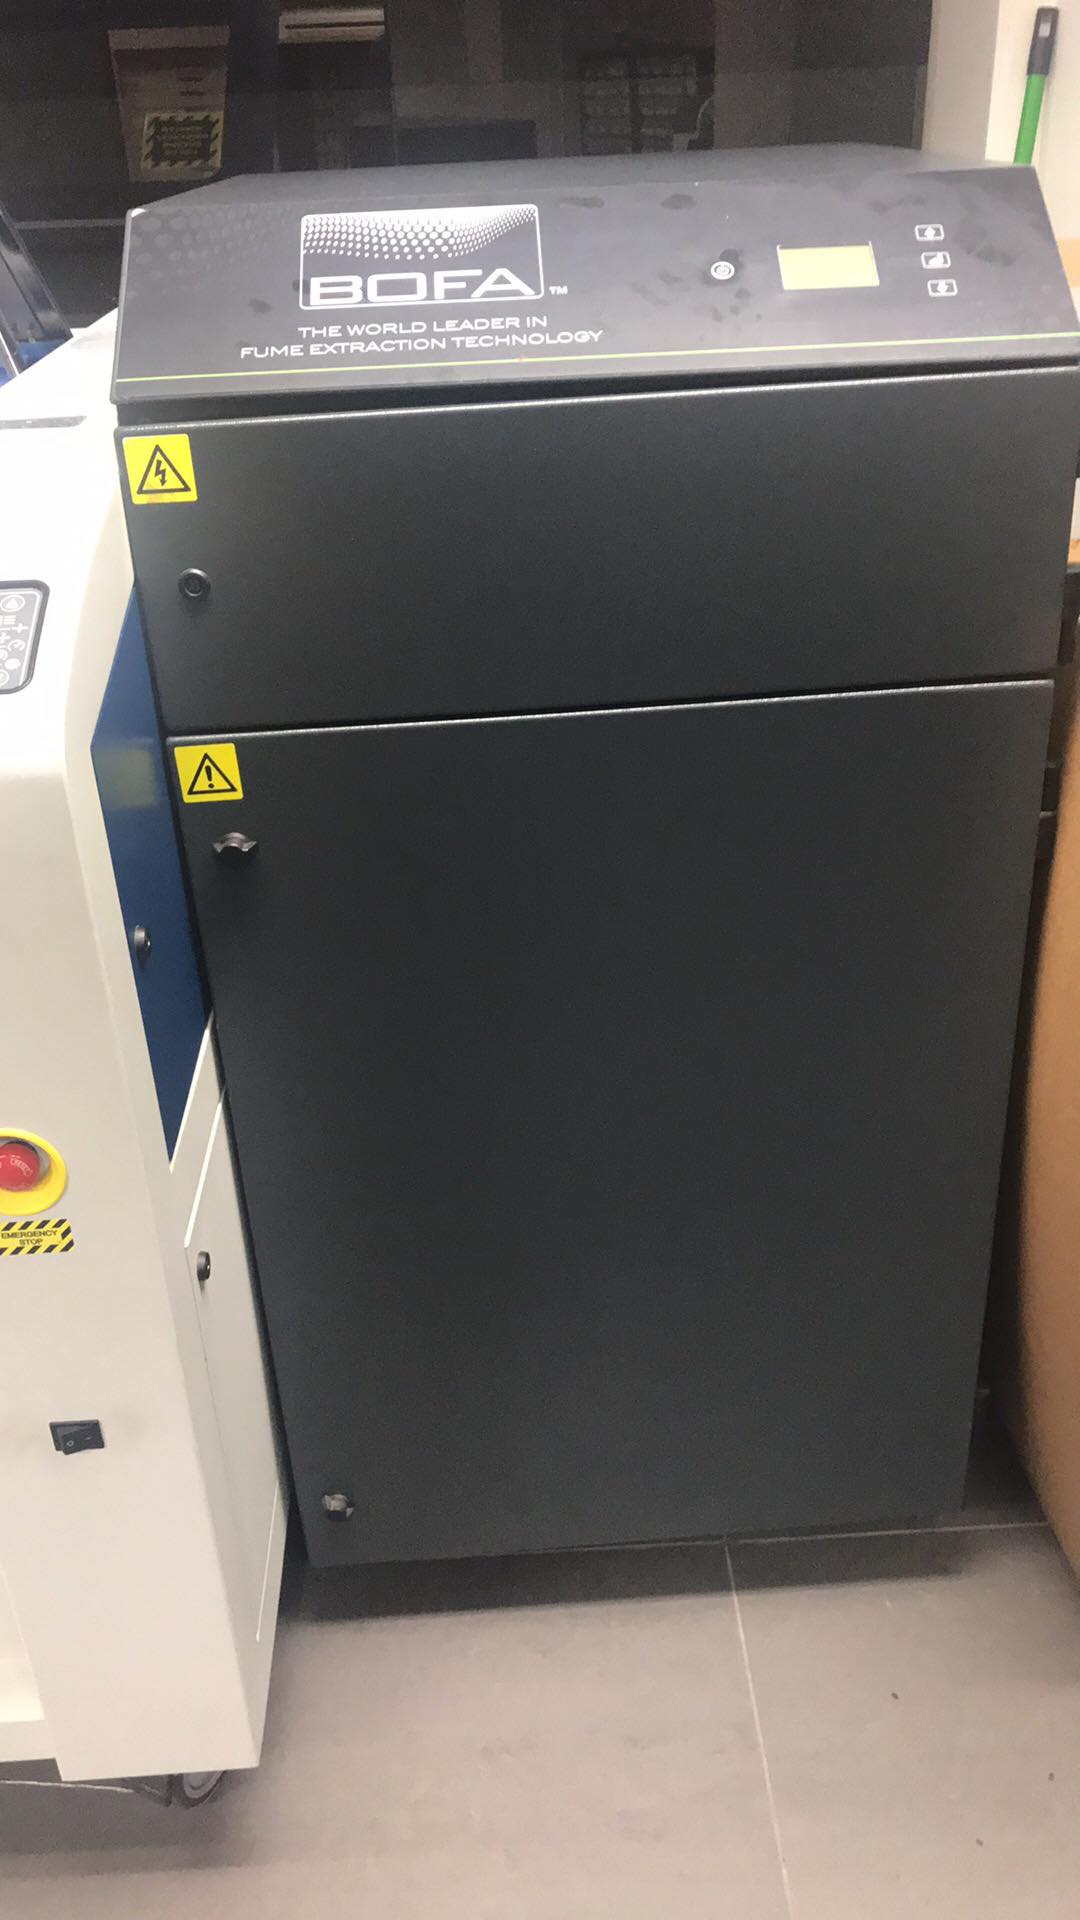
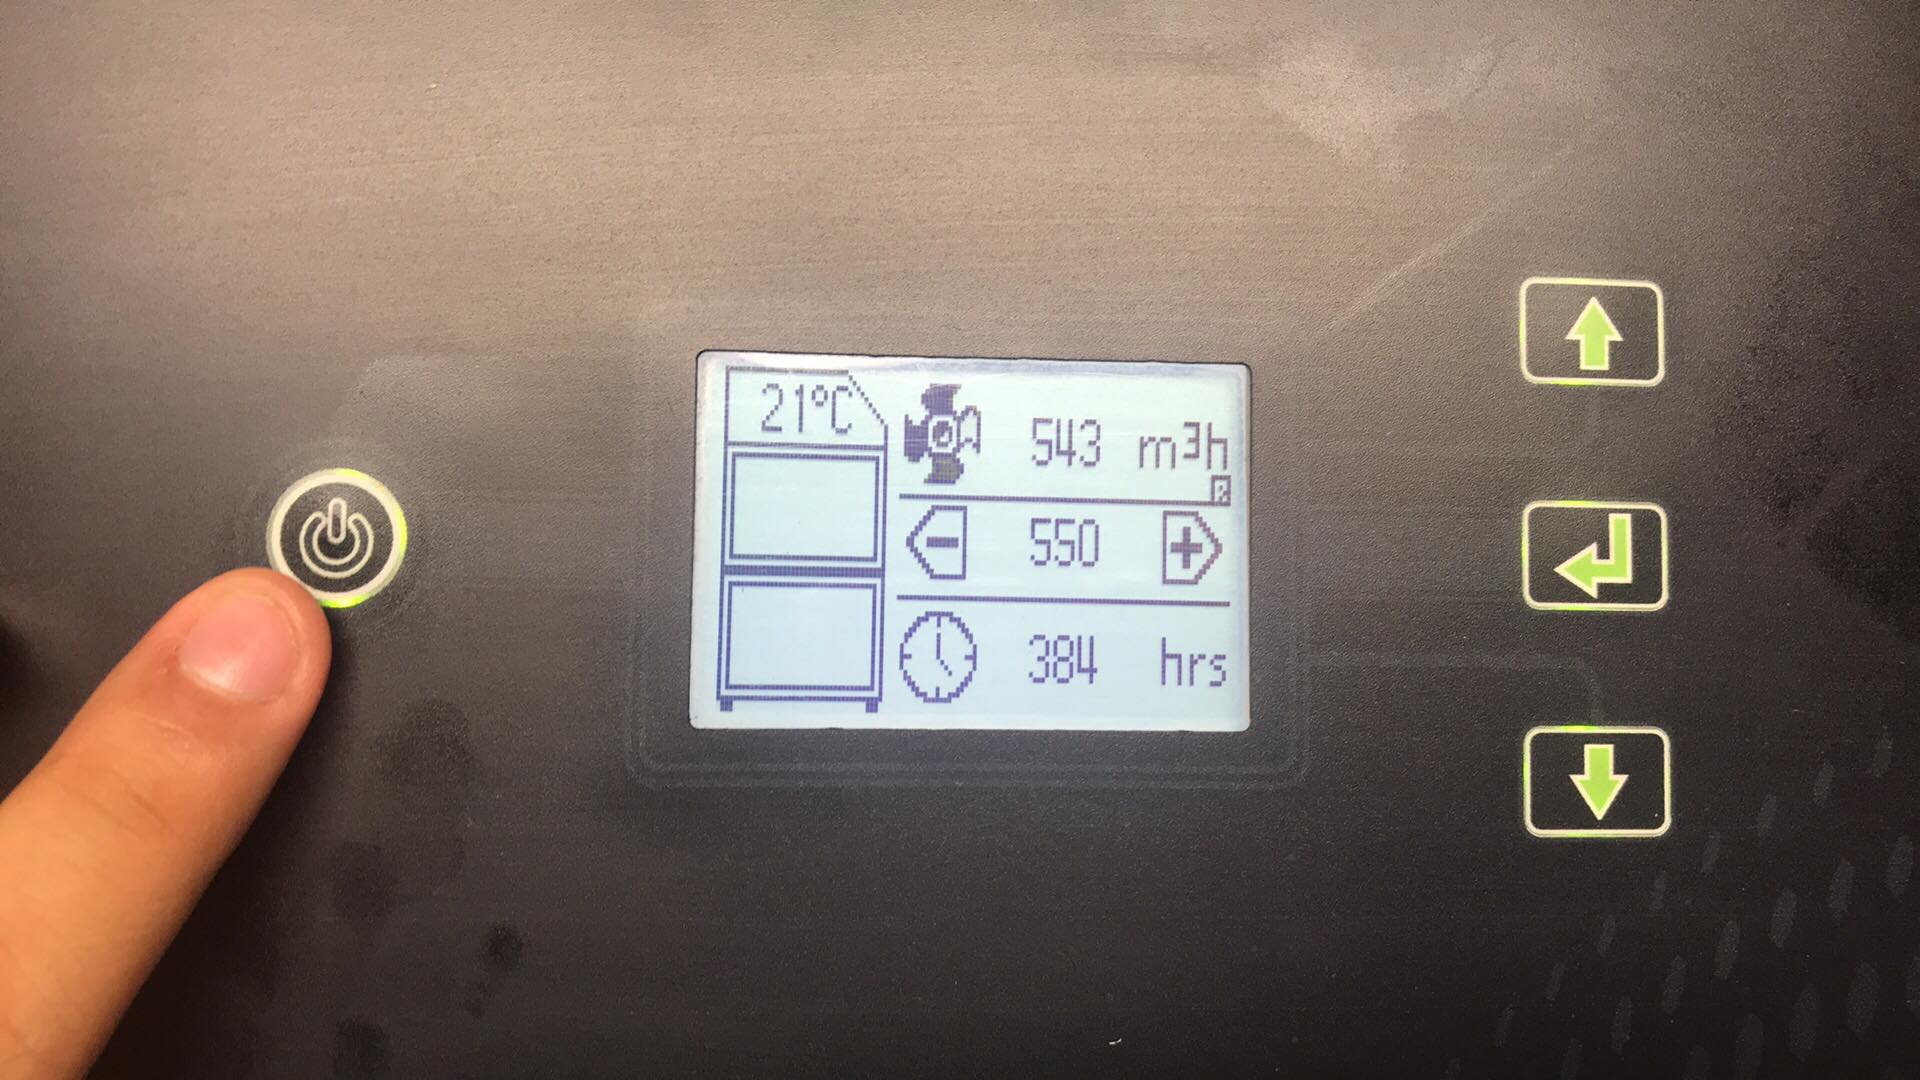
On the side of the laser cutter can be seen the smoke extractor, responsible for extracting the gases emanating from the laser cut. For this reason, we must make sure that this machine is turned on
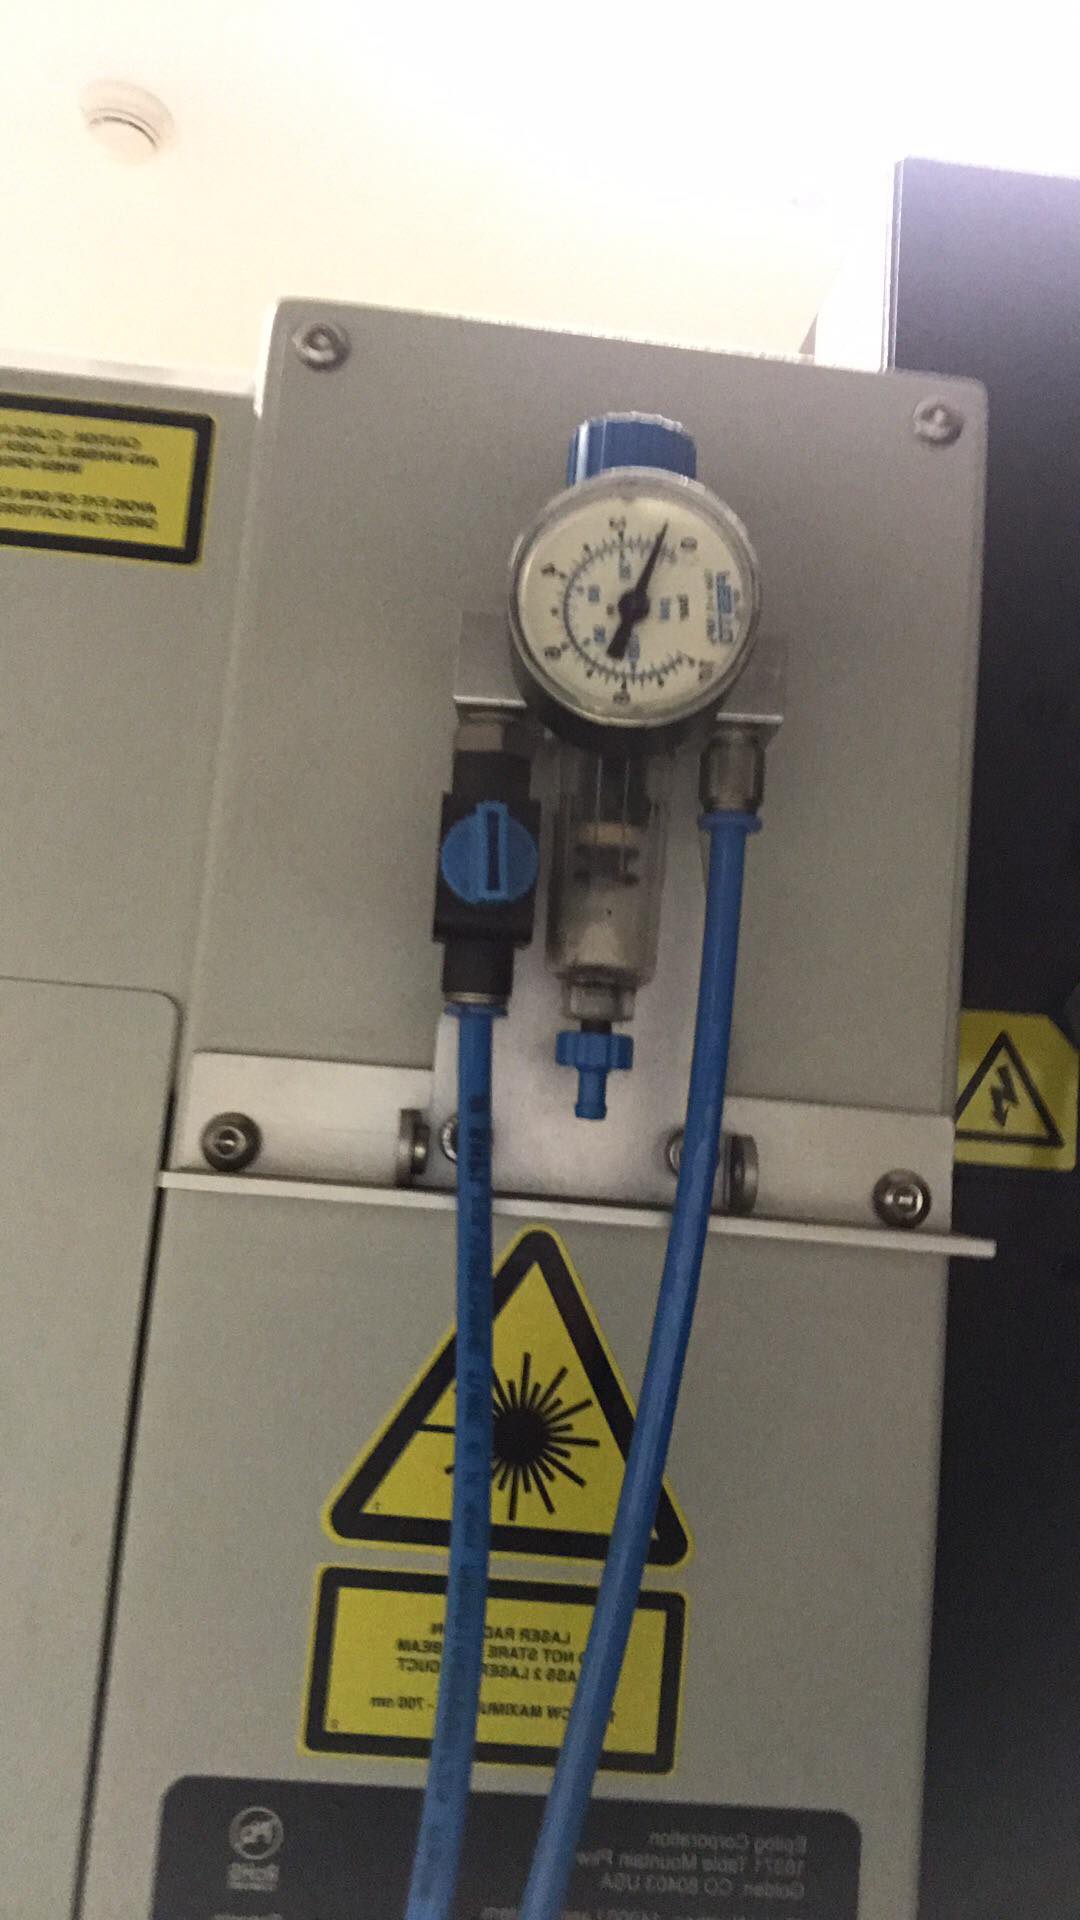
We must verify that the pneumatic valve is on, as it allows the circulation of air
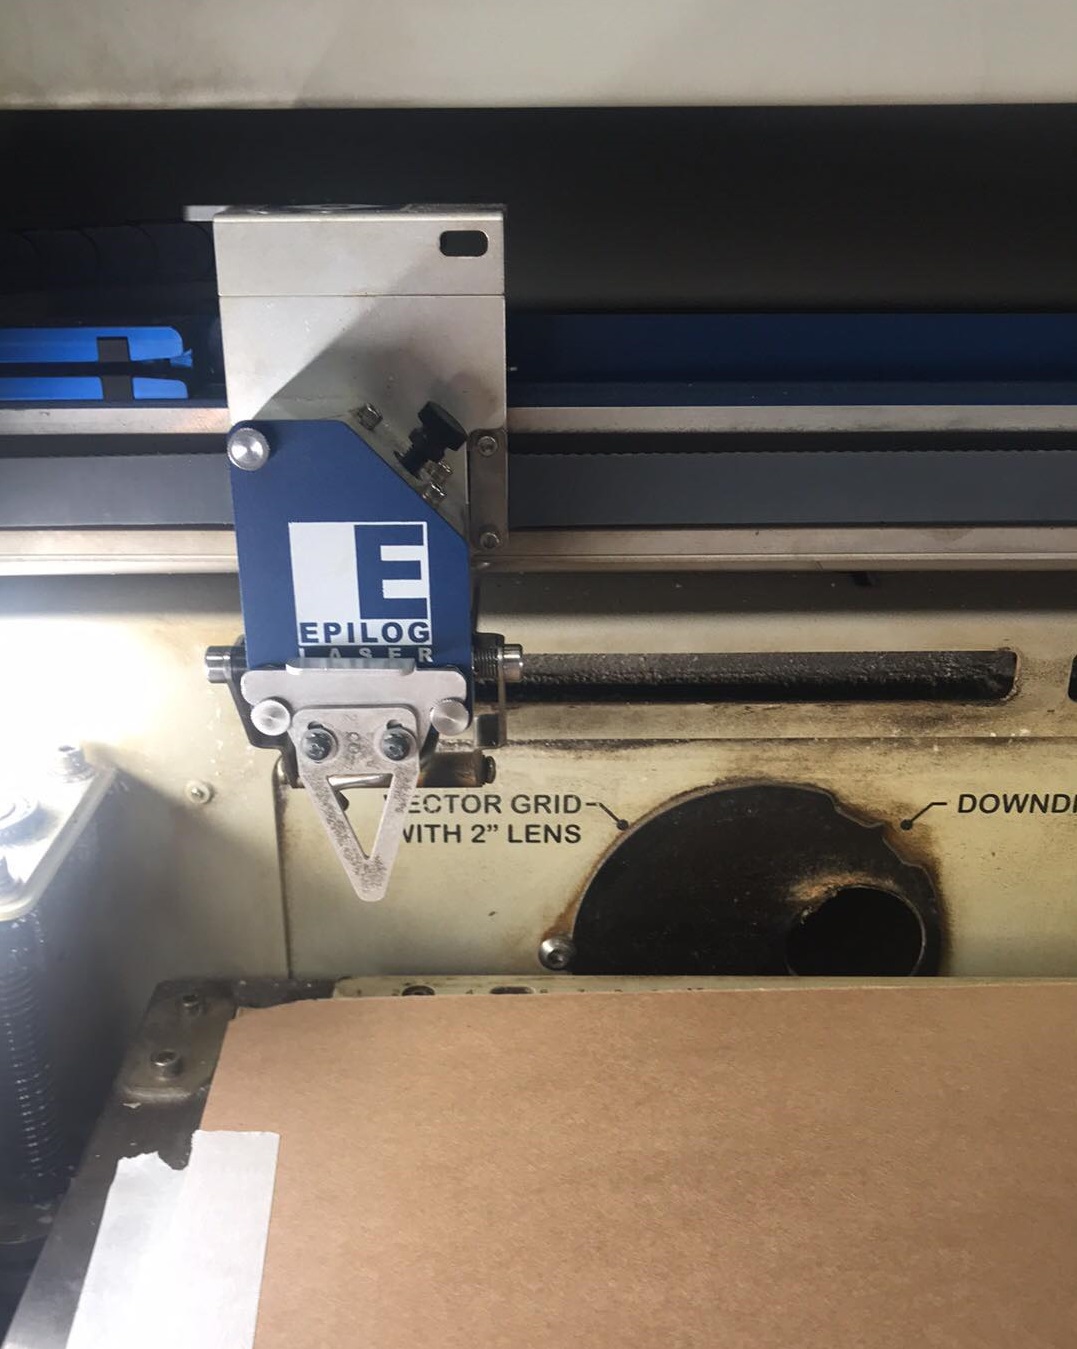
Once placed the material in the bed of the laser cutter, secure it with masking tape, since it is cardboard and some parts are not completely flat. Then using the septum or calibration tool I started this process
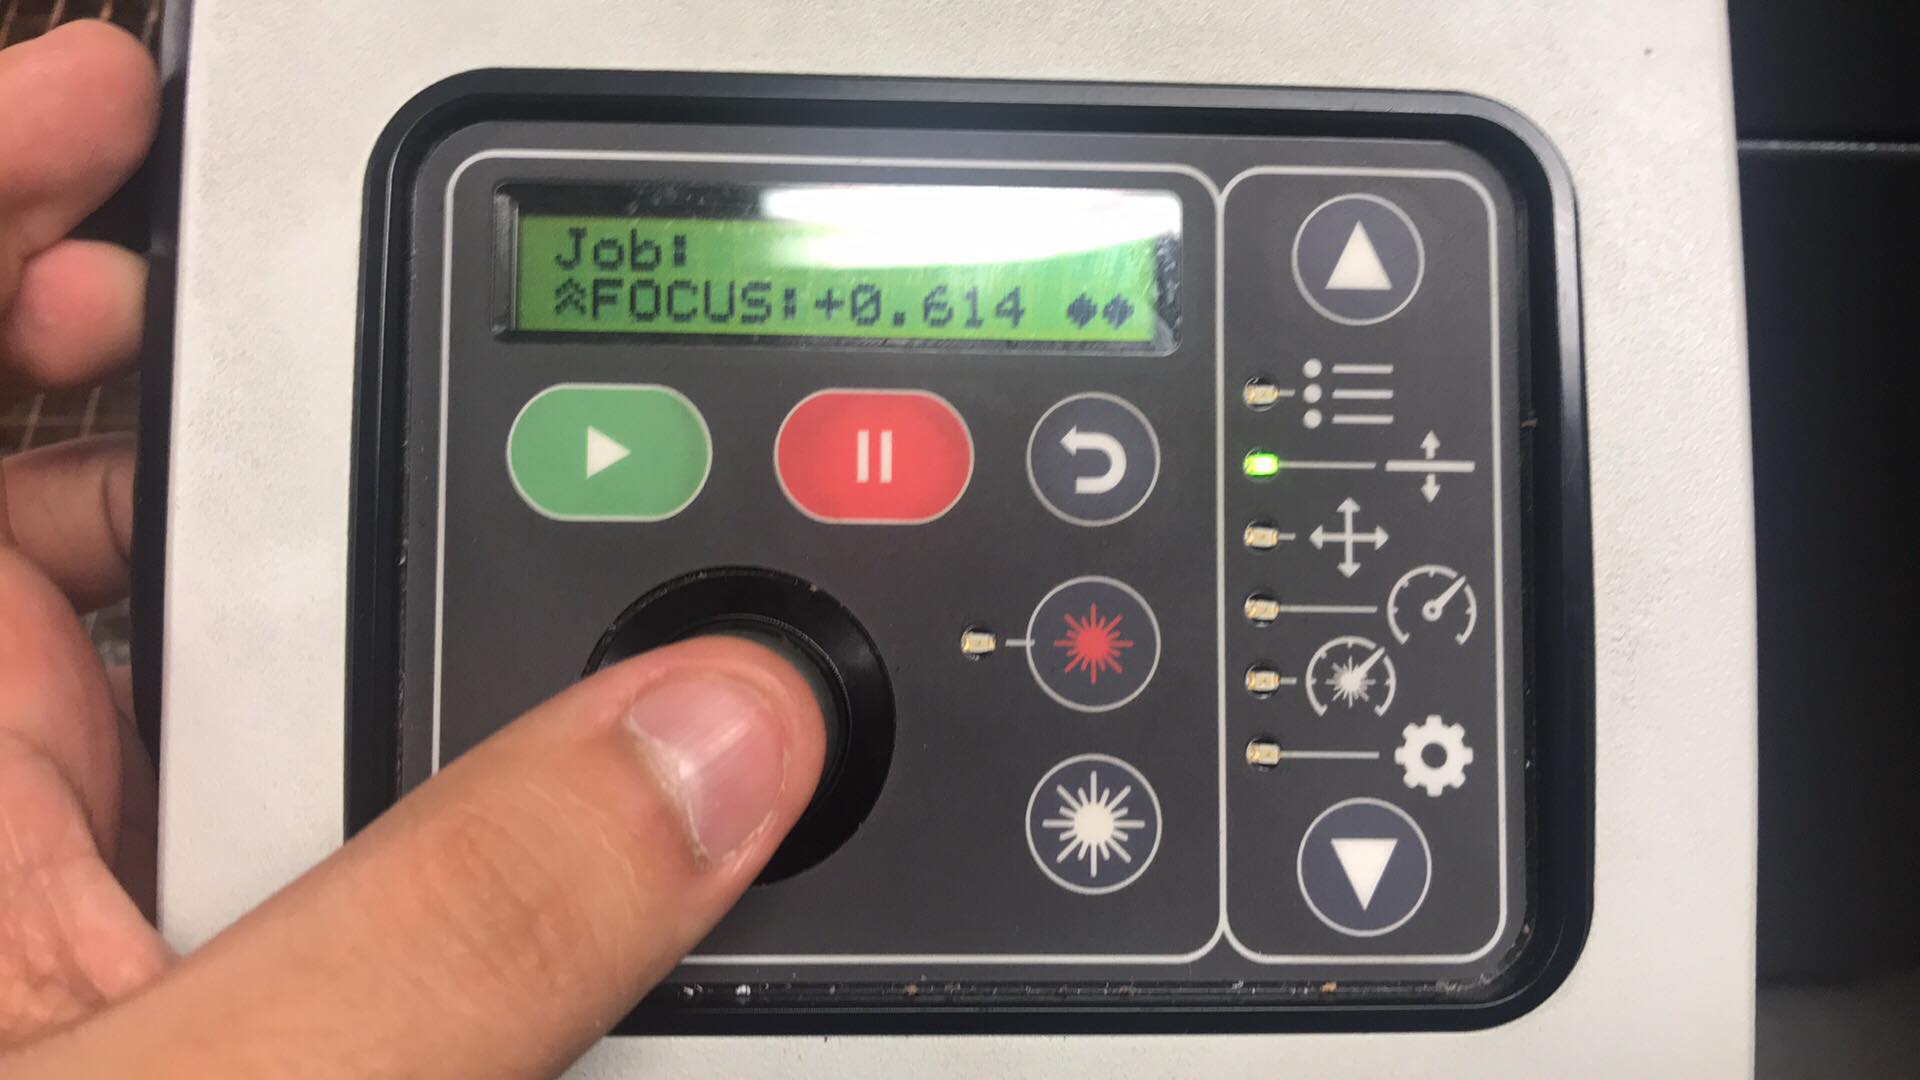
I used the joystick to move the z axis until it rubs with the calibration tool, so we indicate to the machine that this will be position 0 on the z axis, for this we press the joystick inside (if you played play station press L3 or R3)
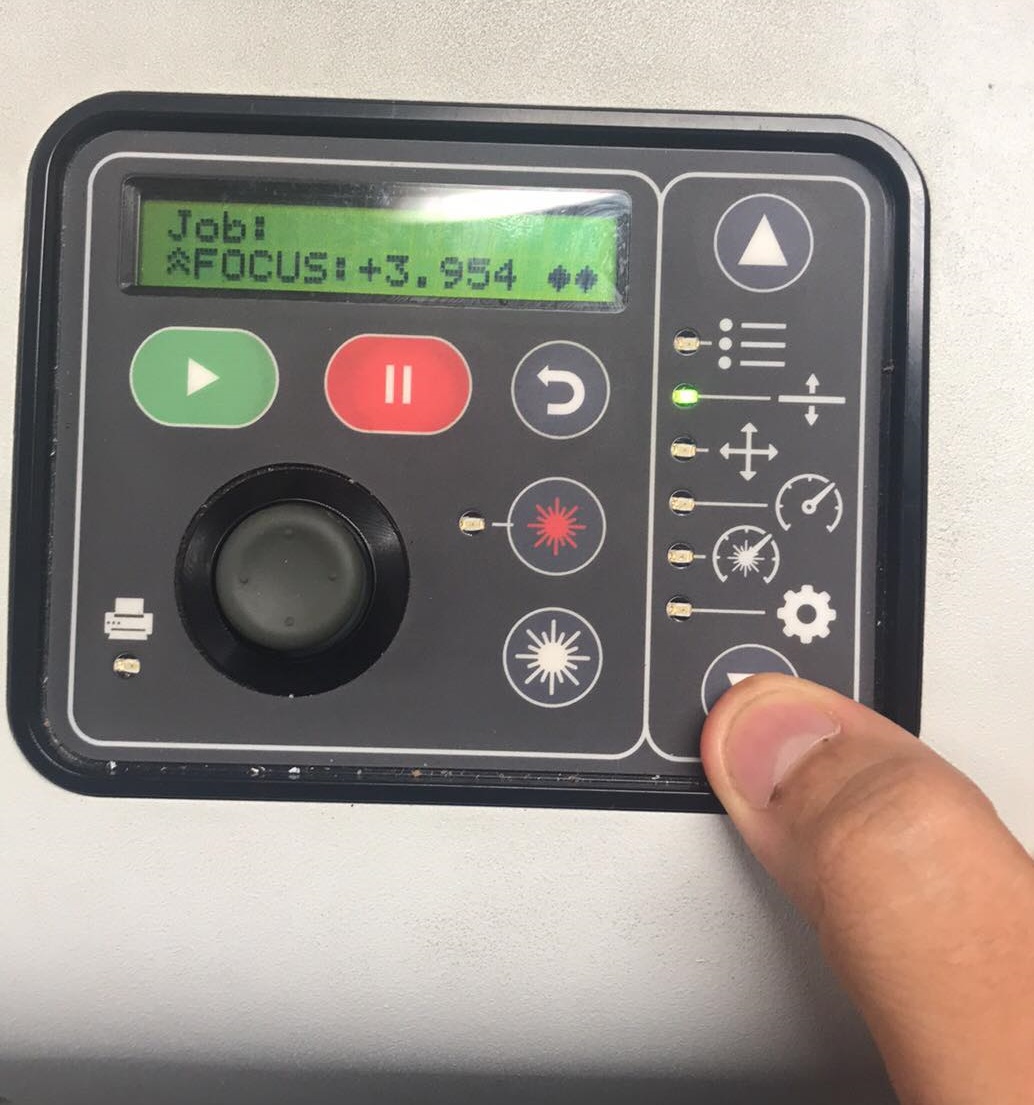
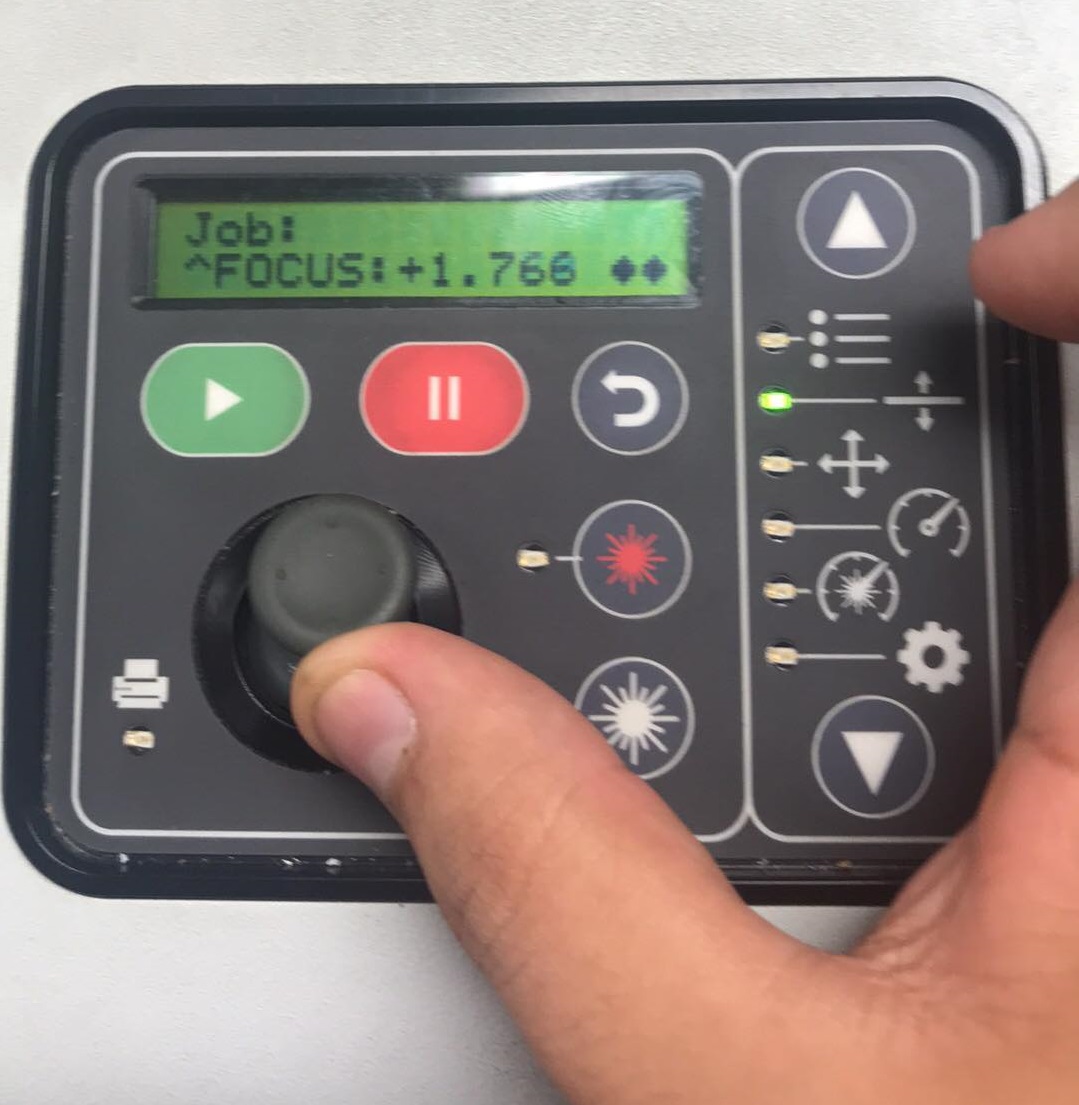
This is the correct position to press the joystick
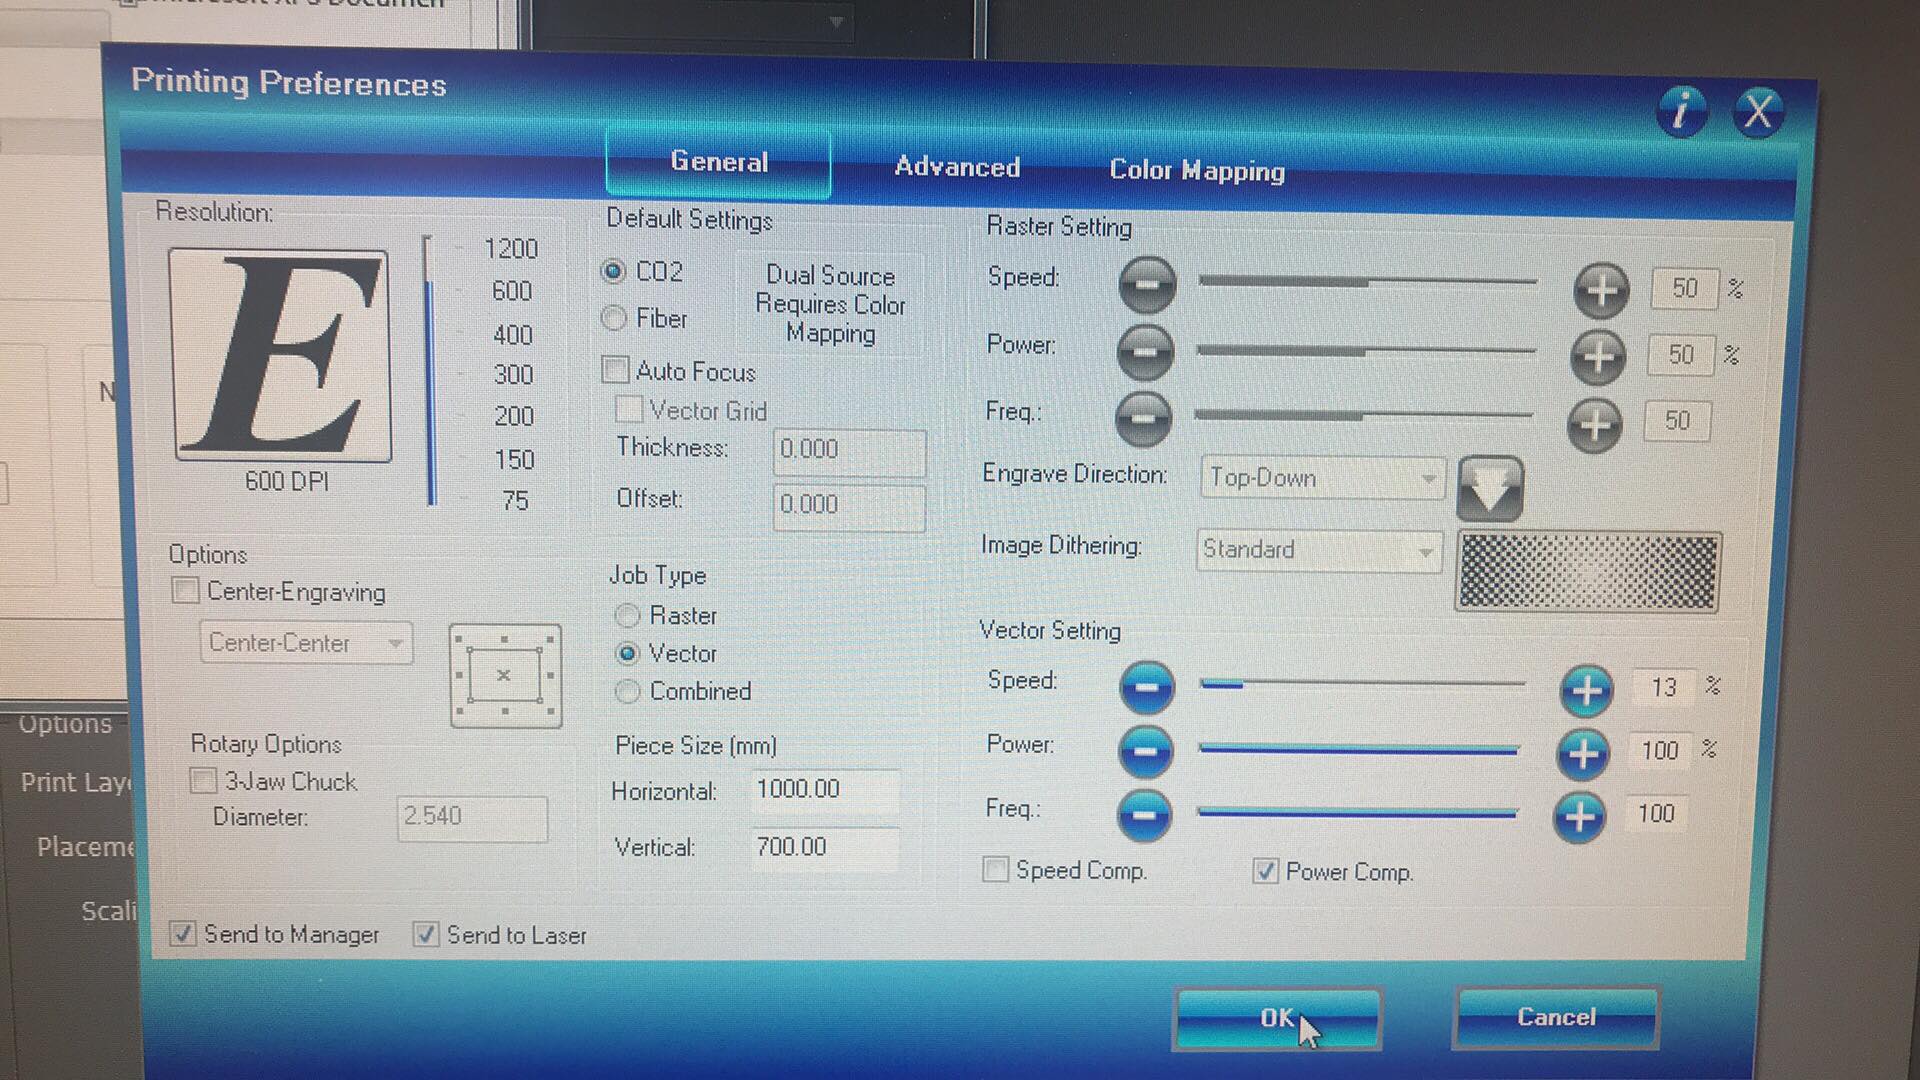
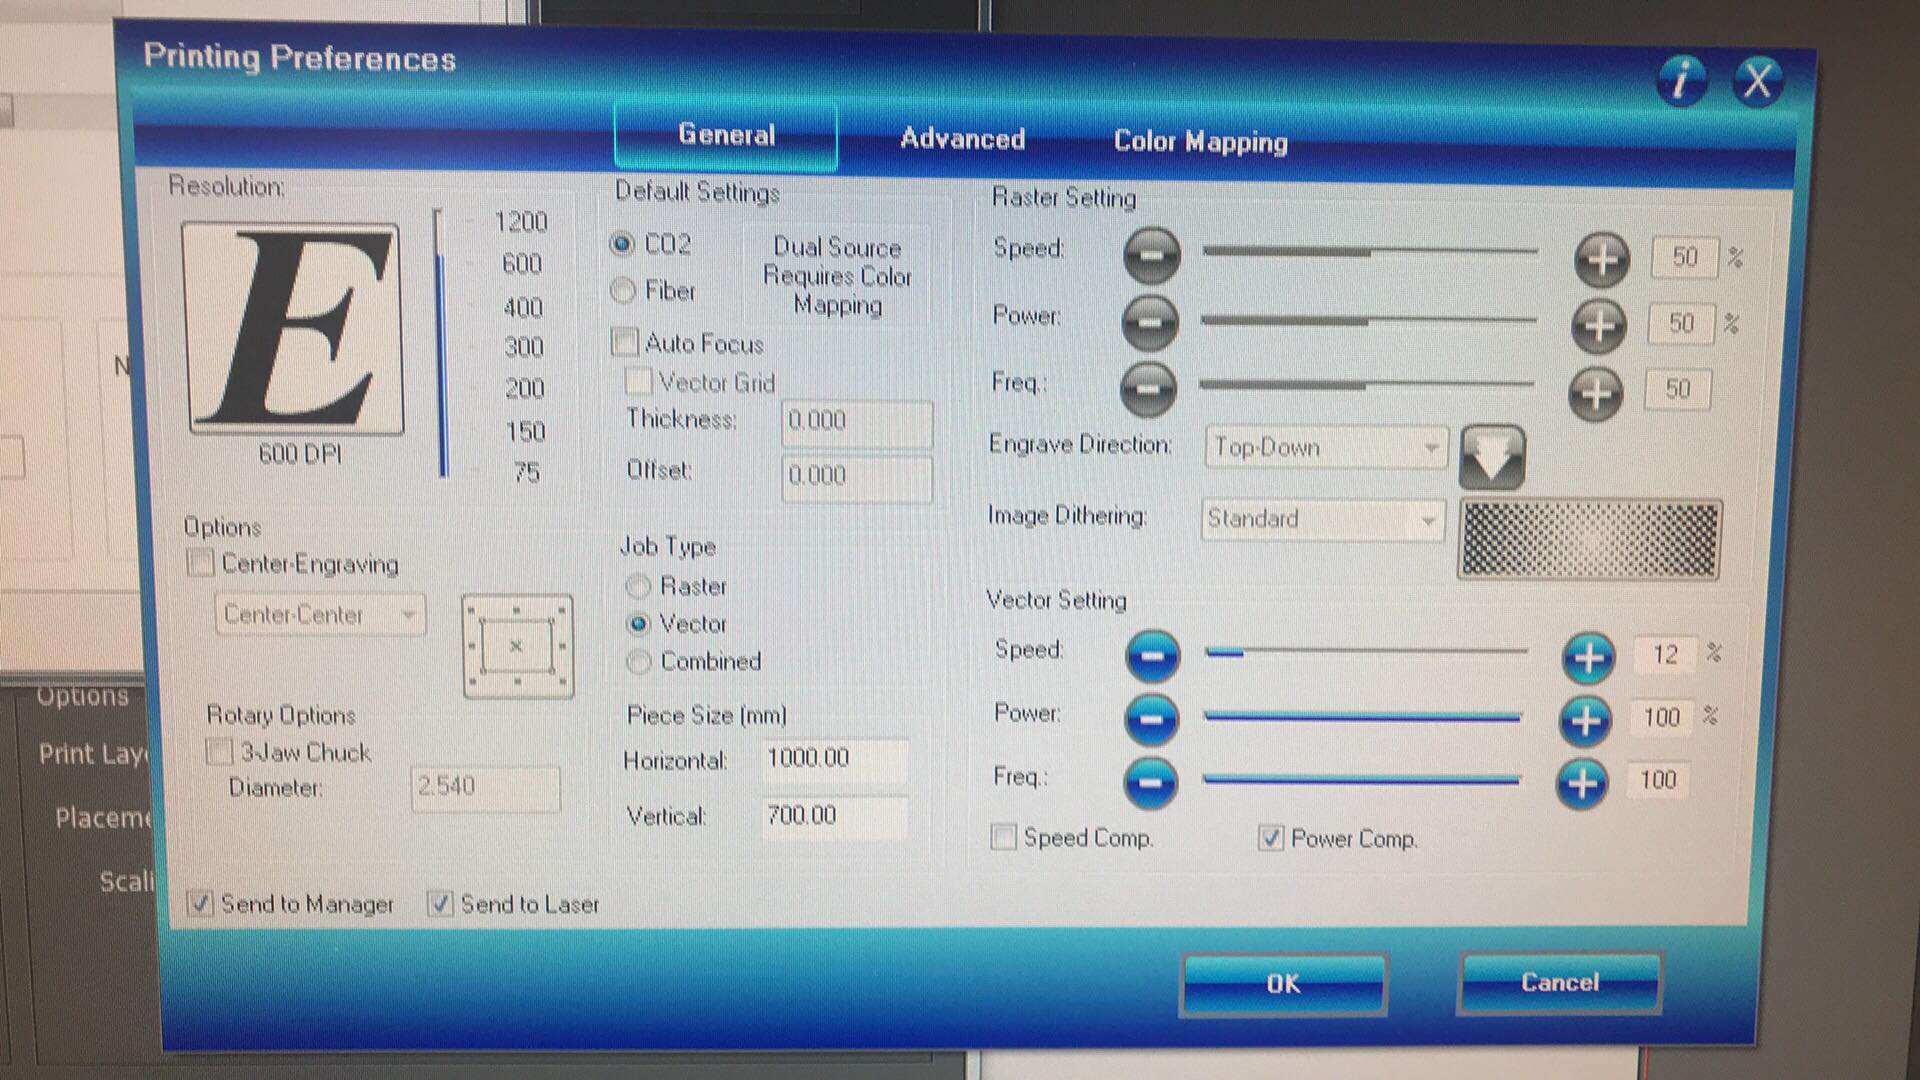
I checked documentation from other years and i found these parameters to cut cardboard, 12-14% of speed and 100% for power and frecuency
I turned on the smoke extractor before starting the operation
In this video you can see the first trial cuts

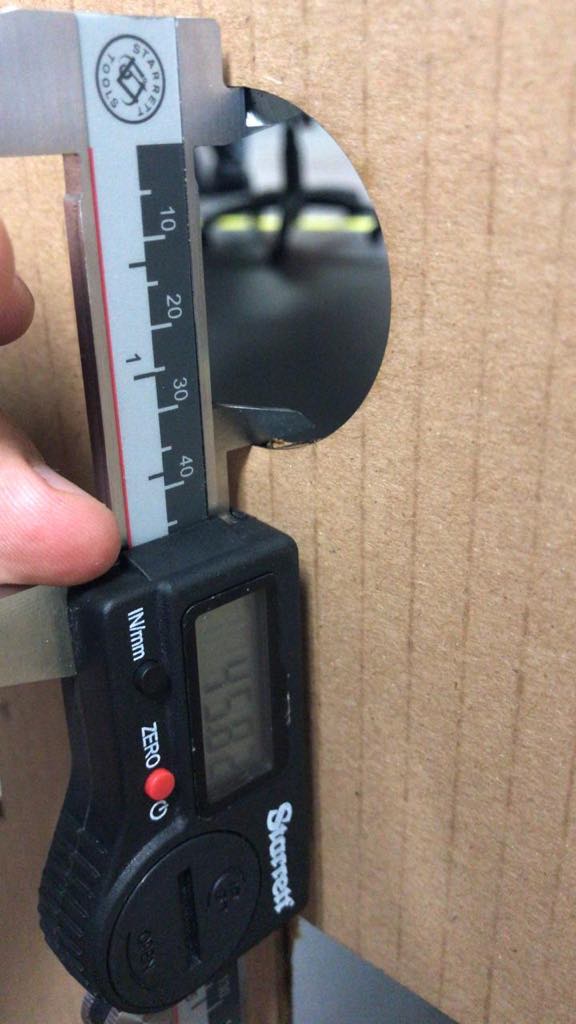
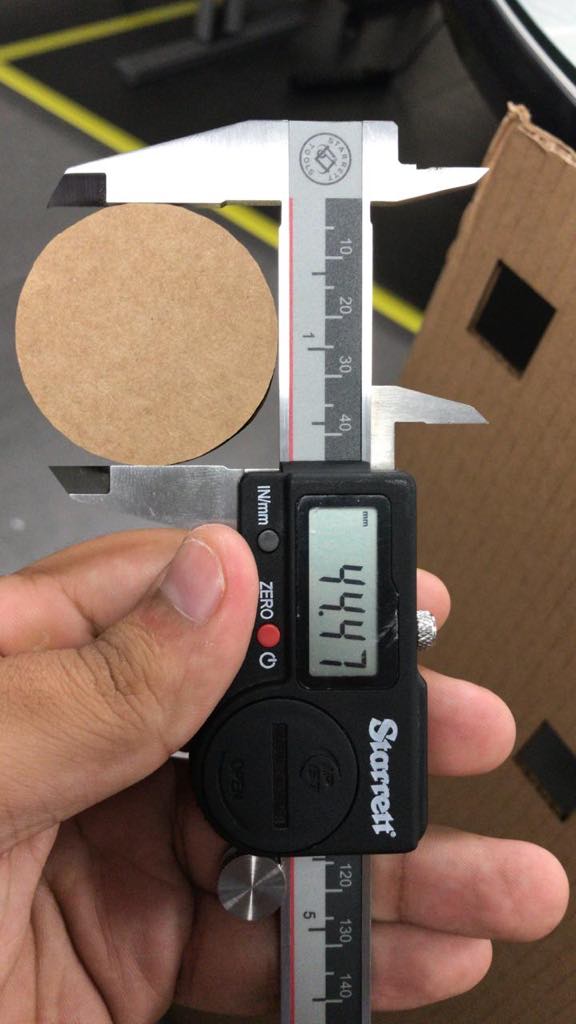
To measure the kerf or laser width I used a digital vernier to measure the internal and external square
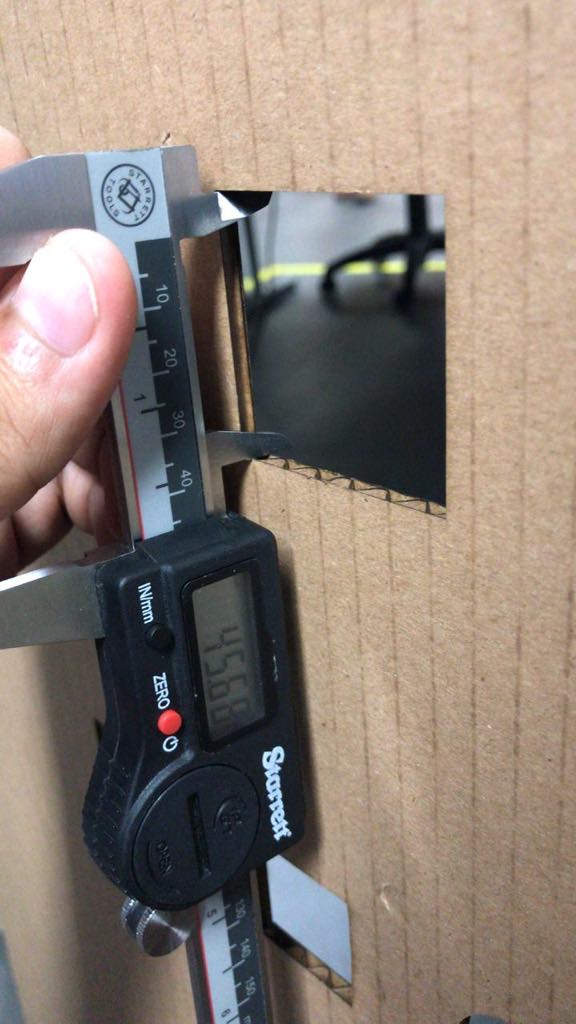
The result is 0.8
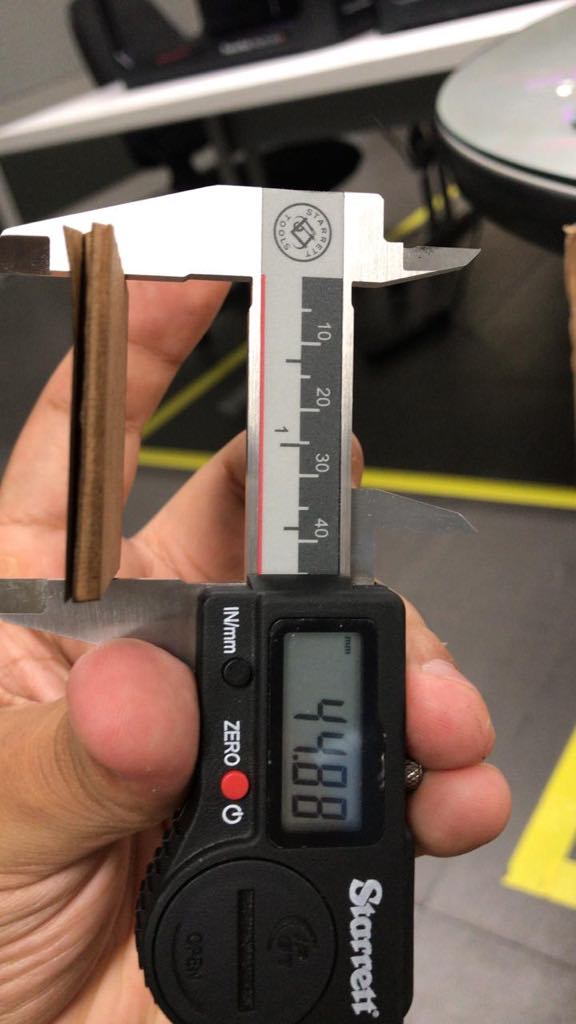
Same with the other figures
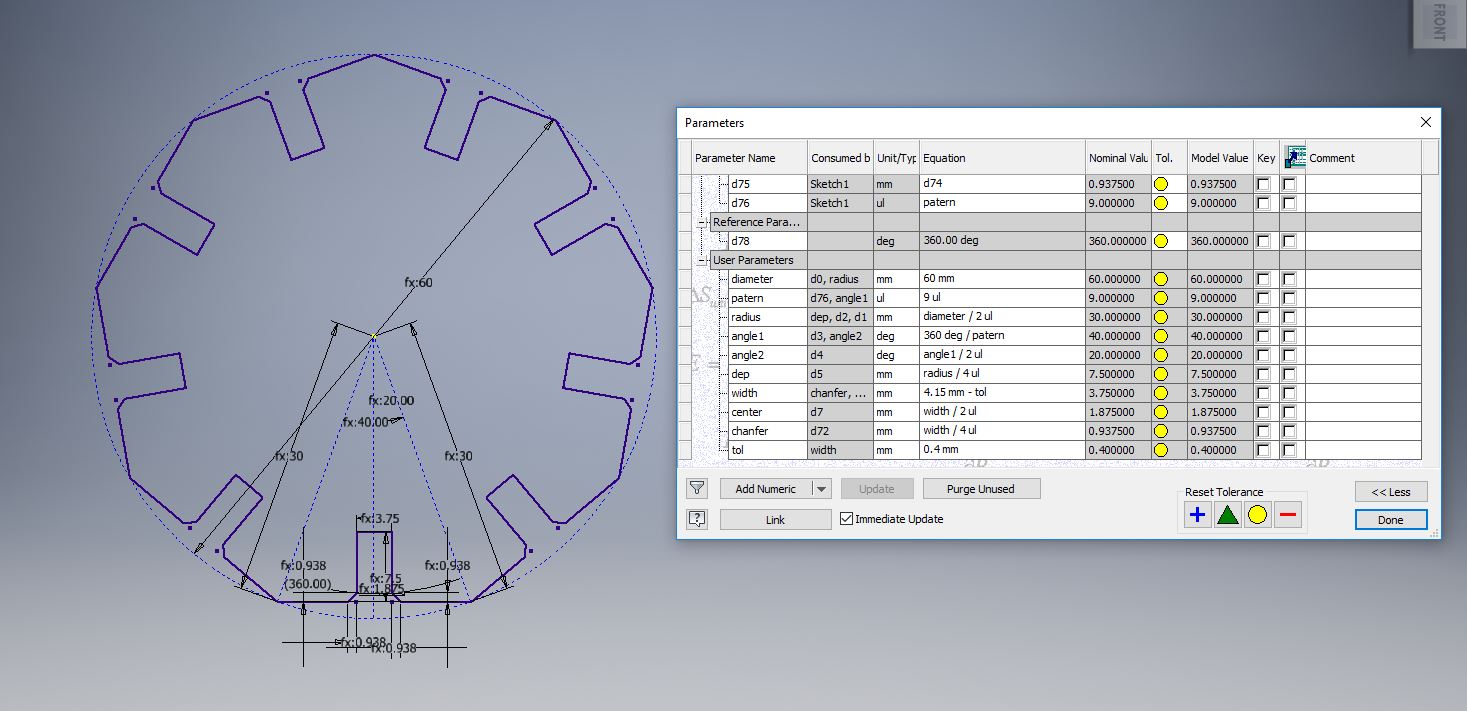
Once the kerf was obtained, I proceeded to perform the parametric design in the autodesk inventor software, I chose to leave the polygon with 9 sides, but these can be changed by just modifying the number, due to the formulas and variables used
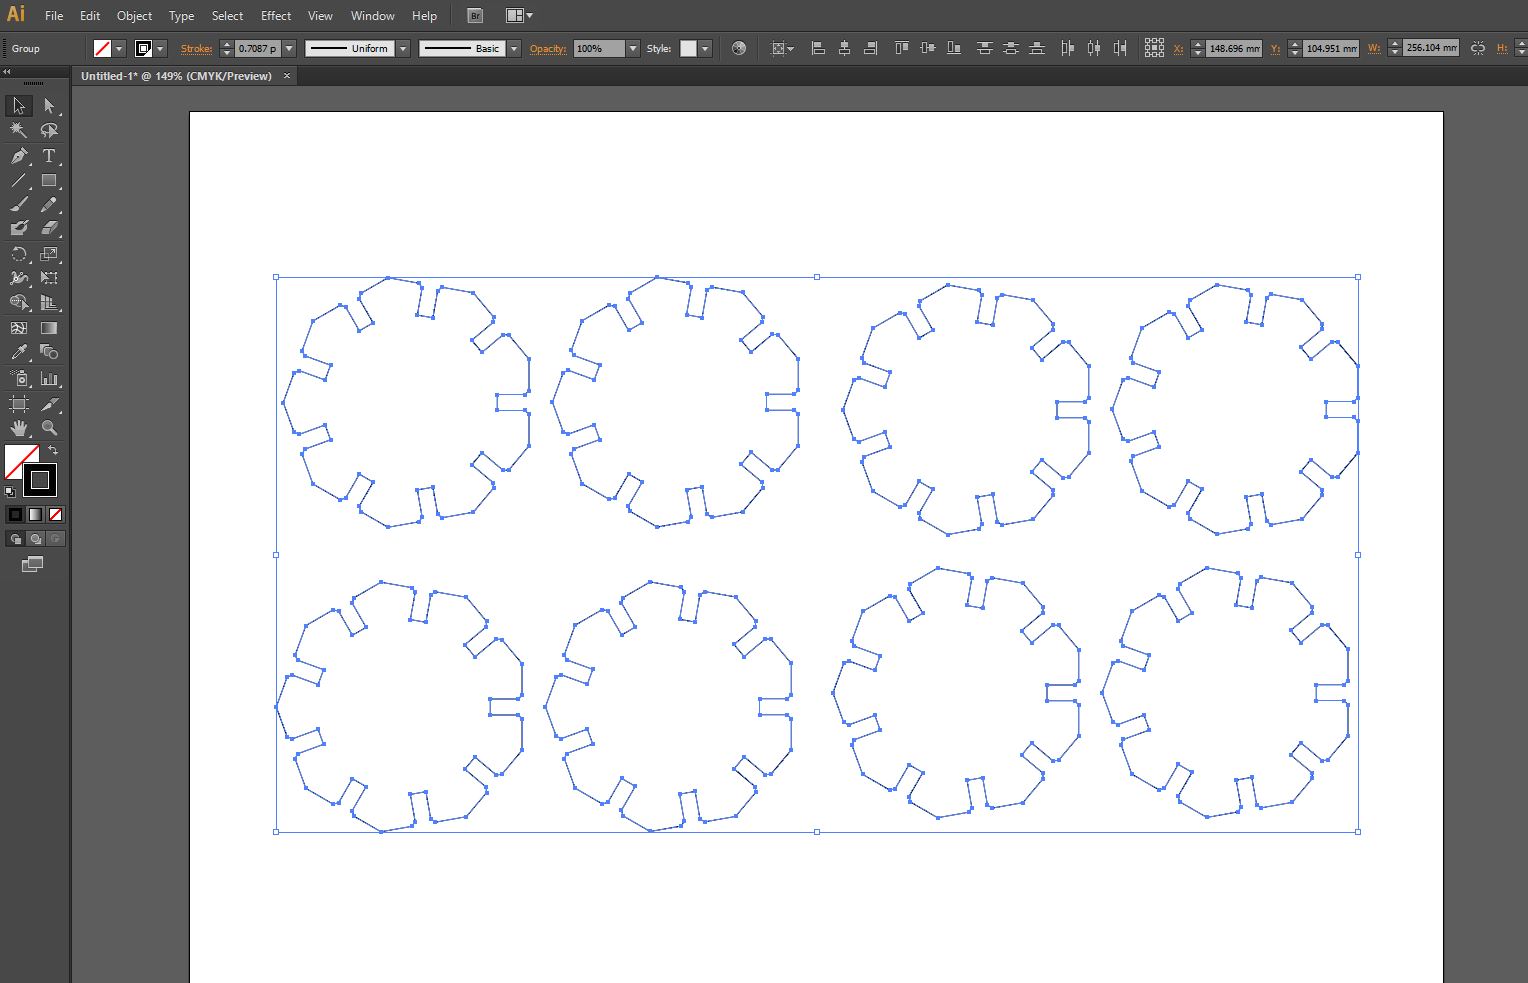
Then I export the 2D design as dxf and I opened it in Illustrator, software connected directly to the laser cutter, here I modified the outline of the figures to 0.00015 mm so that it is recognized as a vector when cutting
As I mentioned before, the optimal parameters for cutting 4mm cardboard are: 12% speed, 100% power and frequency
In this video we can see how the machine works
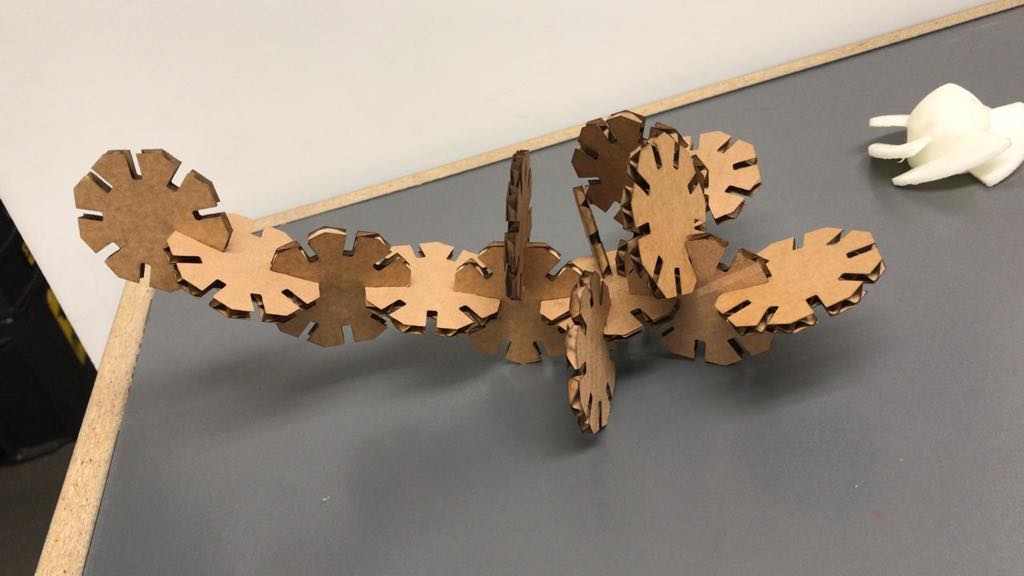
Here I show some figures that I managed to arm with my construction kit, Scorpion
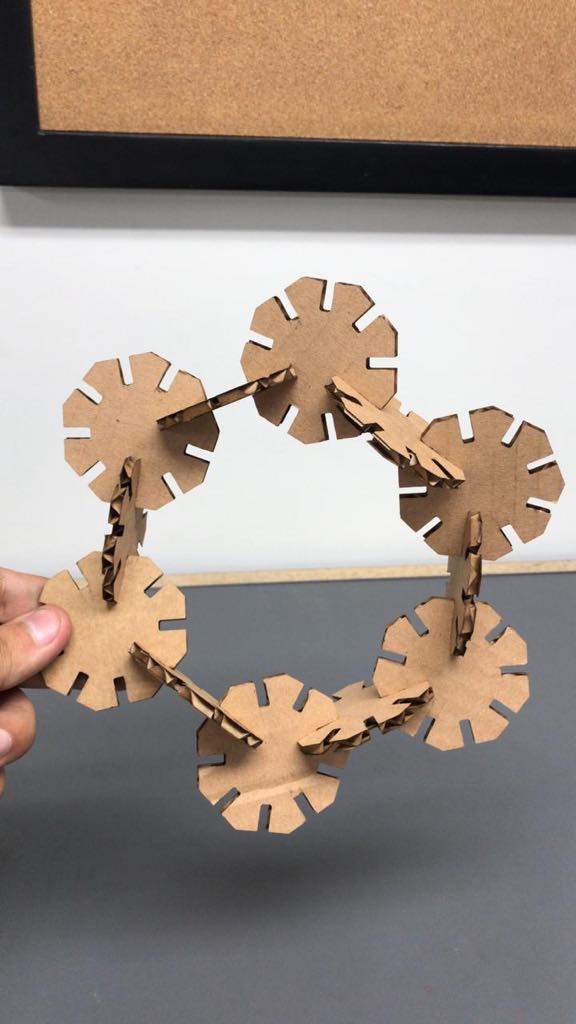
Propeller
Onix (pokemon)

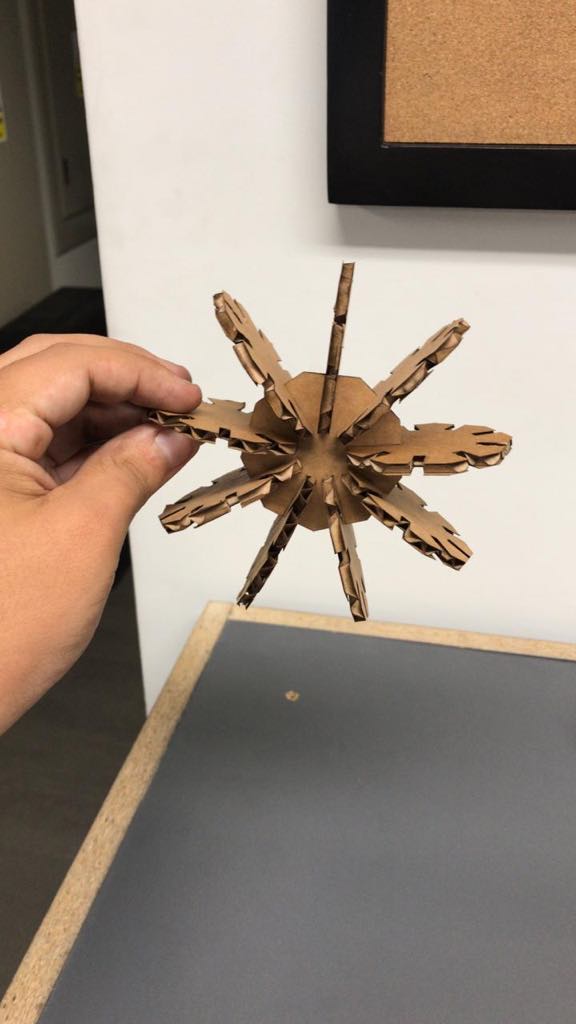
My favourite, Snowflake
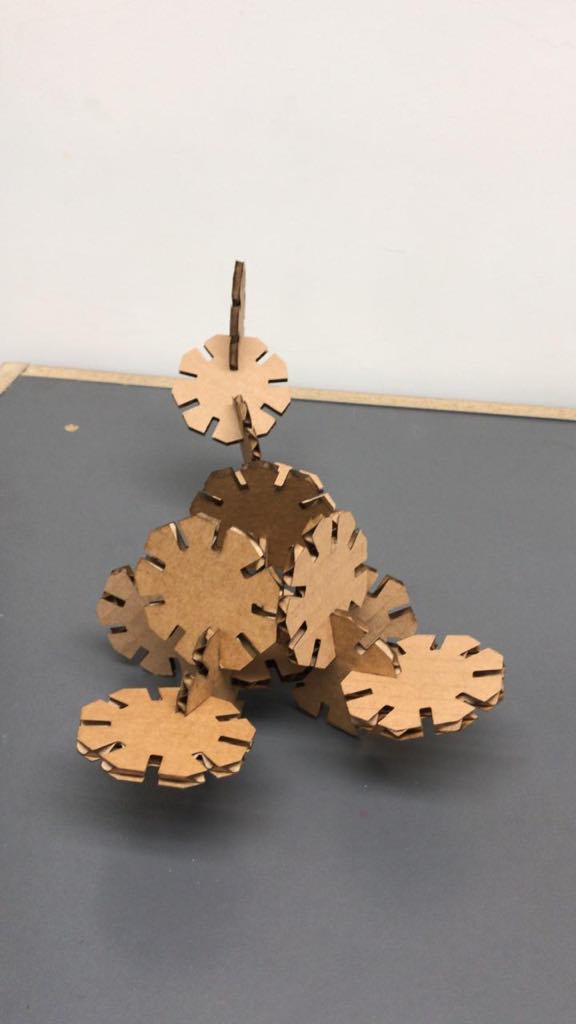
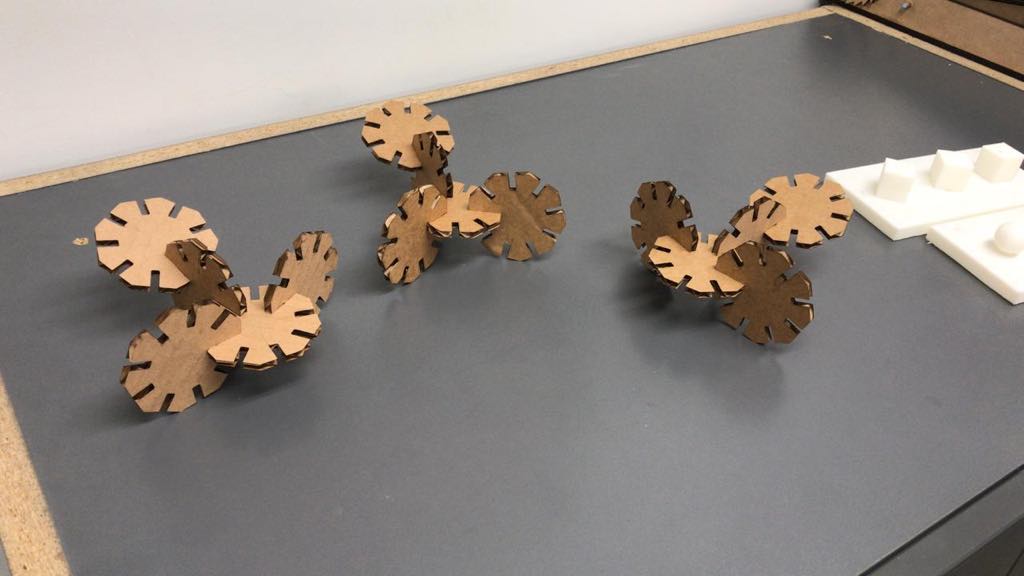
Mini scoprions or gyrocopters
Vinyl cutting
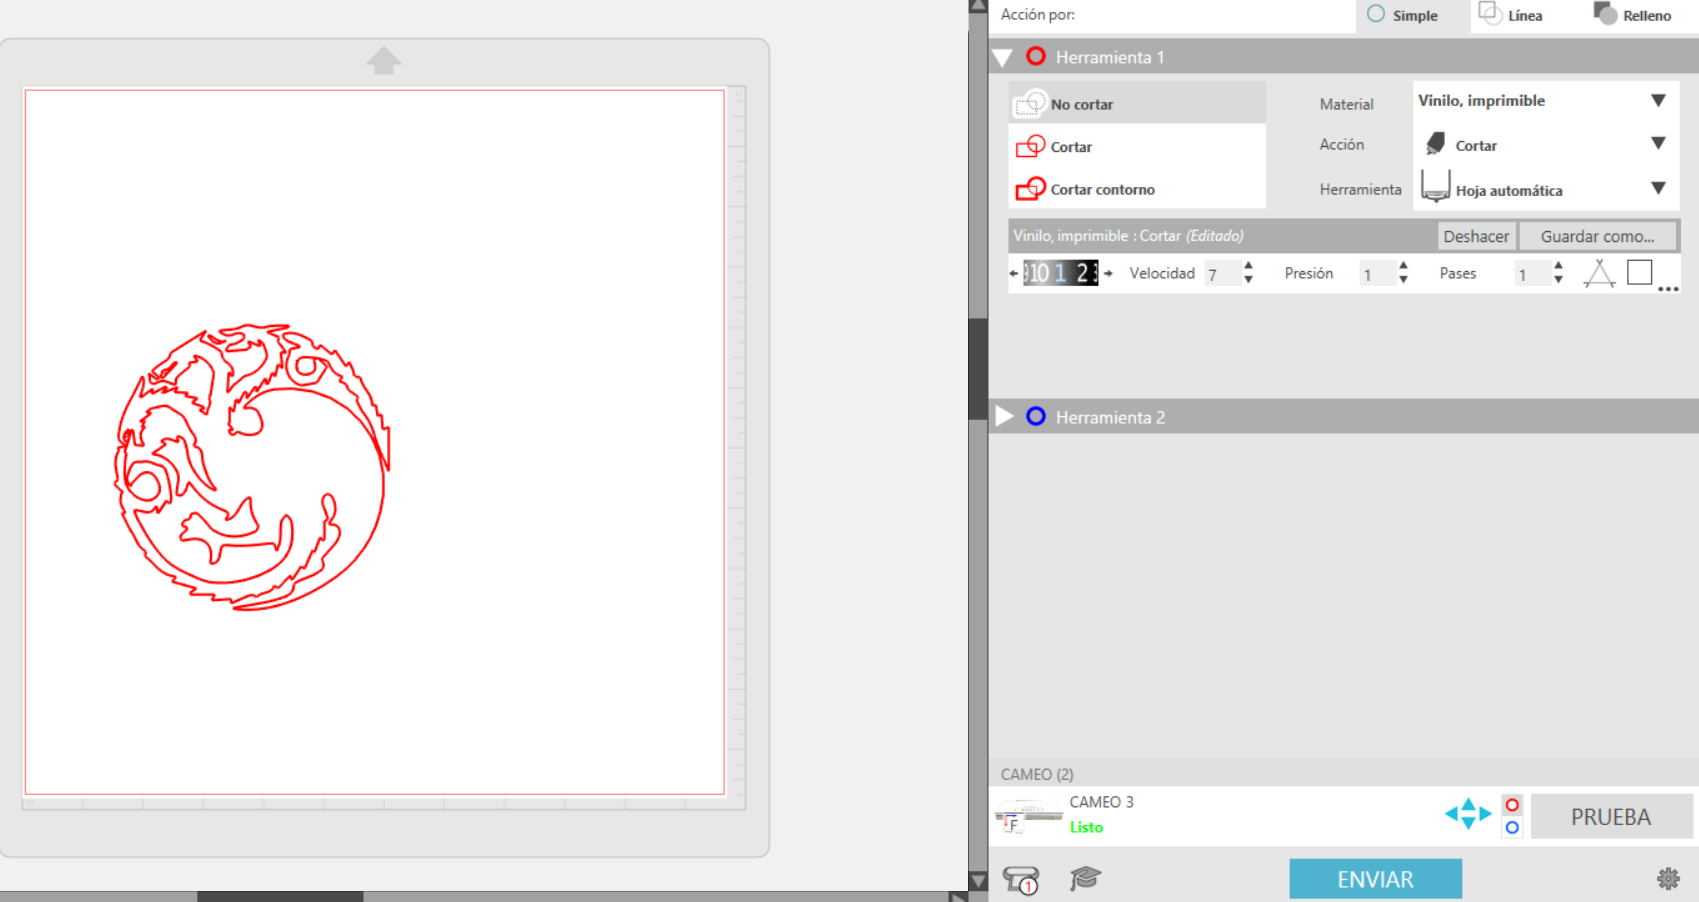
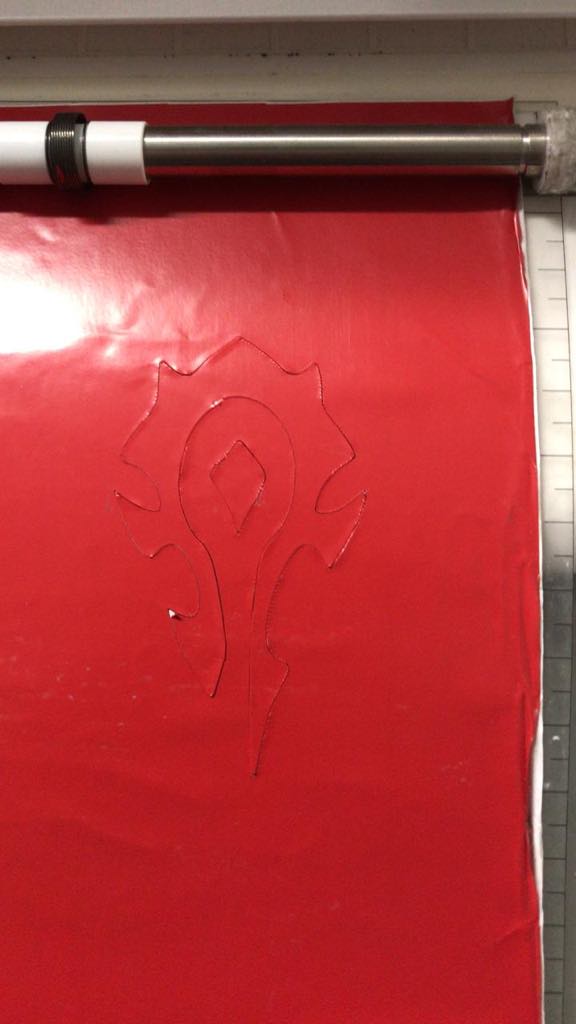
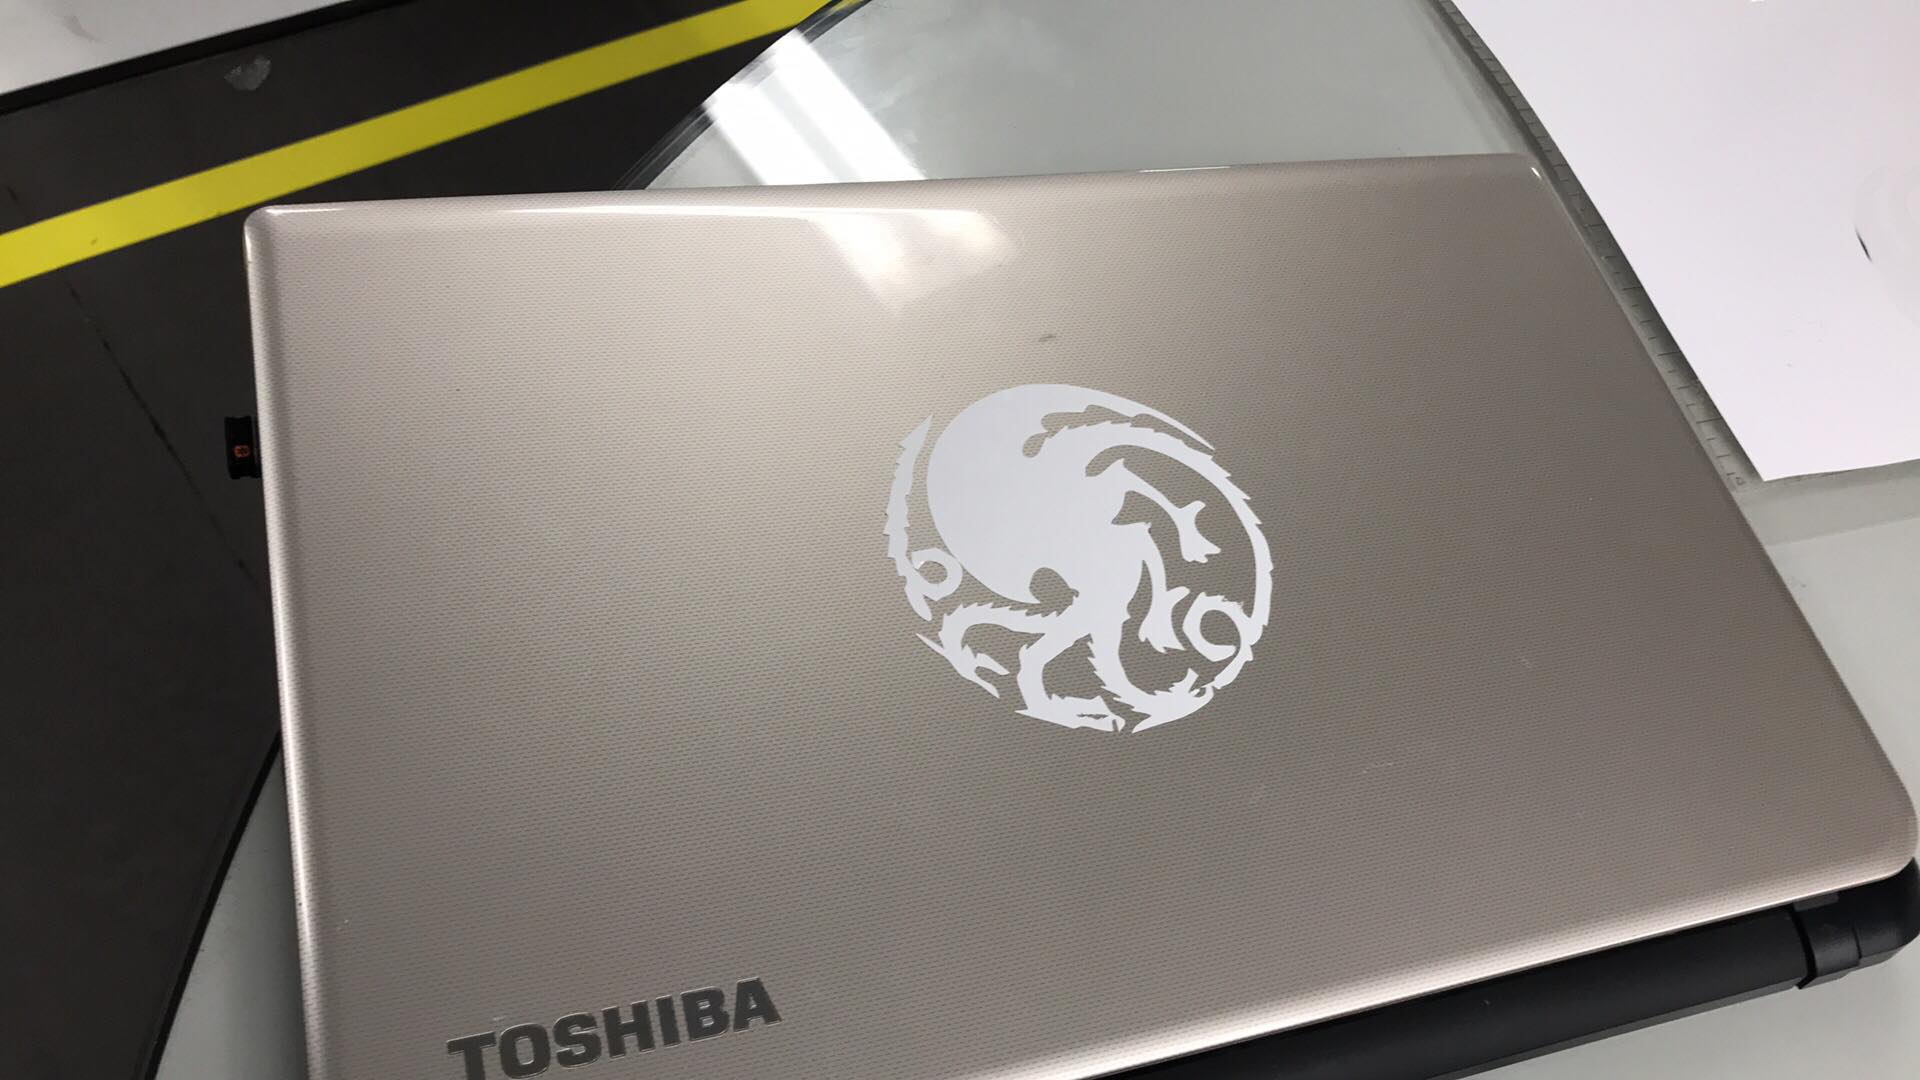
First, i downloaded an image from internet, this is an emblem of the renowned series Game of thrones
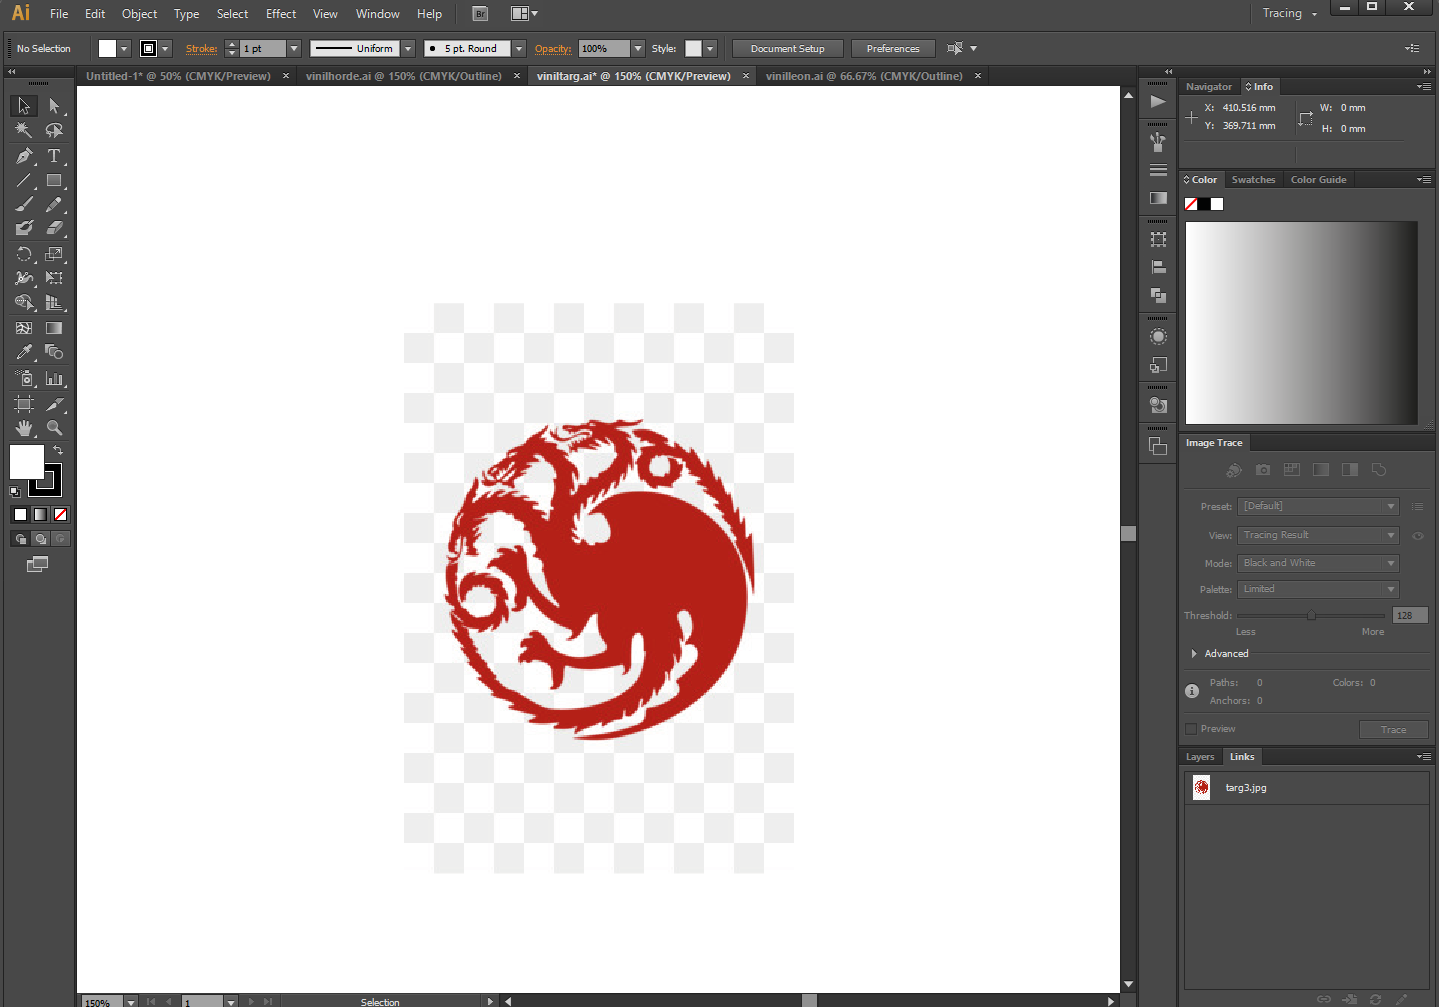
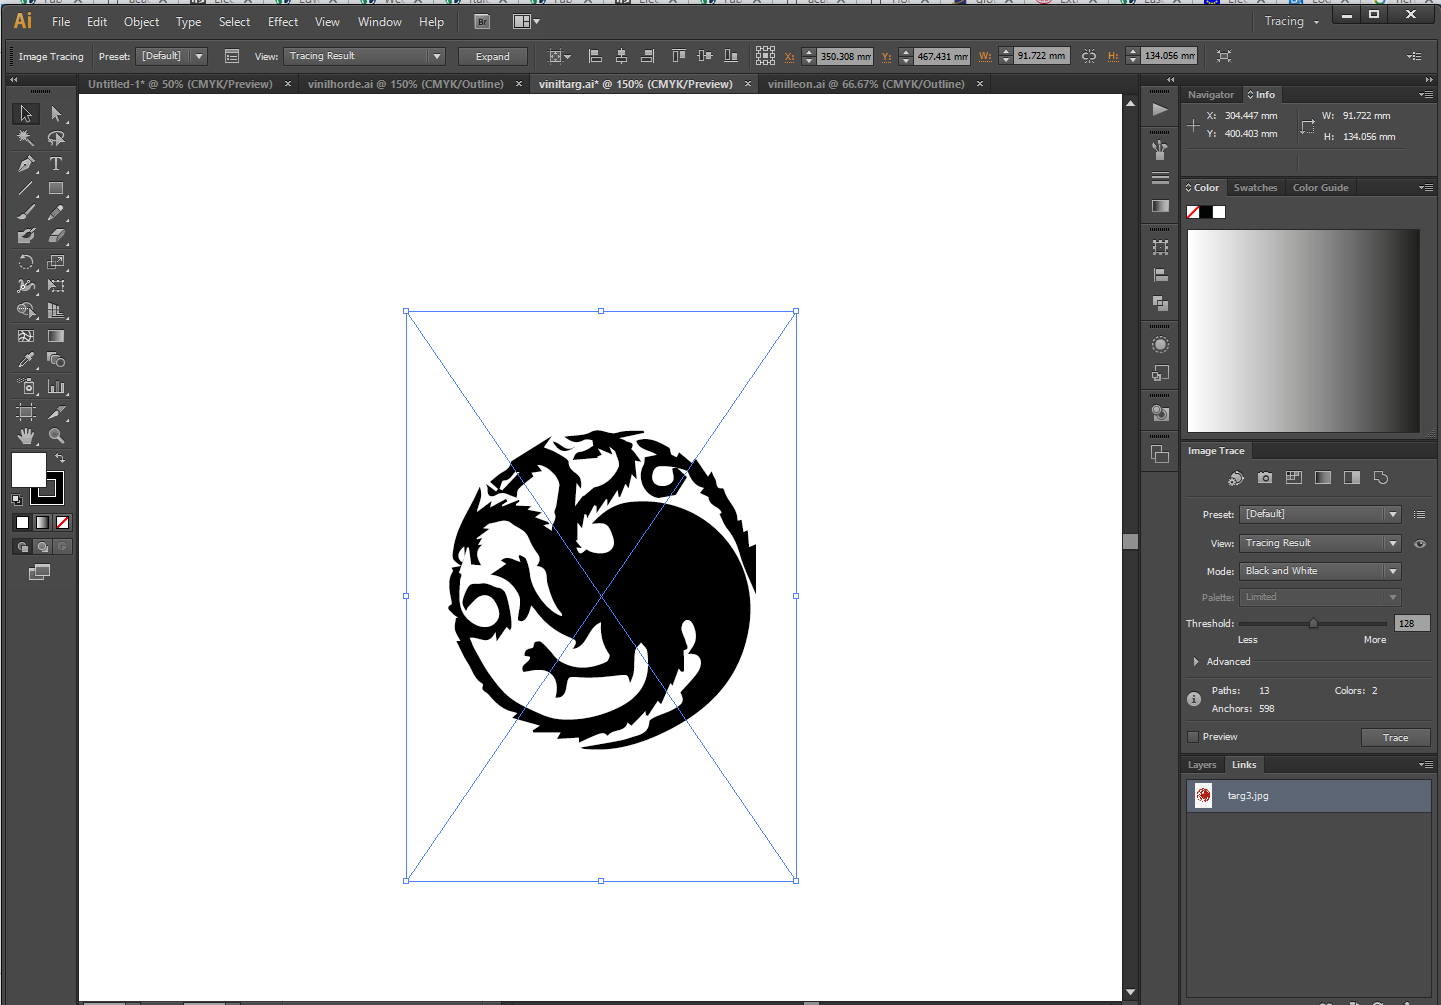
I opened adobe illustrator and import the image and i did the process to vectorized the image
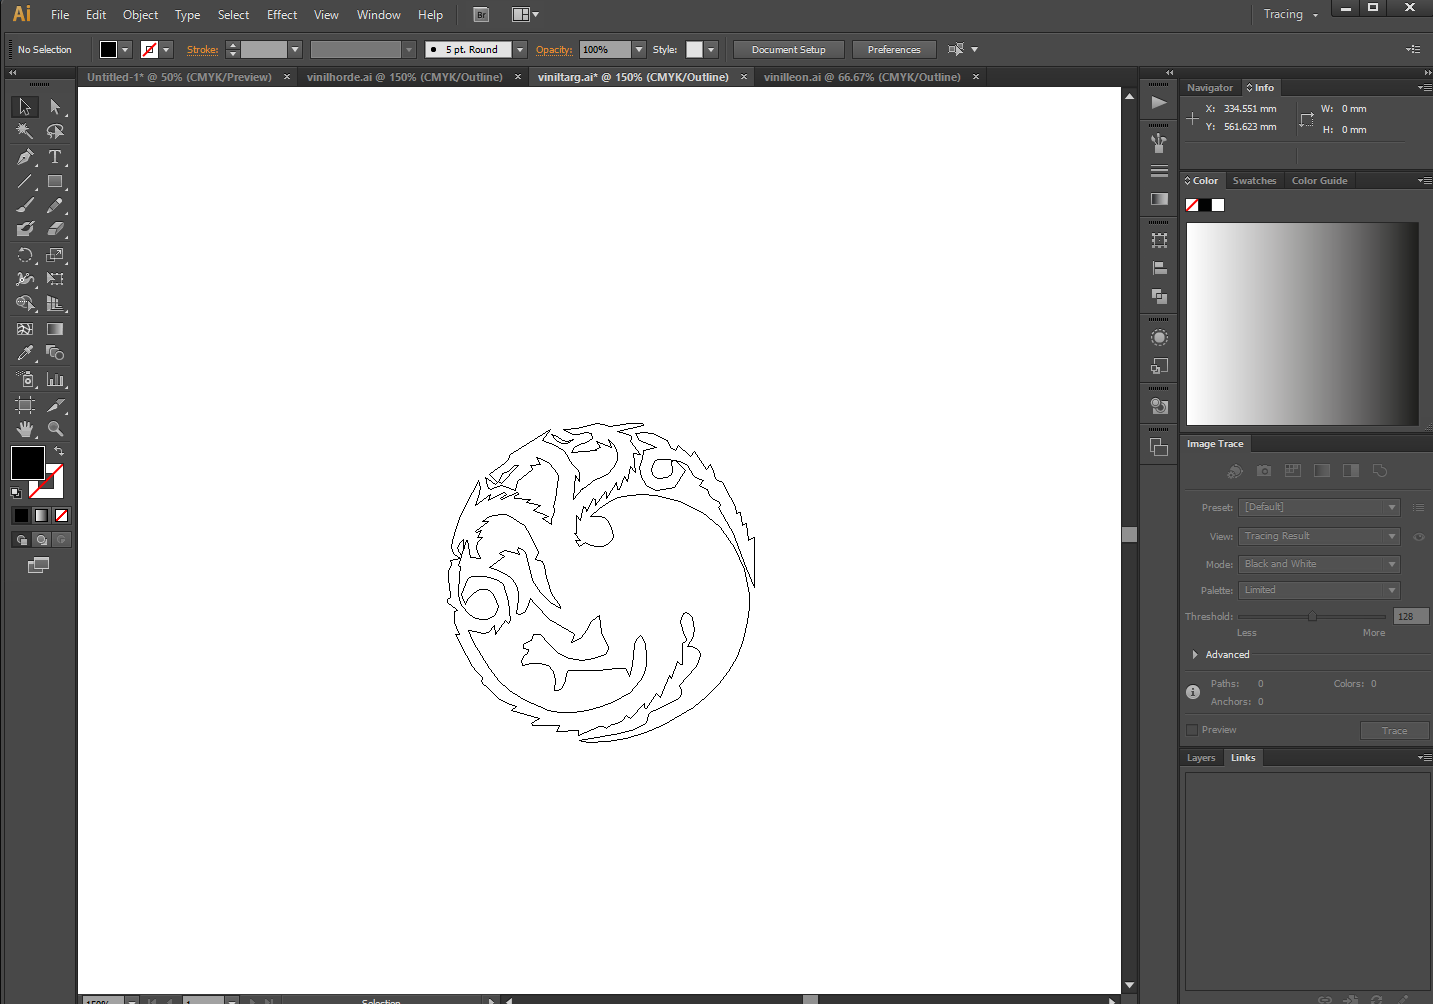
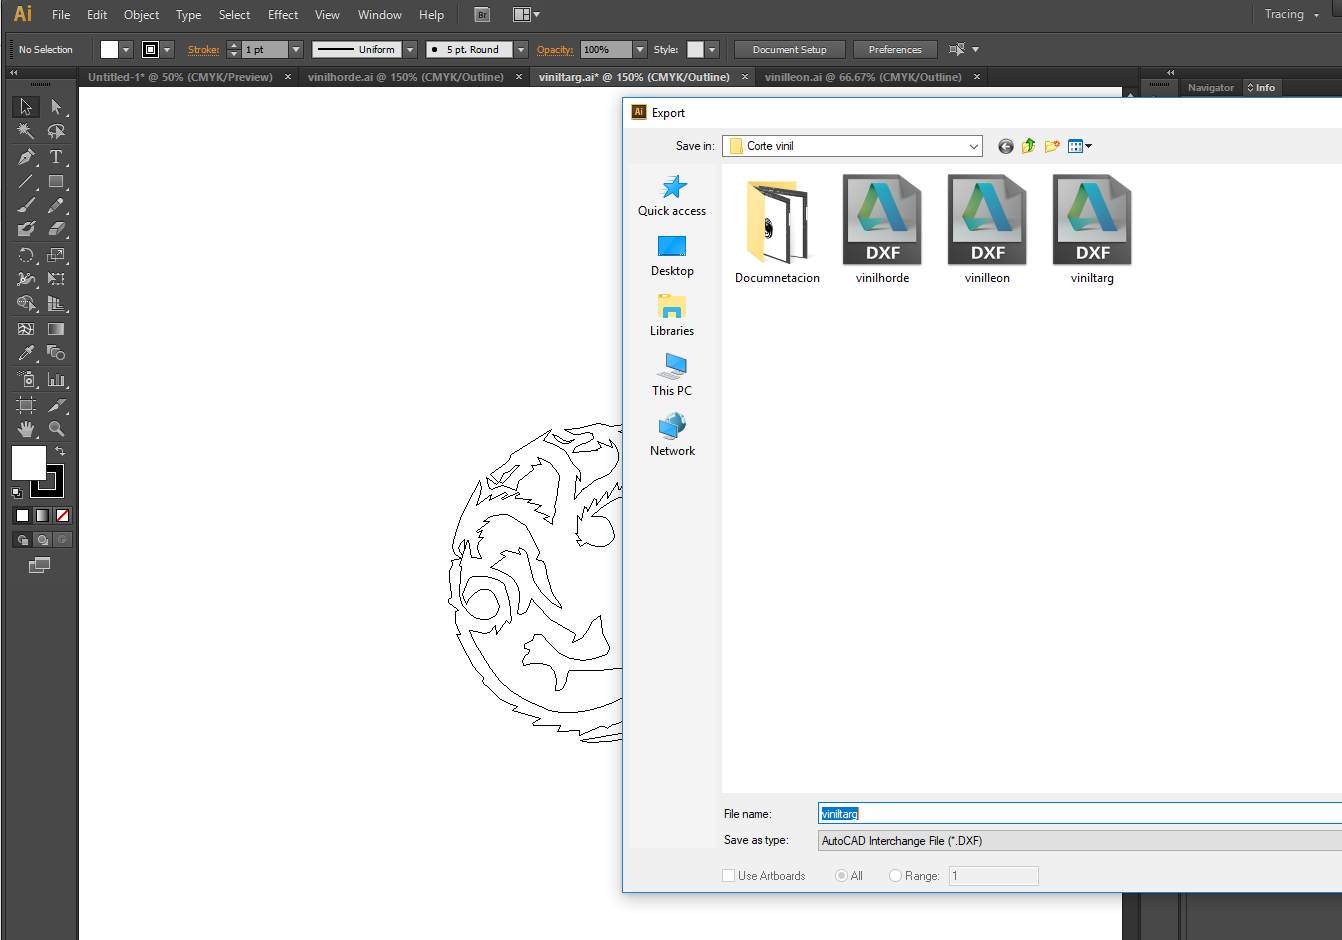
Then i exported the image as .dxf
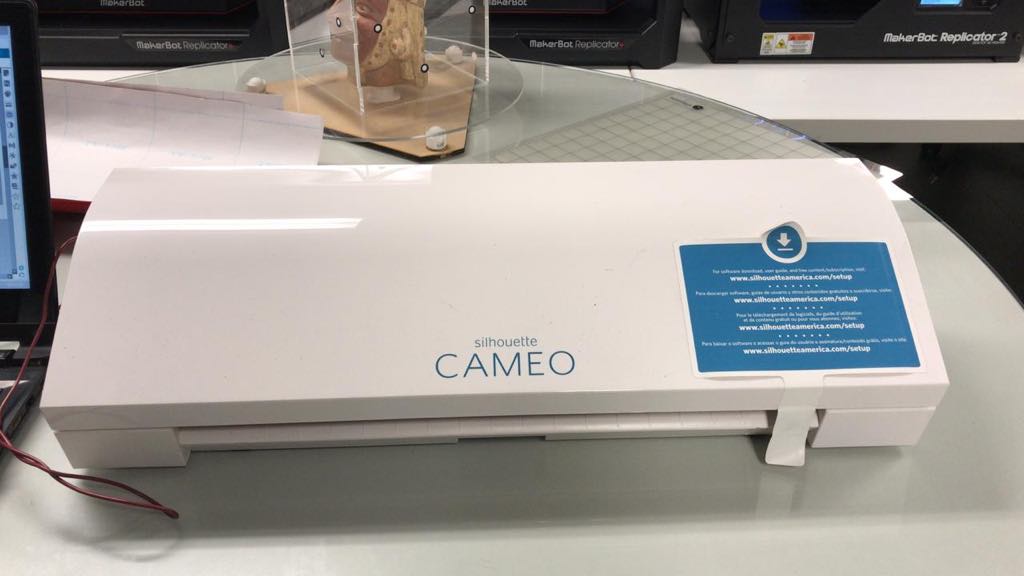
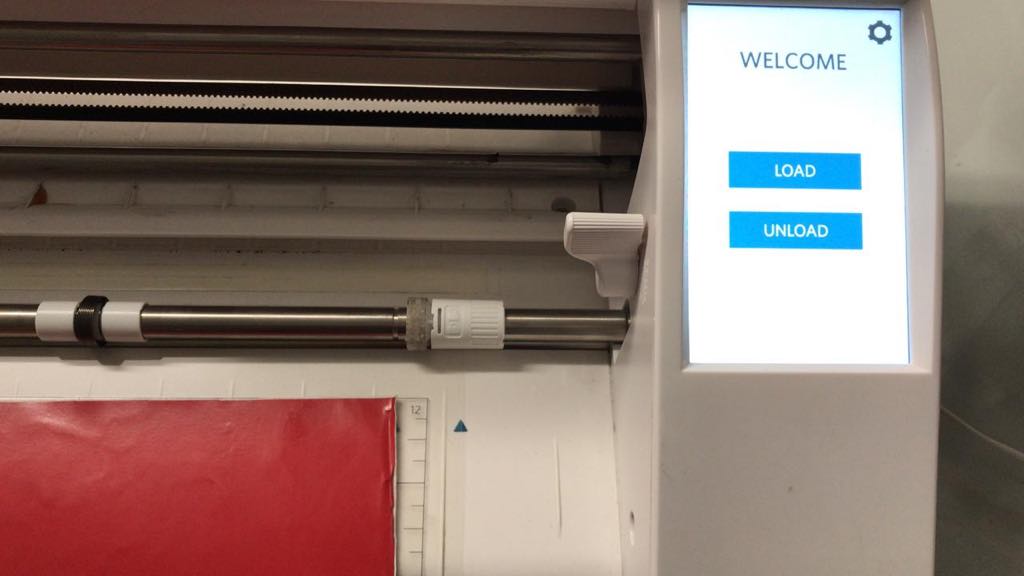
Then i opened the image in the software of the cinyl cut, Silhouette cameo and define dimensions
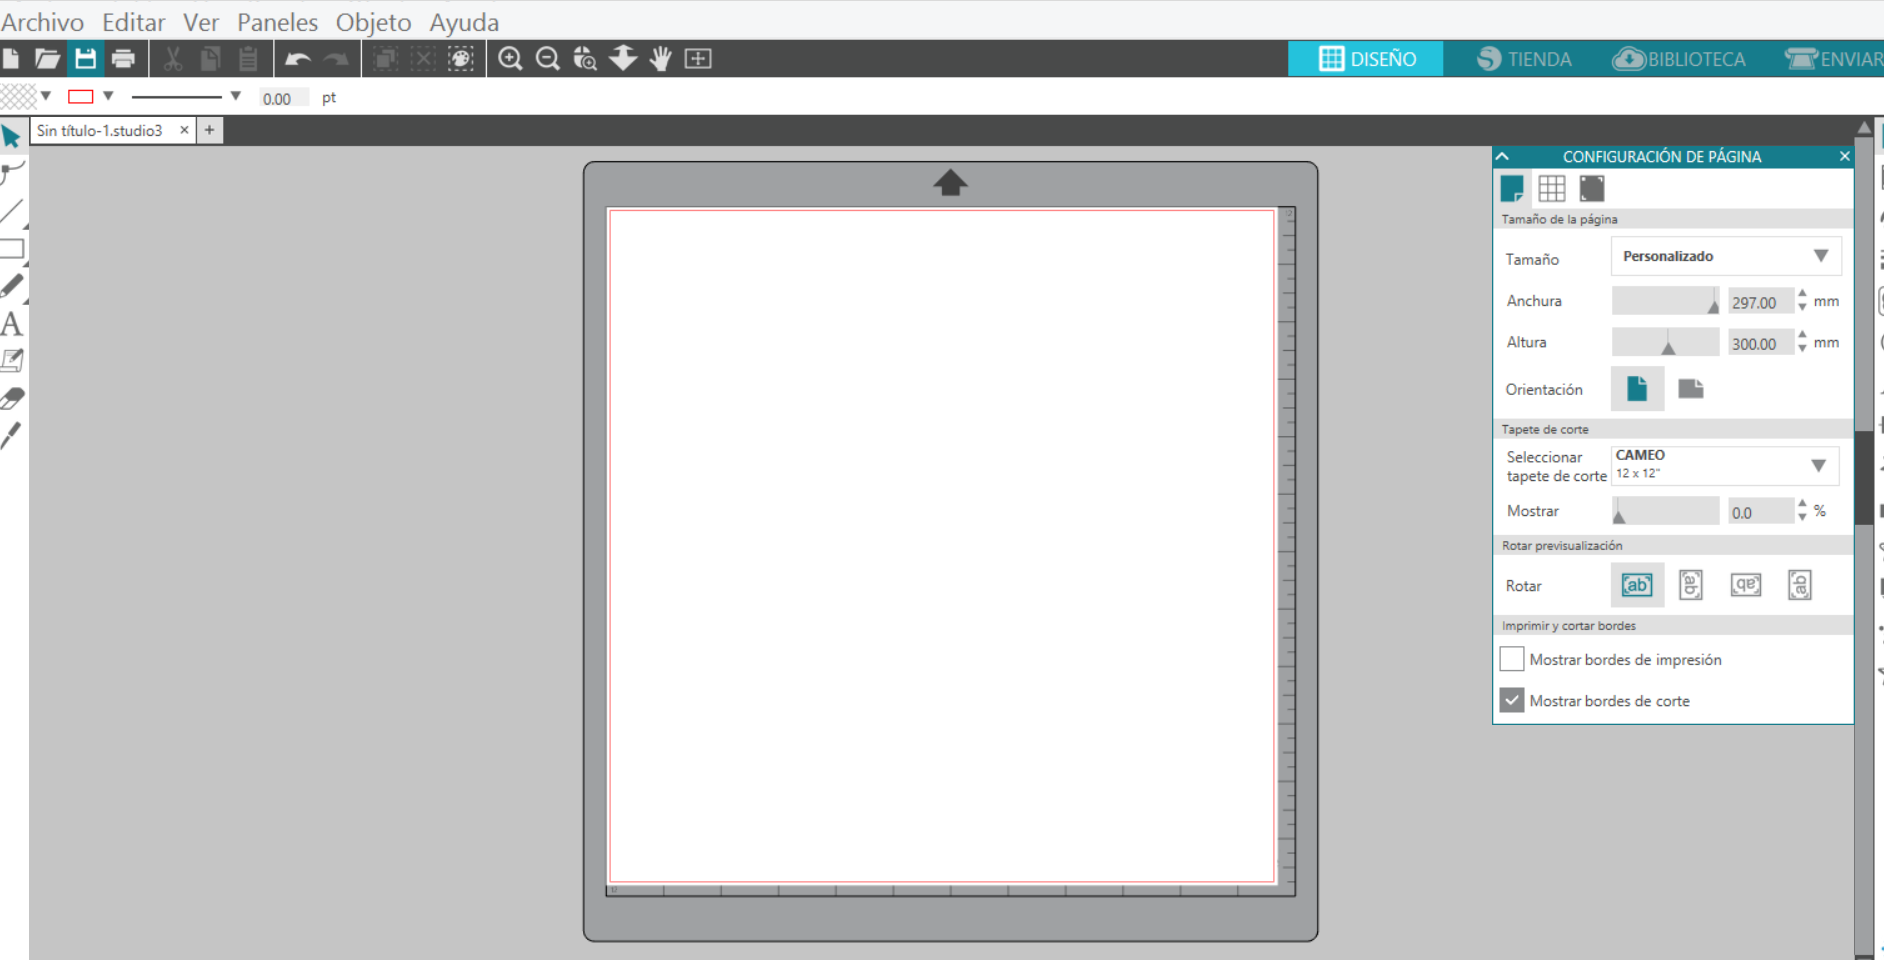
And select there parameters. Speed 7, prassure 1, passes1
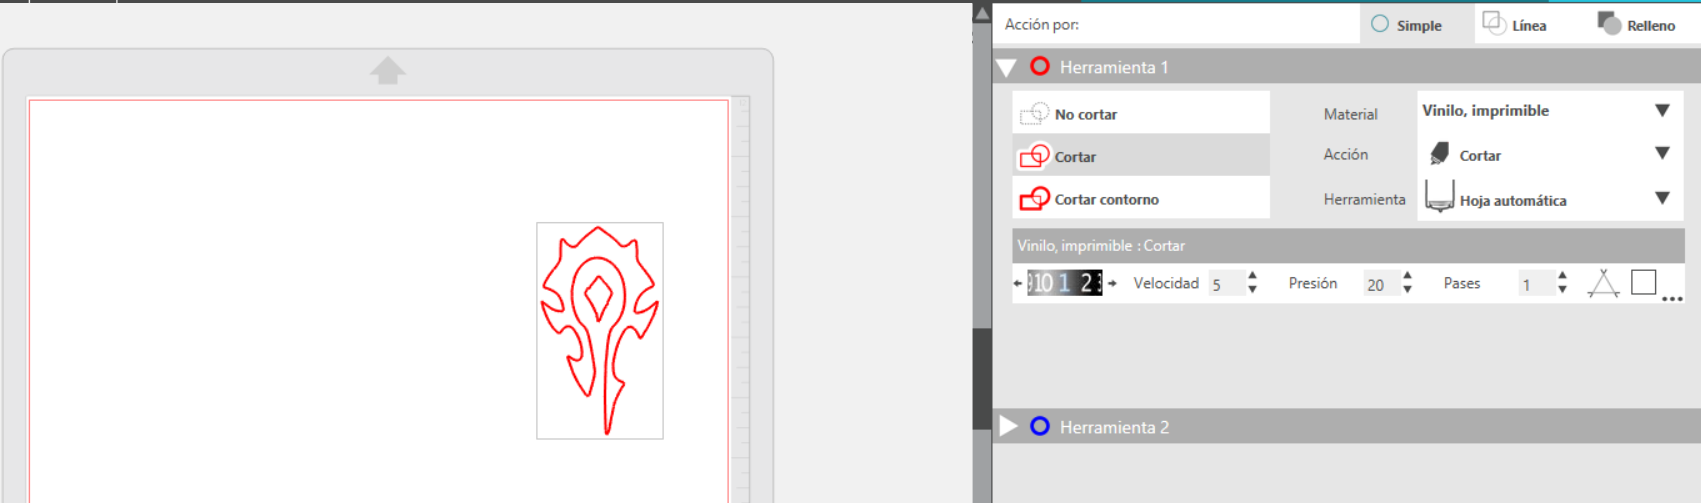
Same to all designs
This is the vinyl cut
The bed for the vinyl cutter has glue, so cut a square of vinyl and attach it to the base

I adjusted the tool and click on load
Locked

Red vinyl
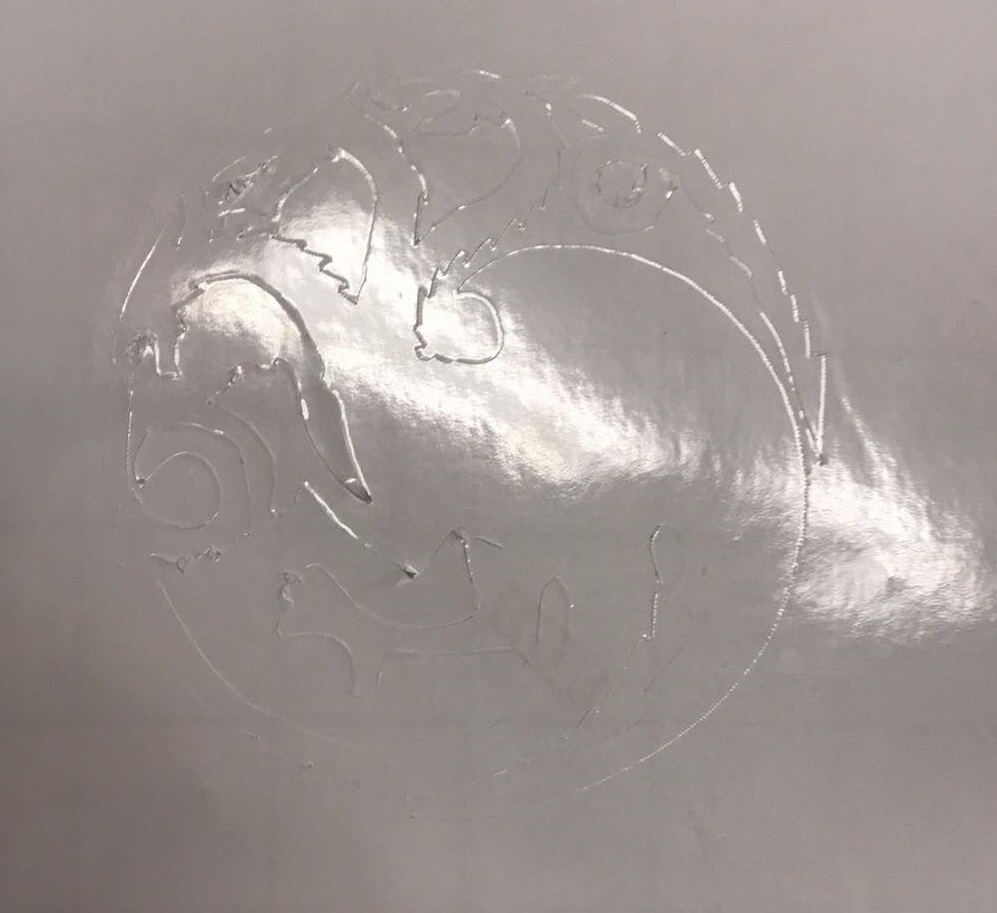
I also cut white vinyl this is the result
As I mentioned, the bed of the cutter had glue, so it is easy to remove the sticker designed and leave what does not belong to this
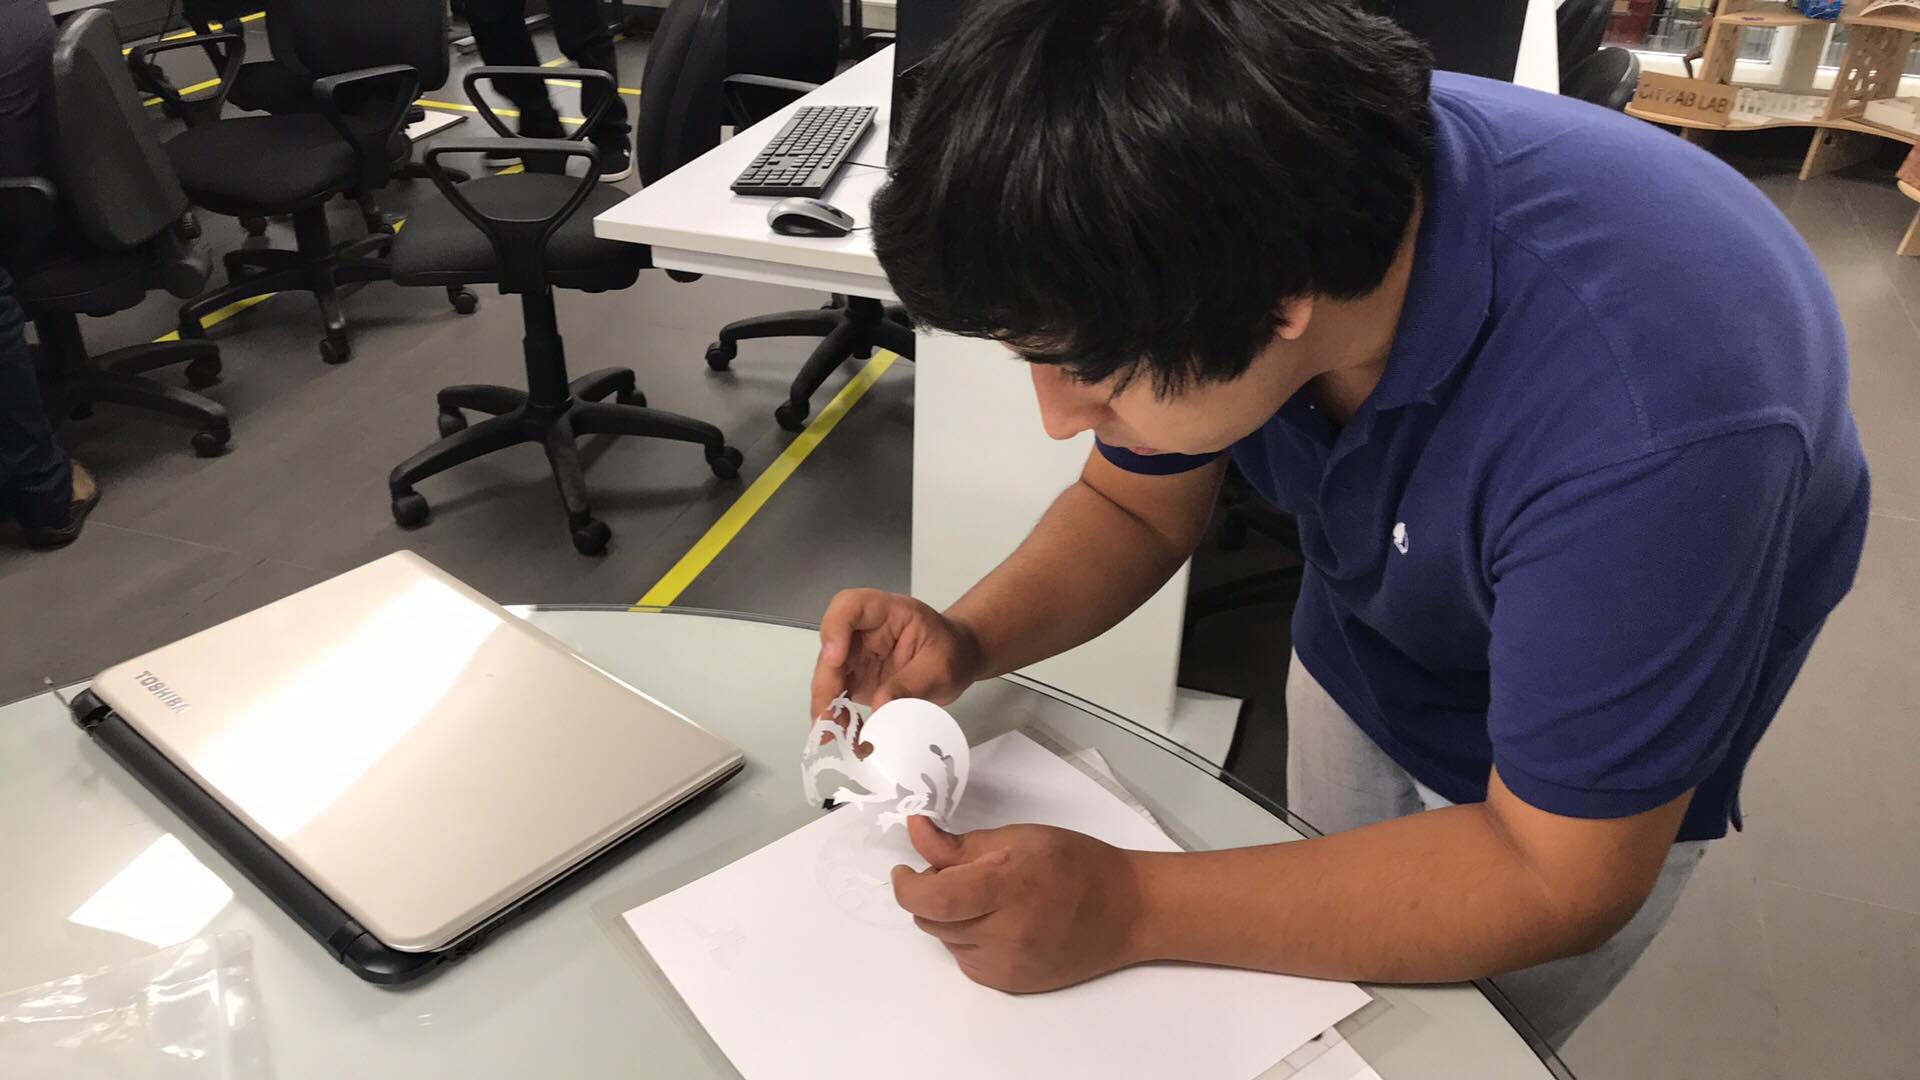
Then paste the sticker to my laptop
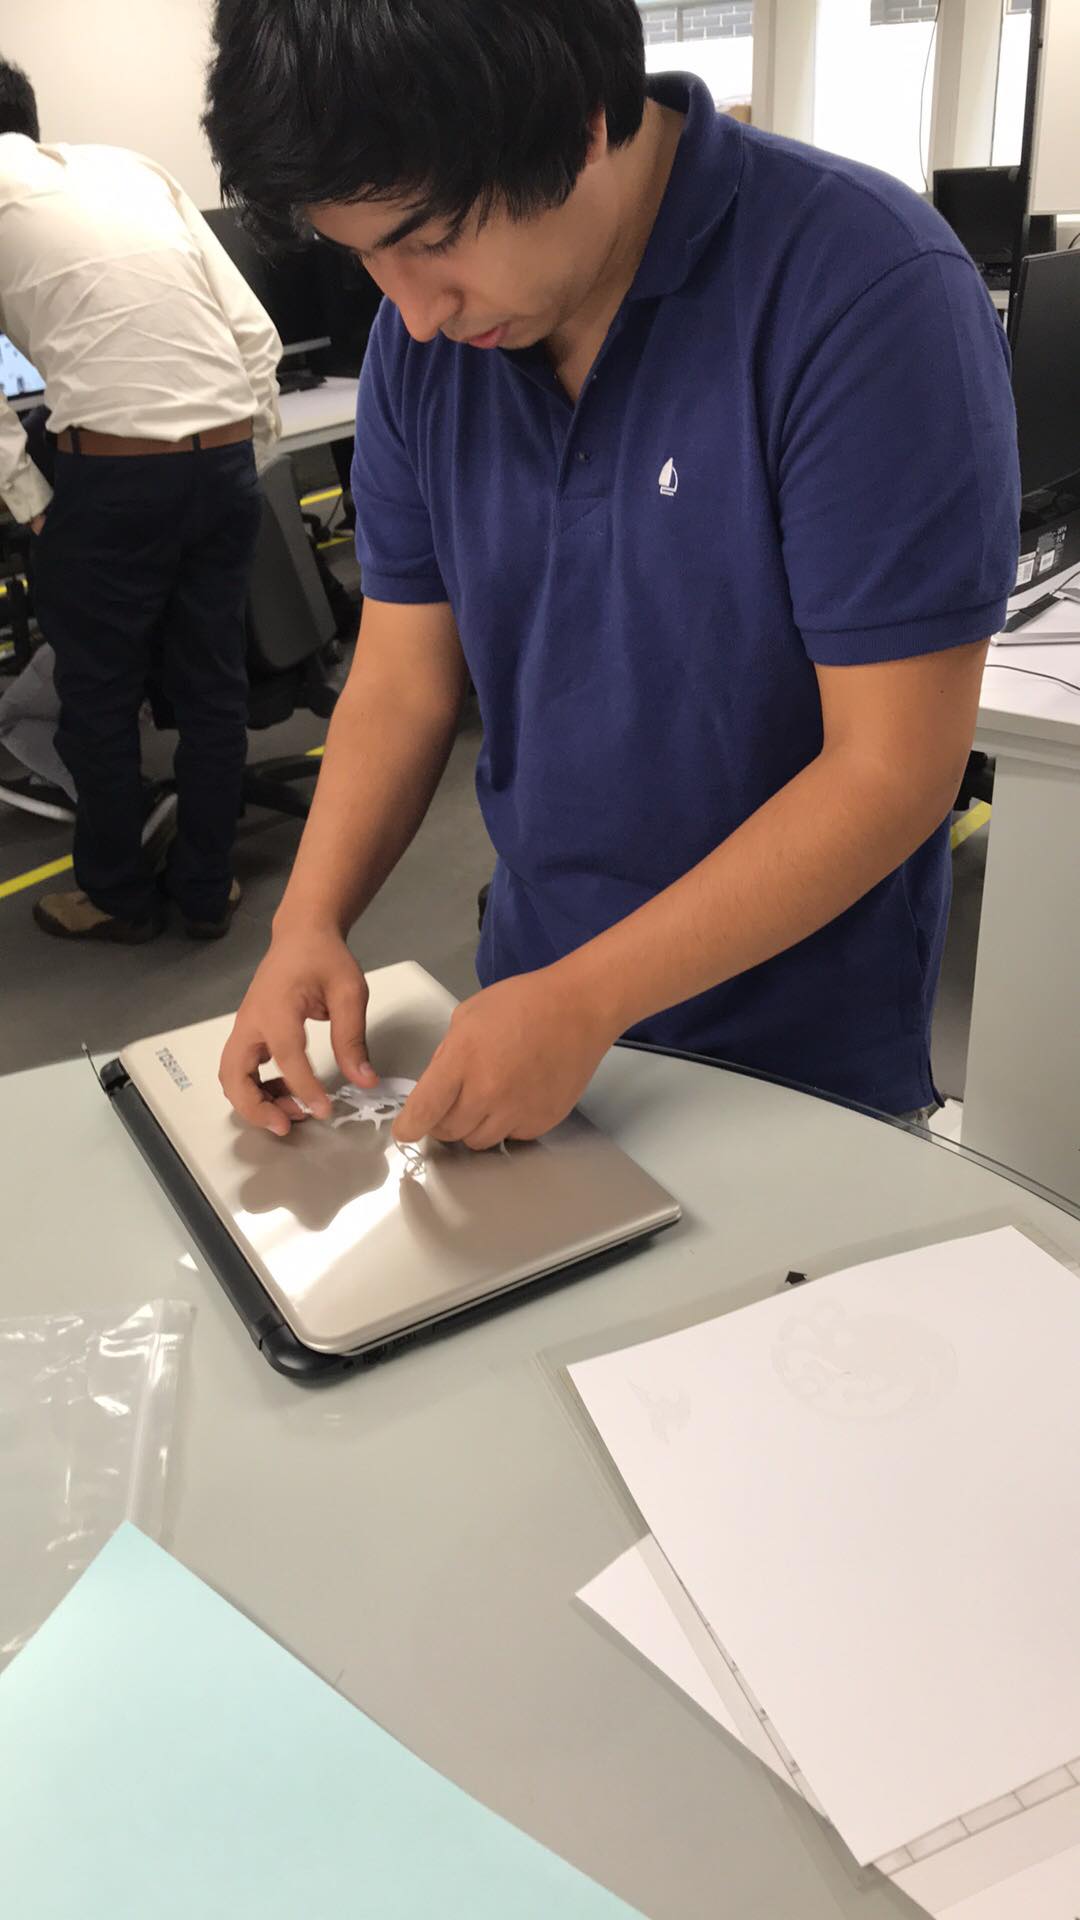
I like how it looks
This time I did not have problems to remove and paste the sticker, but there is an optimal method to do it, using transfer tape, i did not use this method because we did not have the material in time, but it is quite useful when you have many separate figures, or several gaps , then I leave a video about the method
Group assignment
For the group assignment, we tried different parameters to rasterize in different materials, my personal contribution was to try an engraving of the logo of the university in granite and marble
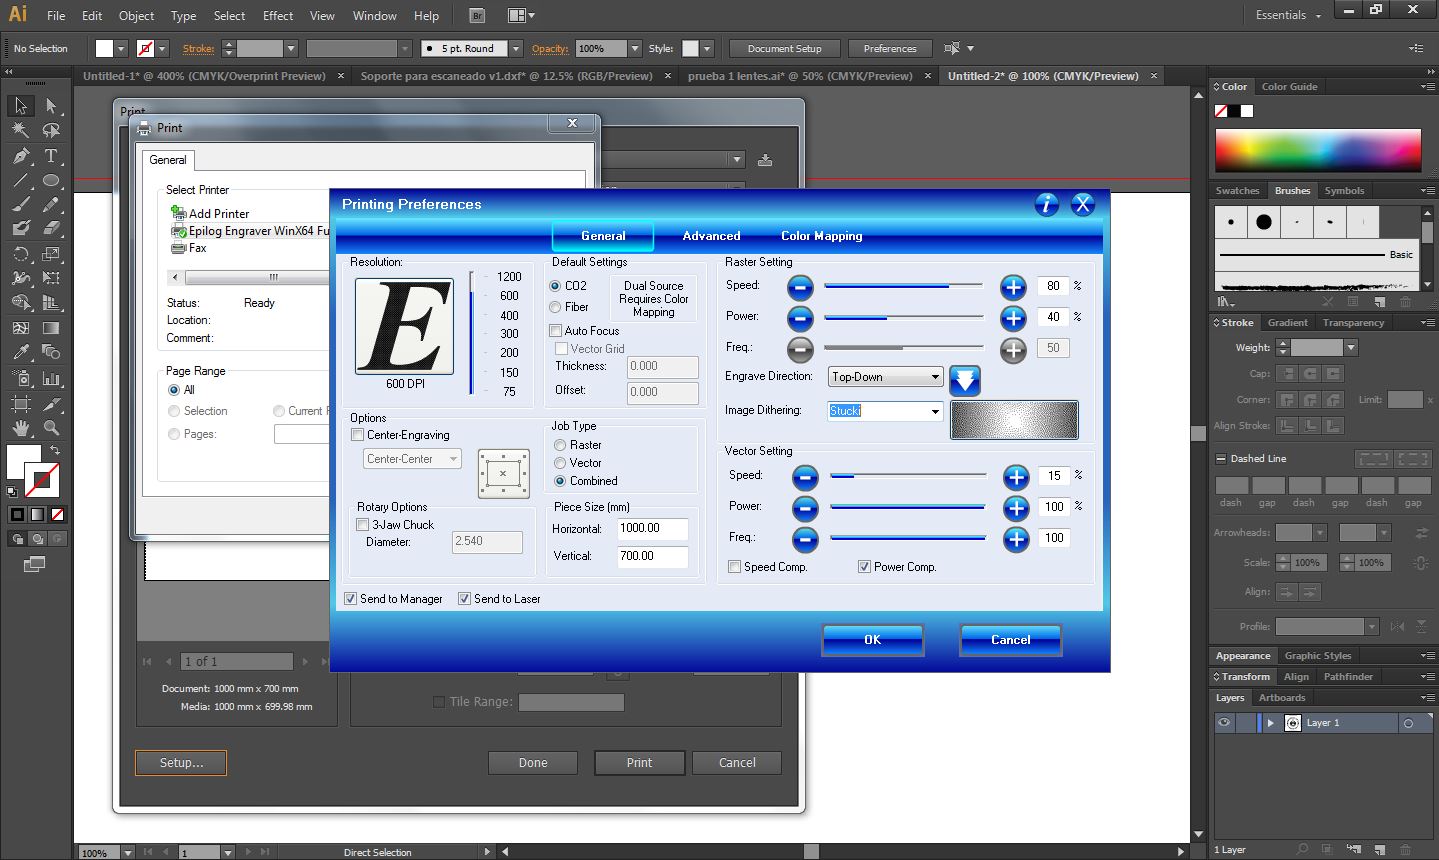
Wroking in adobe illustrator
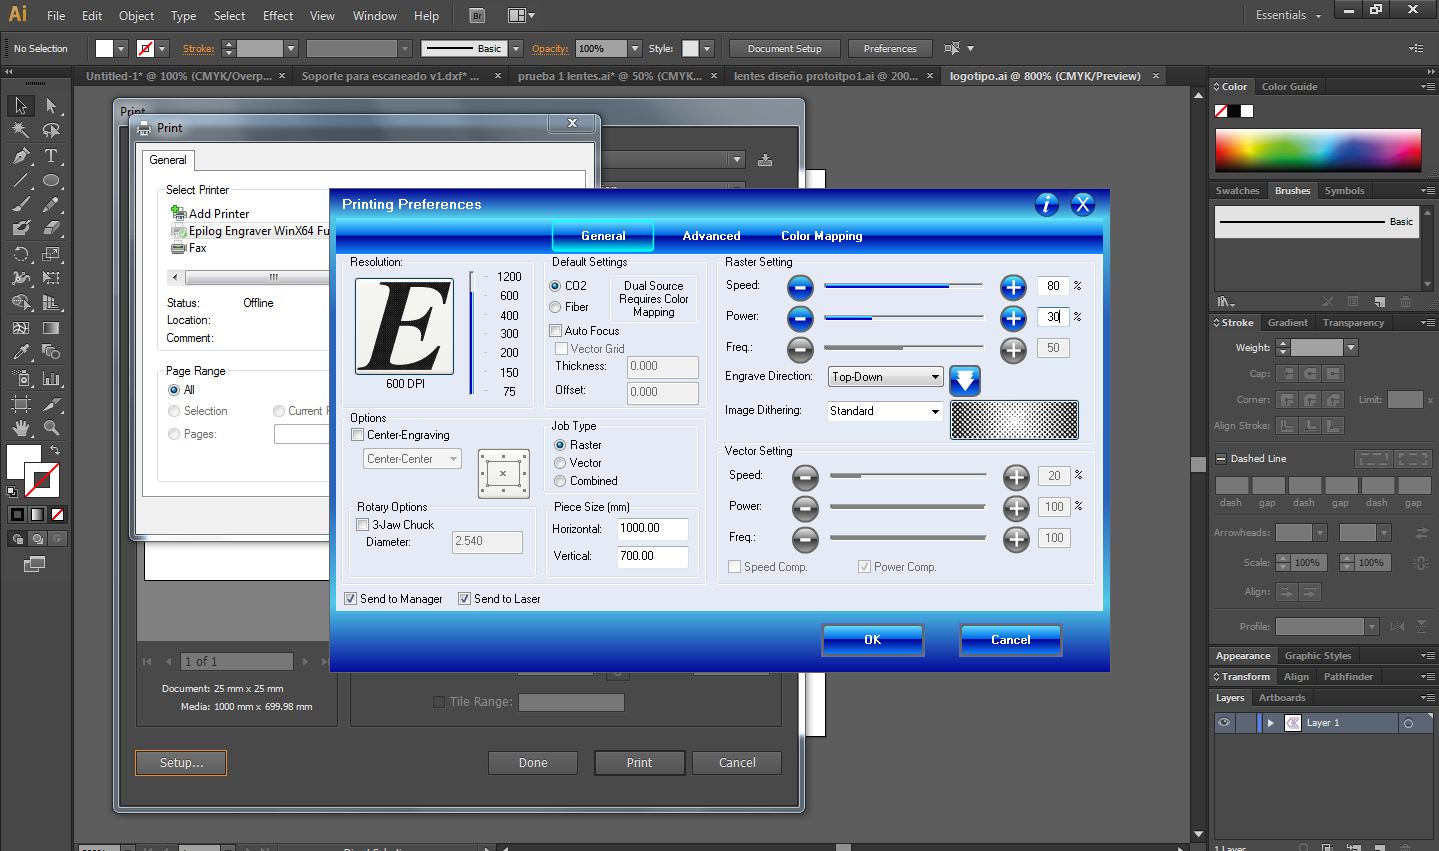
As you can see, this time in preferences use the option raster and not vector, since we want to make an engraving in the material, the parameters were the following: Speed 80%, Power 30% and Frecuencua: 50% but this is fixed
In this video we can see how the granite is rasterized
This time i put these parameters: Speed 100%, Power 40% and frecuency 50%
In this video we can see how the marble is rasterized
This is the result!

Downloads
Parametric Inventor design
Parametric design .dxf
Horde emblem.dxf
Emblem of Targaryien house .dxf
To see the complete development of the group assignment visit the following link that corresponds to the CIT page