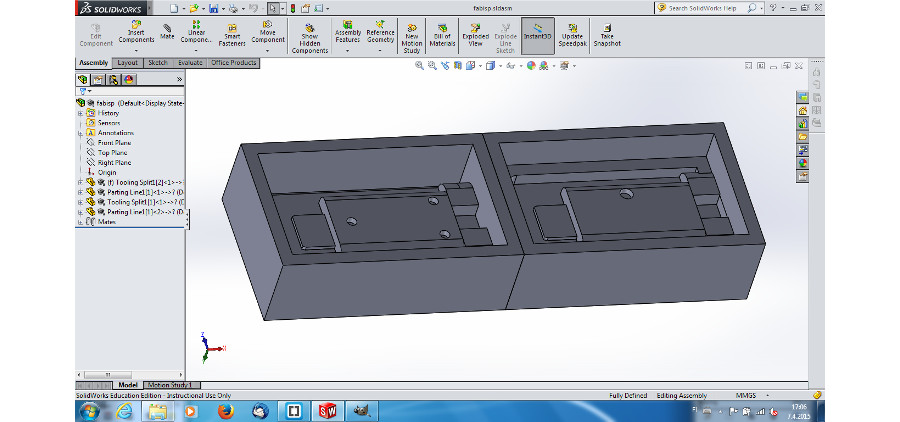
Week 9. Casting and molding. I'm hoping to cast my own design of FabISP programmer in plastic to make it durable and fit nicely into USB slot. First I draw two sided mold to cast a mold of silicon rubber for the plastic product. This mold is carved in wax. For drawing I used Solid Works.
The toolpath is produced using Roland's own programs due problems in Fab Modules.
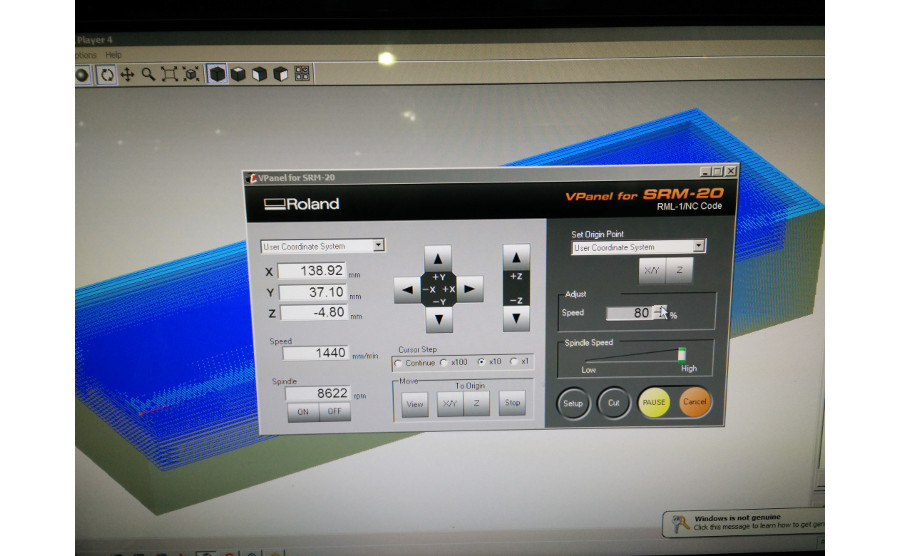
Two millings are necessary the surface being fairly straight. First roughing and then finishing with the smaller mill bit.
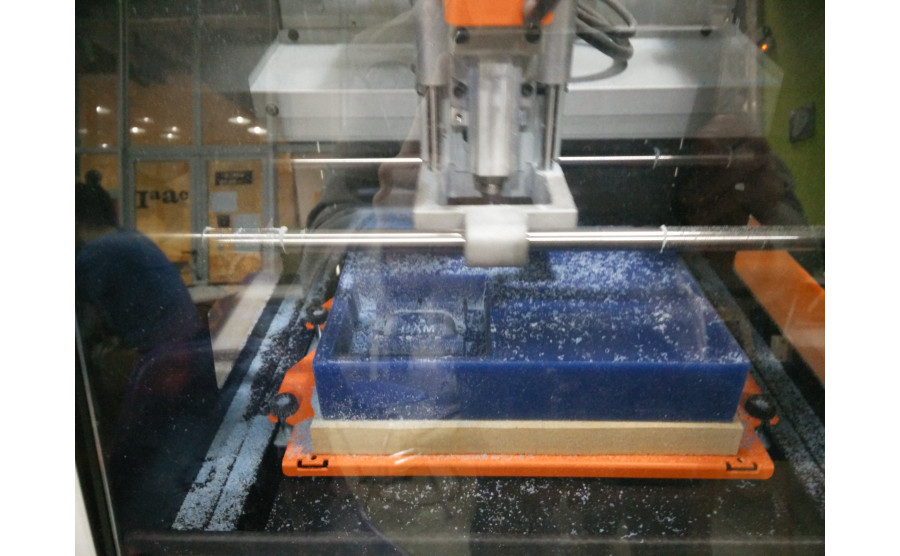
Wax mold is ready. There are two designs on the same block of wax:
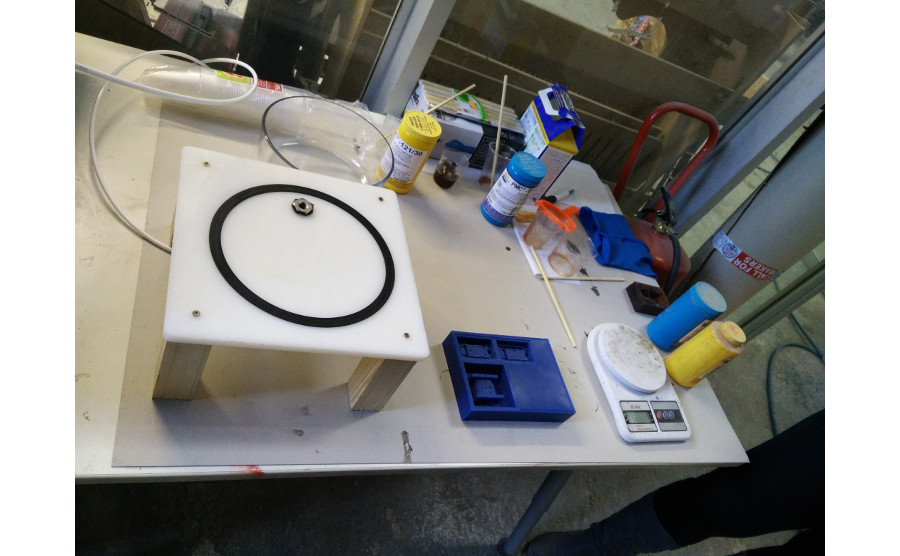
Casting setting: scale, vacuum and mixing accessories.
Liquid rubber is cast into mold. This takes around twelve hours to harden.
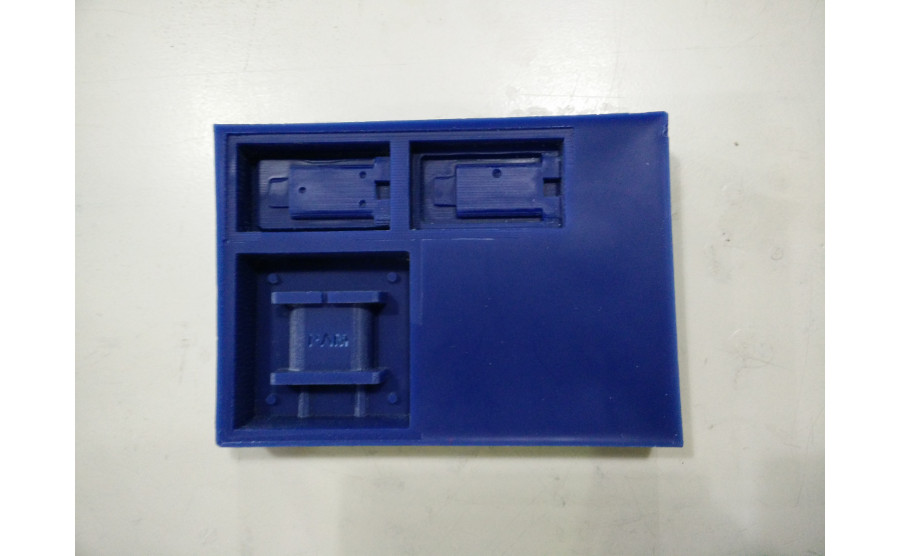
Rubber mold for the plastic is ready:
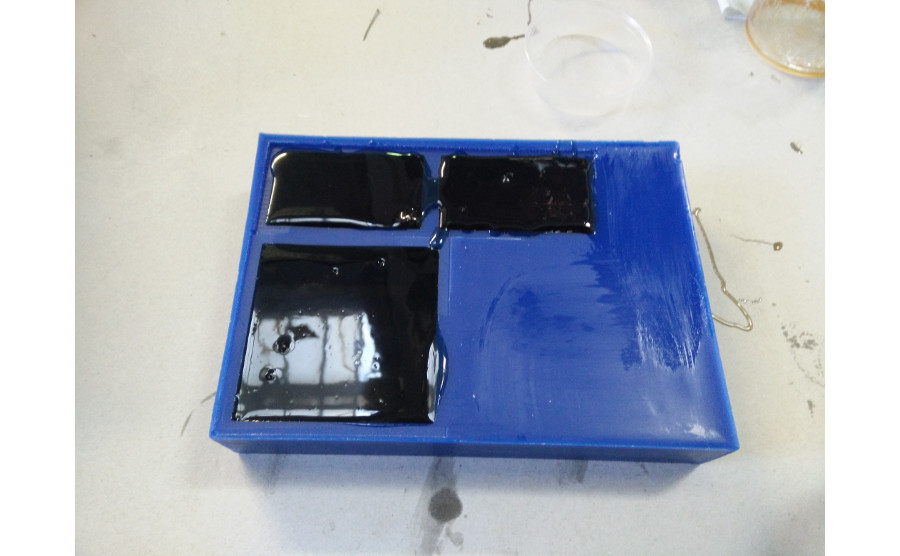
The plastic is mixed and cast. This hardens quickly in around 40 minutes.
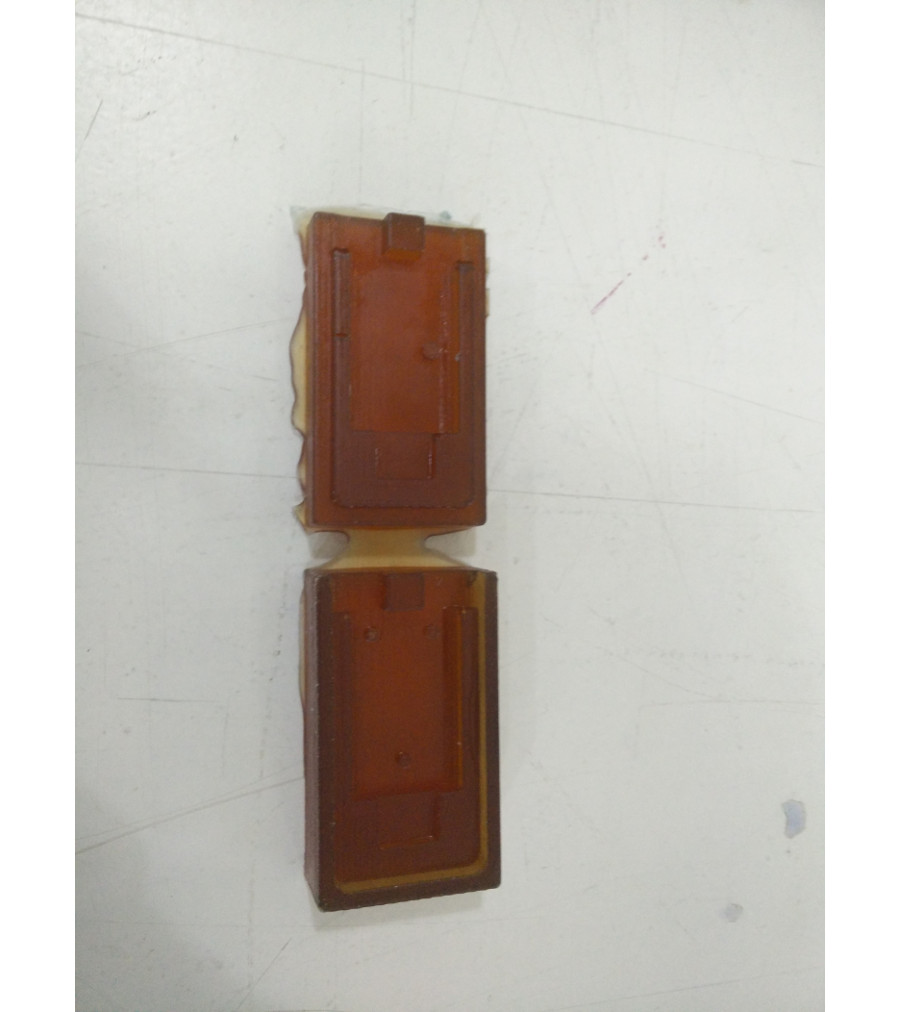
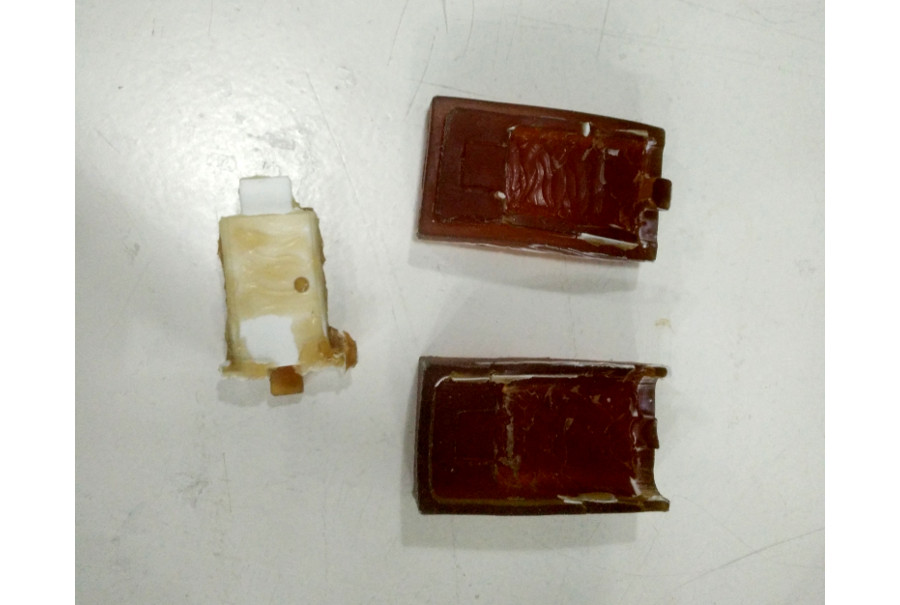
Following the instructions, we didn't use any casting removal. This was clearly a mistake:
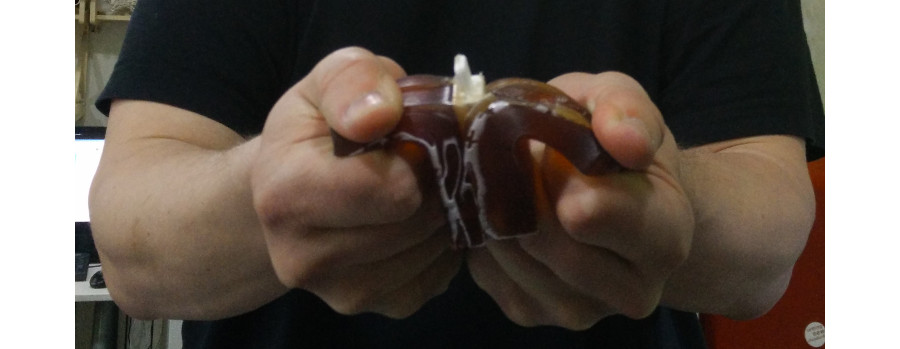
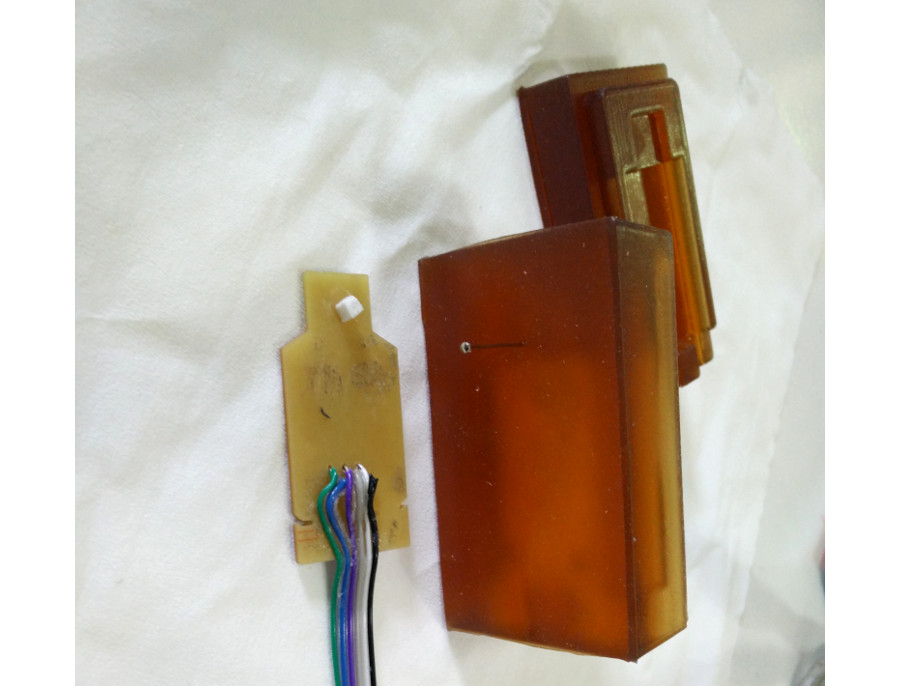
I had to cut the test casting out of the mold with a knife. It ruined the mold:
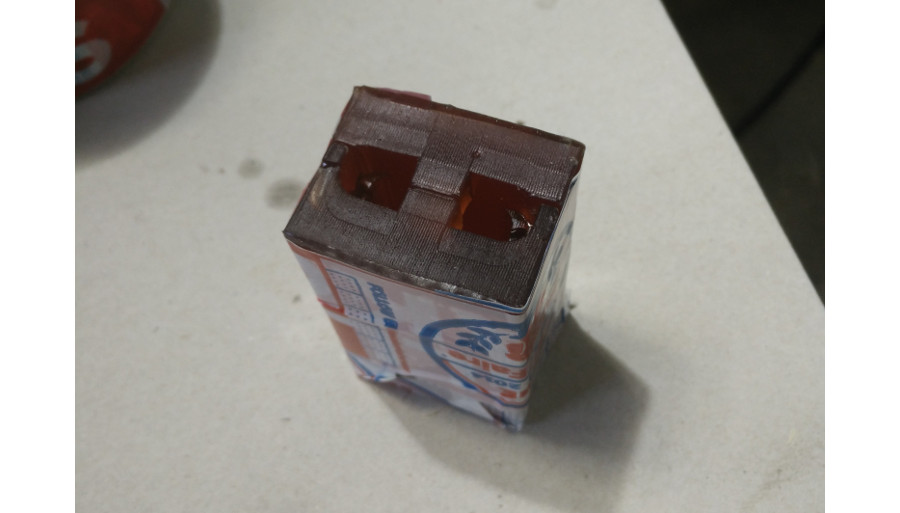
The dummy product fits nicely into USB after cleaning the necessary parts of the product.
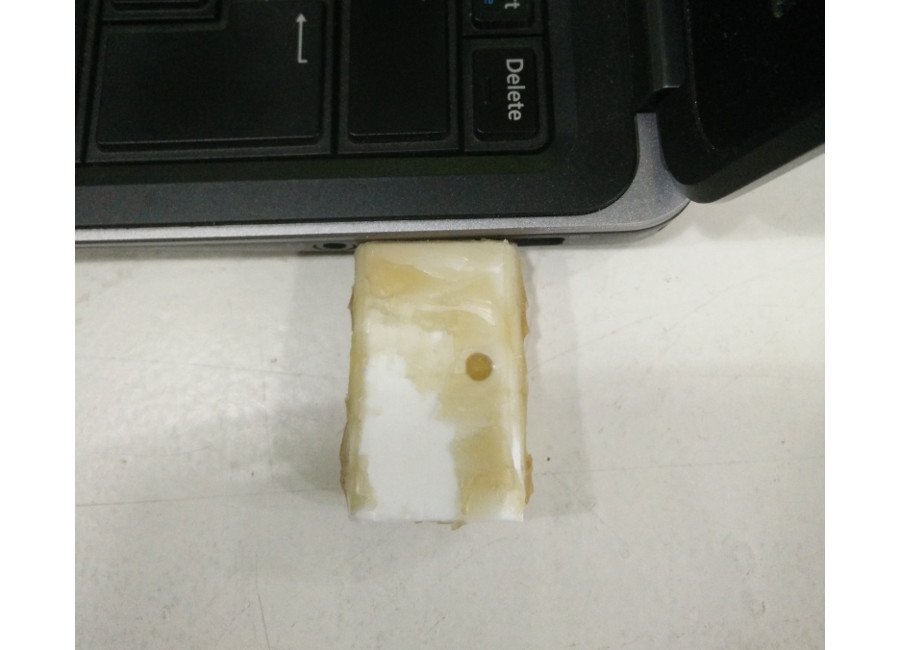
Even the "window" for the LED is in the right place
So I made a new mold. I sprayed it with silicone spray and left to dry over night. The blue tape is to safe the contacts during the casting.

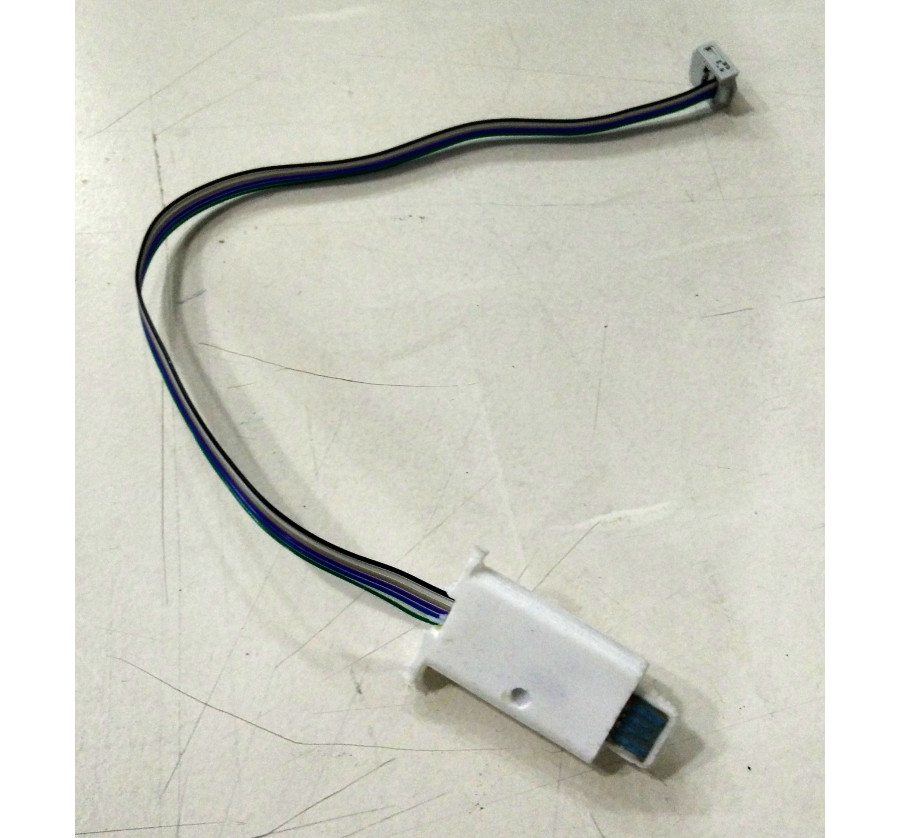
I glued a little peace of plastic behind the PCB and pinned a needle through the mold to it to lock the connector end of the PCB firmly at place.
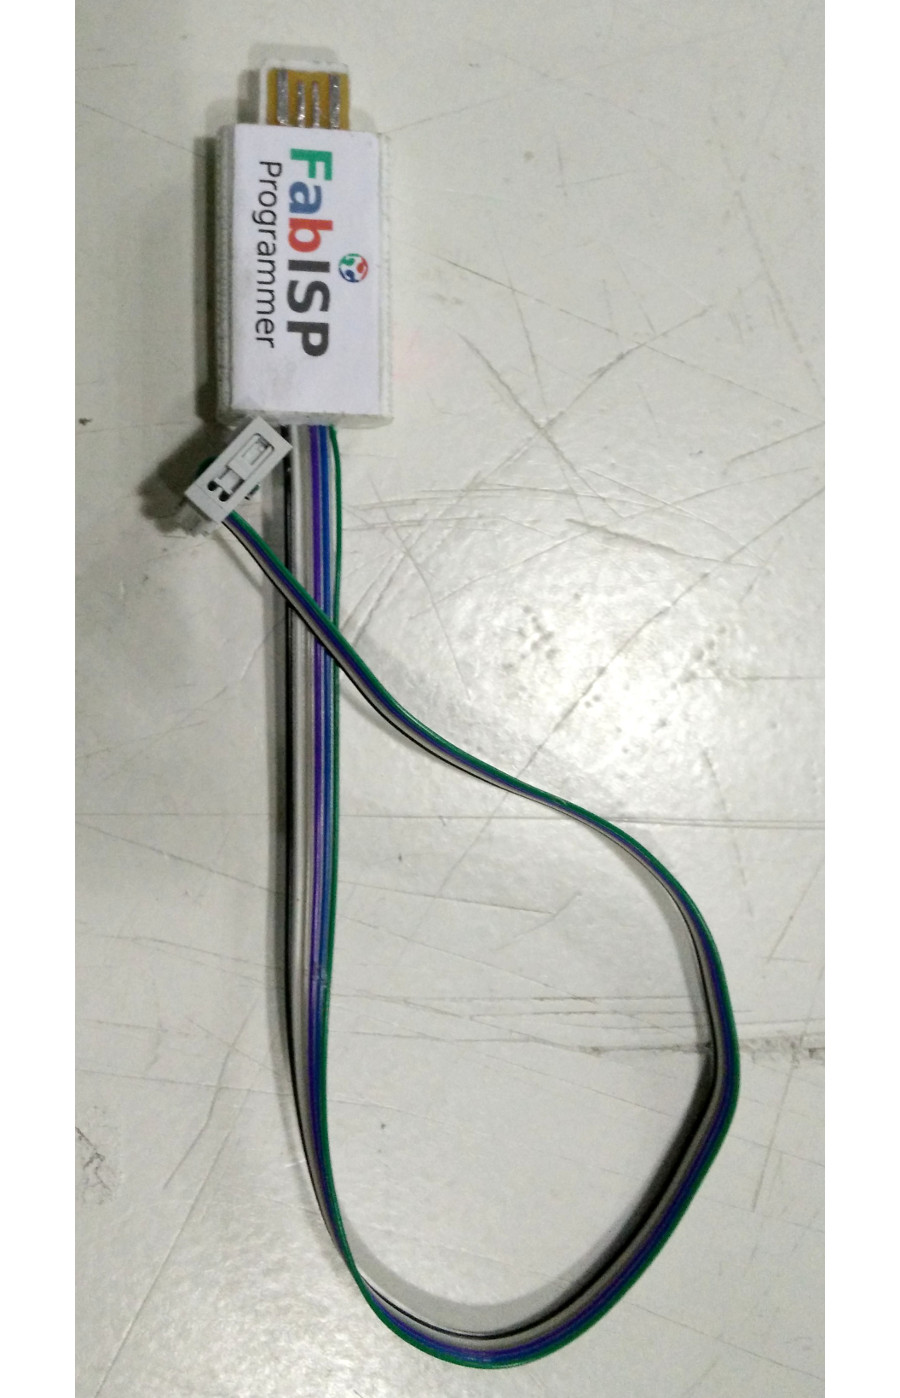
No bubbles, no problems. Perfect cast comes out of the mold!
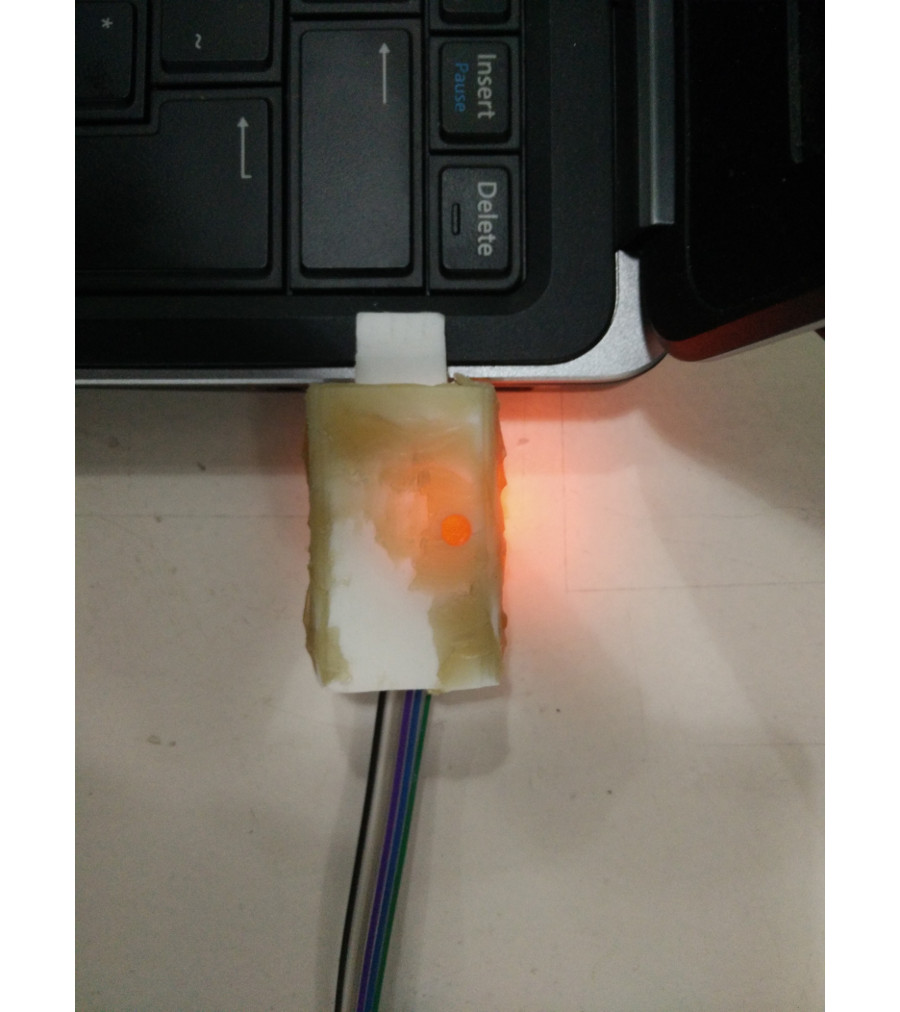
The FabISP programmer cleaned and labeled:
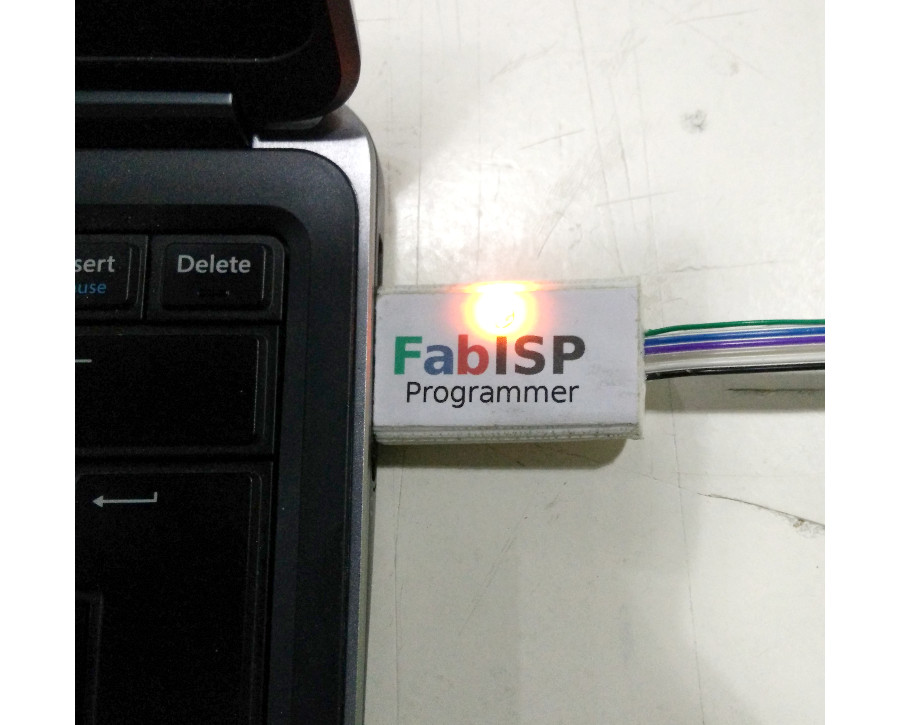
The status LED is behind the logo. It lights up when programmer is redy to program after sticking it to the USB slot. It blinks during programming and stops when the programming is ready.
The .stl file for the mold: