Week 2. Computer-aided design. The second week's lecture by Neil Gershenfeld Started by shortly introducing all of the FabLas participating to the Fab Academy, followed by a short introduction to the necessary properties of CAD. On the second day, we got very much information about the CAD programs with examples from Ferdinand Meier.
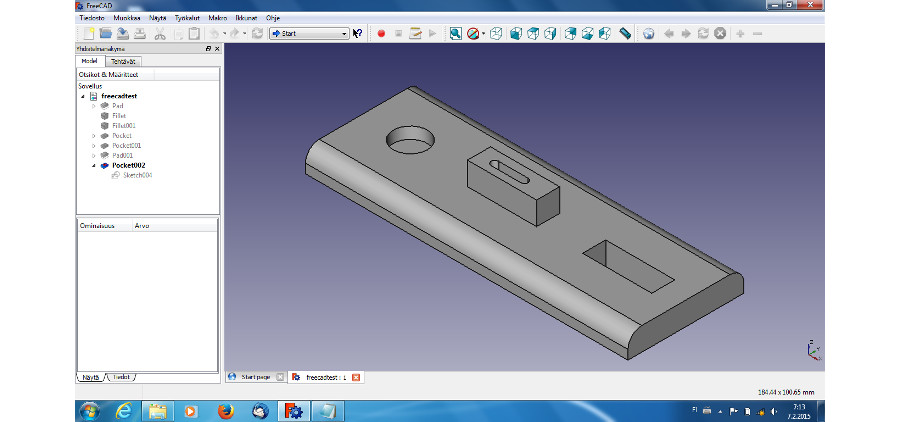
This week's home assignment is to model (draw, render, animate, simulate, ...) a possible final project, and post it on our class pages. Neil also told us to try as many programs as possible. I have tested A/V programs earlier, and I'm much more interested in designing exact mechanical parts than rendering, so I am going to concentrate efforts on learning as much as possible in this area. I'm going to start with FreeCAD, since I'm already more or less familiar with Gimp and Inkscape. I used Freecad with Windows. It's simple and fairly intuitive to use with a basic protocol of 2D sketching and then giving the thickness to the part on the part design table. I had some problems trying to add the ellipse sketch on the surface of the part. It made everything desappear off the screen. After saving the part and restarting the program the problem disappeared. I exported the design as mesh: stl and as image: svg. The square pocket is a hole through the part. Below is the image of the part design on FreeCAD:
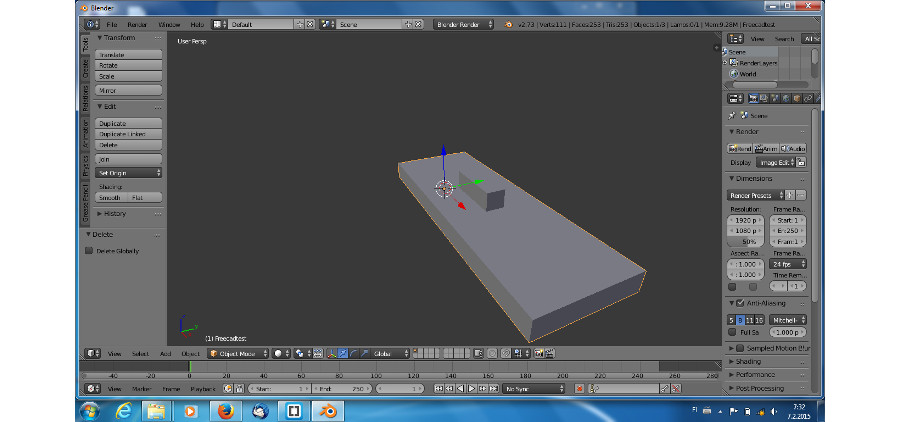
Exporting didn't work very well. The svg didn't make a file at all. I used Gimp to get the pictures from the clip board. The stl had lost all the pockets of the part as well as rounded edges when opened in Blender. Picture of the mesh:
The program is promising and easy enough to use. Unfortunately, it's still quite buggy and missing some properties such as the ones needed for handling multiple part assemblies at least in Windows. The development could be further on Linux version.
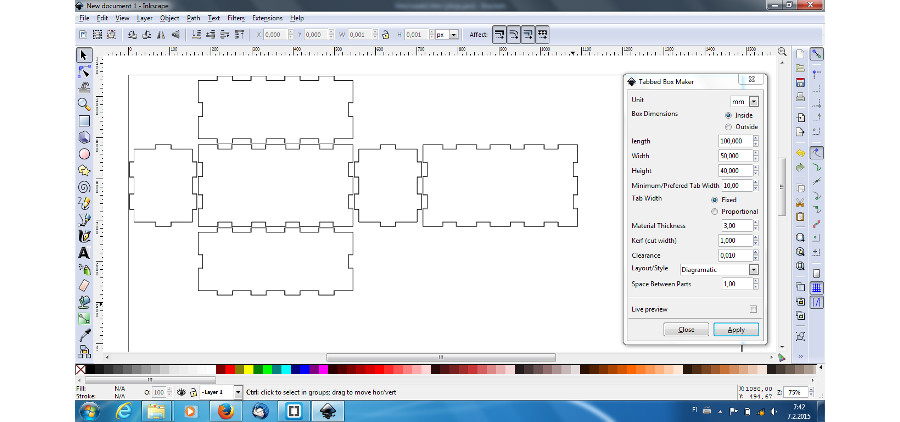
Even though I'm familiar with Inkscepe, I have never used it's extensions. I knew there are programs to make tapped boxes for example to be cut of plywood with a laser, but I didn't know there is an extension to do them in Inkscape. So I installed and tested it. It seems only capable of doing square boxes, but it optimizes the material usage. Picture of the box:
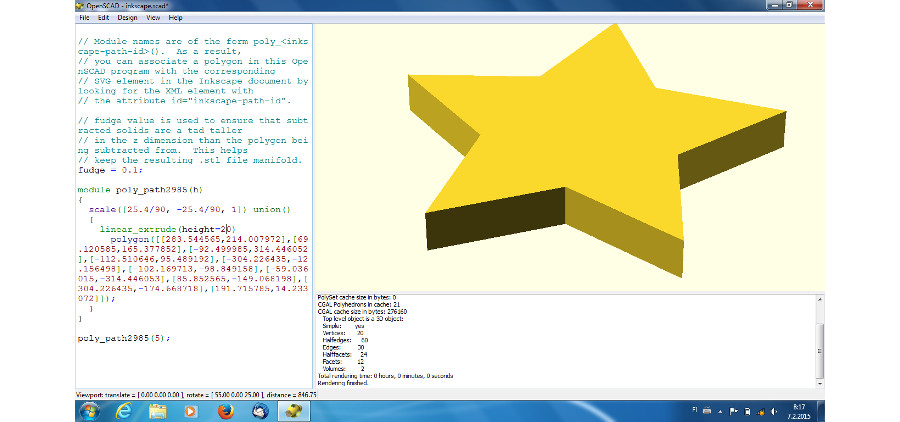
OpenSCAD as well as it's extension in Inkscape were easy to use. Extension only works on Linux, since it doesn't understand Windows file paths. With the version 6.0, all you have to do is to open file on OpenSCAD and put height on the code instead of parameter "h" where it says: "(height=h)" to extrude 2D path of Inkscape to 3D object. The result can be exported for example stl or dxf.
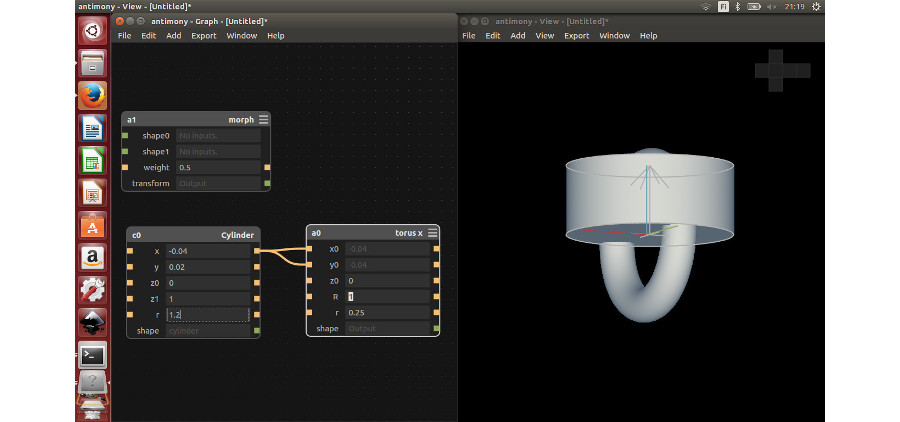
You need to install two extra packages, if you are installing Antimony in the 64-bit dual boot Ubuntu 14.04. Follow original instructions otherwise, but after: "sudo apt-get install libboost-all-dev" add these two:
- sudo apt-get install mesa-common-dev
- sudo apt-get install libgl-dev
Below an example of functional merge of toroid and cylinder in Antimony:
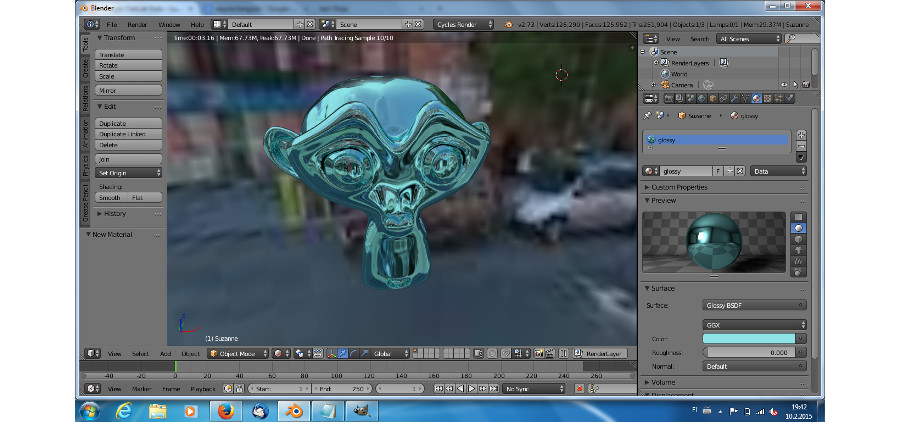
Santiago Fuentemilla gave an excellent lesson on Google SketchUp and Blender on Friday. Of all these programs, I found the learning curve with Antimony was used to installation. All the rest open source programs but SketchUp were inadequate. The tool of choice for sketching the final project is therefore SketchUp! See Project Proposal! We had an excellent lesson on Blender on Monday, and now we have the basics to it. I made a monkey out of a monkey with Blender:
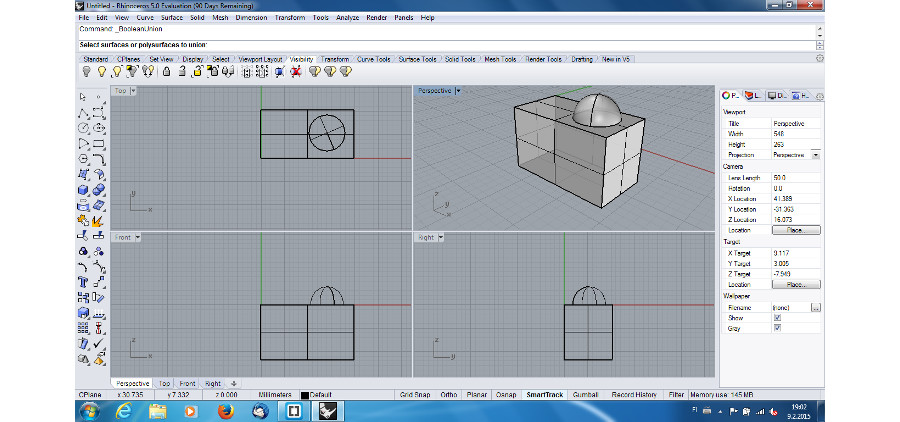
Rhino is a very complicated surface tool for 2D and 3D designing. I really couldn't follow the given lesson, more than now I know the program can do a lot. Fortunately the training manual is up to date and self explanatory. Also 2.5D objects can be produced with Rhino and Grasshopper.