
Composites
This week I will create something really strong from a polystyrene mold using fibre and resin.
Part One 2D to 3D- Design of the MoldPart Two Using Rhino CAM
Part Three CNC Milling of Polystyrene Mold
Part Four The Composite: Fibre and Resin
Part Five The Files
2D to 3D Design
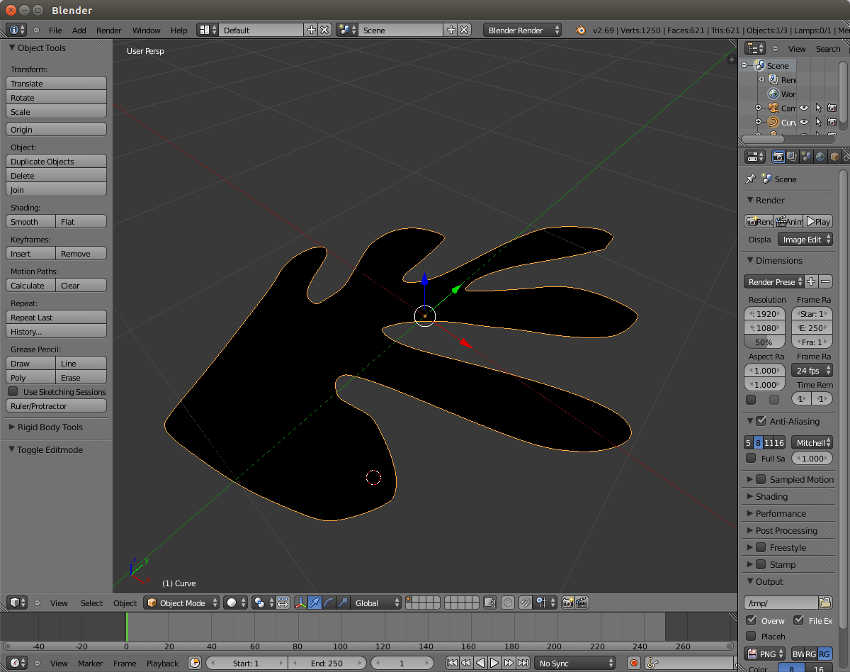
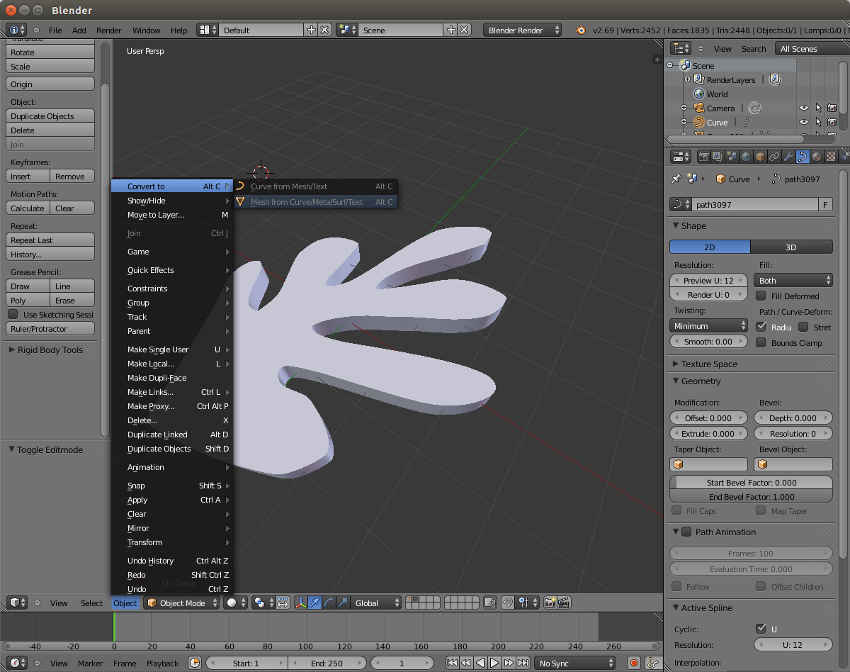
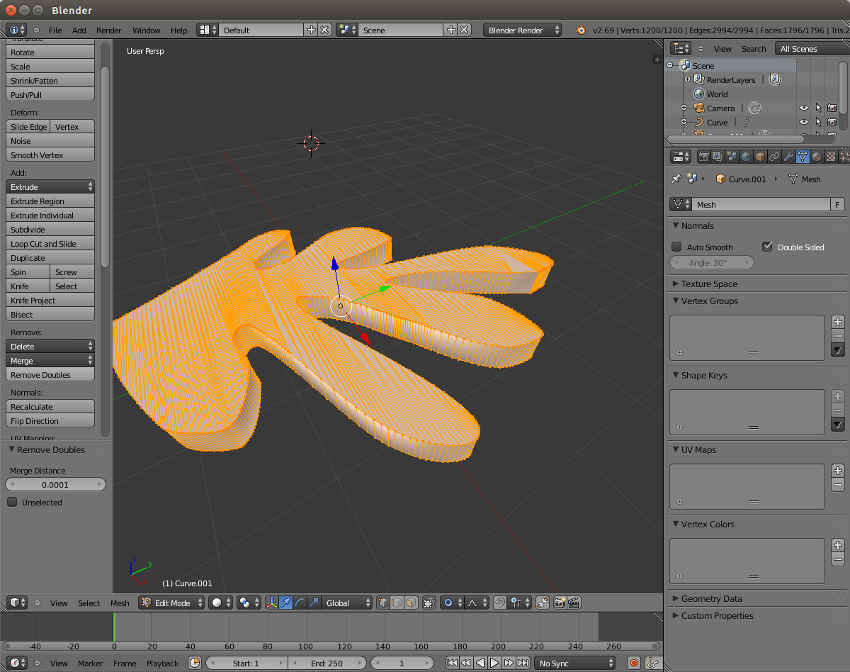
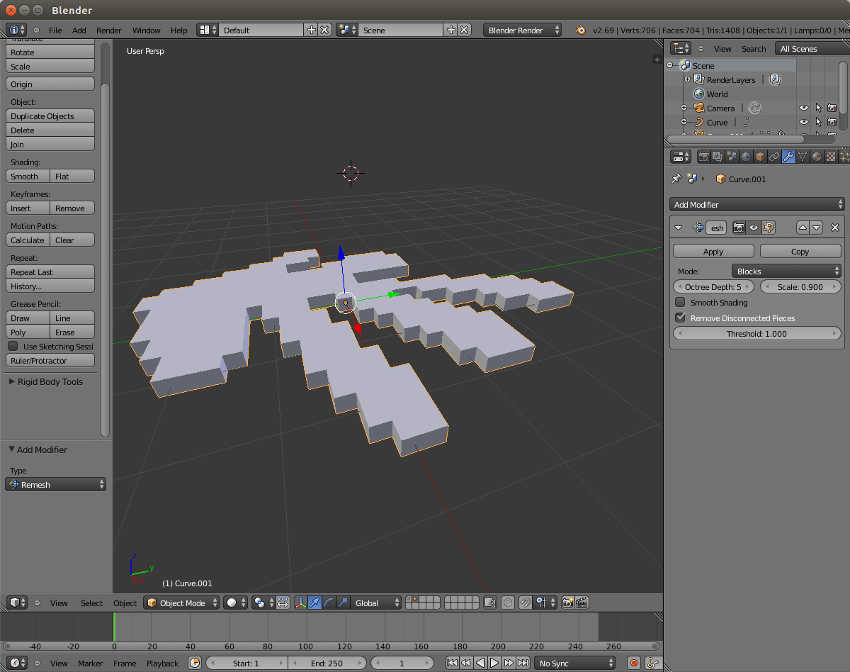
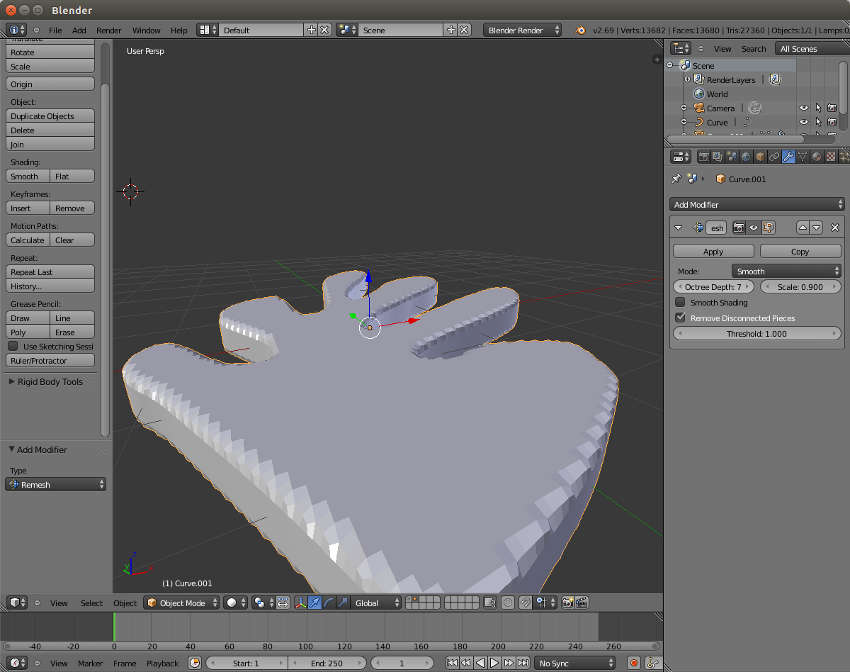
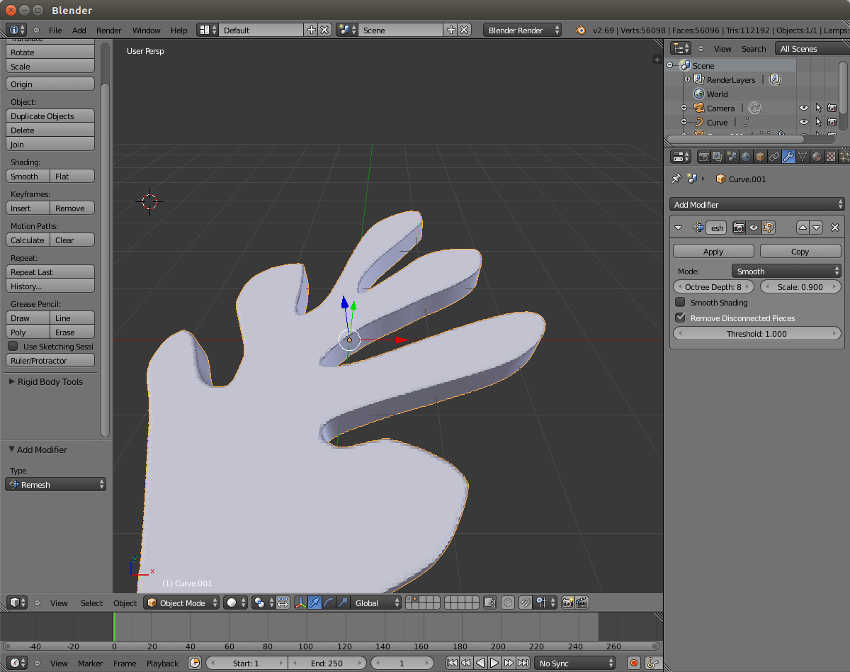
This week my inspiration was Henri Matisse. I took one of his cut out forms converted it to an indexed image in Gimp, vectorized it in Inkscape and sculpted it into a 3D model using Blender.
A purely open source program workflow!


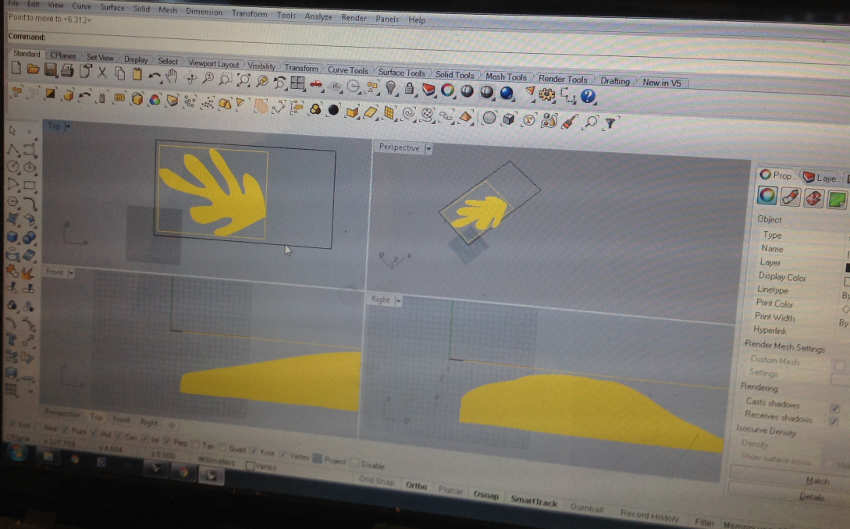
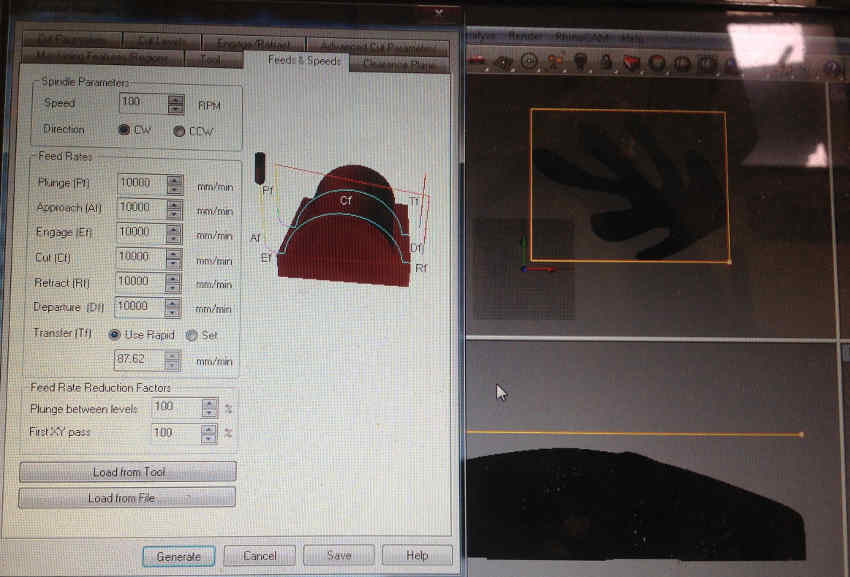
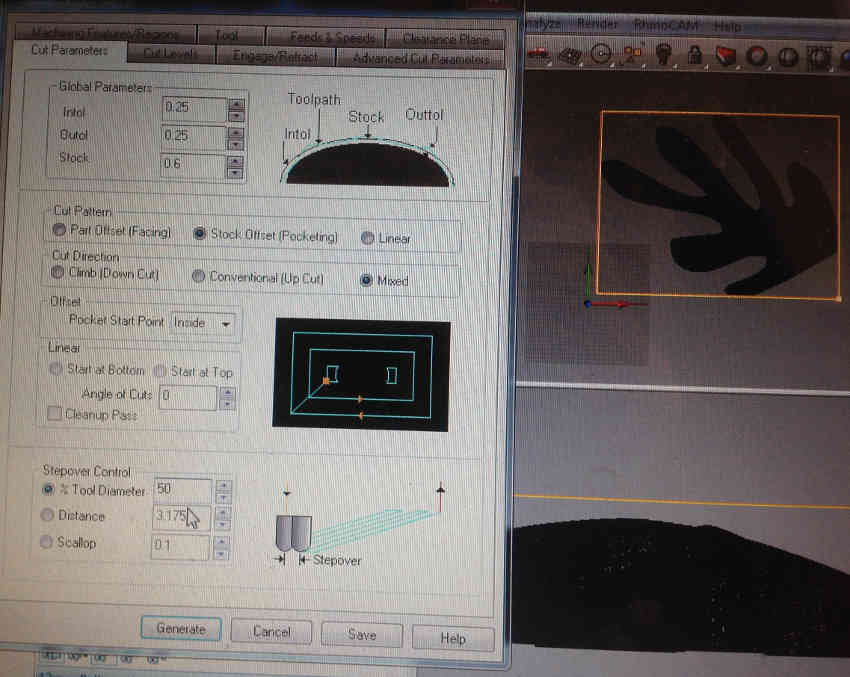
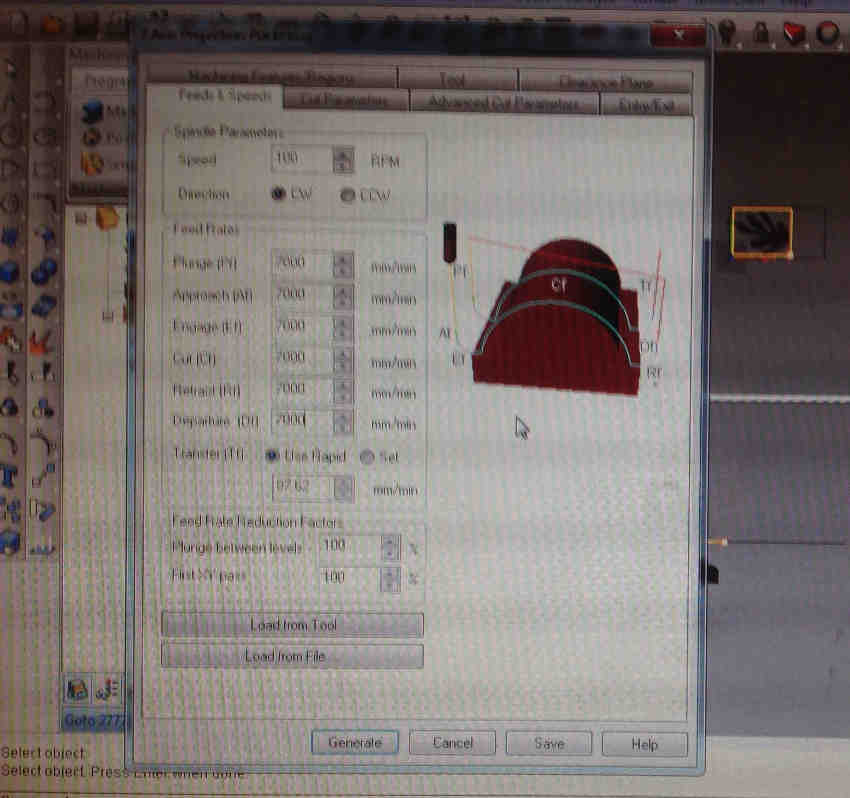
Using Rhino CAM
I measured my polystyrene block and created a block in RhinoCam. I selected the block as my Stock Material using the option Stock from selection . Then I deleted the block.
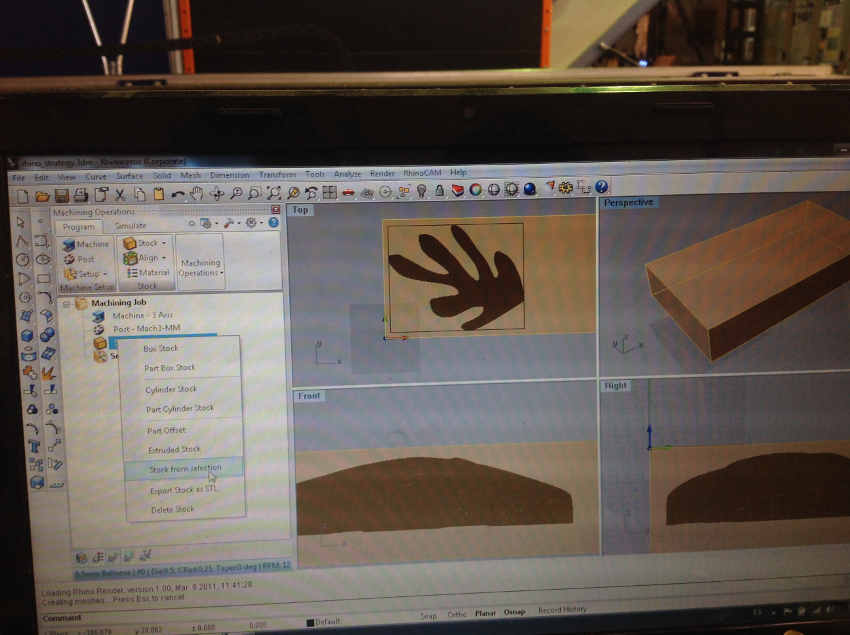
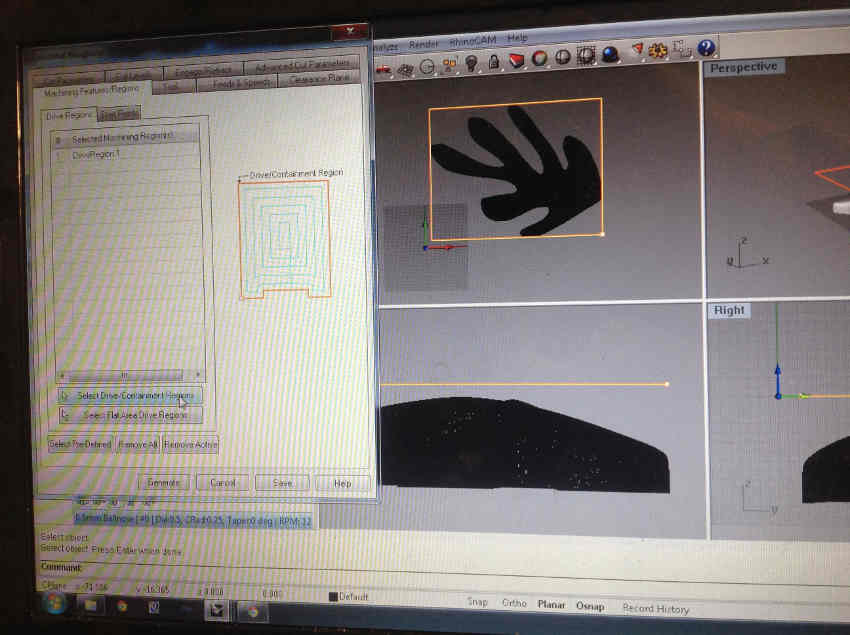
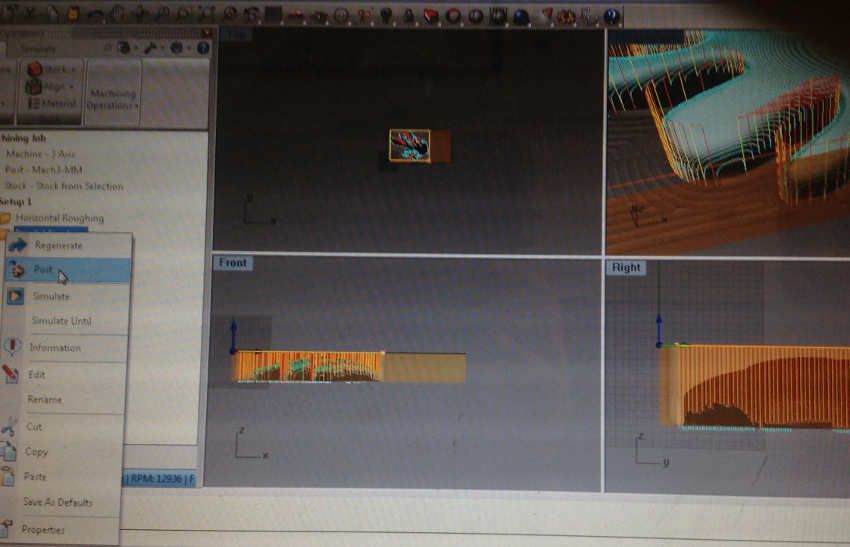
CNC will mill the shape in two stages:
- Horizontal Roughing- roughly cuts out the form
- Parallel Finishing- the finishing pass
<
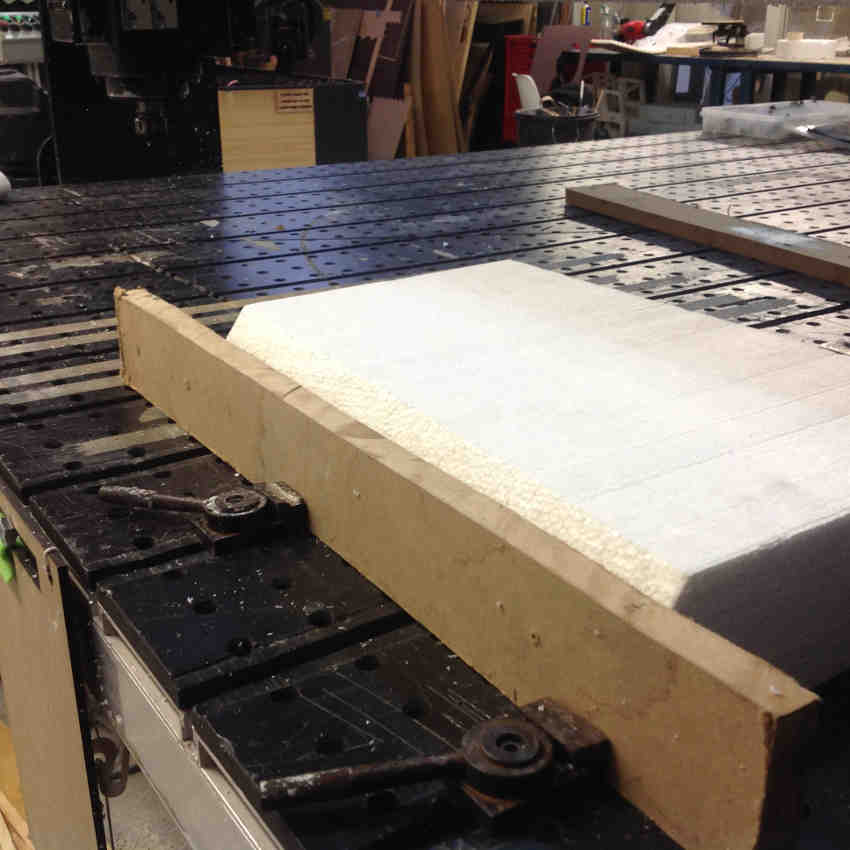
CNC Milling of Polystyrene
Initially I got the X and Y axis mixed up on the machine. Thankfully milling in the air first meant the problem could be identified.

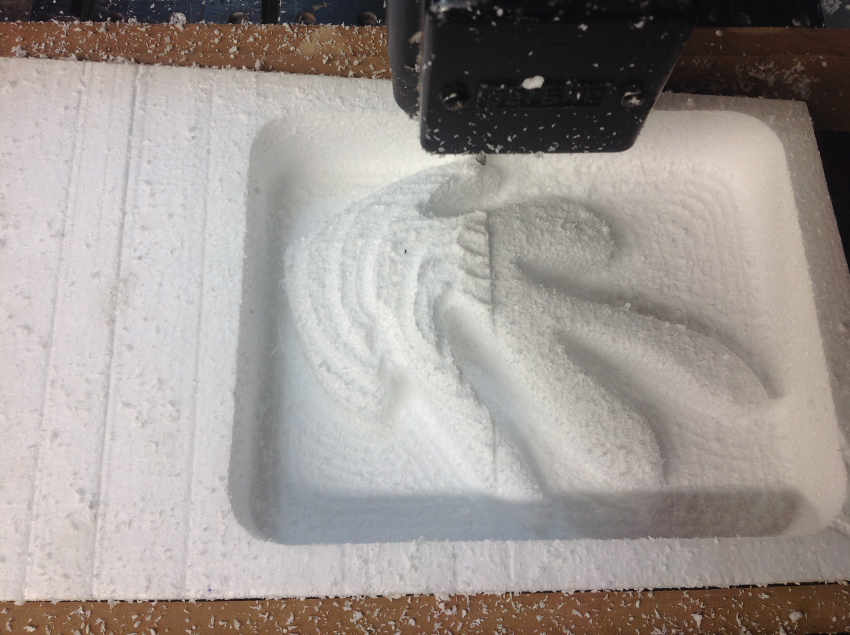
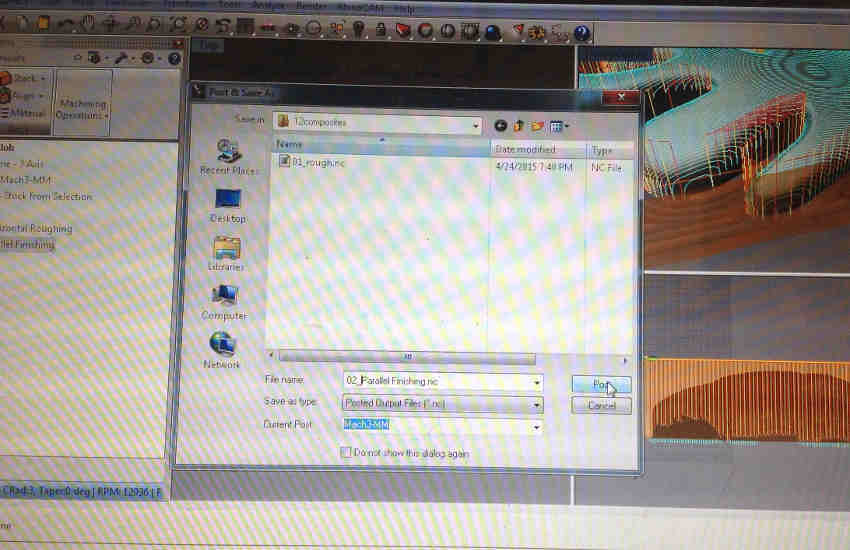
Between the Horizotal Roughing and Parallel Finishing Stages
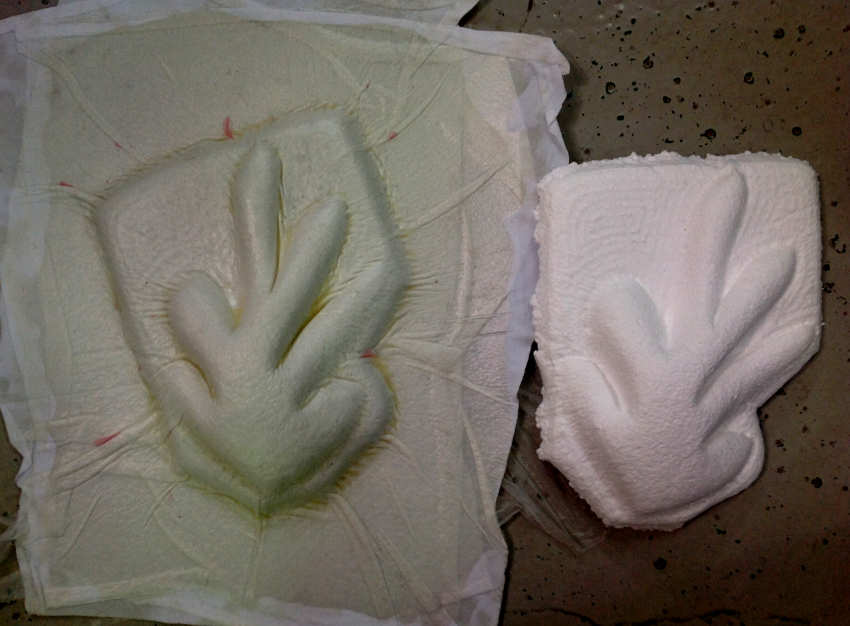
The Composite: Fibre and Resin
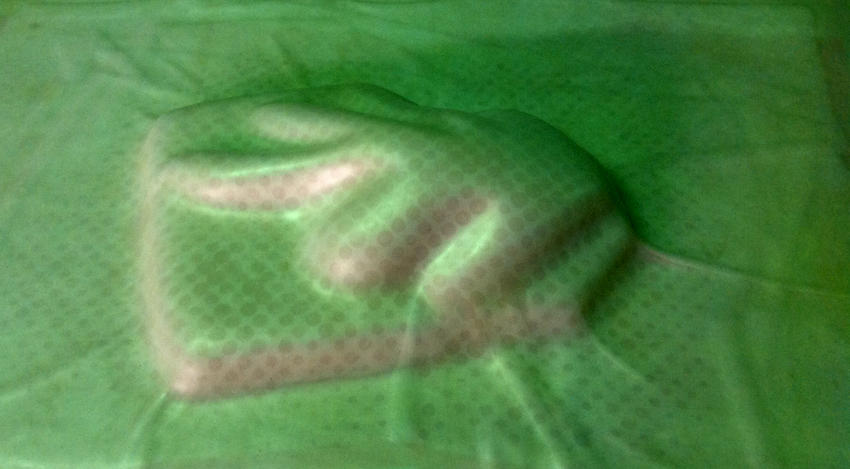
On recommendation by Anastasia from the Fab Lab Barcelona I used Lycra as my fibre. The resin was Epoxy Resin.
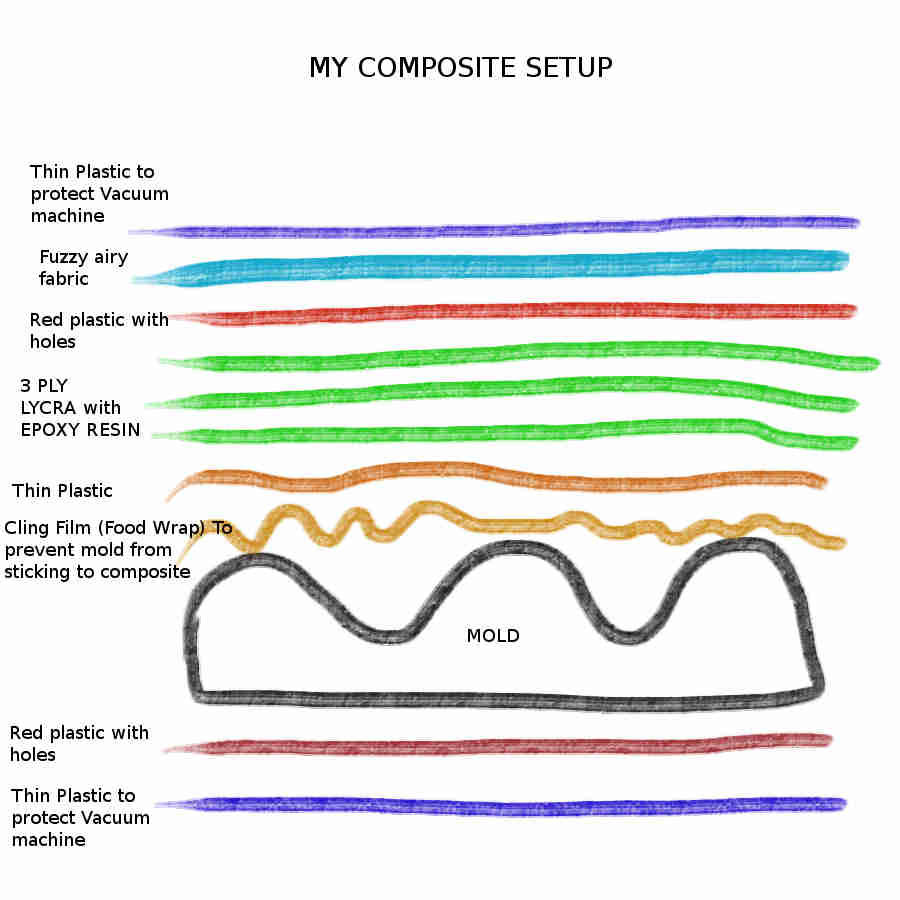
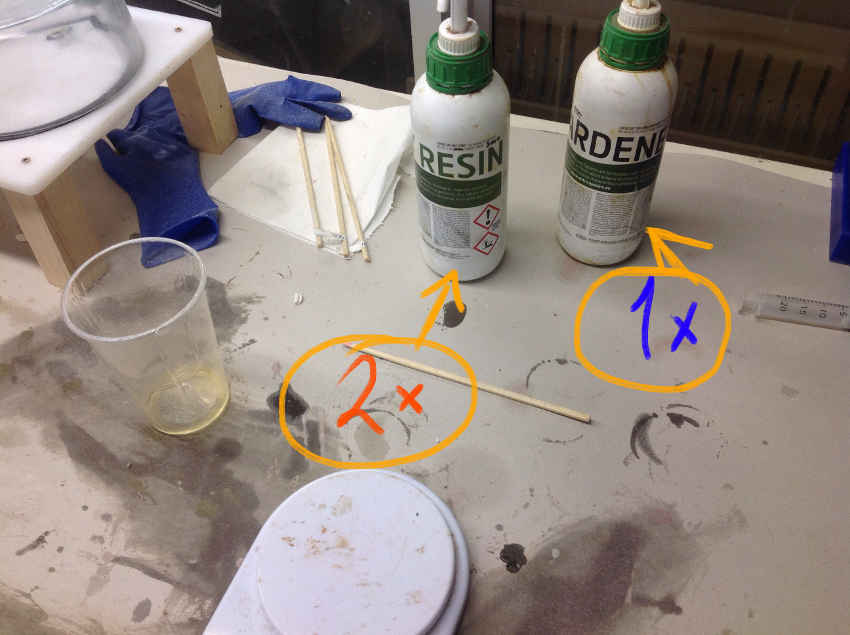
2 part Epoxy Resin to 1 part Hardener ( Supersap brand)
Into the Vacuum Machine for 6 hours...
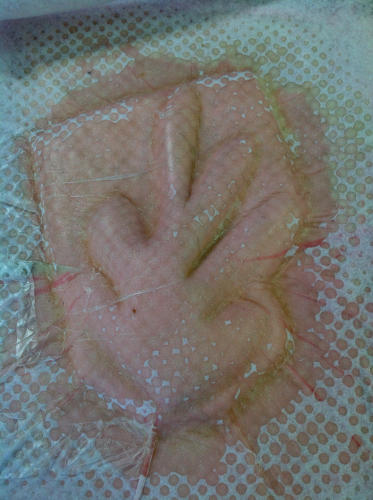
Out of the Vacuum Machine
The CAD file of the Matisse form can be downloaded here