
COMPUTER CONTROLLED MACHINING
This week we have to do something big using the ShopBot. I decided to do a folding chair. Here is the process step by step:
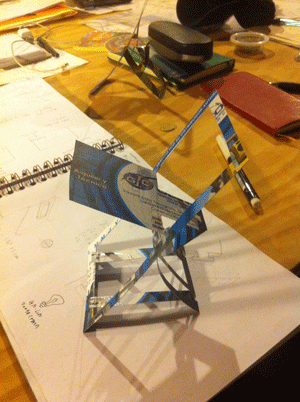
1. Thinking
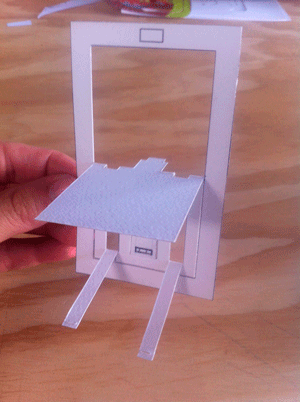
I have been working with models since the begining of the process because I had to think in 3D to understand how the folding mechanism could work. In this step all the measurements were aproximate.

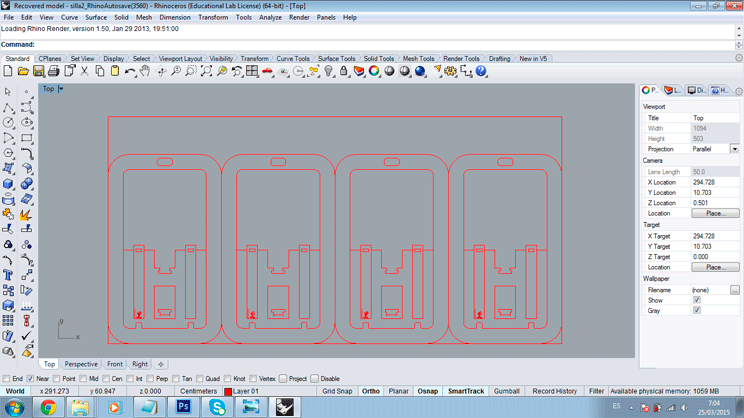
2. Adjusting the first ideas
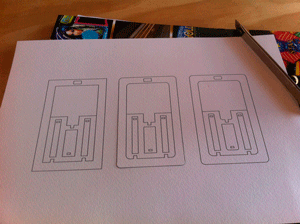
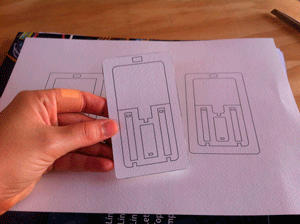
I have been working in Rhino to draw the blueprints for a new model and I have printed them in an A4 paper sheet. I love work with printed paper to make models. It is a very easy technique that allows you work very quickly and undertand 3D geometries.
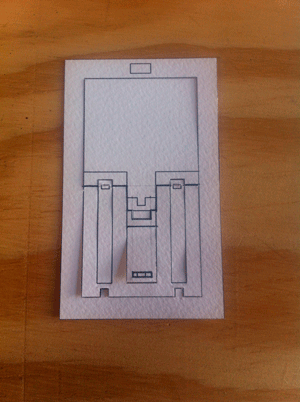


3. Final blueprints
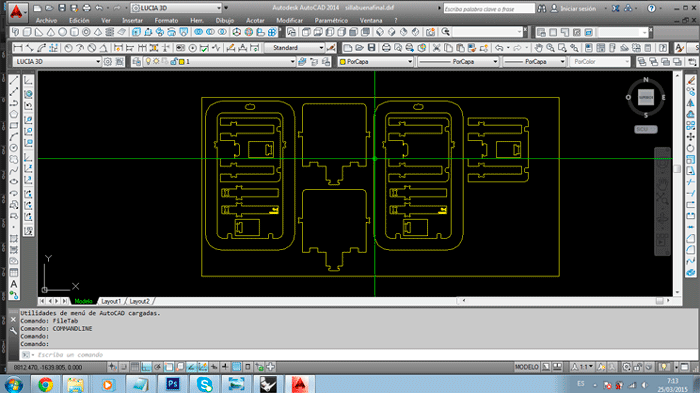
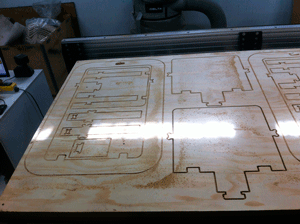
Once I understood the geometry and the relations between parts I went to Autocad to draw the final blueprints. To do this I have taken in account that I am using MDF wood, thickness 15 mm.
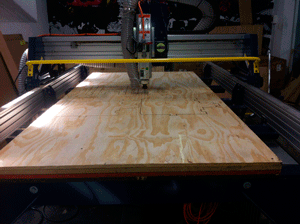
4. Final step:
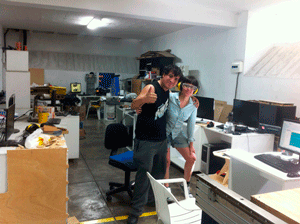
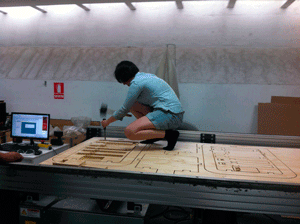
I used the ShopBot to mill the chair. It is very important the post processing of each piece, basically I sanded all.


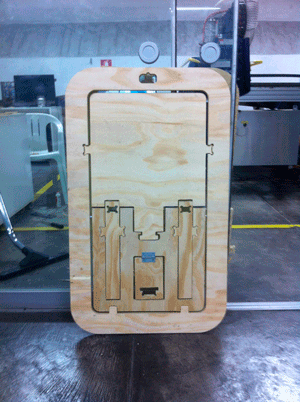

5.Here you have a video were you can see the ShopBot working and how the chair is assembled