

FIFTH WEEK ASSIGNMENT
 |
 |
 |
 |
3D SCANNING AND PRINTING
- Design and 3D print an object (small, few cm) that could not be made subtractively.
- 3D scan an object (and optionally print it).
Since
this week's assignment is about 3D printing, it seems just appropriate
to watch the NETFLIX documentary, "PRINT THE LEGEND", recommended by
Henry Sanchez, a fellow Fab mate.
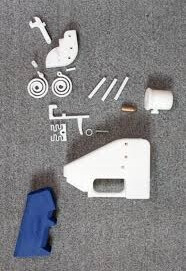
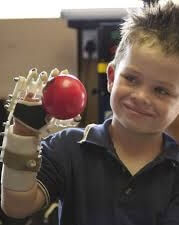
This documentary tells the story of the three co-founders' of MakerBot Industries, and their beginnings developing the innovative technology of 3D desktop printers. Thus, I got more appreciation of the diverse possibilities of the 3D printers' use, for example a prosthetic hand for a little boy, or a fully printable gun.
PRINTING
My plan for my first printing assignment is to make something that will solve a problem that affects my daily life, This will be followed by something more technical to be used regularly at work, and finally I would also like to make something artistic.
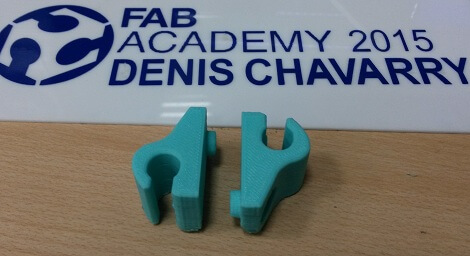
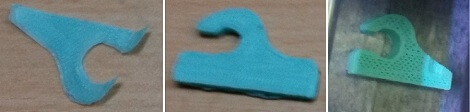
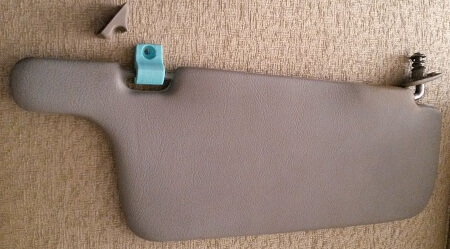
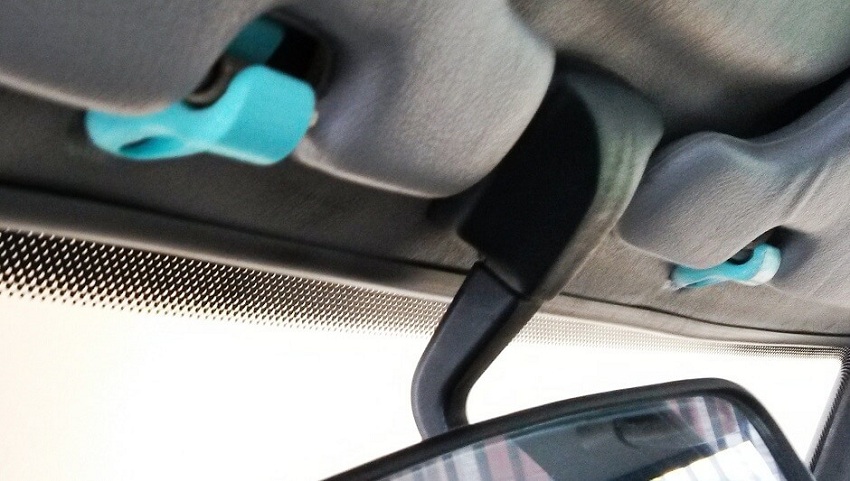
My old and loyal 1993 Hyndai Excel is my road partner. Unfortunately after 20 years I have been unable to find a small part needed to support the sun visor, which broke a while ago, thus I decided to replicate this piece using 3D printing technology.
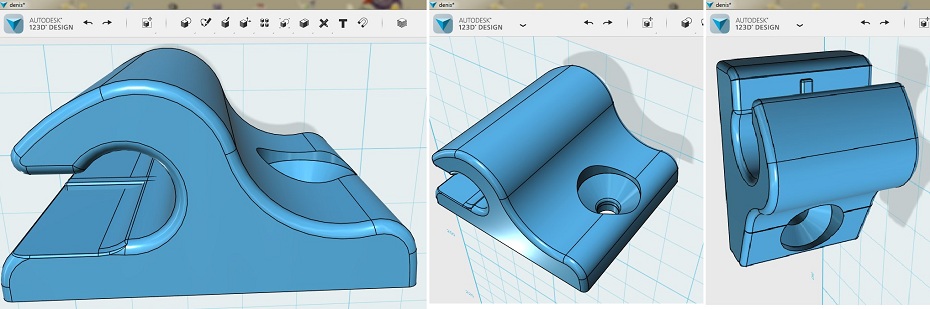
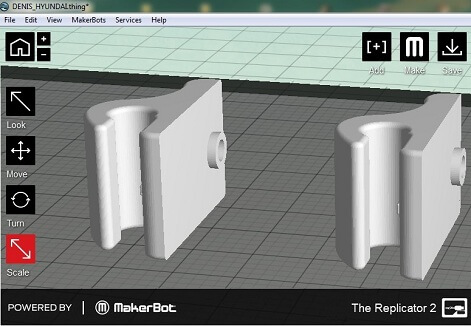
123D Design
Since I have already worked with RHINO and INVENTOR, for this assignment I decided to try another AUTODESK program, 123D Design, which is a 3D creation tool, with free-editing.
The
program is downloaded and installed into one of the Fab Lab TECSUP's
computers. Even though the program is powerful, it seems to be
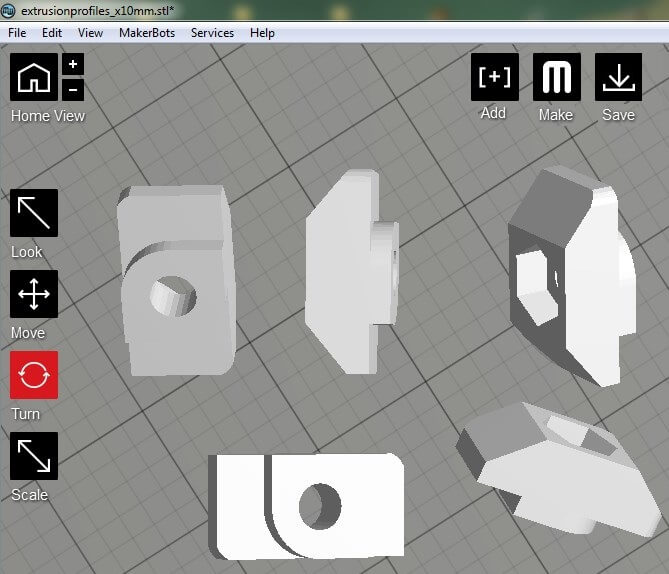
intuitive and easy to use. Here is the file HYUNDAI.123dx. This file is exported to STL format.
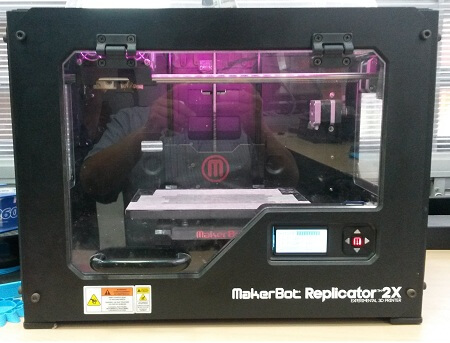
The STL format file was opened with the program in the Makerbot2 Replicator2X printer, where I set the real scale (1.4 factor was used), I saved it on a SD memory card with the FAT extension.
The
3D MakerBot2 printer can receive FAT files in two ways. One of them is
to place directly an SD memory card in the appropriate slot, and the
other is by directly connecting a computer with the same software brand
and sending directly the FAT file.
ABS and PLA are the materials that can be used, I am using PLA for this project.
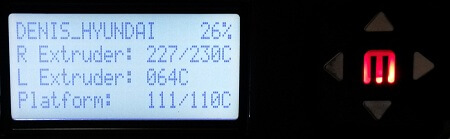
Once the SD memory card is placed in the printer and the chosen file is selected, the machine starts the preheating period. When the extruder reaches 230 ° C and the platform 110° C, the printing process begins.
There were, however, some problems at the beginning of the printing, where the first layer of material was lifting, this issue was solved by putting a double face of scotch tape on the machine's platform.
After seeing the first result I decided to slightly reduce the thickness of the piece. After the changes were done the process began once again, this time not around 100% , but only 85% compaction, which also reduces the printing time.
The process and results are shown in the following pictures:
Hammer head T nut Drop in Nut for Aluminum Profile Extrusion.
Looking for a technical application to print, I found that there are many applications ready to print http://www.thingiverse.com/categories. From which I have printed a very useful element in the workshop, and is available at http://www.thingiverse.com/thing:446899.

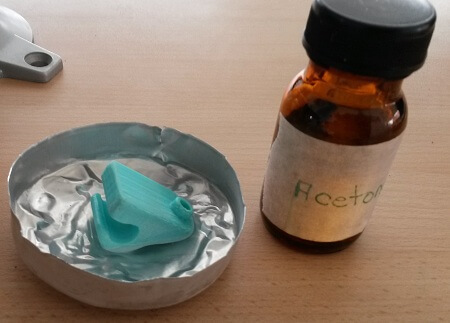
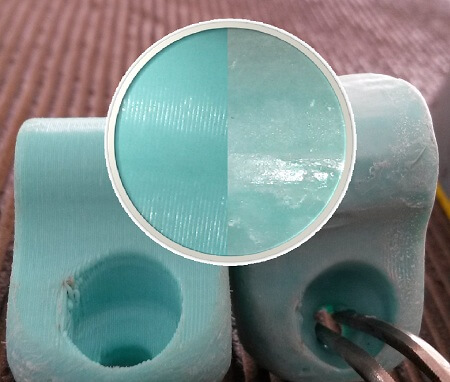
In order to give the piece a smoother finish I decided to apply a little Acetone. Acetone is a restricted product in Peru because of its use in the production of drugs, but I was able to get some from my colleagues at Chemical Lab.
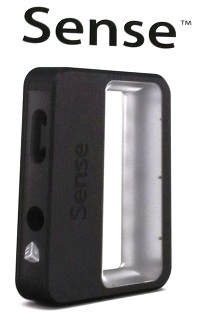
In orden to scan an object I did two tests, the first one using Sense ™ 3D scanner (http://cubify.com/Products/Sense), and the second one using my iPad and AUTODESK 123D Catch application (http://www.123dapp.com/catch).
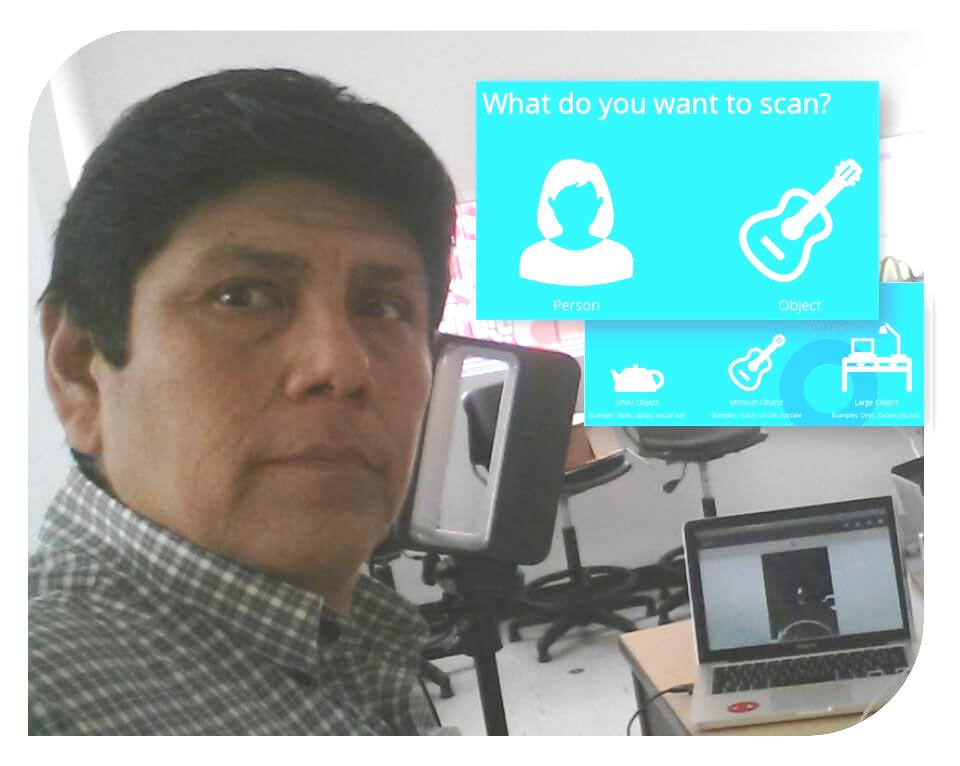
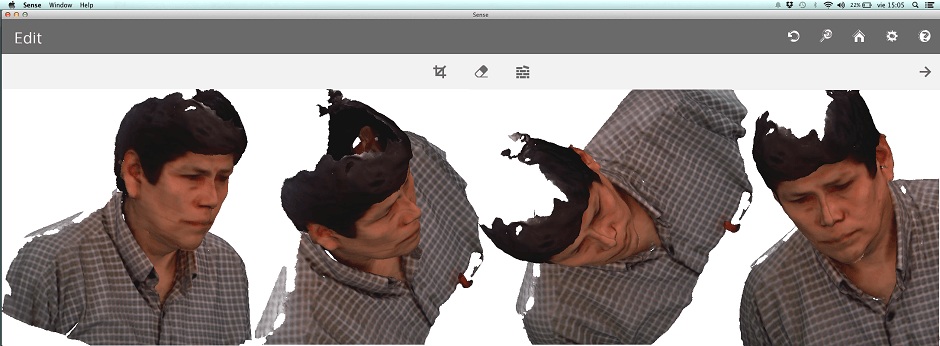
SENSE ™ 3D SCANNER
By using the Sense™ 3D scanner I have the option of scanning objects and people, I decided to scan myself. I sat in a swivel chair and started making a slow 360° turn and got the 3D images. Here are some samples and the link.
123D CATCH
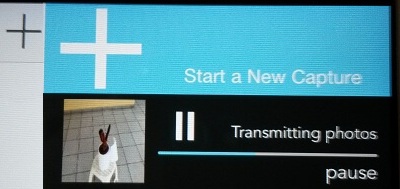
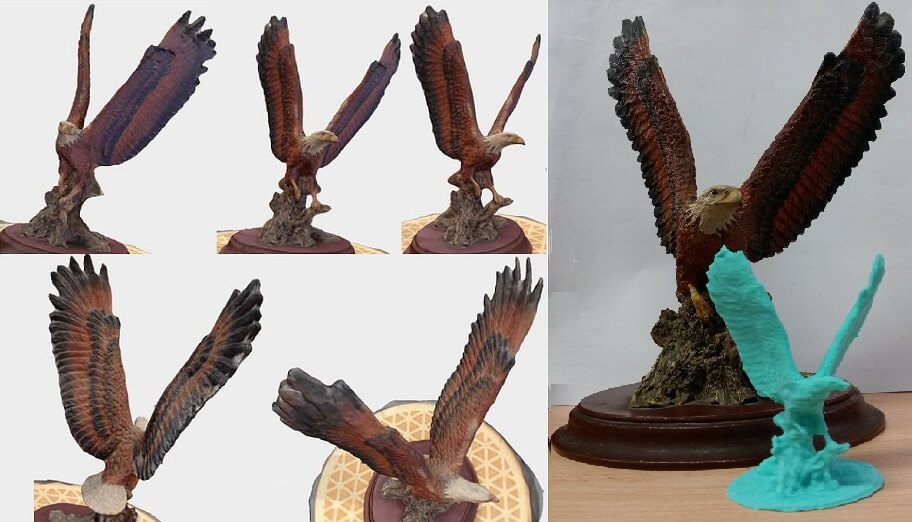
With the 123D Catch, after opening an account, I used directly the application and took pictures of an ornament that I have at home, the program has an indicator that shows the correct position to take pictures.
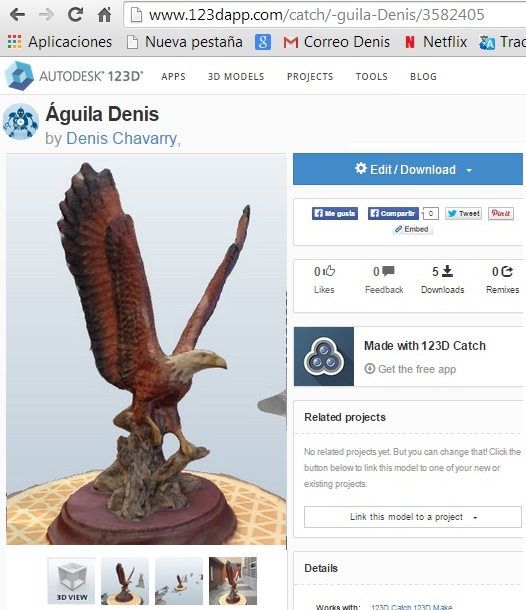
After taking the pictures, the files are sent to prossesing server, and after one hour it shows the final work, and also allows me to send an email with the link to be able to view and edit:
Use this link to edit your capture on 123d.autodesk.com: http://www.123dapp.com/Catch/-guila-Denis/3582405
- By using 3D printers, you should keep in mind several important factors; machine, equalization, calibration, materials, temperature, velocity, humidity, filler, carrier, base, etc.
- There is always a need to experience it.